Create a DIY Wood Christmas Card Wreath that makes a perfect display to hold the Christmas cards you receive.
Are the Christmas cards starting to pour in at your house yet?
Thanksgiving weekend I always seem to get one or two cards, reminding me I am behind on getting mine ordered (again). And helping me remember I haven’t found a way to display them through the season.
Well not this year! Okay, we haven’t ordered our cards yet (but I am planning on doing that tomorrow, so I’m not that behind), but this year I have this DIY wood Christmas card wreath ready to hold all those Christmas cards.
This post may contain affiliate links. As an Amazon Associate I earn from qualifying purchases. Click here to read my full disclosure policy.
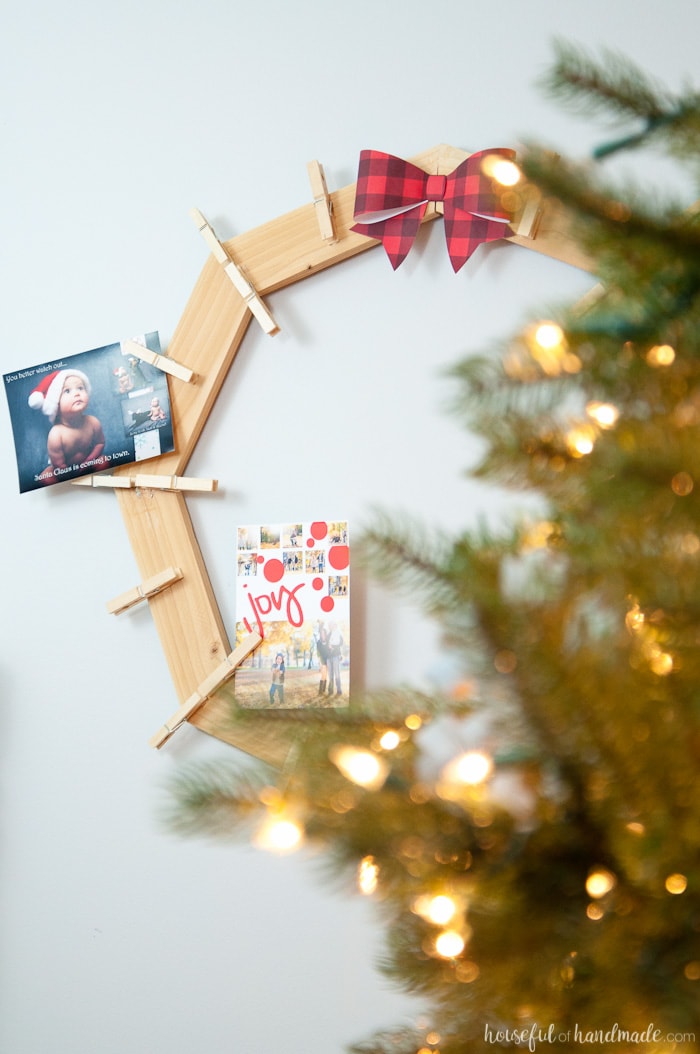
Unique Christmas Card Holders
I love that the trend for Christmas cards is to use pictures of your family. It makes the arrival of each card so fun as we get to see all the people we love. Sometimes we even leave them up way past Christmas just so we can display the pictures.
I even use the Christmas card excuse as a reminder to get our family photos done each year.
This wreath shaped Christmas card holder is perfect for displaying all the photos of family and friends. Or for even more Christmas spirit, you can make a Christmas tree shaped Christmas card holder.
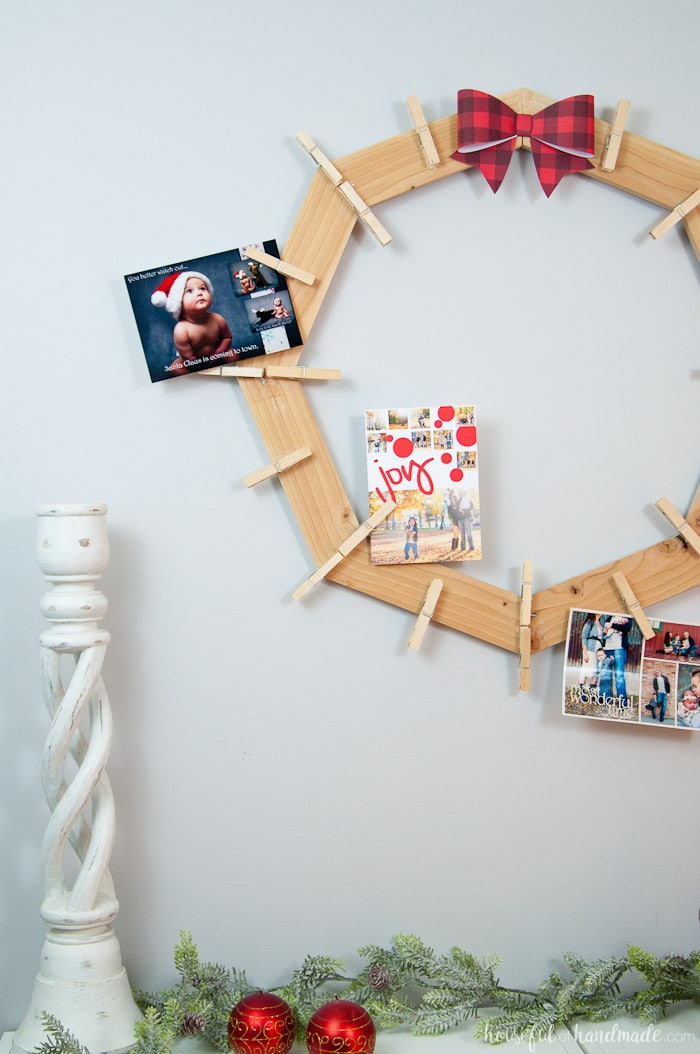
Usually when the Christmas cards start arriving, they make their way onto our fridge. The whole fridge becomes a mess of magnets and faces. Sometimes the kids play with them, sometimes they fall and get lost.
The system was not good. My mom always taped hers to the doorframe into the kitchen, but I am not lucky enough to have a perfect doorframe to display our cards so the fridge it was. Not this year though!
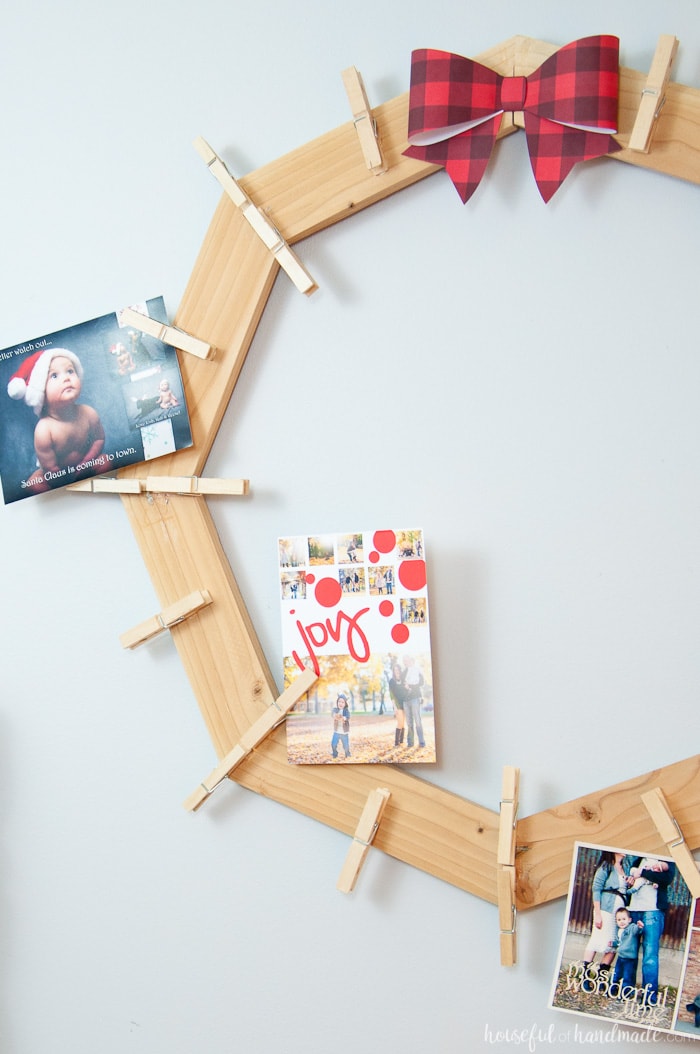
I was finally upset enough about the awful way I was trying to display our the Christmas cards that were beautiful pictures of our friends & family. After making two wood wreath forms for actual wreaths (one for spring and one for Halloween) I figured why not use the same idea but make it into a Christmas card holder.
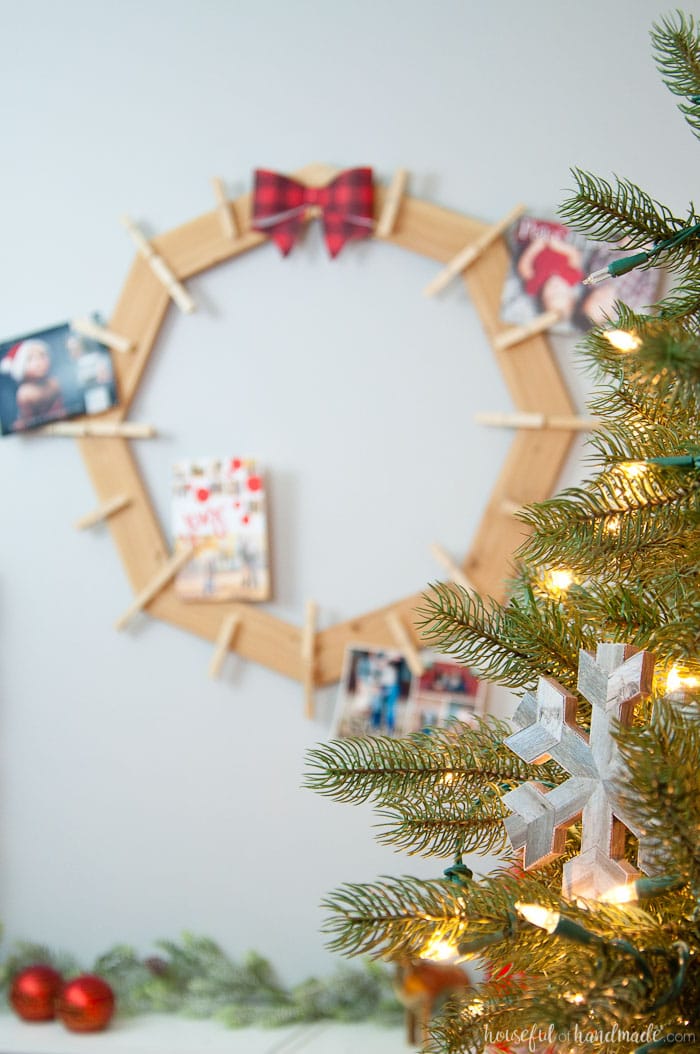
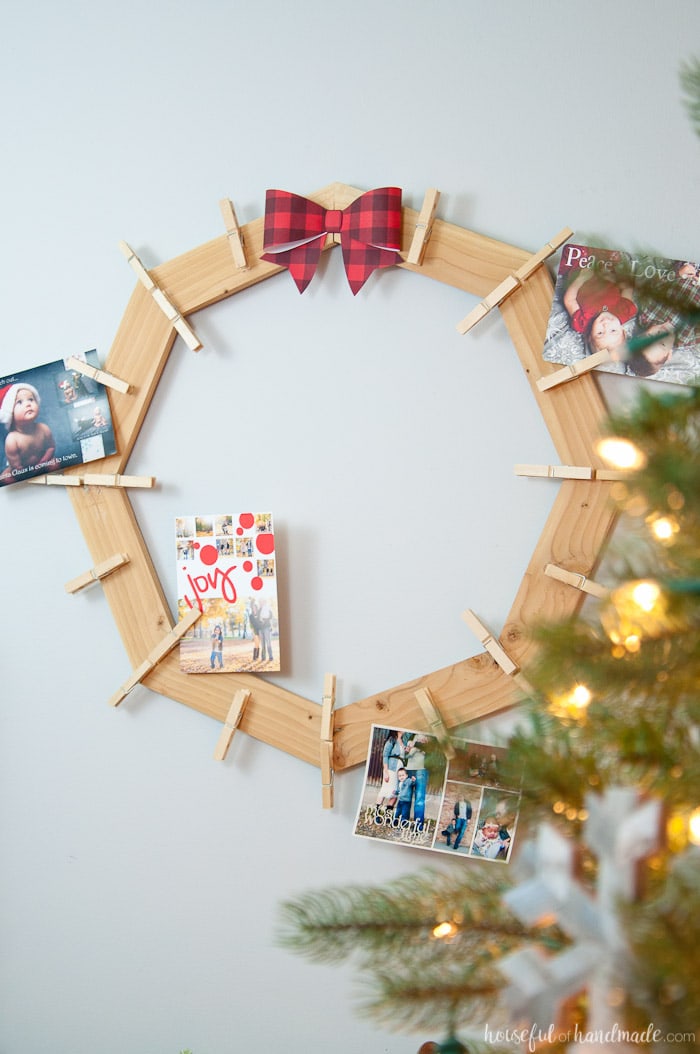
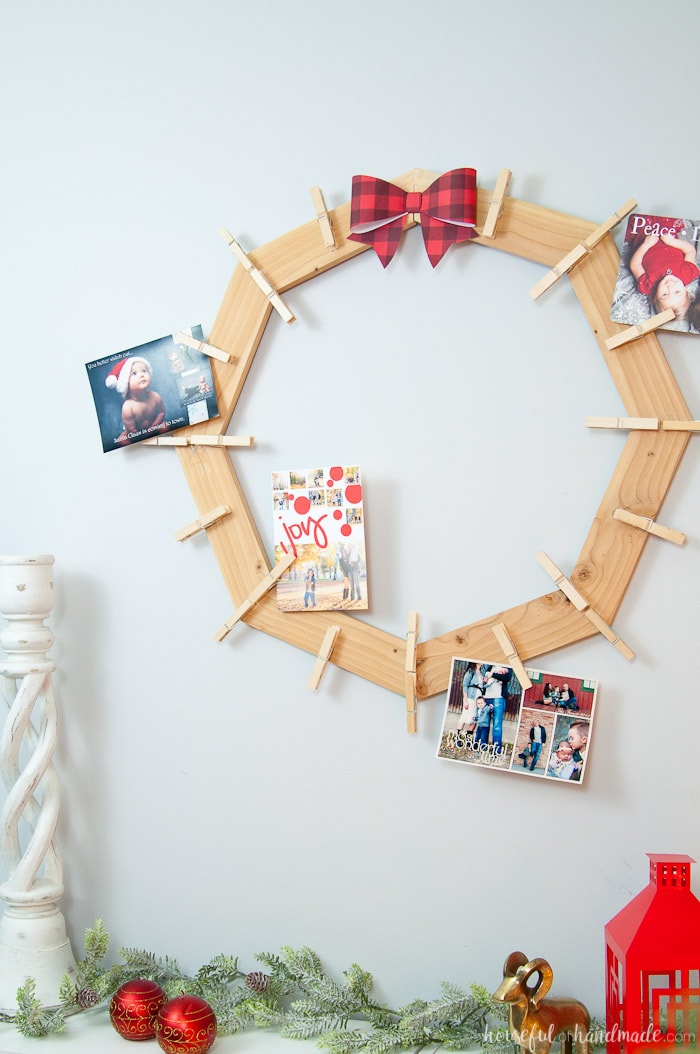
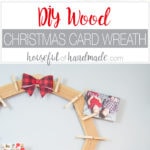
The wood form was perfect for the addition of wood clothespins. Now we can proudly display our cards on this DIY wood Christmas card wreath.
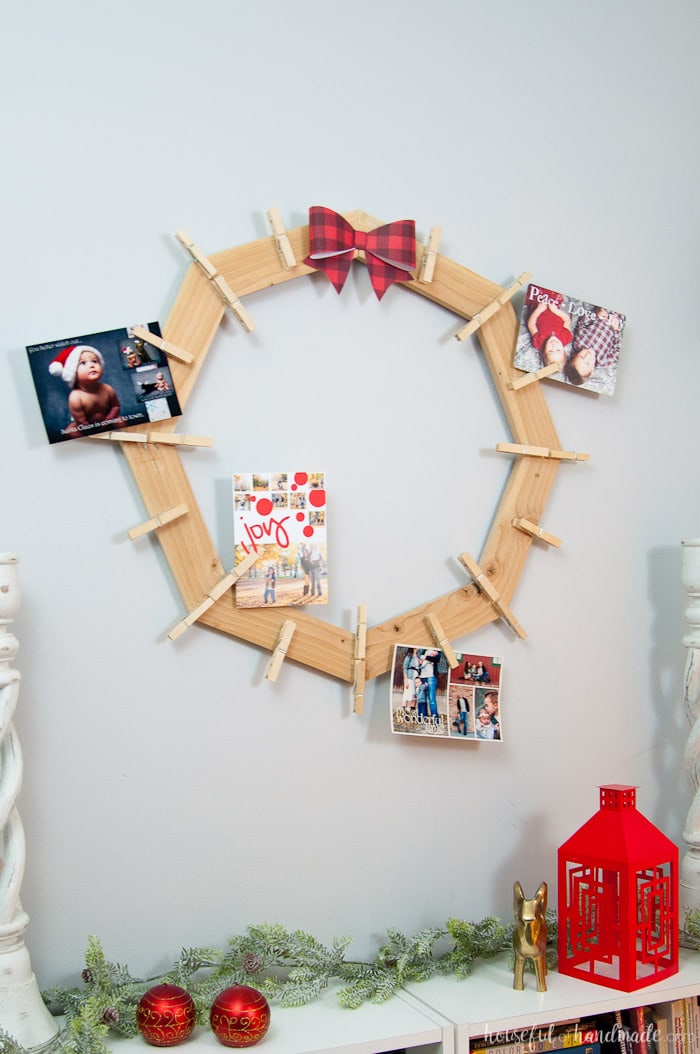
And the best part about this (fairly easy) wood project… it is made with 1 8′ 1×3 board and a pack of wood clothespins from the dollar store! Yep, this entire project cost less than $3 and only an hour of work.
So are you ready for this easy Christmas project?
How to Make a DIY Wood Christmas Card Wreath
Supplies:
- 1 8′ 1×3 board
- Kreg jig
- 1 1/4″ pocket hole screws
- Wood clothespins
- Hot glue gun & glue sticks
- Ribbon or paper bow
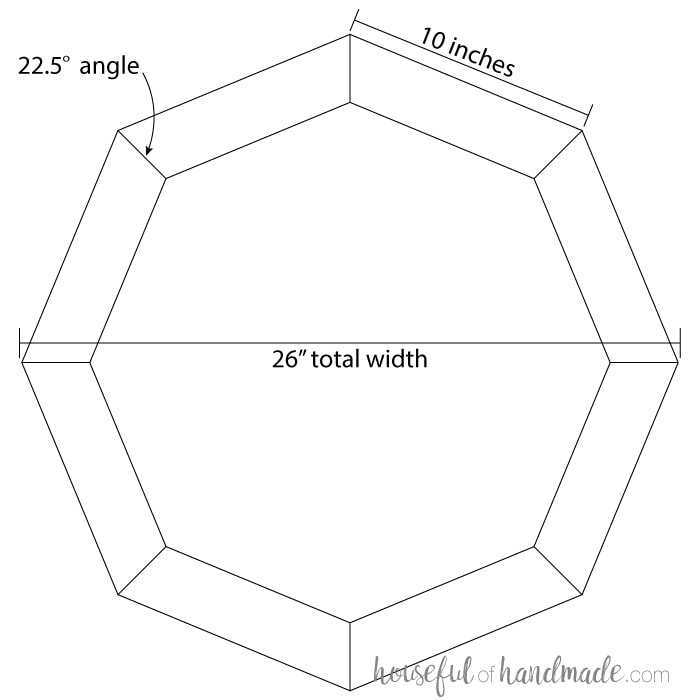
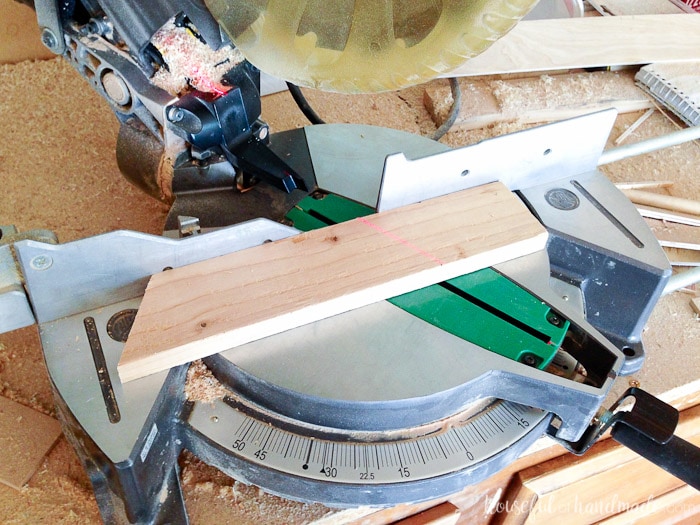
Cut 8 pieces of the 1×3 board to 10″ long with each end cut tapered in at a 22.5 degree angle.
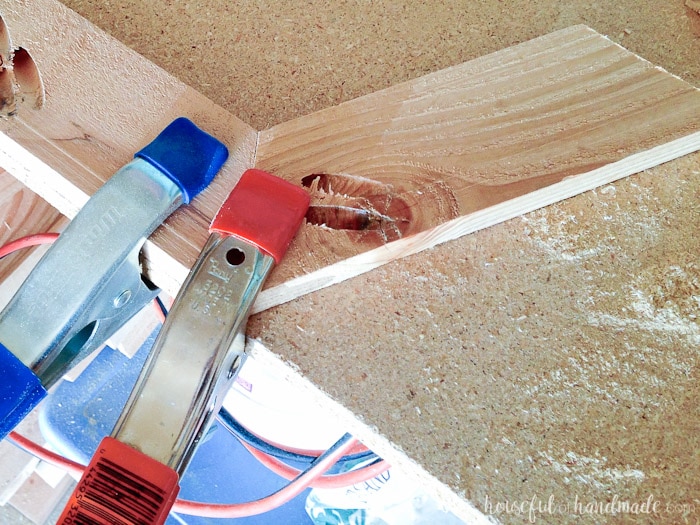
Drill 2 pocket holes in one end of each board. Clamp two boards together well and secure the boards using pocket hole screws. Continue securing the boards to each other until you have completed the circle.
If you do not have a Kreg pocket hole jig, you can also secure the boards together with glue and staples.
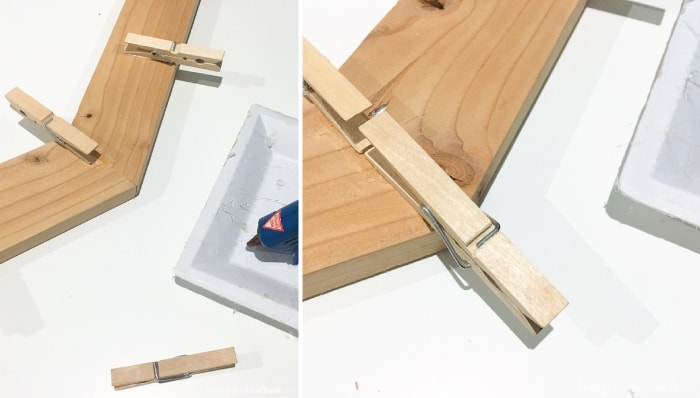
Once you have completed your wood wreath, glue the clothespins around the wreath with your hot glue gun. The outside of the wreath can hold a lot more cards. Add a clothespin with the clamp side on the outside at every seam (except the top one) and in the center of each board.
Add a clothespin with the clamp side on the inside at every seam (except the top one).
The clothespin over the seams also help hide less than awesome seams!
Once the hot glue is dry, it’s time to add a Christmas bow to the top. I really suck at tying bows so I made a paper one with a red buffalo check pattern.
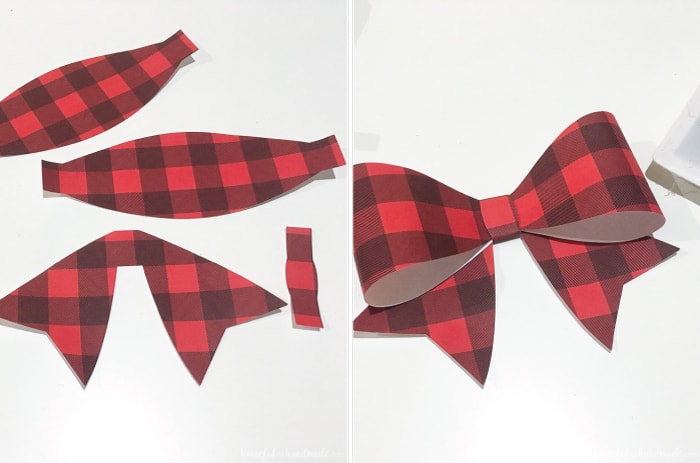
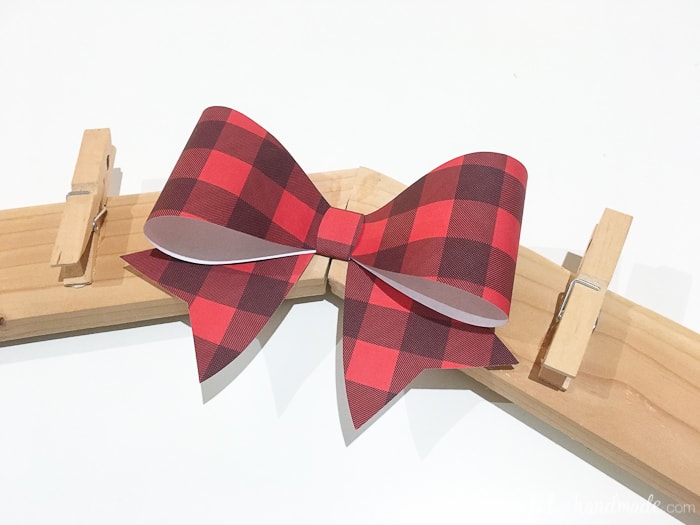
Glue your bow to the top of your DIY wood Christmas card wreath. Add a picture hanger to the back and you are ready to hang it.
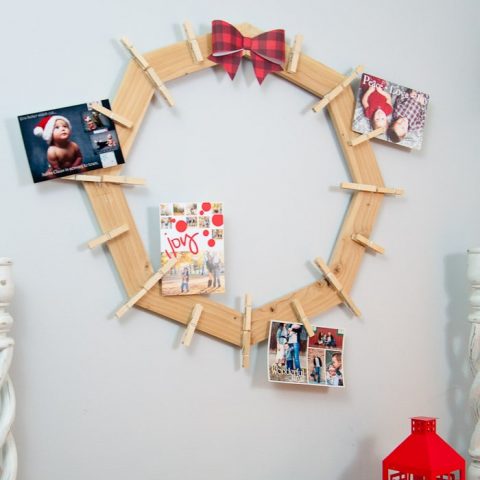
Now you can display all those cards as they start coming in. Since we don’t have a bunch of cards yet, I clipped old Christmas cards from our family these past years.
I love looking back on these fun cards, it gets me ready to design and order this year’s cards! And it was fun to reminisce over all the fun pictures of our family.
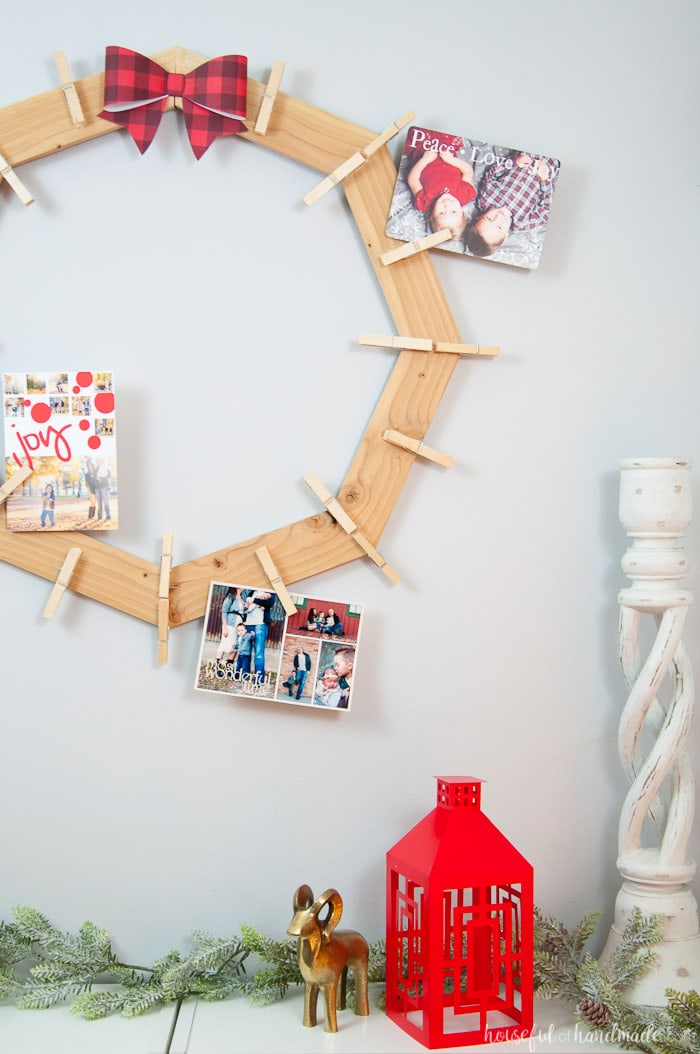
And now all the beautiful Christmas cards can become part of our Christmas decor. What better way to celebrate the holiday than with your family & friends smiling at you!
DIY Wood Christmas Card Wreath
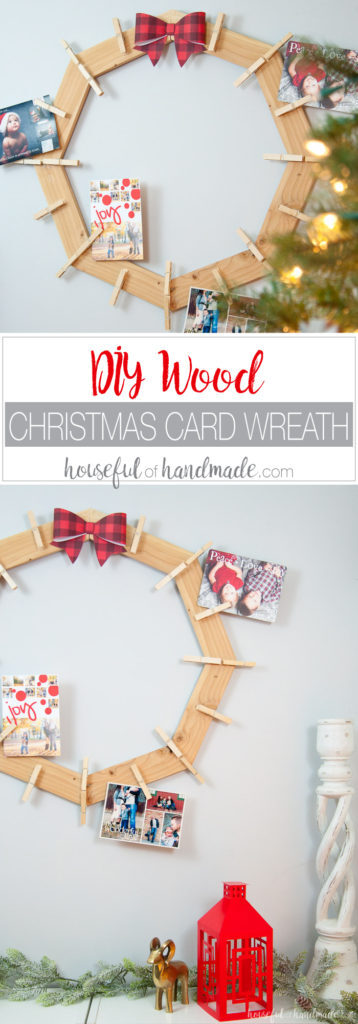
Display all the beautiful cards and photos you receive for Christmas with this easy to make DIY Christmas Card Wreath.
Materials
- 1 8′ 1×3 board
- 1 1/4″ pocket hole screws
- Wood clothespins
- Ribbon or paper bow
Tools
- Kreg jig
- Hot glue gun & glue sticks
Instructions
- Cut 8 pieces of the 1×3 board to 10″ long with each end cut tapered in at a 22.5 degree angle.
- Drill 2 pocket holes in one end of each board. Clamp two boards together well and secure the boards using pocket hole screws. Continue securing the boards to each other until you have completed the circle.
- Once you have completed your wood wreath, glue the clothespins around the wreath with your hot glue gun. The outside of the wreath can hold a lot more cards. Add a clothespin with the clamp side on the outside at every seam (except the top one) and in the center of each board.
- Once the hot glue is dry, it’s time to add a Christmas bow to the top. I made a paper one with a red buffalo check pattern.
- Glue your bow to the top of your DIY wood Christmas card wreath. Add a picture hanger to the back and you are ready to hang it.
- Now you can display all those cards as they start coming in. Since we don’t have a bunch of cards yet, I clipped old Christmas cards from our family these past years.
Have a great December!


Great idea! I have been looking for a way to display my cards too. I wish you could put it in a PDF. It is easier to print out to use.
Hello Susan! Thanks for the idea. I will look into printable PDFs of the build plans, it definitely makes it easier.
This is such a great idea! I’ve been thinking that I need a way to display the Christmas cards and pictures I get. Usually I set them up on a counter top, but that looks cluttered. Doing something like this adds to my holiday decor!
Thanks Jenna! I love that the cards become part of the decor. And it eliminates clutter, bonus!