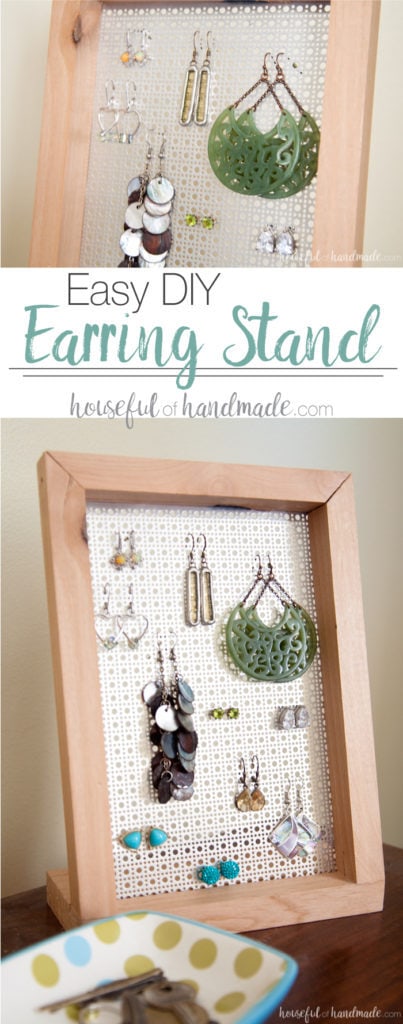
Build an easy DIY earring stand in an afternoon to organize all your earrings. The metal screen is perfect for storing stud earrings and dangling earrings.
Even though the temperatures have been close to or in the 100s, I have still been itching to make some easy woodworking projects. I love building more elaborate things like our coffee station and rustic railings, but I also love a project that I can finish in an hour.
I have been meaning to make an earring holder for a while now. Sadly, I have been storing my earrings in a small box in my dresser drawer. I made a beautiful wall hanging to hold my bracelets and necklaces, but I don’t wear earrings as much anymore since I got out of the habit 4 years ago when my daughter was a baby and would always grab them. But now I want a way to display the few earrings I still have so I can start wearing them again.
This post may contain affiliate links. As an Amazon Associate I earn from qualifying purchases. Click here to read my full disclosure policy.
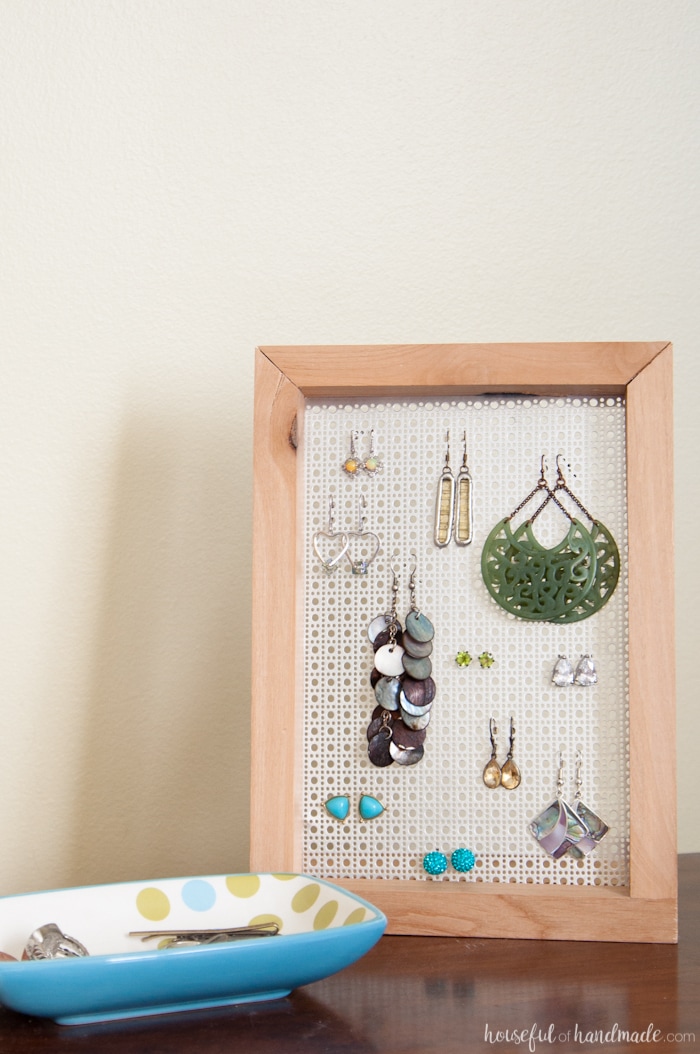
I went for a simple and easy to build DIY earring stand to display my earrings. I didn’t want something too big on my dresser (I really hate clutter and things to dust around). And this design is so simple, you can easily build it without power tools in case you don’t have them (or don’t like to use them). I loved it so much I build one for my daughter too!
This post contains some affiliate links for your convenience. Clicking these links will help support this blog so I can keep creating things to share with you, but you will never pay more by using an affiliate link. Click here to read my full disclosure policy.
How to Build an Easy DIY Earring Stand
Supplies:
- 30″ of a 1×1 board
- 7″ of a 1×4 board
- Decorative aluminium sheet
- Miter saw (or hand saw with miter box)
- Wood glue
- Nail gun
- Stain or paint
To get started, you need 30″ of a 1×1 board and 7″ of a 1×4 board. I used some left over knotty alder from my rustic railings I installed in our living room. I would recommend using a hard wood, and the knotty alder is a very budget friendly hard wood, but because you need such a small amount of wood, you could use a more expensive wood (like I did with my wood and steel serving tray) and it would still be pretty cheap.
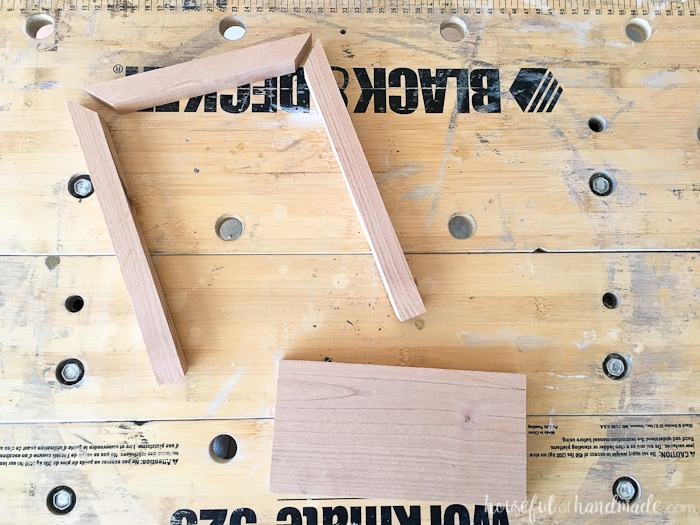
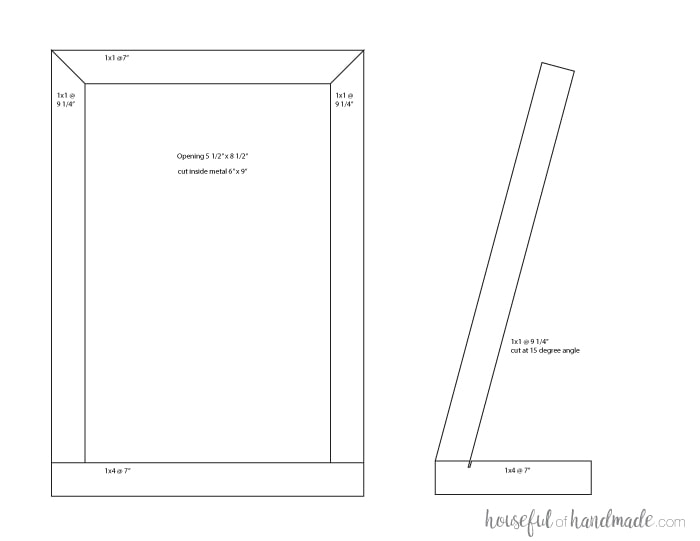
Cut your boards according to the picture below. Cut the 1×1 board so the 7″ piece is cut at both ends with a 45 degree angle and the 9 1/4″ boards are cut at a 45 degree angle just on the one end. The given measurements are for the longest parts of the boards. Then I cut the other side of the 9 1/4″ boards at a 15 degree angle, but instead of cutting on the same side as the 45 degree angle, cut it so the front of the board is still 9 1/4″ and the back is shorter because of the angle. This will ensure that the frame holding the aluminum sheets leans back a bit over the base and makes it more stable.
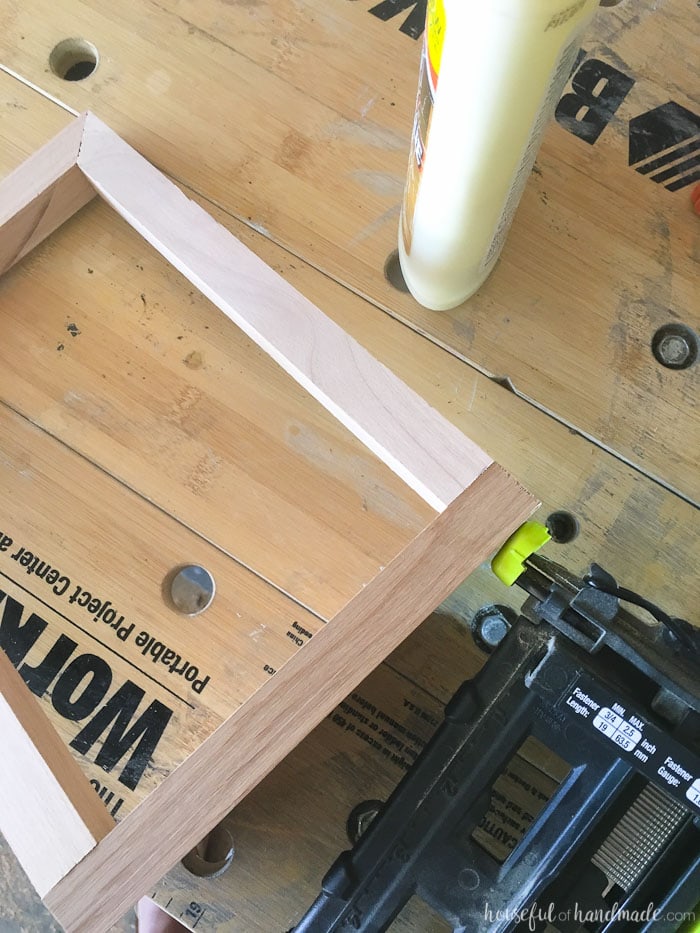
Now it’s time to secure the boards. I added a little wood glue to the 45 degree cuts.
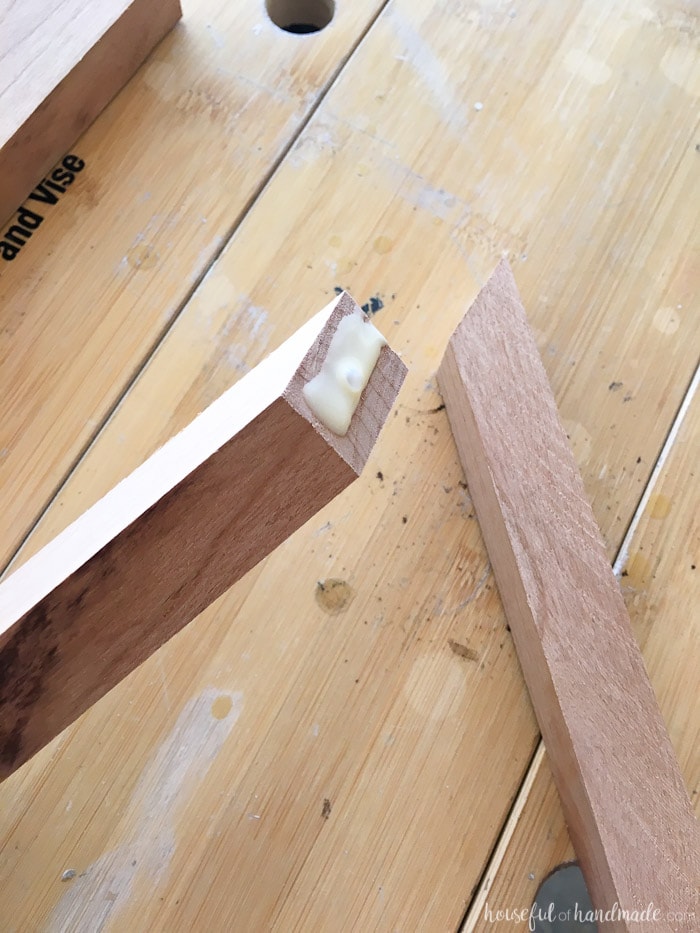
Then clamped them to my table to keep them steady (sadly I only have two hands, sometimes I really wish I had more, but instead I just use clamps). I put one 1 1/4″ nail into each side of the corner to secure it. Or you can put a corner bracket on the back and secure it with 1/2″ wood screws.
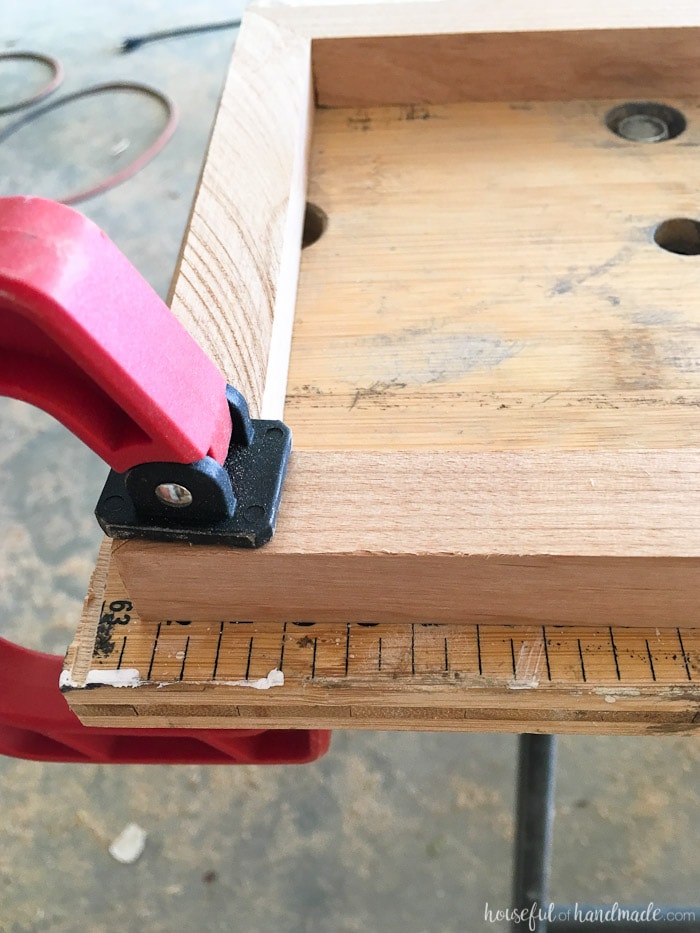
After I got the two top corners secured it was time to secure the frame to the base. I added a little wood glue and placed the frame on the base so the front was flush and the frame leaned back a little bit. The I used my nail gun again to put a nail into the bottom of the base up into the frame. Or instead of a nail gun, you could use a 1 1/4″ wood screw, but make sure to pre-drill it so you don’t split your wood.
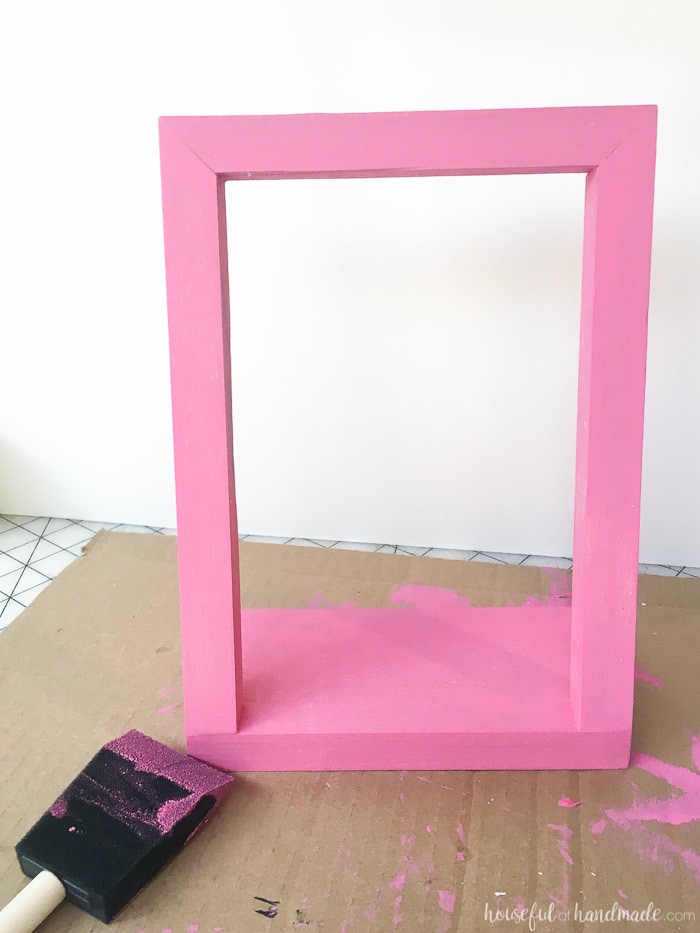
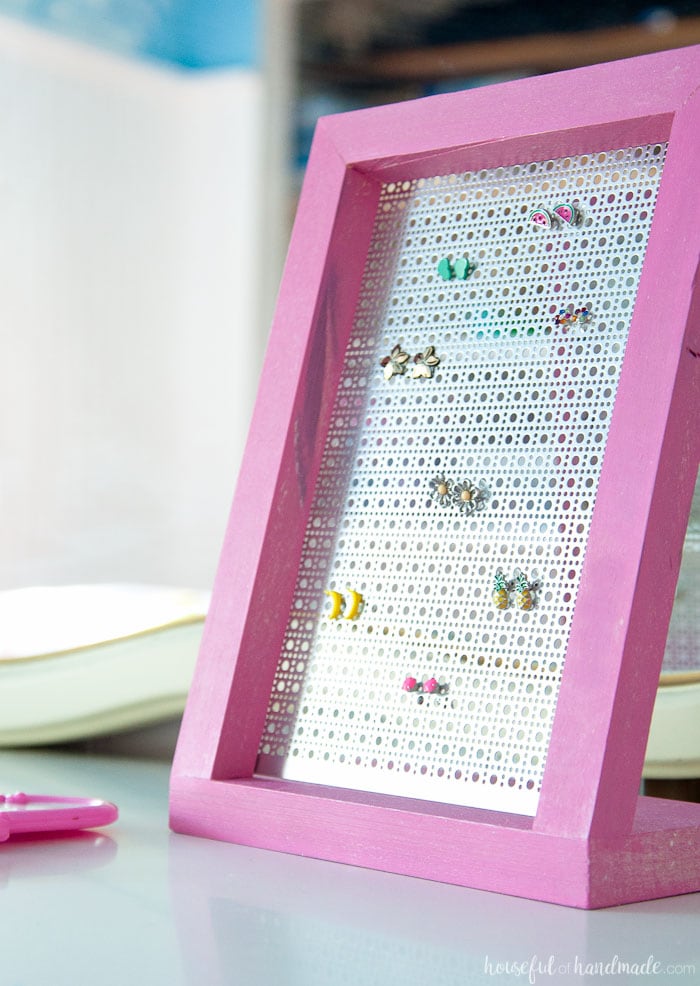
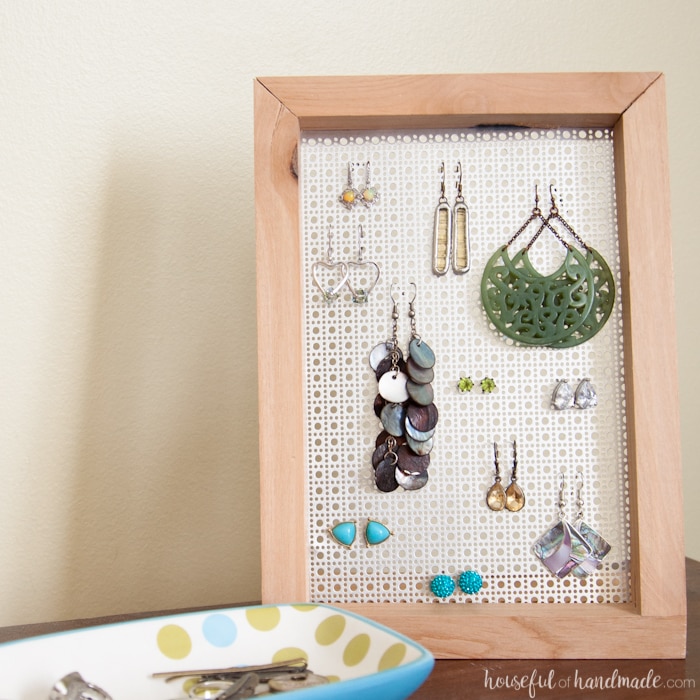
Now your frame is all done. Yeah! Time to give it a quick sanding and then decide on your finish. For my stand I left the wood raw and just used a wax to seal it. For my daughters, I used a little bit of craft paint and painted it bright pink. She is a huge fan of pink. If I ever want her to like something, just make sure it’s pink and she will love it!
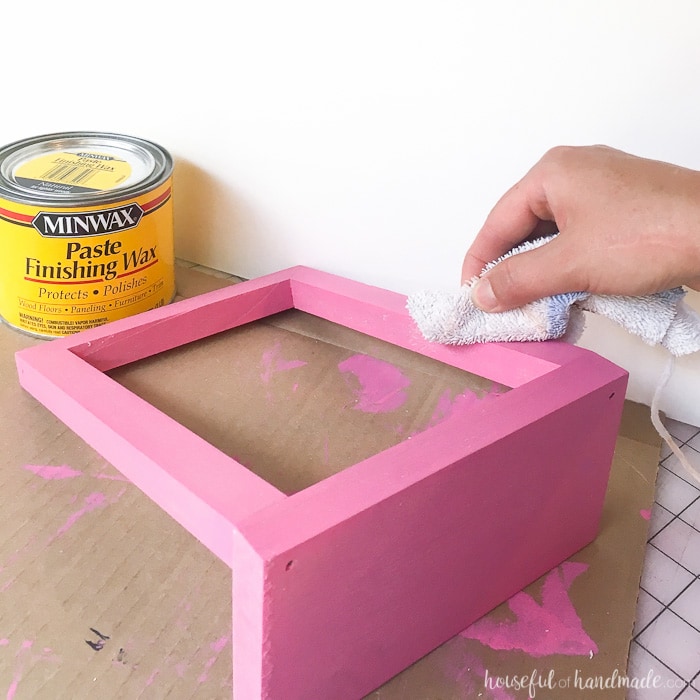
After the paint dried I put little bit of furniture wax on it to seal it good too. It has to withstand my rambunctious daughter so a good seal is a necessity.
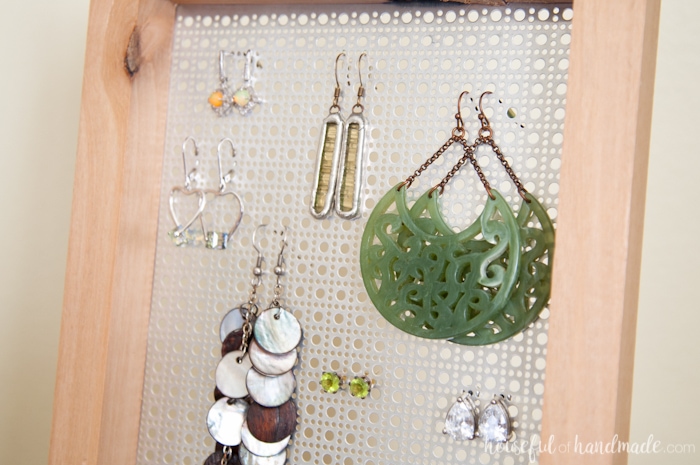
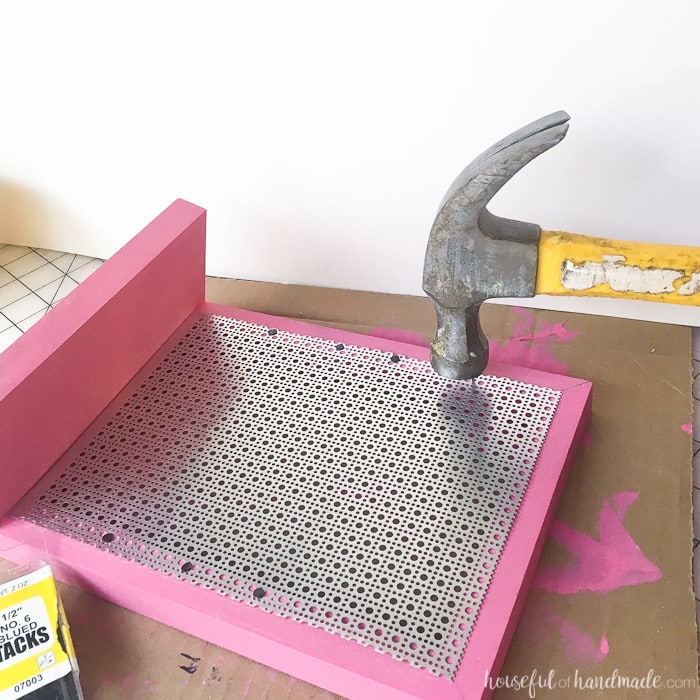
I cut the sheet of decorative aluminum to 8 1/2″ x 6 1/2″ so it was just a little bit bigger than the opening. I used a pair of tin snips to do this, but it was really easy to cut.
Then I secured the aluminum to the back of my DIY jewelry display. I used a handful of small nails and tacked them into the wood through a hole in the aluminum with a hammer. I went all around the outside until it was secured nicely and it was all done.
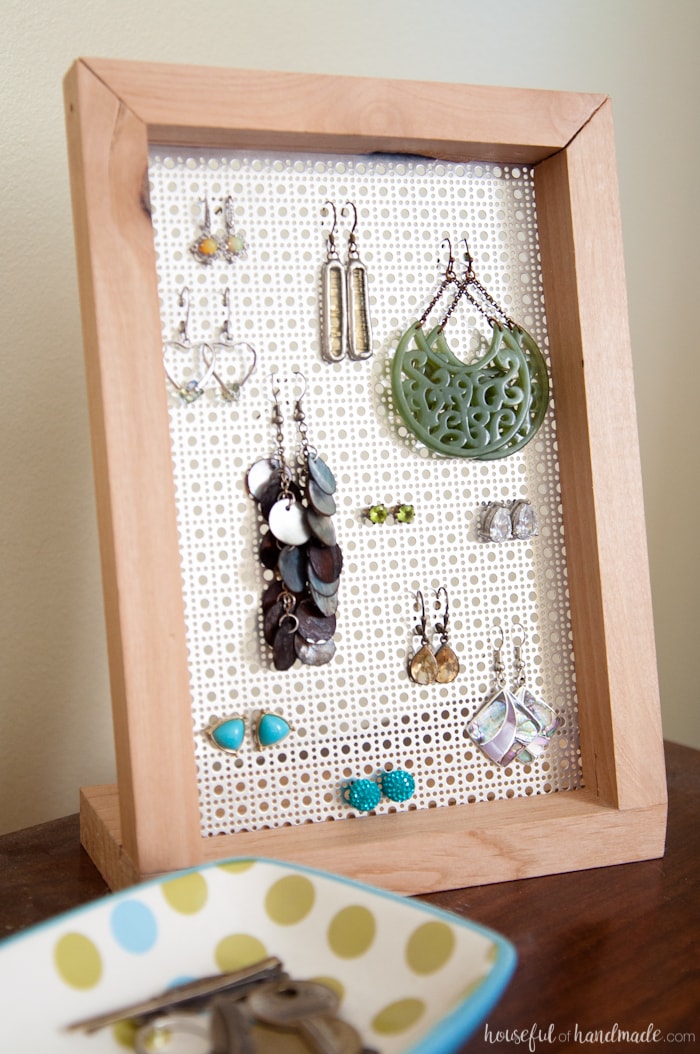
Now all we needed to do was load them up with earrings. I love that the little holes work beautifully for small stud earrings. You can easily add the back to the earring to keep it on the DIY jewelry display. But it also works for larger, dangly earrings because you can easily hang them from the holes too.
Now that we are all organized, maybe I’ll wear more earrings 😉
This post was originally shared at Oh My! Creative.
Hope you are staying cool this summer too!