It’s almost Halloween season and my scrap wood pile was overflowing. So I decided to use up some scraps to help decorate the yard.
And since I had a few left over solar lanterns laying around, why not use them to build a spooky lamppost?
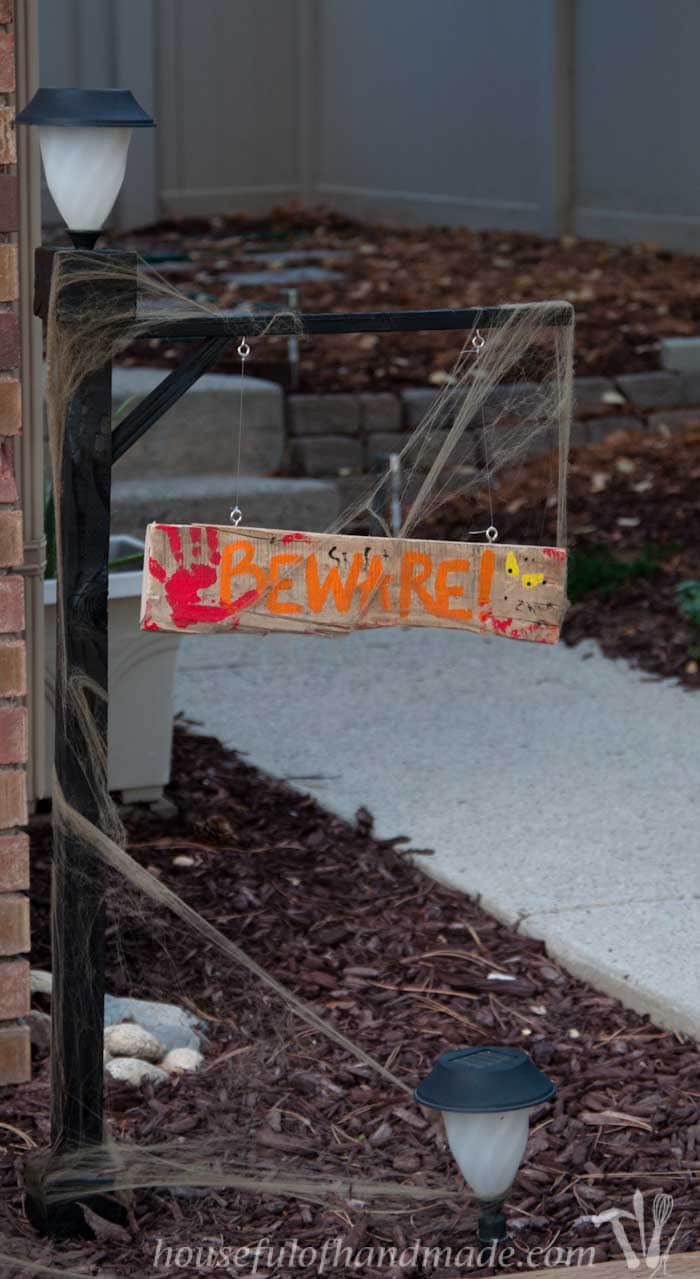
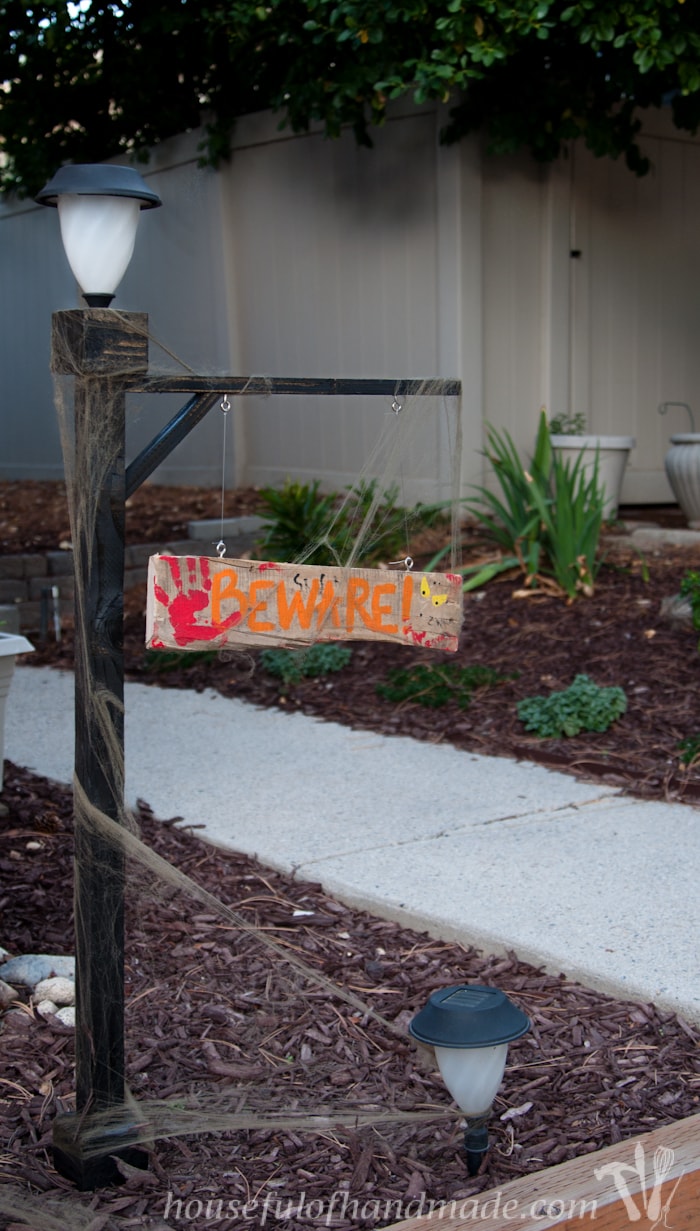
That is how this fun Halloween lamppost idea was born! The kids love our spooky beware sign and cannot wait to add more Halloween decor.
This post may contain affiliate links. As an Amazon Associate I earn from qualifying purchases. Click here to read my full disclosure policy.
You can create any type of sign to hang from your own Halloween lamppost.
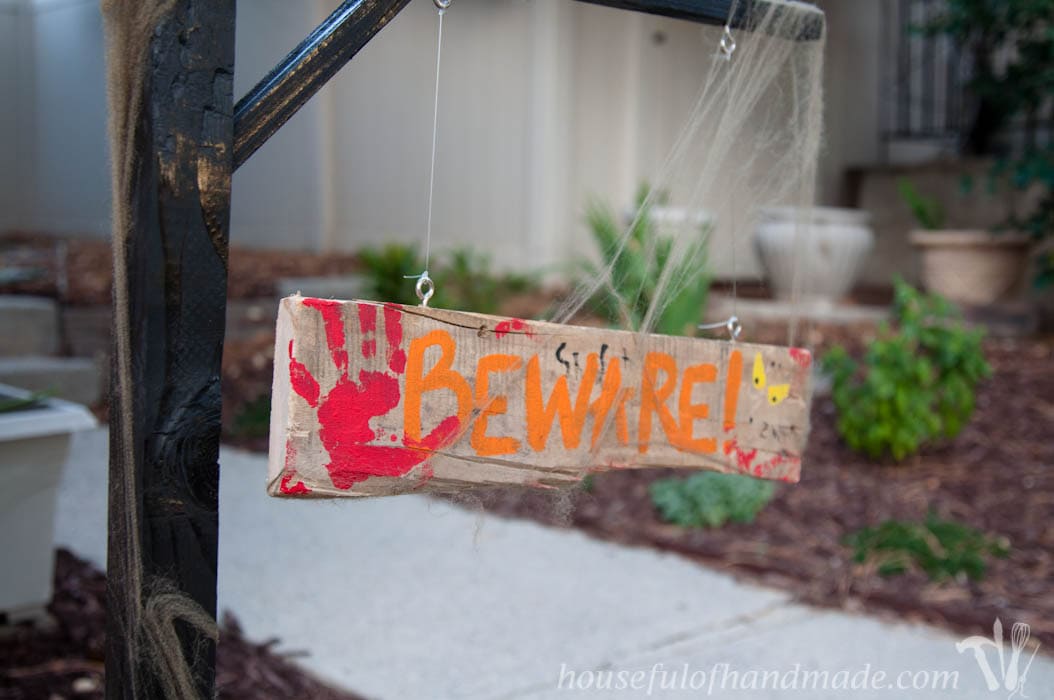
My kids helped me with our “Beware” sign and even let me use their little hand to create our “bloody handprint”.
Then I added some spooky eyes and made it look old and worn.
If you don’t have lots of scraps or a solar lantern lying around, don’t worry.
You can still make this easy DIY lamppost for cheap!
The building supplies will cost around $6-7 and you can find cheap solar lights for $1-3. All in, this is the perfect outdoor Halloween decor for only $10.
How to Make a Halloween Solar Lamppost
Tools & Materials
Recommended Tools:
- Miter saw
- I recently upgraded to this sliding miter saw (watch for it to go on sale), but previously used this inexpensive miter saw that I love.
- Table saw or Trim router
- Pocket hole jig
- Drill
- Impact driver (optional, but I love not having to switch bits with the drill)
- Finish nailer
- Hammer
Supplies:
- Wood products
- (1) 1×2 board, 6′ long
- (1) 1×3 board, 3′ long
- (1) 1×1 board, 2′ long
- 18″ of scrap wood for sign (I used a beat up piece from an old pallet)
- 4′ piece of 3/8″rebar
- 1 1/4″ pocket hole screw
- 1 1/4″ finishing nails
- Outdoor wood glue
- Black spray paint
- Acrylic paint for sign
- (4) eye hooks
- Fishing string
STEP 1- Build the post
Cut the 1×2 into (2) 36″ pieces with your miter saw.
Then use the table saw to create notches down the center of the boards (you could use a router too if you have that).
I set my table saw blade at 1/4″ tall then set the guide 1″ away from the blade. I ran the board through twice so I had two grooves on the board that were 1/2″ away from each edge.
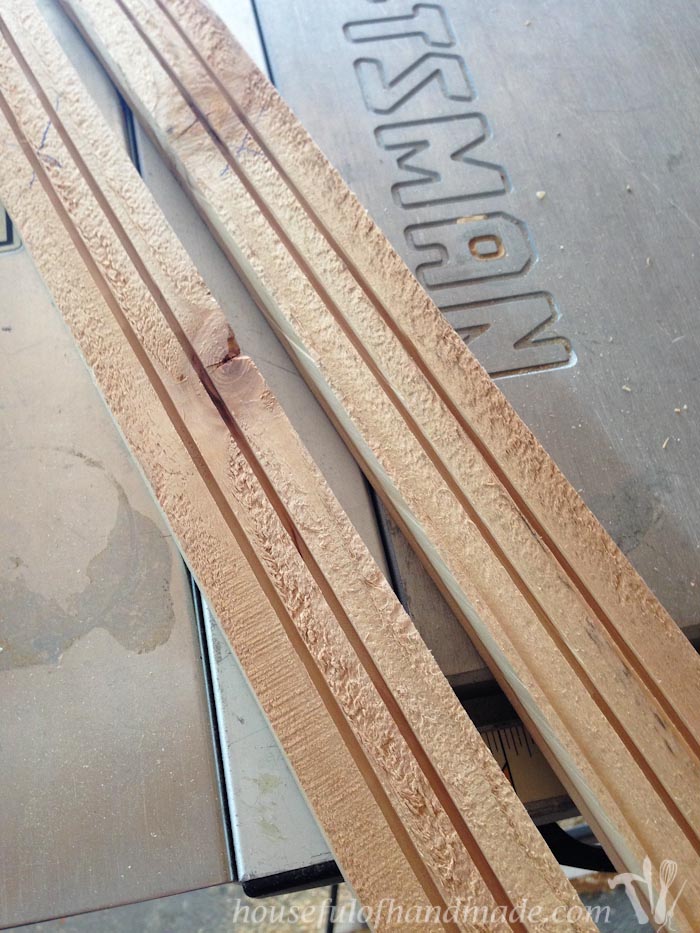
Then I set the table saw guide so it was 7/8″ away from the blade and ran the board through twice again.
Now I had two larger notches on each side of the board and the center was getting smaller.
I did this two more times, moving the guide 1/8″ closer to the blade each time until the grooves connected.
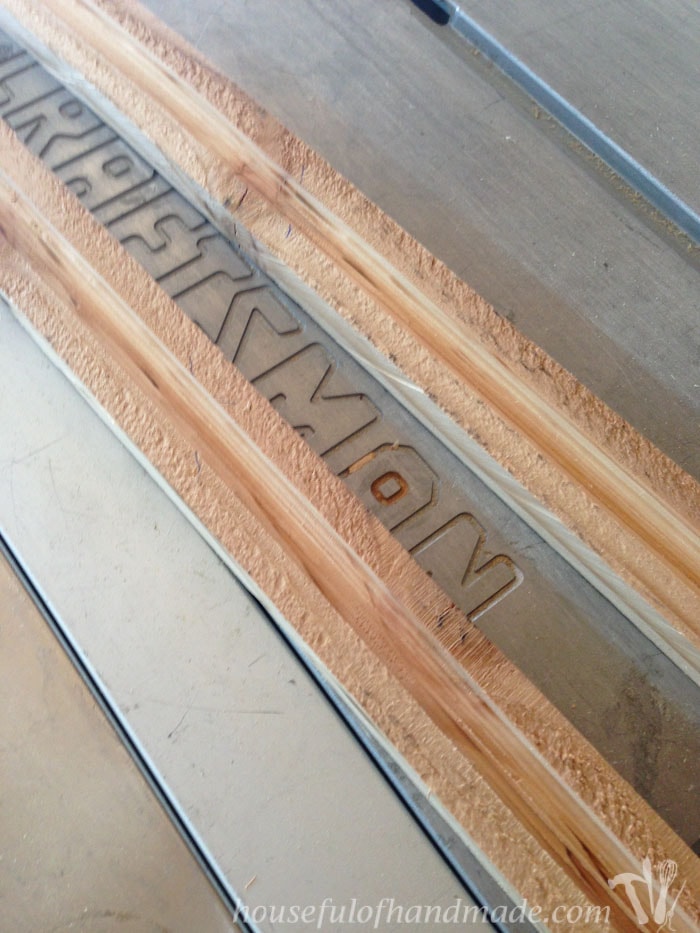
Now I had a 1/2″ wide groove that was 1/4″ deep centered on my boards.
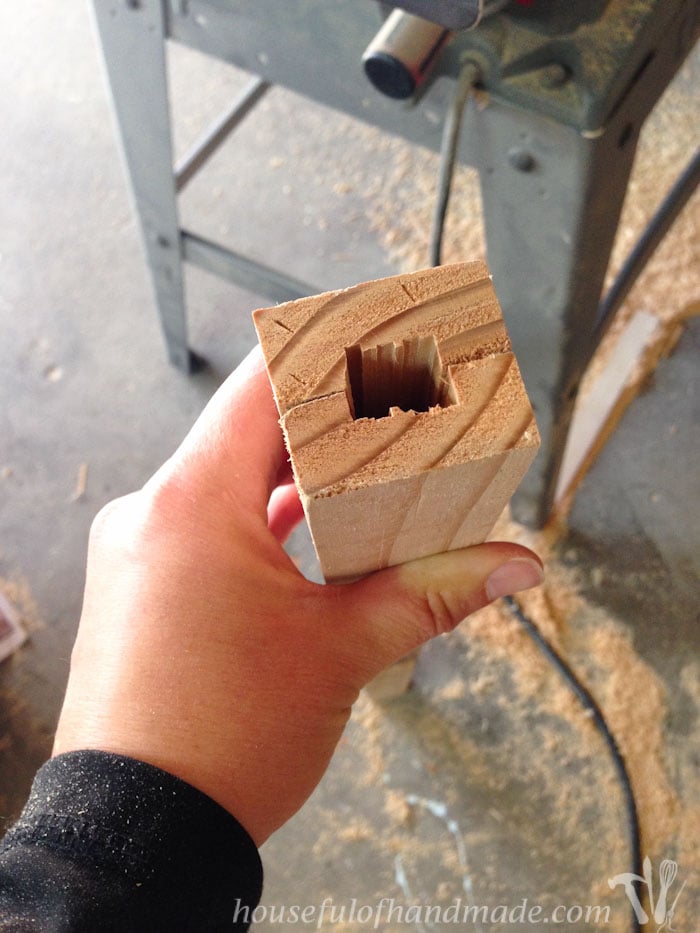
Glue the two boards together so the notches are in the center creating a channel through the entire board.
Use wood glue and clamps to hold them together until dry.
I further secured it with some finishing nails then let it dry overnight (cause I had somewhere to be).

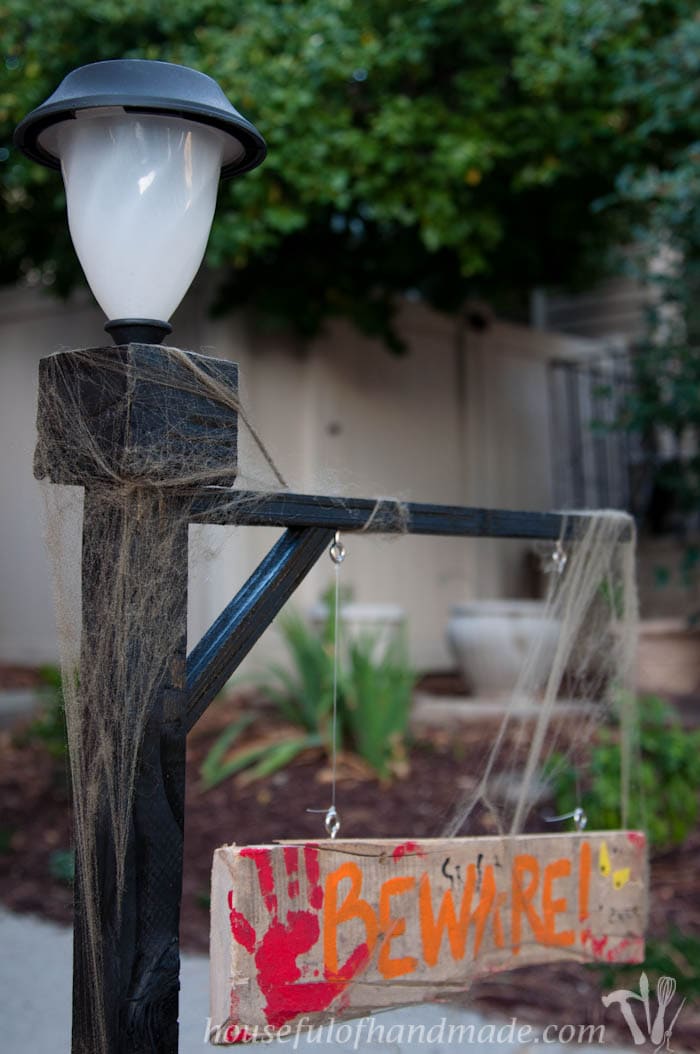
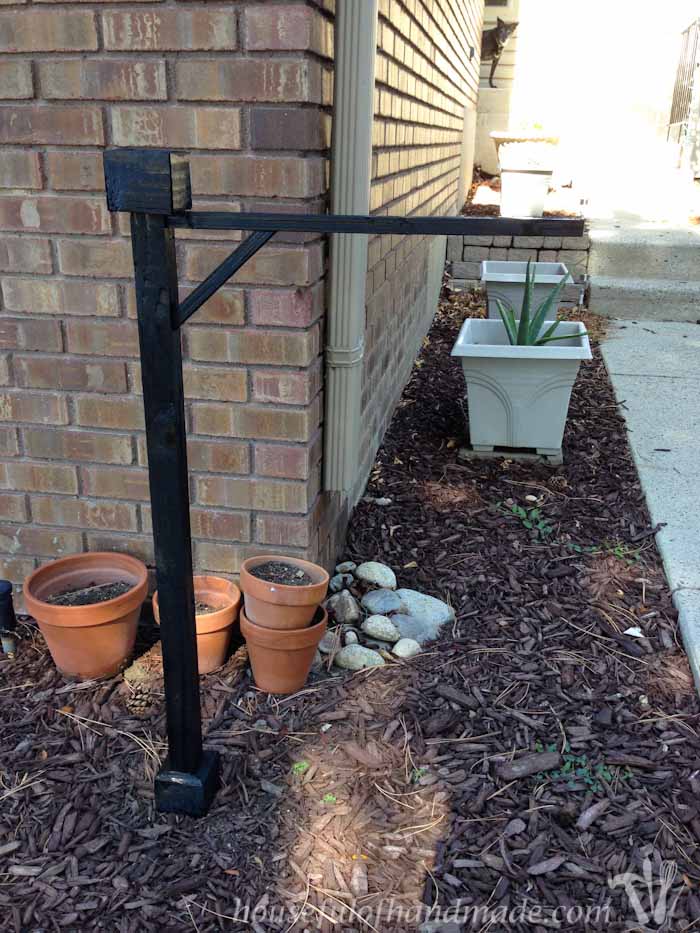
STEP 2- Finish lamppost
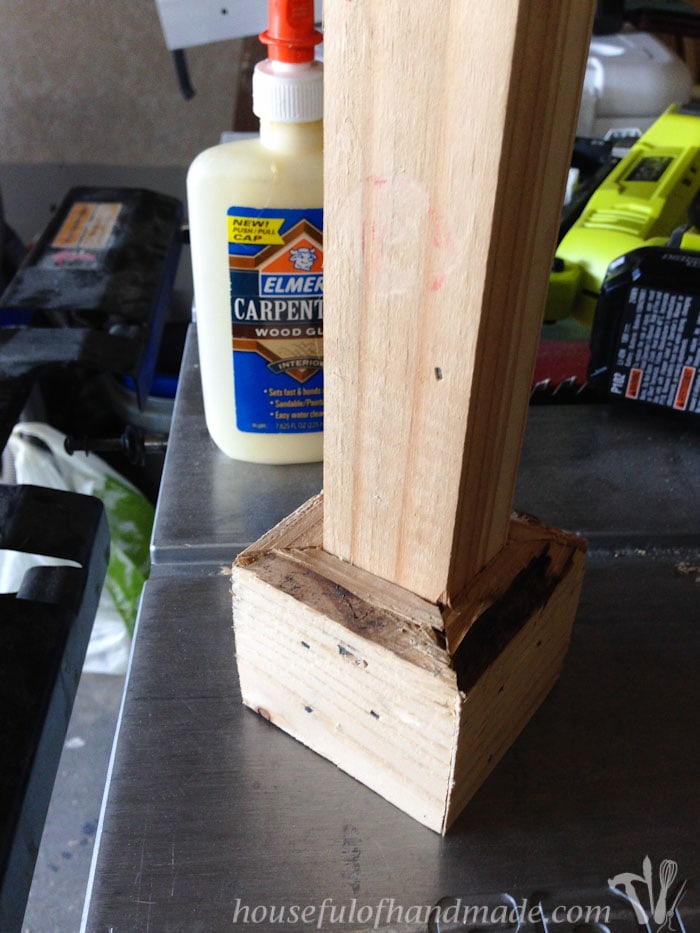
Trim out the top and bottom of the assembled post with the 1×3 board.
You can miter it or go the cheater way. I chose to miter it but my angles sucked a little bit. Oh well, it’s suppose to be an old spooky lamppost so bad corners and beat up boards are perfect.
I specifically chose some of the most beat up boards for this project and didn’t sand it so it would look older and more beat up.
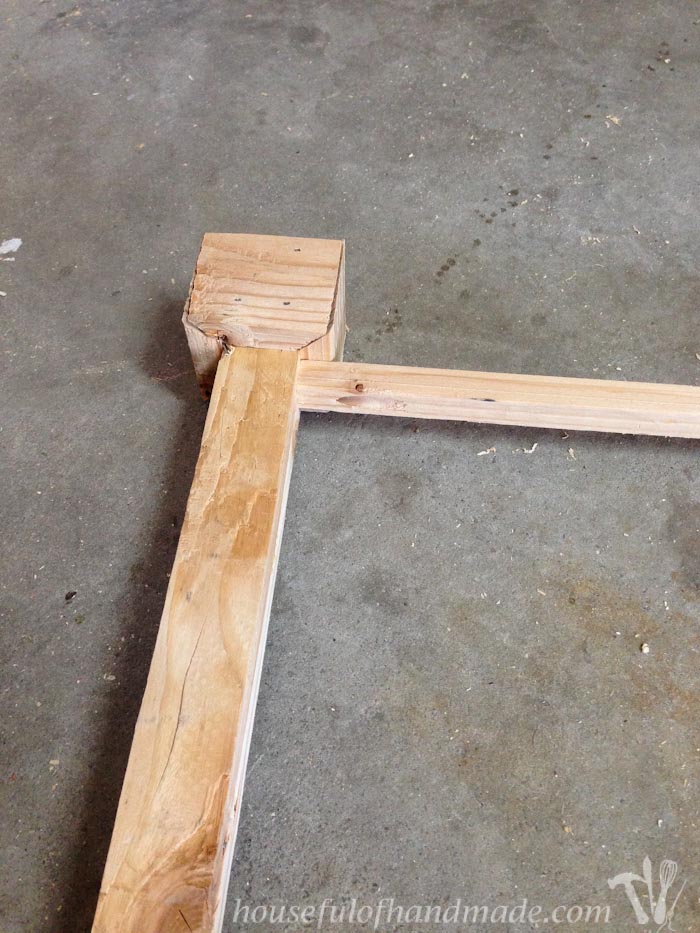
To hold the sign, cut an 18″ section of the 1×1 board.
With the pocket hole jig set to 3/4″ thick material, drill a hole in one end.
Then I used a 1 1/4″ pocket hole screw to secure it to the post just below the trim on the top.
Cut a 5″ piece of 1×1 cut at 45 degree angles on both ends to secure under this to give this sign holder more support.
I secured this with some finishing nails and I don’t have a pictures of this because it was too blurry, oops!
STEP 3- Paint & install
Sand if you want, but this is suppose to be an old sign so I left it rough.
I gave it a decent coat of paint, I wasn’t too picky cause I had to go pick up my kid from school.
And while the paint dries, you can hammer your rebar into the ground. You want it into the ground at least 15 inches, so you will have just shy of 3′ sticking out.
When the paint is dry, slide your post onto the rebar.
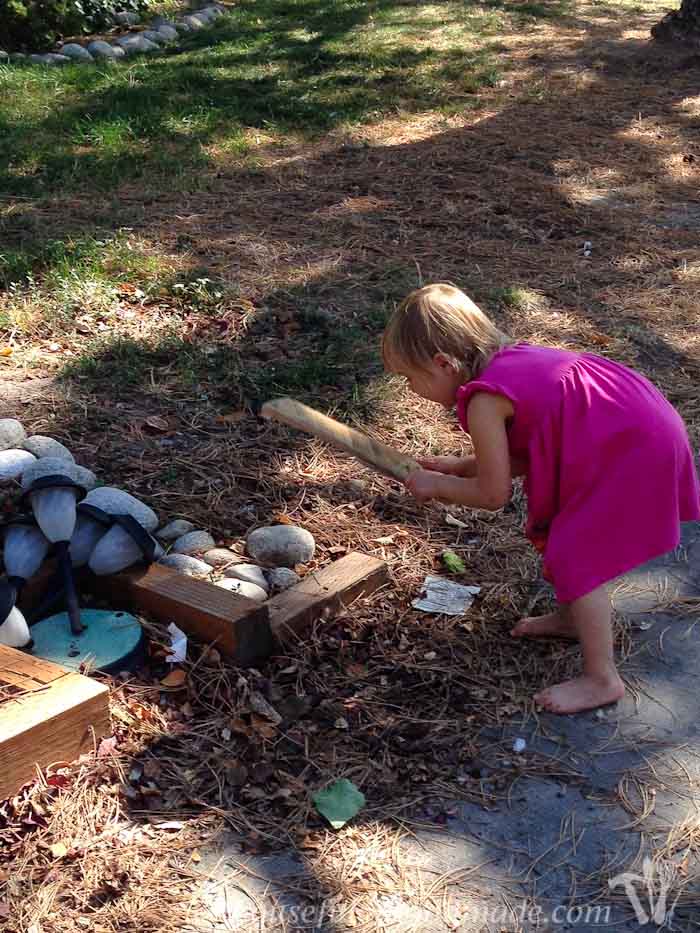
To make the sign, I used a scrap of wood that I pulled off an old pallet. It was broken on one end.
When I cut it down to size, the newly cut edge looked too perfect, so I started banging it around to beat it up.
Then I handed it off to my daughter. She did an excellent job of beating up the board!
We chose to write “BEWARE” with a “bloody” handprint. I used my youngest’s hand and she thought that was the coolest thing ever.
Then when my son got home from school, he felt left out so he added his own touch with some scribbled letters. Our sign is adorably spooky now!
Attach the sign to the lamppost with a couple eye hooks on the sign arm and on the sign.
Then hang it up with some fishing wire. We made it a little crooked and added some cobwebs. Spooky perfection!

Slide the solar lights into the center channel of the lamppost.
I had to press it inside the channel snuggly and it stayed.
And you did it!
Now you have a super spooky Halloween lamppost to greet our guests as they walk up our front path.
I ran outside just before it got dark and was able to get a picture of the lamppost with the light on!
I couldn’t be happier 🙂

Happy building!
