Since we moved last summer, our mattress has been just laying on the floor. No frame, no rails, no box springs. None of that made the move.
And since I am no longer in my 20s (or gulp, 30s), getting off the floor every morning can get rough. So I partnered with Kreg Tools to build a beautiful new bed frame with their amazing pocket hole jig!
One of the most used tools in my shop is my Kreg pocket hole jig. And it’s no surprise why because it makes big projects like this queen bed frame build so easy!
This post may contain affiliate links. As an Amazon Associate I earn from qualifying purchases. Click here to read my full disclosure policy.
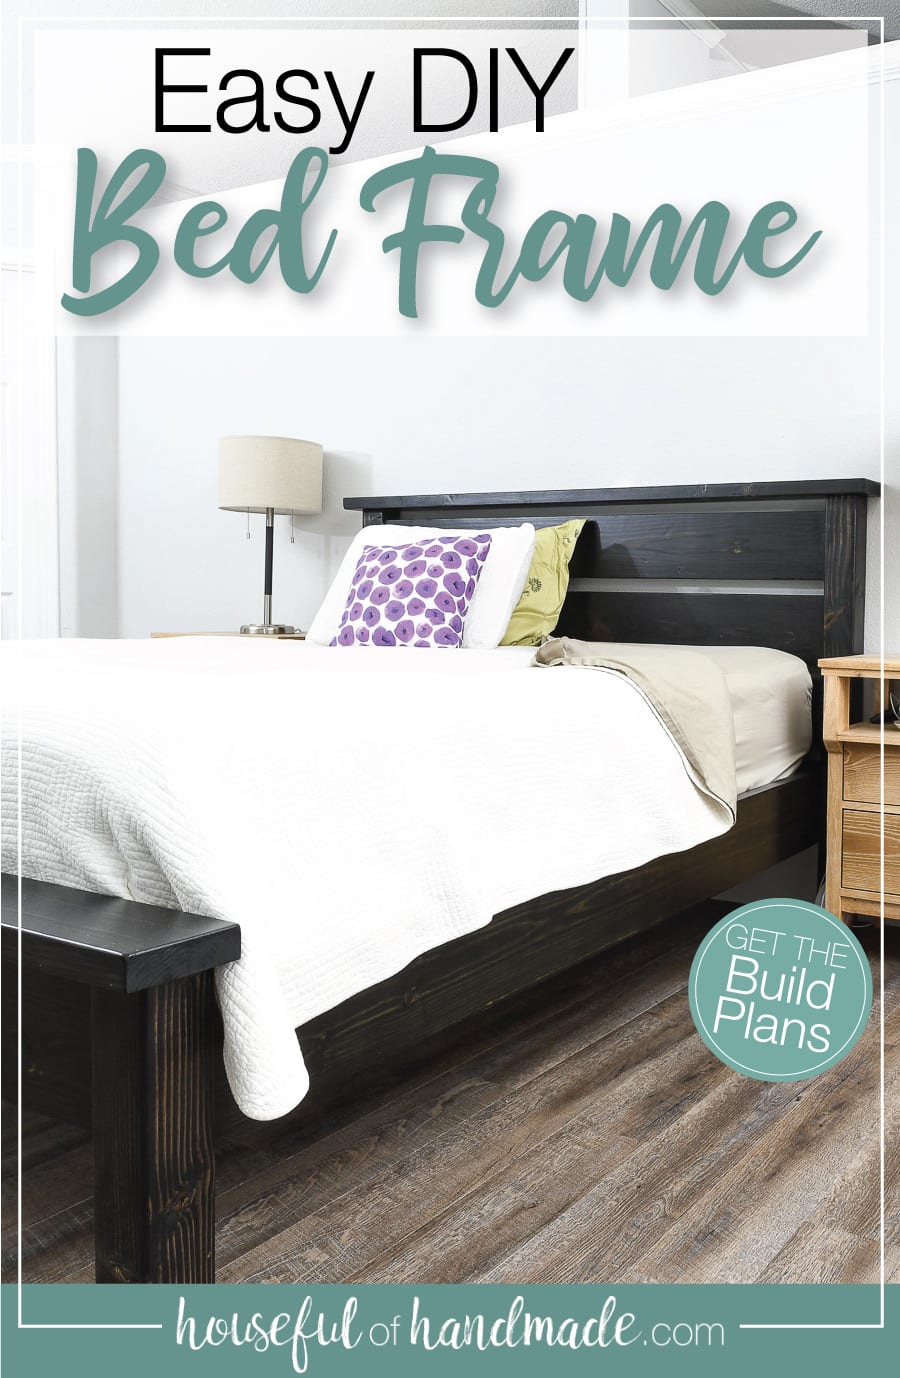
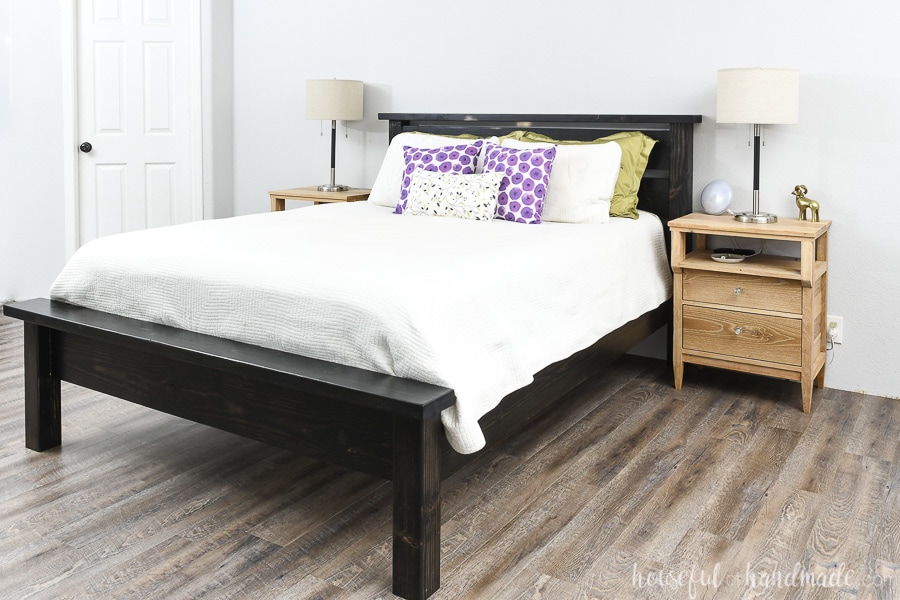
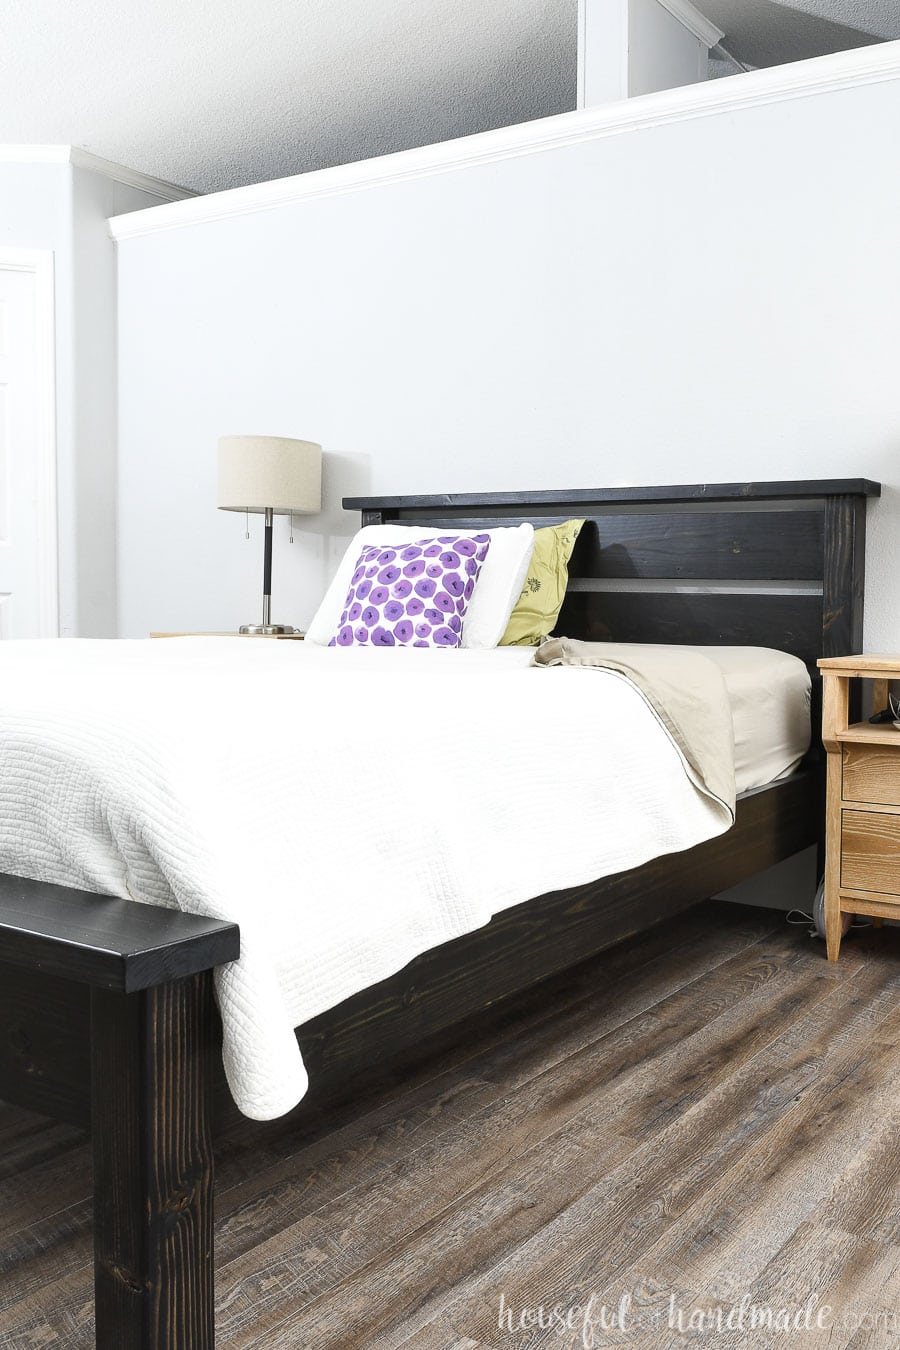
Easy Bed Frame with Headboard & Footboard
You might think big projects are harder. But just cause they are big, doesn’t mean they can’t be easy!
The hardest part of this queen bed frame build was waiting for a second set of hands when I needed help to lift the heavy pieces.
I built our bed in a queen size, but I am sharing plans to build this easy bed frame with a headboard and footboard in all the sizes (twin, full, queen, king, and California king). See details below.
The bed is made up of 5 easy to assemble pieces:
- Headboard
- Footboard
- Right rails
- Left rails
- Center support
The pieces are each assembled separately, then held together with bed rail brackets. There are many different types of bed rail brackets, I chose to use these simple surface mount brackets.
You can use the bed rail brackets for the center support as well, but I used an even cheaper option: 2×4 joist hangers. And they are completely hidden inside the bed frame.
The headboard and footboard are super quick to assemble. No fancy joinery is needed, pocket holes are all you need for strong joints.
Platform Style Bed
Our new mattress is the kind that works best on a platform bed frame, not a traditional bed with a box spring. But I wanted a classic looking bed frame with lots of space below for storage.
In order to make the bed frame look traditional, but hold a modern mattress, I made the rails out of 2×8 boards. Then I set the 2x2s that hold the mattress close to the top.
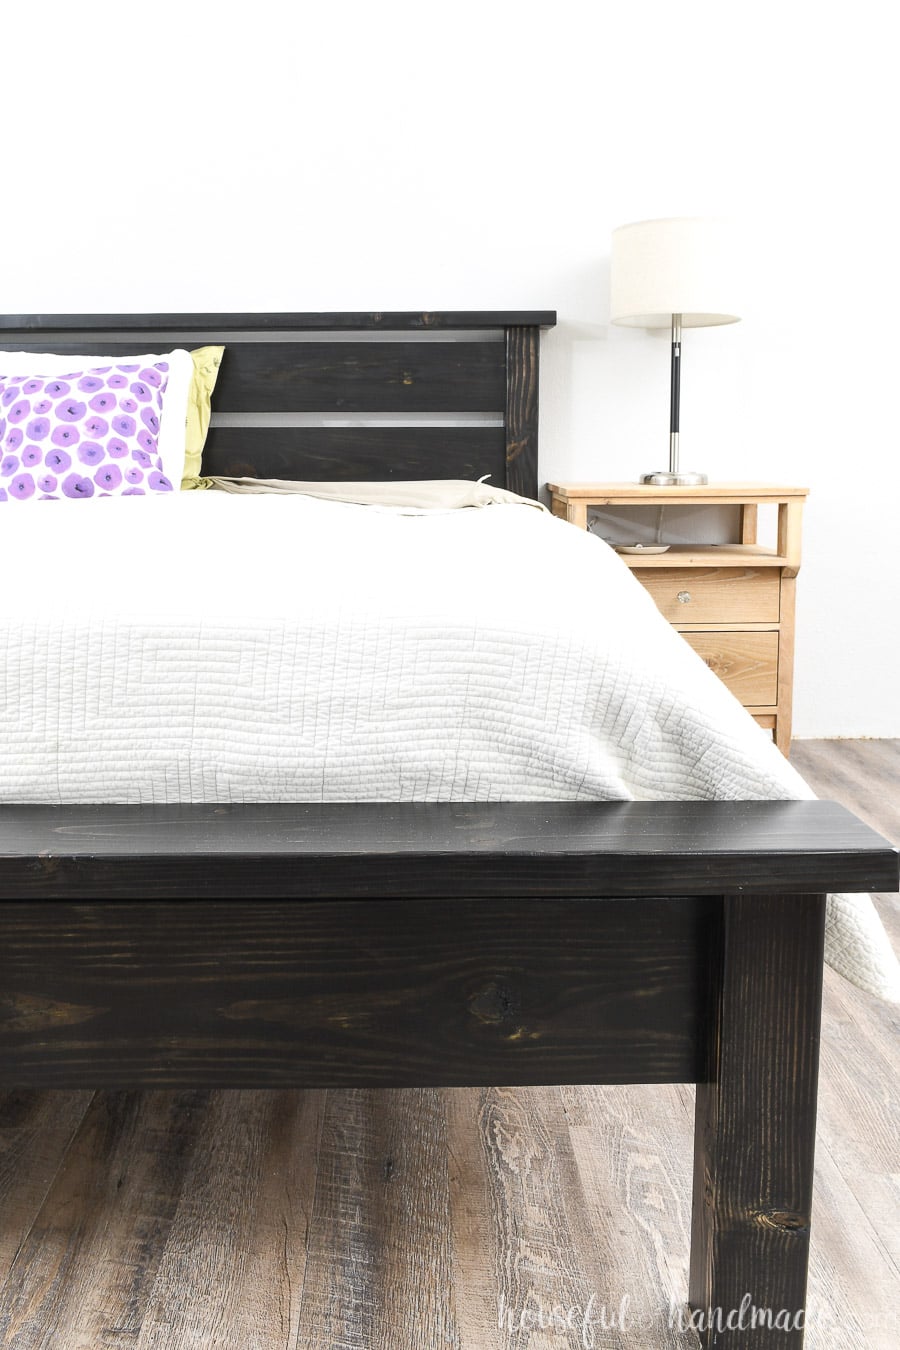
This gives the appearance of a traditional frame with a box spring. But instead there is just lots of empty space below the mattress.
If you have a traditional mattress with a box springs, you can still make this super simple DIY bed frame. Just lower the 2×2 close to the bottom of the 2×8 rails.
Now you can fit the box springs inside your new bed frame and top it off with your mattress!
Also, the build plans for this bed can work with either bed slats or plywood. We chose plywood since that is what is recommended for our mattress, but you can easily DIY or buy bed slats if that is what you need.
How to Build a Bed
Tools & Materials
Recommended Tools:
- Kreg pocket hole jig
- Miter saw or circular saw
- I recently upgraded to this larger sliding miter saw (watch for it to go on sale), but all my projects before were built with this inexpensive miter saw that I loved.
- Drill
- Impact driver
- Finish nailer
- Sander
- Optional: Palm router
Supplies:
- Premium PDF build plans
- Wood products (varies by size):
- 4×4 boards
- 2×8 boards
- 2×6 boards
- 2×2 boards
- 2×4 boards
- 2 1/2″ Kreg pocket hole screws
- 2 1/2″ 16 gauge nails
- Wood glue
- Set of bed rail brackets
- (2) 2×4 joist hangers
- 1 1/4″ wood screws
- Sand paper
- Paint or stain & sealer
- I used True Black stain from Minwax and 3 coats of Clear Satin polyurethane sealer on my bed.
- Bed slats or 3/4″ plywood to set mattress on
Cut List
Specific measurements for each size (including number of boards needed) can be found in the detailed PDF build plans for the easy DIY bed in the following sizes:
- Twin- 38 1/2″ x 75 1/2″ bed frame for a 38″ x 75″ mattress
- Full- 54 1/2″ x 75 1/2″ bed frame for a 54″ x 75″ mattress
- Queen- 60 1/2″ x 80 1/2″ bed frame for a 60″ x 80″ mattress
- King- 76 1/2″ x 80 1/2″ bed frame for a 76″ x 80″ mattress or two 38″ x 80″ mattresses (twin XL)
- California King – 72 1/2″ x 84 1/2″ bed frame for a 72″ x 84″ mattress

Prefer to Watch? Check out the Video Below
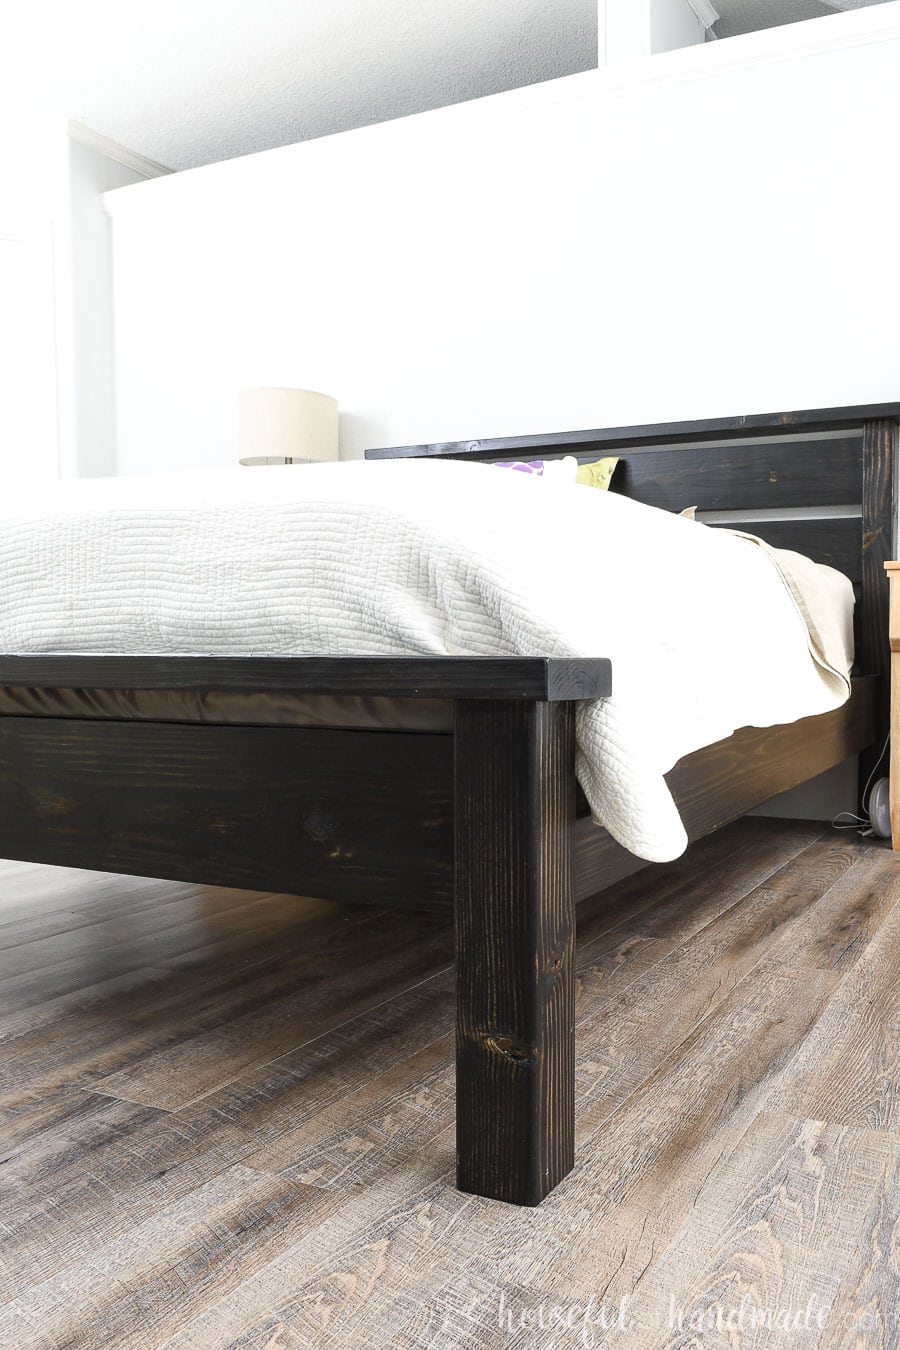
STEP 1- Build the Footboard
Cut the footboard legs and slats according to the build plans.
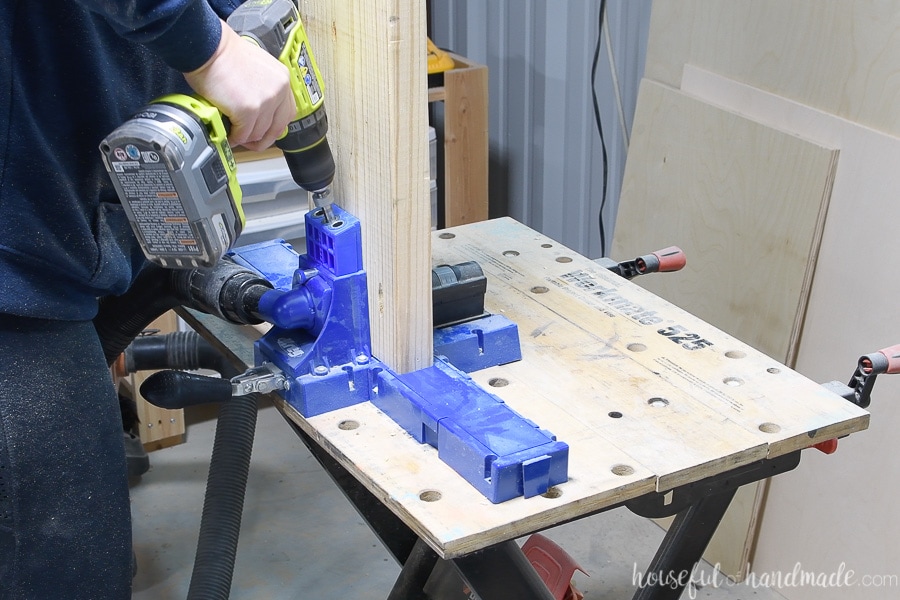
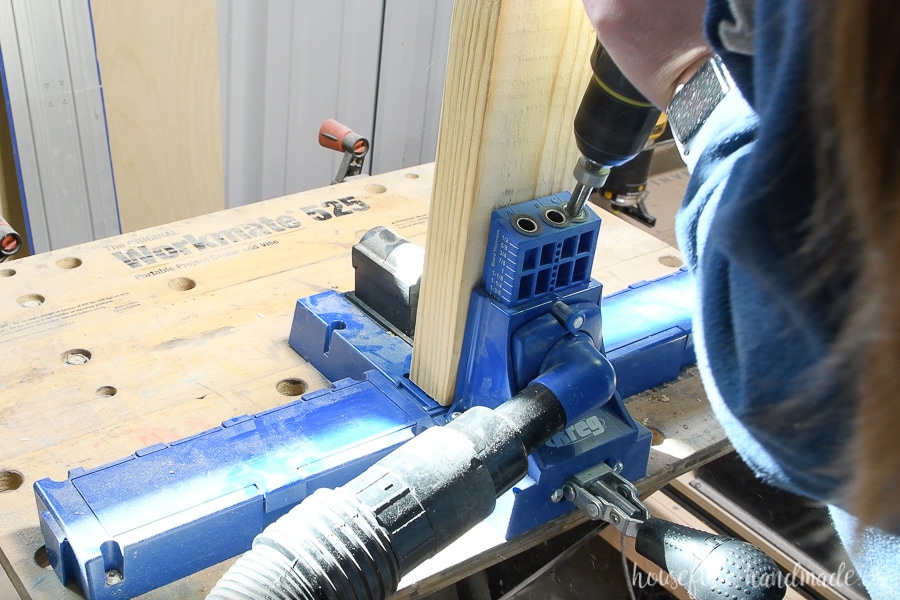
Set your pocket hole jig to drill holes for 1 1/2″ thick material and then drill 3 pocket holes on each end of the back of the 2×8 board.
Assemble the footboard by attaching the 2×8 between the 4×4 leg pieces.
The top of the 2×8 board should be 1 1/2″ below the top of the legs and the back should be flush with the back of the legs.
Secure with wood glue and 2 1/2″ pocket hole screws.
Last, attach the 2×6 board to the top of the legs so the back is flush with the back of the legs and there is a 1 1/2″ overhang on either side. Secure with lots of wood glue and 2 1/2″ nails.
You can fill the pocket holes on the footboard if you want, but they will be well hidden by your mattress once assembled.
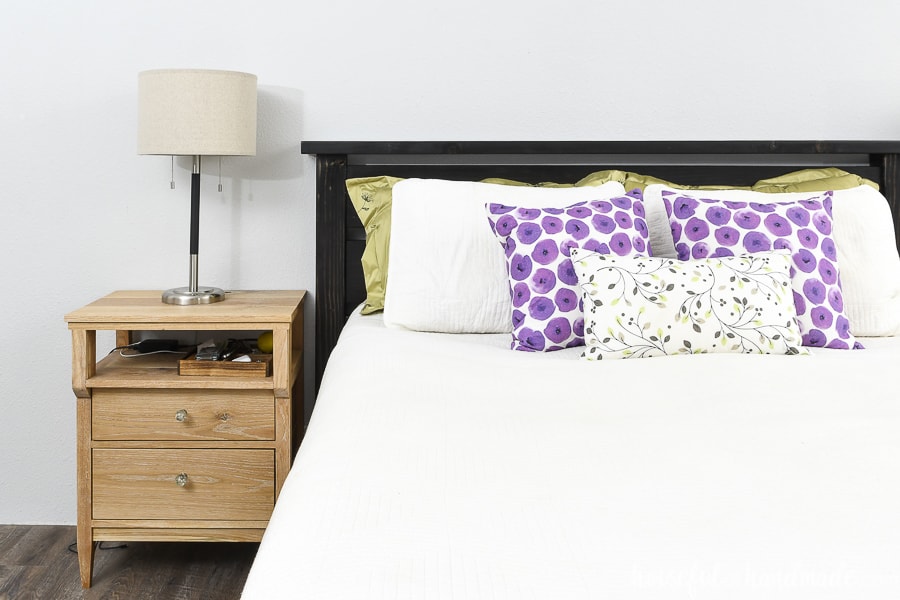
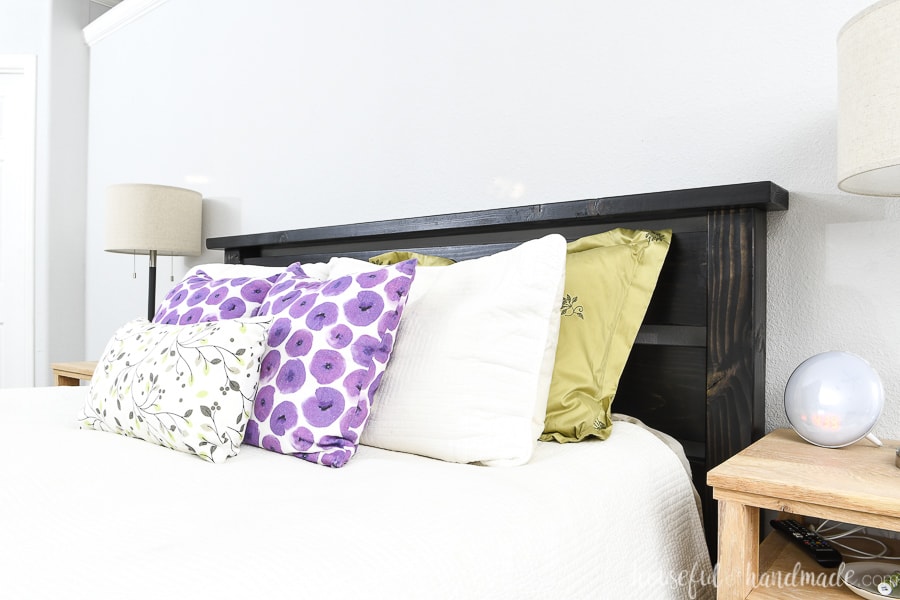
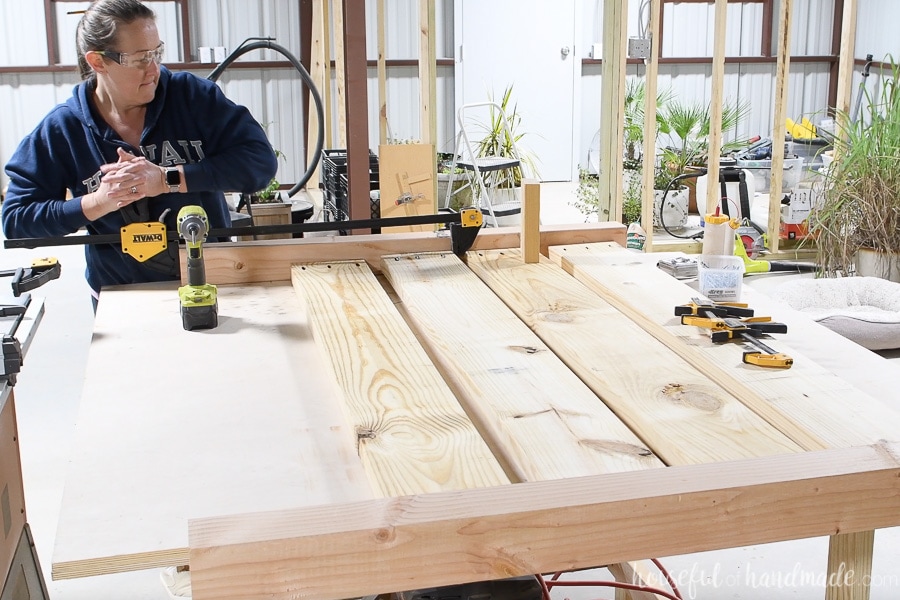
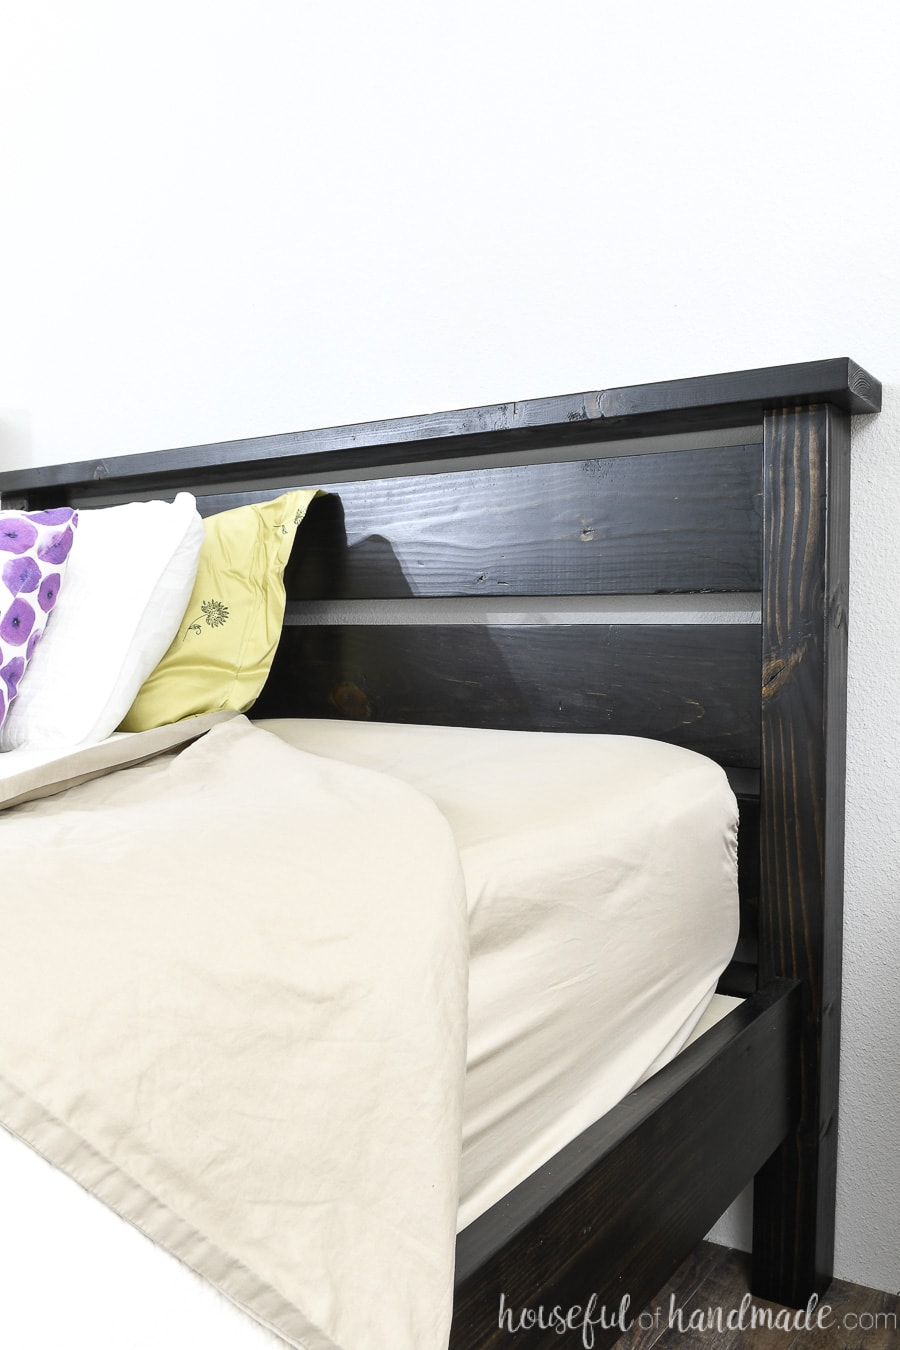
STEP 2- Build the Headboard
Cut the headboard legs and slats according to the cut list in the plans.
Set your pocket hole jig to drill pocket holes for 1 1/2″ thick material and then drill 3 pocket holes on each end of the back of the 2×8 boards.
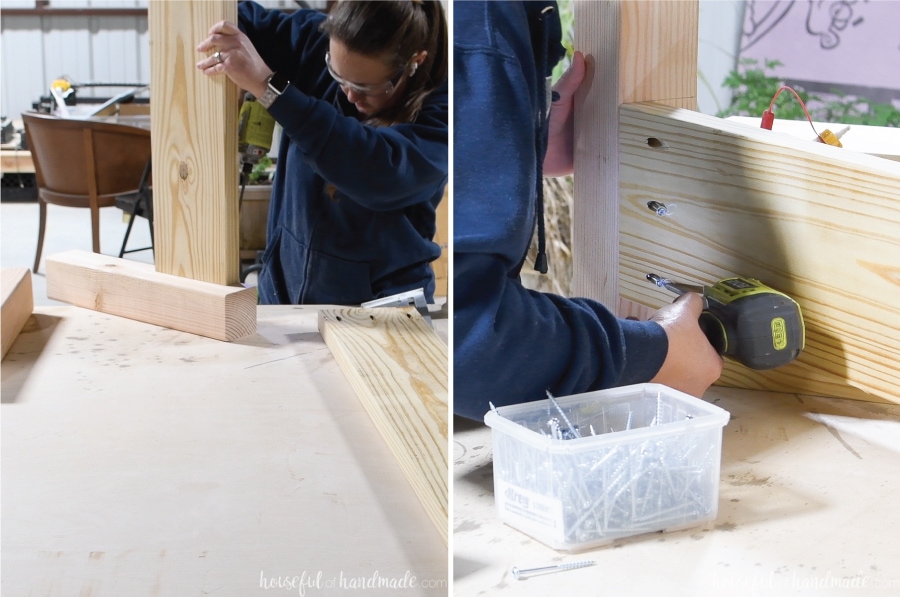
Attach the 2×8 boards to one side of the 4×4 leg first. Start with the board on the top. Space it 1 1/2″ below the top of the 4×4 leg and set it back 1/2″ from the front.
I used a couple scraps of 1/2″ plywood to easily set the board back on the leg.
Space each additional 2×8 board 1 1/2″ below the one above it. Secure with wood glue and 2 1/2″ pocket hole screws.
I used a scrap of 2×4 as a spacer between my boards.
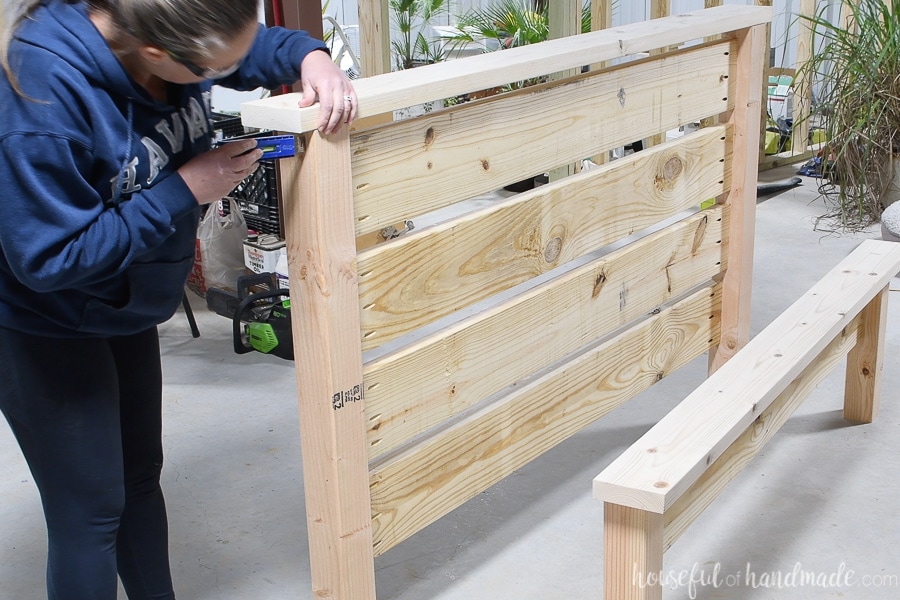
The bottom board should be flush with the front of the legs. This is the back where the mattress sits so you don’t want it set back.
Then secure all the boards to the second leg. Make sure to space them all out as you secure the boards with wood glue and 2 1/2″ pocket hole screws.
Once you secure the first 2×8 board to the second leg, the other boards will be snug. If you need to adjust your spacing on the unattached boards, use a clamp to move them.
Secure all the boards to the second leg with the same spacing as the first.
Finish the headboard off by attaching the 2×6 board to the top of the legs so the back is flush with the back of the legs and there is a 1 1/2″ overhang on either side. Secure with lots of wood glue and 2 1/2″ nails.
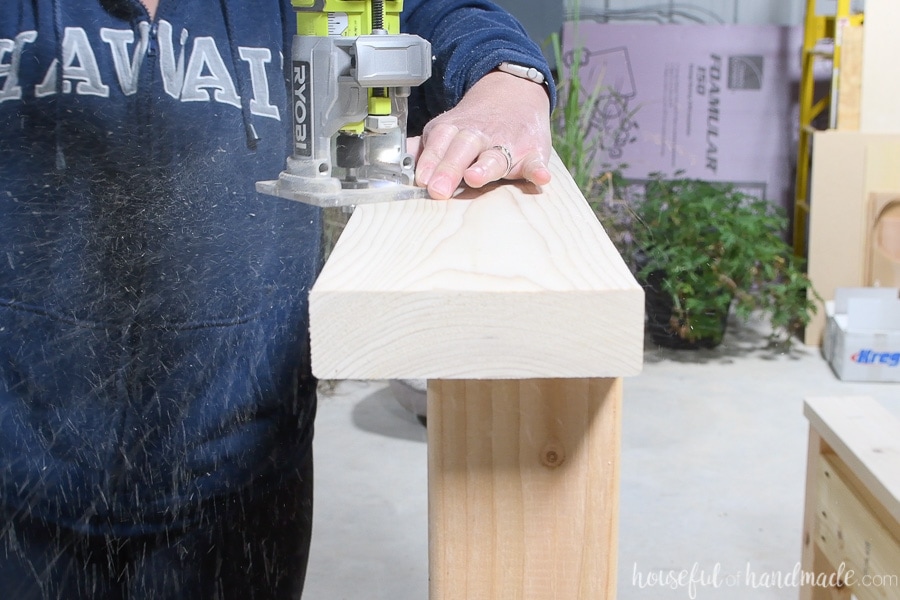
If desired, use a router to round over the edges of the top of the headboard and footboard.
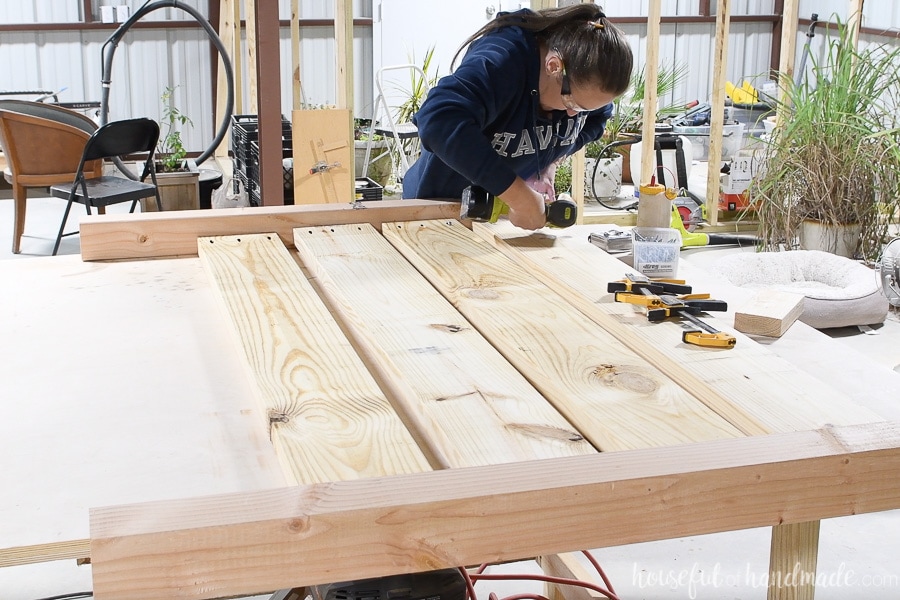
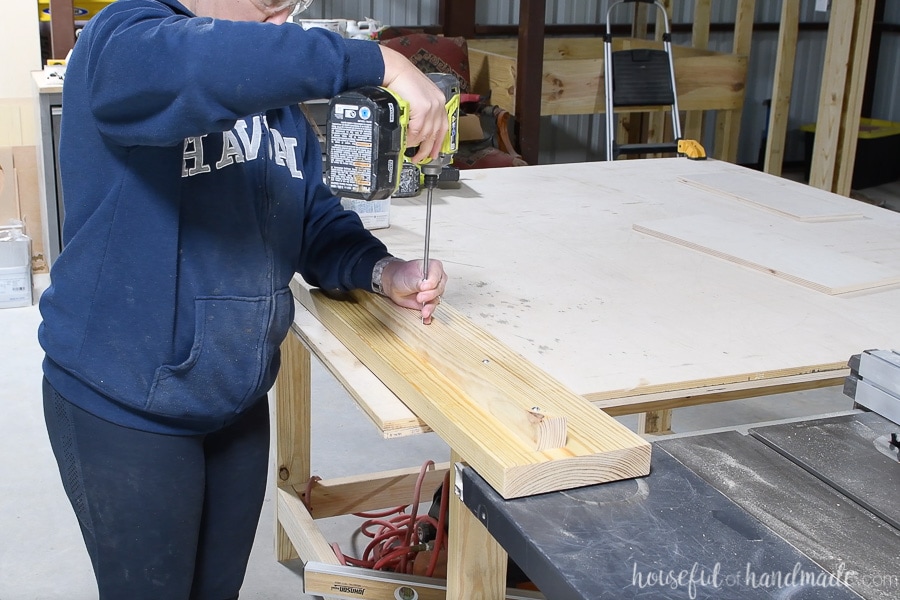
STEP 3- Build the Rails
Cut two rail pieces from the 2×8 boards and two rail support pieces from the 2×2 boards.
For the rails, set your 2×2 board down 2″ from the top if you are not using a box spring. This will create a platform like bed, but will look like you have a traditional box spring underneath.
If you want to use a box spring, you can adjust the 2×2″ board down to accommodate the extra height.
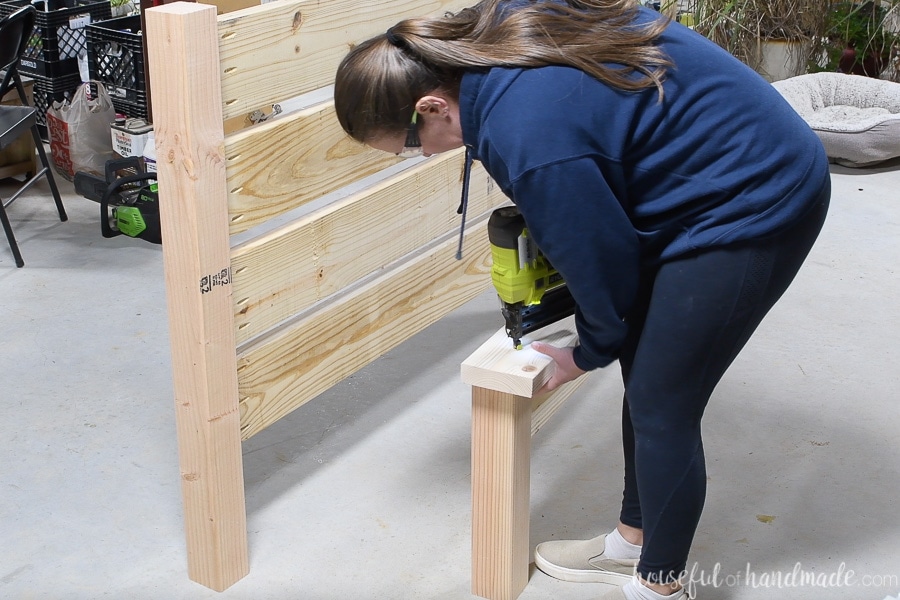
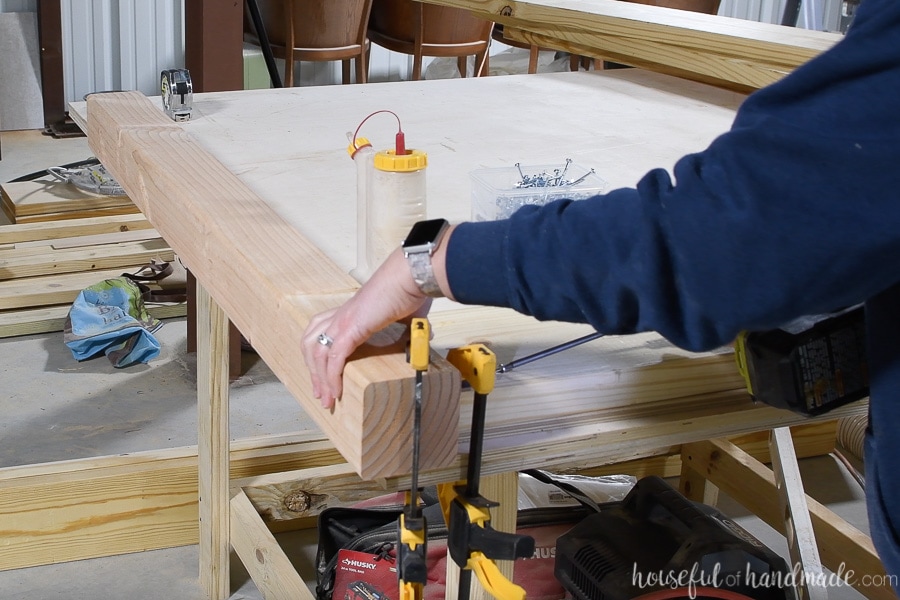
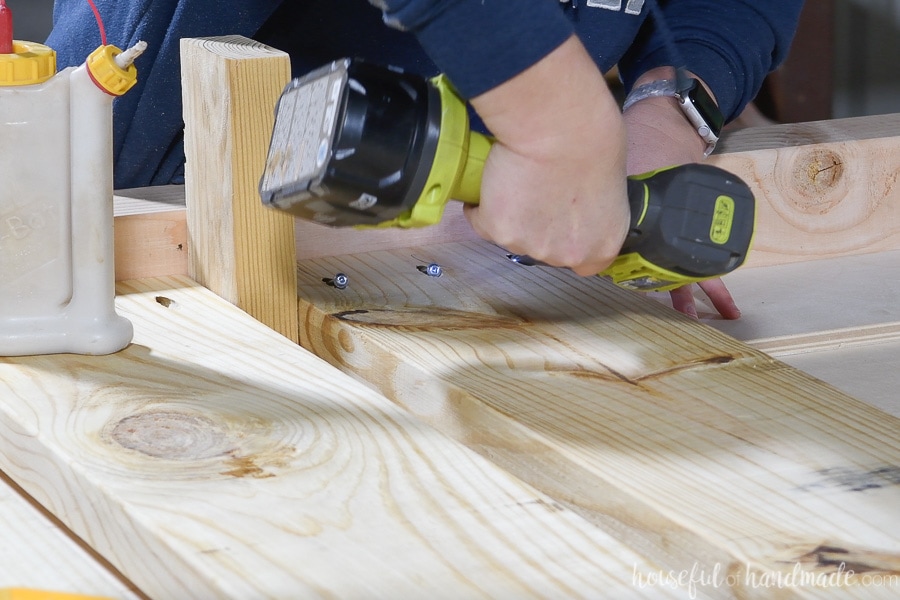
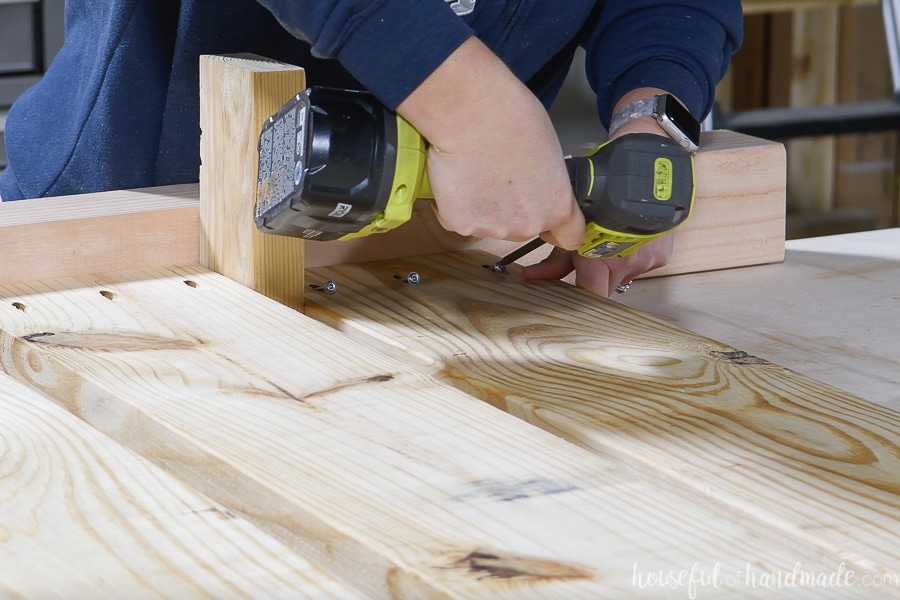
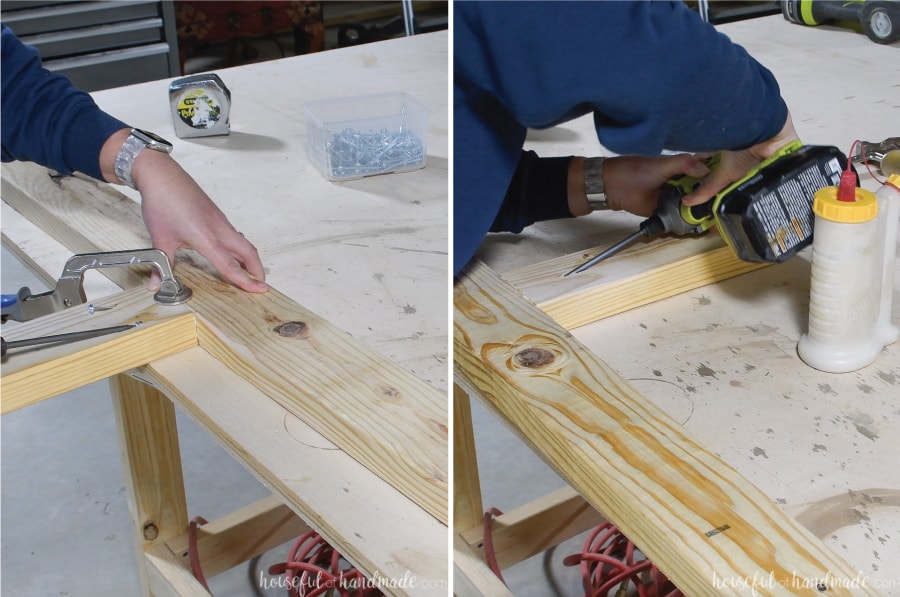
To attach the 2×2 boards, first measure and mark your placement. Set the 2×2 boards in 1″ from each end. Add a nice layer of wood glue and secure with 2 1/2″ nails.

Finish attaching it with 2 1/2″ screws (I used pocket hole screws since they are self tapping and won’t split the wood without pre-drilling). Add screws every 7-8″ along the side.
Repeat for the other rail and you are all done!
STEP 4- Build the Center Support
Cut the center rail and center leg piece from the 2×4 board (adjust the shorter board if you lowered the 2×2 board on the rails for a box spring) according to the PDF plans.
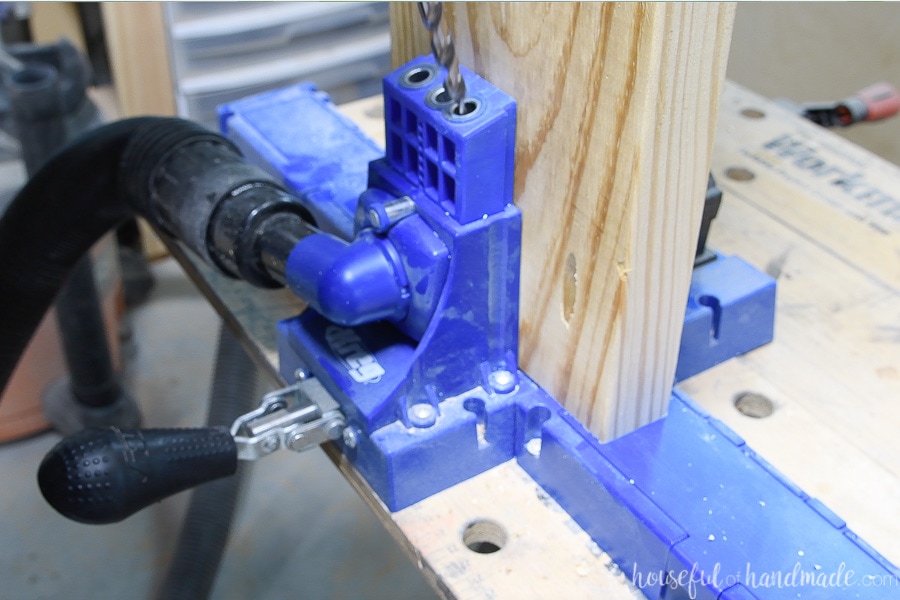
Drill 2 pocket holes set for 1 1/2″ thick material in one end of the smaller 2×4 board (center leg). Then drill one pocket hole in the same end of the board but the center of the opposite side.
Now you have 3 pocket holes in the top of the center leg.
Attach the leg to the center of the 2×4 board with three 2 1/2″ pocket hole screws and wood glue. Use a face clamp to hold the leg flush with the center support.
STEP 5- Finish the Pieces
Now it’s time to sand and finish all your pieces.
If you are using construction lumber like I did, start sanding with 100-150 grit sandpaper to smooth the rougher boards. Then finish with 220 grit sandpaper.
Add stain or paint to all your pieces. If you use wood stain, you will also need to seal the wood with 2 or more coats of sealer to prevent the stain from rubbing off on your bedding.
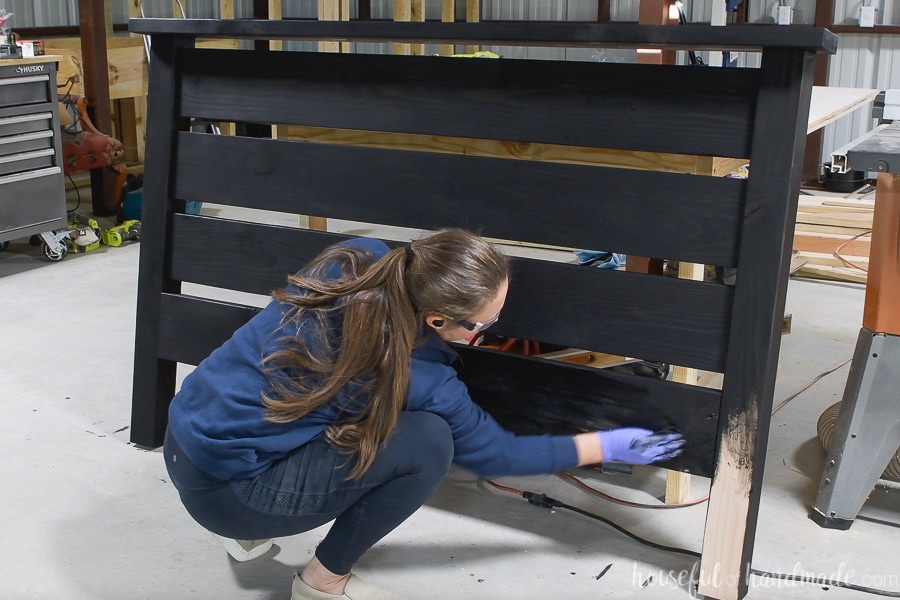
I used True Black wood stain from Minwax and then finished with 3 coats of Clear Satin polyurethane.
The finish turned out amazing and makes the inexpensive lumber look rich!
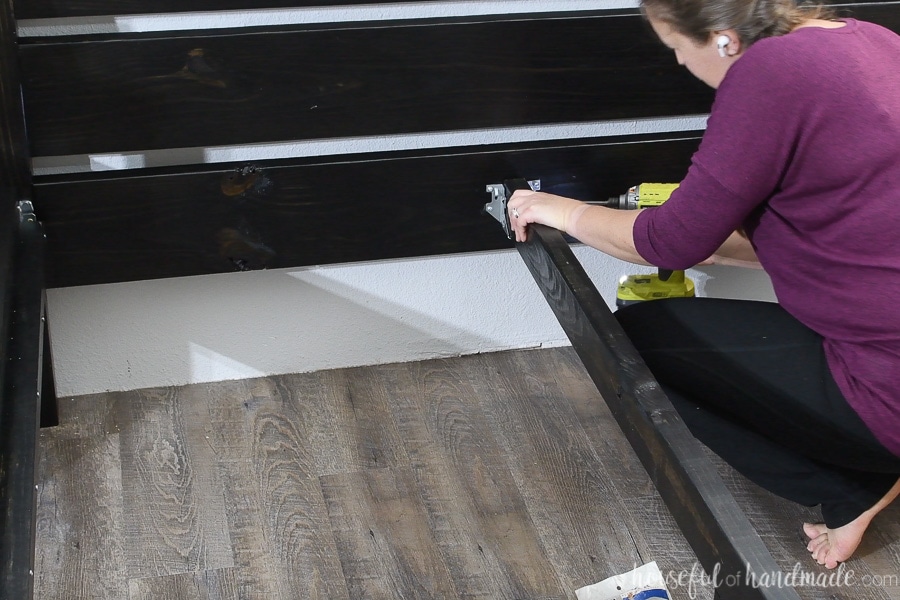
STEP 6- Assemble the Finished Bed
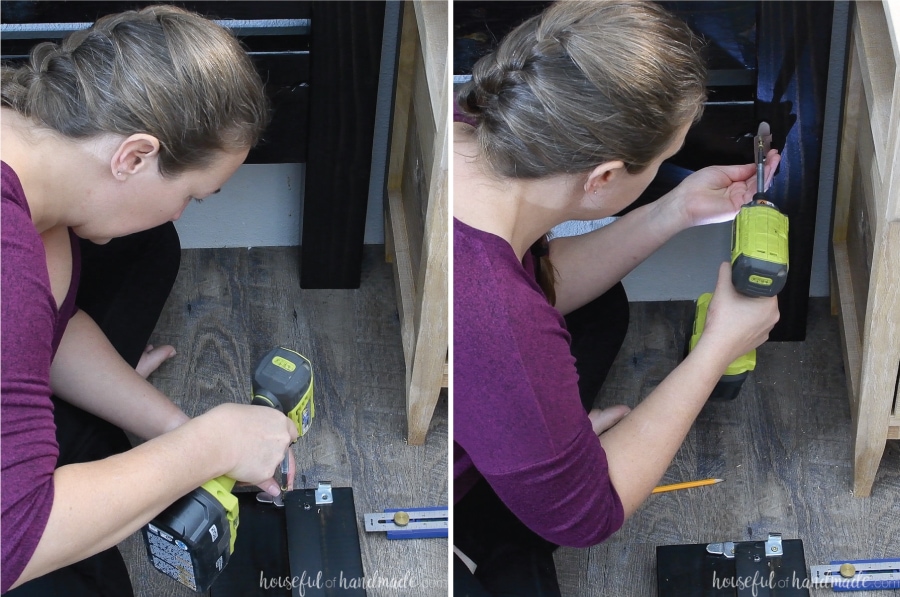
Once all the pieces are finished and dry, it’s time to put it all together. Use bed rail brackets to secure the rails to the headboard and footboard.
I set my brackets down 1″ from the top of the rails. Use 1 1/4″ long wood screws to attach the brackets to the rails.
For the brackets on the leg posts, attach them so the inside edge of the rails is set 1″ back from the center of the leg.
This will leave you with a 61″ opening in between the rails to accommodate a queen mattress.
Then slide the brails into the brackets to secure.

Next add the center support. Center the 2×4 on the 2×8 in the headboard and footboard.
The top of the 2×4 should be 2″ down from the top of the 2×8 (same height as the top of the 2×2 boards on the rails).
Attach the joist hangers so they cradle the 2×4 board. Secure to the board with a screw also.
Now your bed frame is all finished! All that is left is to add your plywood or bed slats.
If using plywood, cut 2 pieces 60 1/2″ x 39 1/2″ and lay them in the bed frame, resting on the 2×2 ledges.
If using bed slats, purchase or make your own bed slats. You can cut 1×4 boards 60 1/2″ long and attach them to the 2×2 ledges so they are no more than 3″ apart.
Premium plans include:
- Recommended Tools
- Shopping list
- Easy to read cut list table
- Cut diagrams
- Step-by-step instructions with 3D renderings
- Helpful resources
- BONUS: 3D SketchUp file
Then top it all off with your favorite mattress and you are ready to climb into bed. You deserve it!
And I cannot wait to get out of a bed that is no longer just a mattress on the floor. Who would have thought something so simple would bring me such joy in my 40s 😉
If I would have known how quick and easy it was going to be to build one, I would have done it months ago. Now that you know, there are no more excuses!
Happy Building!

Thank you to Kreg Tools for sponsoring this post. I only recommend products that I use and love and all opinions are 100% my own. Click here to read my full disclosure policy.