What do you do when you need a break? I like to build things! Not necessarily big things, those take too much brain power and concentration. When I need a break, I build simple decor things.
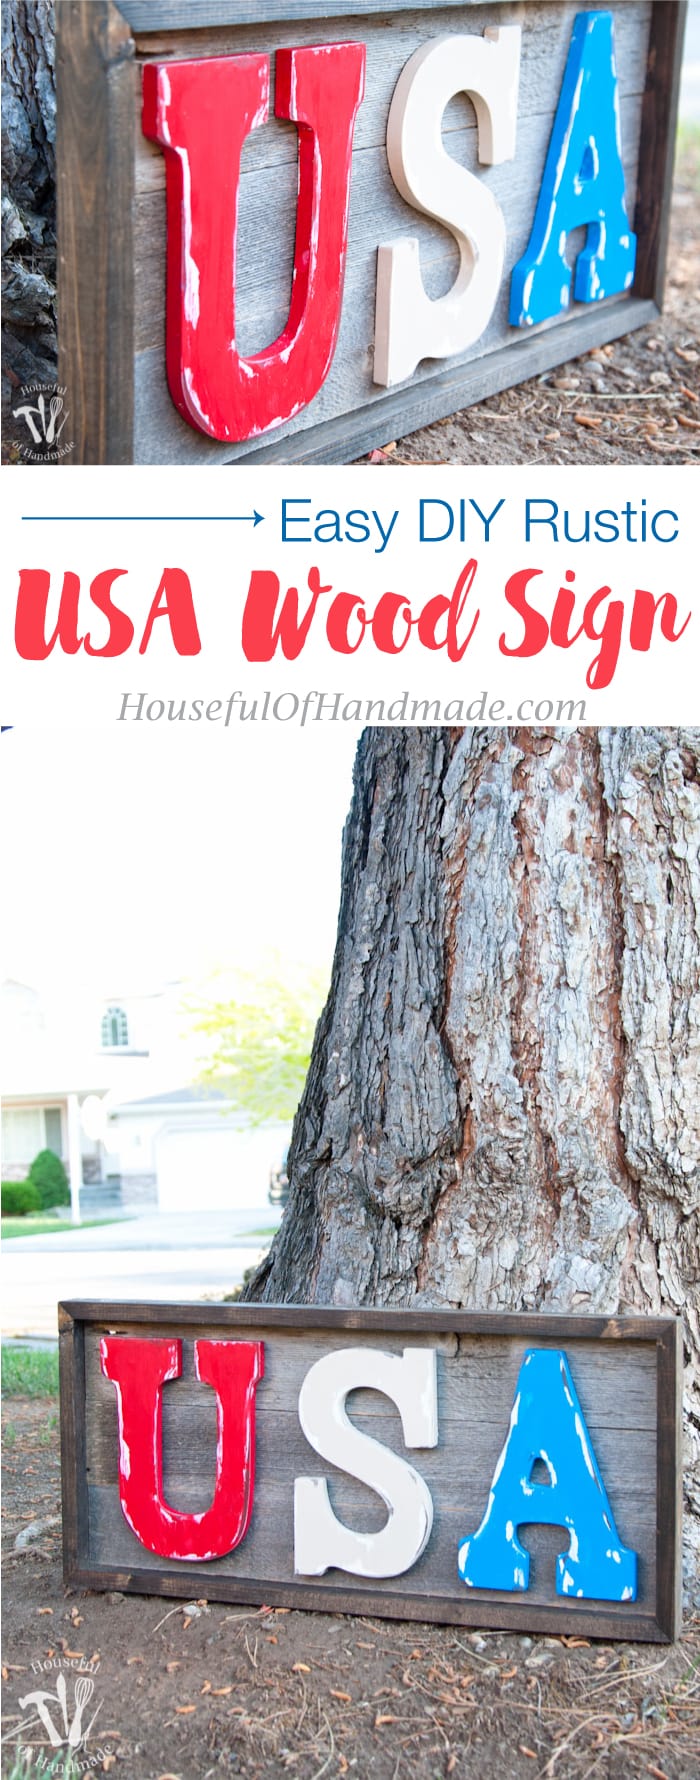
Since I needed a break today after trying to get the kids to do their chores and I needed a little something more for my patriotic summer mantle, I decided to take the day to build this easy DIY Rustic USA Wood Sign and I love it!
This post may contain affiliate links. As an Amazon Associate I earn from qualifying purchases. Click here to read my full disclosure policy.

This post contains affiliate links. I receive a small commission on products purchased through these links at no additional cost to you. I am only sharing products that I use and believe in.
I knew I needed a plaque or sign on my mantle for summer. I have started working on a patriotic mantle, but so far I have only put up this printable 3D stars & stripes banner and this printable from How to Nest for Less. But I still needed a big WOW piece.
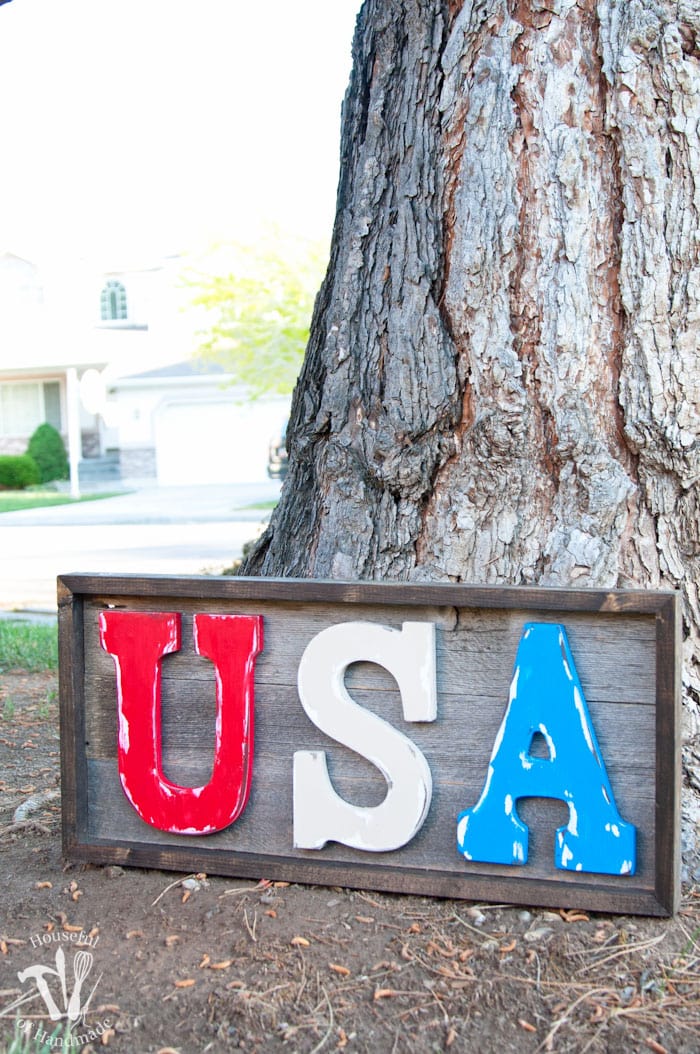
I love the look of wood signs, someday I will even have a scroll saw so I can cut out all different letters myself. But for now I went for a super easy option and bought some 9″ wood letters from Michael’s.
And since I have a few of the reclaimed wood boards I snagged from my parents dilapidated fence I knew I could put together a rustic wood sign for my patriotic mantle pretty fast. It was seriously so easy! The hardest part was being patient enough to wait for the paint to dry.
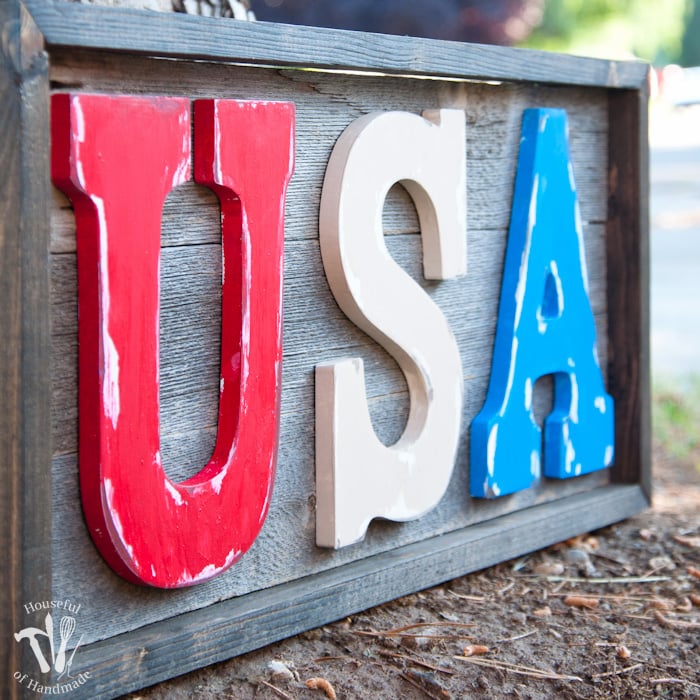
If you want to make your own sign, it’s really easy! I only used two tools: miter saw and battery powered nail gun; 6′ of reclaimed 1×4 boards, 1 8′ 1×2 board, and the 3 9″ letters. I used a coupon to get my letters so the whole sign cost me less than $10!
I started by deciding how big I needed to cut my reclaimed wood boards. My boards were 1x4s so they were about 3 1/2″ long. I chose to do 3 boards stacked horizontally so they measured just under 10 1/2″ total. Then I chose to do 24″ long on each board.
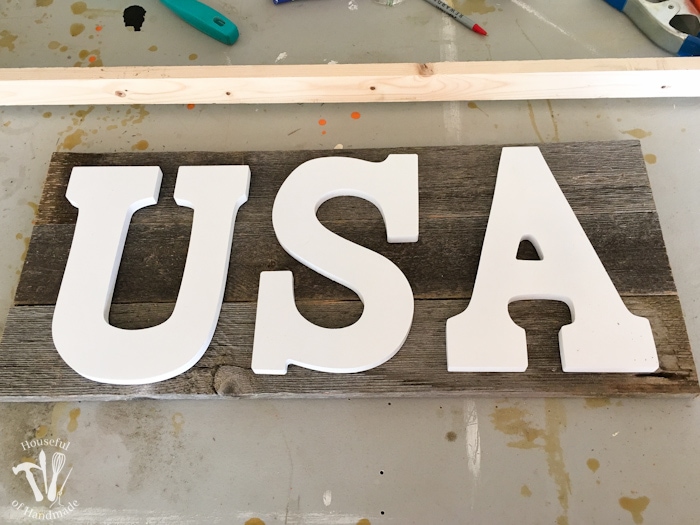
After cutting the reclaimed wood boards, it was time to cut the frame. I had to use new wood to frame out my sign because I didn’t have any small reclaimed boards. But I made the frame out of a $1 1×2 board so I figured it was totally worth it! I cut the frame by cutting two pieces of the 1×2 at 45 degree angles on both ends with the center of the board being 24″ long and two pieces at 45 degree angles on both ends with the center being 10 3/8″ (the measurement of all three of my boards lined up next to each other).
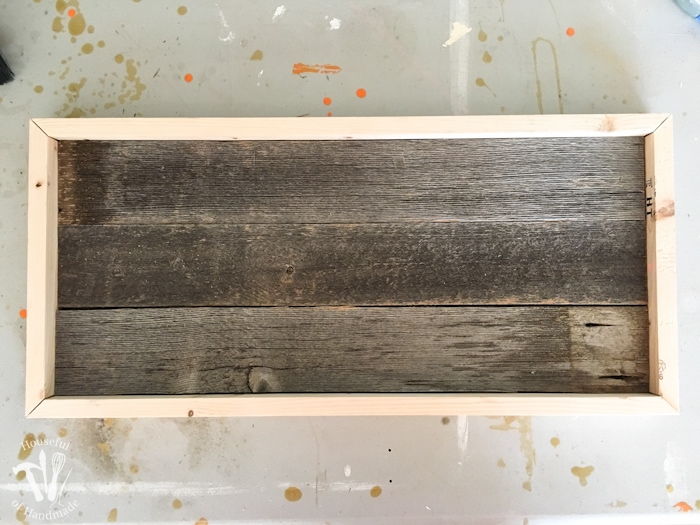
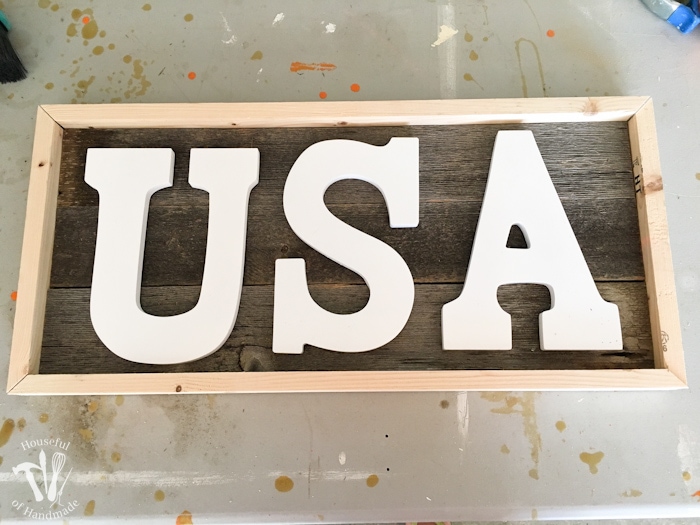
I dry fit the frame to make sure I cut everything right, and admired it cause it looked so good already!
Then it was time to finish the frame. Since I was using reclaimed wood I didn’t want to finish the frame after it was all put together because the stain could get on my pretty reclaimed wood and that would make me mad. So I hurried and put a coat of stain on all the frame pieces. I used Minwax Jacobean stain for my frame.
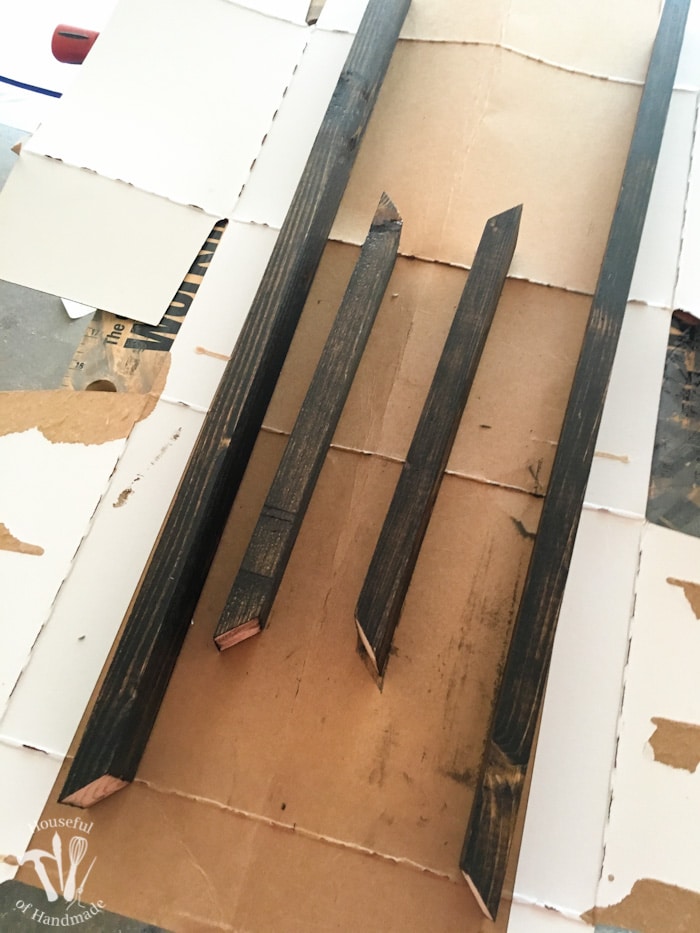
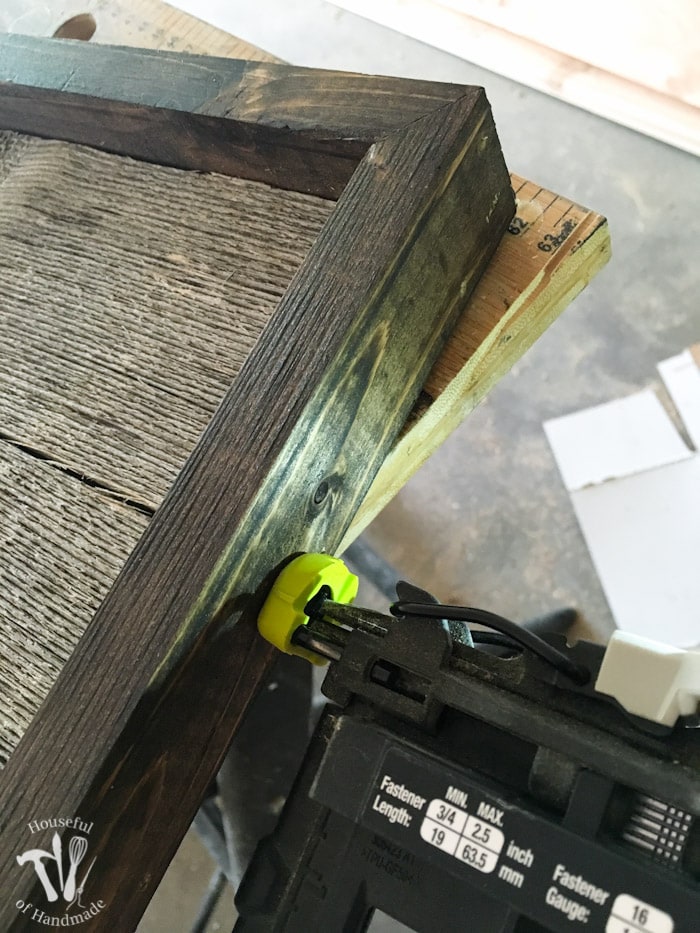
After I let it dry for a little bit (cause I am impatient and wanted to finish my project now), I started assembling the frame. I added wood glue to the corners and then clamped them tight while I used my nail gun to put three 1 1/4″ nails into the corner to hold it tight.
After assembling 3 corners, I put the pieces of reclaimed wood into the center of the frame before I closed up the 4th corner because it was a tight fit (which is what I wanted).
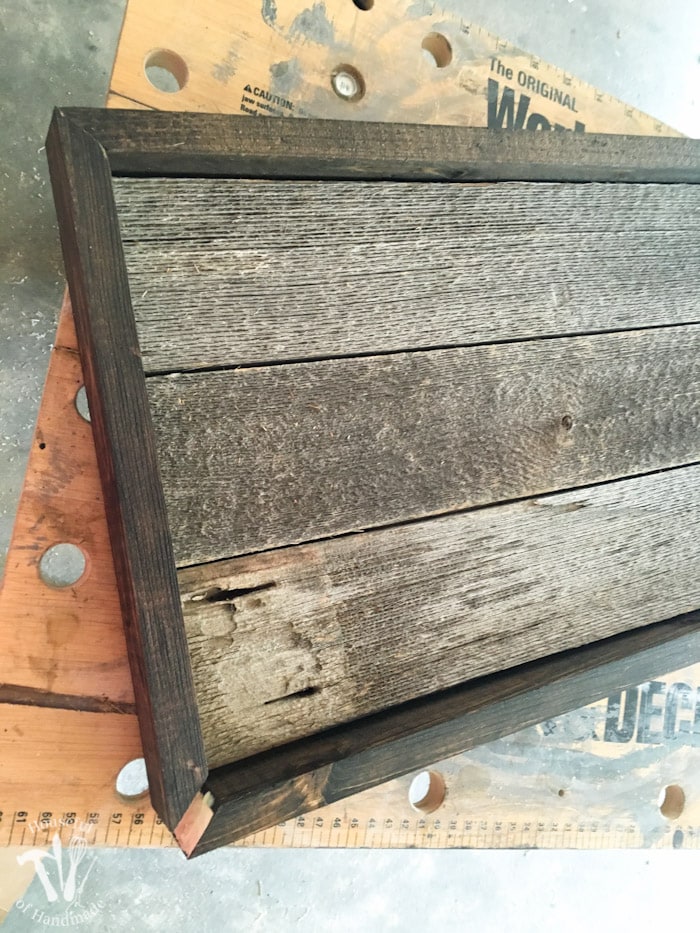
Finally, I used a few more nails with my favorite nail gun to put some nails on either side of the frame into the pieces of reclaimed wood to secure them. I was careful to make sure the back of the wood was flush with the back of the frame. I put 2 nails into each side of each piece of reclaimed wood.
Now it was time to un-pretty up my letters. I wanted rustic, chippy paint letters not super clean, bright white letters. So I had to rough them up a bit. I started by hitting the edges a bit with my sander. The finish came off really fast with my electric sander. Then I used some Vaseline before painting like in this tutorial from Sincerely Sara D.
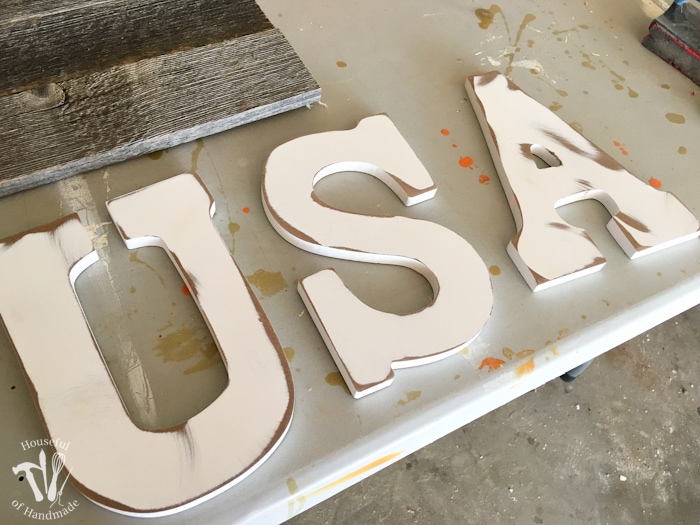
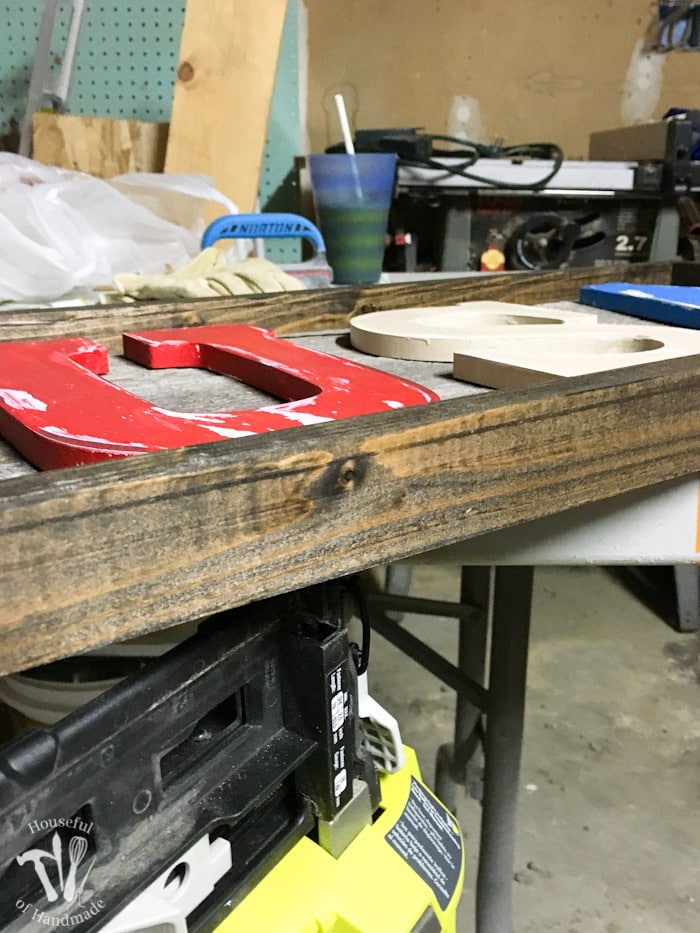
Now I had to wait for the paint to dry. I hate waiting! And I didn’t wait long enough before rubbing off the paint over the Vaseline. But after a few tries, I did manage to get the paint to look cute and chippy. Then I just needed to attach the letters to the sign and frame. I used my trusty nail gun again (cause I really do love this thing) and carefully nailed the letters on from the back. I used 1″ nails so they didn’t poke through the front of my pretty letters.
And then it was ready to put on my mantle for the 4th of July. The only problem… I am in the middle of a fireplace remodel trying to get ready for new carpet. Oh well, when the fireplace is done this week I will have my beautiful rustic sign ready, and it gave me the break I needed today!
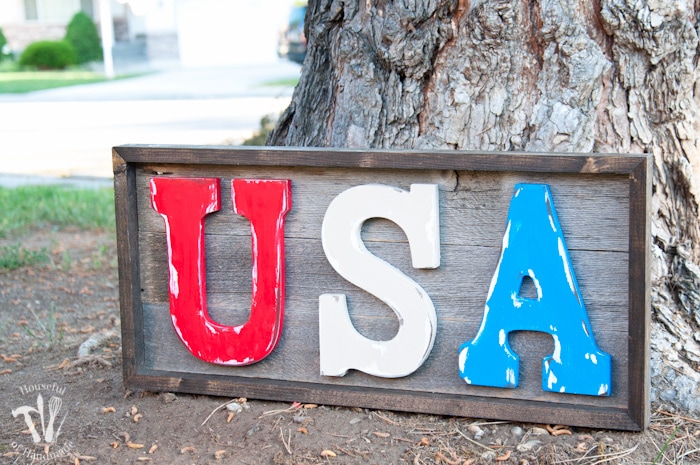
If you don’t have access to some reclaimed boards, you can make this sign with regular 1×4 boards too. If you don’t sand the boards, and put your stain on it will still give it a rustic look, just not as rustic as the reclaimed boards.
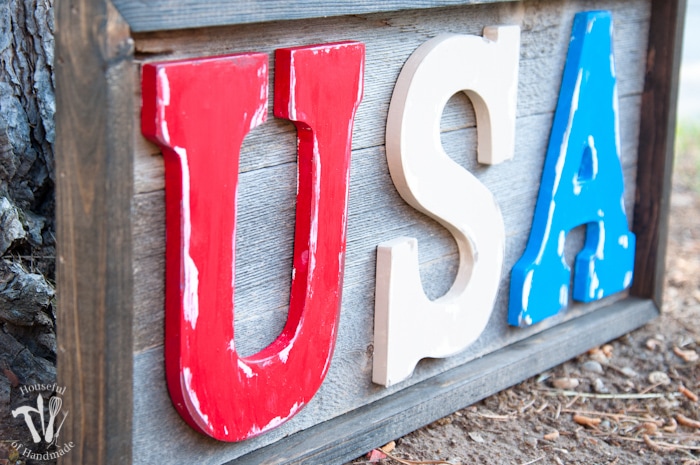
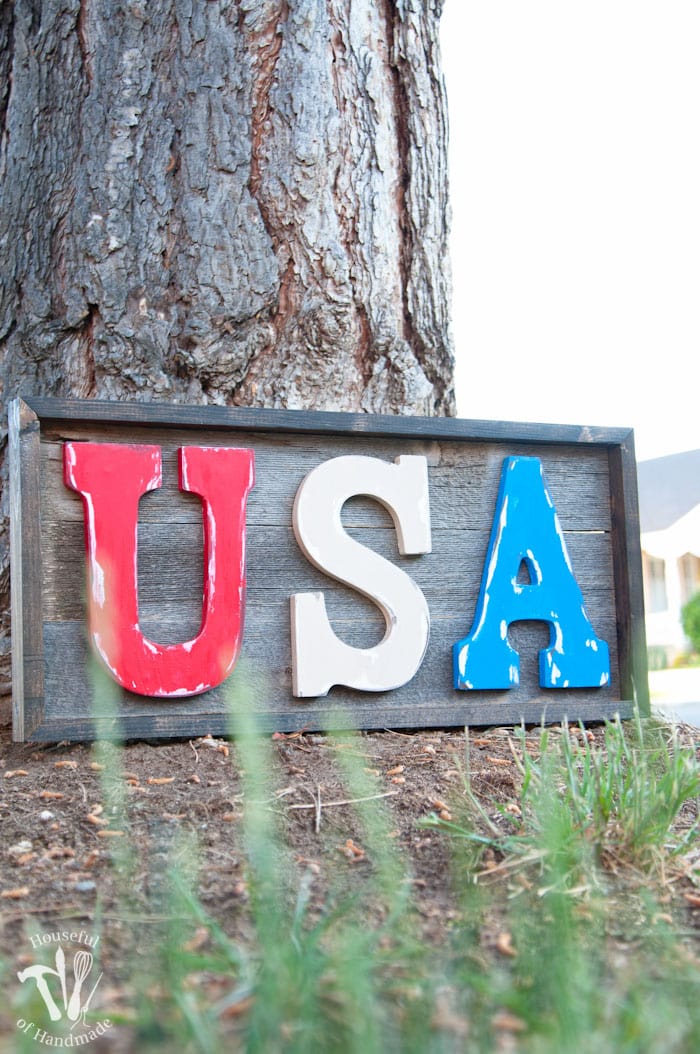
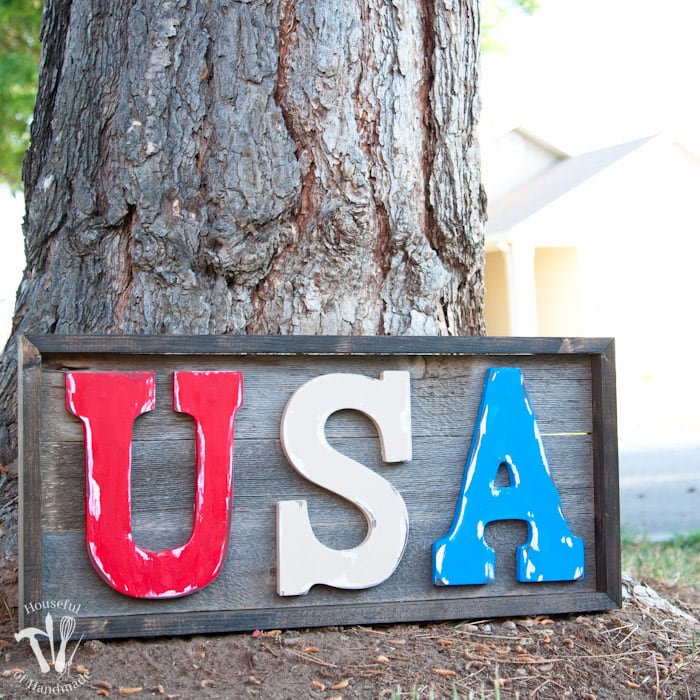
So I had to take my cute new sign outside to get some pictures since my fireplace is under construction, but I think the tree in my front yard works well with the rustic look of the sign. And even though this picture doesn’t really show off my new rustic USA wood sign, I thought it was so pretty so I’m sharing it! Sometimes I just like pretty things 🙂
So do you decorate for the 4th of July? If not, what kinds of decor do you like for the summer?

