If you have small kids or finger that just don’t work like they use to, holding playing cards can be challenging.
So why not make playing games fun again with a simple playing card holder.
These easy to make wood stands would make the perfect gift too. They would be perfect paired with a fun new card game or as a DIY stocking stuffer.
This post may contain affiliate links. As an Amazon Associate I earn from qualifying purchases. Click here to read my full disclosure policy.
These playing card stands are the perfect project for Day 2 of DIY Gift Week!
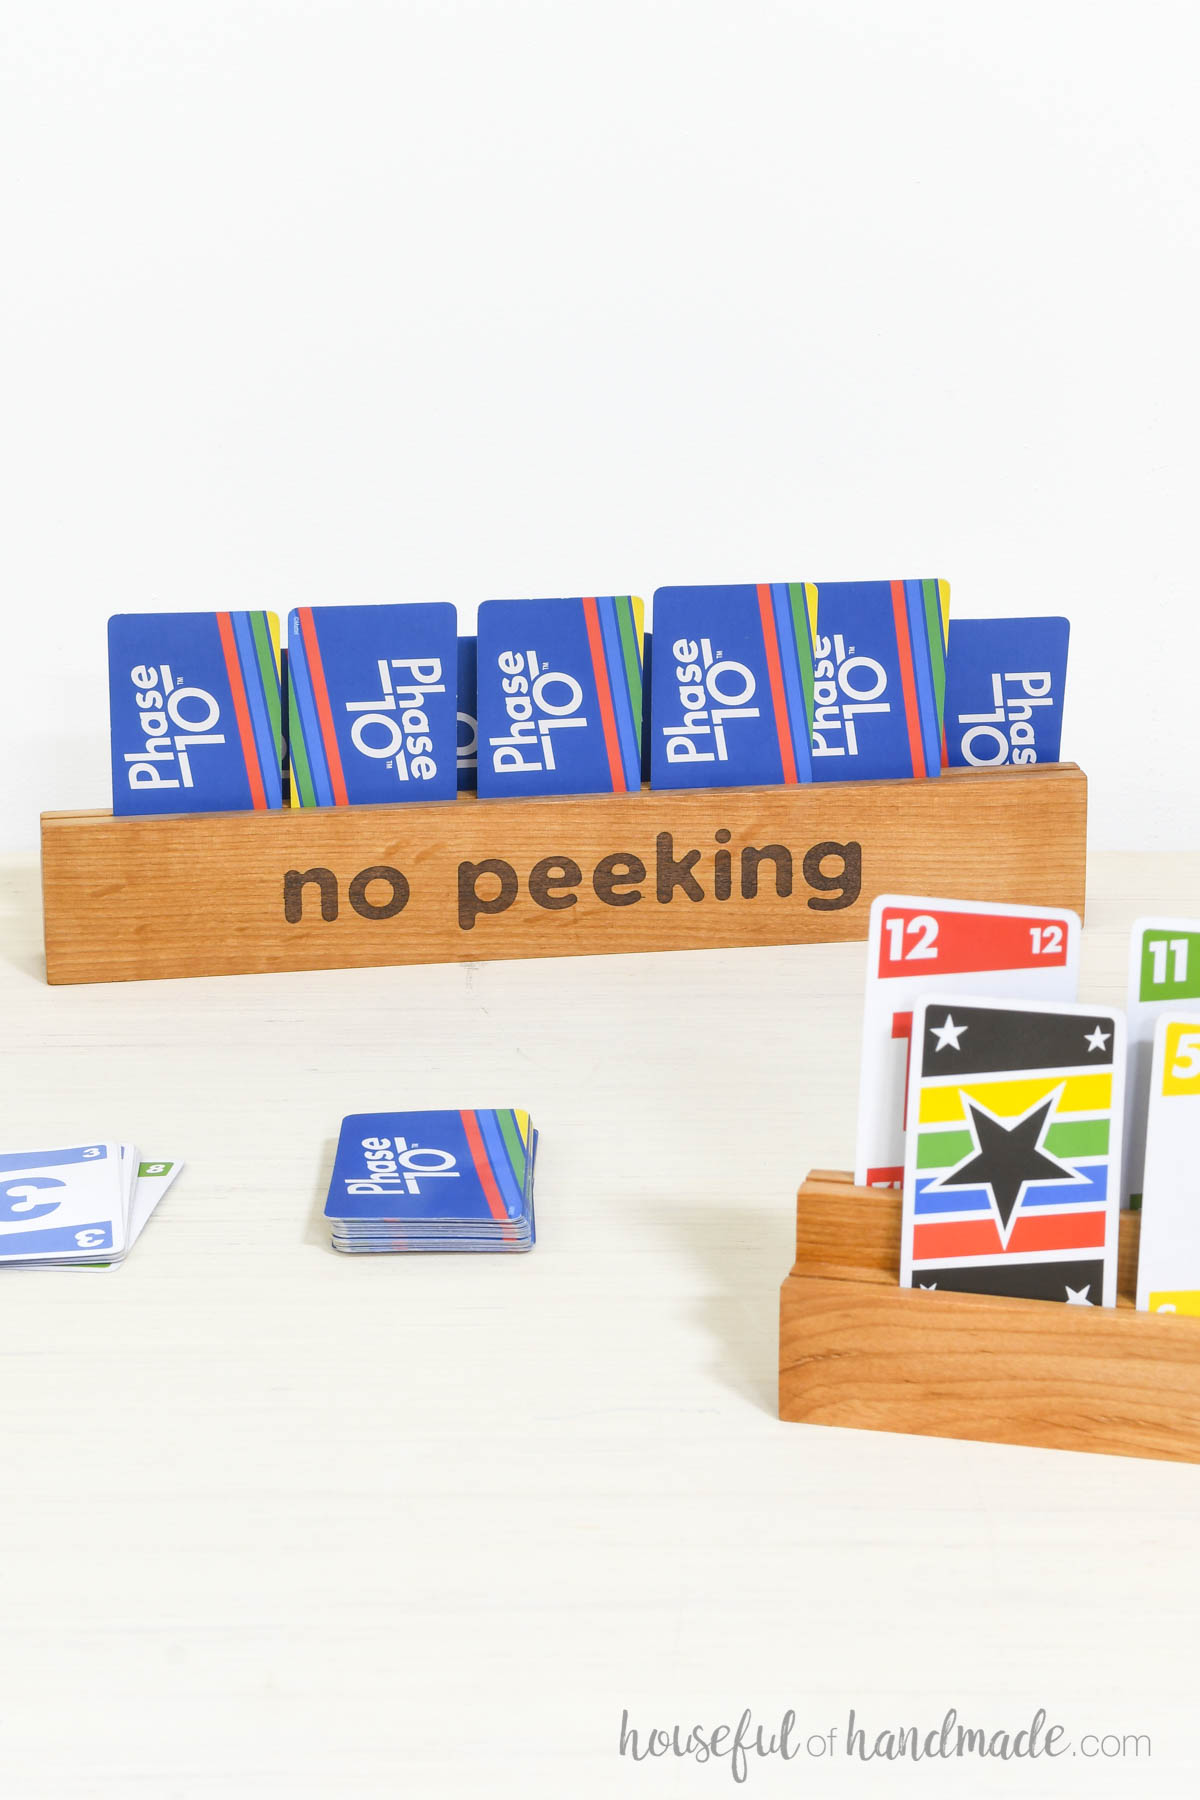
Stands for Playing Cards
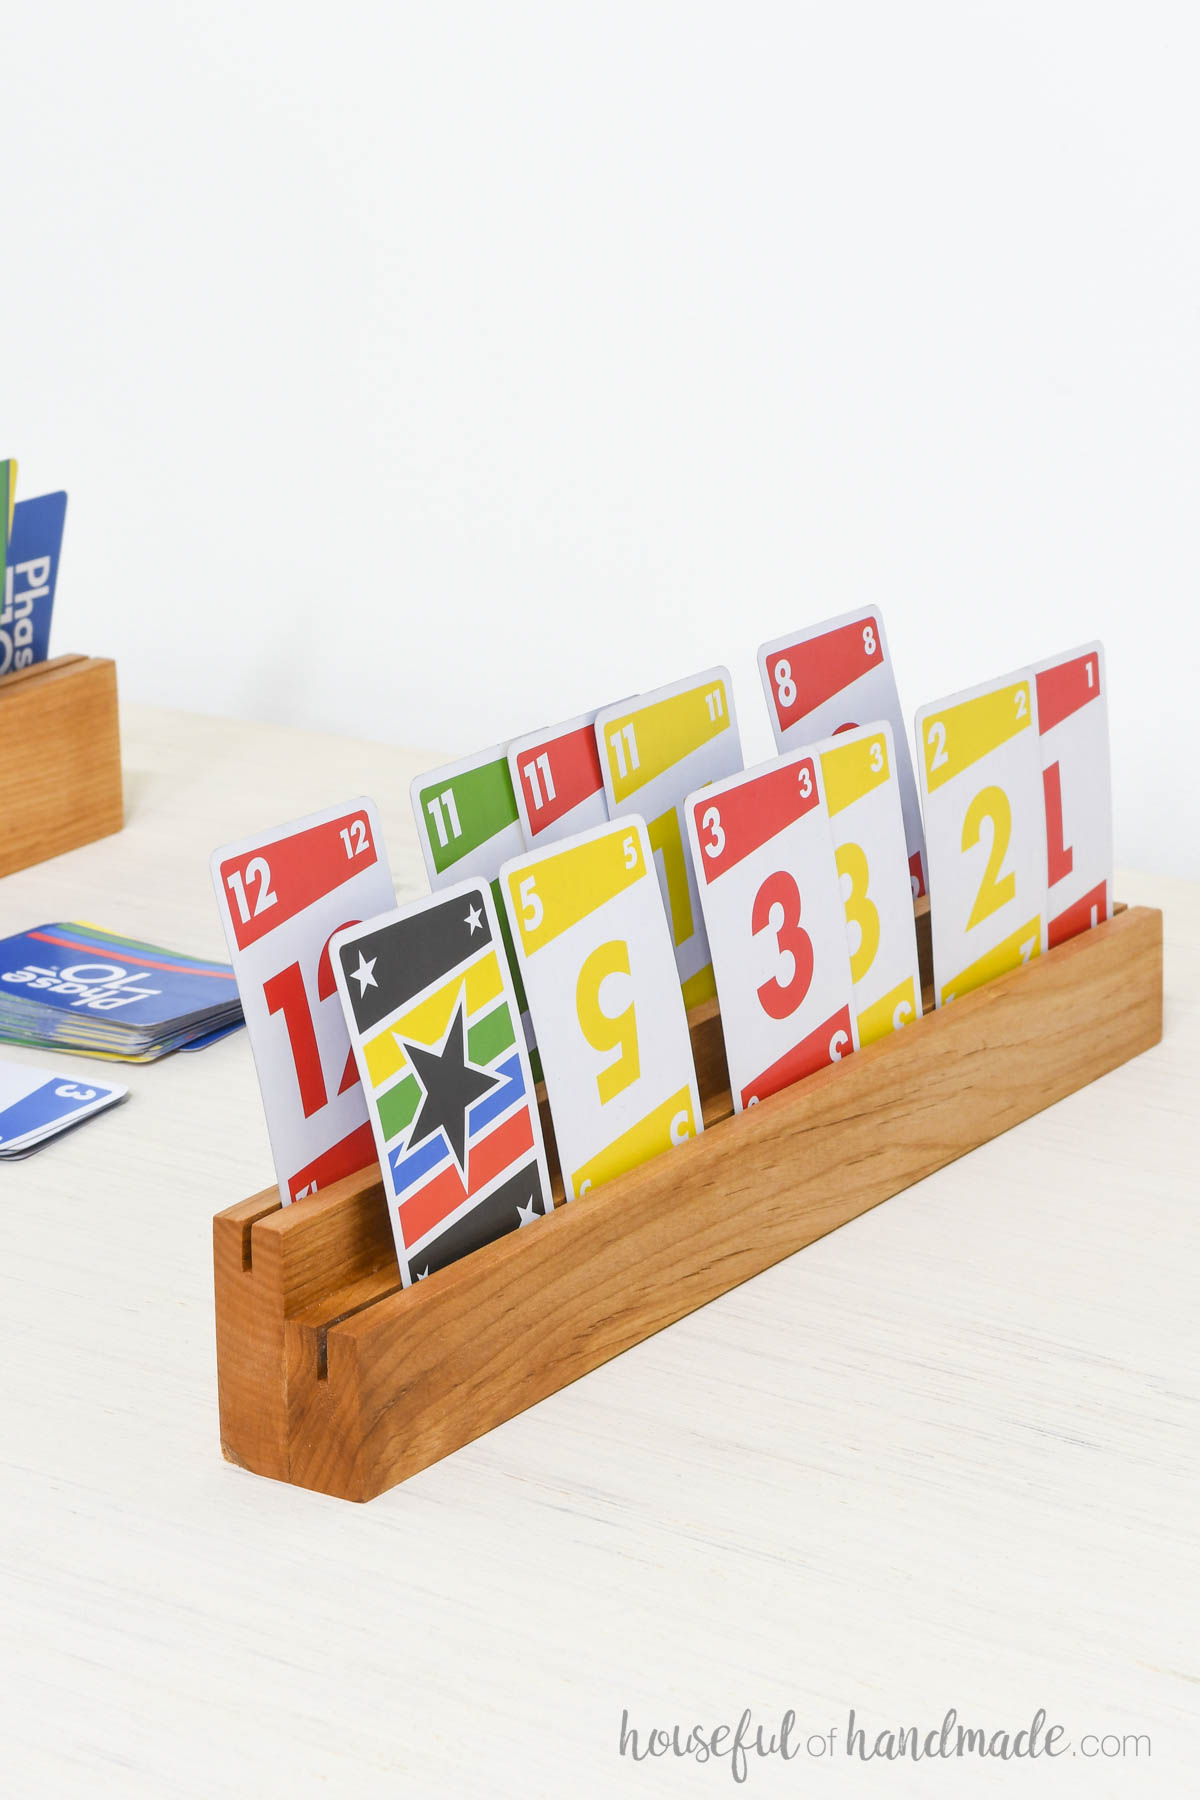
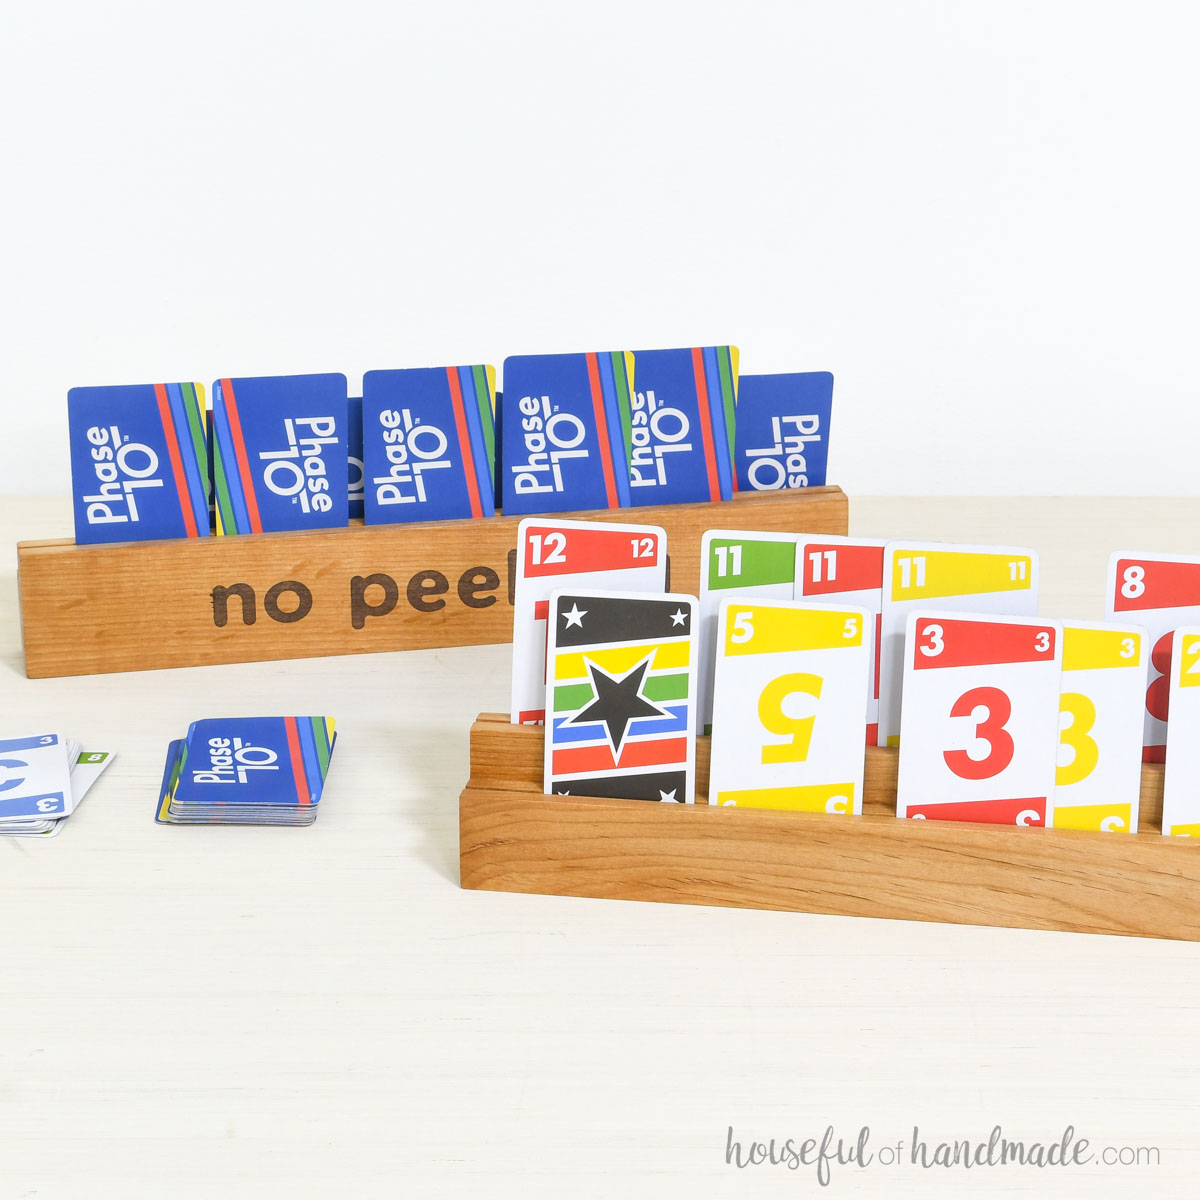
These simple card holders are perfect for playing games. I sized them to perfectly hold a hand of 10 standard cards with no overlapping.
But if you like to play games that can have larger hands like Five Crowns, you can easily hold more cards with a little overlapping.
Either way these stands will make game night a little easier.
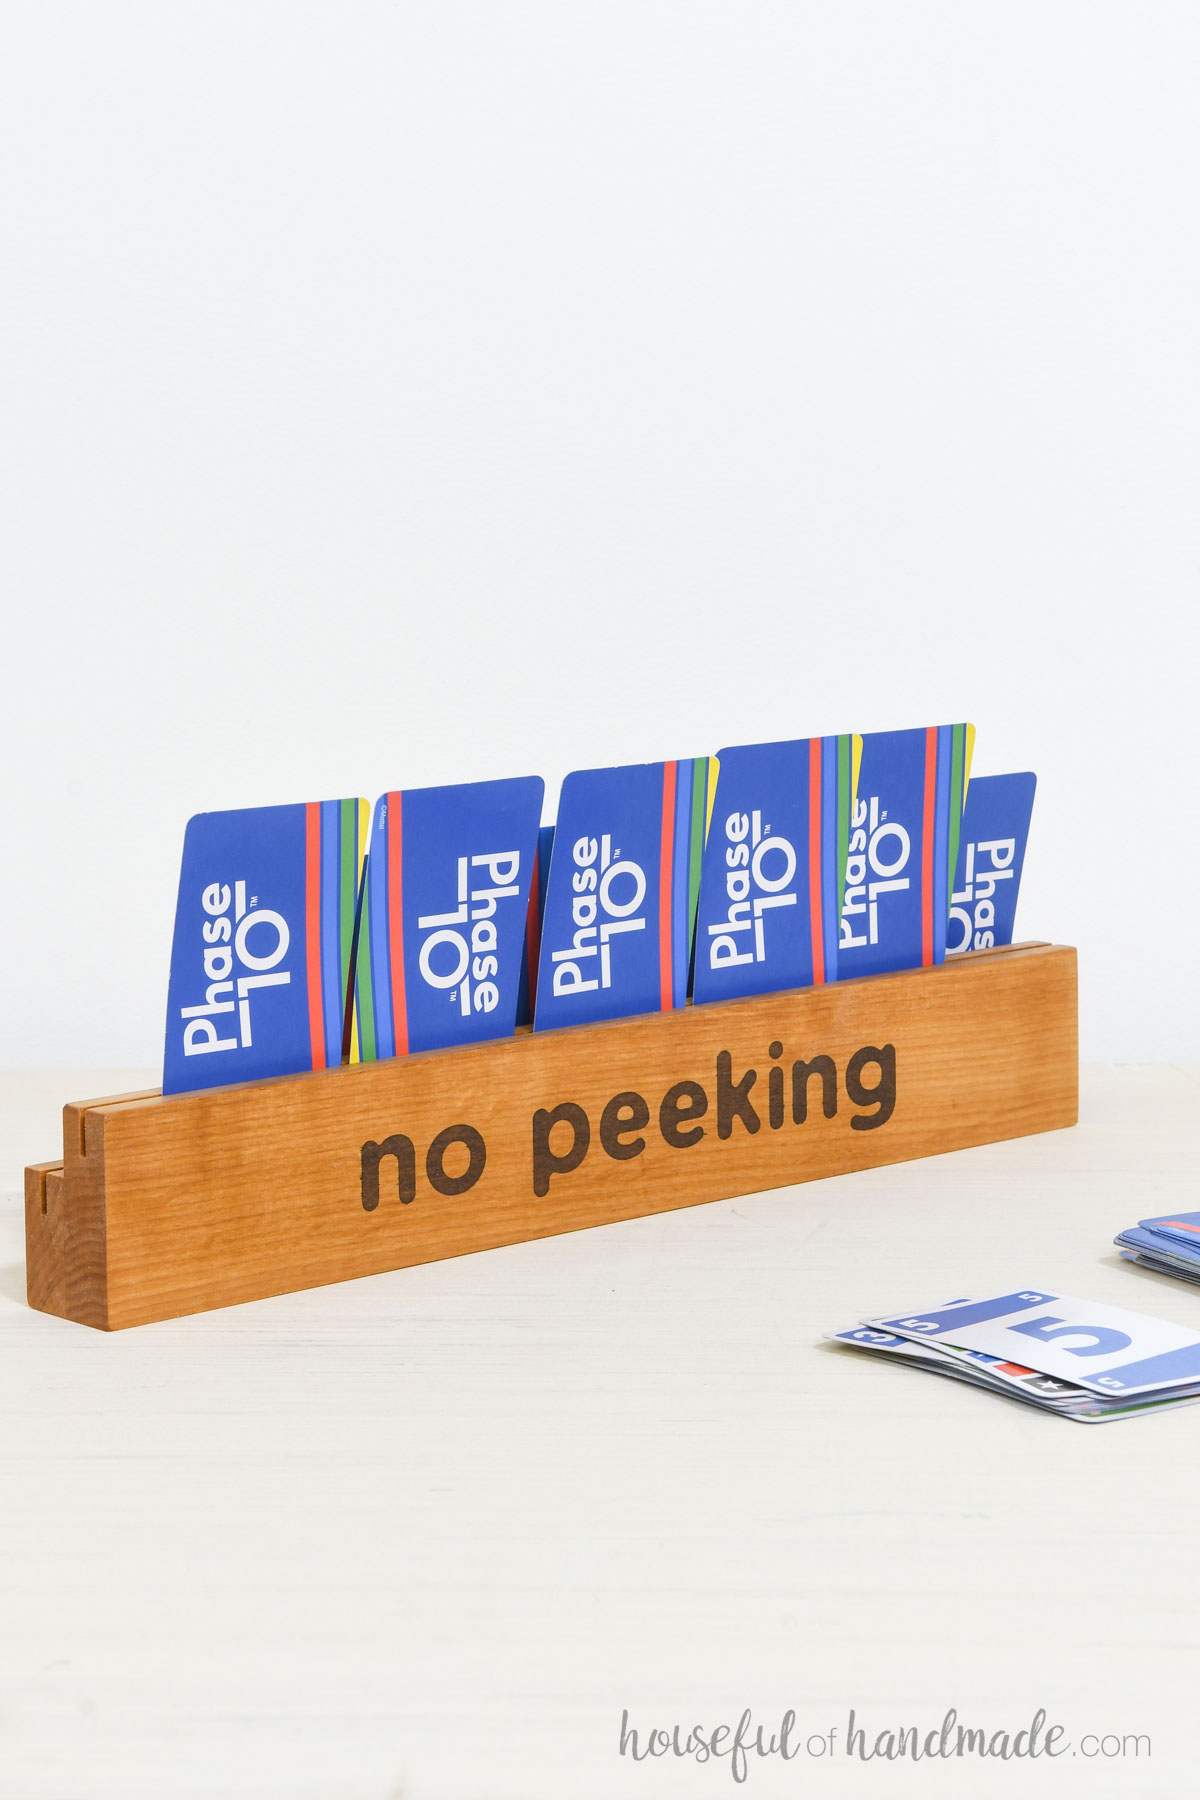
And while the playing card holders are functional just the way they are, I wanted to make them a little more fun.
So I added a design to the back of them. The words “no peeking” are the perfect playful additional don’t you think?
Another option would be to add each person’s name to personalize the card stands. That way everyone can have their own when it’s time to play.
More DIY Gifts for Kids
For Day 2 of DIY Gift Week, my friends from WoodShop Diaries and Anika’s DIY Life and I are all sharing gifts perfect for kids.
Check out the great homemade kids gifts below then come back tomorrow because we have 3 more days of DIY gift ideas to come.
How to Build Card Holders
Tools & Materials
Recommended Tools:
- Miter saw
- I recently upgraded to this larger sliding miter saw (watch for it to go on sale), but all my projects before were built with this inexpensive miter saw that I loved.
- Table saw
- Face clamps
- Chisel
- Sander
- Optional: Vinyl cutter
Supplies:
- Wood products (per holder)
- (1) 1×2 board, 14″ long
- (1) 1×3 board, 14″ long
- Wood glue
- Sealer
- Optional if you want to add a design to the back
- Stencil vinyl and transfer paper
- Water based stain
Overall Dimensions
The finished playing card holders are 14″ wide by 2 1/2″ tall and 1 1/2″ deep. Each holder can hold a hand of 10 standard playing cards with no overlapping.
STEP 1- Cut your boards
Cut one 14″ long 1×2 and 1×3 board per playing card holder.
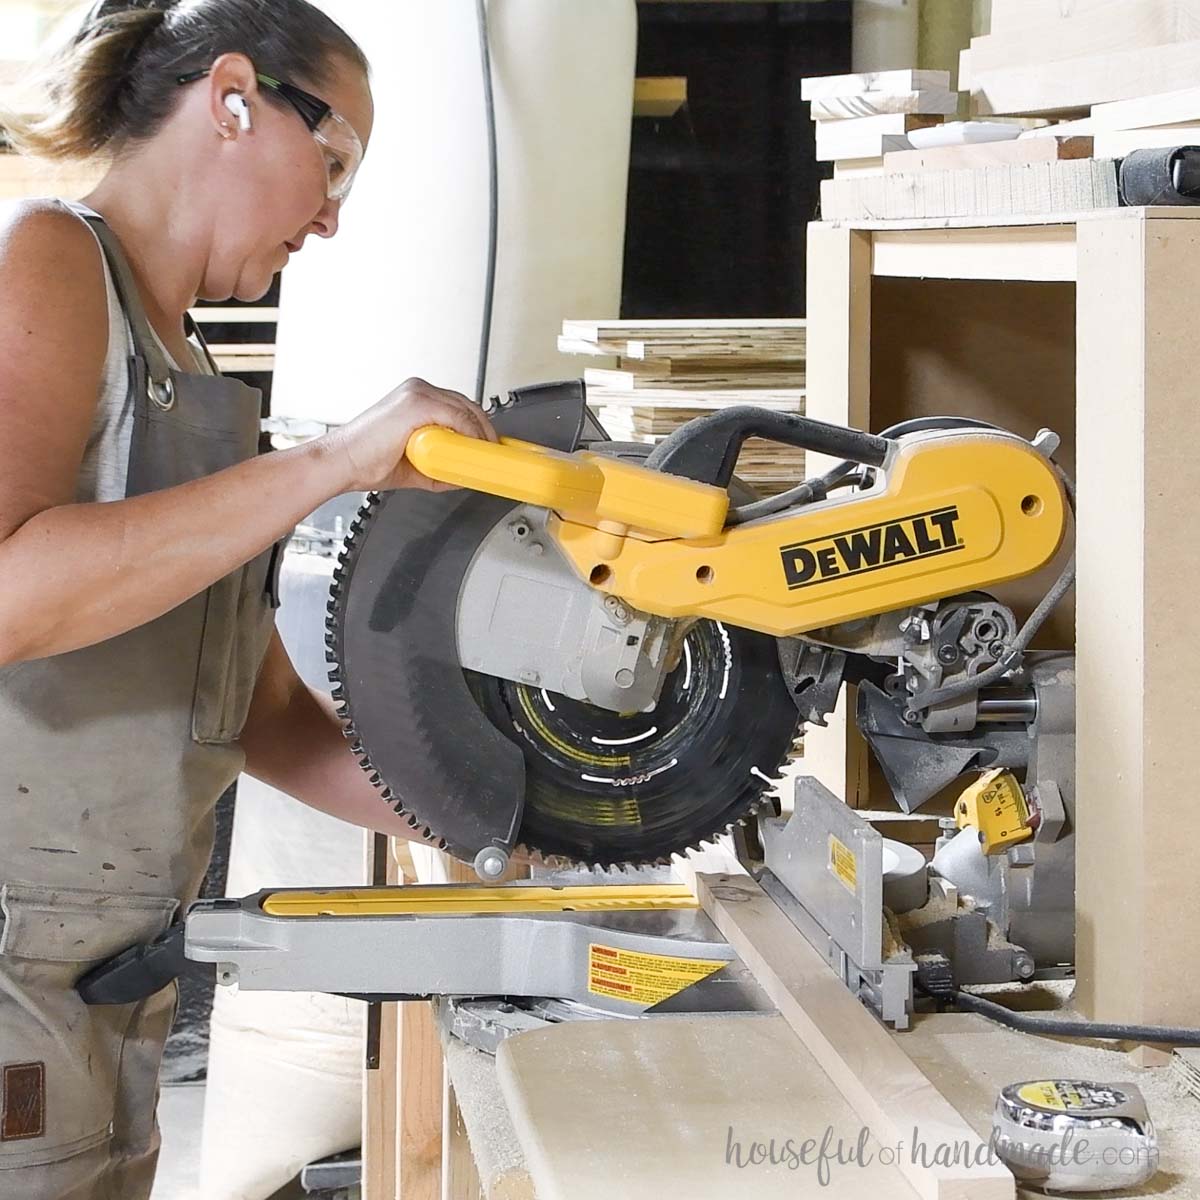
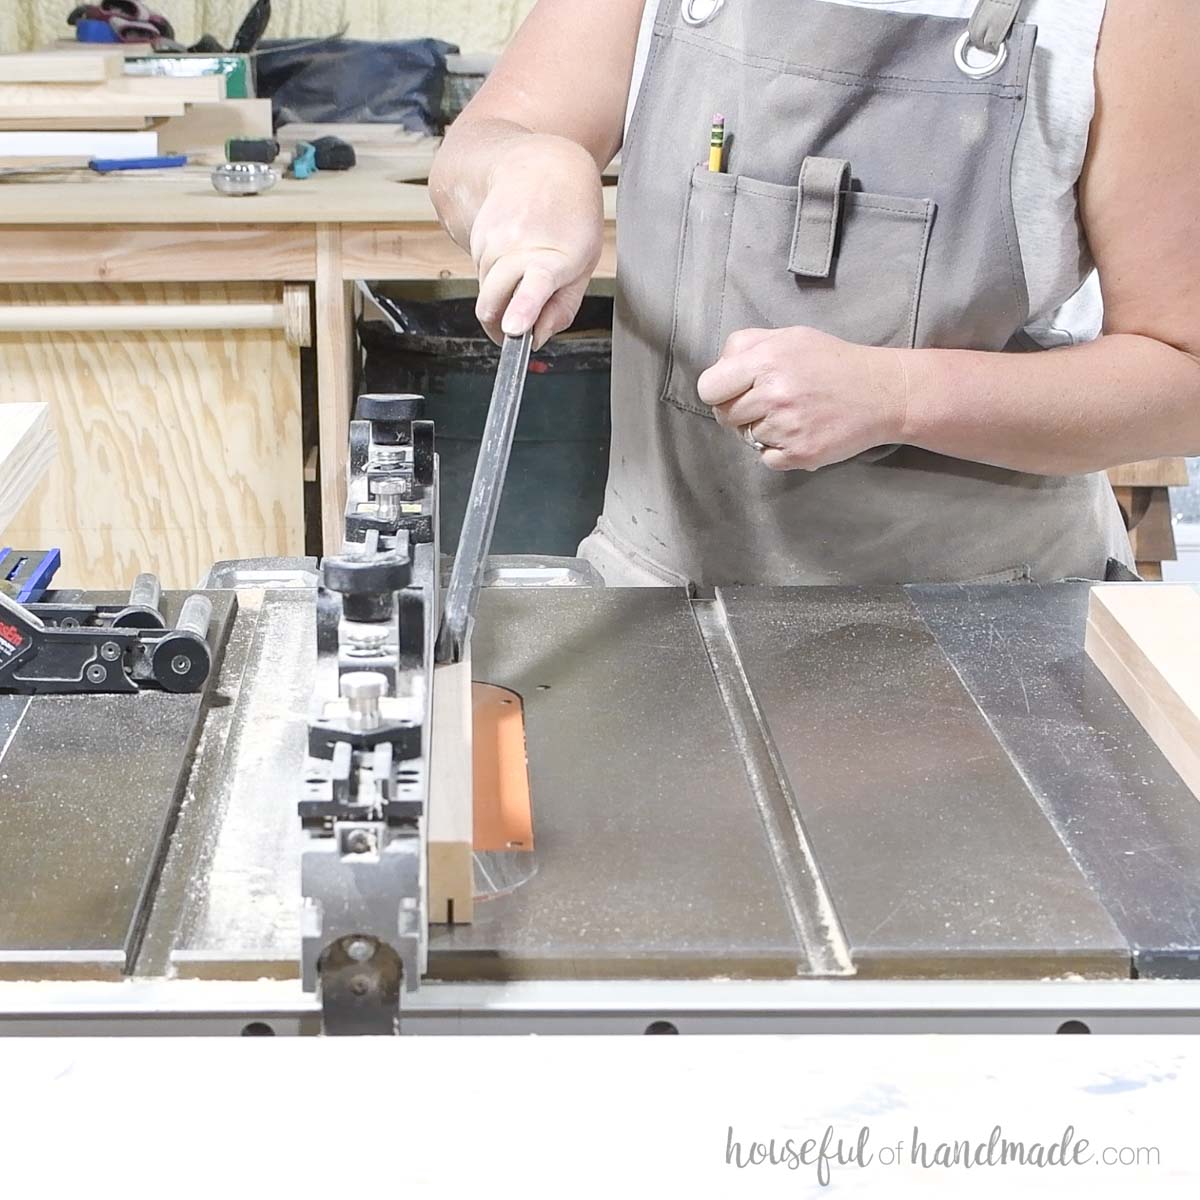
Set your table saw blade so it is only 1/2″ deep. Then set the fence so it will cut in the center top edge of the boards.
Run the top of each board through the table saw just once for a thin cut down the center.
STEP 2- Glue boards together
Add glue to the entire back side of the 1×2 board.
I love the Rockler glue bottle with roller for applying glue to a wider surface.
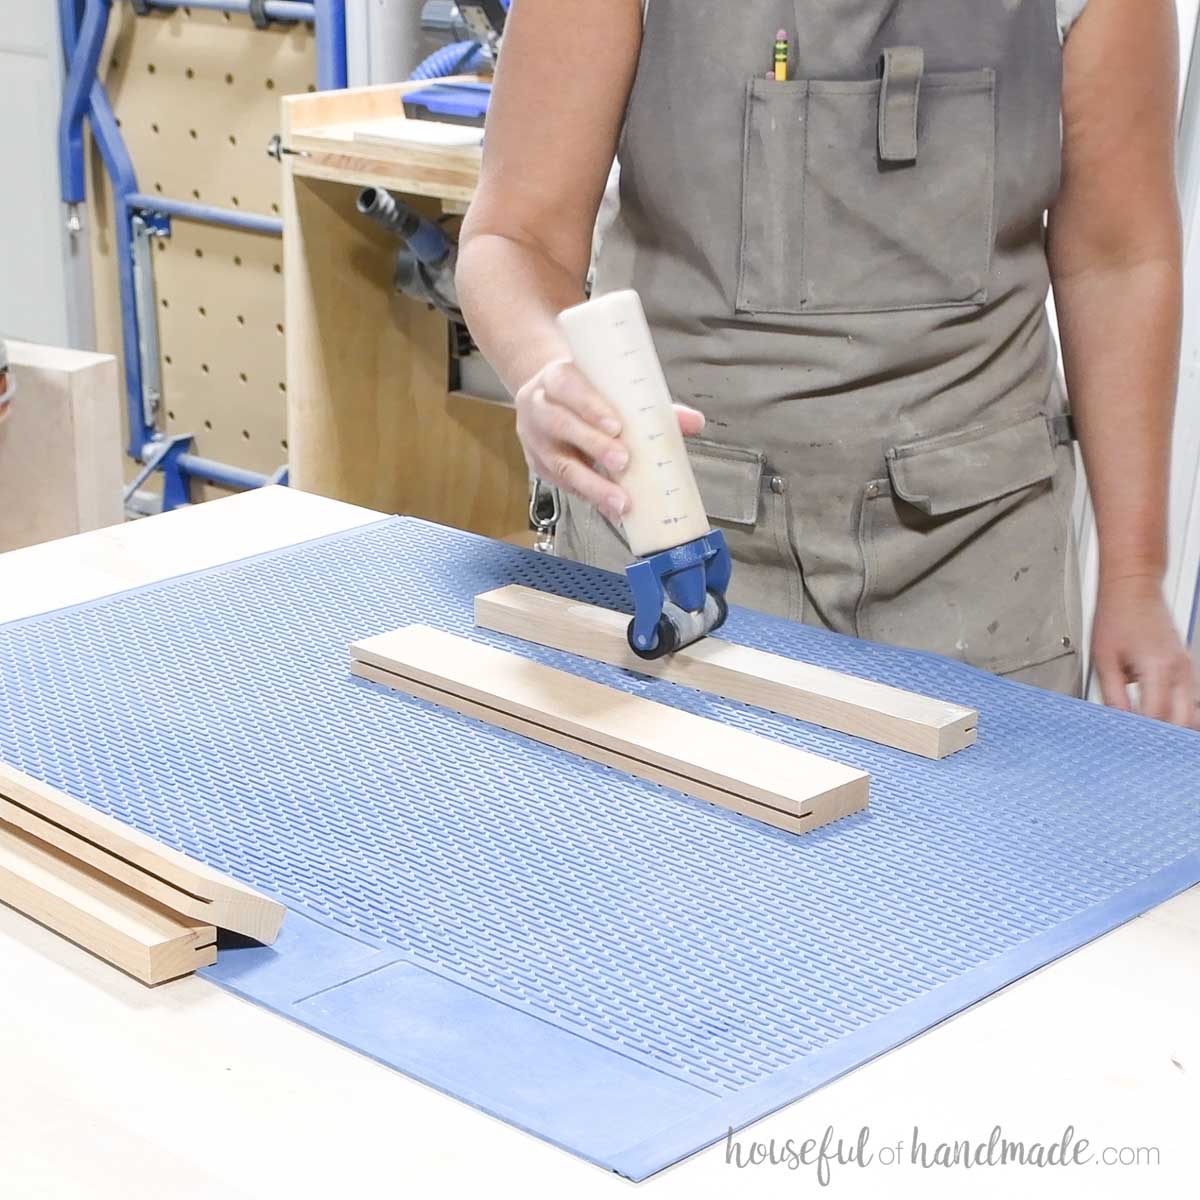
Then place the 1×2 on the top of the 1×3 so they are flush on the bottom and the sides. The top with the grooves will create a step.
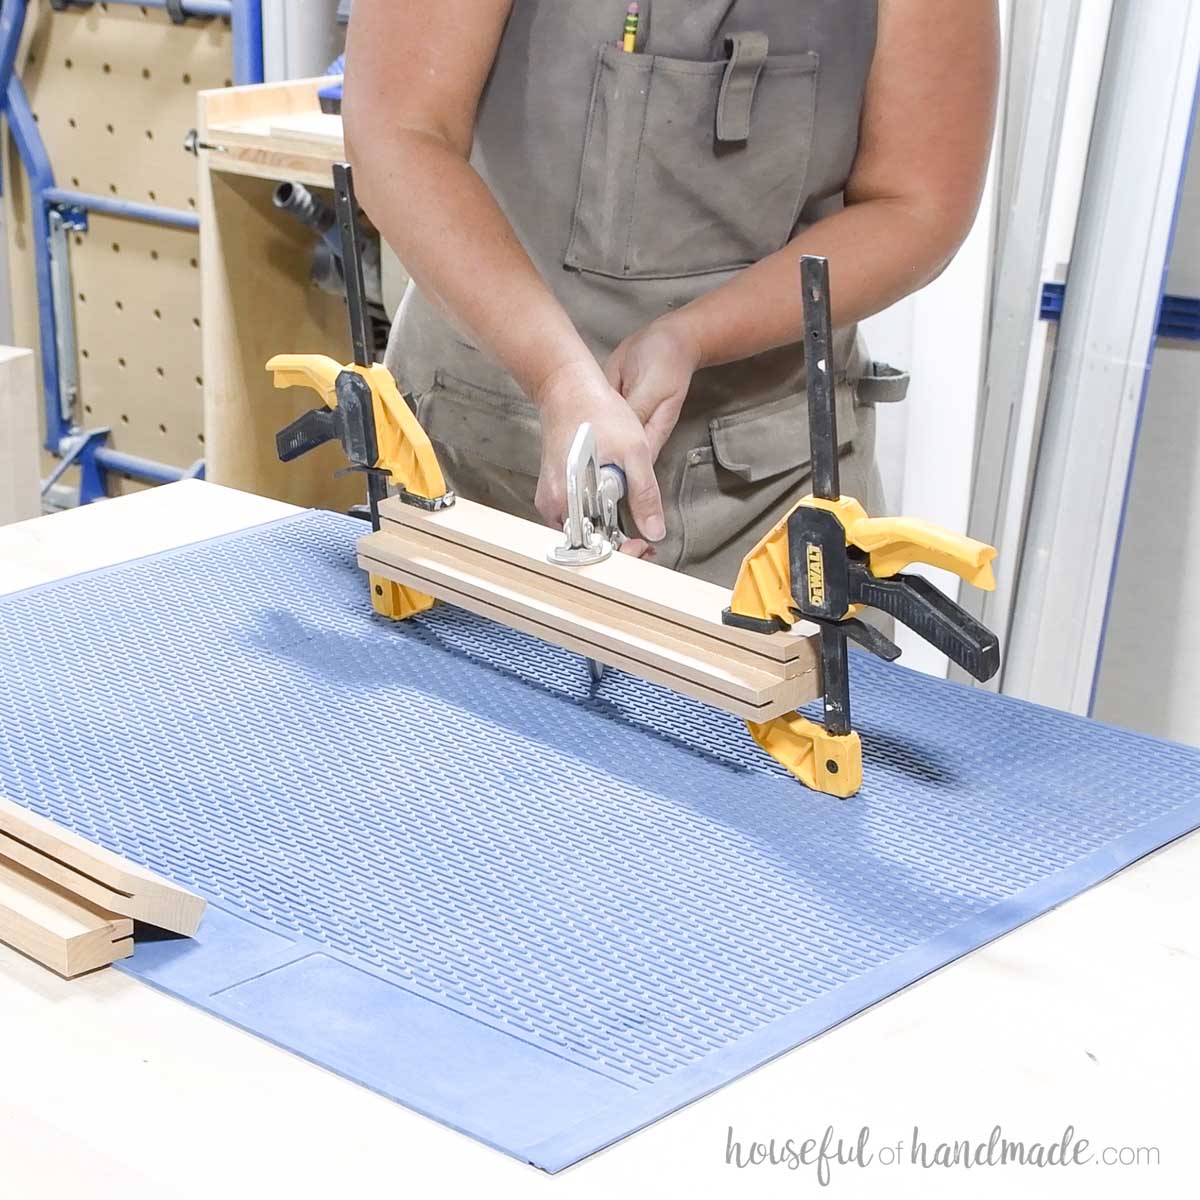
Clamp the boards tight so you get some glue squeeze out.
EXPERT TIP:
The board will try to move on you when clamping because if the glue. I like to squeeze each clamp just barely firm first. Then once all clamps are barely on, you can tighten to get squeeze out with minimal movement.
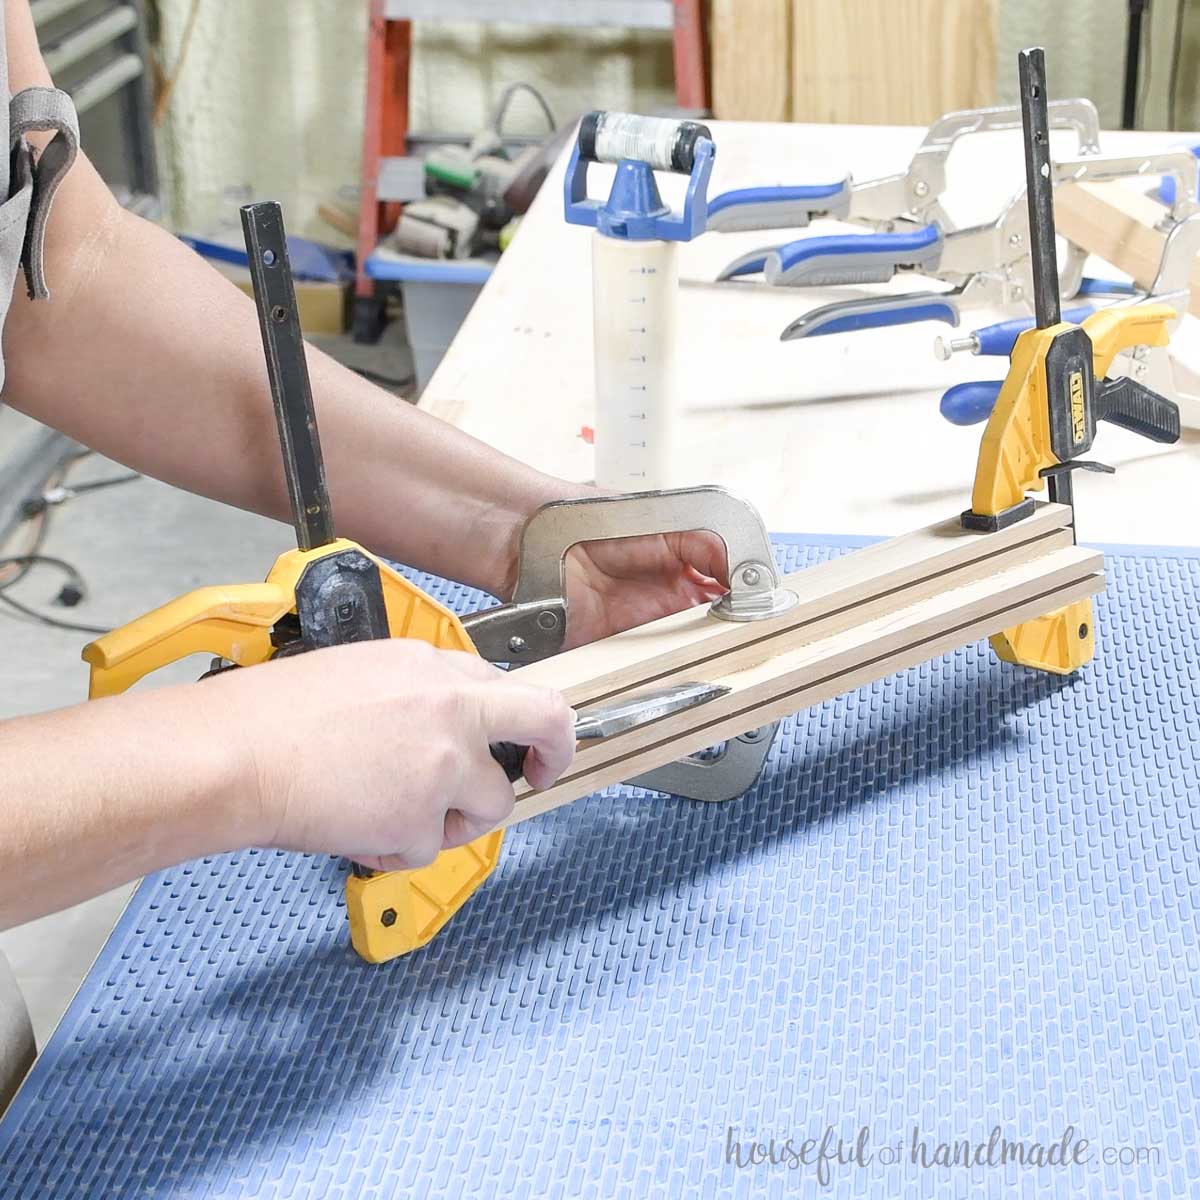
Let the glue dry for 10-20 minutes, then remove the squeeze out on the step with a chisel.
If you wait too long, the glue will be very hard and harder to remove. If the glue is still liquid, it will just smear.
Let the glue fully dry before removing the clamps.
STEP 3- Sand and finish
Sand the finished playing card holder smooth.
I decided to the words “no peeking” to the back of my holders to make them more playful.
I used my Silhouette vinyl cutter to cut the design from some scrap vinyl. Then transferred the vinyl stencil to the wood with transfer paper.
EXPERT TIP:
To prevent the stain from bleeding under your stencil, use a water based wood stain. I used a black colored stain and it give the appearance the design was burned into the wood.
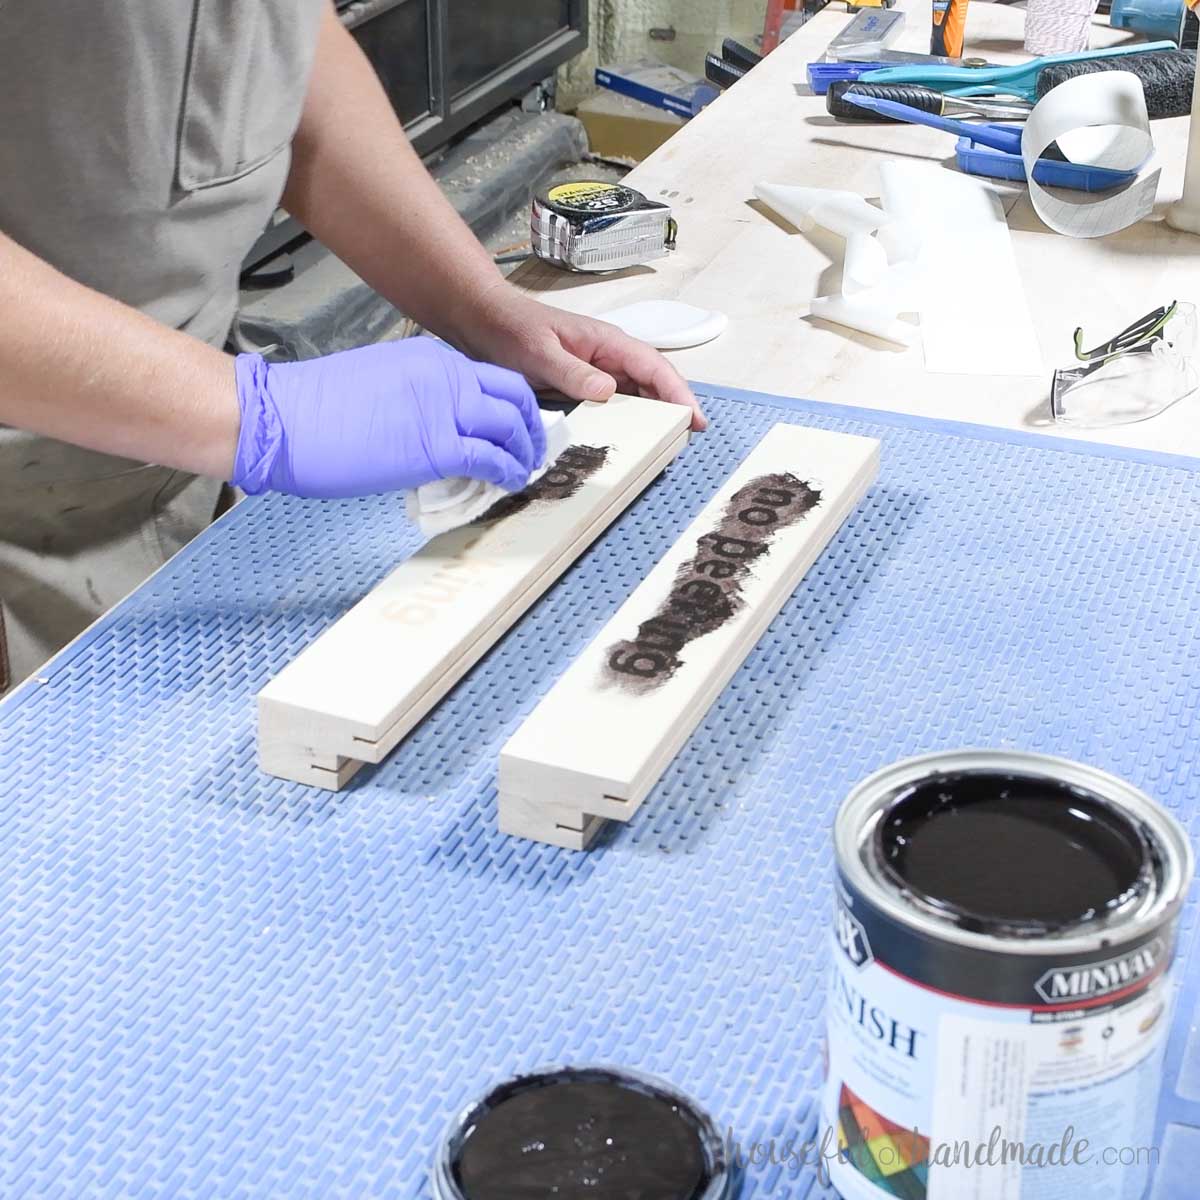
Once the stain is applied, carefully wipe away any excess.
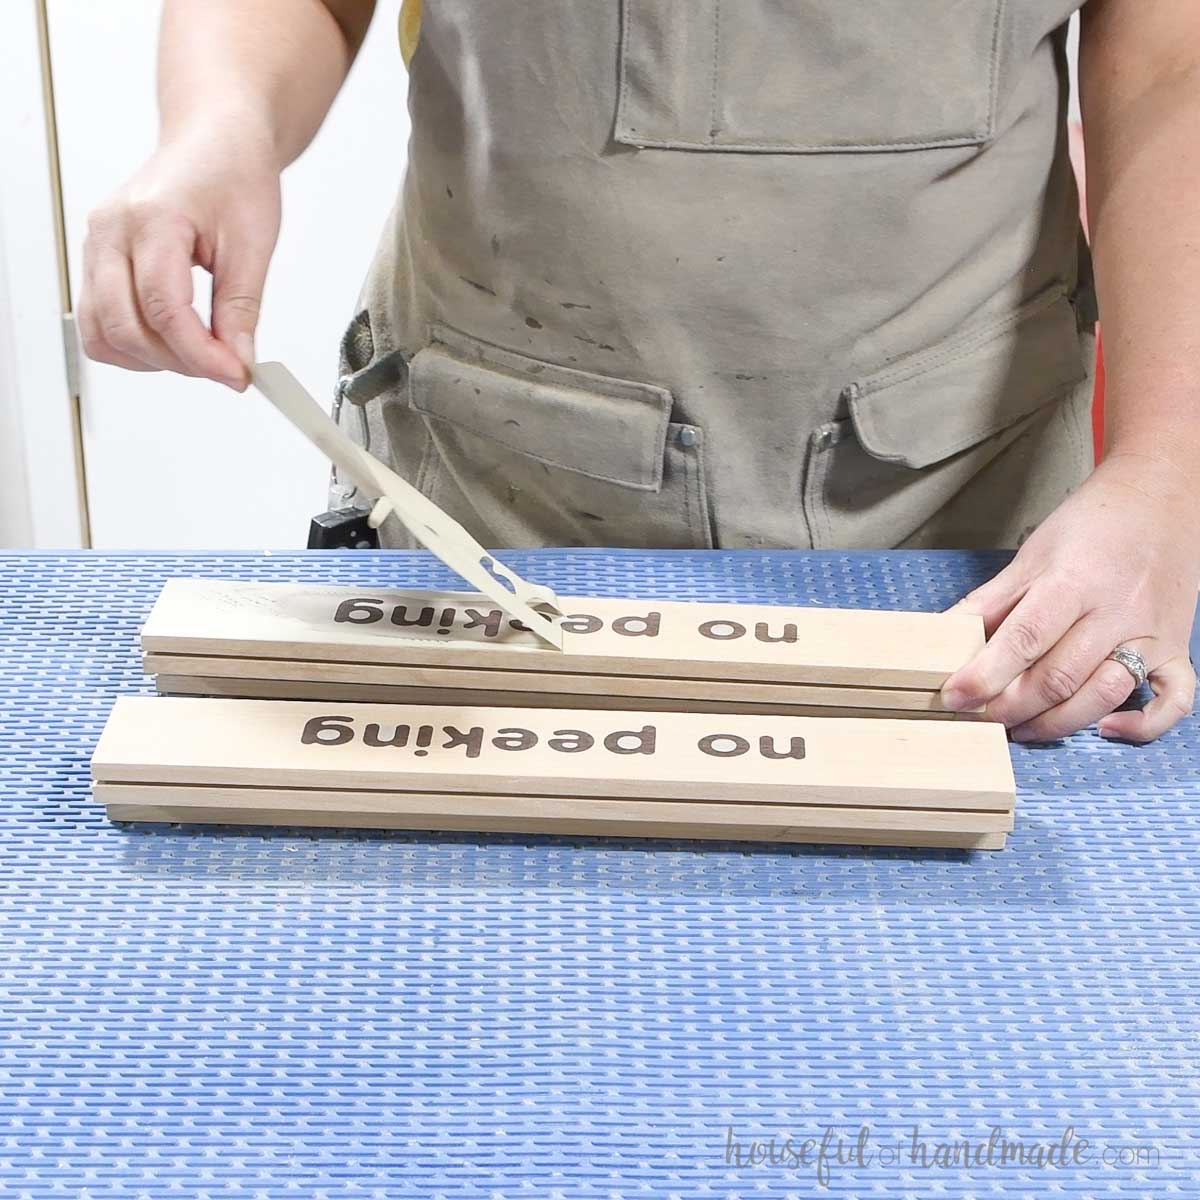
Then peel the vinyl stencil from the wood to reveal your design.
Finish off the card holders by sealing the wood. I used Tried & True Sealer and it was easy to apply with a rag, especially in the groove, and left no drips.
You did it!
Now your DIY playing card holders are done.
They will make perfect stocking stuffers or gifts. I am going to pair them with a fun new card game for hours of fun.
Happy building!


