Do you have a place to unload all the things when you come in your door?
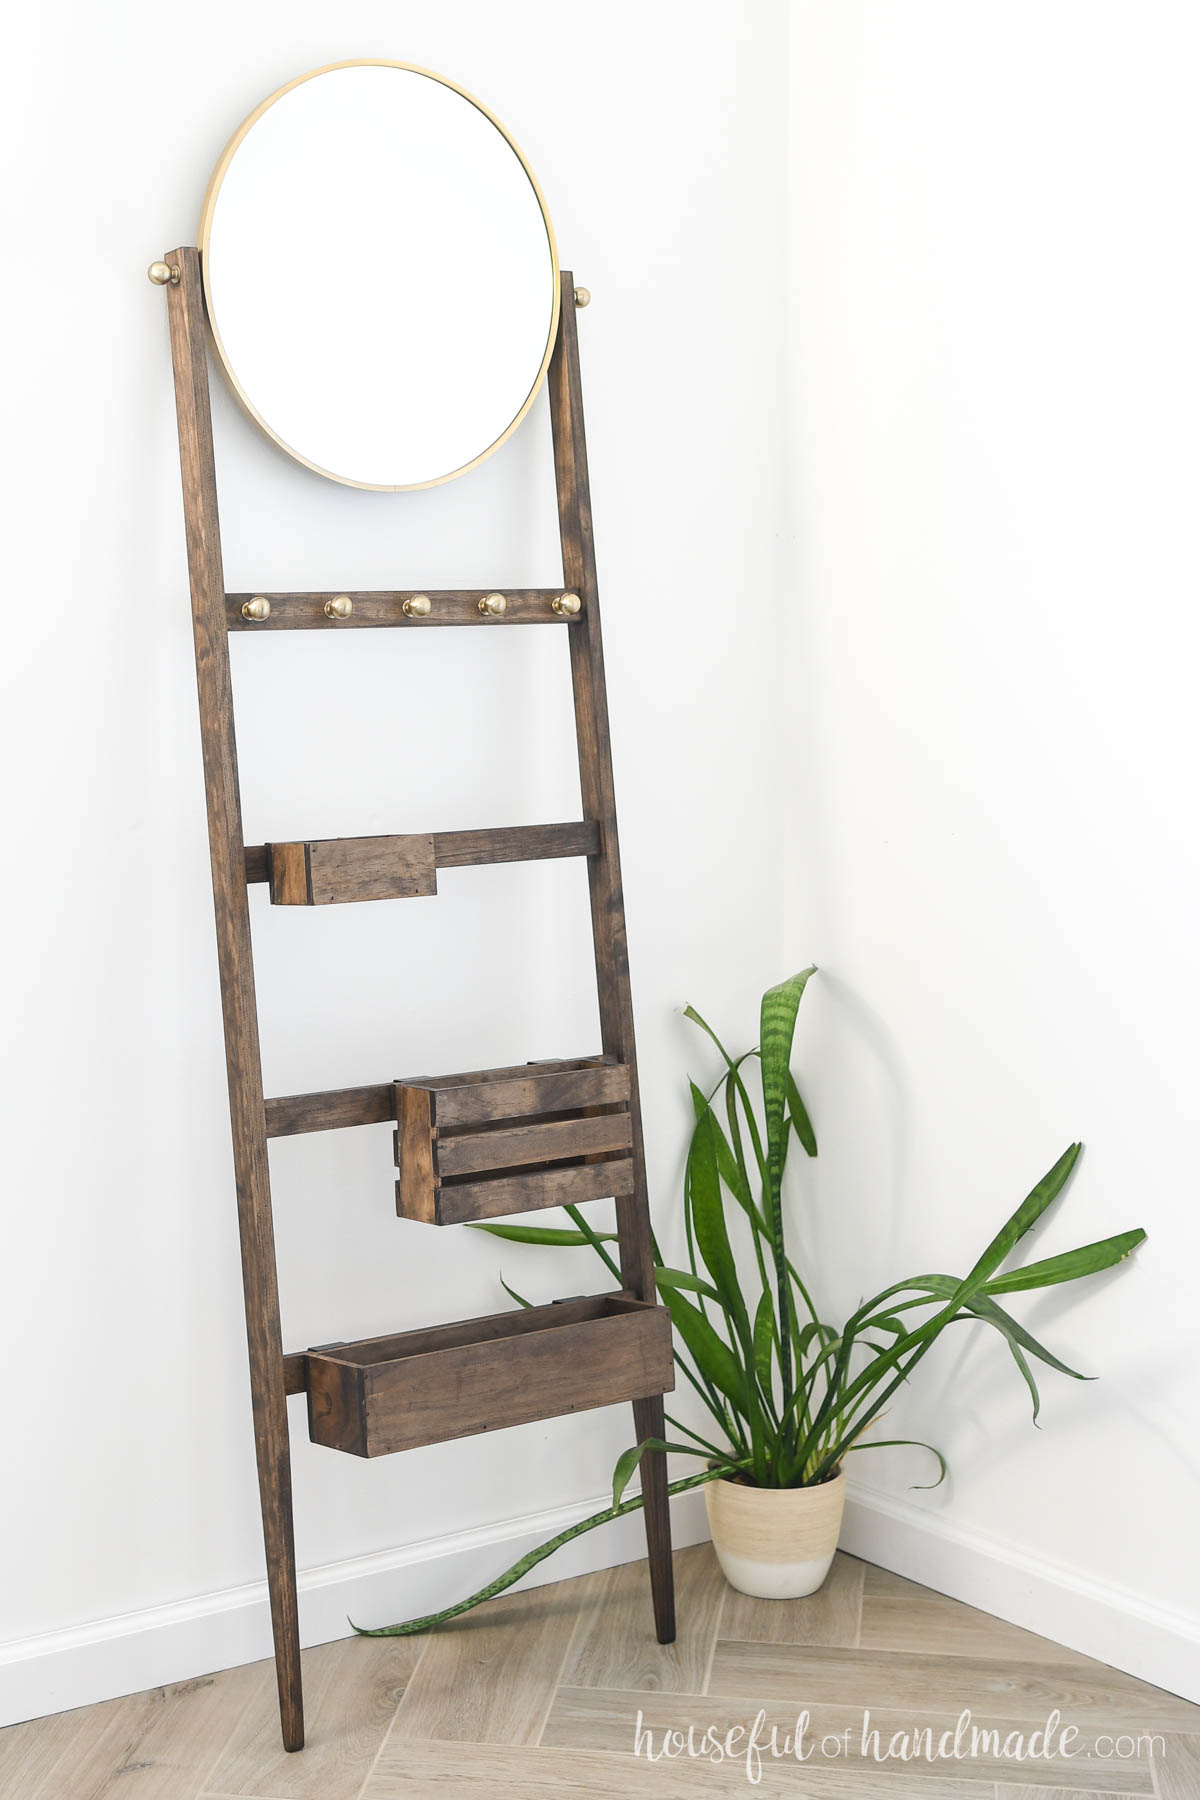
If you are looking for the perfect entryway storage that is beautiful and practical, you will love this modern ladder.
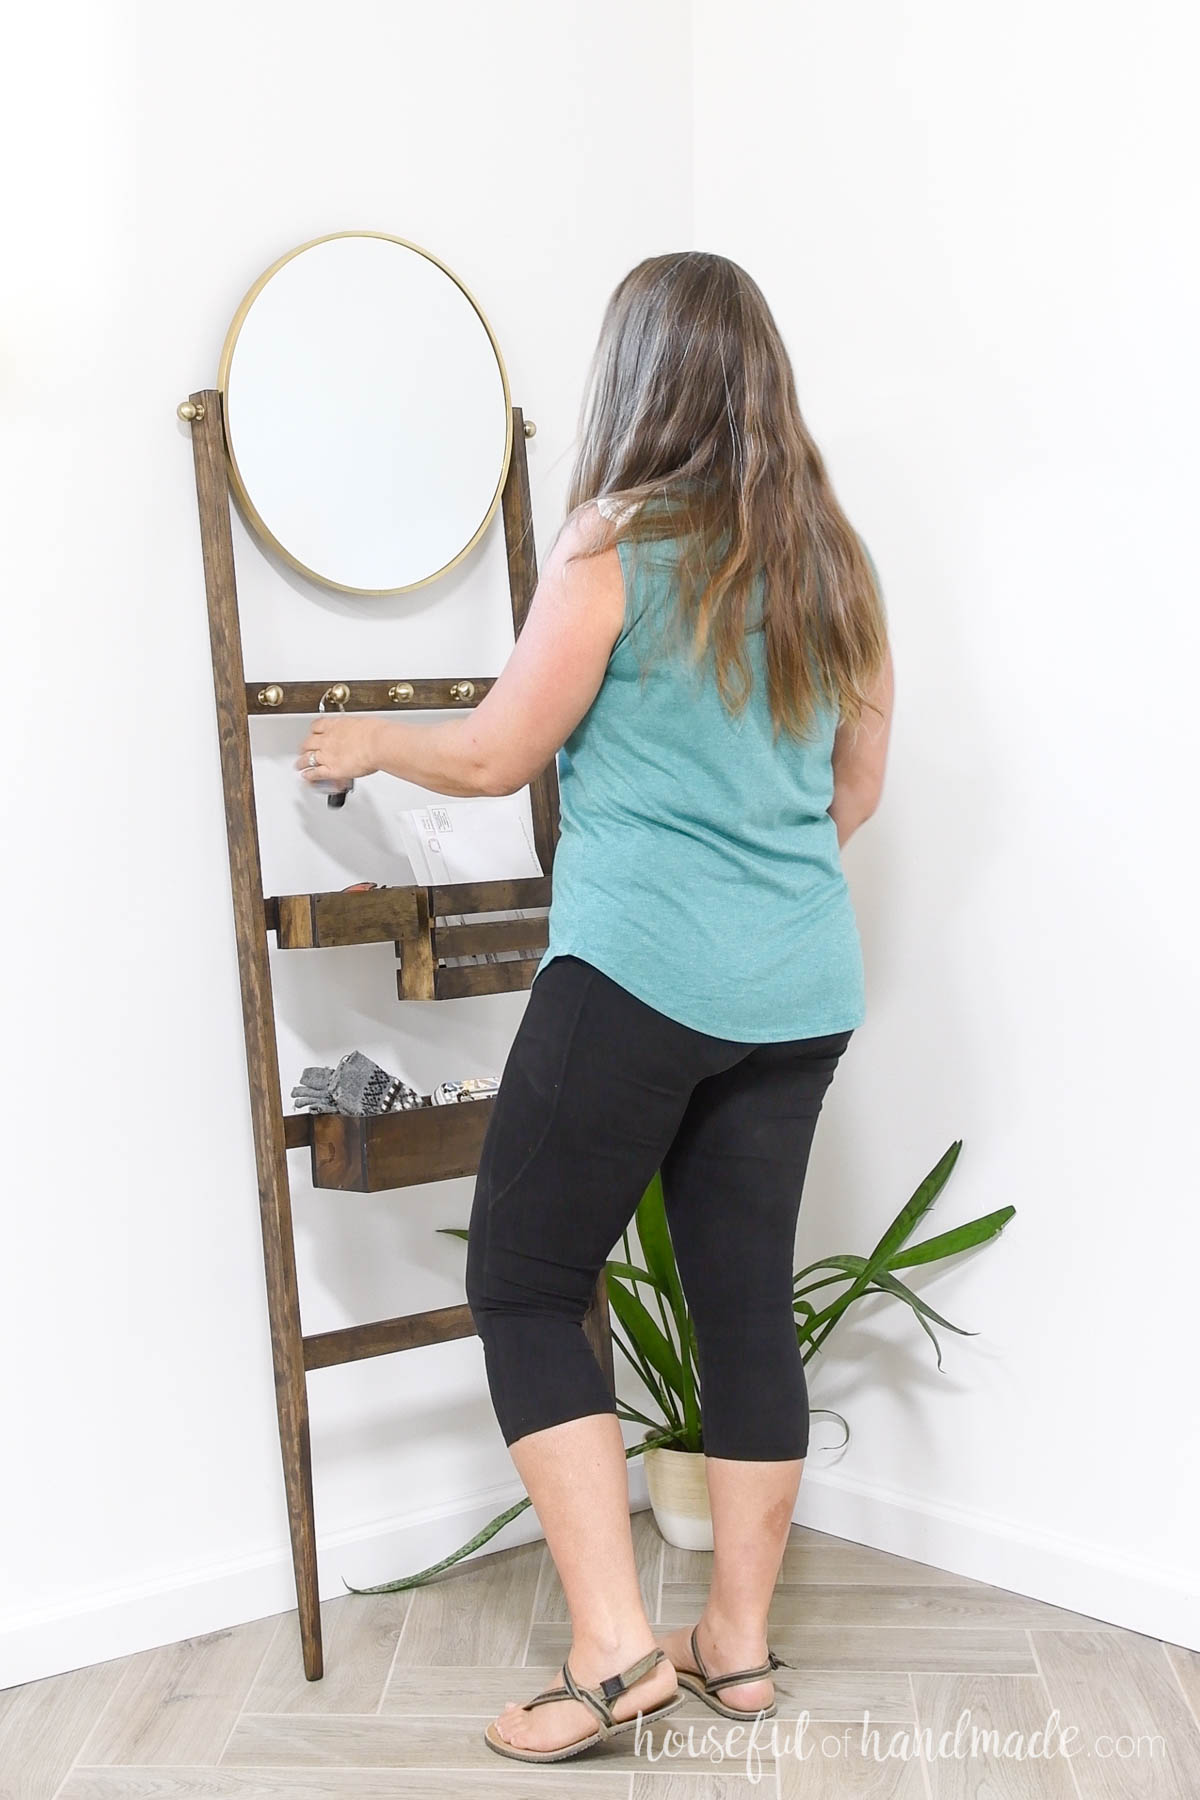
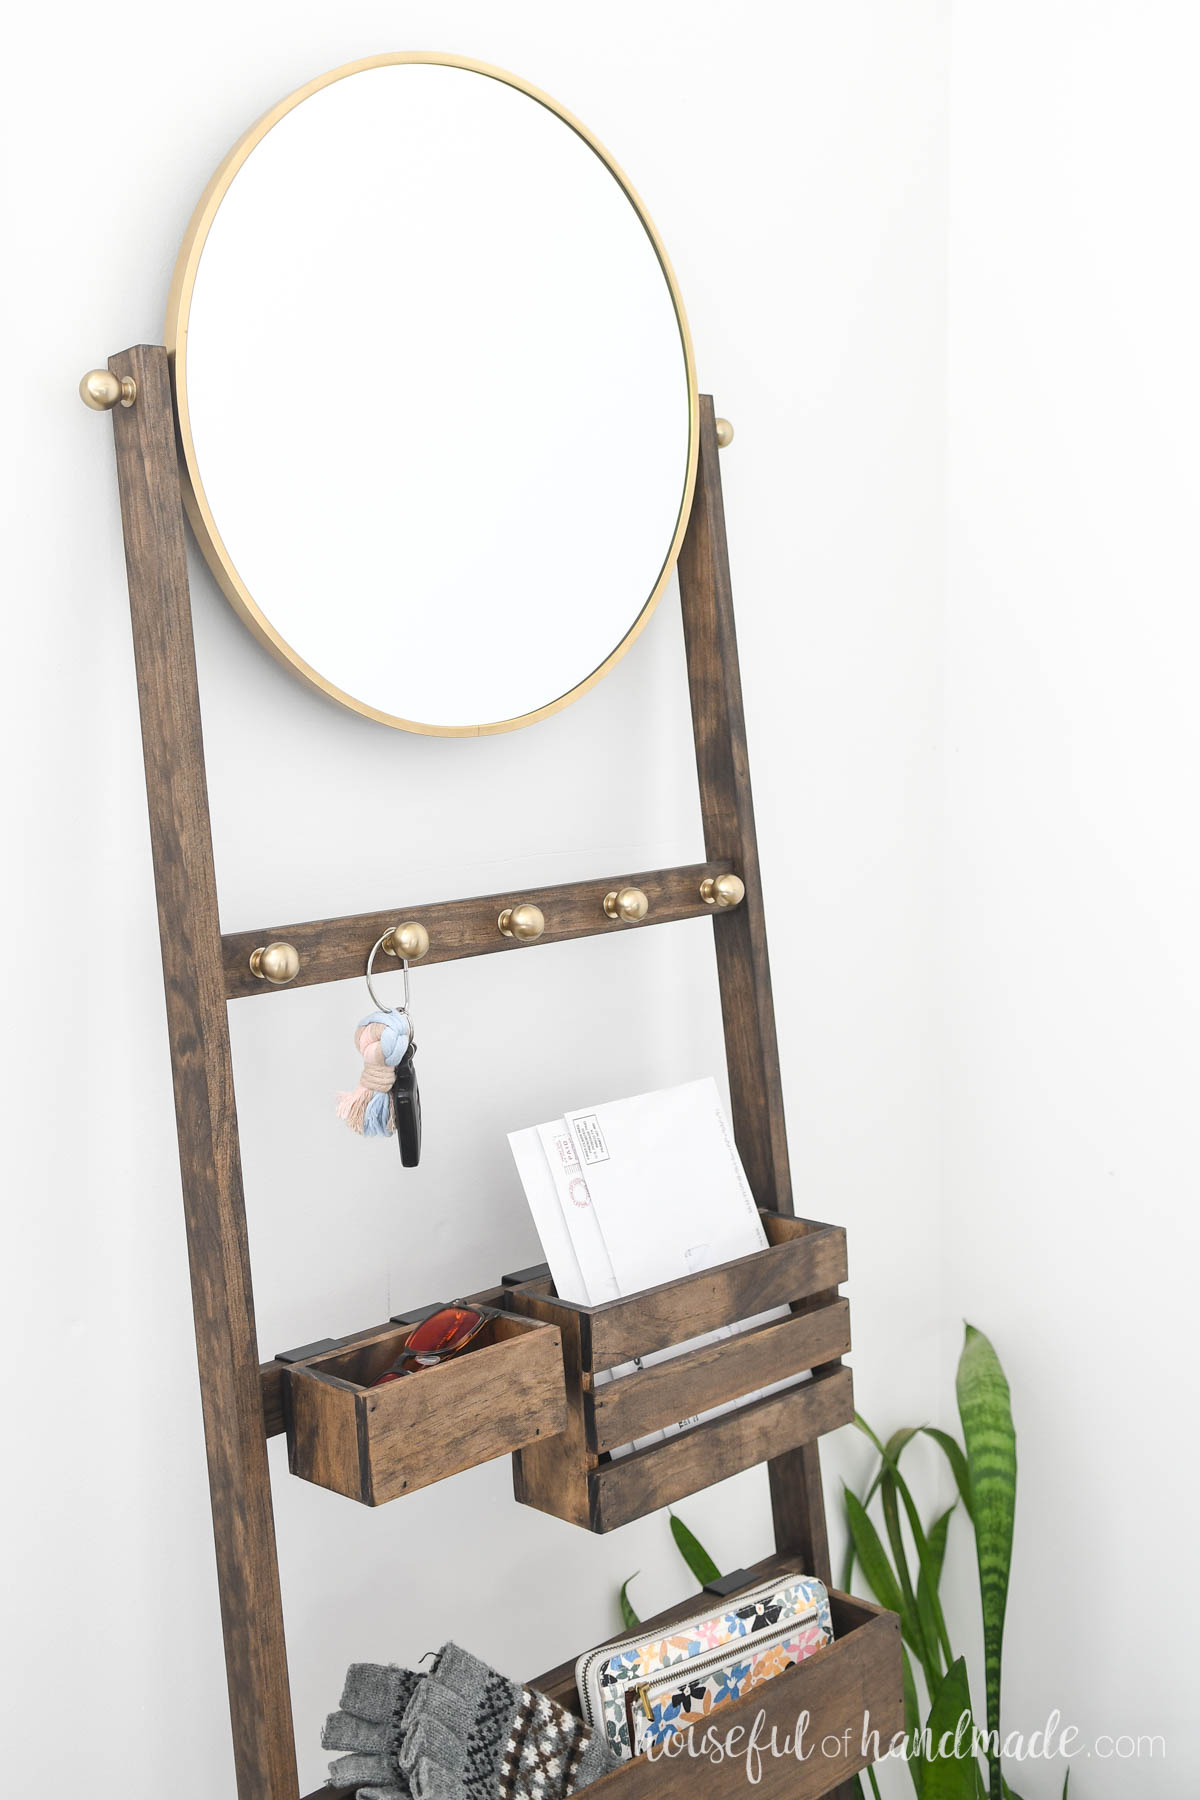
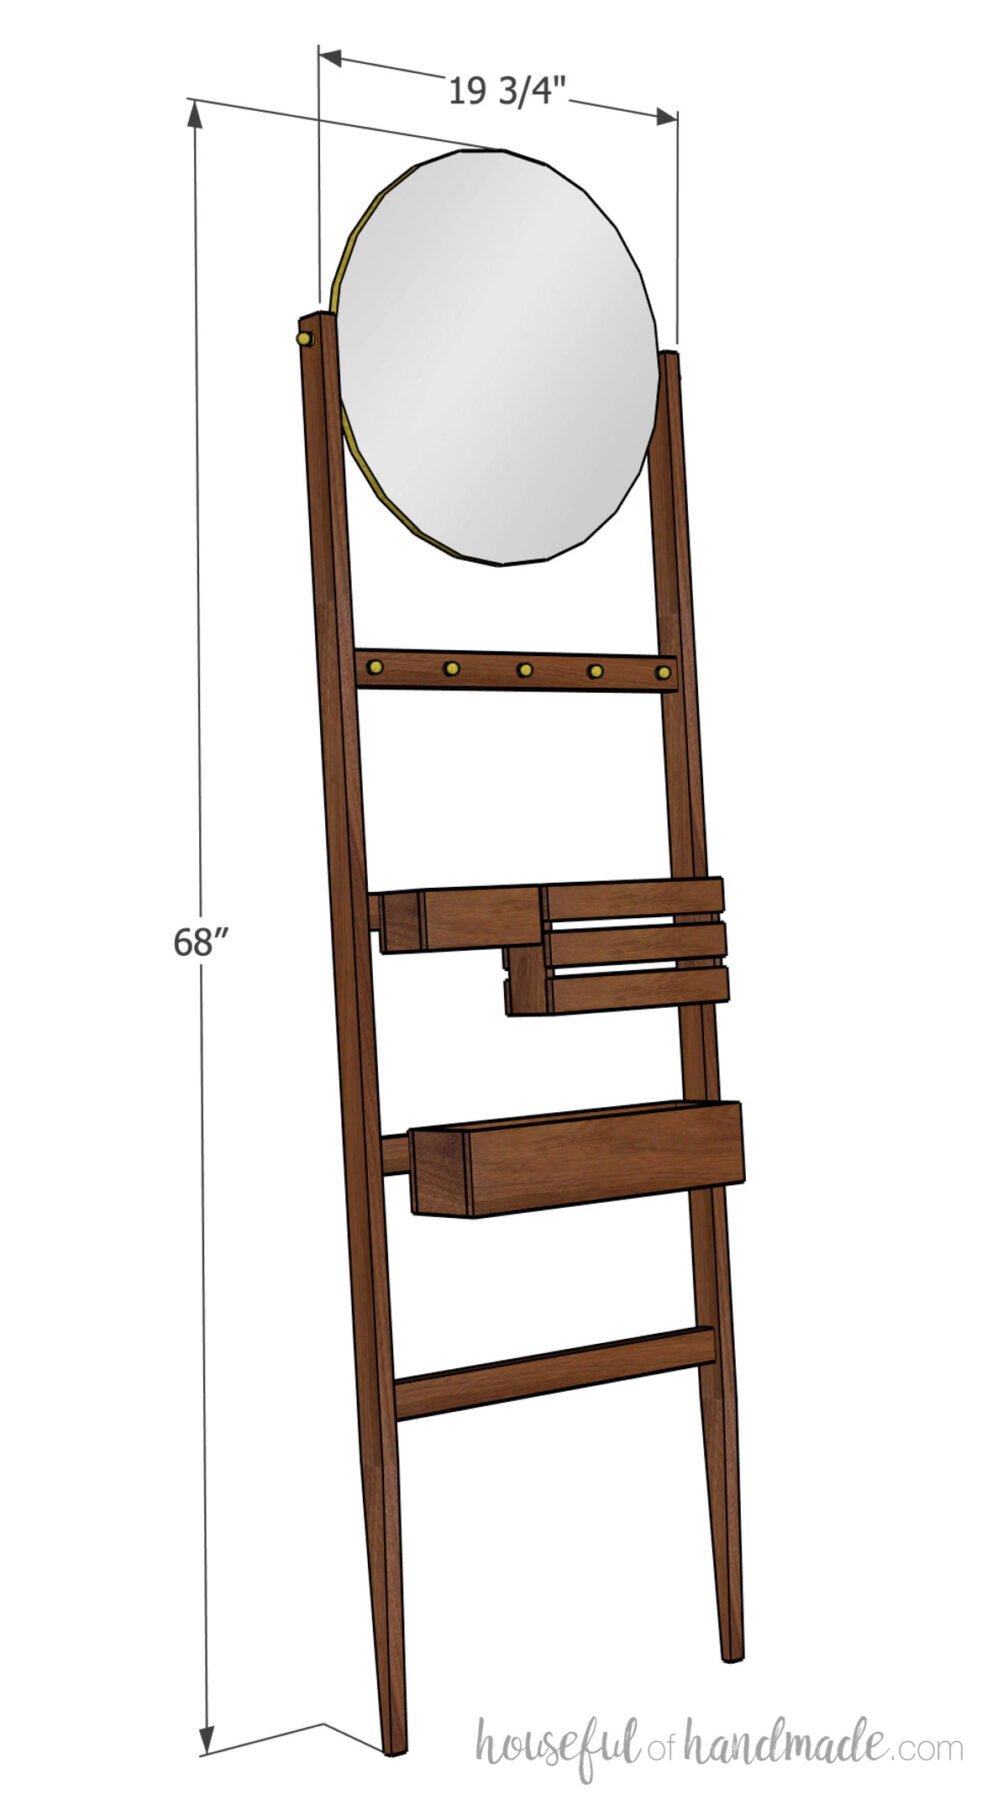
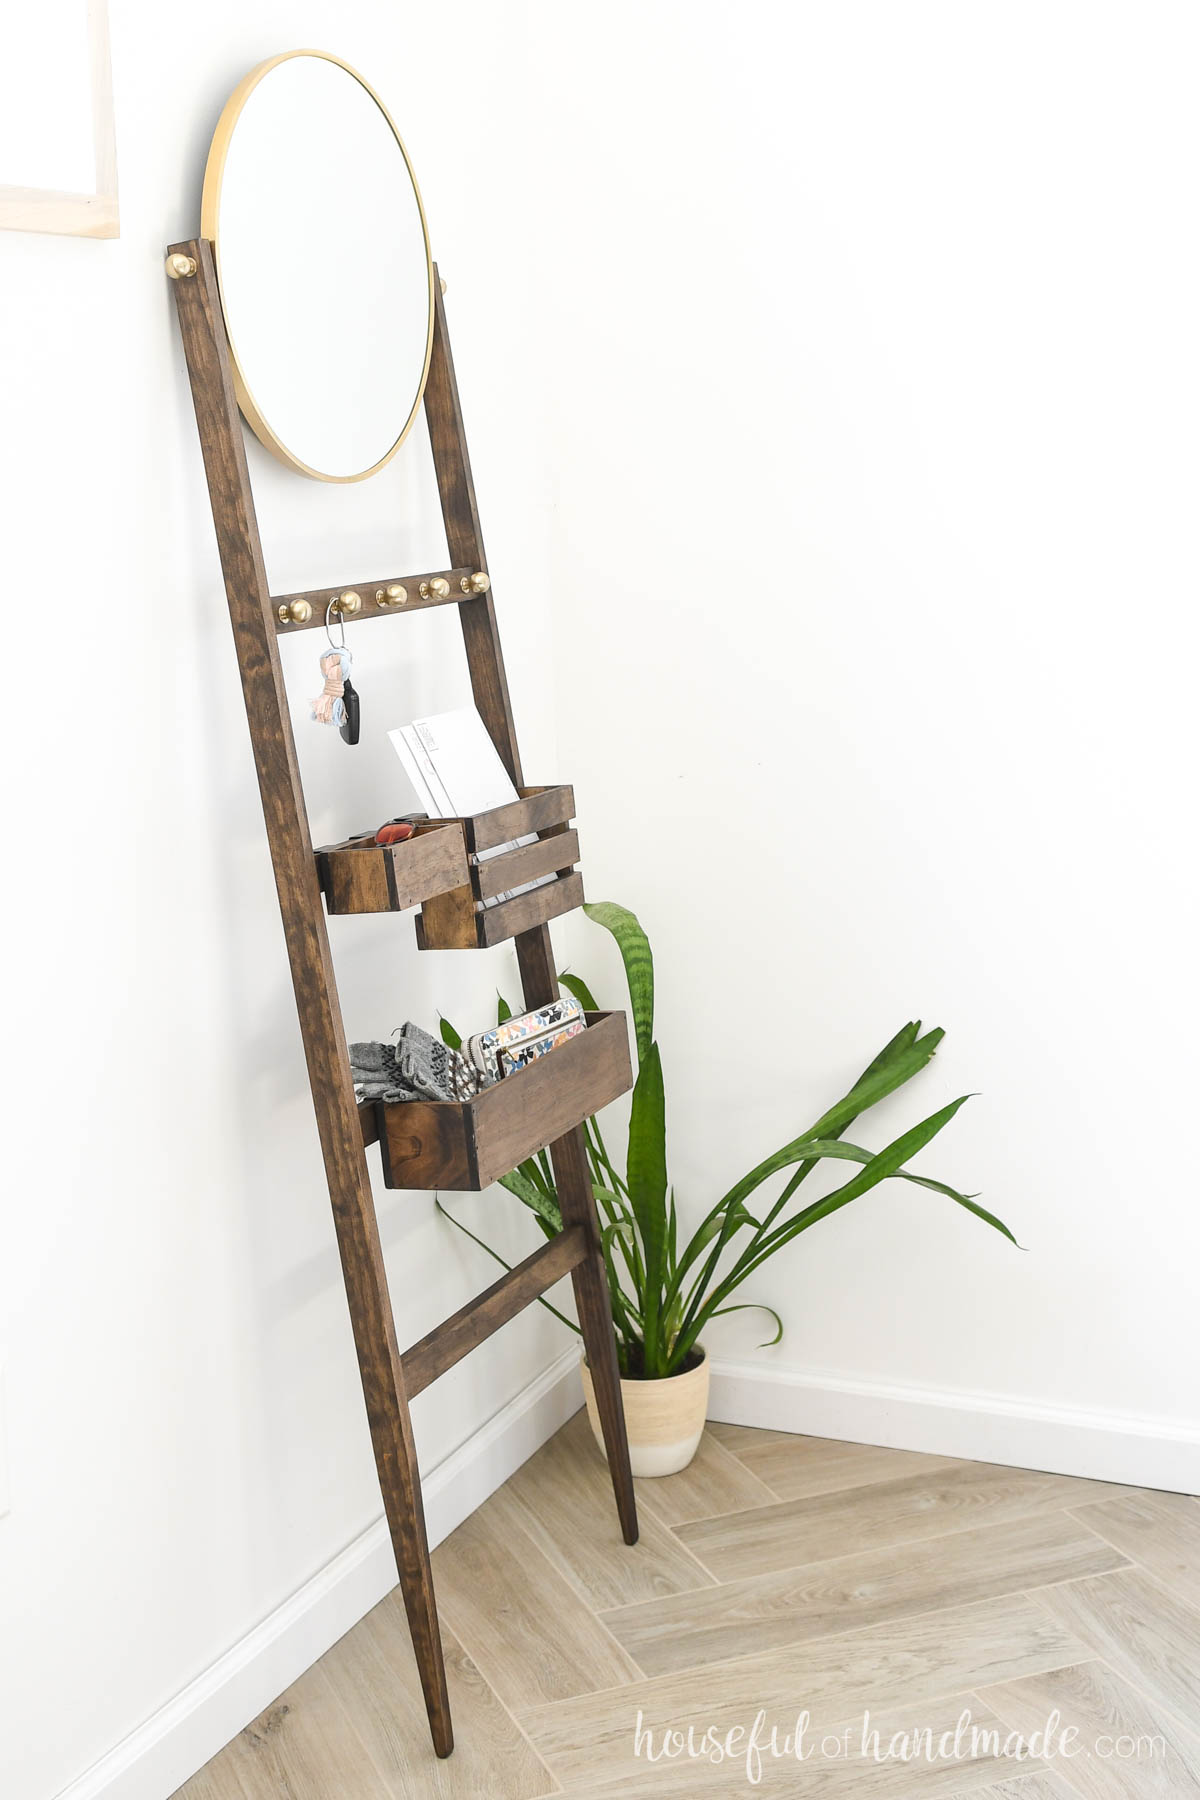
The entry ladder has a large mirror on top so you can double check your face before leaving the house. And it has hooks and adjustable bins below to store your sunglasses, wallet, mail and more.
This post may contain affiliate links. As an Amazon Associate I earn from qualifying purchases. Click here to read my full disclosure policy.
Entryway Drop Zone
If you don’t have a place to drop things you carry in the house, they will end up piling up somewhere.
The perfect way to prevent piles on your countertop, coffee table or floor is to have a drop zone. But if you have a small space, you need a small piece with lots of functional storage.
A storage ladder is perfect for a small entry!
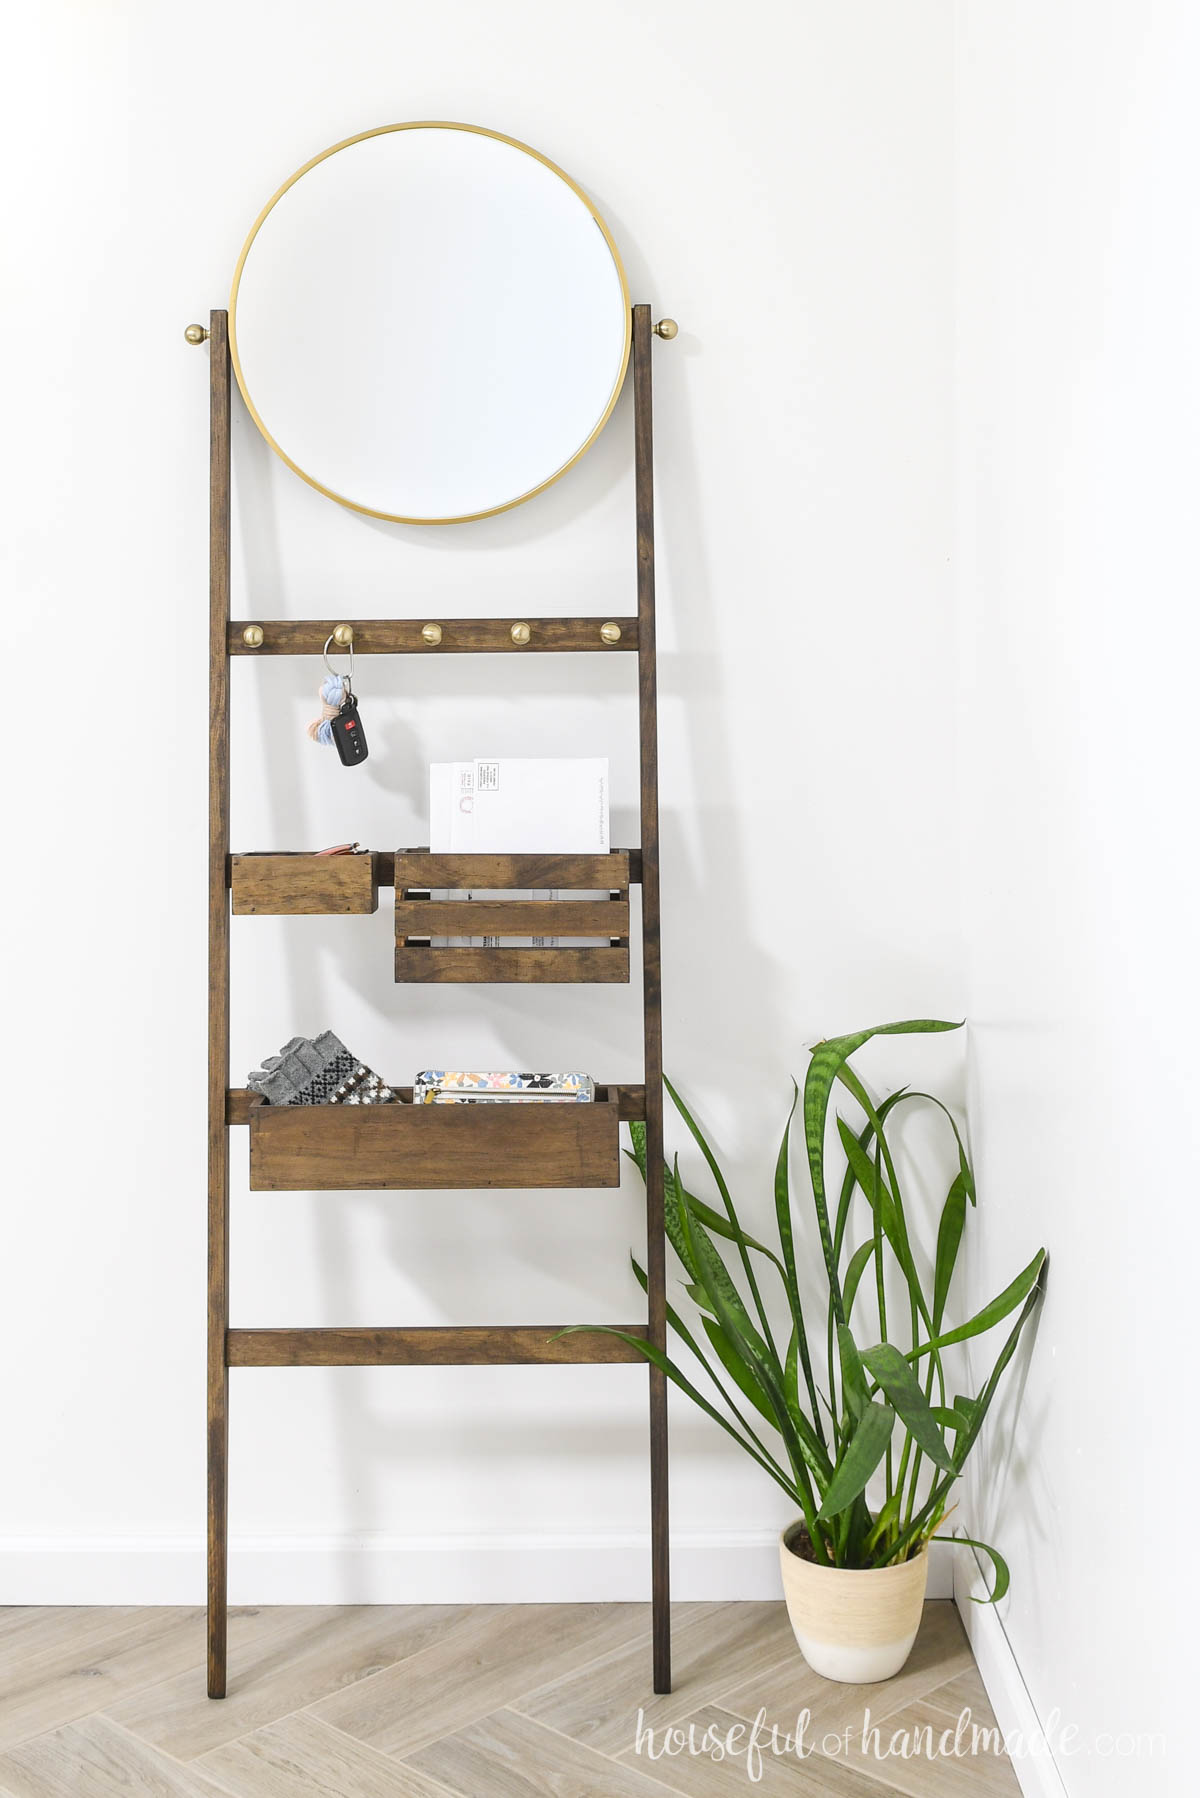
This ladder has everything you need to keep your entry clutter free.
There are lots of hooks for hanging keys, umbrellas, handbags and more.
Then below there are different types of bins that are adjustable. You can hang them on the rungs to hold gloves, sunglasses, mail and more.
And finally, the top has a large mirror so you can always check your hair and makeup on your way out.
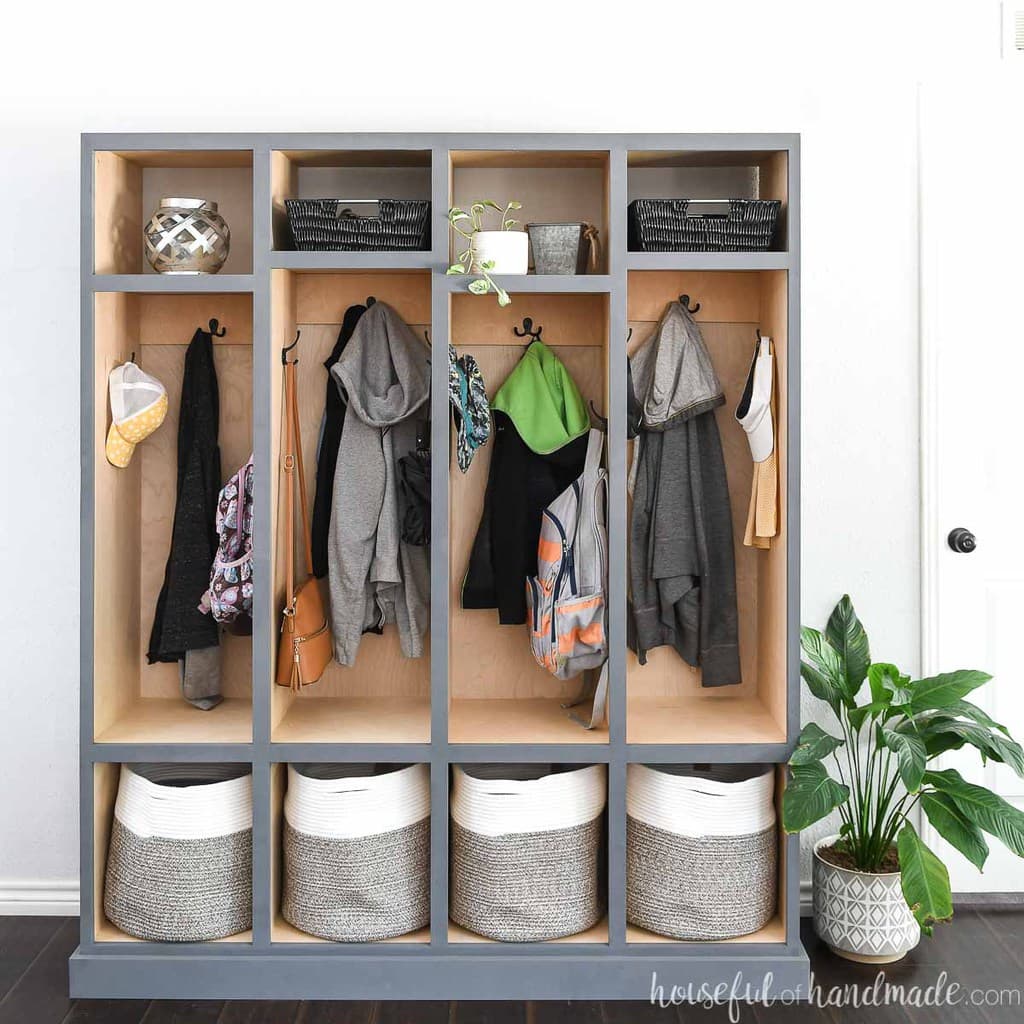
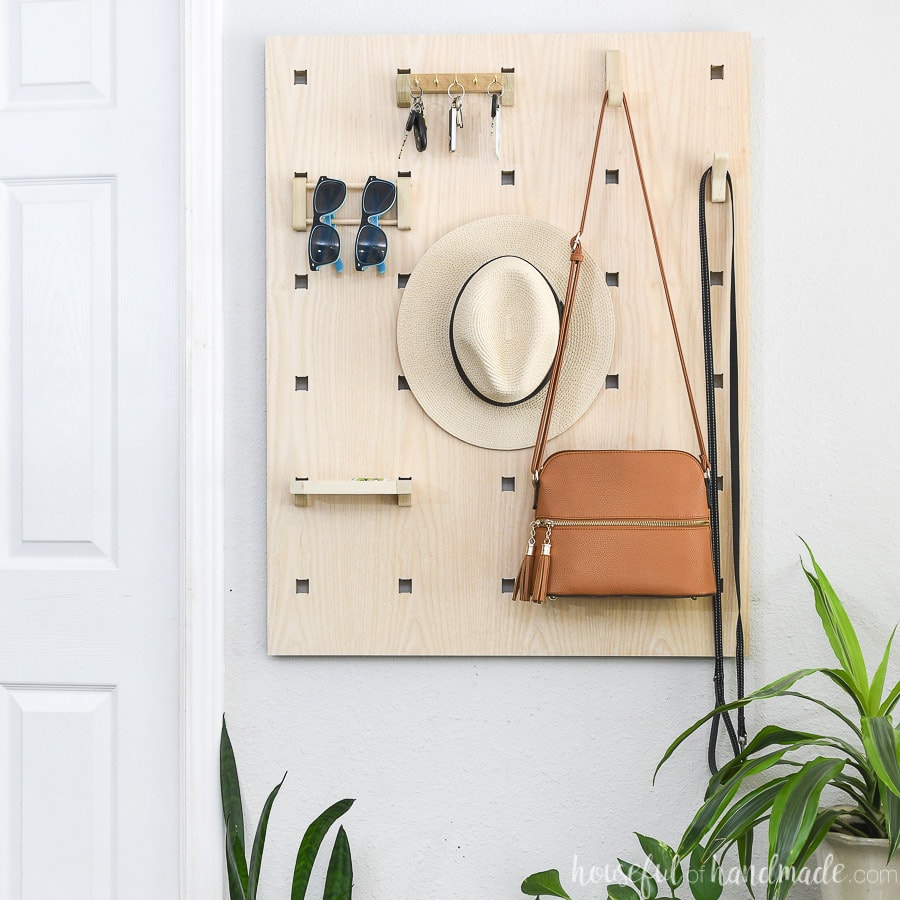
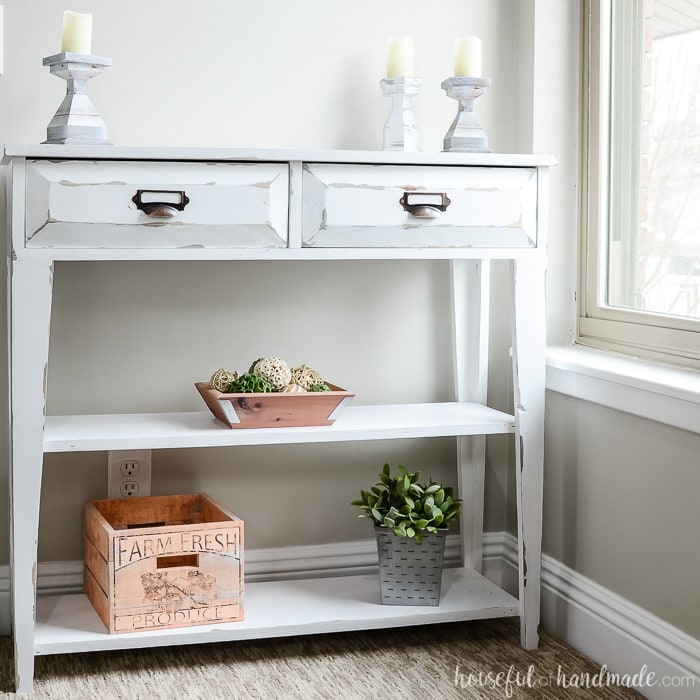
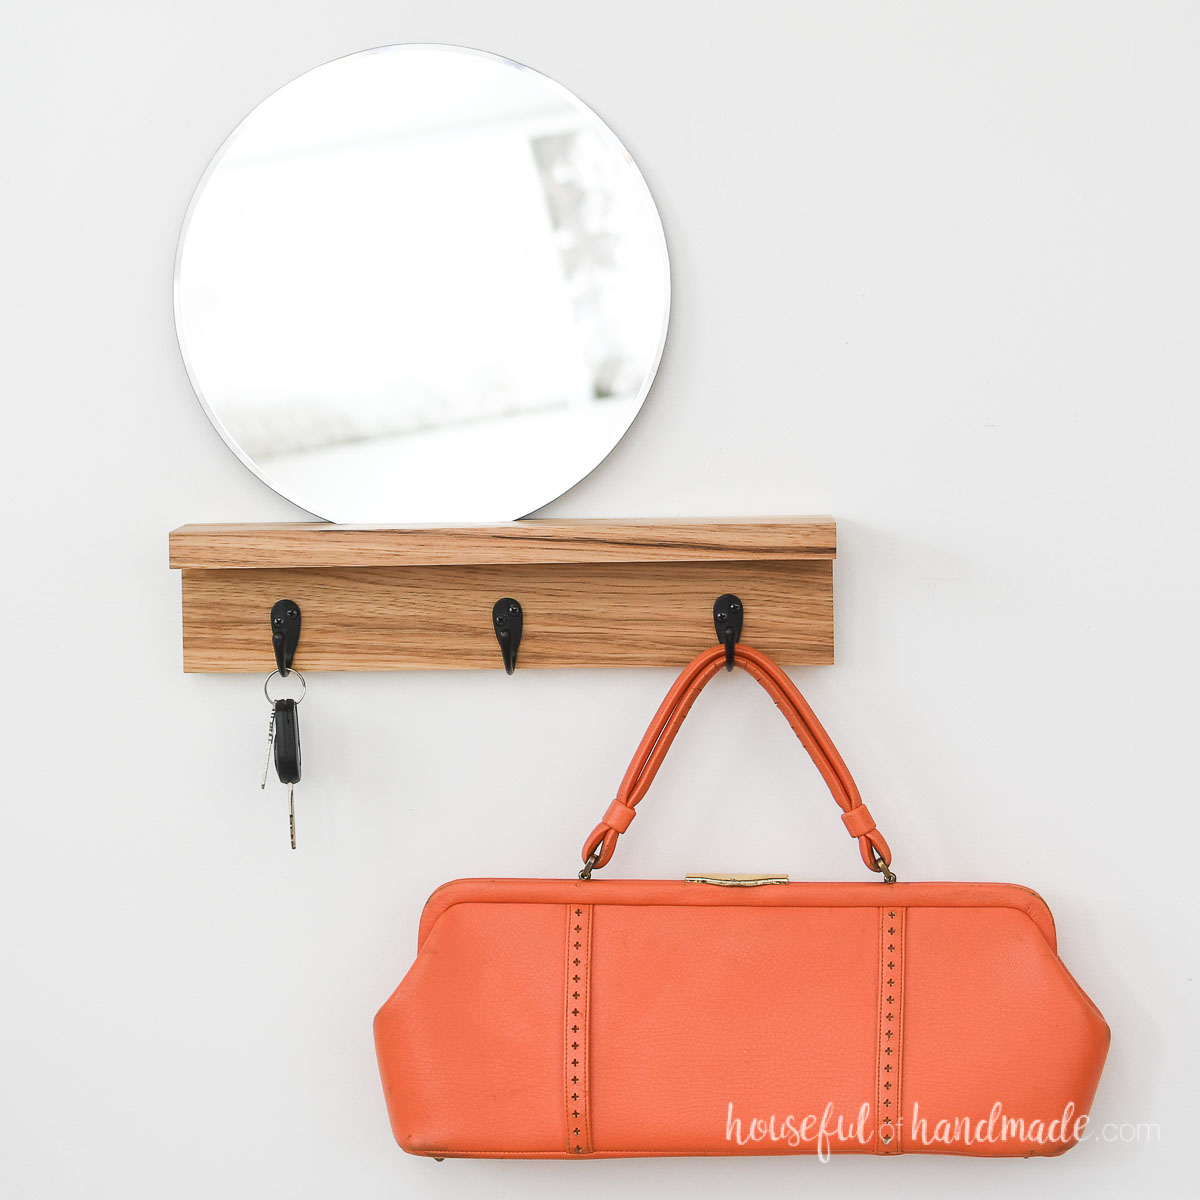
More Entryway Ideas
Need more ways to keep your entryway clean and organized? Check out these other DIY ideas.
How to Build a Storage Ladder
Tools & Materials
Recommended Tools:
- Miter saw
- I recently upgraded to this larger sliding miter saw (watch for it to go on sale), but all my projects before were built with this inexpensive miter saw that I loved.
- Circular saw
- Pocket hole jig
- Drill
- Impact driver (optional, but I love not having to switch bits with the drill)
- Brad nailer
- Speed square
- Multi-mark measuring tool
- Right angle clamp
- Sander
Supplies:
- Wood products
- (3) 1×2 boards, 8′ long
- (2) 3/8″ x 4 project boards, 3′ long
- (2) 3/8″ x 3 project boards, 3′ long
- (2) 3/8″ x 2 project boards, 3′ long
- 1 1/4″ pocket hole screws
- 1″ brad nails
- 3/8″ #6 wood screws
- Wood glue
- (7) small knobs
- (6) 1″ square wall hangers
- 18″ round mirror
- Construction adhesive for mirrors/wood
- (2) D-ring picture hangers
- (2) heavy duty hook picture hangers
Overall Dimensions
The finished ladder is 60″ tall, and 68″ tall to the top of the mirror. The ladder is 19 3/4″ wide and sticks out from the wall approximately 6-8″ at the bottom.
Cut List
Cut out the pieces according to the easy-to-read table in the PDF plans.

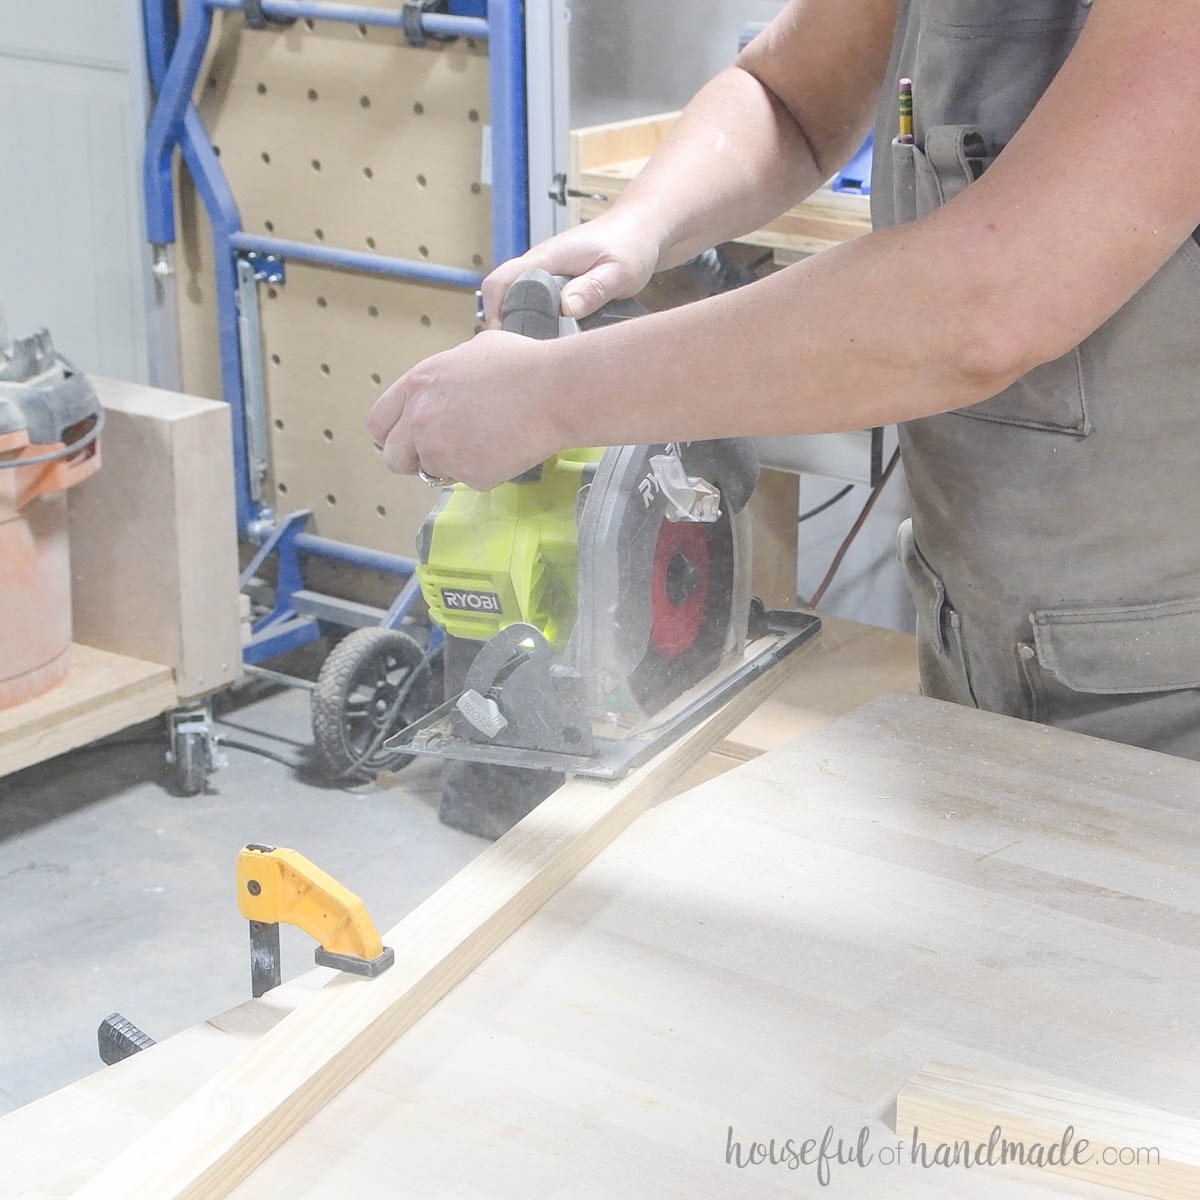
STEP 1- Cut taper in sides
On the bottom of both side boards, measure and mark a taper according to the premium plans. Cut along the line with a circular saw to create a taper.
Sand the paper smooth. I even sanded the bottom so it was slightly rounded.
EXPERT TIP:
I free-cut the taper because it is only for decoration and doesn’t have to be perfect. If you don’t feel comfortable with free-cutting on your circular saw, use a guide to keep your cuts straight.
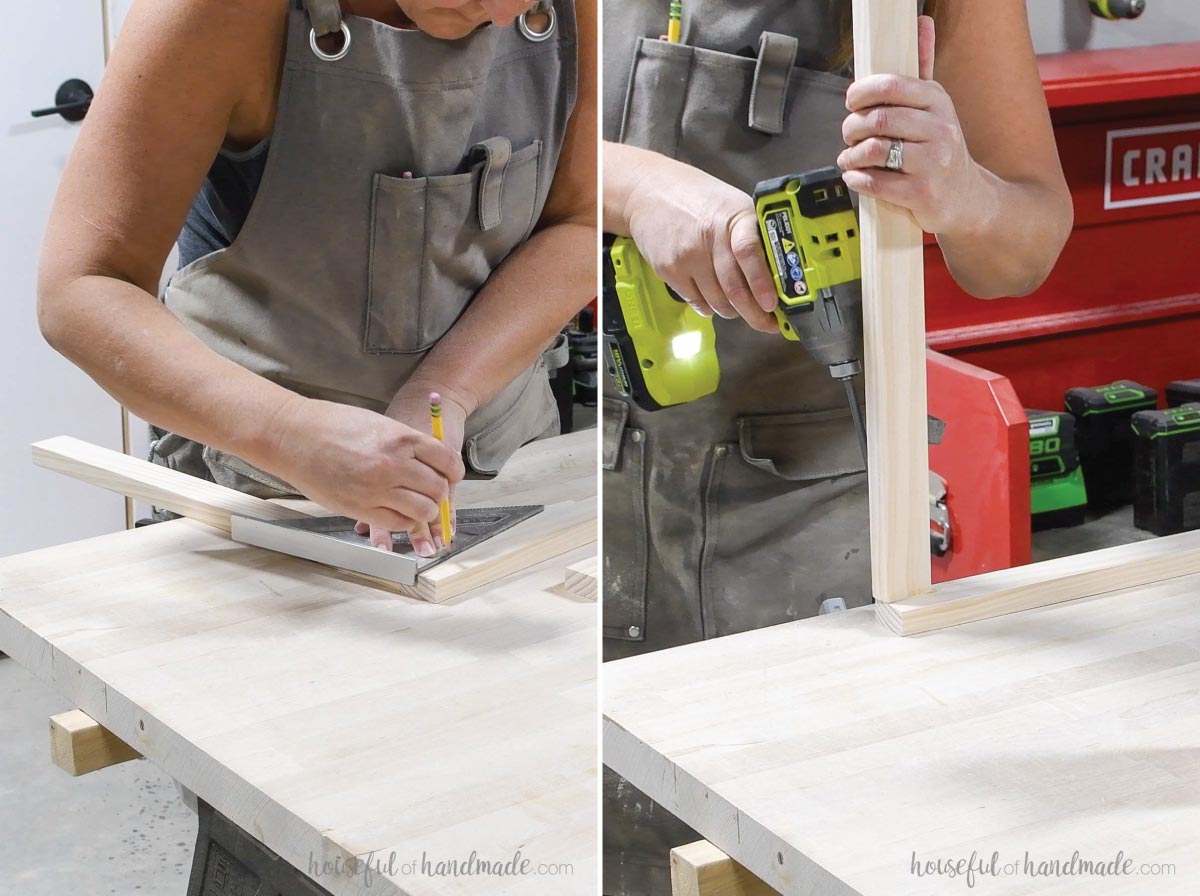
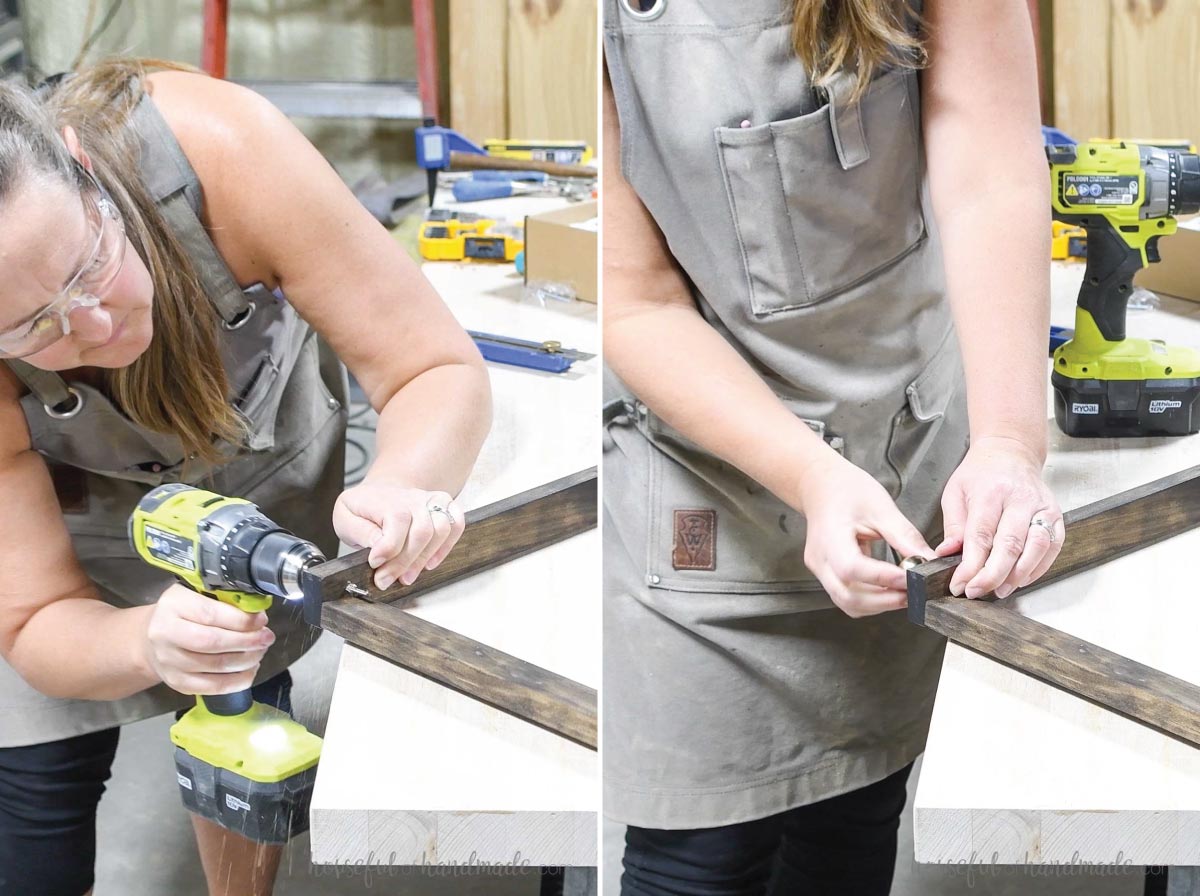
STEP 2- Assemble ladder
On the top of one side board, mark the center of the board. Then draw a line down this mark at a 5-8 degree angle. A larger angle will have the bottom of the ladder further away from the wall.
Drill 1 pocket hole set for 3/4” thick material in the back of one of the rungs. The pocket hole should be slightly to the top of center on the board.
Attach it to the top of the side board so it is along the angled line. The top of corner of the board so be flush with the top of the side board.
Secure with wood glue and 1 1/4” pocket hole screw.
Drill 2 pocket holes set for 3/4” thick material in both ends of the remaining rungs.
Attach them to the side so they are centered front-to-back on the sides and spaced according to the diagram in the PDF plans.
Secure with 1 1/4” long pocket hole screws and glue.
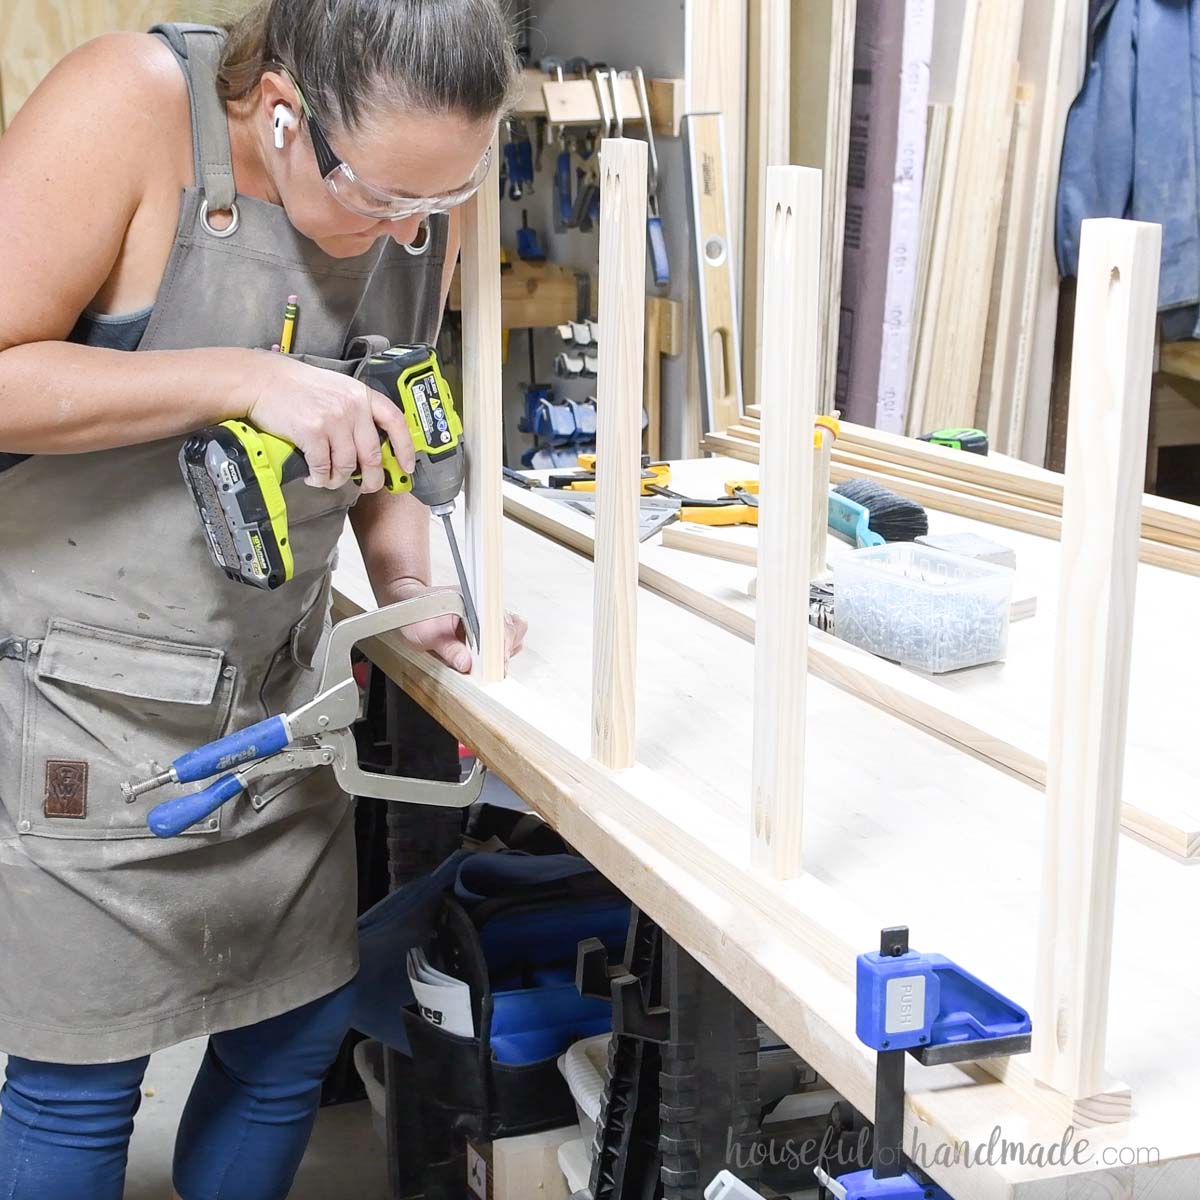
Once all the rungs are attached to one side, attach the second side.
Make sure the rungs are spaced the same as on the first. Secure with 1 1/4” pocket hole screws and glue.
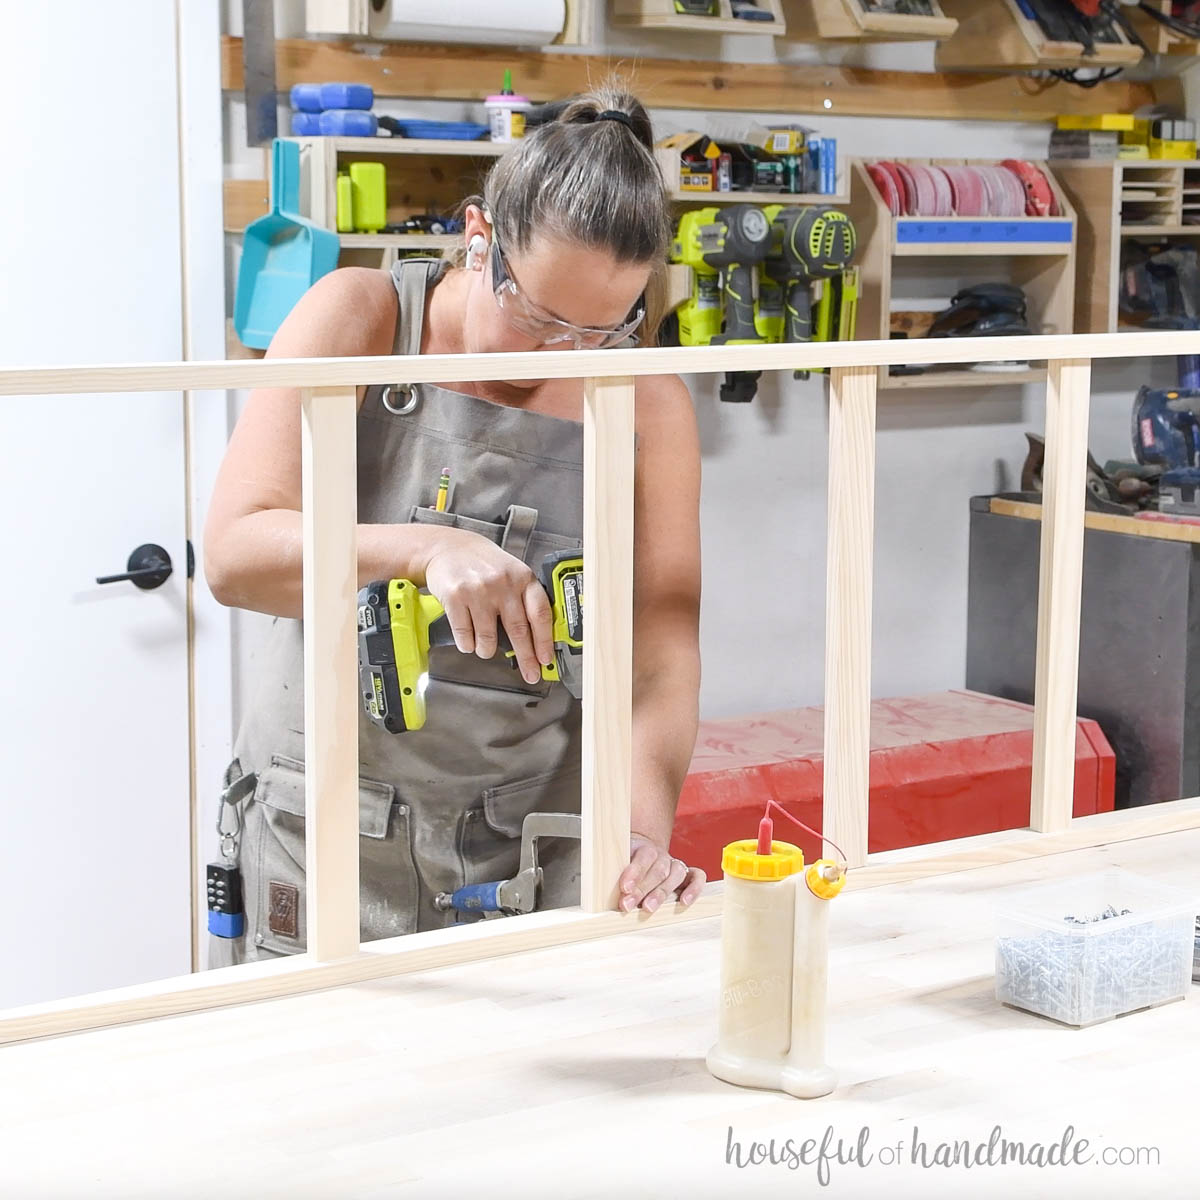
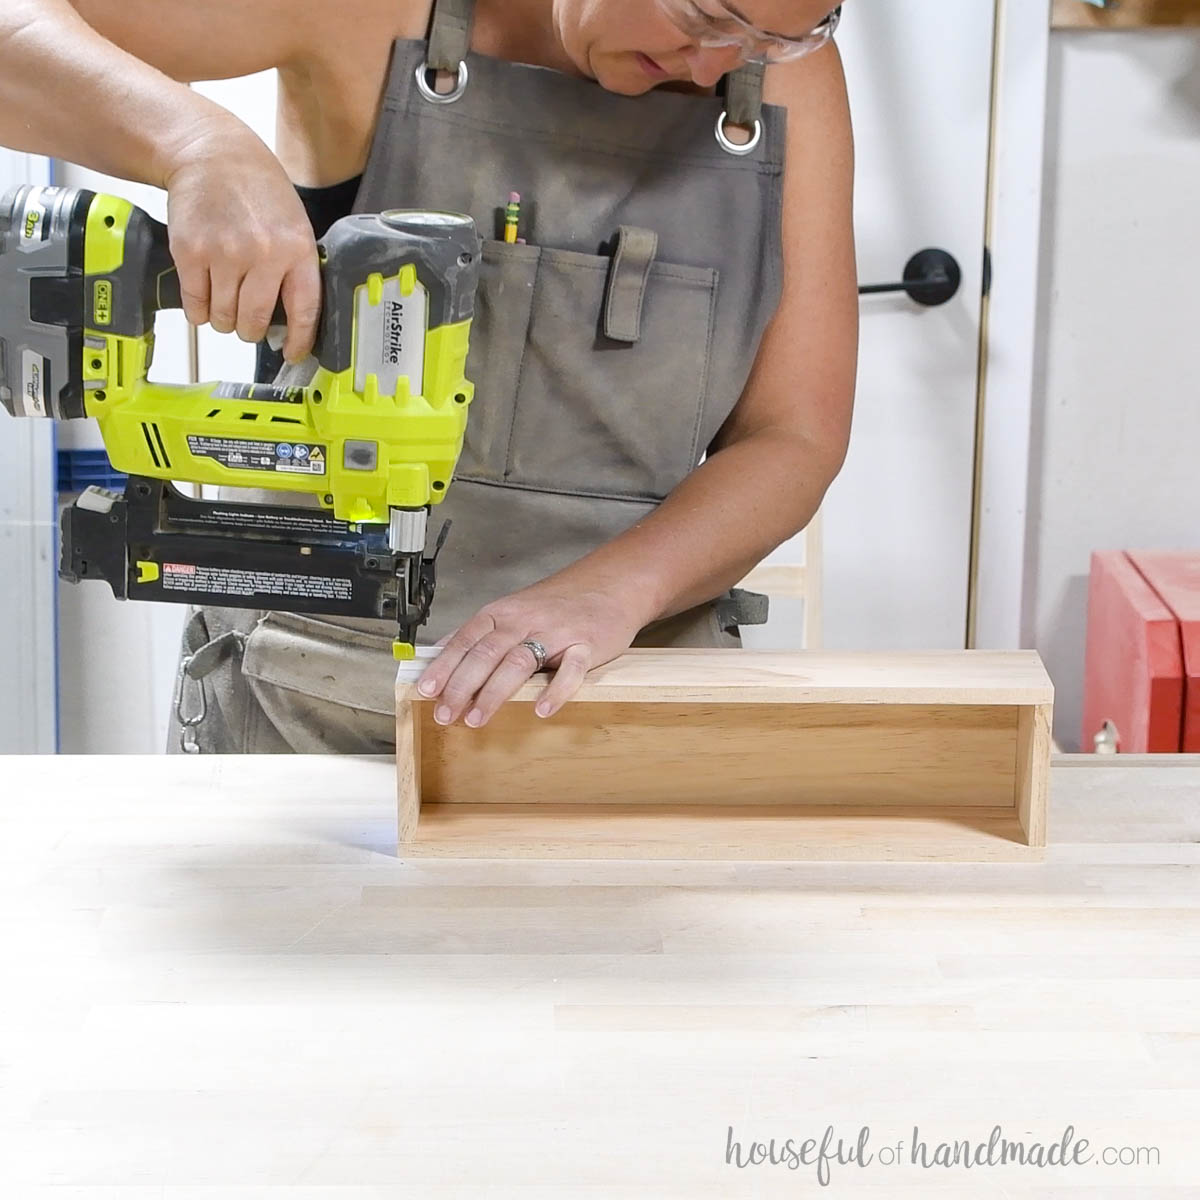
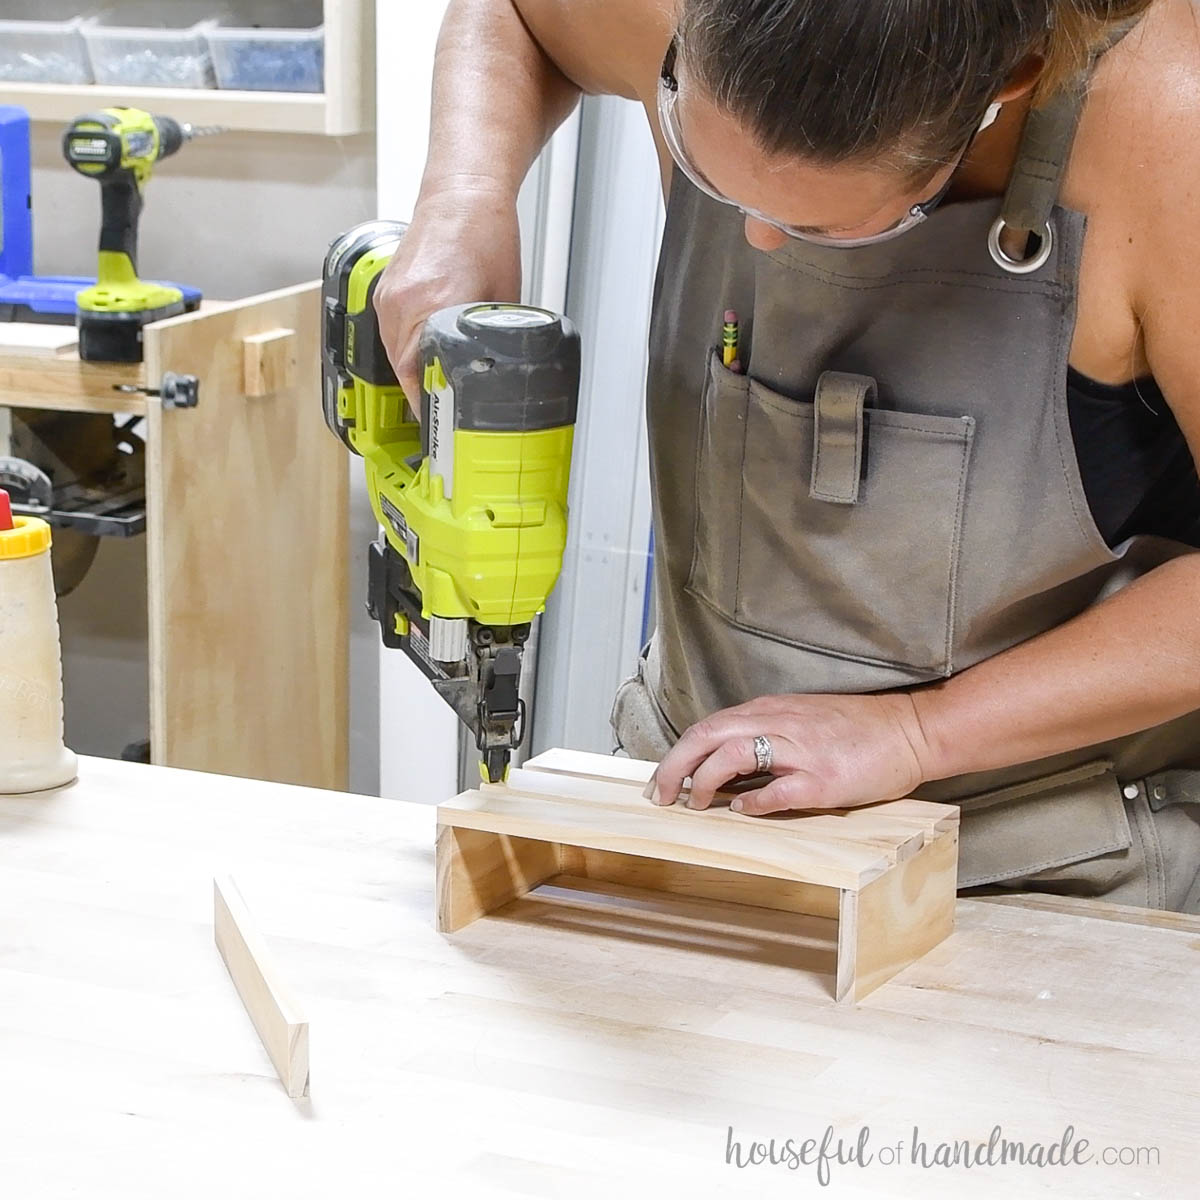
STEP 3- Build storage bins
To build the storage bins, first attach the sides to the bottoms so they are flush at the bottom.
Secure with glue and 1” brad nails.
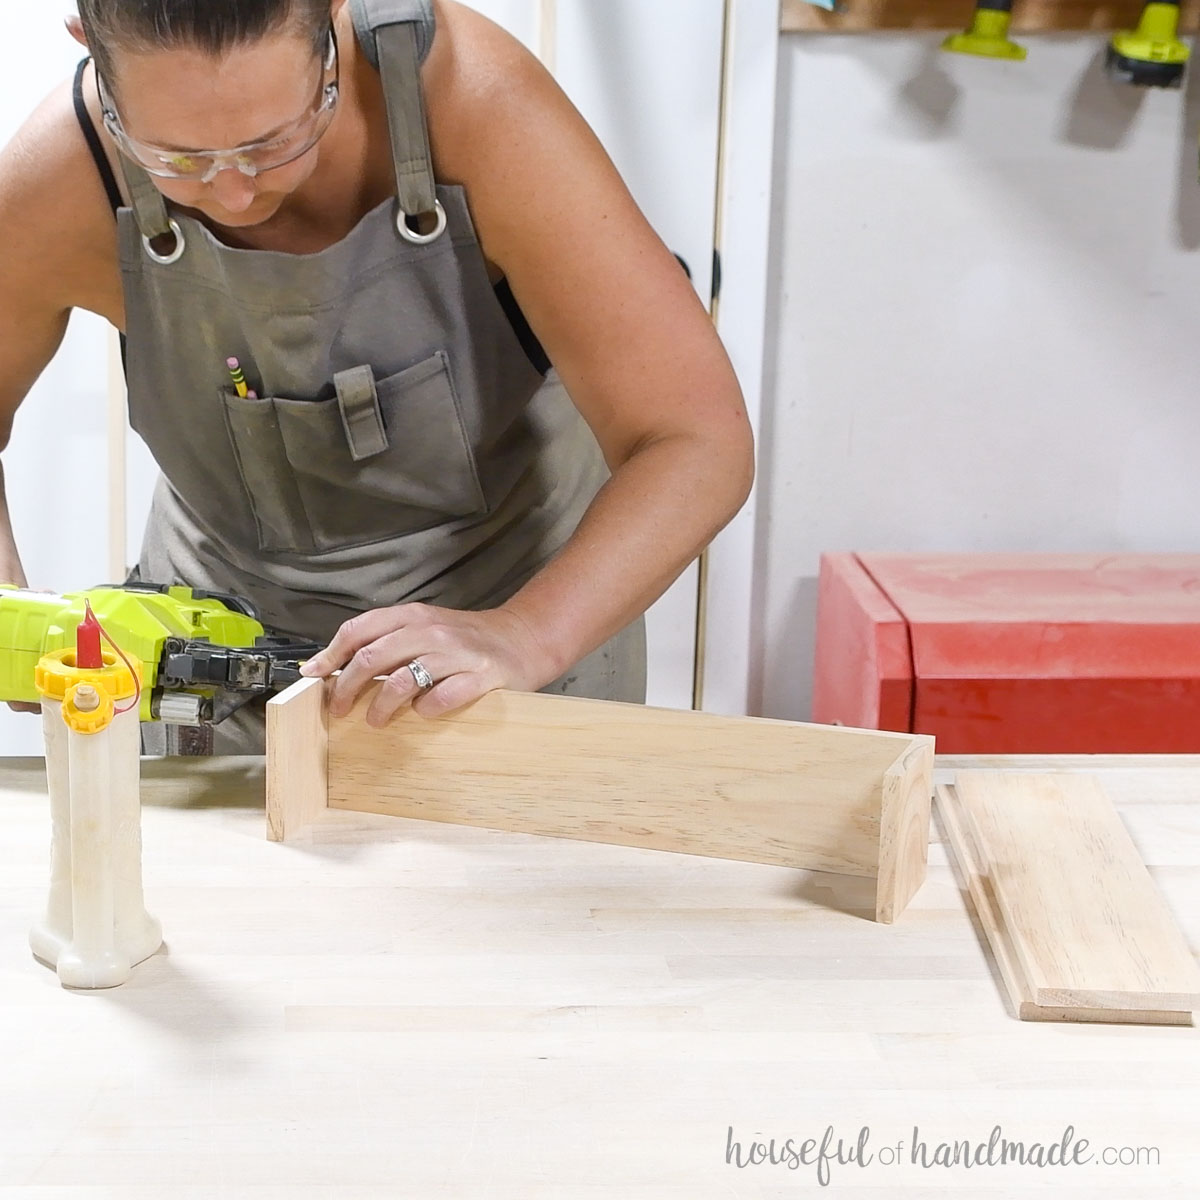
Then attach the front/back of the bins so they are flush with the sides and bottom.
Secure with 1” brad nails and glue.
For the slatted bin, attach the slats so there is 1/2” gap between them.
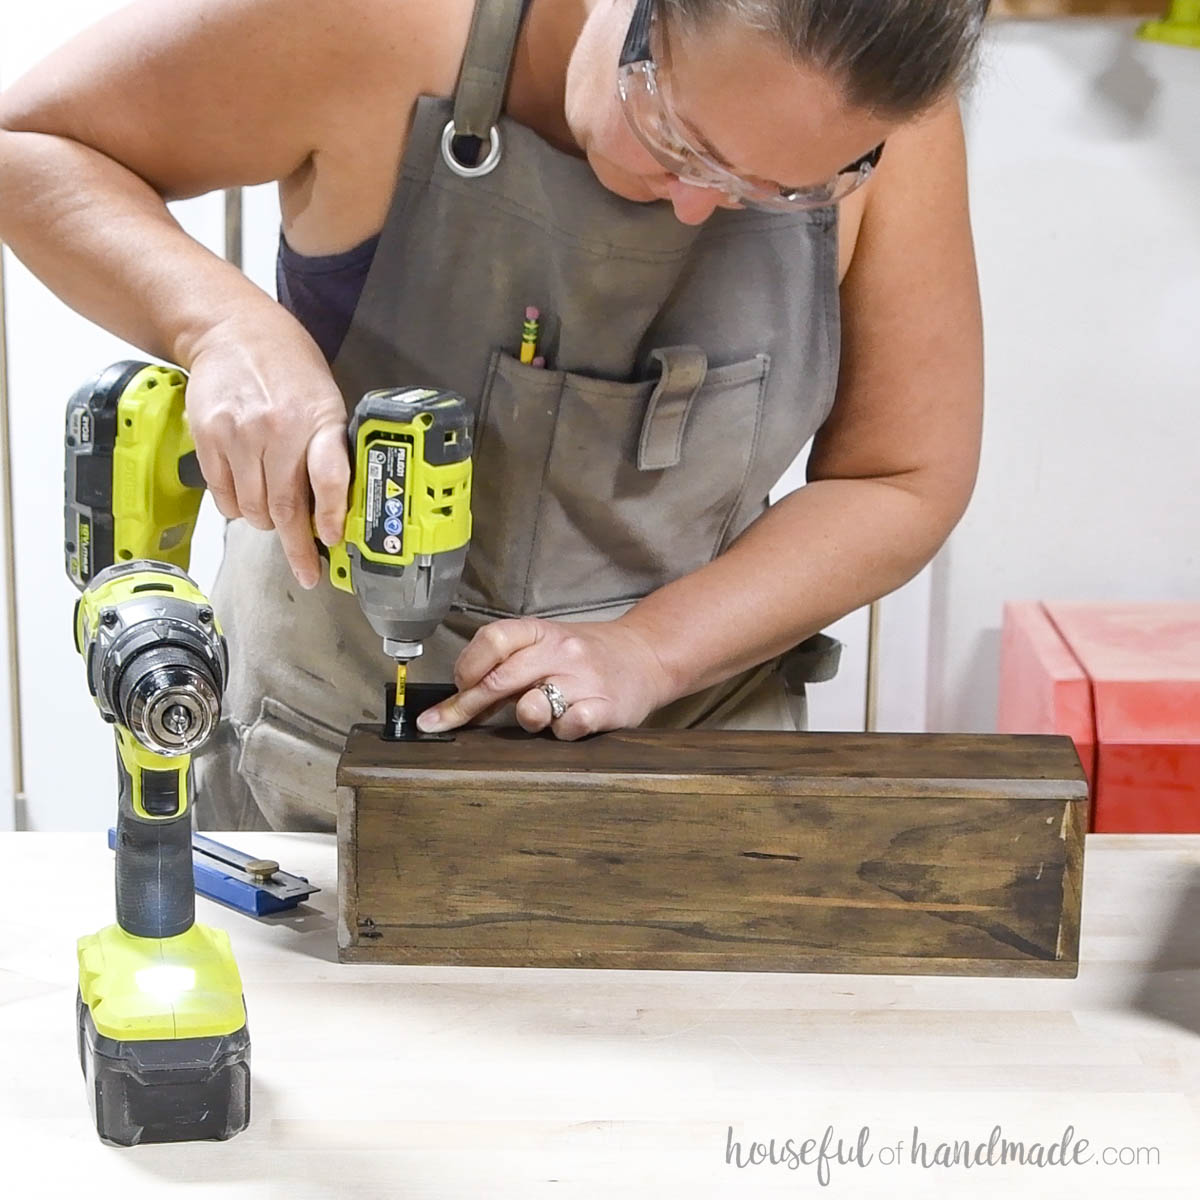
Then attach 2 square hangers to the top back of each bin. Secure with 3/8” wood screws.
The hangers make the bins moveable so you can adjust as needed for the things you want to store.
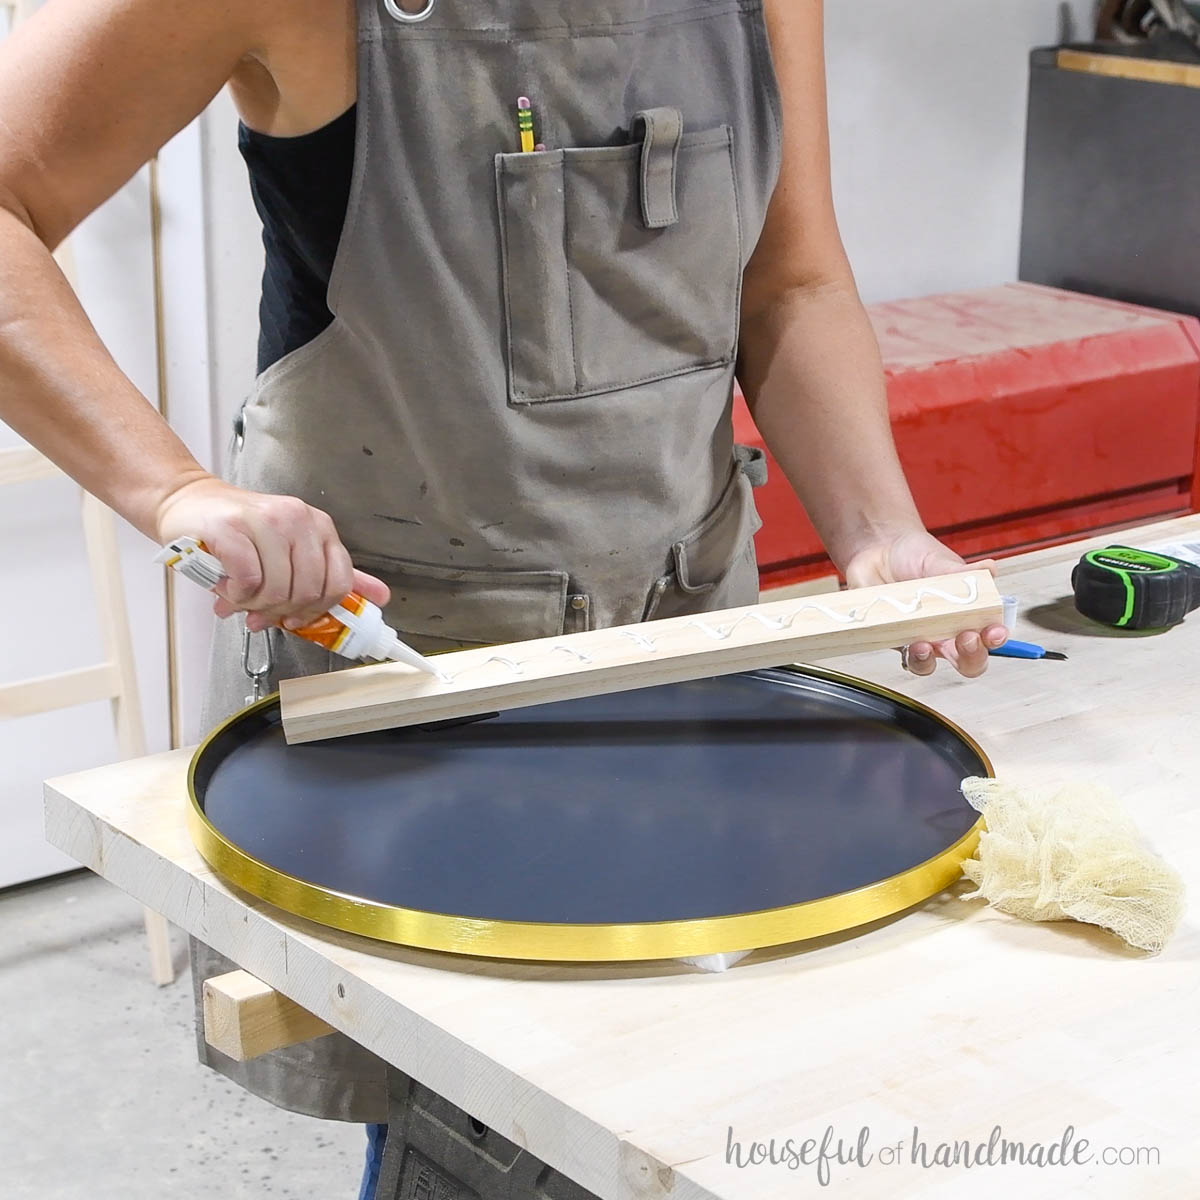
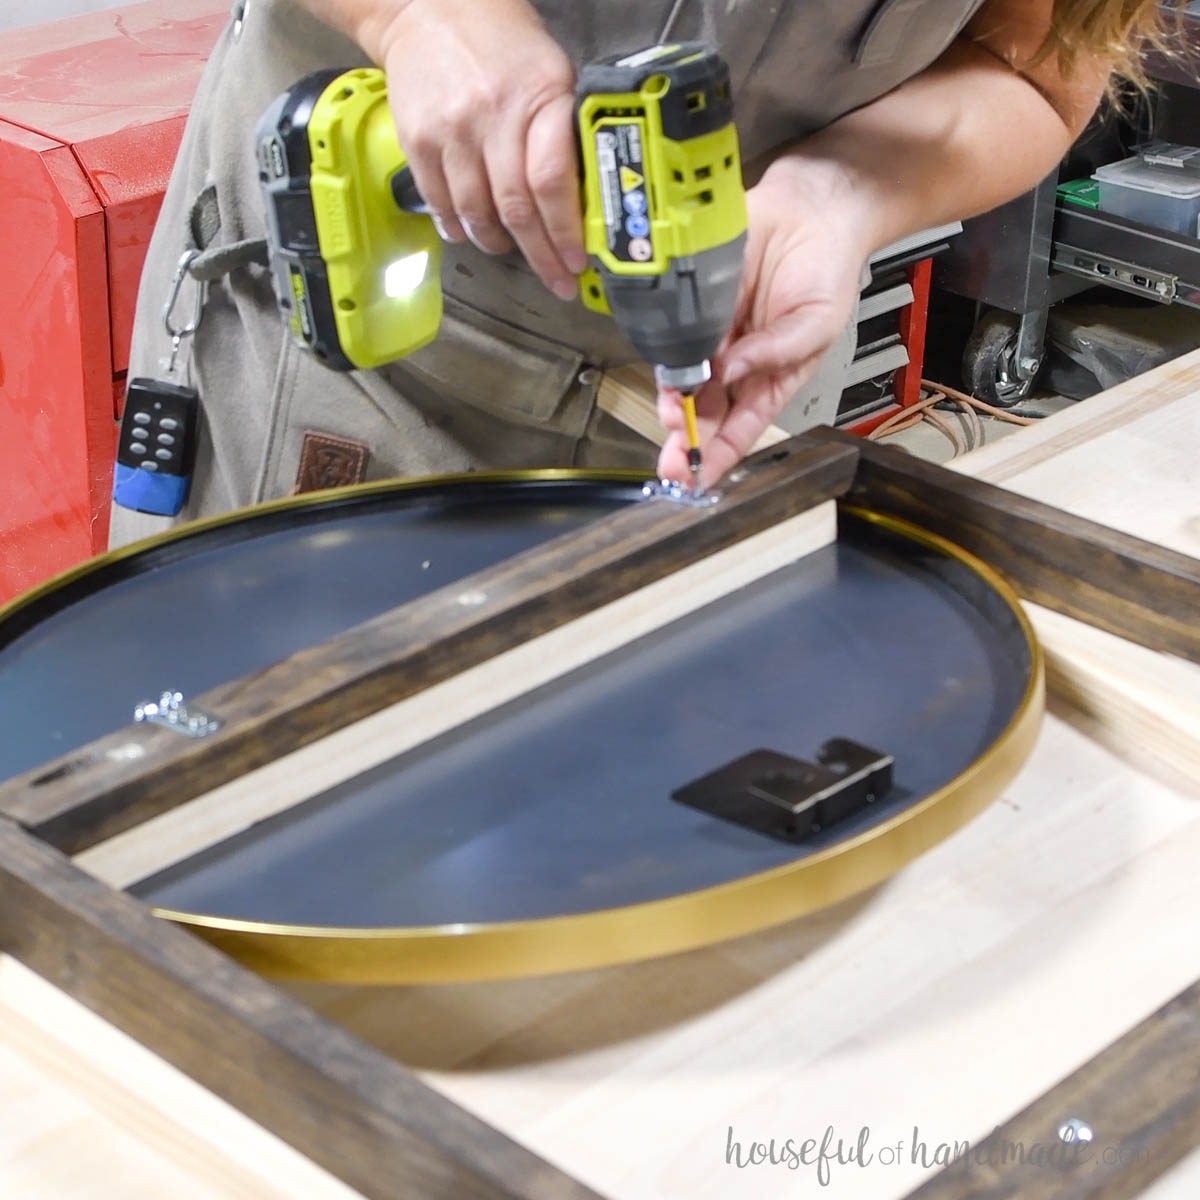
STEP 4- Attach mirror
Before attaching the mirror, if you want knobs on the sides to look like they are holding the mirror on, drill holes through the side 1” down from the top and slightly to the front of center.
Then screw in knobs with attached screws.
Using construction adhesive specifically noted to work on both mirrors (or glass) and wood, glue the mirror to the mirror support rung according to the directions on the adhesive.
My mirror had a frame so the back of the mirror was not flat. So I glued a scrap of the 1×2 inside the frame using the construction adhesive.
Then after it cured, I attached it to the ladder with countersunk 1” screws through the back of the rung into the 1×2 that the mirror was glued to.

To prevent the ladder from getting kicked or tipped over, attach 2 D-ring hangers to the top rung.
Loop those over heavy duty picture hanger hooks in your wall to hold the ladder.
Attach knobs or hooks to the top rung of the ladder for hanging items. Then hang your bins over the rungs however you want.
I love that the bins are adjustable and can be easily moved when I need it.
You did it!
Premium plans include:
- Recommended Tools
- Shopping list
- Easy to read cut list table
- Cut diagrams
- Step-by-step instructions with 3D renderings
- Helpful resources
- BONUS: 3D SketchUp file
Now you can unload your hands when you come home and easily find them on your way out again.
Happy building!
