Have you ever wanted to do a DIY kitchen remodel?
We are sharing every step of the process as we gut and rebuild our kitchen while staying on budget. Follow along as we completely transform our kitchen in just 6 weeks.

It’s been a crazy week of demo, building, and thinking on our feet! But we are feeling like we are kinda still on schedule for our DIY kitchen remodel in only 6 weeks!
If you missed last week’s post, we are participating in the One Room Challenge™ hosted by Calling it Home for the first time.
This post may contain affiliate links. As an Amazon Associate I earn from qualifying purchases. Click here to read my full disclosure policy.
I know a kitchen remodel in 6 short weeks is craziness. Especially one where we are gutting the entire room and starting from scratch. But sometimes a little crazy is all you need to make big things happen.

Because we are on a budget, we decided to sell our old kitchen cabinets. Even though I hated those cabinets, they would be perfect for someone who wanted to add a second kitchen to a basement or something like that.
I was not wrong. Within a few days we had multiple people lined up to come look at them and were able to sell them for $450. Score 1 for the budget! But that did mean we had to be careful with the first stage of demo.
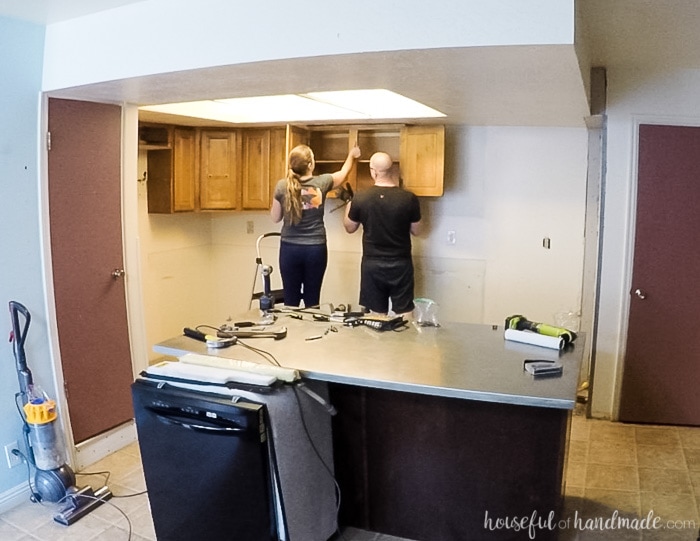
We were able to remove all the cabinets easily. Kitchen cabinets are only held to the walls with a few screws (scary to think about when they are super full of dishes).
And because the glue holding our counter tops on was over 30 years old, they popped right off too. Once the old kitchen was cleared out, it was time for the fun part!
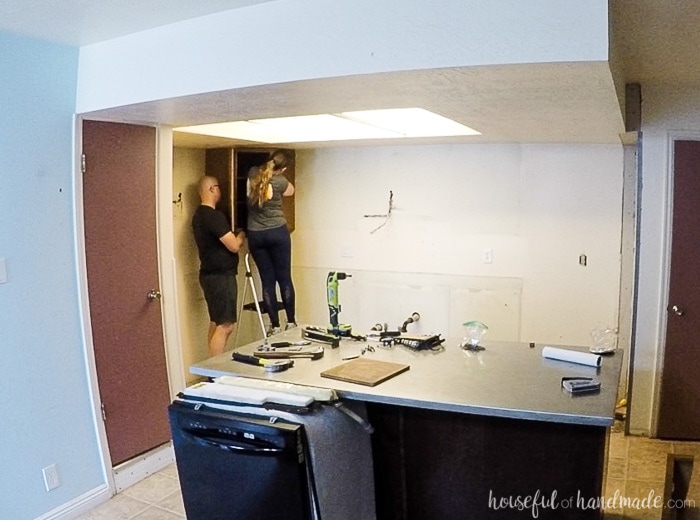
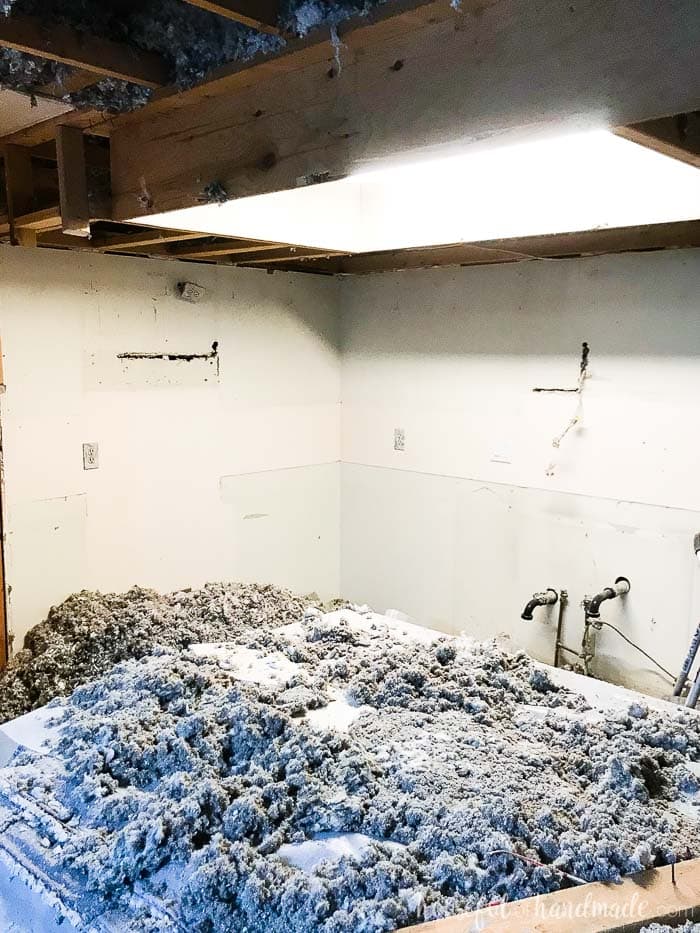
Those old kitchen pantries were the things I was eager to demo. I did really want the ceiling soffit gone, but was not eager to remove it and have all the insulation dump on me.
So I started with the pantries. A few good kicks and those walls were down! It always makes me feel so strong.
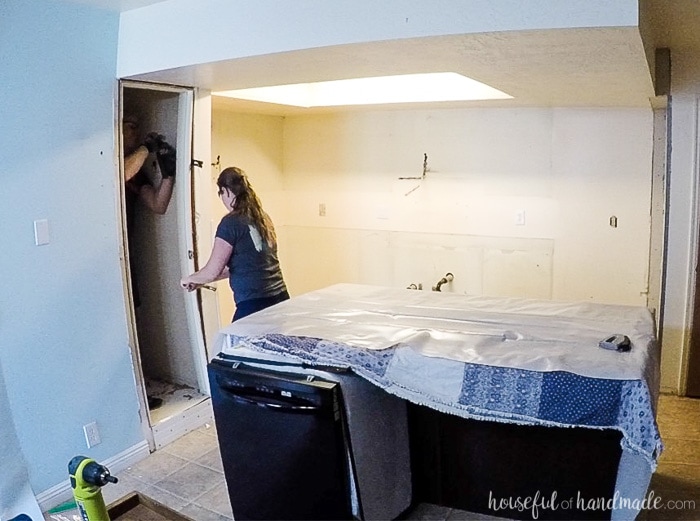
The ceiling was next. We tried to prepared for all the insulation. My husband went in the attic and tried to move it over above the dining room area. It was not as easy as it seemed.
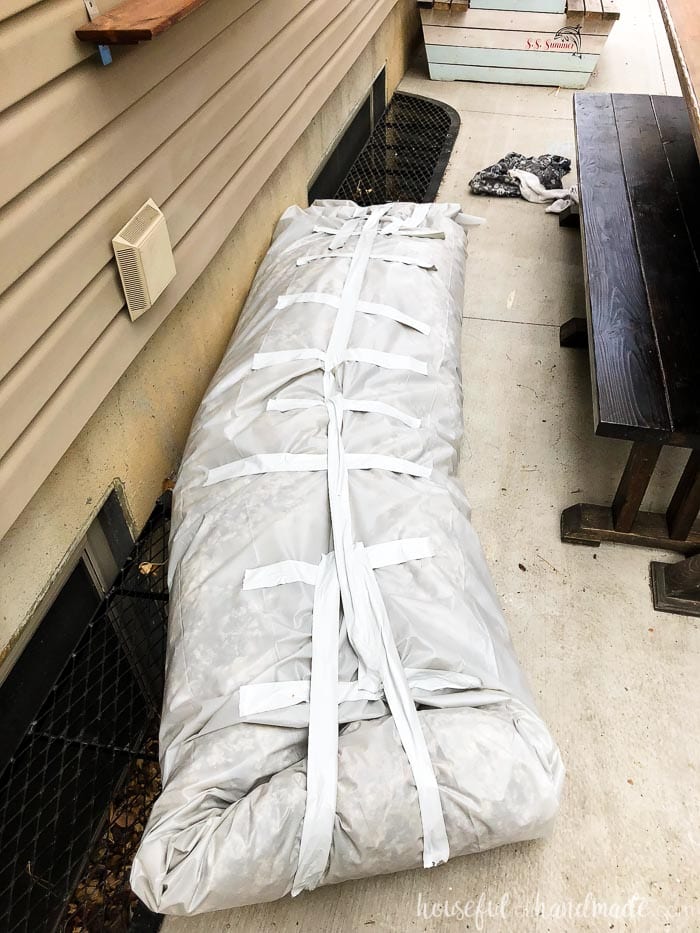
So instead we decided to try to gather it up once it fell and save it to put back up (remember that whole budget thing?). Using some of the plastic tarp we got to cover the doors, we gathered up the insulation on it. T
hen we rolled it up, like a big burrito. Except when we started taping it, it looked more like a dead body.
Taking the ceiling down was a bit harder than I originally thought. The soffit was built out of lots of 2x4s and had to be pried off one-by-one.
But since I am too short for that, my sweet husband did most of the dirty work. I stood back and gave him a lot of encouragement though!
And what were our sweet children doing this whole time?
They had put themselves to sleep! I cannot believe they could sleep through us “raising the roof” but lucky for us they did.

Whenever you are opening up walls (or a ceiling) with a remodel, you have to plan for problems. Well, we had our fair share of problems.
The first was apparent as soon as the soffit was gone. All the wires run across the ceiling and down to the corner to our breaker box were run through the soffit.
We had at least 8 wires that needed to be dealt with before drywall could go up. And it wasn’t just the wires, the exhaust pipe for the sink drain also was ran at an angle through the soffit instead of the normal ceiling height.
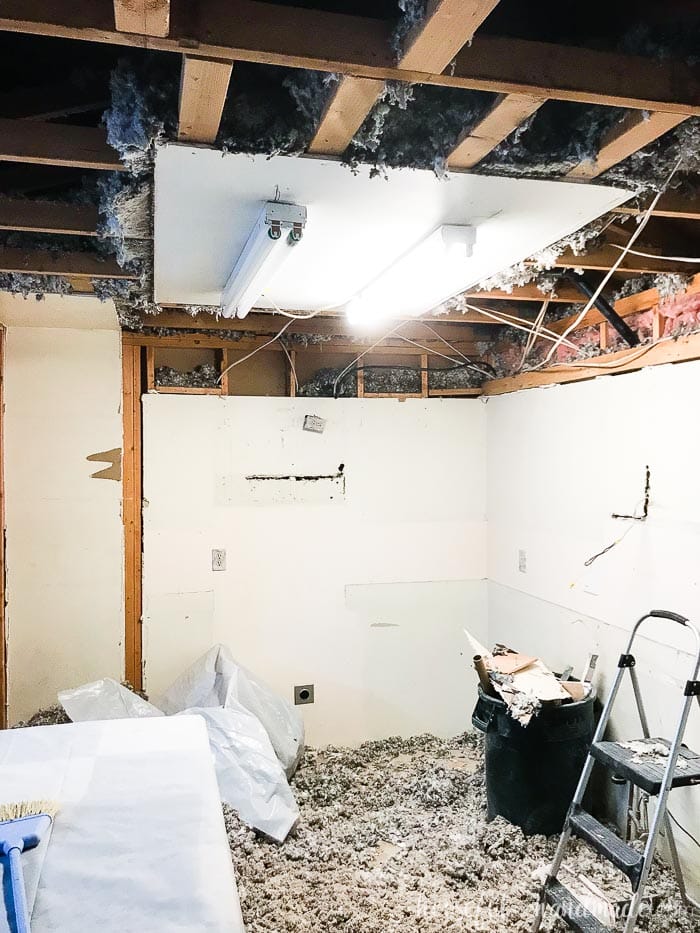
Luckily my dad is an amazing electrician, and just finished doing the same thing in his kitchen last year. So he came and helped up reroute all the wires and the pipe while he was here!
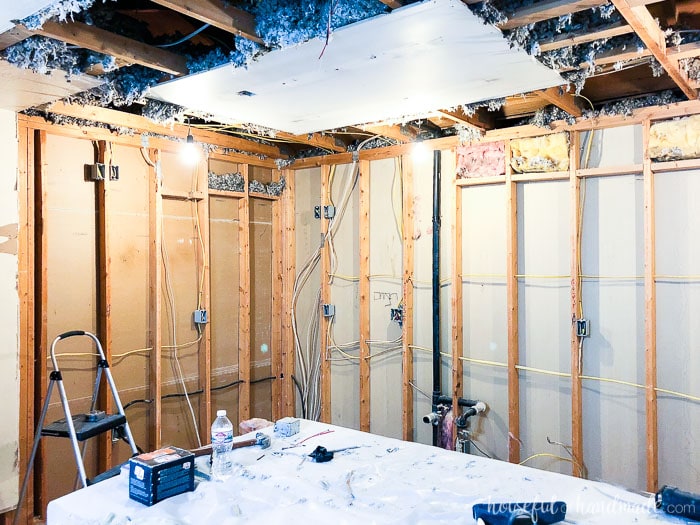
And we also set up the new wiring for the kitchen.
One of the ways to save money is to work with the current kitchen layout as much as possible. Not moving electrical for the stove and plumbing for the sink saved us quite a bit.
But we did need to add wiring for new lights and a couple more outlets since we are adding more counter space. All of that took one full day of work and we were ready for drywall.
I know we could have saved even more money in our budget by doing the drywall ourselves (I’ve done it in many rooms). However, I absolutely hate doing it and knew my time would be better spent working on building the cabinets and getting them ready to install.
So we planned on hiring it out. We had someone lined up to go, but when they came back to start working and were acting all put out about the other places we had to remove drywall to be able to work on the electrical.
He wanted to charge us double the original bid. And was saying another 8 sheets and no way he would be done on our timeline with all the extra work. So we told him to go.
My husband made some calls and got another person out to bid that night. And they were great!
Bid was in line with what we had paid in the past, a timeline that would work for us, and ready to start work the next day! So the project was back on track.
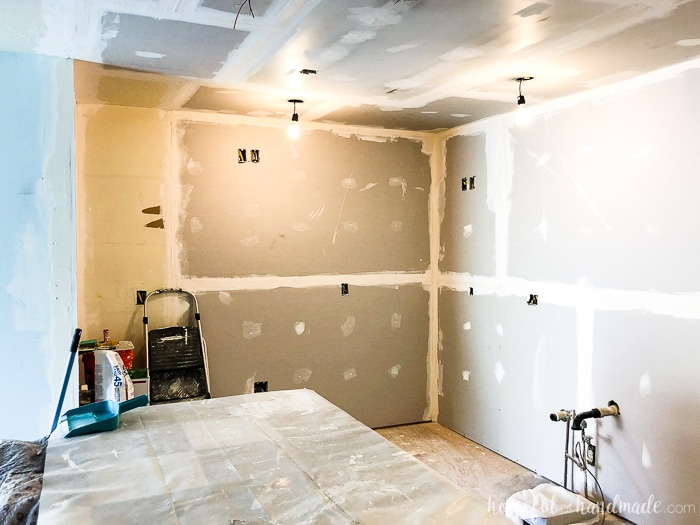
I never thought I would be so happy to have drywall on the ceiling. No more falling insulation everywhere!!!
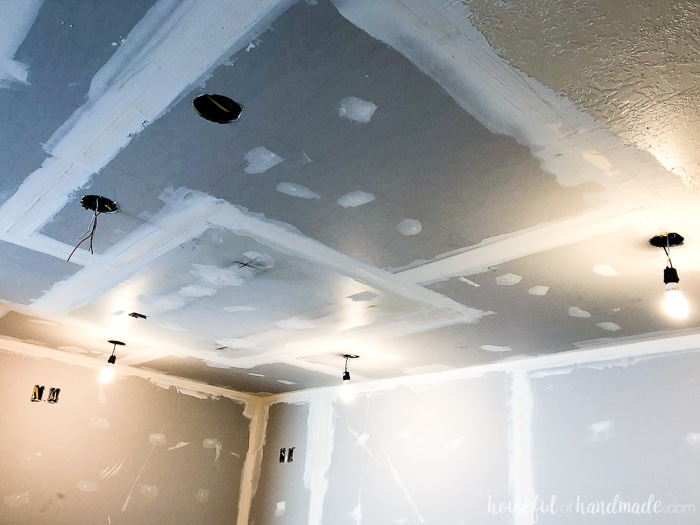
Now the drywall is all hung and the taping and first coat of mud is done. A little more drywall mudding and ceiling texturing and we will be ready for paint this weekend.
I cannot believe only 1 week ago we were demoing the old kitchen and now we getting so close to seeing the new one come together. That is definitely one of the things I love about the One Room Challenge™, things happen quickly!
And make sure to check out the rest of the rooms being redone during the challenge. There is so much amazing design inspiration!


Oh my goodness!! What a big project!! I had missed a few of your posts, but now I feel like I want to eagerly track your progress!
Good luck!!
So glad that you told the first drywall guy to go away! When having someone work in your home you definitely want someone you can trust, not someone who complains about every issue, but doesn’t have a good solution for it (besides charging lots of extra money).
Looking forward to tracking your progress. I’m curious to know what color you’ll be painting your cabinets? (Or is that a secret for now??)
Thanks Sarah! So happy you are following along now. And I totally agree about having someone work in your house that you cannot trust. Especially when me and the kids are home while they are working. The cabinets are being painted white for the uppers and a light navy blue for the bases. I’m so excited!
Oh yay! I was crossing my fingers for Navy!! That was my second color choice for my base kitchen cabinets, but wasn’t sure I could make it work with our existing, very orange-hued ceramic tile that I have to live with for now! I used Benjamin Moore Stratton Blue for the bases (Stratton Blue is one of my very favorite colors), and Super White for the uppers. I painted with Benjamin Moore Advance (I both loved and disliked working with it. Overall, very happy with the results, tho!)
What paint do you plan on using, and have you picked out the actual navy paint color?
(You can see my kitchen makeover in an album on my FB page!)
I love the color you chose too! It is harder to match colors to existing things but you did a great job. I’m using Durango Blue by Behr. Its turning out so beautiful!
Wow, you’ve made amazing progress already! You must be exhausted (I know I am!) Can’t wait to see the new cabinets!
Quick remodels are so exhausting!!! But I love that they get done fast, then maybe we can rest a bit… but probably not!