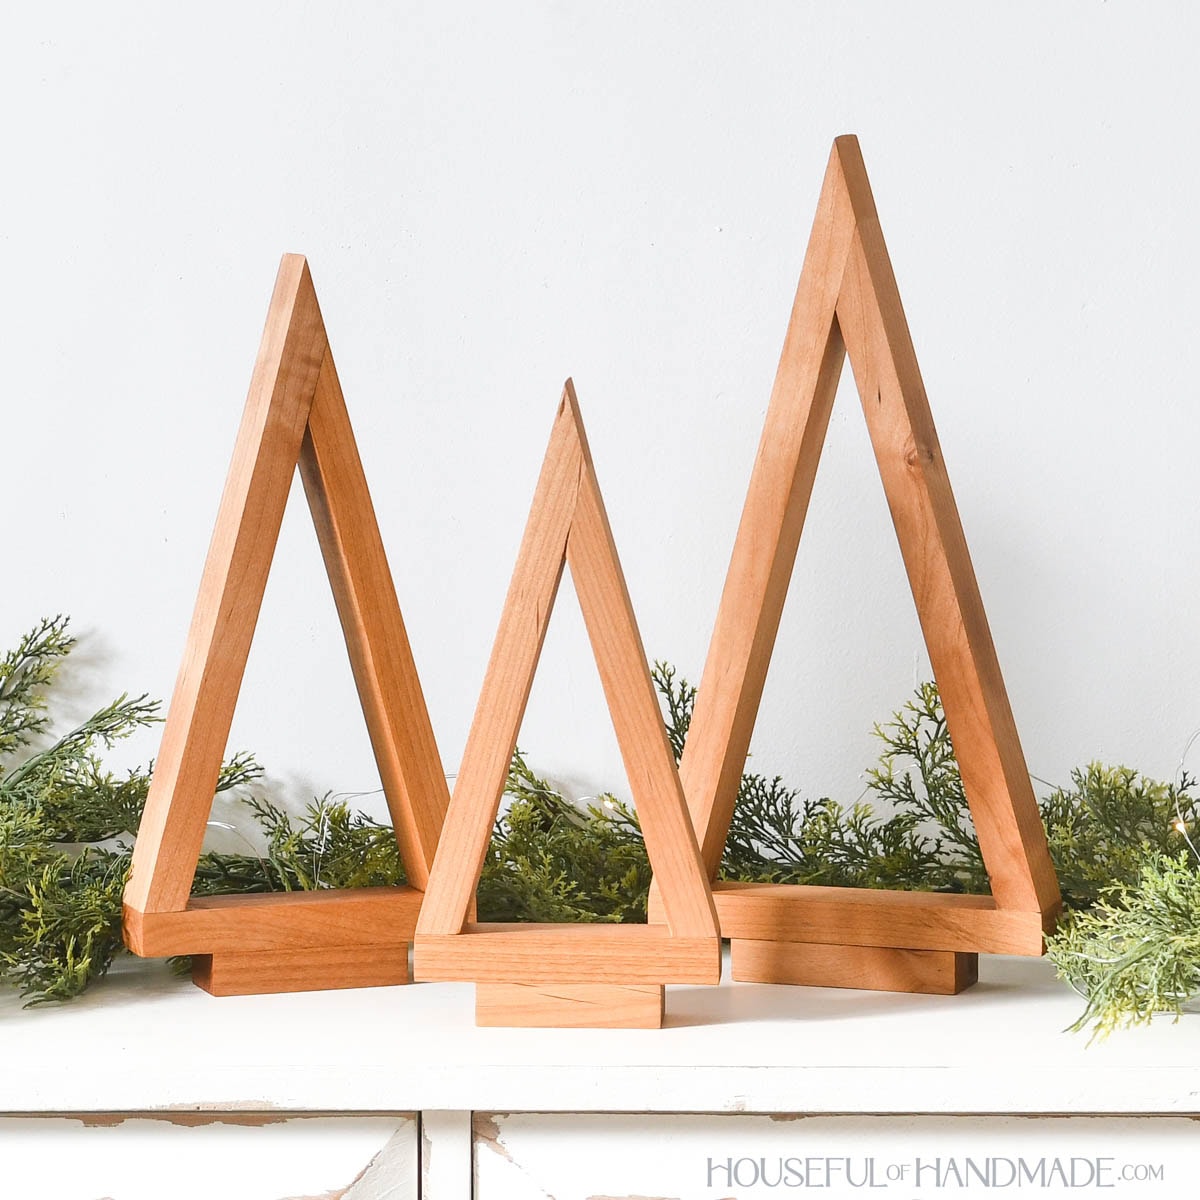
Need some new Christmas decor? You will love how fast and easy this large wood Christmas tree is to build!
It is made entirely from 2×4 boards using just a miter saw and drill. And in just a couple hours you can have a beautiful new Christmas tree decor.
This wood Christmas tree is perfect for decorating outside, on a porch, in a foyer, in a bedroom or anywhere you want to add a modern touch of Christmas.
This post may contain affiliate links. As an Amazon Associate I earn from qualifying purchases. Click here to read my full disclosure policy.
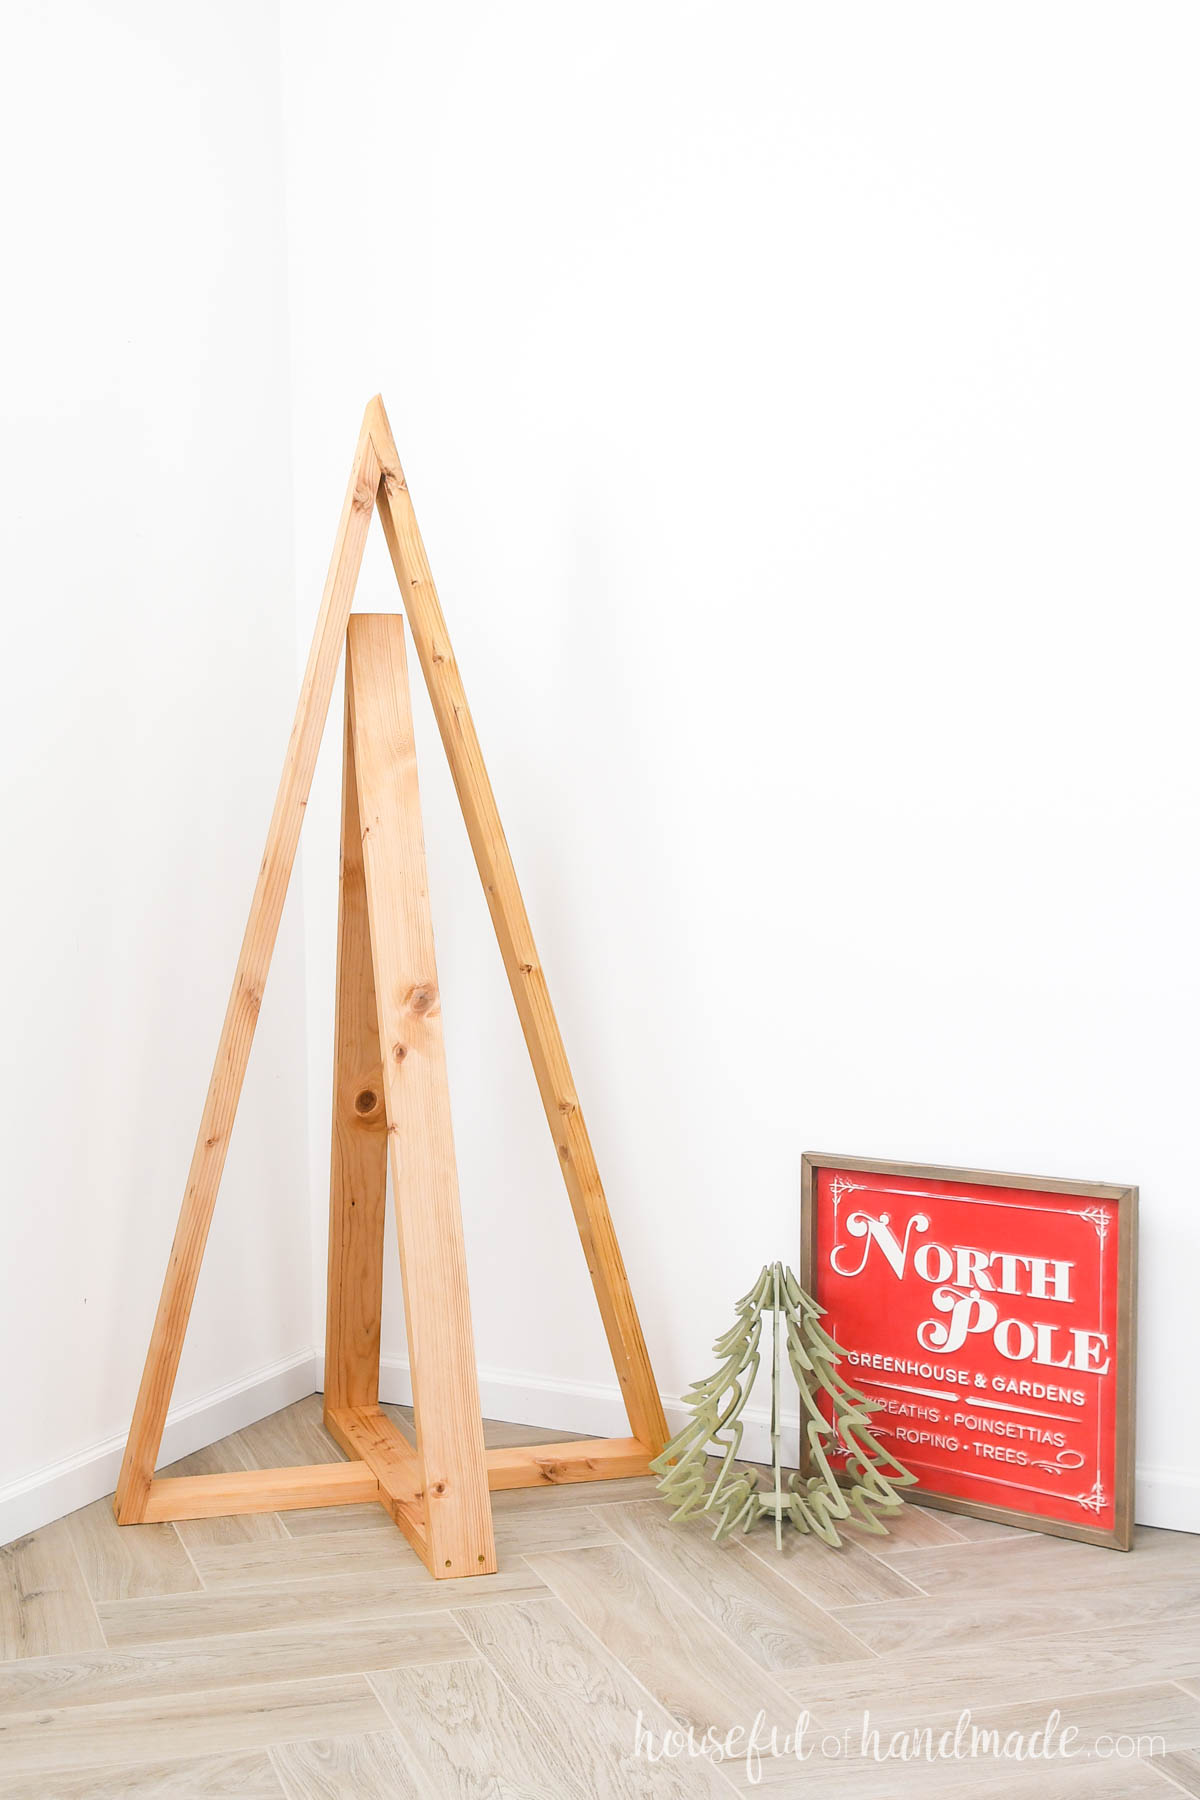
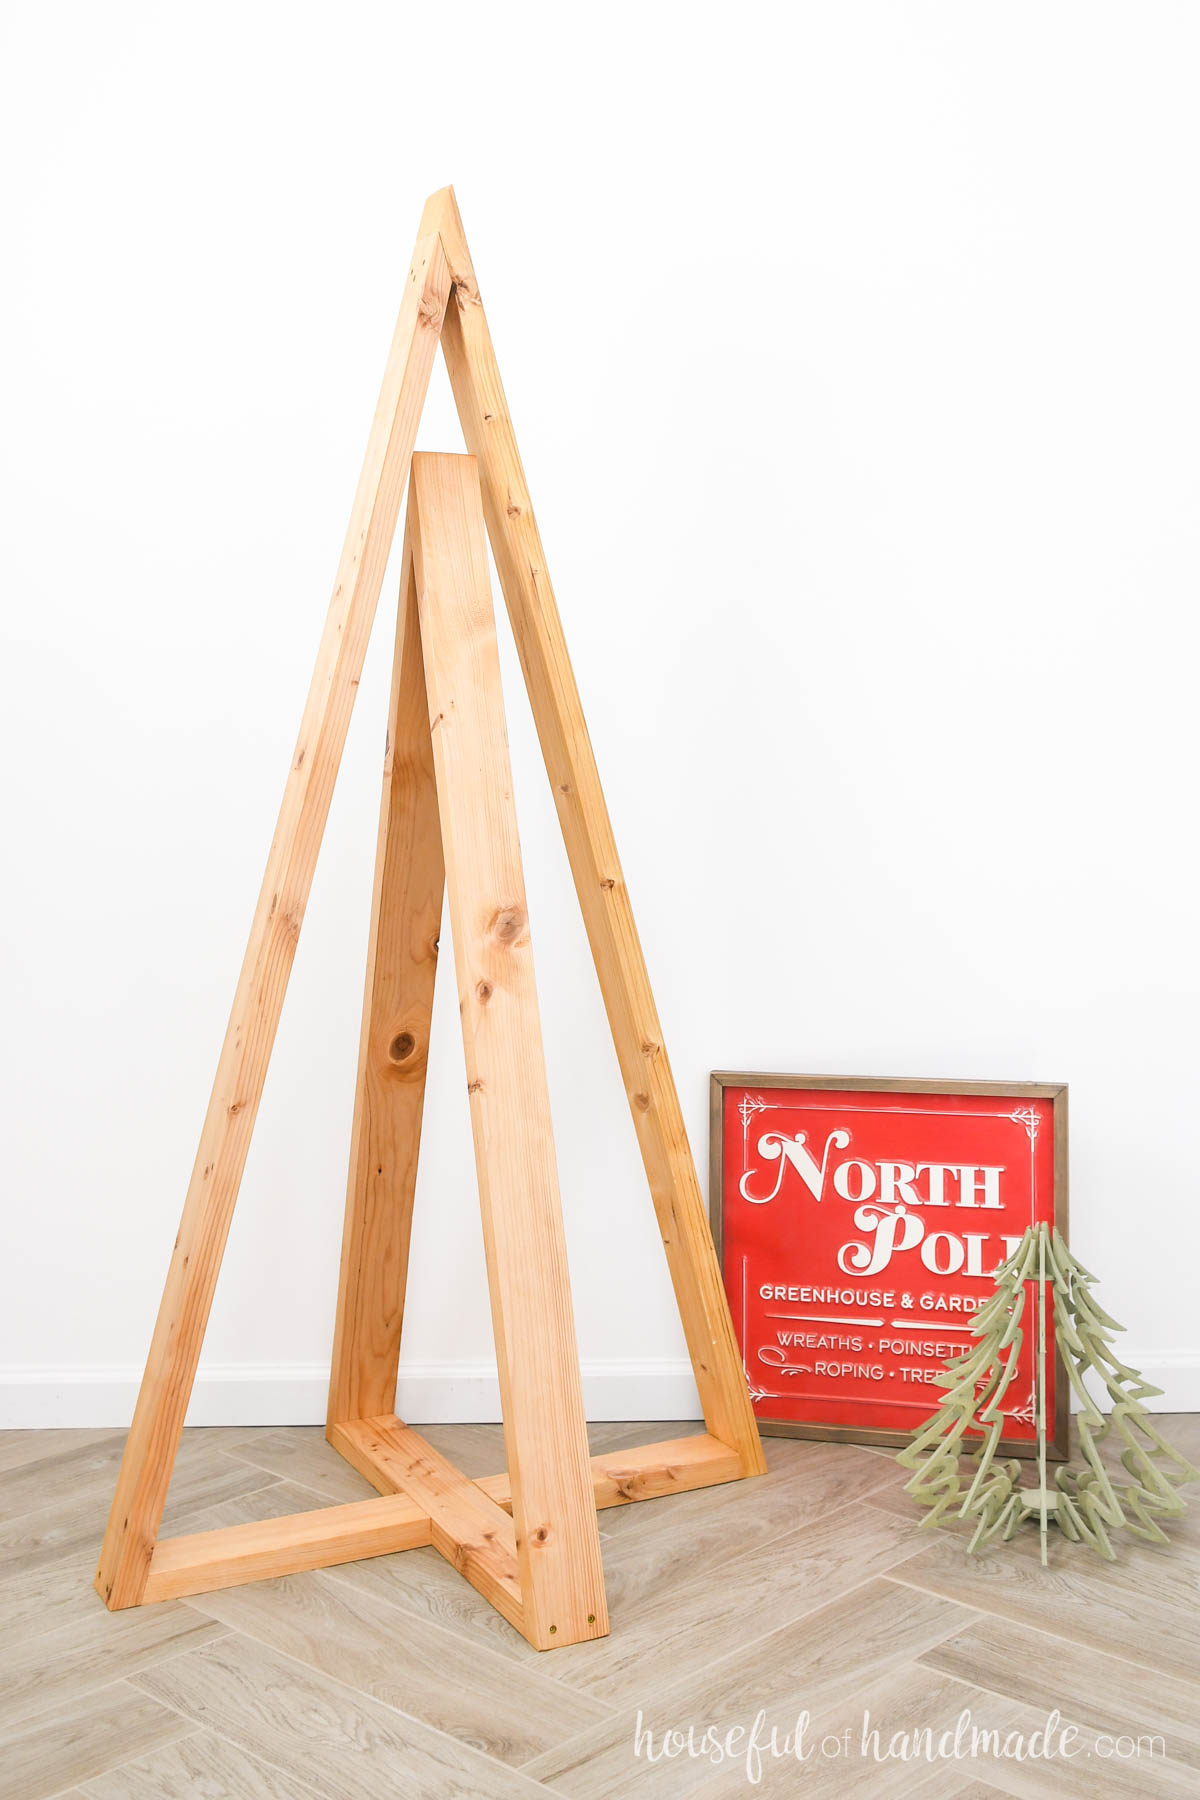
Modern Christmas Tree from 2x4s
I love the simplicity of this decorative Christmas tree. It really allows the wood to shine.
You can use any type of wood to build your trees. But I chose basic construction 2×4 boards.
And my boards weren’t even the best. They were slightly warped leftovers from another project. But the simple design wasn’t affected by it.
So dust off any old boards you have been holding on too for way too long and get building!
More Wooden Christmas Tree DIYs
Fill your home with Christmas spirit with these other amazing wood Christmas tree decorations.
How to Build a Wood Christmas Tree
Tools & Materials
Recommended Tools:
- Miter saw
- I recently upgraded to this larger sliding miter saw (watch for it to go on sale), but all my projects before were built with this inexpensive miter saw that I loved.
- Drill
- Impact driver (optional, but I love not having to switch bits with the drill)
- Speed square
- Multi-mark measuring tool
- Sander
Supplies:
- Wood products
- (2) 2×4 boards, 8′ long
- (2) 2×4 boards, 6′ long
- 1 1/2″ wood screws
- 2 1/2″ wood screws
- Wood glue
Overall Dimensions
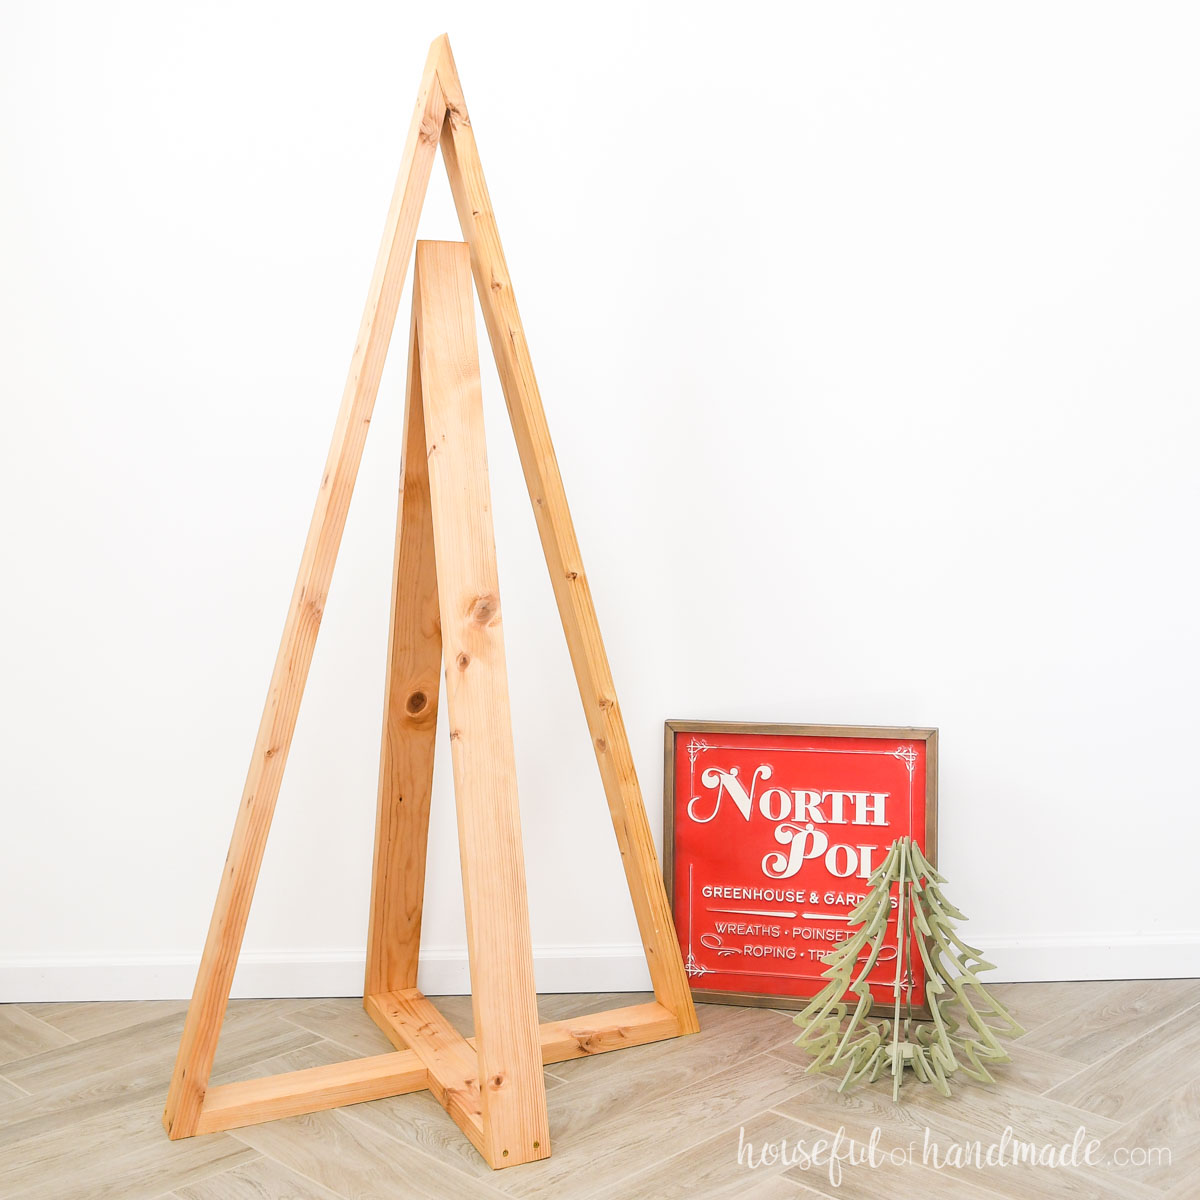
The finished Christmas tree is approximately 67″ tall by 36″ wide and 29″ deep.
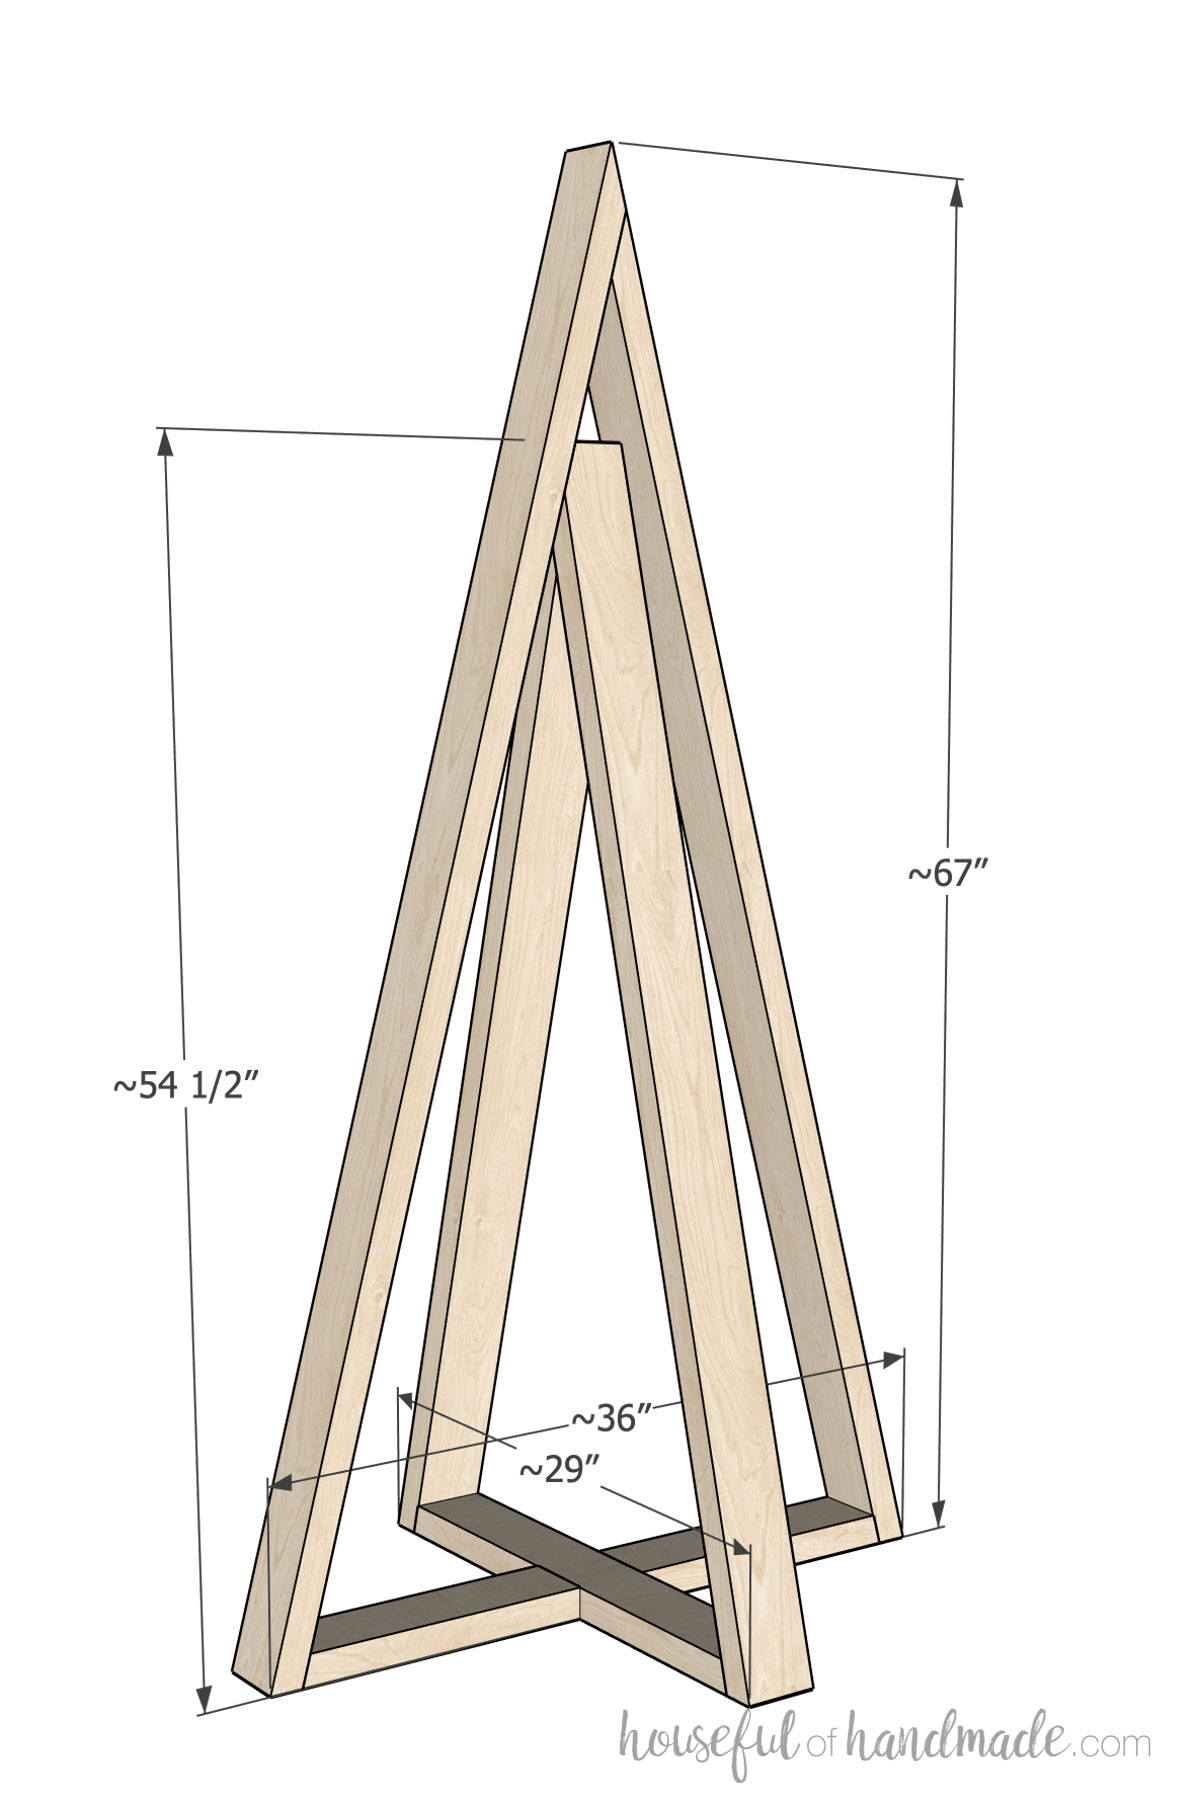
Cut List
Cut out the pieces according to the easy-to-read table in the premium PDF plans.
STEP 1- Cut base pieces
Draw the angled lines on the edge of the board with a speed square (or carpenters square).
Place the corner on the measurement line and pivot it so the angle measurement is lined up on the edge of the board then draw your line.
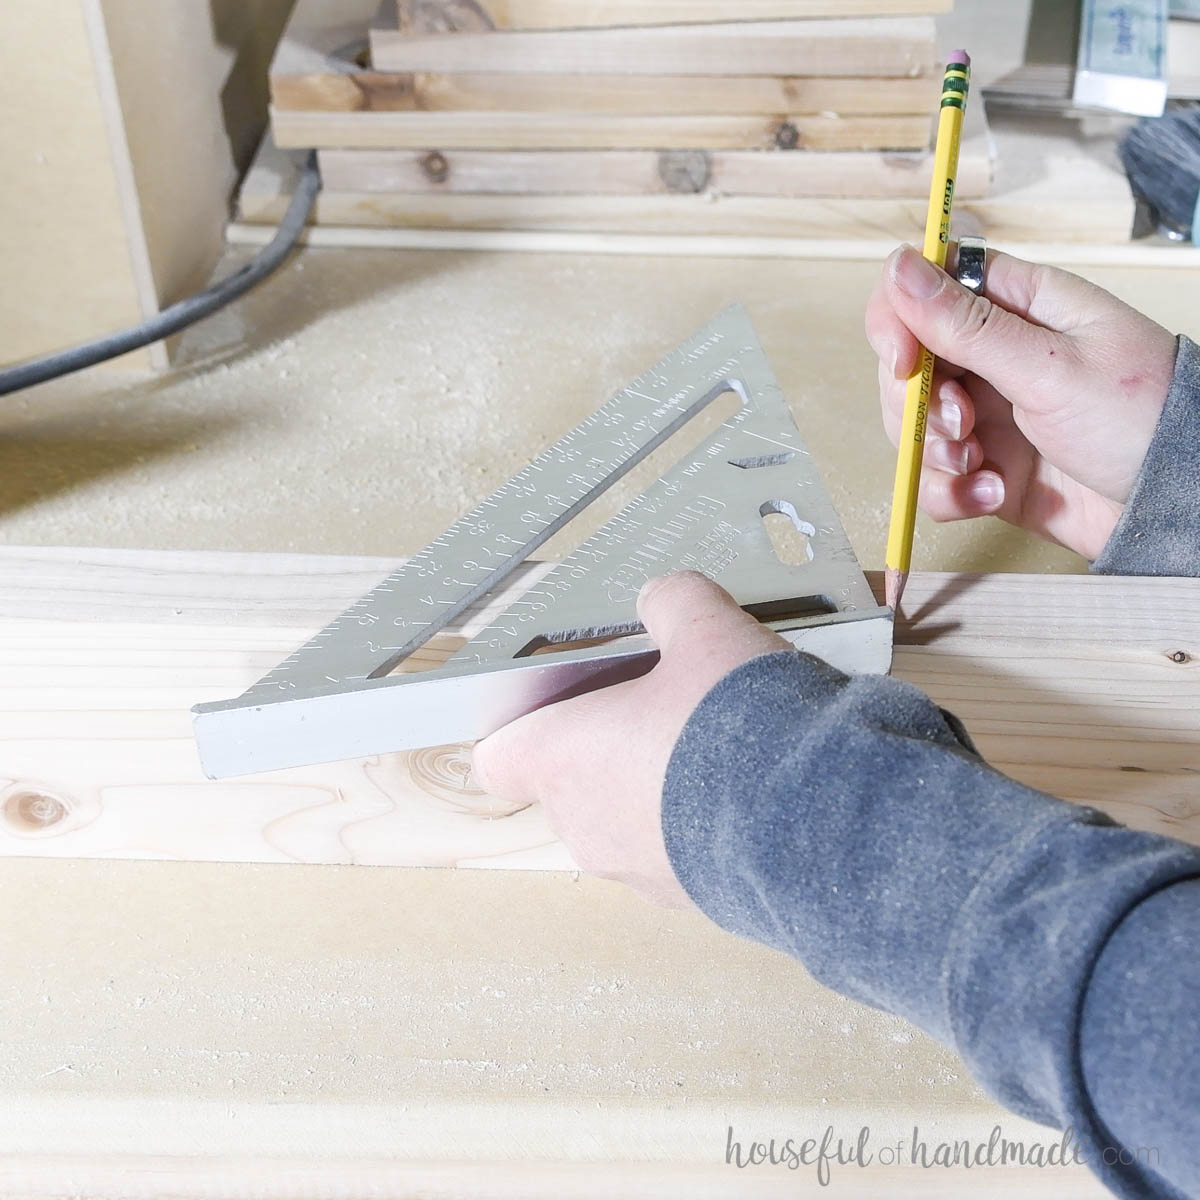
All boards are cut at an angle on the short side of the board (1 1/2” wide side).
I did this on my miter saw by pressing the 3 1/2” edge flat against the fence like you would cut a base moulding.
Cut both ends of the bottom boards at a 15 degree angle so they are facing each other. The measurements in the cut list in the premium plans are for the long edge of the boards.
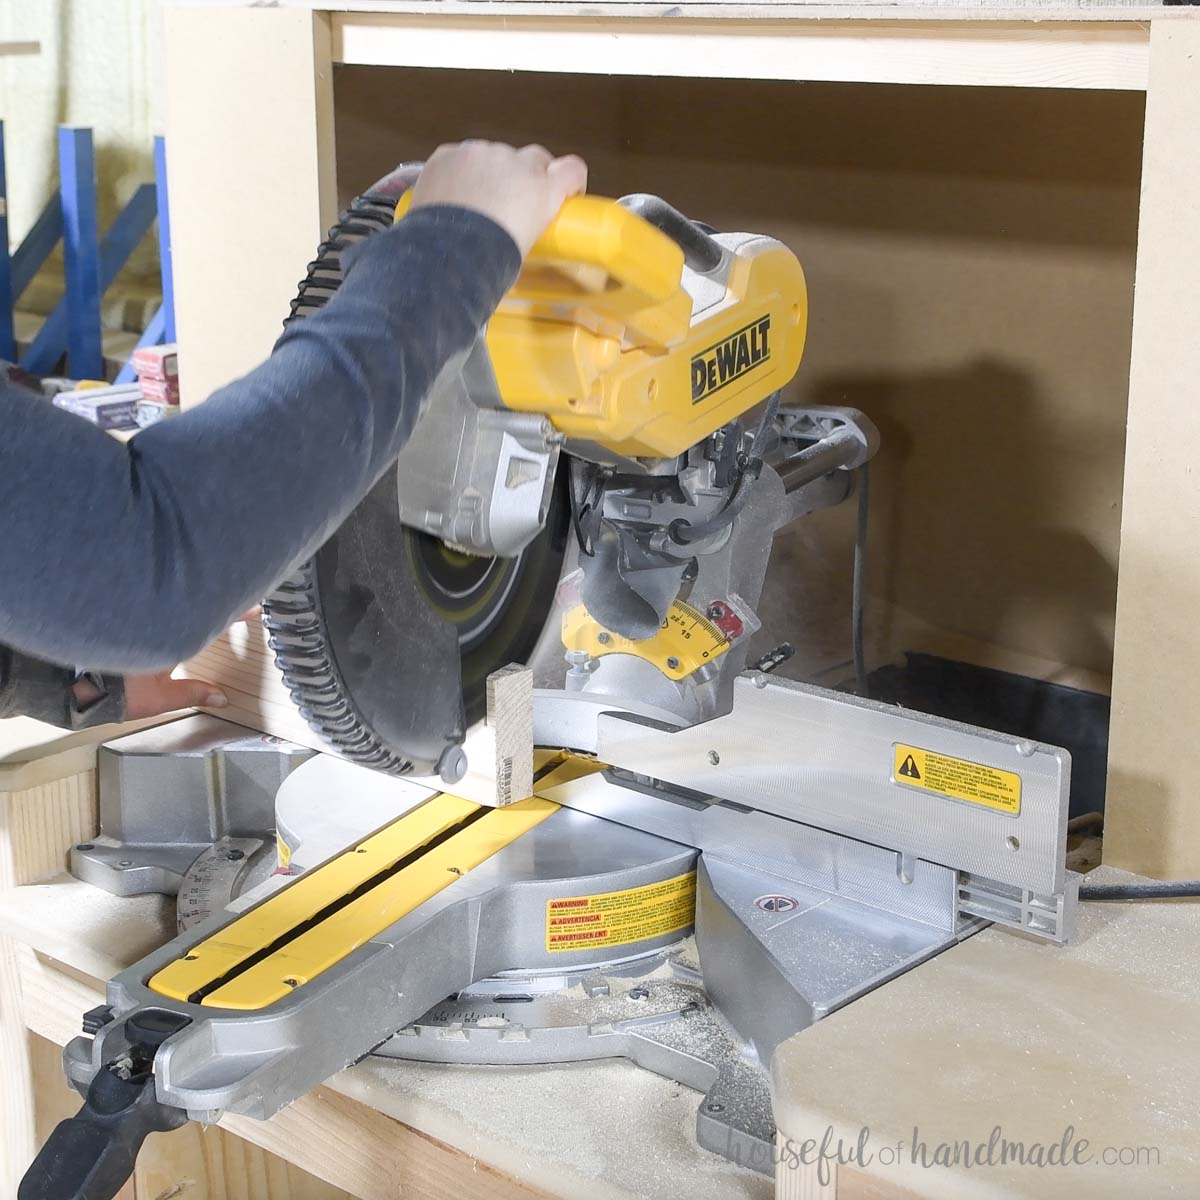
Then set the blade back to 0 degree and set the blade stop so it only cuts 1/2 way through the board.
Measure and mark a 3 1/2” section in the center top of the larger bottom board and on the bottom of the smaller bottom board.
Using the miter saw, carve out the area with multiple cuts until the other board fits inside it. I like to cut both edges first, then cut the lines between them.
EXPERT TIP:
On my saw, to ensure the bottom of the half-lap joint is flat, I used a scrap piece of wood up against the fence behind the board. Then slid the saw blade through the bottom piece and scrap to get a flat cut.
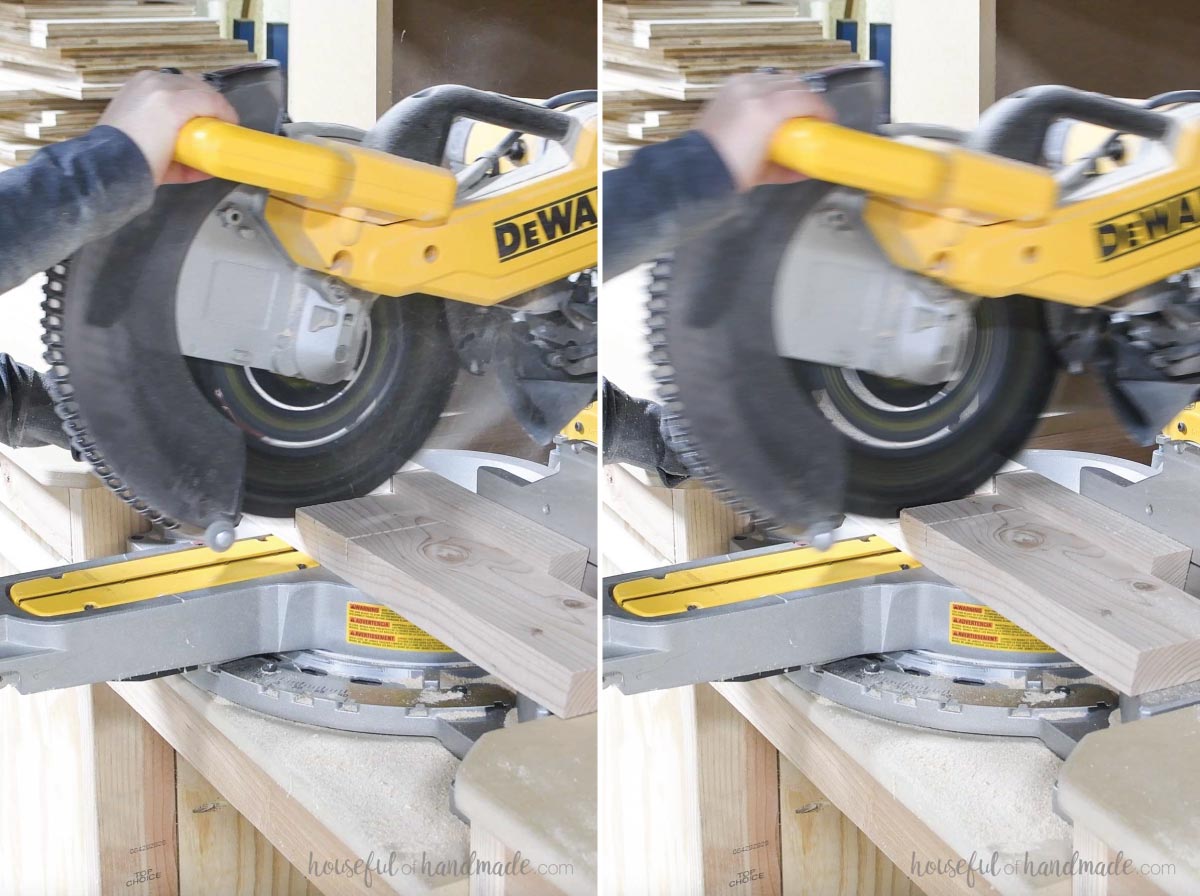
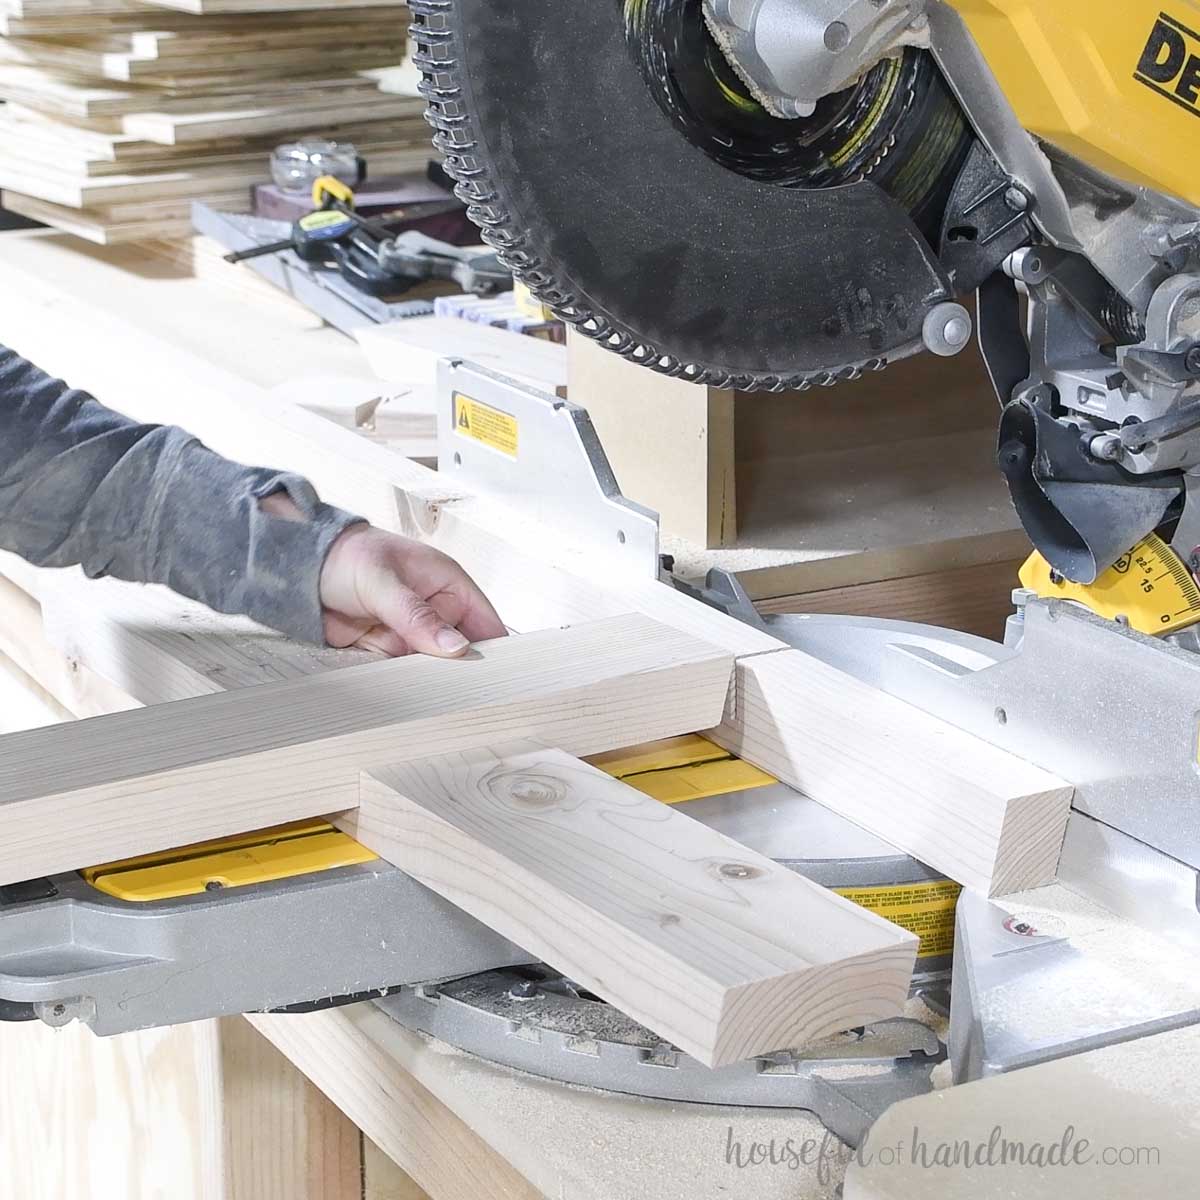
Test it to make sure the other board fits in the area.
Then repeat for the other bottom piece. Make sure the cut out is in the bottom of the smaller tree base and the top of the larger base.
STEP 2- Cut side boards
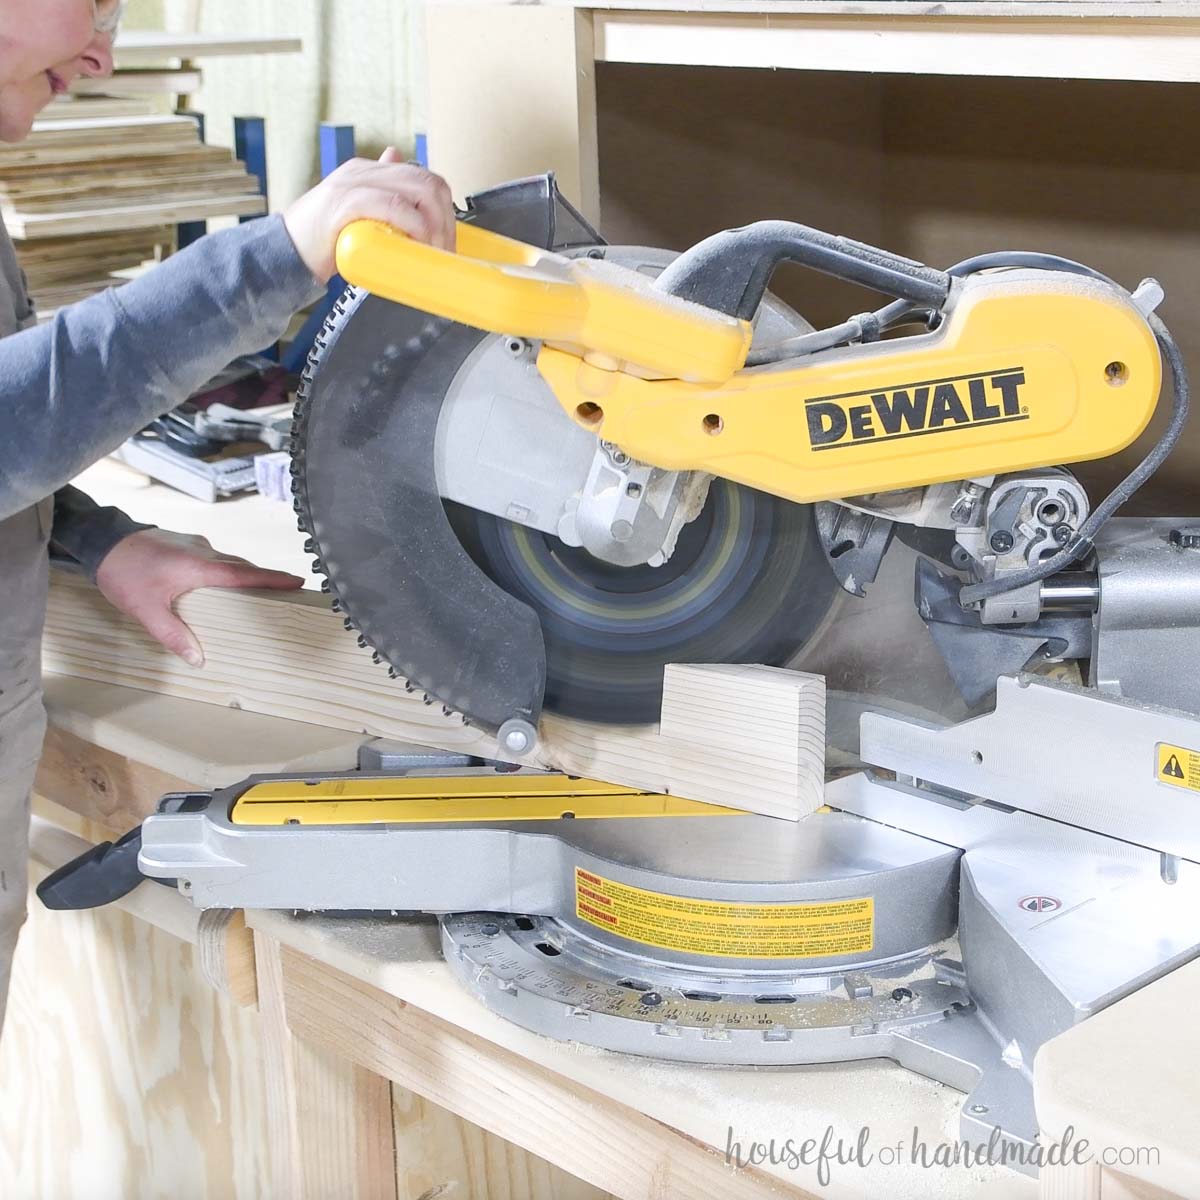
For the side boards, cut the bottom at a 15 degree angle and the top at a 60 degree angle. The measurements in the cut list are for the long edge of the board.
To cut the 60 degree angle on a miter saw. I cut a scrap of 2×2 at a 15 degree angle so I had a little stop block about 1 1/2” long.
Then I placed it on the fence and turned my miter saw blade to 45 degrees.
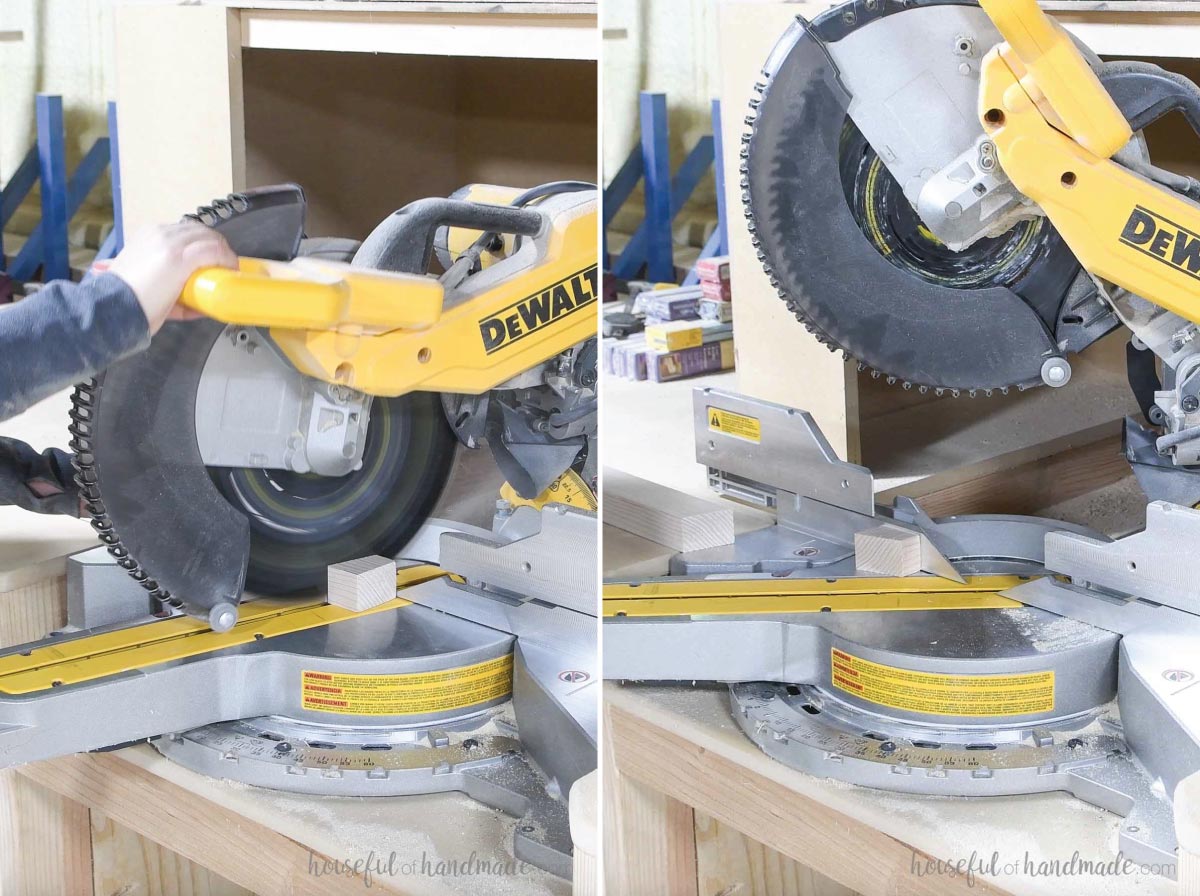
Press the board up against the angled block which will leave it 15 degrees away from the fence.
Cut to get the 60 degree angle.
STEP 3- Assemble the trees
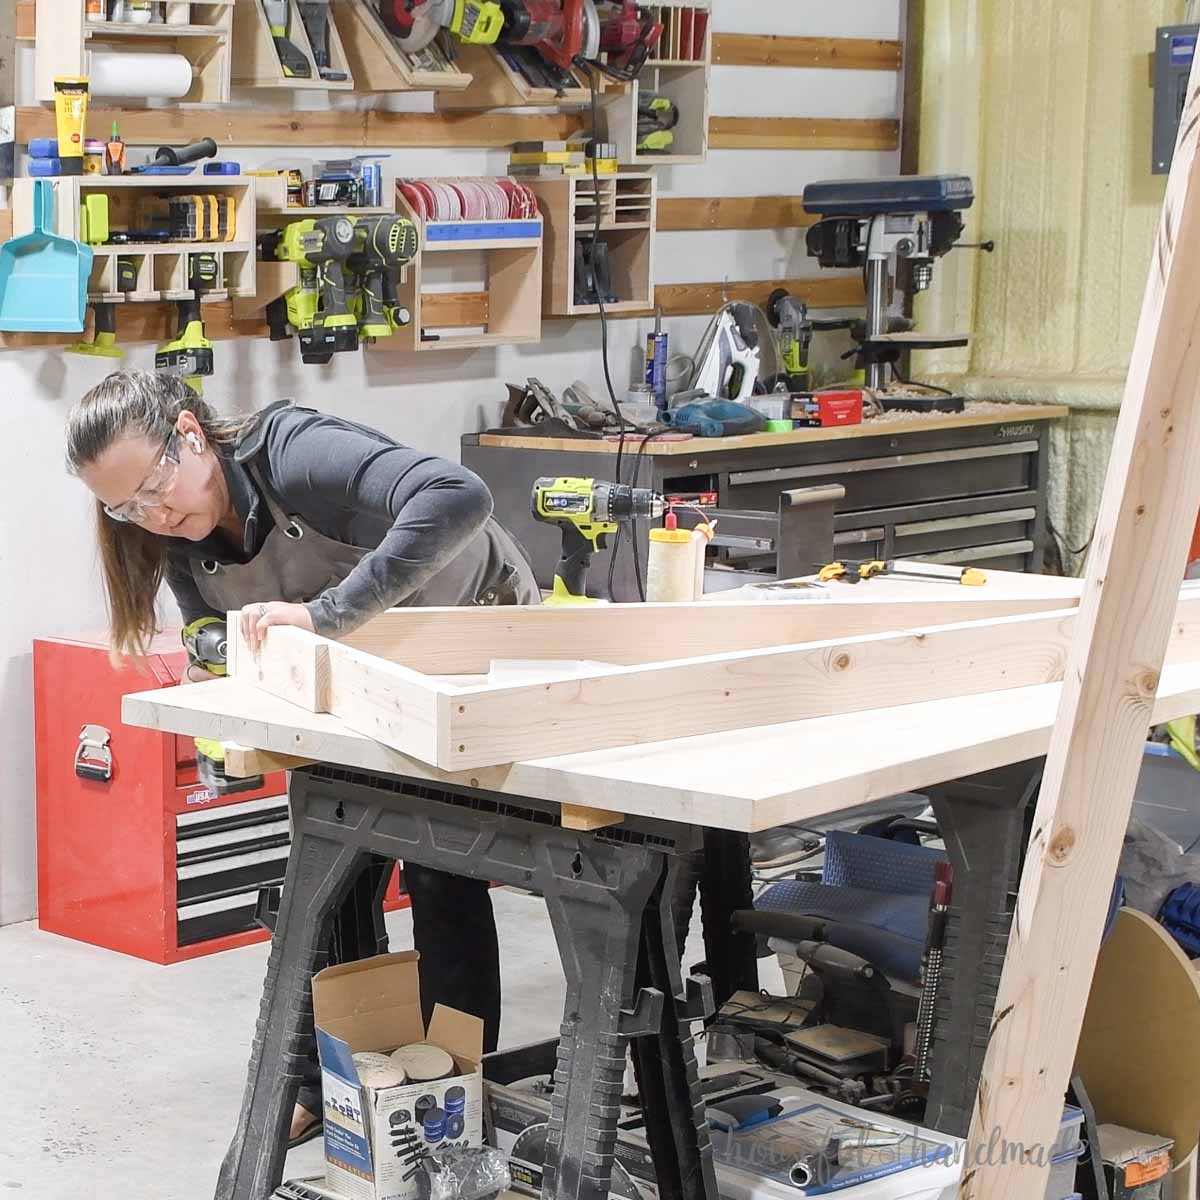
To attach the pieces, attach the bottom between the two sides. The bottom of the side pieces is the 15″ angled side.
Add wood glue to the joint. Then pre-drill a pilot hole, before securing with a 2 1/2″ long wood screw.
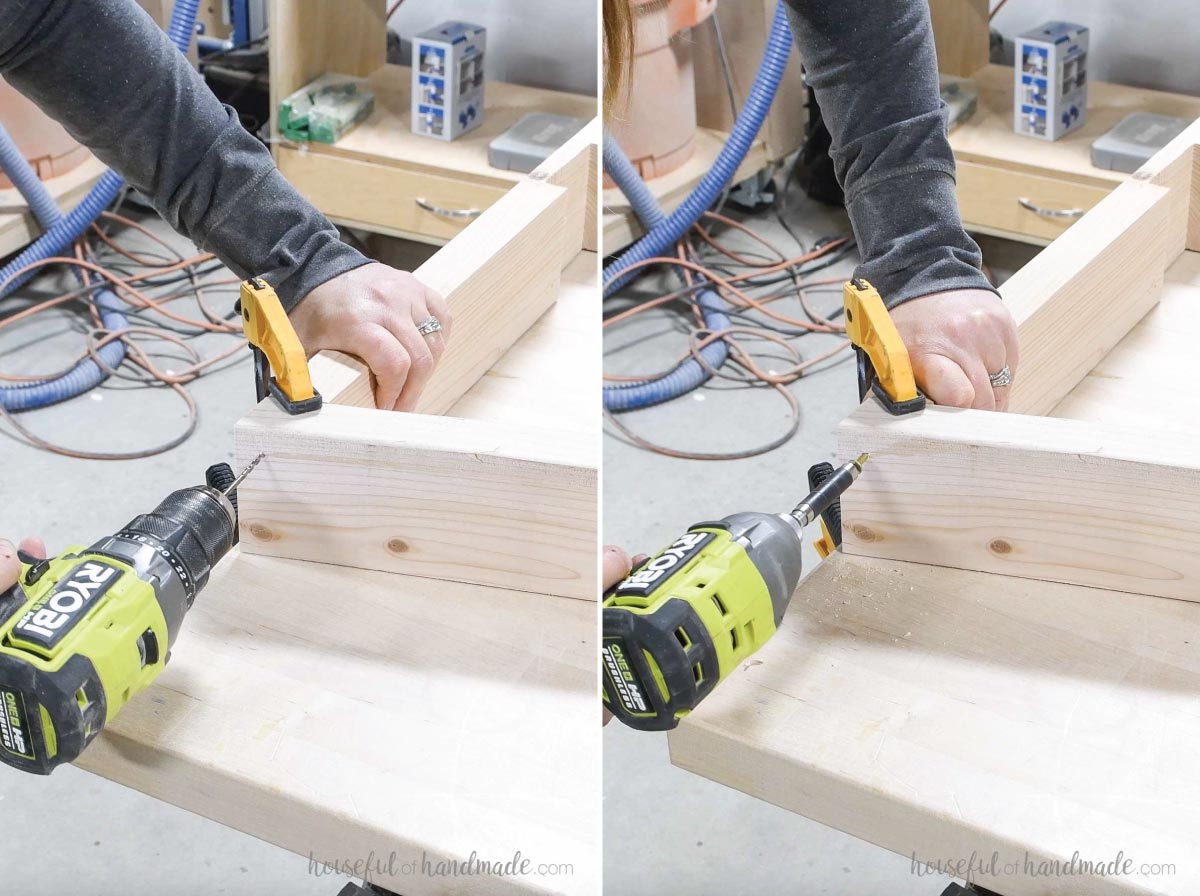
Repeat so you have 2 screws into the bottom.
Then do the same on the other side to secure it.
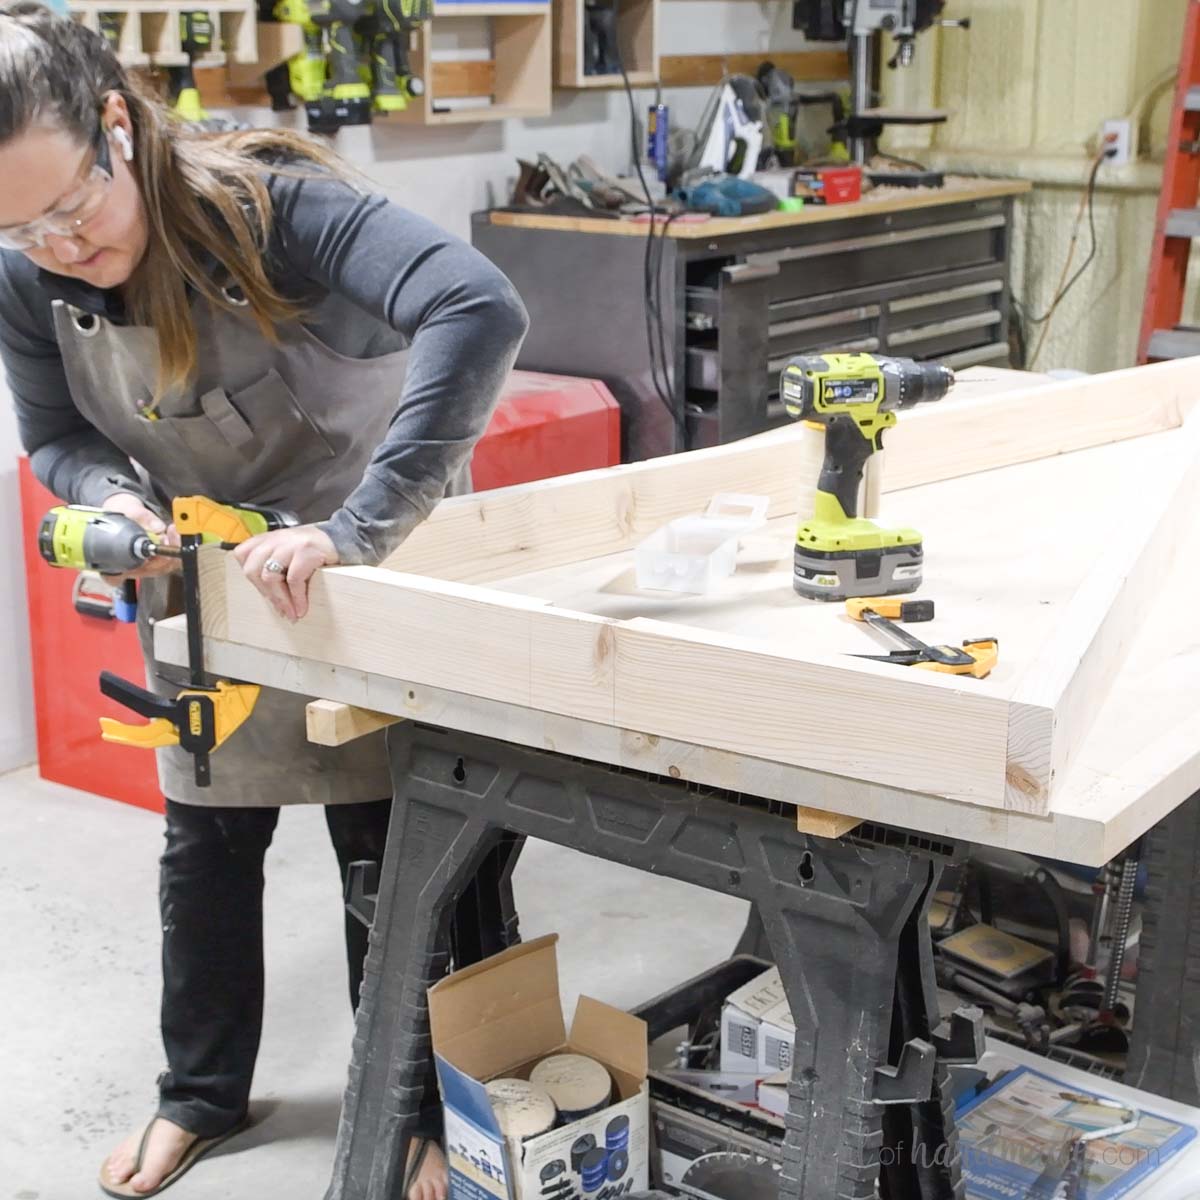
To attach the top, add wood glue to the angle on the short side. Pre-drill then secure with 1 1/2” screws.
Make sure the screws are in the middle to lower 1/3 of the angle.
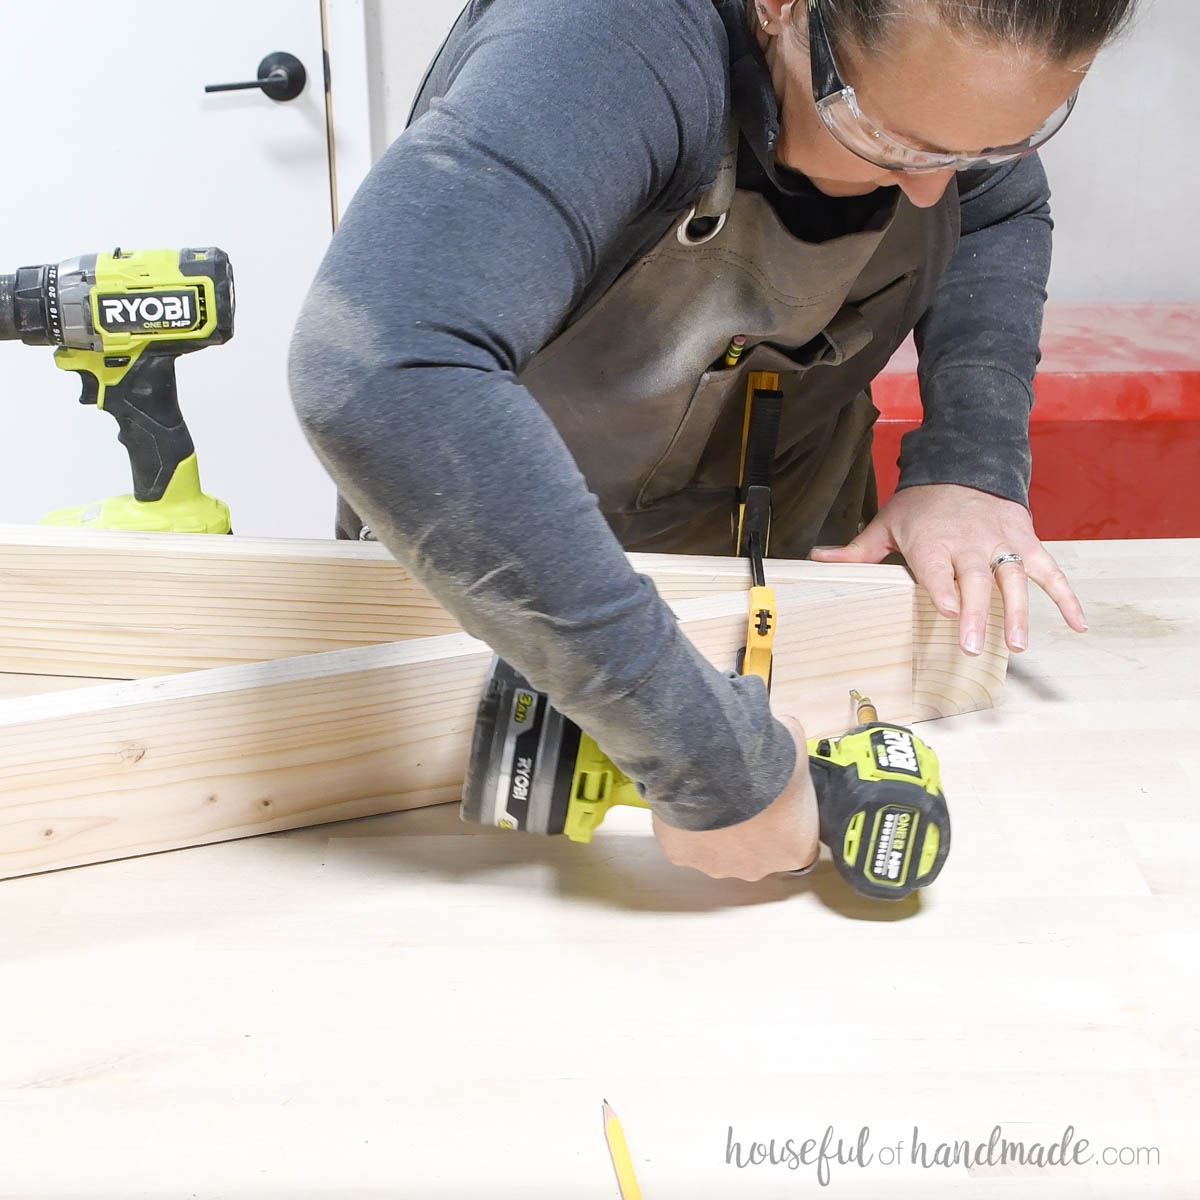
Repeat for the smaller tree.
STEP 4- Finish
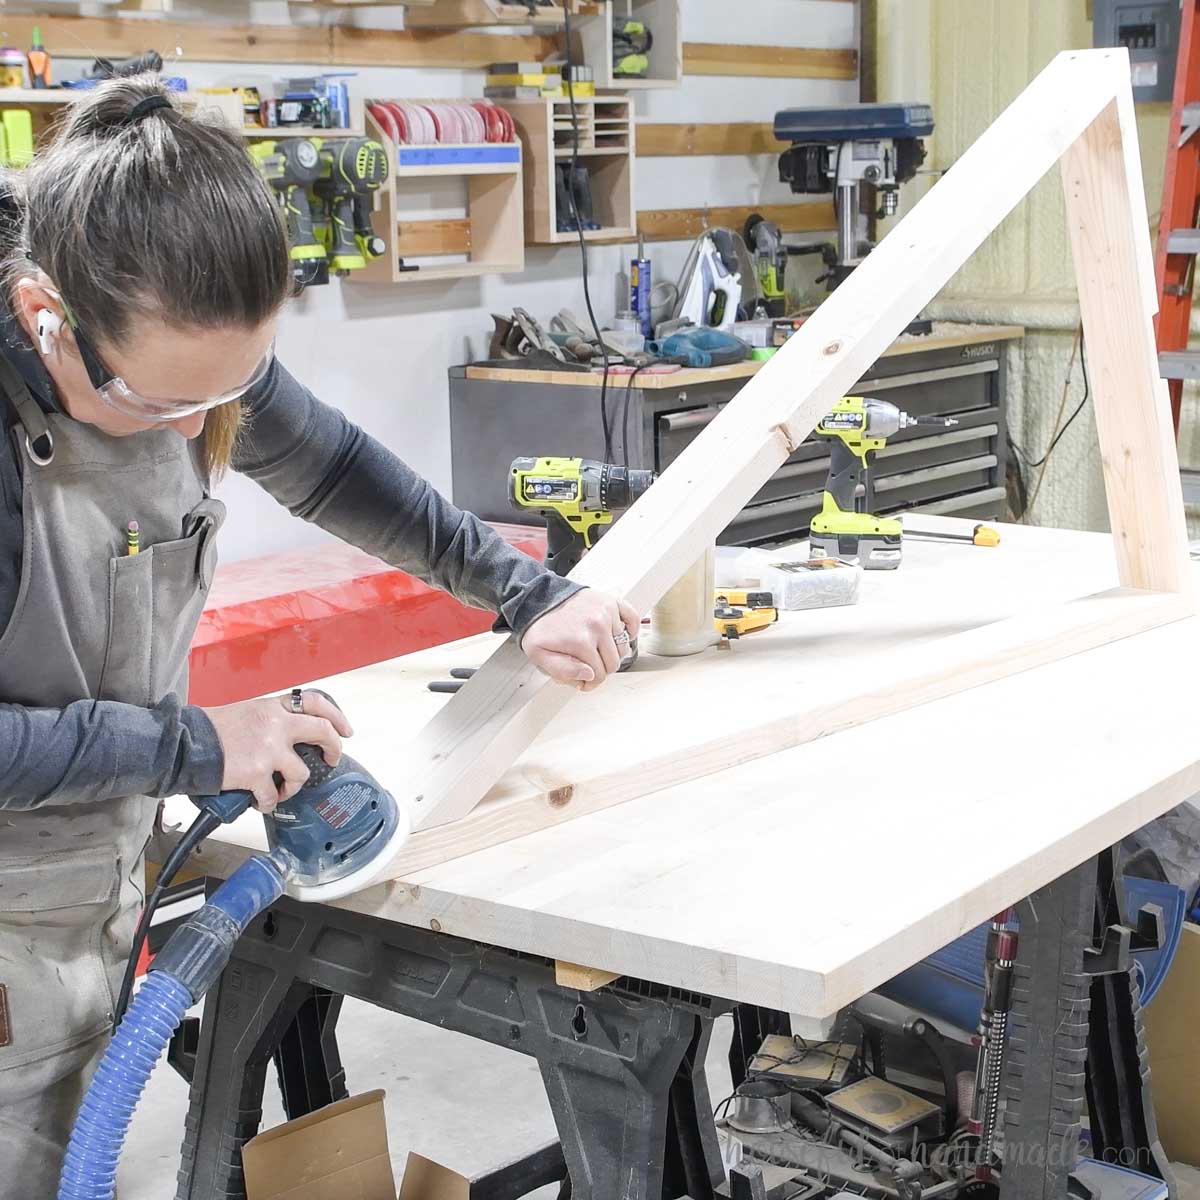
Sand the two tree pieces.
My top angles were slightly wonky (I was using boards that warped slightly). So I sanded with a low grit sandpaper to smooth them out first. Then stepped it up to finish with 150 grit.
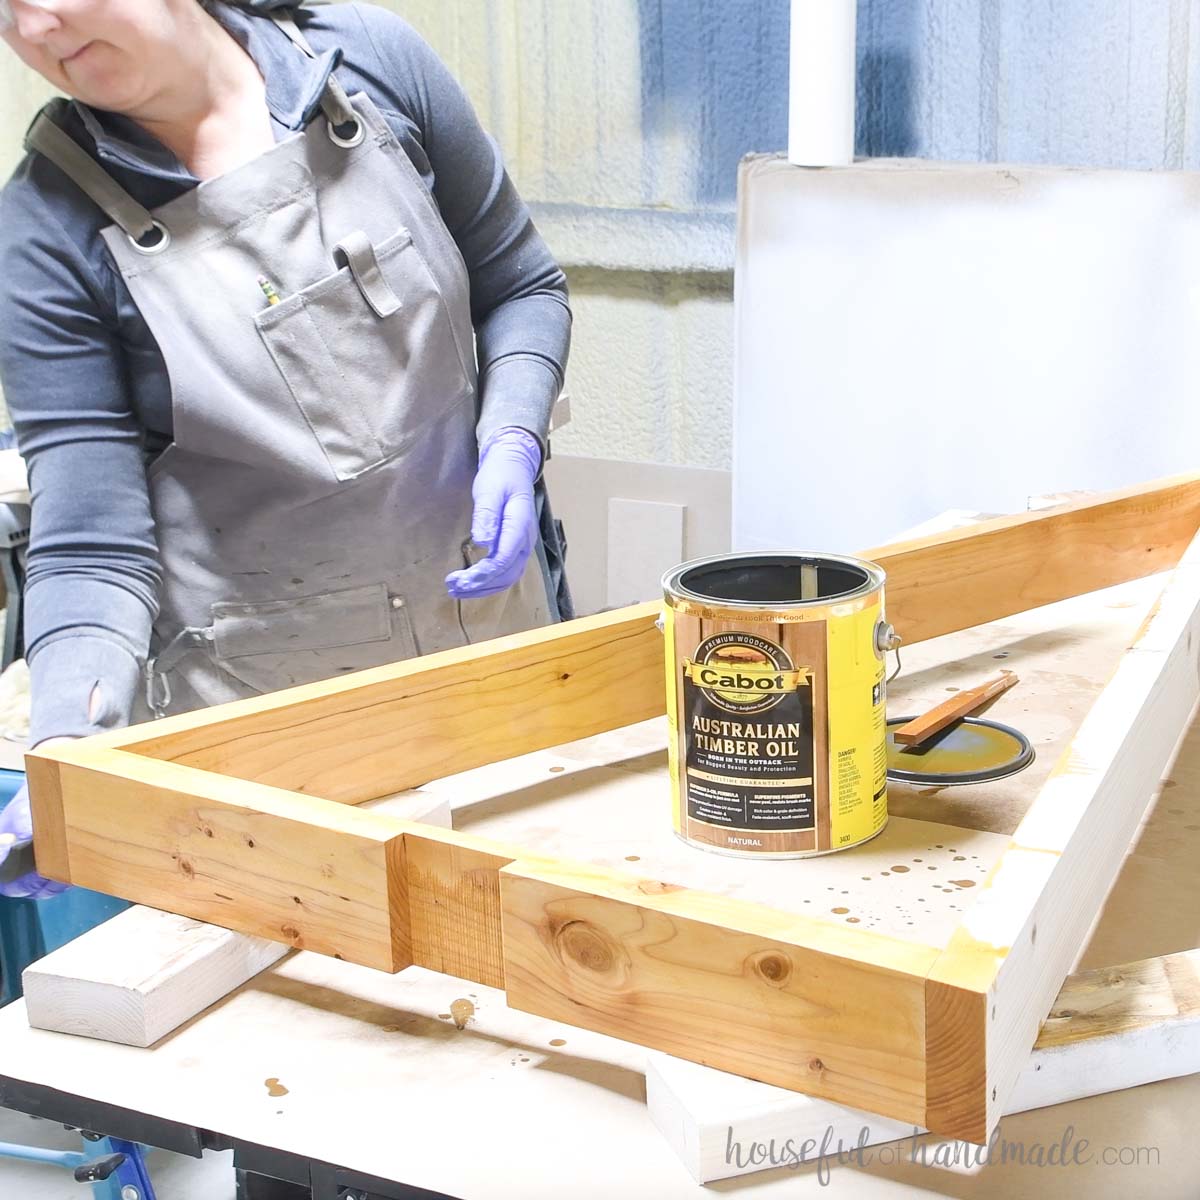
Stain/seal or paint the two finished pieces. If using your tree outside, make sure to use an exterior stain/sealer or paint.
I used Cabot Australian Timber Oil since I plan to put use my wood Christmas tree as porch decor when I have one.
Then to assemble the tree, place the smaller tree inside the larger one so the notched out sections sit together.
The tree can stand just like this and then can be taken apart for storage.
If you are worried about wind, animals or children knocking the tree apart, you can attach the two pieces together with a couple 1 1/2” screws through the half-lap joint. Don’t use glue and you can unscrew them to store flat.
Premium plans include:
- Recommended Tools
- Shopping list
- Easy to read cut list table
- Cut diagrams
- Step-by-step instructions with 3D renderings
- Helpful resources
- BONUS: 3D SketchUp file
You did it!
Set up your new Christmas tree wherever you want it! Add decor around it or even add lights or garland to it.
Happy building!


