I opened the flood gates and am now getting excited for all things Christmas decor!!!
And ever since I made these 3D pumpkins & gourds last year, I knew I needed to make a Christmas tree version as well.
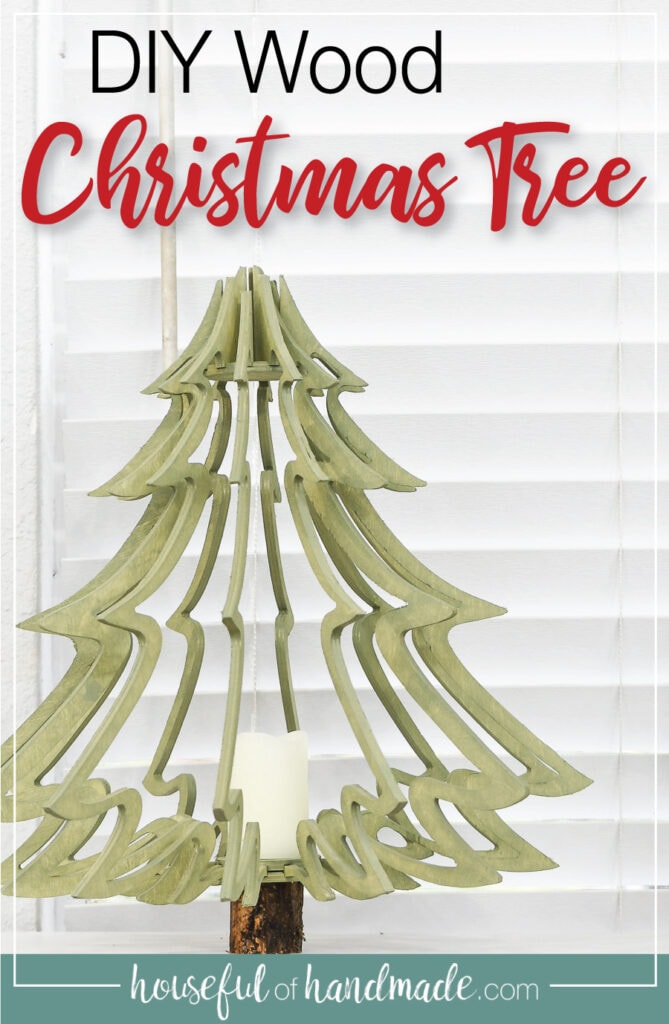
So I partnered with Inventables again to recreate the popular 3D pumpkins into amazing 3D wood Christmas trees! This is such a fun project to make with the X-Carve CNC machine.
This post may contain affiliate links. As an Amazon Associate I earn from qualifying purchases. Click here to read my full disclosure policy.
Decorative Christmas Trees
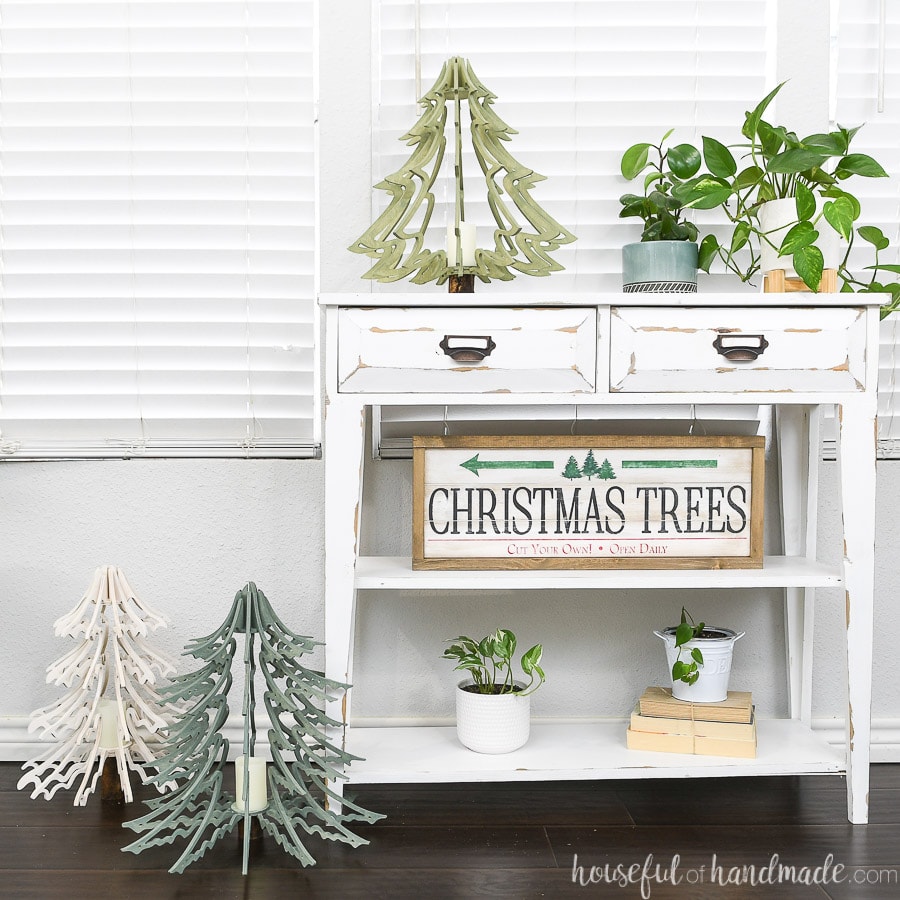
These decorative wood Christmas trees are nice and big. The trees average a little bit in size, the smallest one at 13″ diameter and 14″ tall. And the largest is 17″ diameter and 17″ tall.
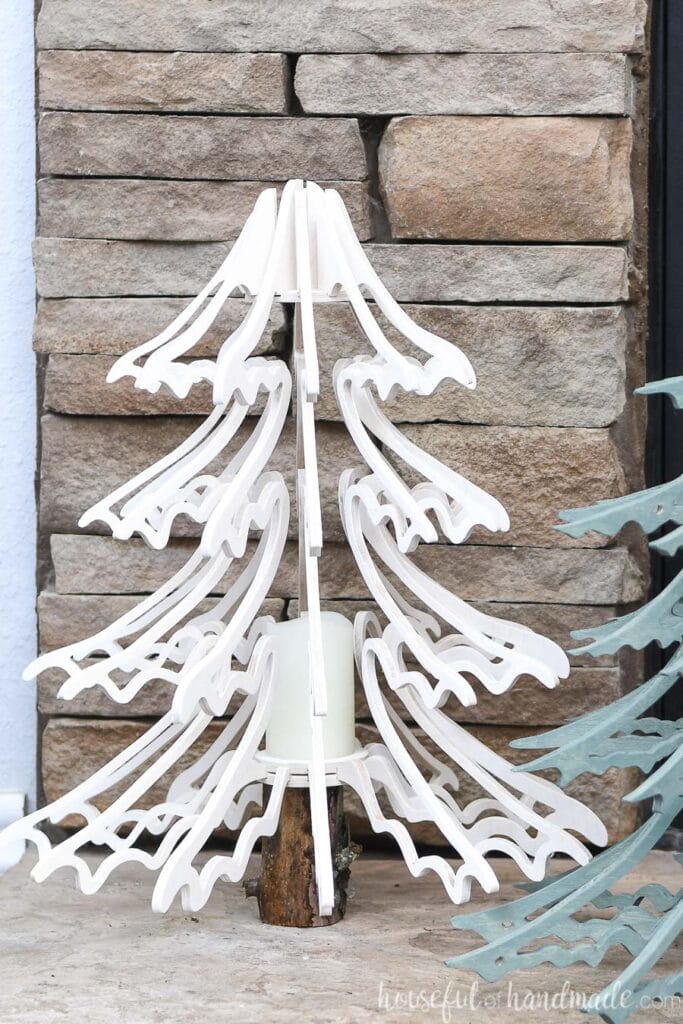
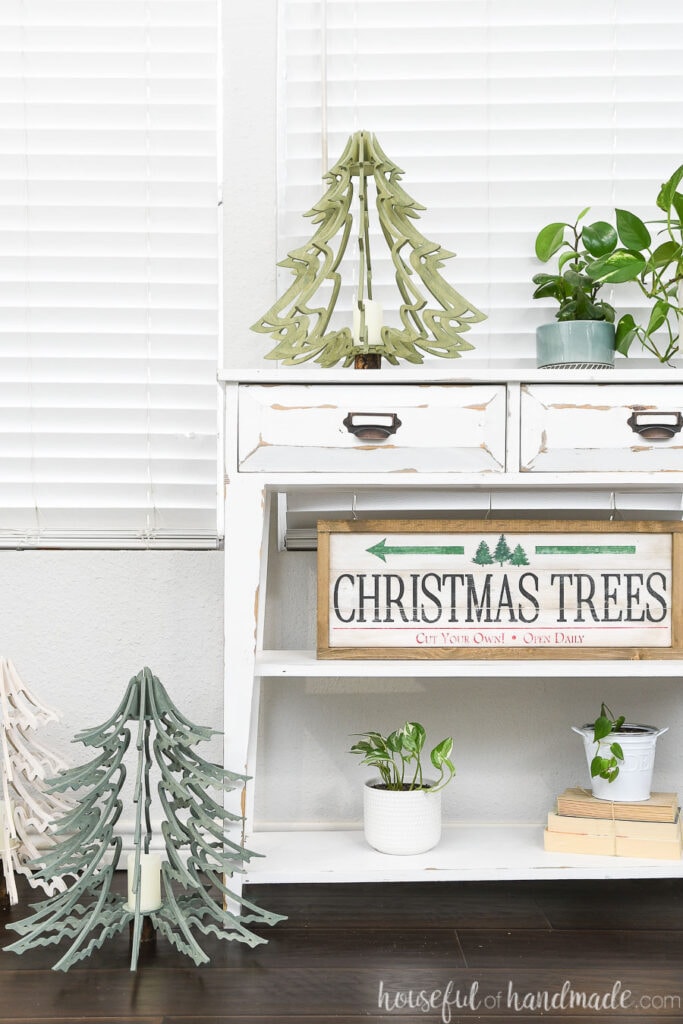
I placed my Christmas trees on cut pieces of branches from our yard to add a little extra height to them.
But you can do without this extra step if you want because the trees stand up beautifully on their lower branches.
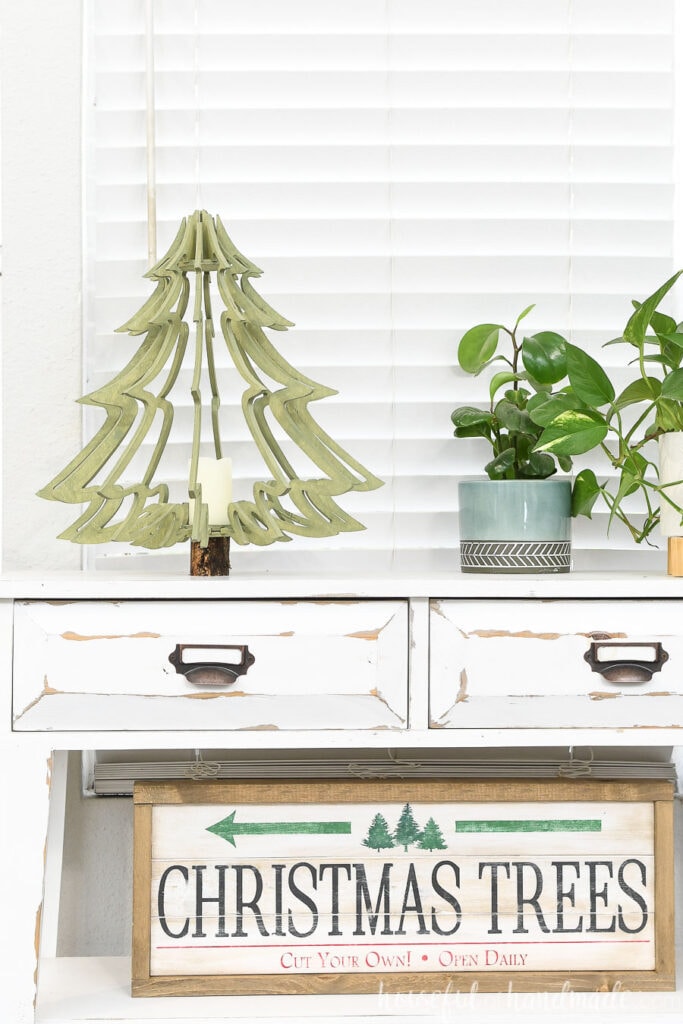
While these might be considered table top Christmas trees, they are a litte on the larger size. But you can still use them on a table top. I placed one on my console table and it looks amazing there.
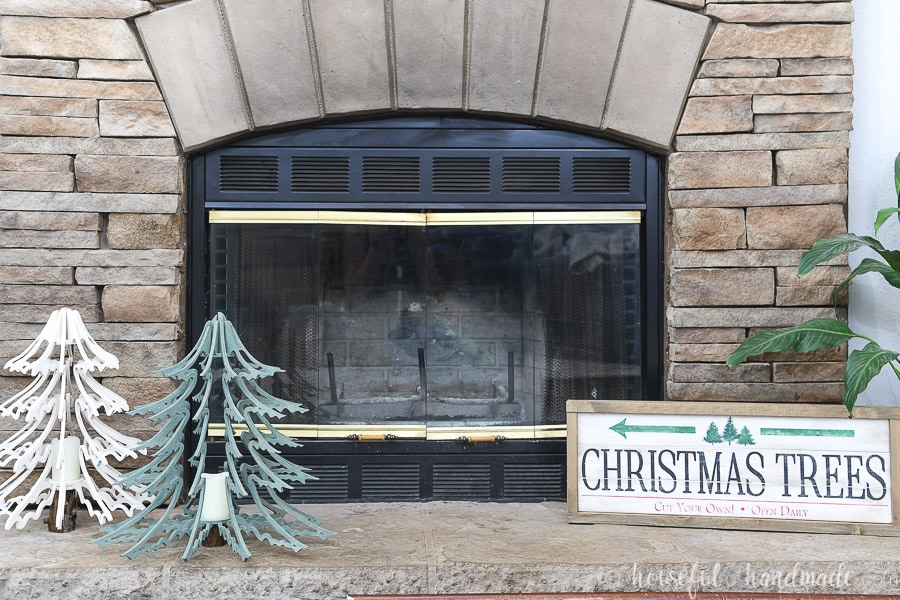
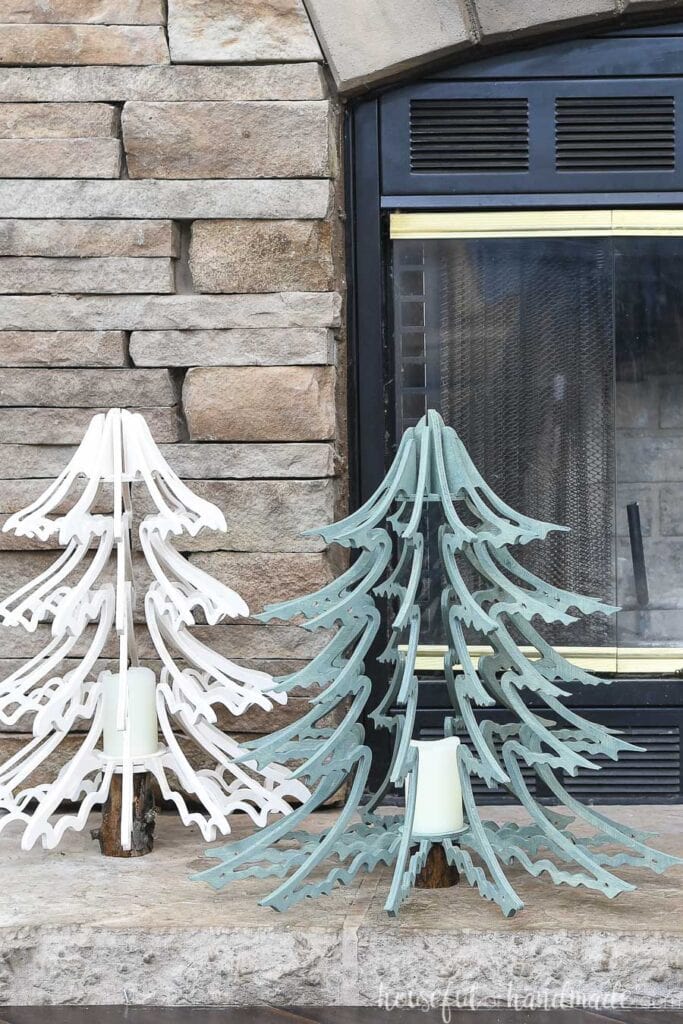
But they are also large enough to sit on the ground to add a bit of Christmas anywhere. They would be great next to a side table, on the hearth, on a porch or more!
Different Designs of Evergreen Trees
My favorite part of designing these 3D wood Christmas trees was creating 3 different, but still classic, Christmas tree shapes.
The smallest Christmas tree is also the slimmest one. I stained it white to look like a snow covered tree because the branches of this design seem to be weighed down with new-fallen snow.
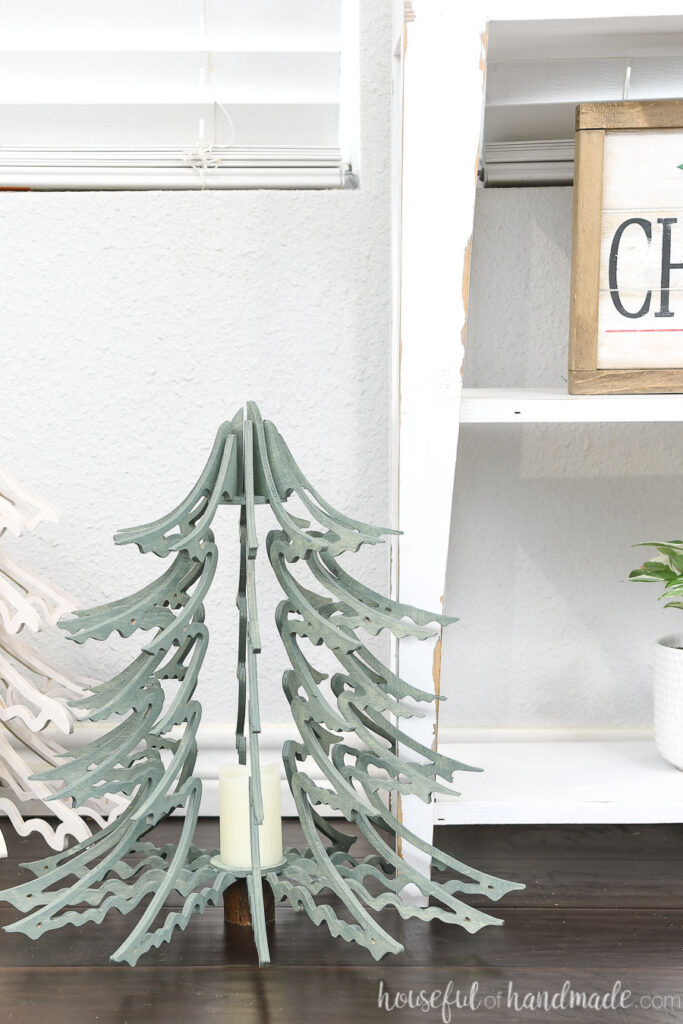
The largest tree is the full, detailed branches. They were designed to look like a classic Blue Spruce Christmas tree.
I stained this tree with a blueish-green stain (that I custom mixed). Now it’s the iconic bushy Christmas tree you see in all the best Christmas movies.
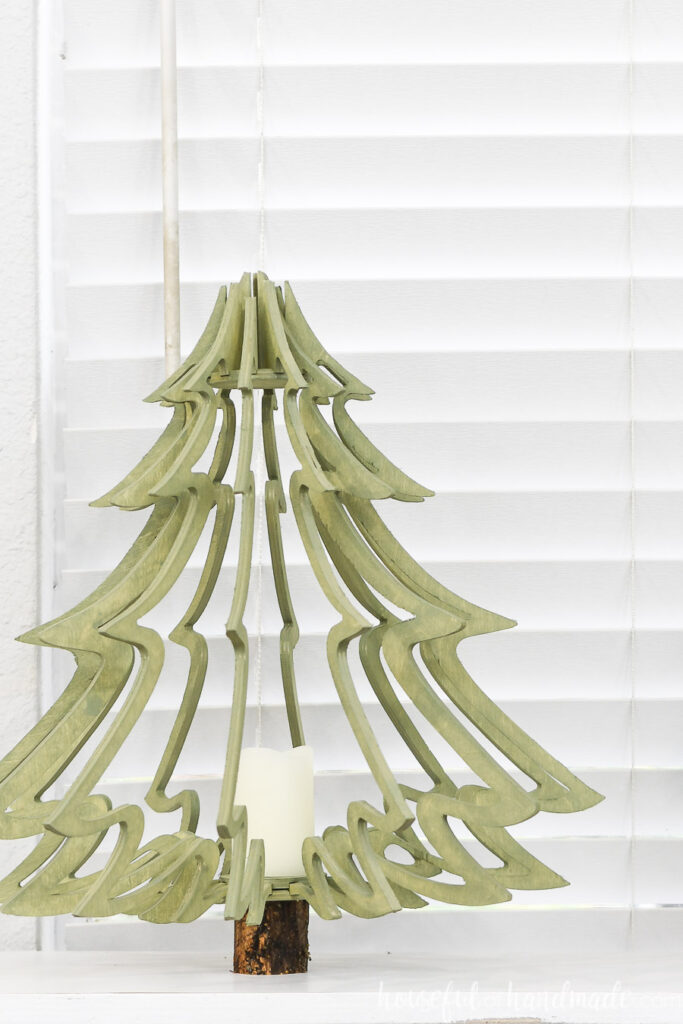
The last one is a designed to look like a classic depiction of a Christmas tree instead of an actual tree. The sweeping branches don’t have bristles showing.
I was worried it might look boring compared to the other two detailed trees. But it’s such a beautiful shape when made into 3D. So classic and timeless!
Best Plywood for CNC Projects
These wood Christmas trees do have thin edges, which means not just any old plywood will do. If your plywood has voids in it, it will cause a week spot in the pieces making them easy to break.
To prevent this, use Baltic birch plywood. The construction of this plywood makes a stronger sheet with very few (if any) voids in it.
Baltic birch is my go-to plywood for many projects, especially on the X-Carve. And the neutral color of the birch veneer will easily paint or stain any color you want.
One thing to note about Baltic birch, it comes in a non-standard plywood size. Instead of 4’x8′ sheets, it comes in 5’x5′ sheets. But that actually makes it perfect for these 3D Christmas trees.
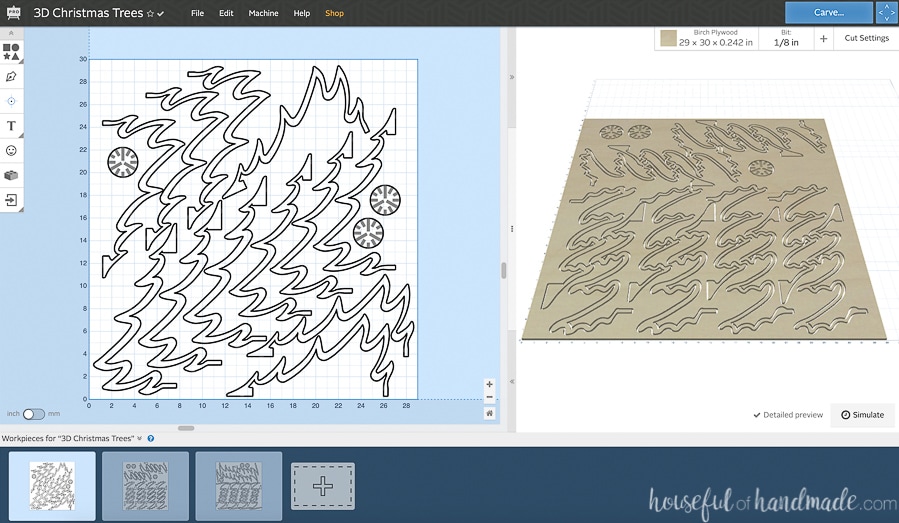
Each tree is cut out of a 30″ x 30″ piece of 1/4″ plywood. That means you can cut exactly 4 trees from one sheet.
And since I was able to purchase a 5 x 5 sheet for only $15, it makes the plywood for each tree only $3.75! That is the perfect budget decor project for me.
More DIY Decor for Christmas
Save money and DIY amazing wood Christmas decor instead. These fun projects will add cheer to your home this holiday season.

How to Make 3D Wood Christmas Trees
Tools & Materials
Recommended Tools:
- X-Carve
- If you do not have an x-carve, you could cut the shapes with a scroll saw.
- Carving bits
- For the plywood I used a 1/8″ two flute downcut bit.
- Digital Calipers
- Saw
- I used a circular saw to cut down the plywood.
- Clamps
- Chisel or knife
Supplies:
- Christmas Tree CNC Templates
- 1/4″ thick Baltic birch plywood
- Sand paper
- Gorilla super glue
- Wood Stain
- Branches
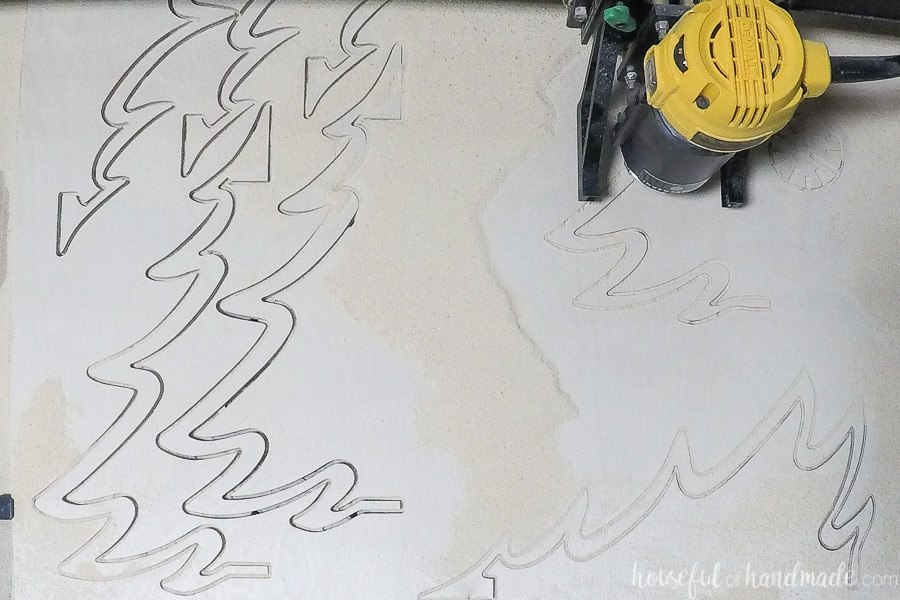
STEP 1- Carve the wood pieces
Cut the 5’x5′ sheet of plywood in quarters to get four 30″ x 30″ pieces.

In the CNC templates, there are 3 different files: one for each shape of tree.
To carve the trees, make sure the cut path is set to the outside of the shape for the through cuts.
For the gray notches on the top and bottom circles, these should be set to cut 1/16″ to 1/8″ deep and to clear out the pocket.
I learned that you need to have a little space between the pieces because the plywood can get loose and mess up the carving so don’t try to move them too close together to save wood. Luckily the wood is inexpensive.
Also, since we are cutting lots of thin pieces, they may bounce around as the pieces next to it are cut.
To prevent this, I added 5 strips of double sided tape to the waste board before securing the plywood with clamps. This helped hold the pieces a little more during cutting.
Clamp a piece of plywood to the X-carve waste board and set the machine to cut.
The Easel program has great pre-set cut settings for you to use. I definitely recommend starting with the recommended feed & speed settings if you are a newbie to CNC.
I used the following manual cut settings for my trees which saved about an hour per carve because of the size of the trees.
- Feed rate: 30 in/min
- Plunge rate: 12 in/min
- Depth per pass: 0.125 in
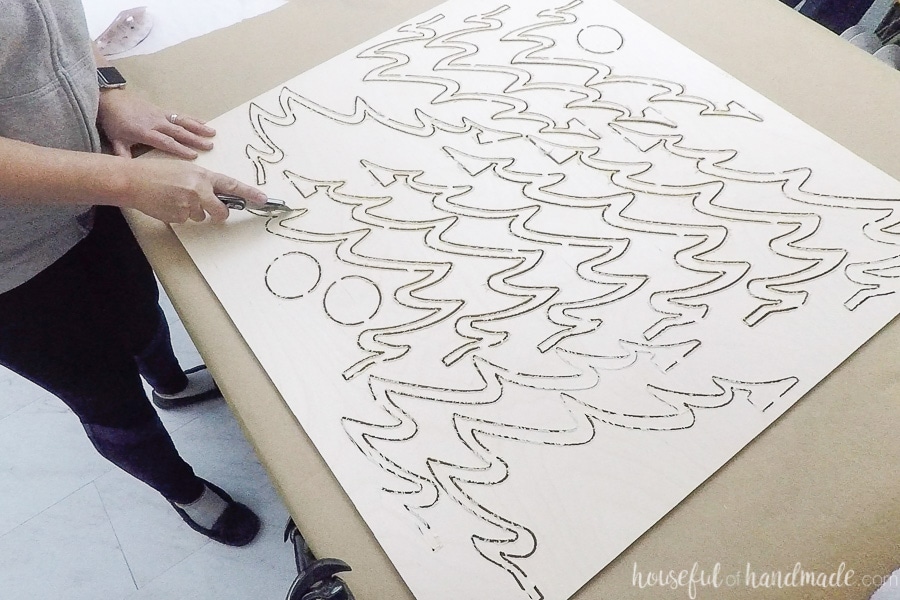
Now sit back and let the machine cut out all the pieces for you!
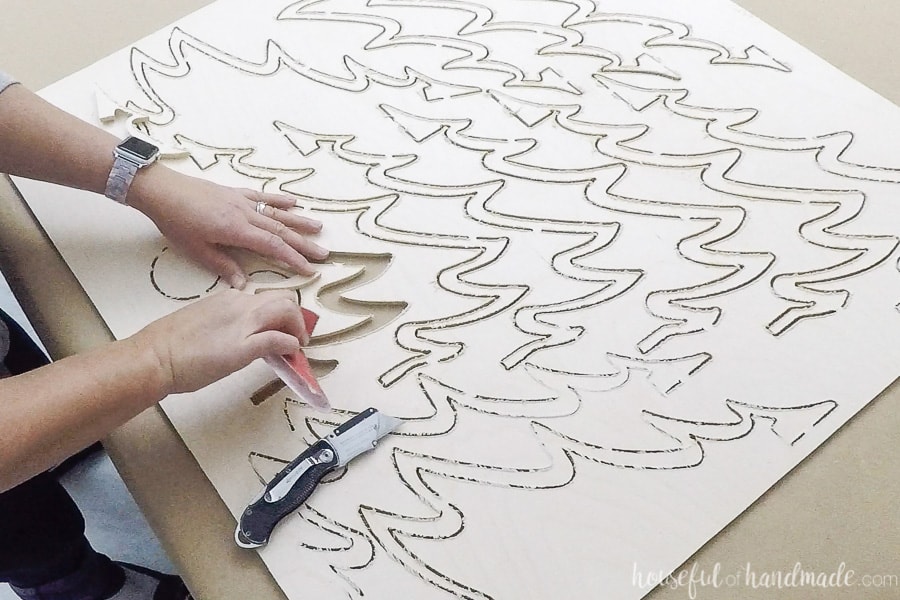
Once the pieces are all cut, use something sharp to cut the tabs. Just be careful not to break the plywood since it can be delicate on the thinner pieces.
Sand the pieces to remove any leftover tab sections and clean up the edges.
The downcut bit leaves a beautiful cut at the top of the pumpkins but can leave some fraying on the bottom.
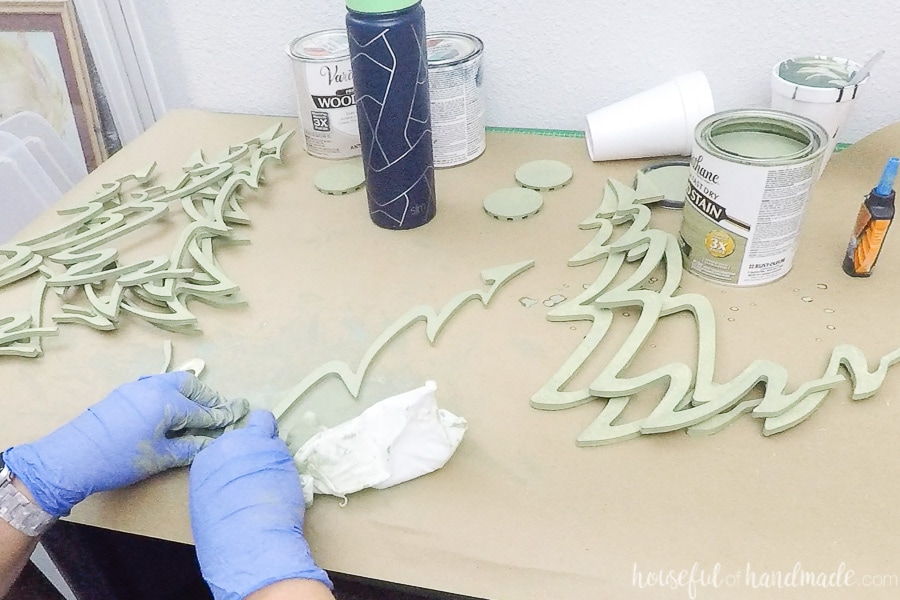
STEP 2- Sand and stain/paint
I recommend staining all the pieces before glueing them together. Use a rag to get the stain in all the edges and crannies of the Christmas trees.
I did not do this when I made the 3D pumpkins last year and it was tricky getting in and around all the pieces once assembled.
STEP 3- Glue together the pieces
The top and bottom circles have notches carved into them to hold the pieces. This also allows you to keep the spacing perfect.
There are 3 different sizes of pieces to make up each tree (3 large, 6 medium and 3 small). The medium and small pieces look the same except for the top and bottom where it attaches to the groove.
You will want to glue them together in the right order. Start with the 3 large sized pieces.
Use the super glue to place 1-2 dots of glue one of the largest grooves on one of the circles. Slide one of the large pieces into it it and hold for 10-20 seconds until it is sticks.
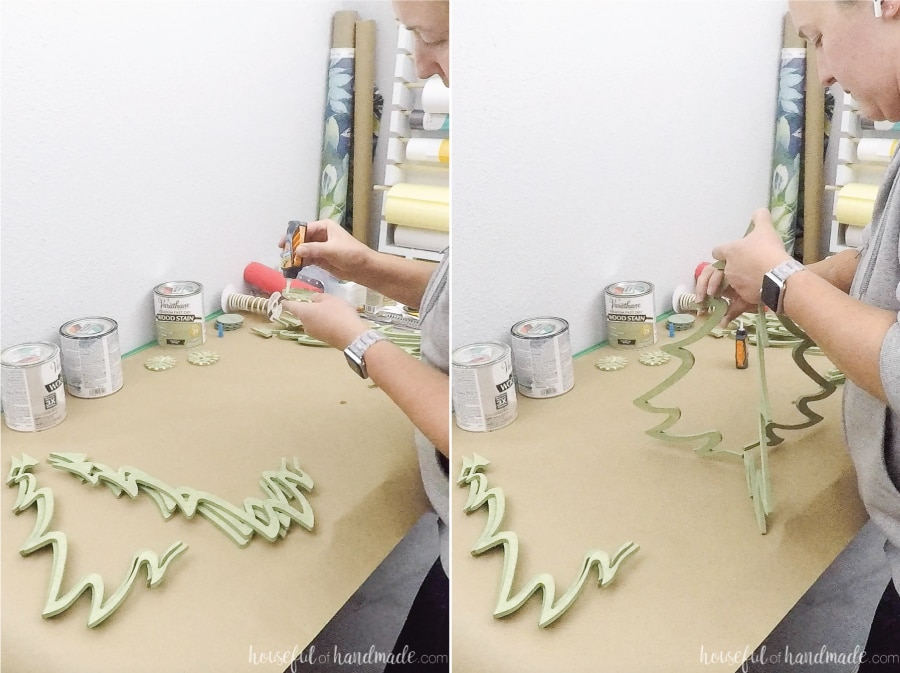
Be careful as this is only a temporary hold until the glue fully cures. Bumping it too hard will make it come apart. If that happens, just hold again to secure.
Repeat for the other large pieces around the circle in the large grooves.
Once the top is secure, use another circle with notches to secure the bottom of the 3 large pieces into the large grooves again.
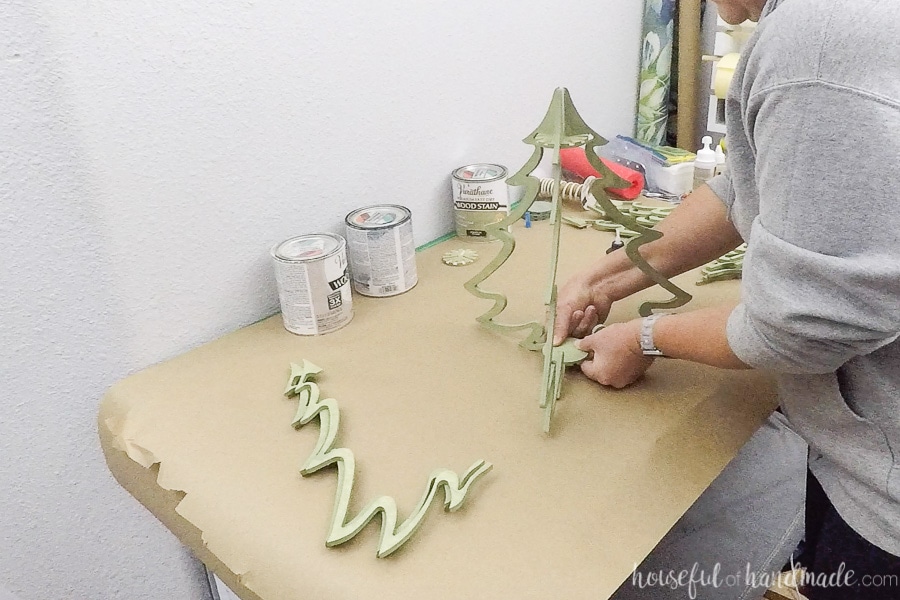
Once you get all the large pieces secure, let it sit a bit longer to really let the glue dry before moving on. These three pieces will need to hold well as you place the rest of the pieces.
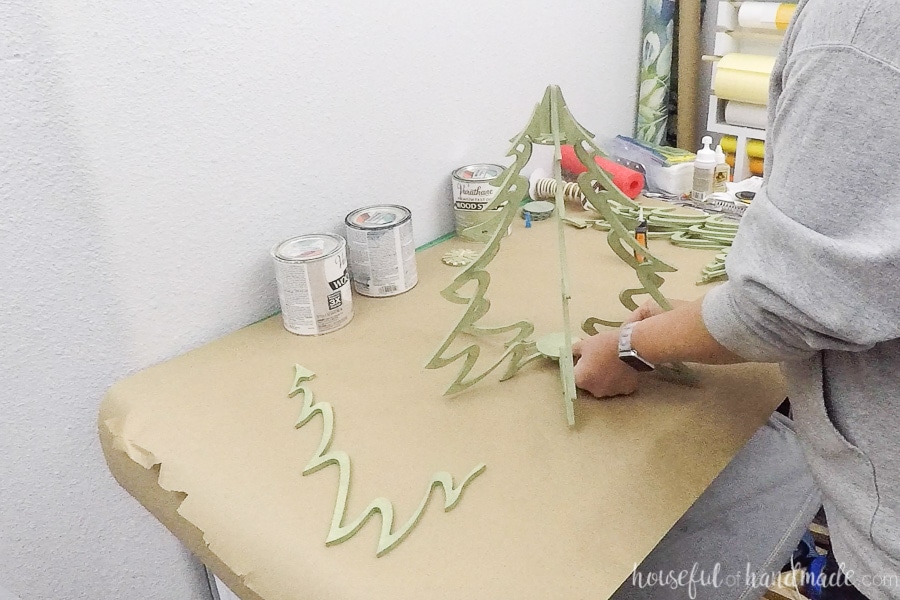
Now it’s time to secure the rest of the pieces around the circle. The medium sized piece go in the medium sized grooves and the small pieces go in the small grooves.
If the large pieces are secured well, you should be able to move around the circle attaching both the top and bottom of the rest of the pieces at the same time.
Make sure to hold each piece of 10 seconds to let the super glue hold before moving on.
Once all the pieces are attached, add glue to all the notches in the third circle.
Press it over the bottom pieces of the Christmas tree to make a sandwich and squeeze them tight for 20 seconds.
This will create a flap spot on the bottom of your tree to allow you to glue a piece of a branch for a truck if you want.
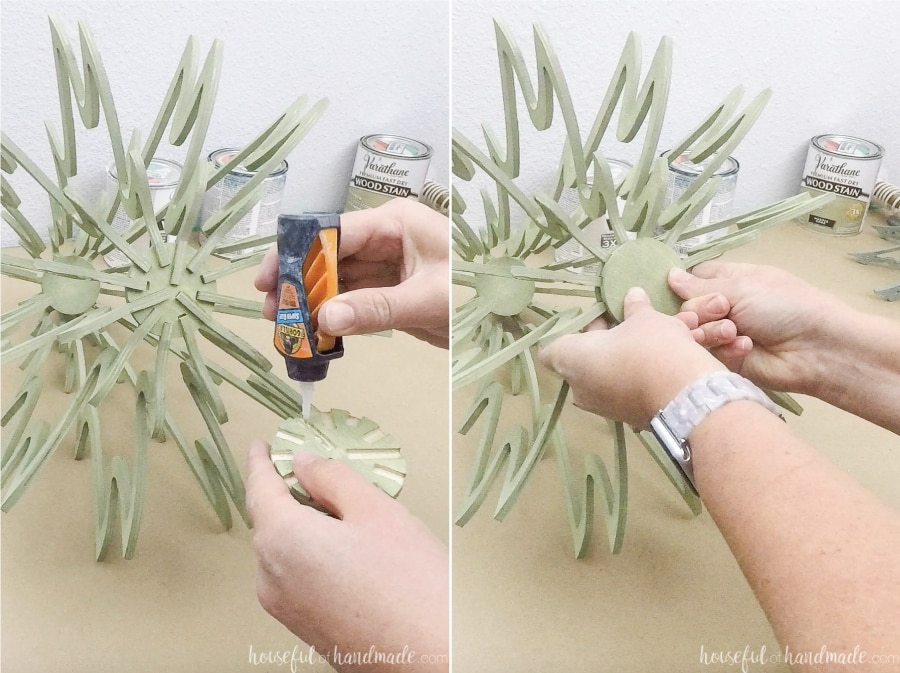
And you are done!
Premium templates include:
- Printable PDF template for hand cutting
- SVG and DXF files for CNC machines
- Recommended Tools
- Shopping list
- BONUS: Printable PDF Instructions
Now your 3D wood Christmas trees are ready to display.
Slide a candle in to sit on the flat circle (but probably not a good idea to use a real candle, I recommend using flameless wax candles for a safe but real look) to create a lantern look.
Or you can skip the candle and just enjoy your beautiful new decorative Christmas trees!

Thank you to Inventables for sponsoring this post. I only recommend products that I use and love and all opinions are 100% my own. Click here to read my full disclosure policy.