If you like to craft, you need this wooden craft cart.
My daughter has taken up crochet and needed a place to store her supplies. So I decided to design a cart that will do that and more!
It can be rolled out when she’s ready to work, holds everything she needs for her projects, and can be put away quickly when she’s done.
This post may contain affiliate links. As an Amazon Associate I earn from qualifying purchases. Click here to read my full disclosure policy.
And it is a simple build that is going to make a great DIY gift. It would work for anyone in your life who loves to create.
DIY Craft Storage
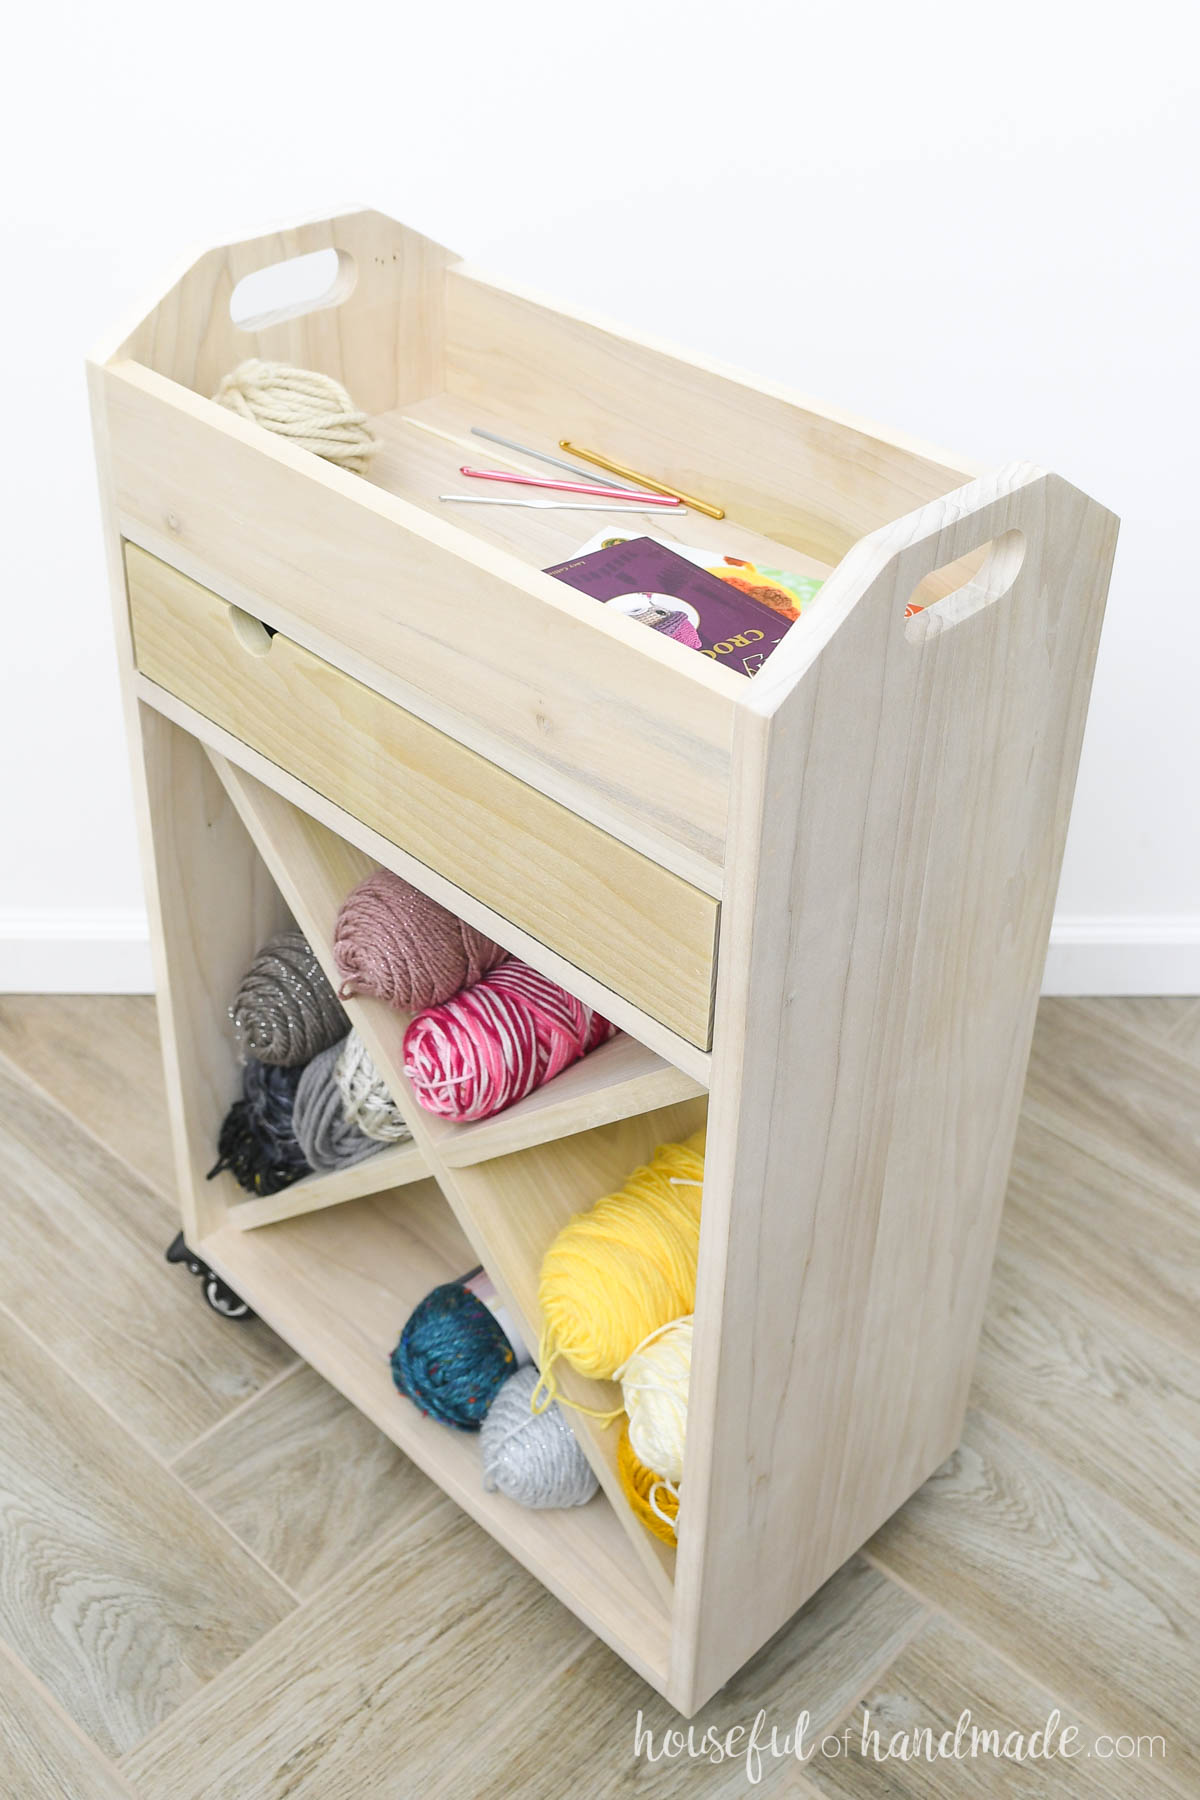
I designed this simple cart to be the perfect craft accessory.
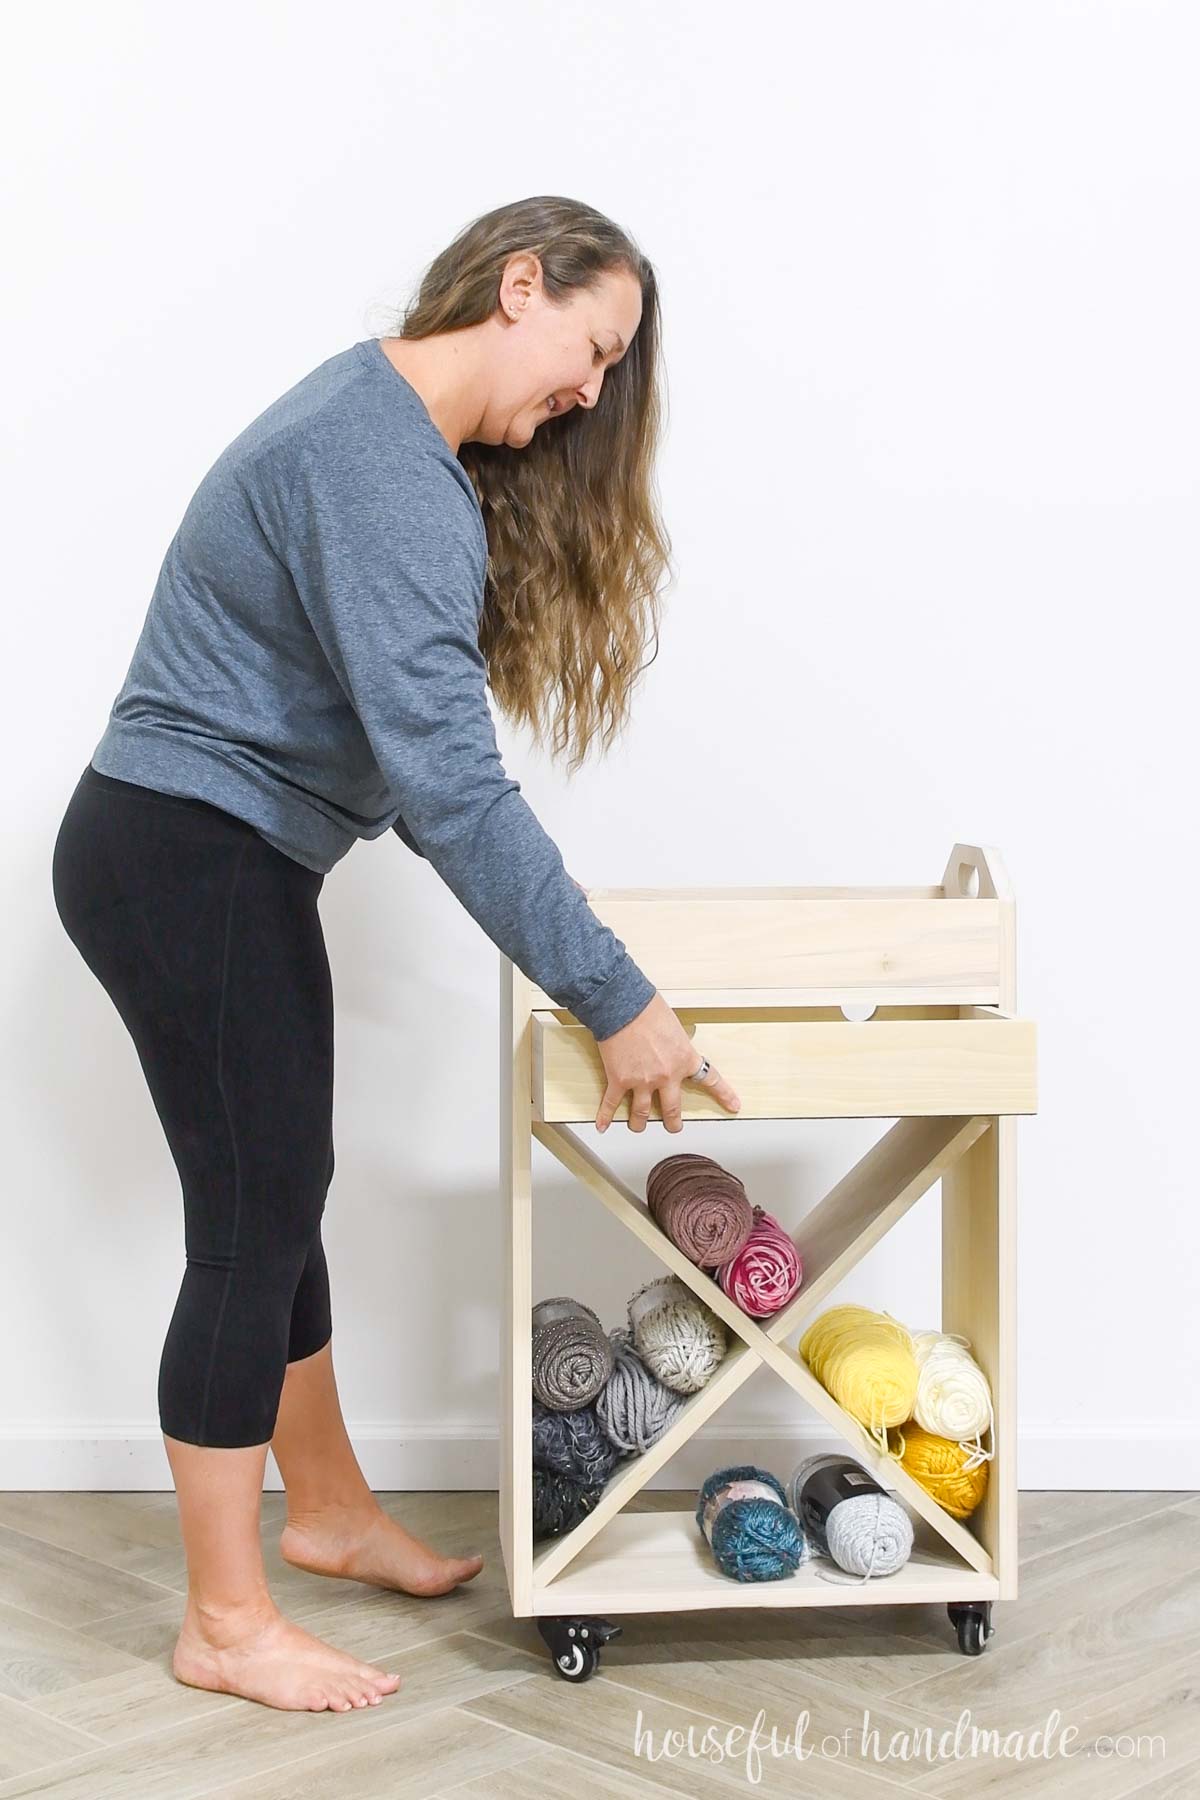
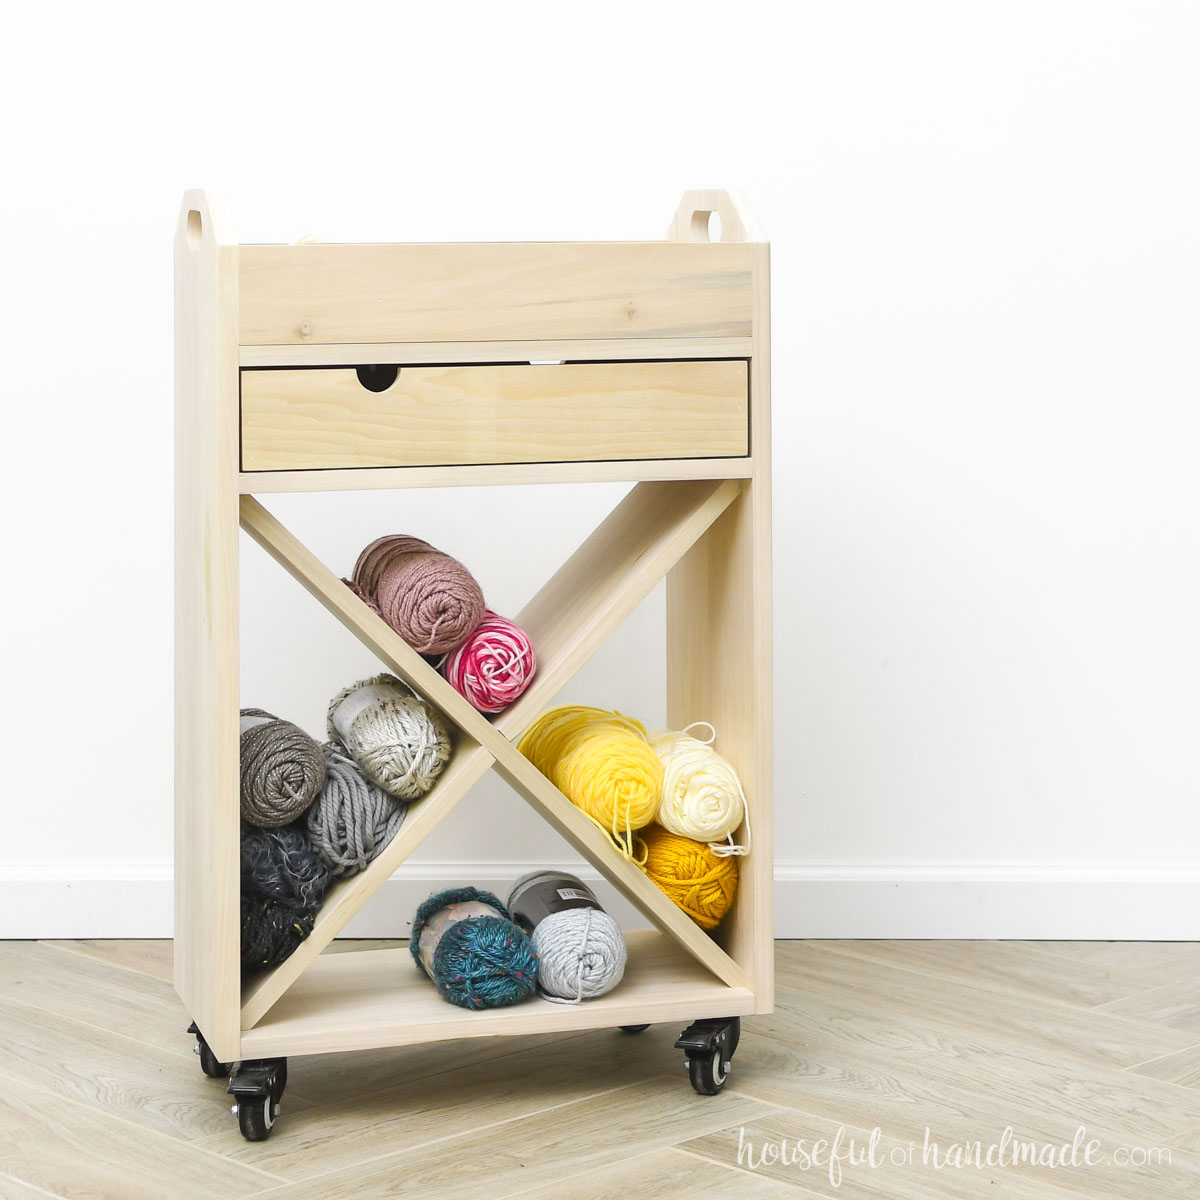
The bottom of the cart has an X design meant for function and beauty. If you crochet, knit or macrame, you can use it to store yarn or string. If you sew or quilt, you can store away fabric in it.
There is an easy to build drawer too. It’s the perfect place to store scissors and small accessories. Plus the drawer can be opened for both sides of the cart.
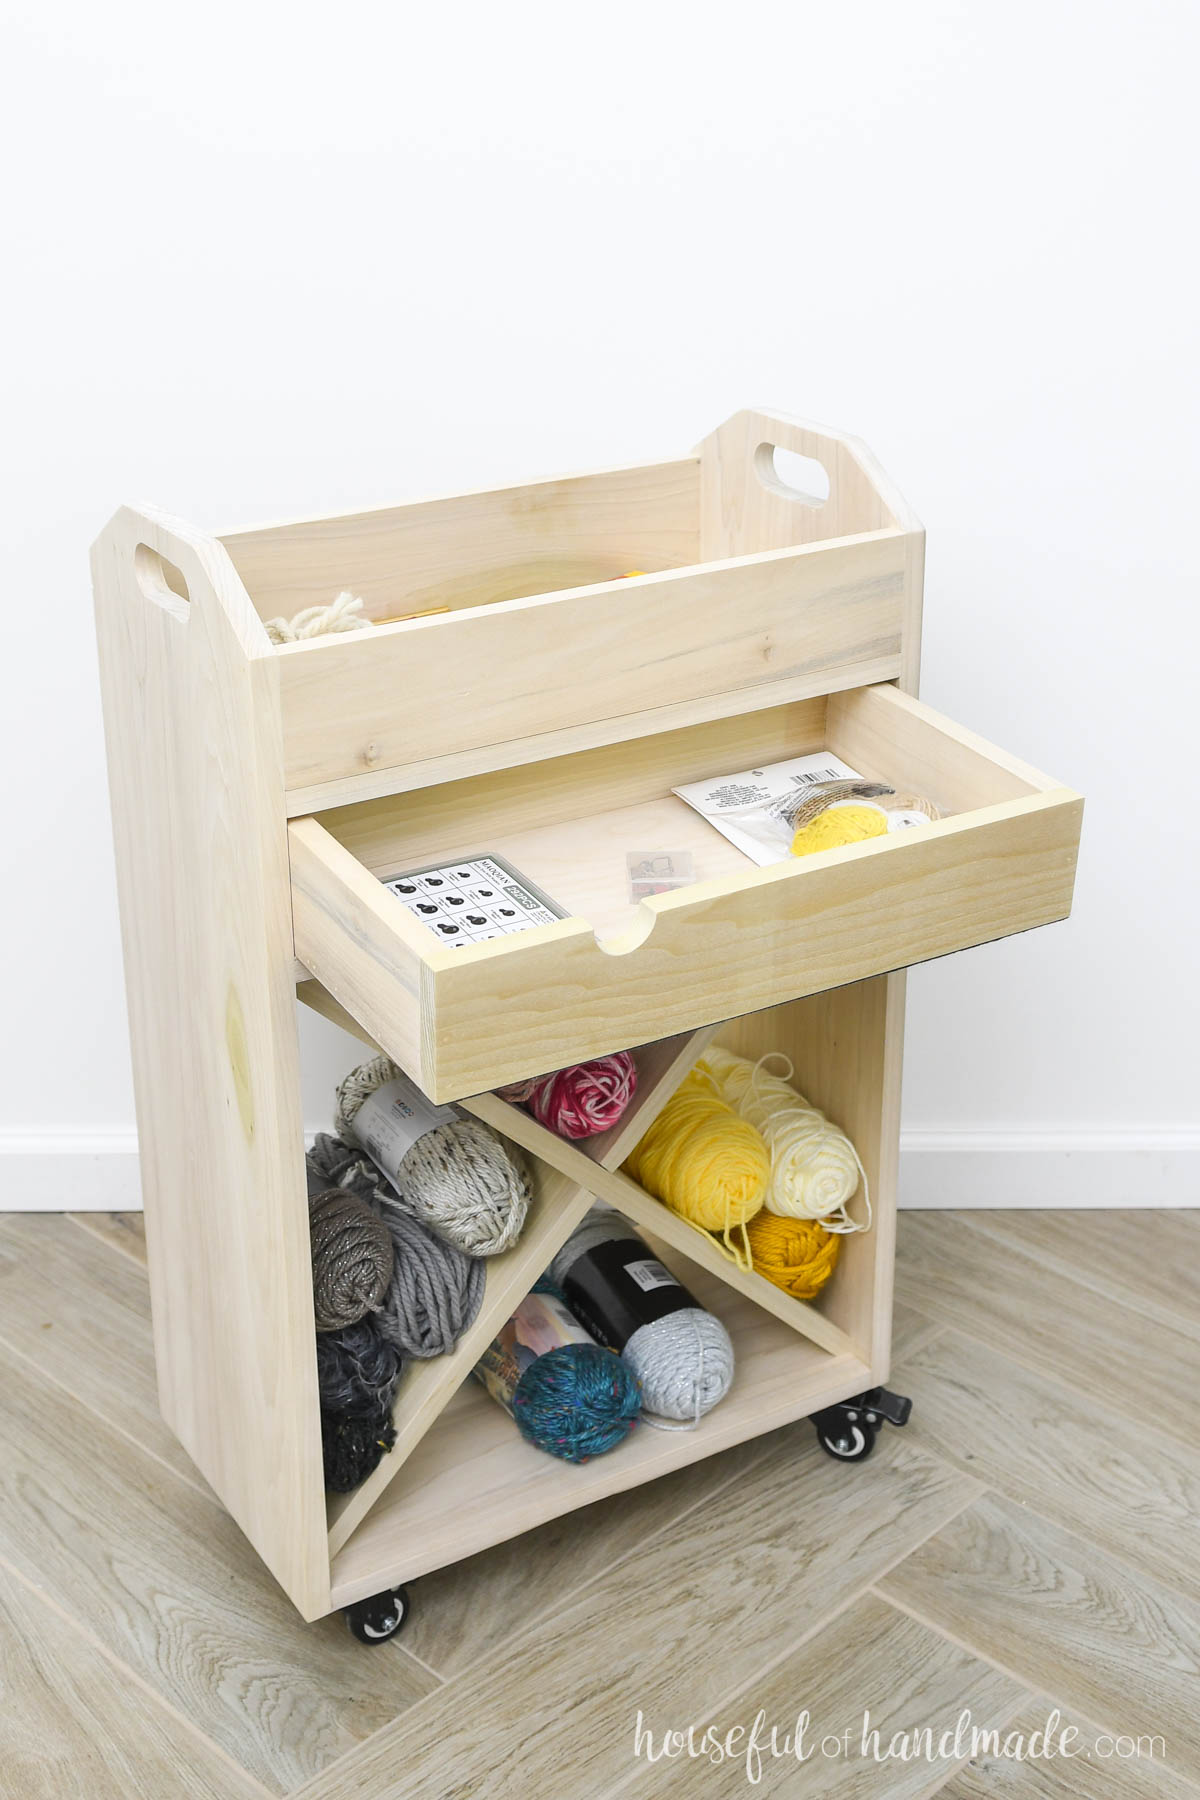
But my favorite is the tray on top. It is the perfect spot to hold the items you are using on your current project.
You can roll the cart out when you are ready to create. It’ll work great for sitting next to you on the couch while you work and keep everything you need at hand.
Then you can roll it away when you are done. The quickest and easiest craft cleanup ever!
More Gift Ideas for Moms
Mom is the perfect person to DIY gifts for so we couldn’t forget about here during DIY Gift Week! This week, my friends from WoodShop Diaries and Anika’s DIY Life have joined me in sharing 15 new gift ideas.
For Day 5, we are all sharing great gifts you can make for mom (or even Grandma).
How to Build a Craft Cart
Tools & Materials
Recommended Tools:
- Miter saw
- I recently upgraded to this larger sliding miter saw (watch for it to go on sale), but all my projects before were built with this inexpensive miter saw that I loved.
- Circular saw with guide
- Jig saw
- Pocket hole jig
- Brad nailer
- Drill
- Impact driver (optional, but I love not having to switch bits with the drill)
- Multi-mark measuring tool
- 90 degree drill adapter
- Right angle clamp
- Hammer
- Sander
Supplies:
- Wood products
- (1 1/2) 1×12 boards, 8′ long
- (1) 1×10 board, 6′ long
- (1) 1×4 board, 8′ long
- (1) 1/2″ plywood, 10″ x 20″ piece
- 1 1/4″ pocket hole screws
- 1 1/4″ brad nails
- Wood glue
- 12″ x 20″ piece of felt
- (2) rubber cutting board feet
- (4) 3″ casters
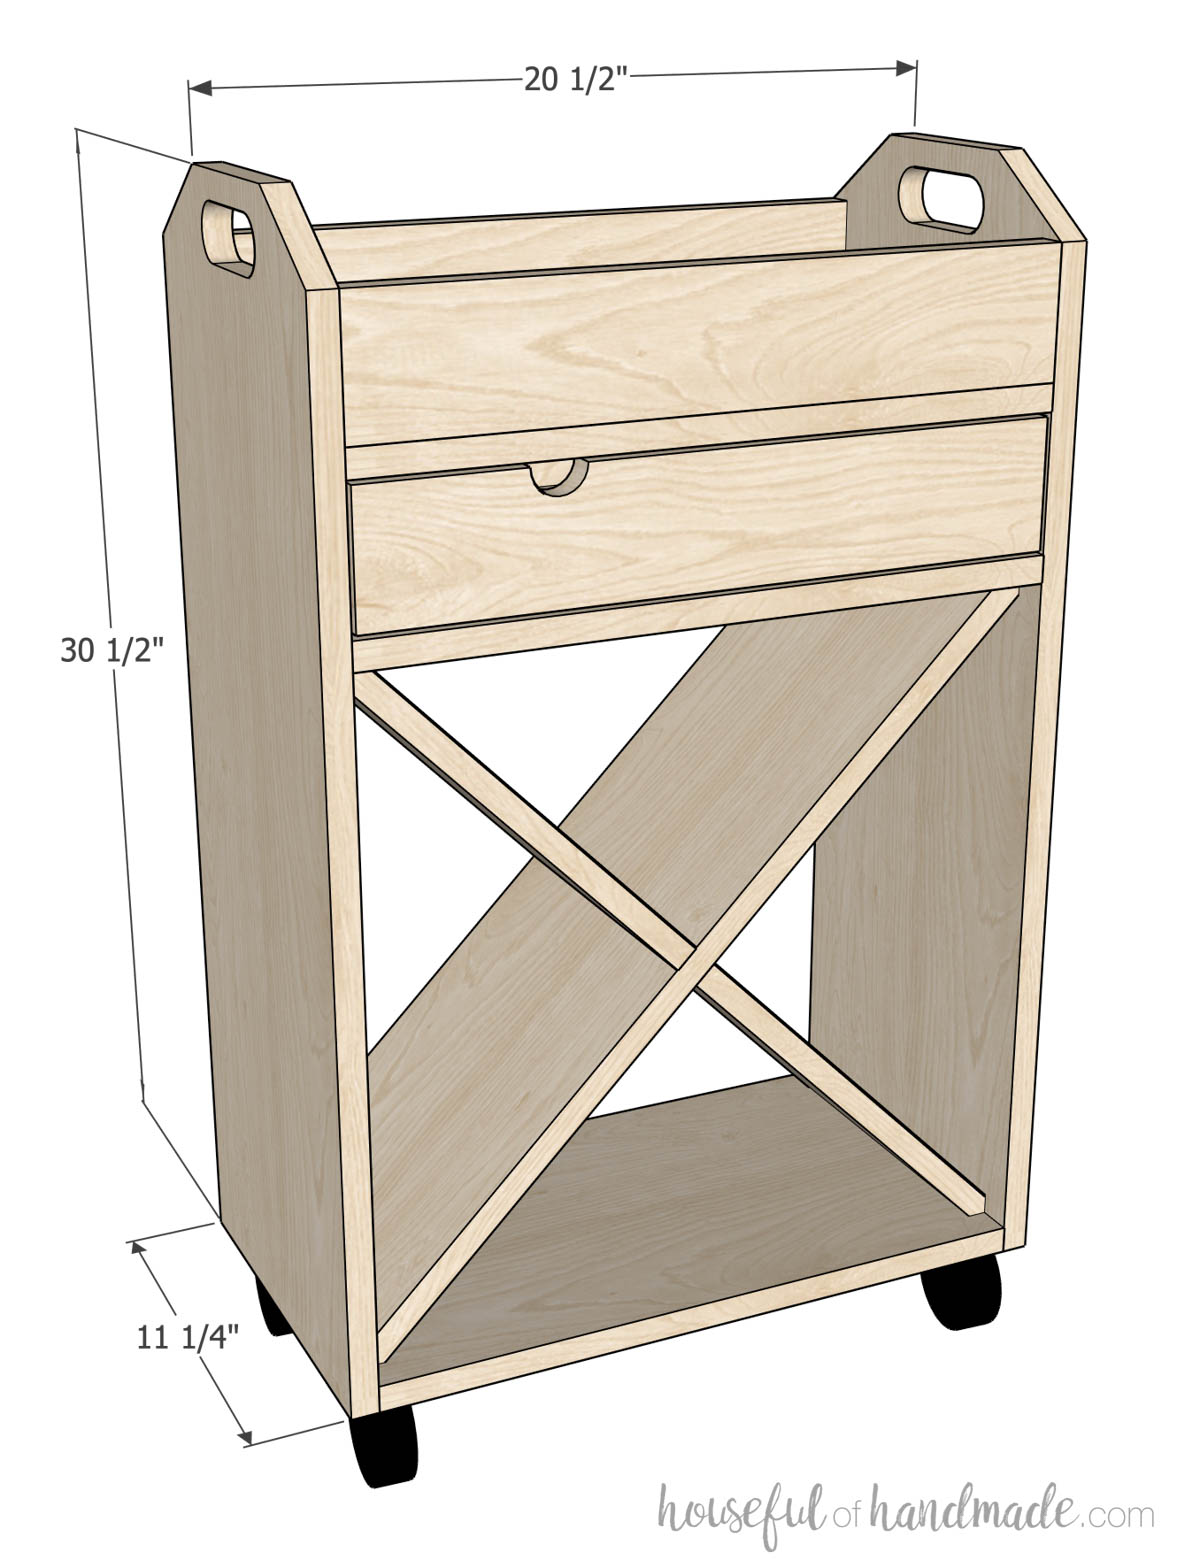
Overall Dimensions
Cut List
Cut out the pieces according to the easy-to-read table in the premium PDF plans.
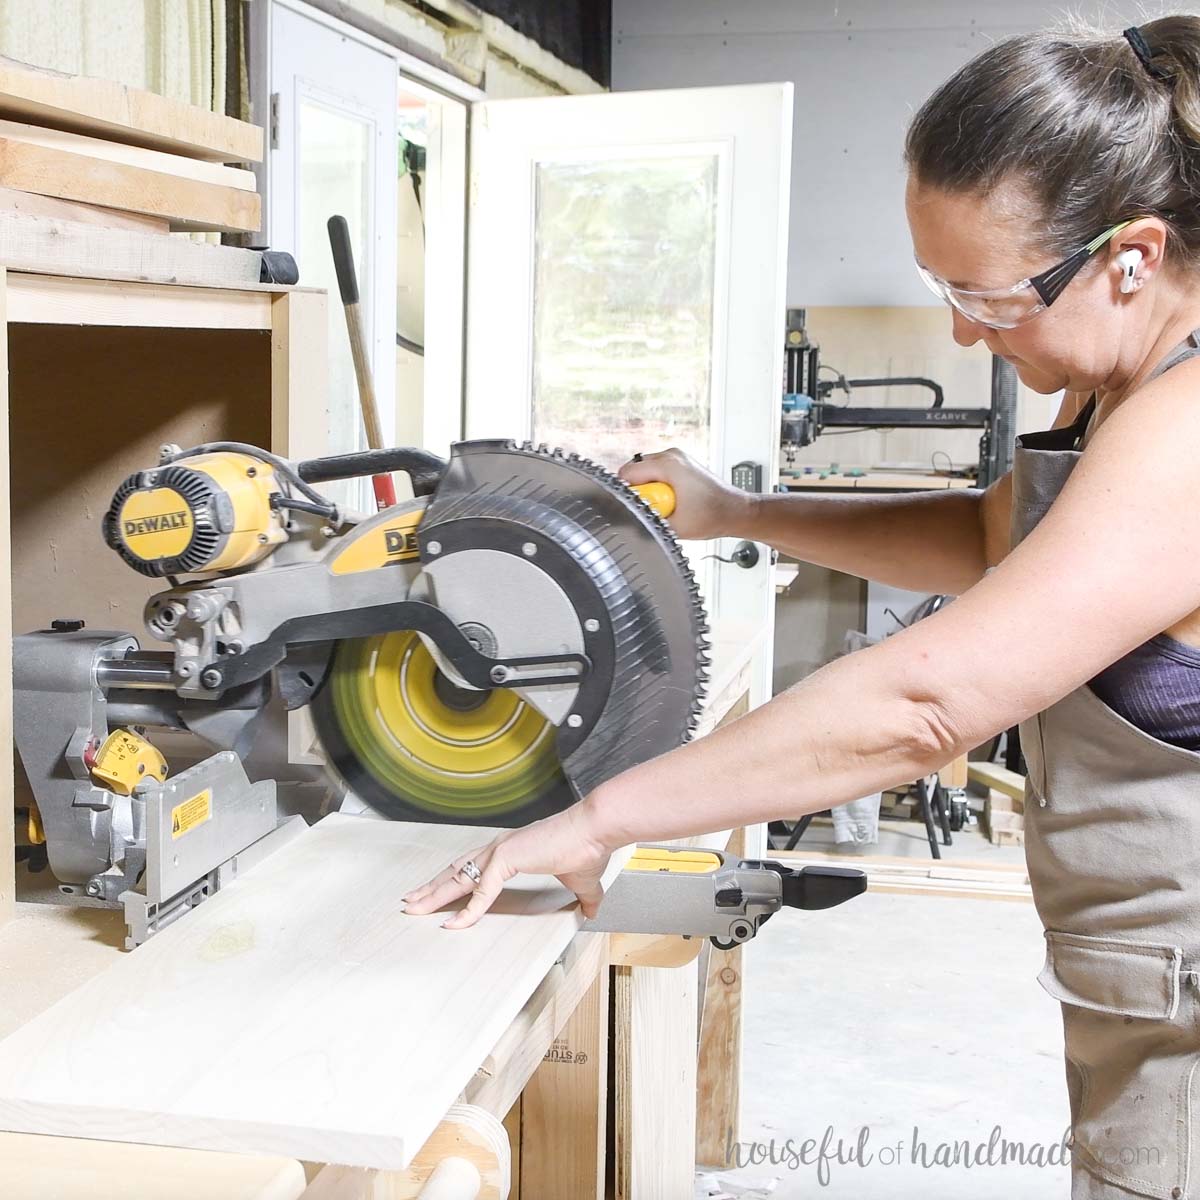
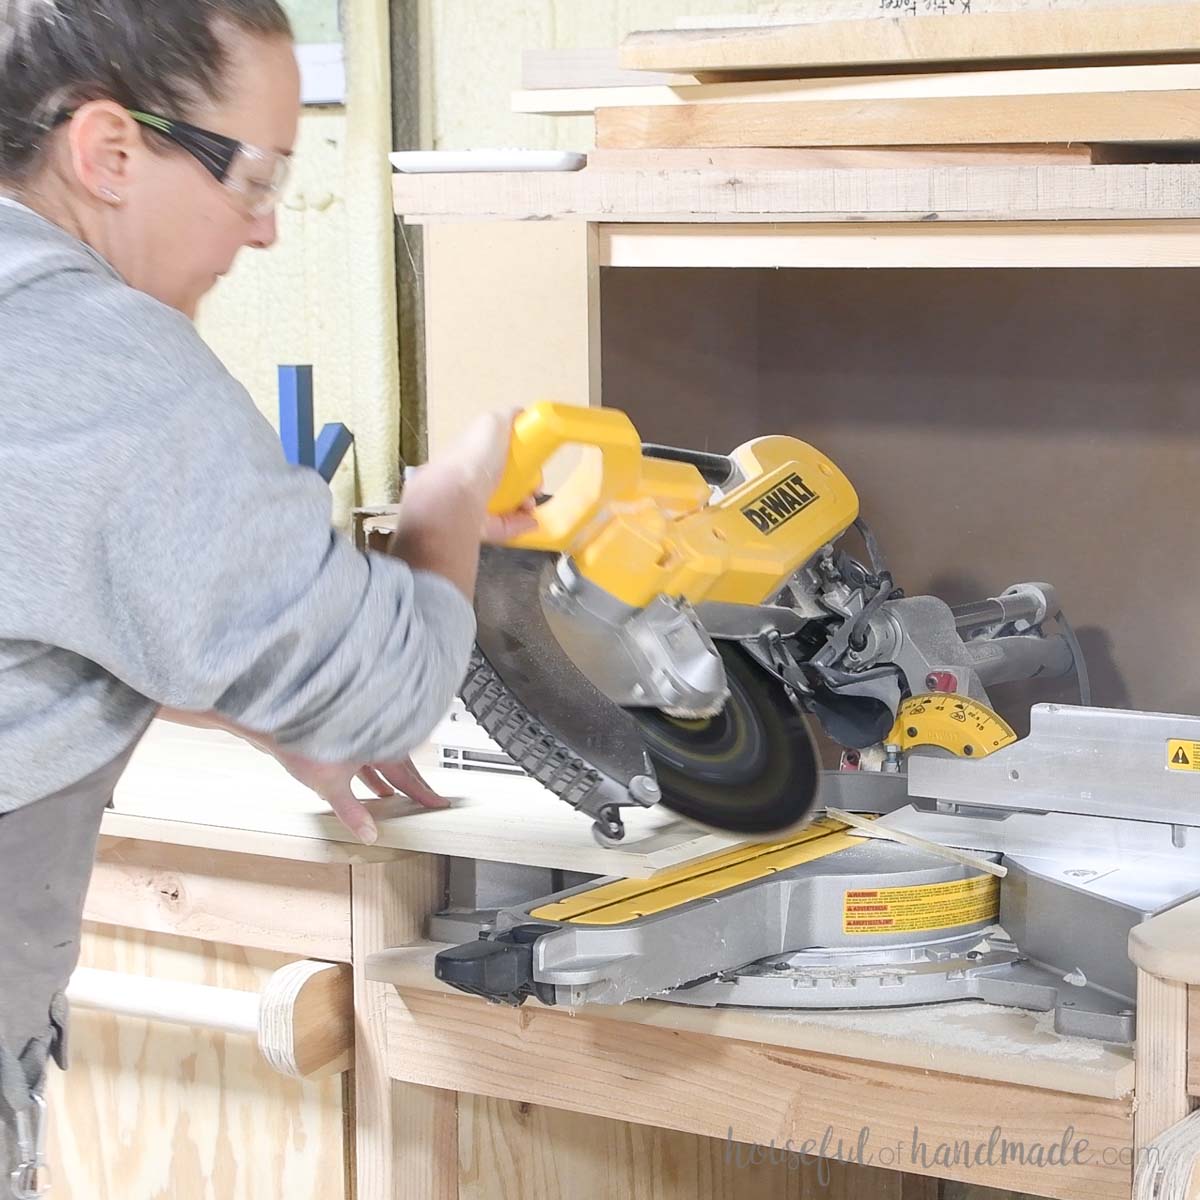
Since I have a sliding miter saw, I was able to cut the 1×12 and 1×10 boards on it.
You can also cut the boards to length with a circular saw. Just make sure to use a straight edge guide to ensure your cuts are straight.
STEP 1- Shape the sides
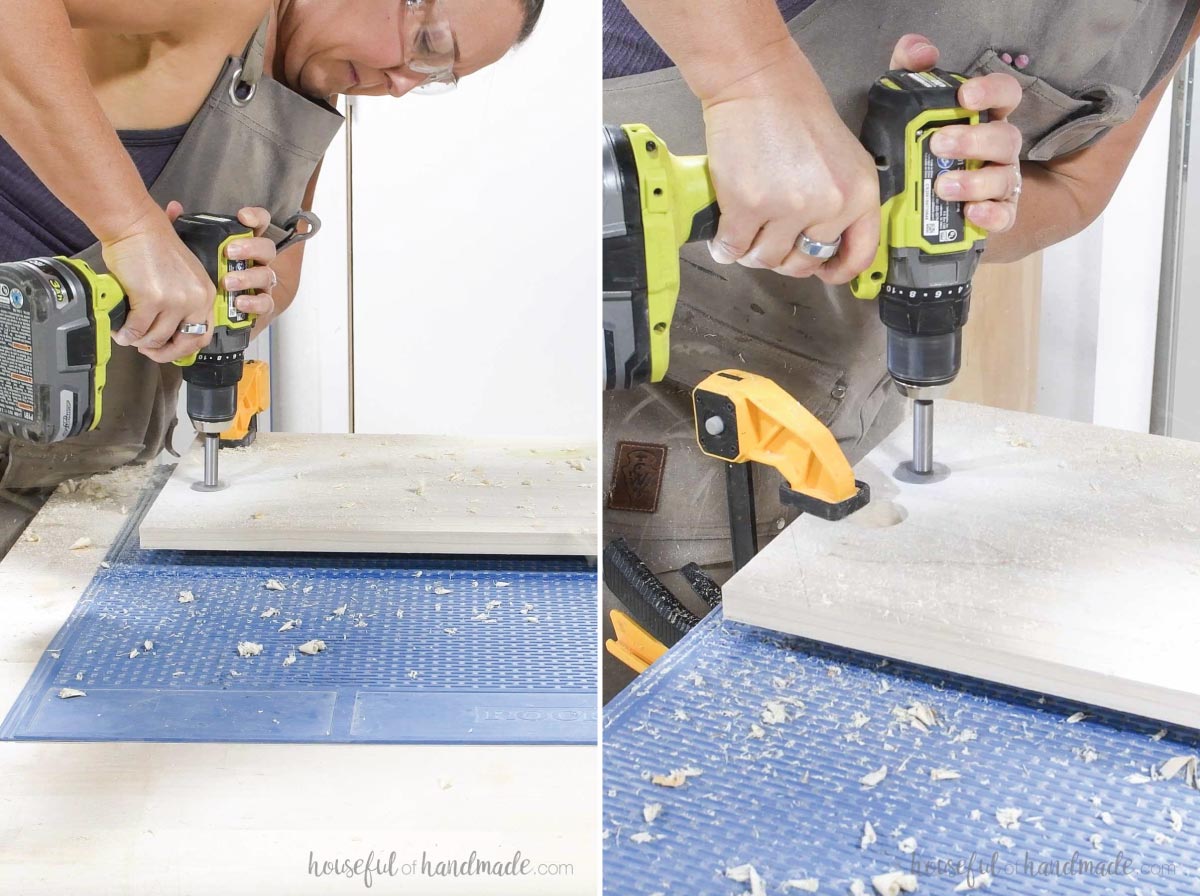
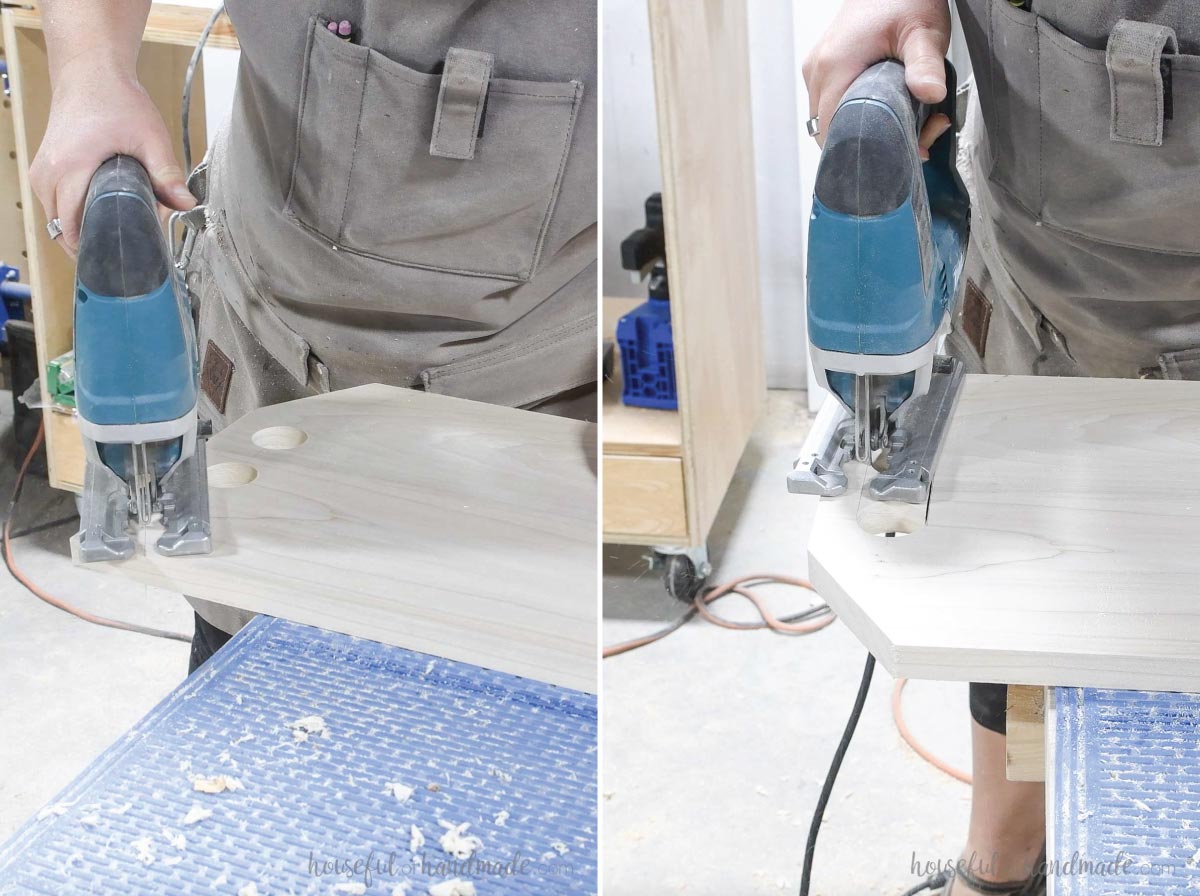
To create a handle in the side boards, measure 1 1/2” down from the top and 4 1/4” in from each side.
Drill a 1 1/2” wide hole with the center where these marks intersect.
Then using a jigsaw, cut between the holes in the top and bottom.
Also cut the top corners at a diagonal according to the diagram in the PDF plans.
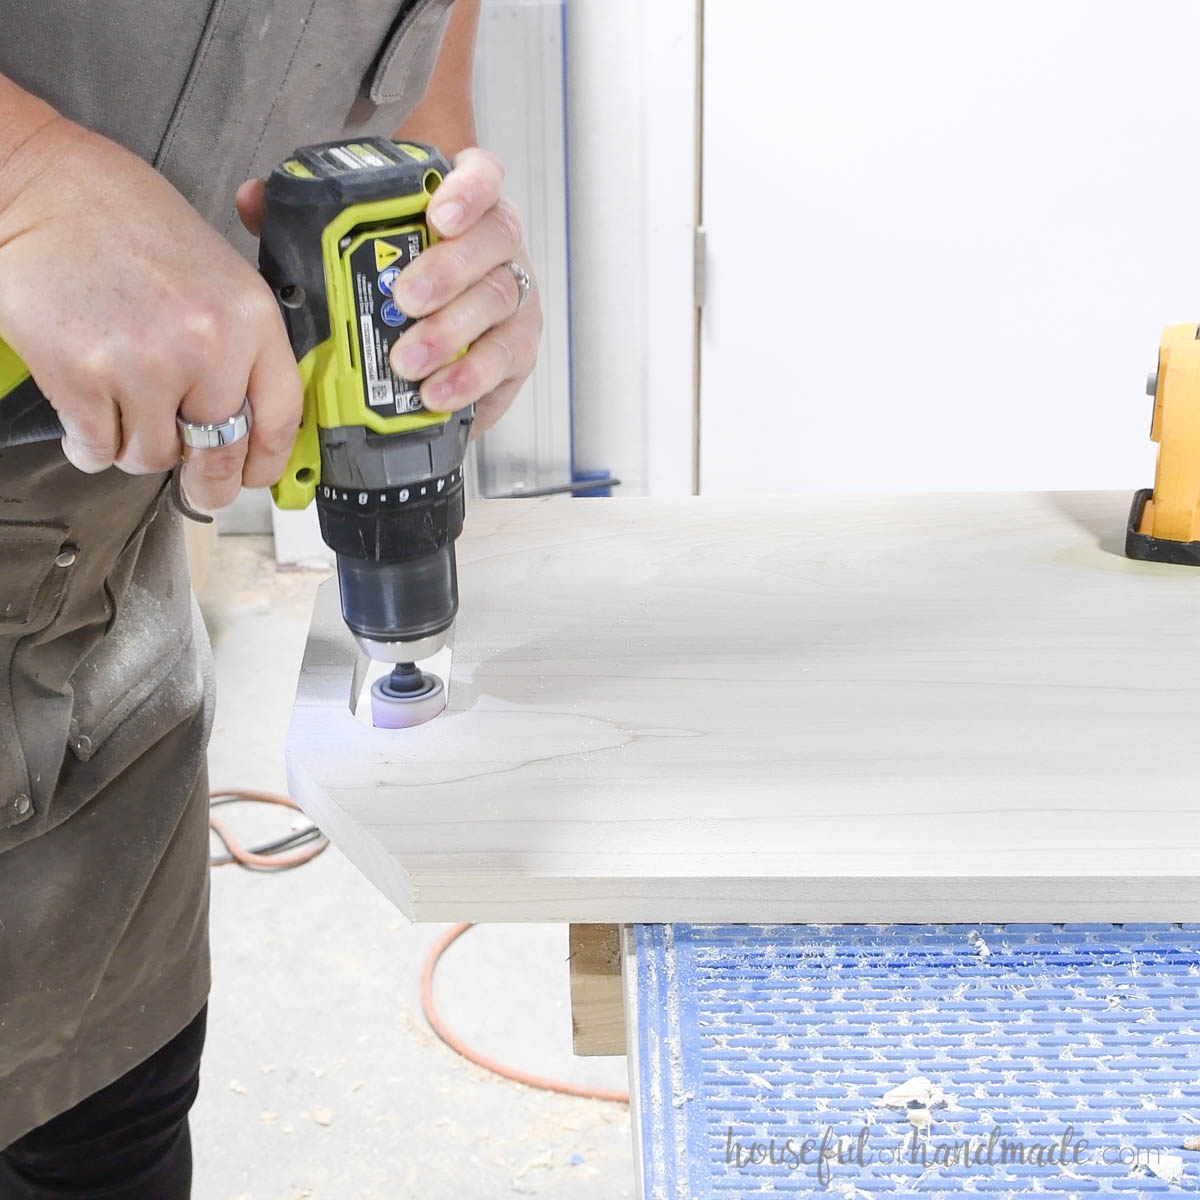
I like using a drum sanding kit for the drill to sand inside the curved handle.
STEP 2- Build the frame
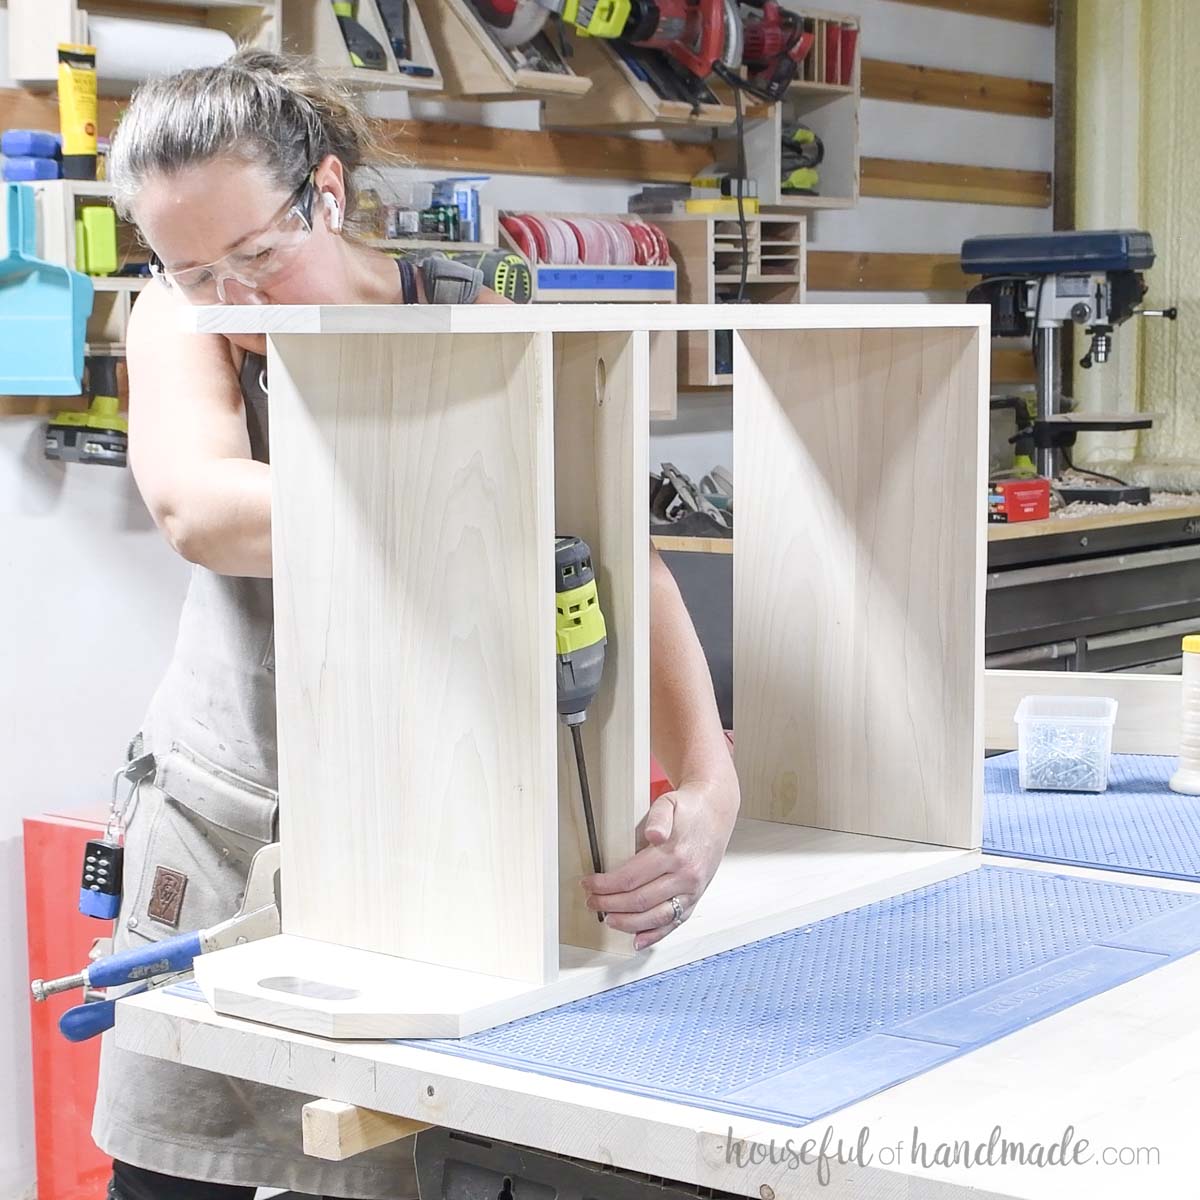
Drill pocket holes set for 3/4” thick material in both ends of the shelf boards.
Measure and mark where the bottom of each shelf goes based on the diagram in the plans. Then attach all the boards to one side board.
Secure with wood glue and 1 1/4” pocket hole screws.
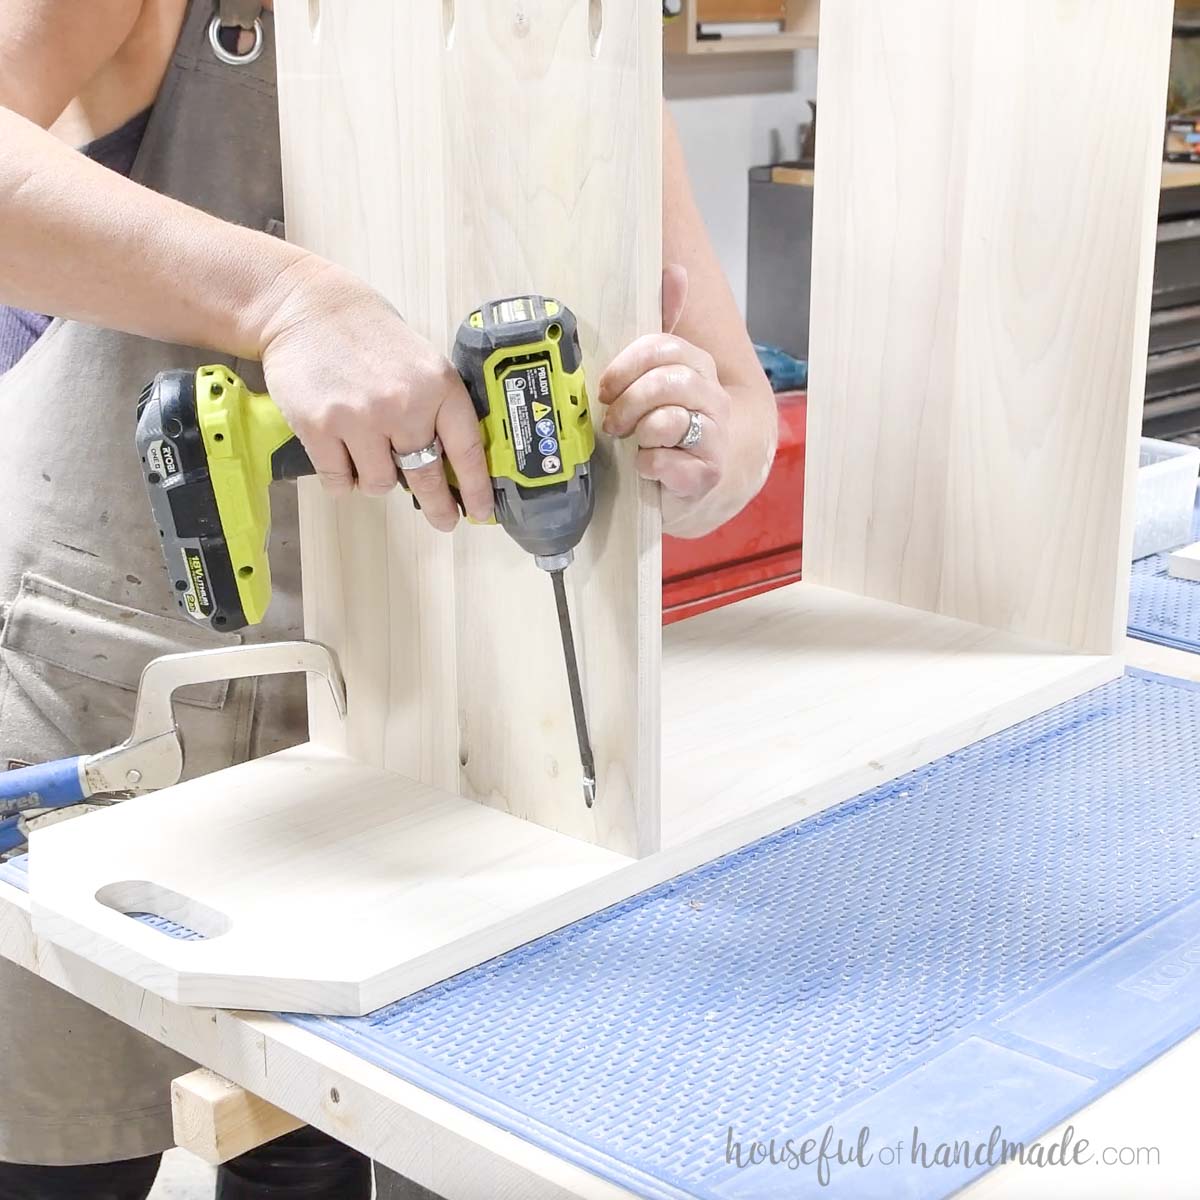
To hide your pocket holes, place the top and bottom shelf with holes on the bottom.
Place the middle shelf with holes on the top. They will be hidden under the drawer.
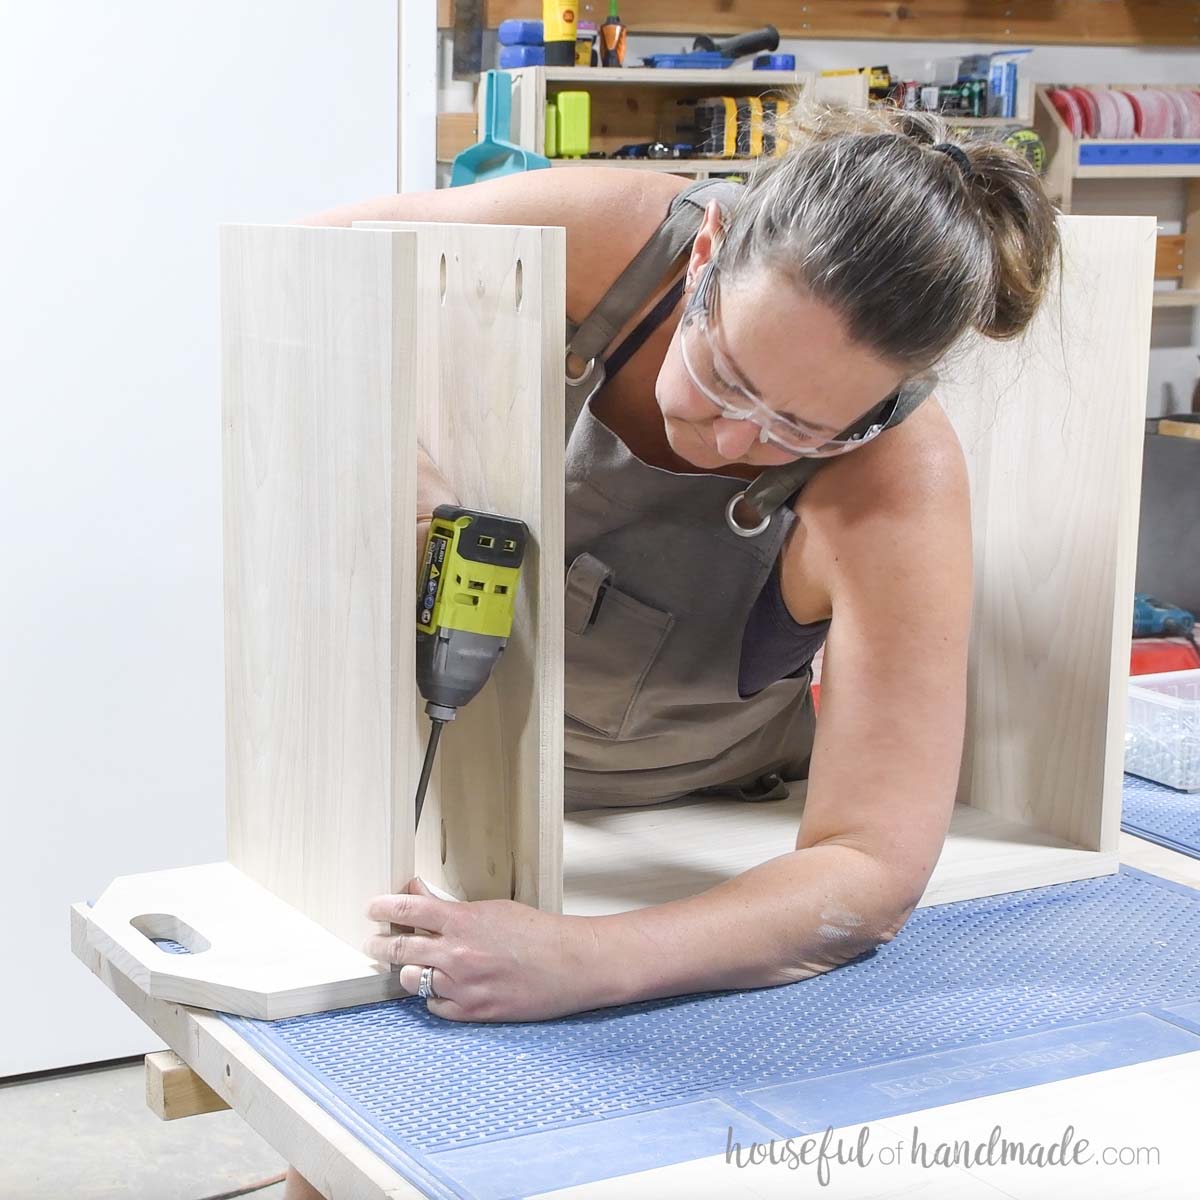
Once all the shelves are attached to one side, line them up and attach to the other.
Secure with glue and 1 1/4″ pocket hole screws.
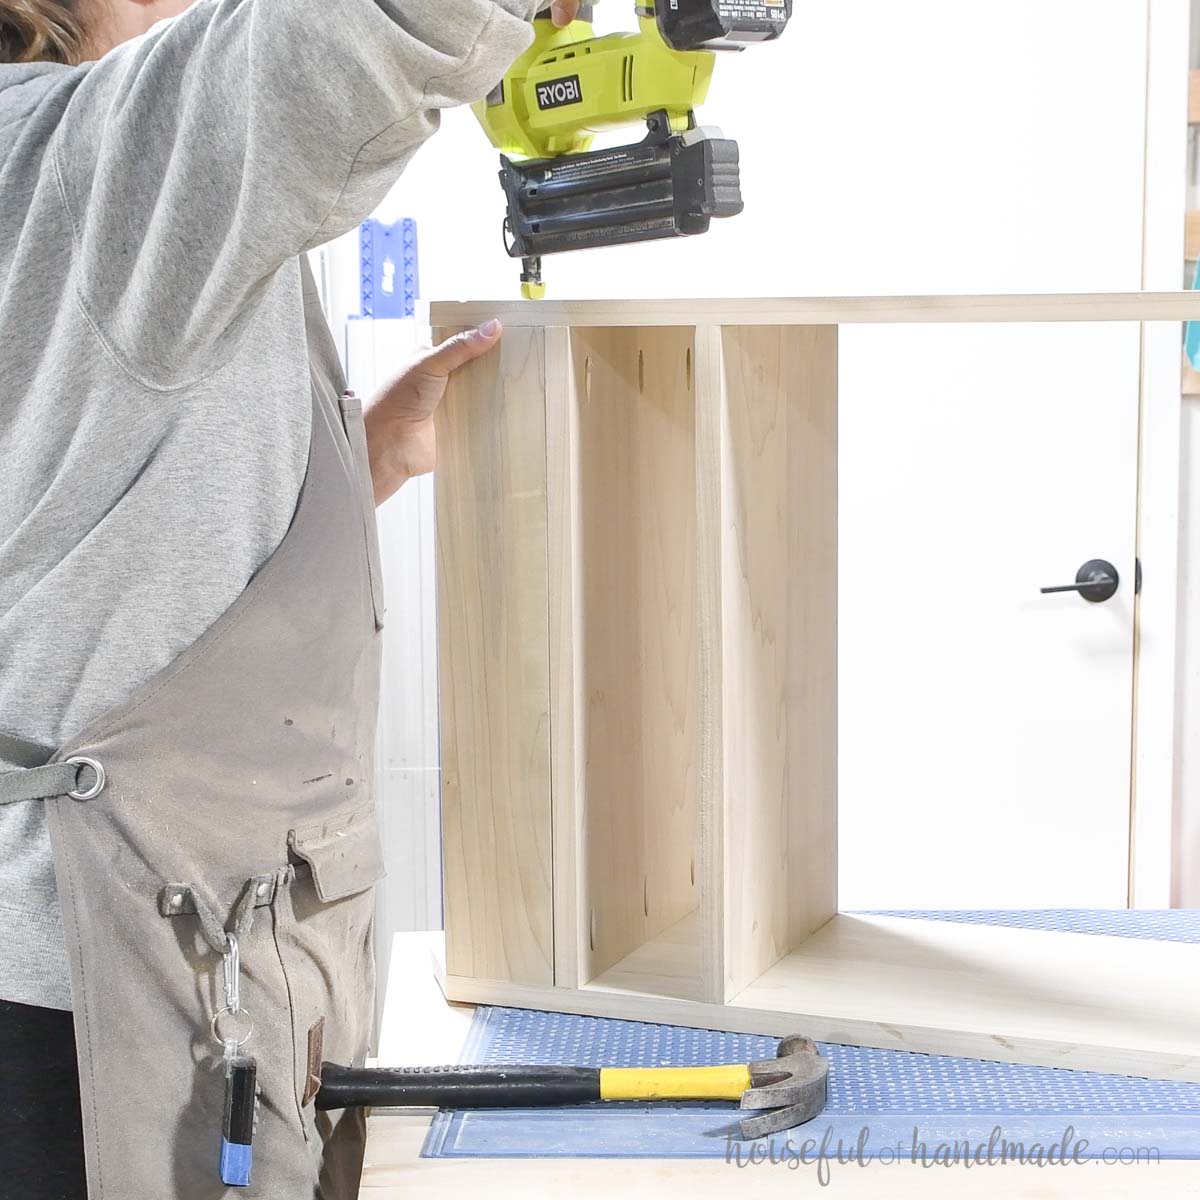
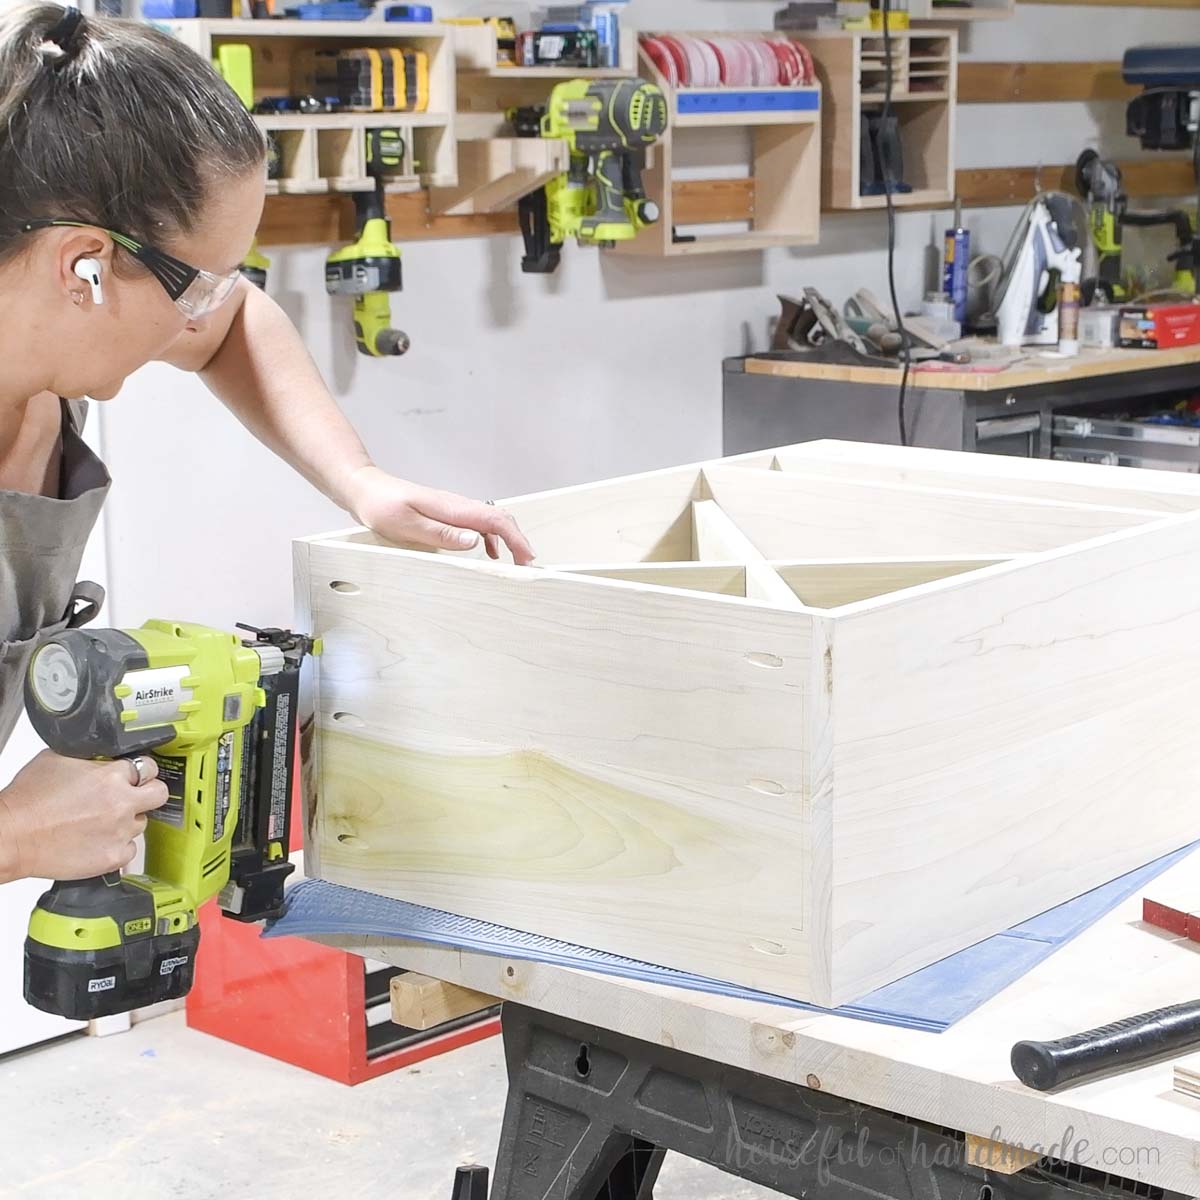
Slide the top pieces in between the sides so they sit on top of the top shelf. They should be flush with the outside.
Attach to the sides with 1 1/4” brad nails.
STEP 3- Build and install X
Cut the end of one board at a point. To do this, I drew a line 3/8” in from the end, then lined the 45 degree saw blade up on that.
I should only cut 1/2 way through the board, then flip it over and repeat to get a point.
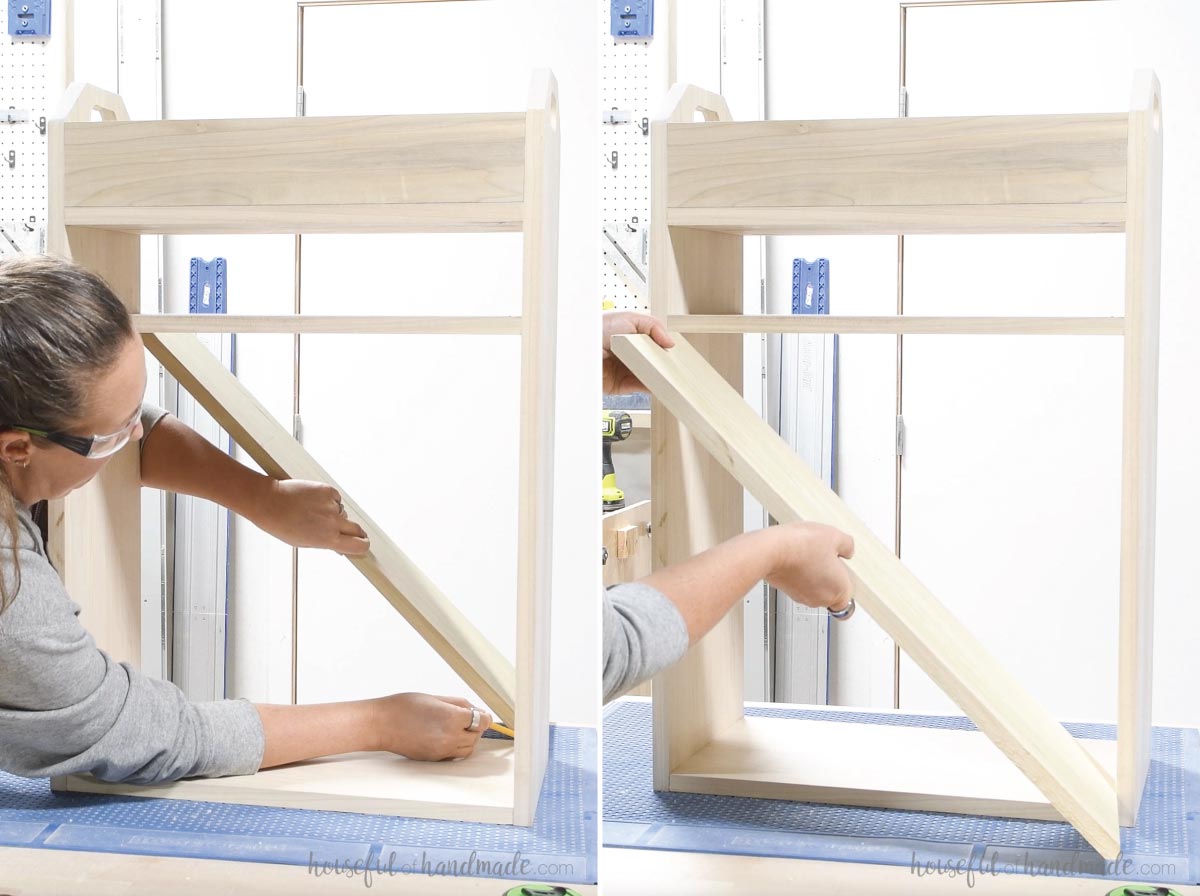
To measure corner to corner inside the lower section of the cart, I marked the center of the non cut edge. Then placed the cut point in place and lined up the center in the opposite corner before marking it.
I cut this side the same as the other side, then dry fit it into the cart and adjusted as needed to get a snug fit.
Then repeated for a second diagonal board.
I created a half-lap joint in the boards to combine them into an X.
I used a circular saw to cut away the material, chipped it out with a chisel.
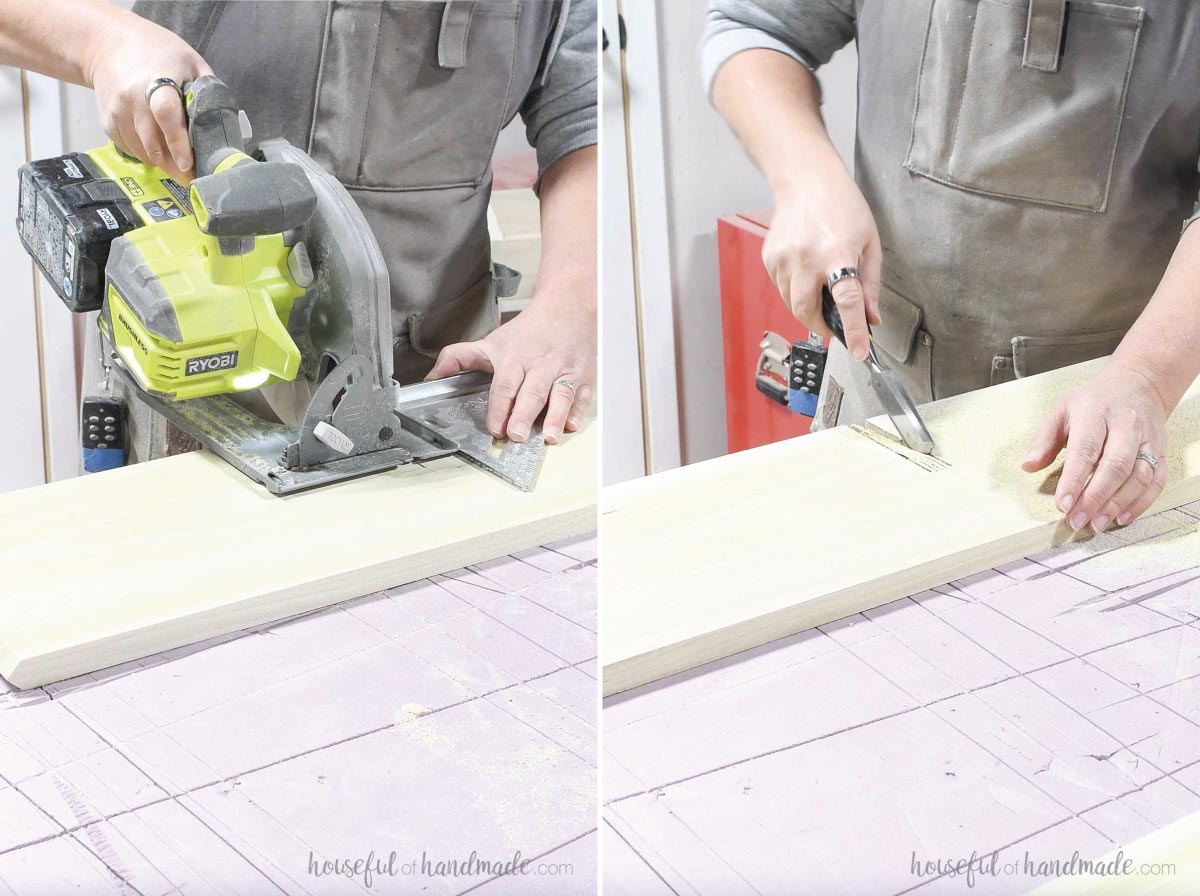
Then I used the jig saw to square off the inside of the notch.
Test fit and adjust as needed. Again, you want a snug fit.
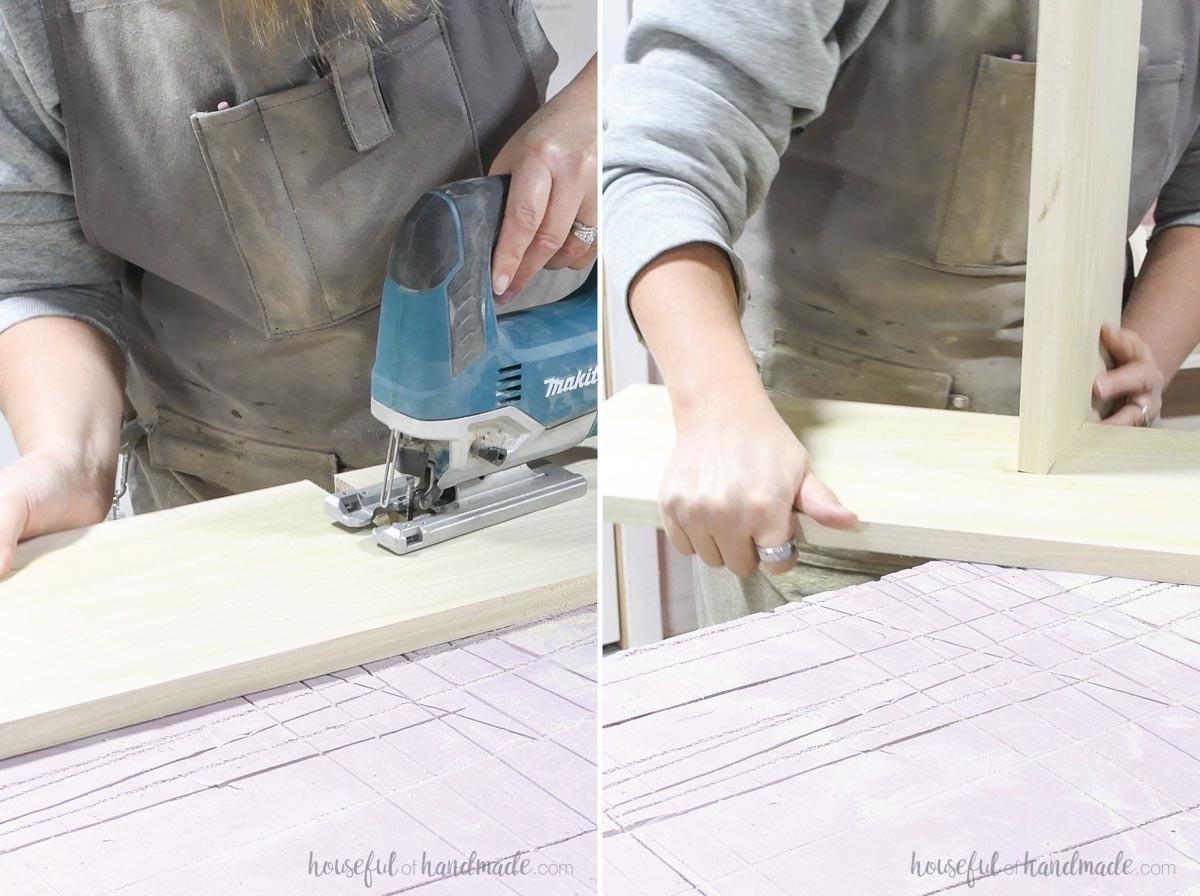
Add glue to the half-lap joint, then slide the two pieces together at the center to make an X.
Mine was nice and snug so I used a hammer with a scrap of wood to tap it together.
I should have added wood glue before securing, but it is tight enough I don’t think it will matter that I missed it.
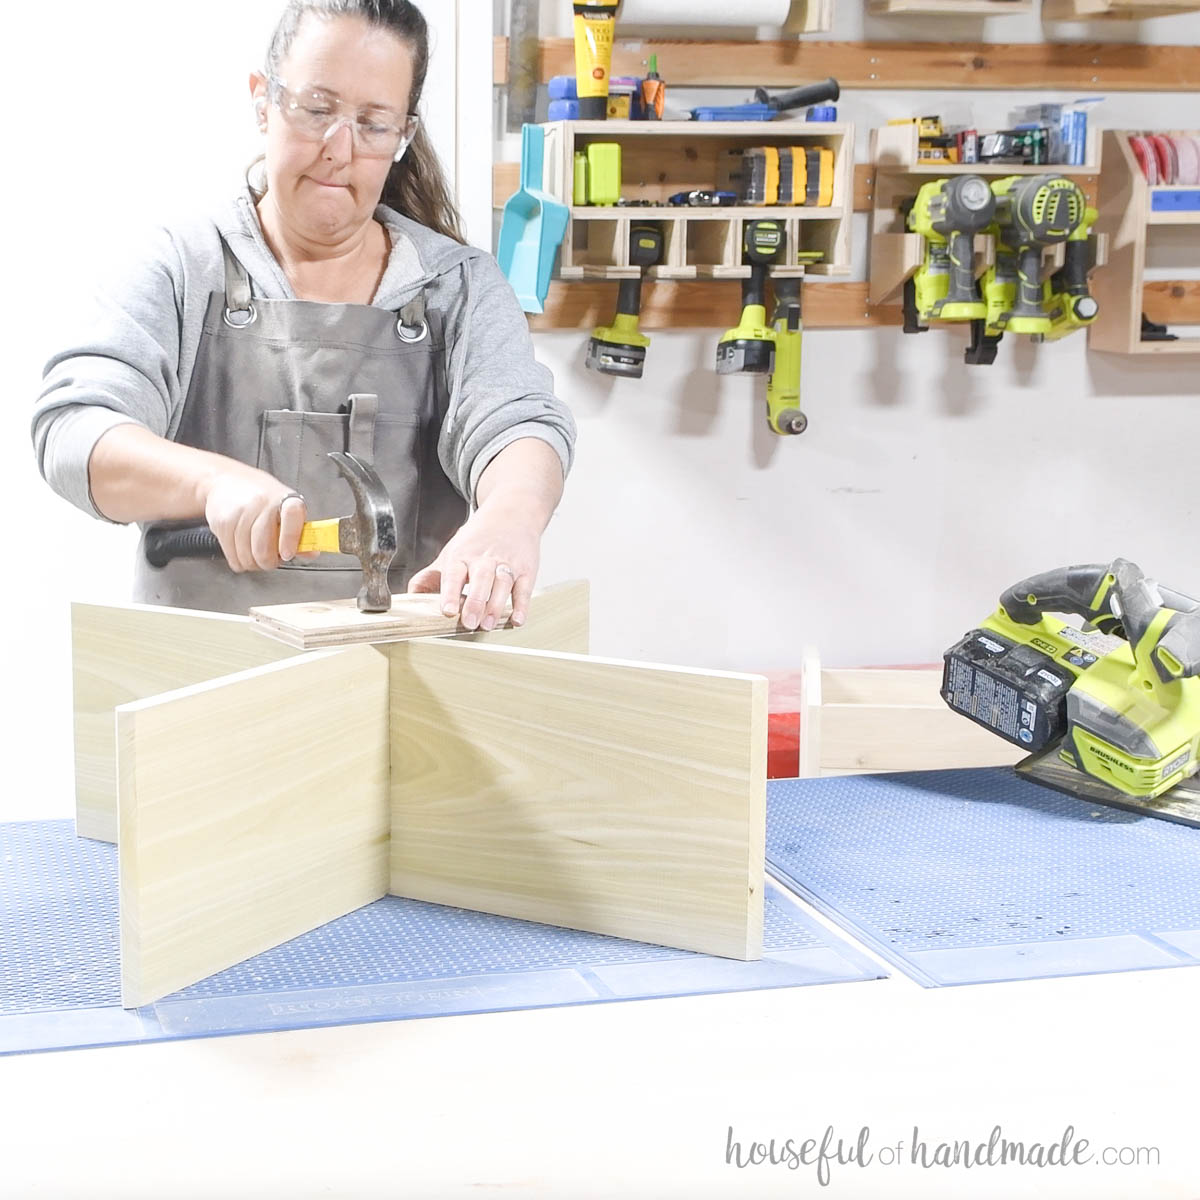
Place the X inside the lower section of the cart. Tap it into place so it is recessed 1” in from the front and back.
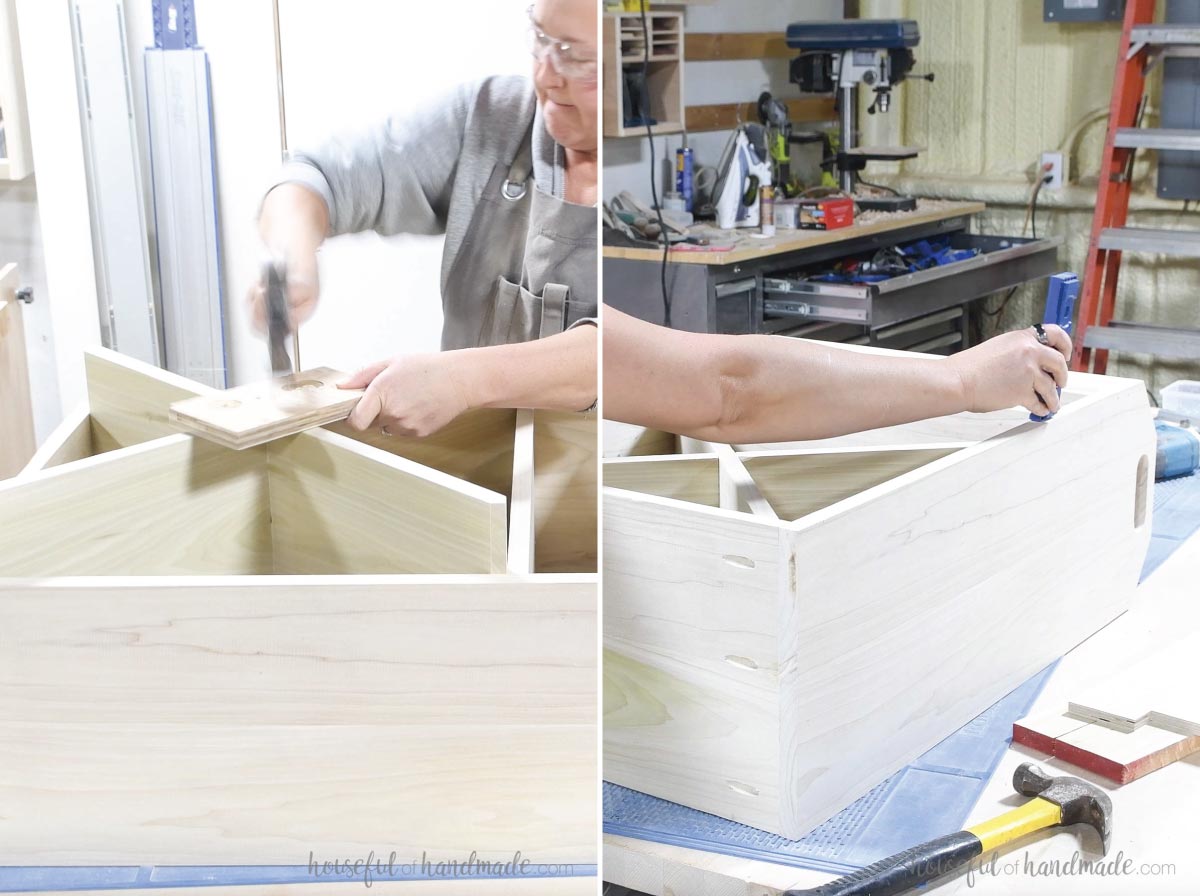
Use brad nails from the bottom to secure.
If the top is loose, you can secure with nails through the side also, but if it is snug, skip it so you don’t have visible nail holes.
STEP 4- Build the drawer
To build a simple drawer, attach the drawer sides to the drawer bottom. Secure with glue and 1 1/4” brad nails.
Then attach the front/back and secure.
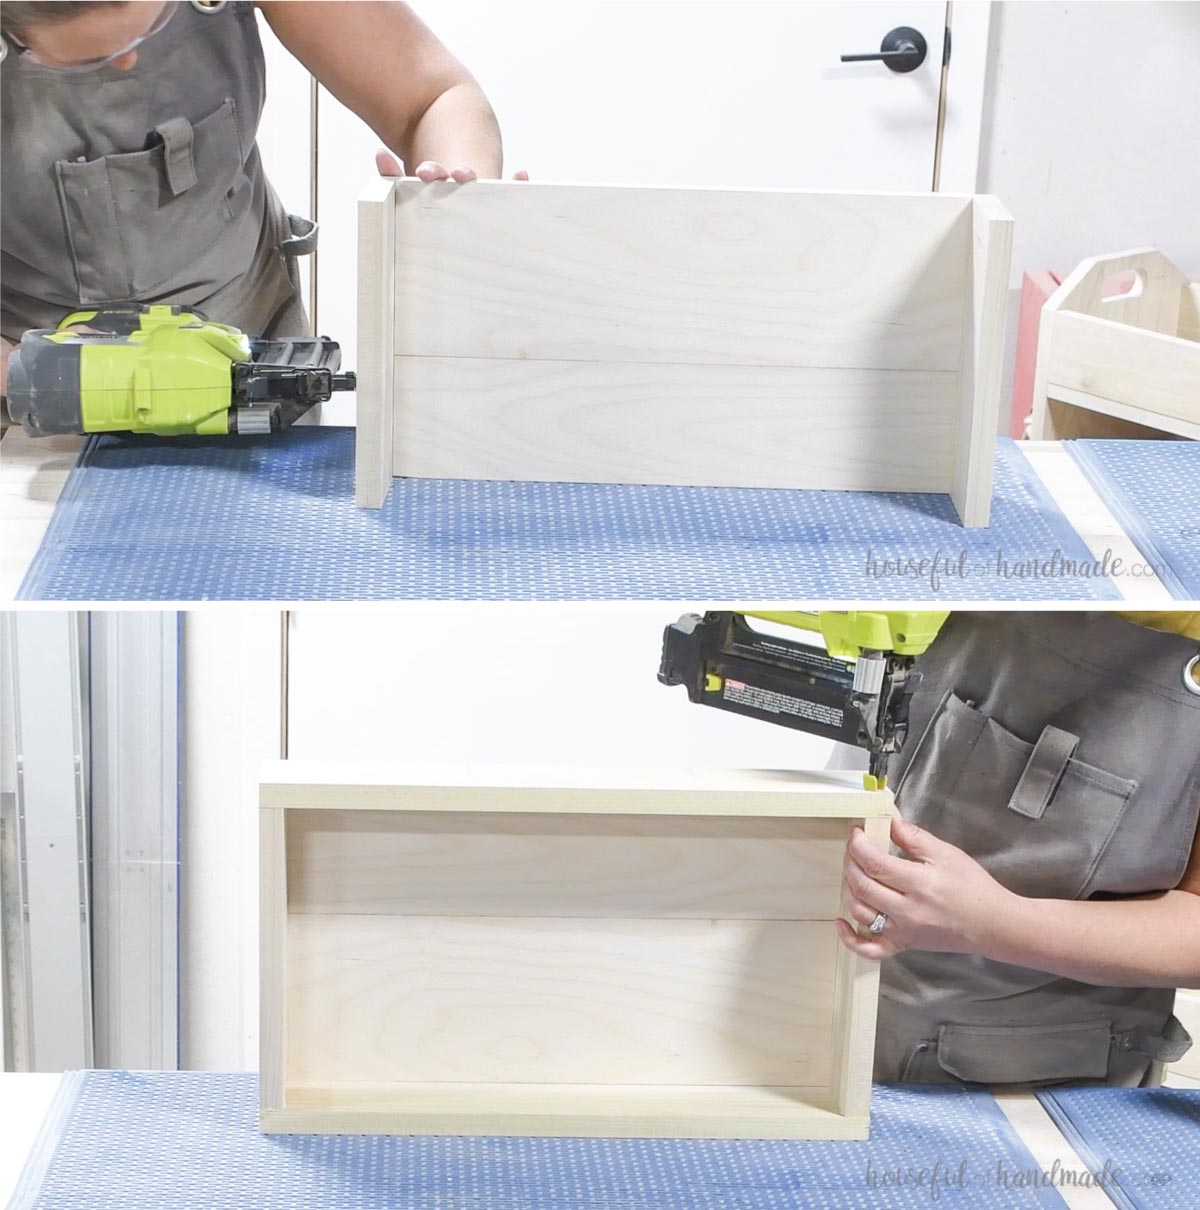
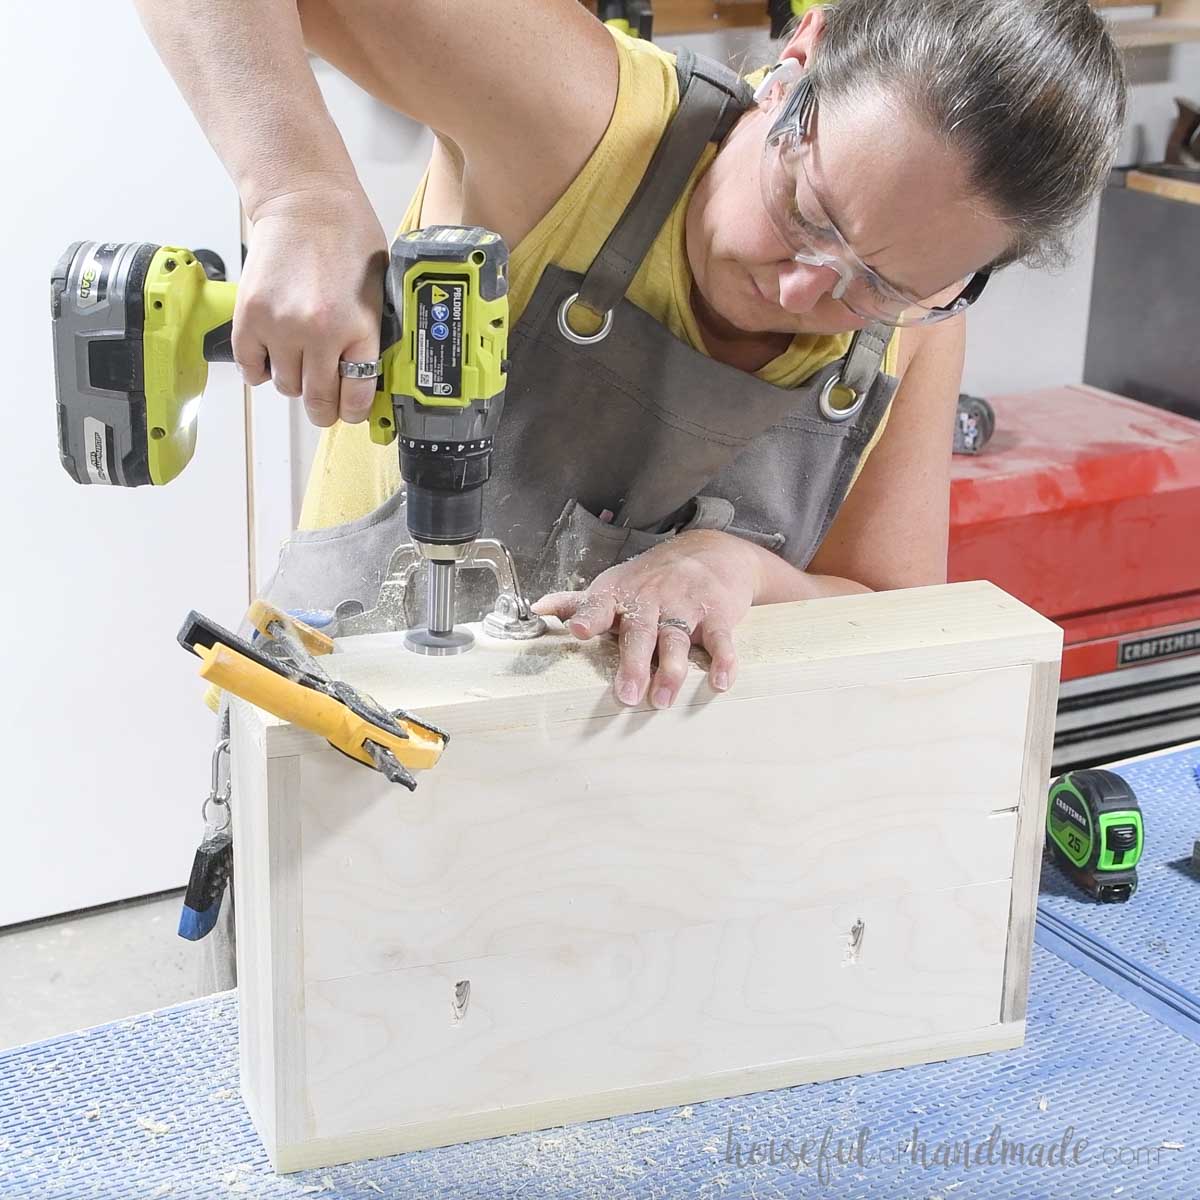
For the front and back of the drawer, I cut half moons in the top to use as pulls for opening the drawer. I should have done this before assembly.
The easiest way cut half moons was to clamp a scrap of wood next to the drawer front, then use a 1 1/2” drill bit and place it in the seam at your measurement.
Also, clamp a second scrap behind the piece to prevent the wood splitting as the drill exits the back.
STEP 5- Finish
Fill any visible nail holes. Then sand and finish your new cart before moving on to the final bits.
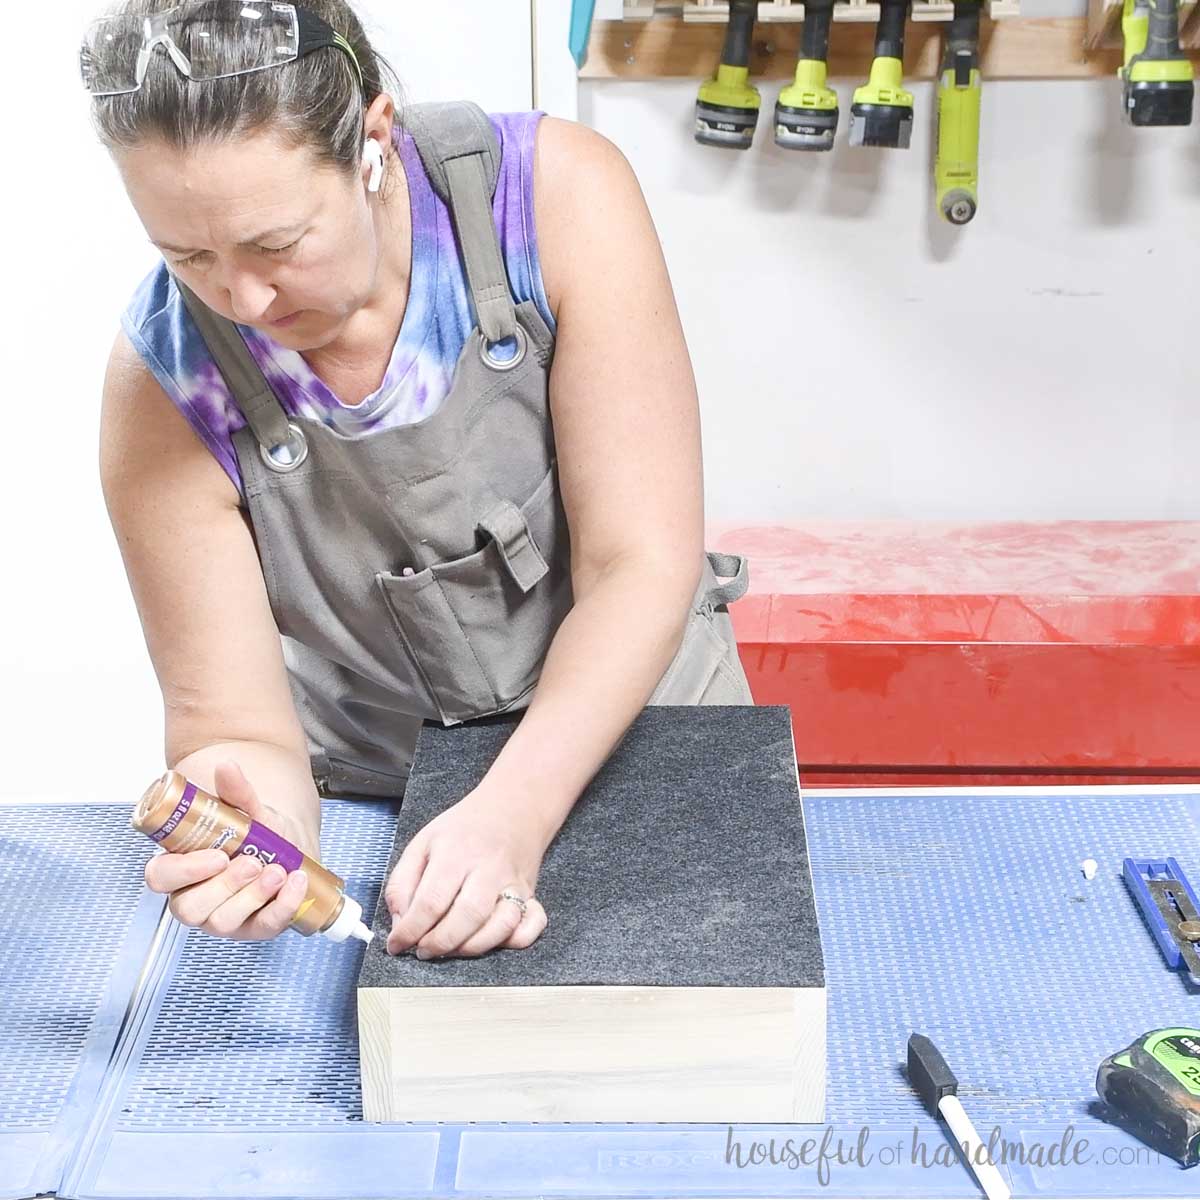
Glue a piece of felt to the bottom of the finished drawer. This will help it slide smoothly.
Place the drawer in the opening and press it half way through one side.
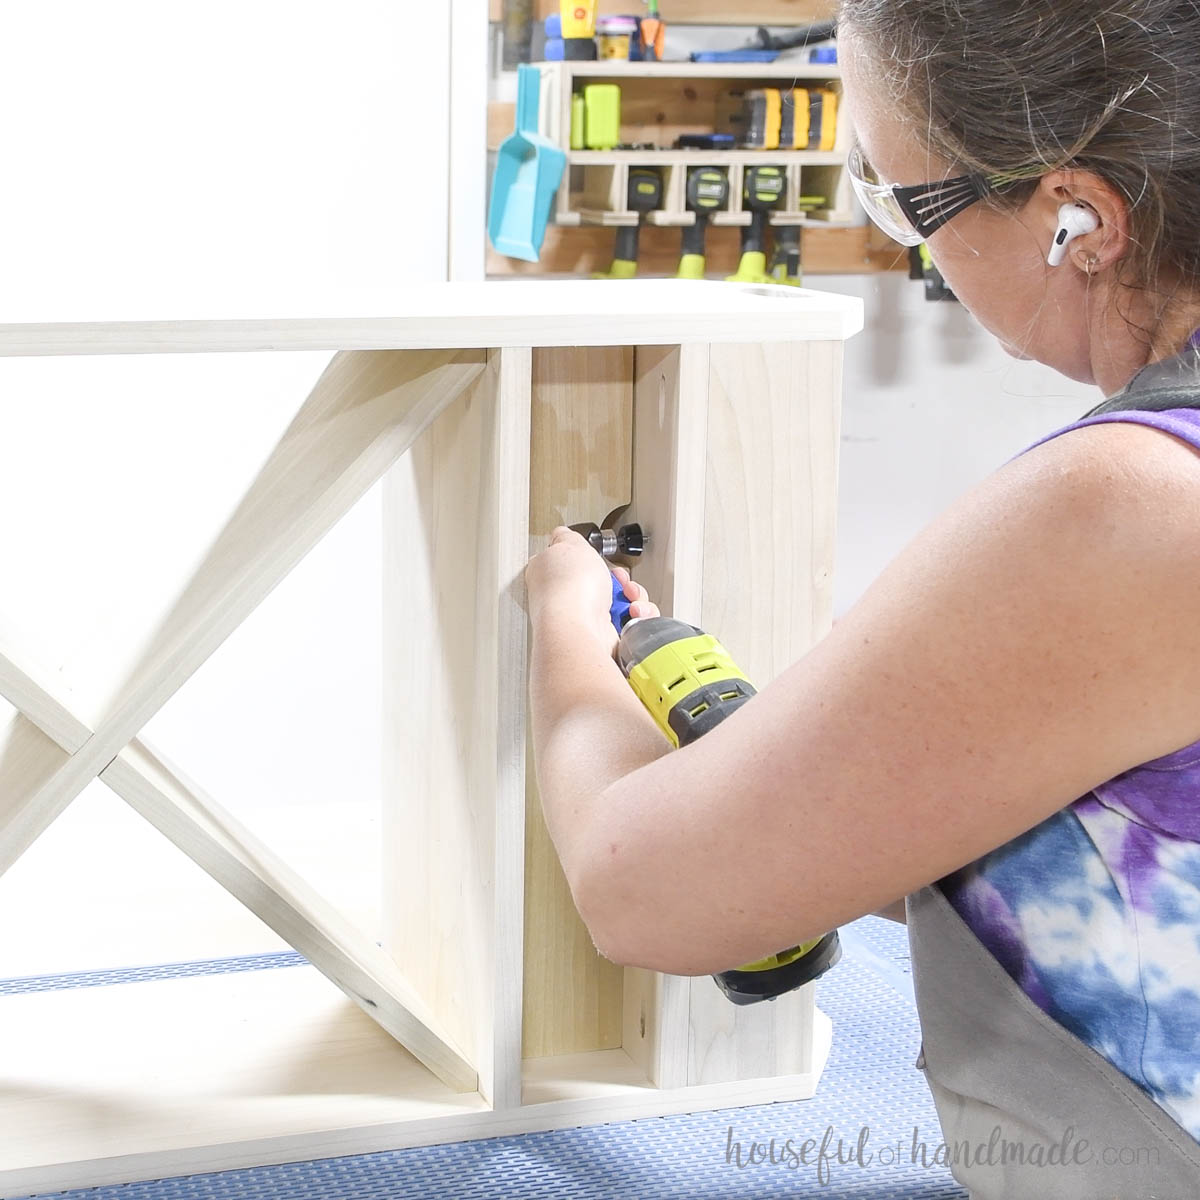
Attach one of the rubber cutting board feet as a stop so the center is 1 3/4” back from the front and 5” in from the side with the half moon pull.
Then push the drawer in from the other side. The bumper should go inside the cut out. And repeat with the second rubber foot.
These bumpers will prevent the drawer from falling out when pulled open.
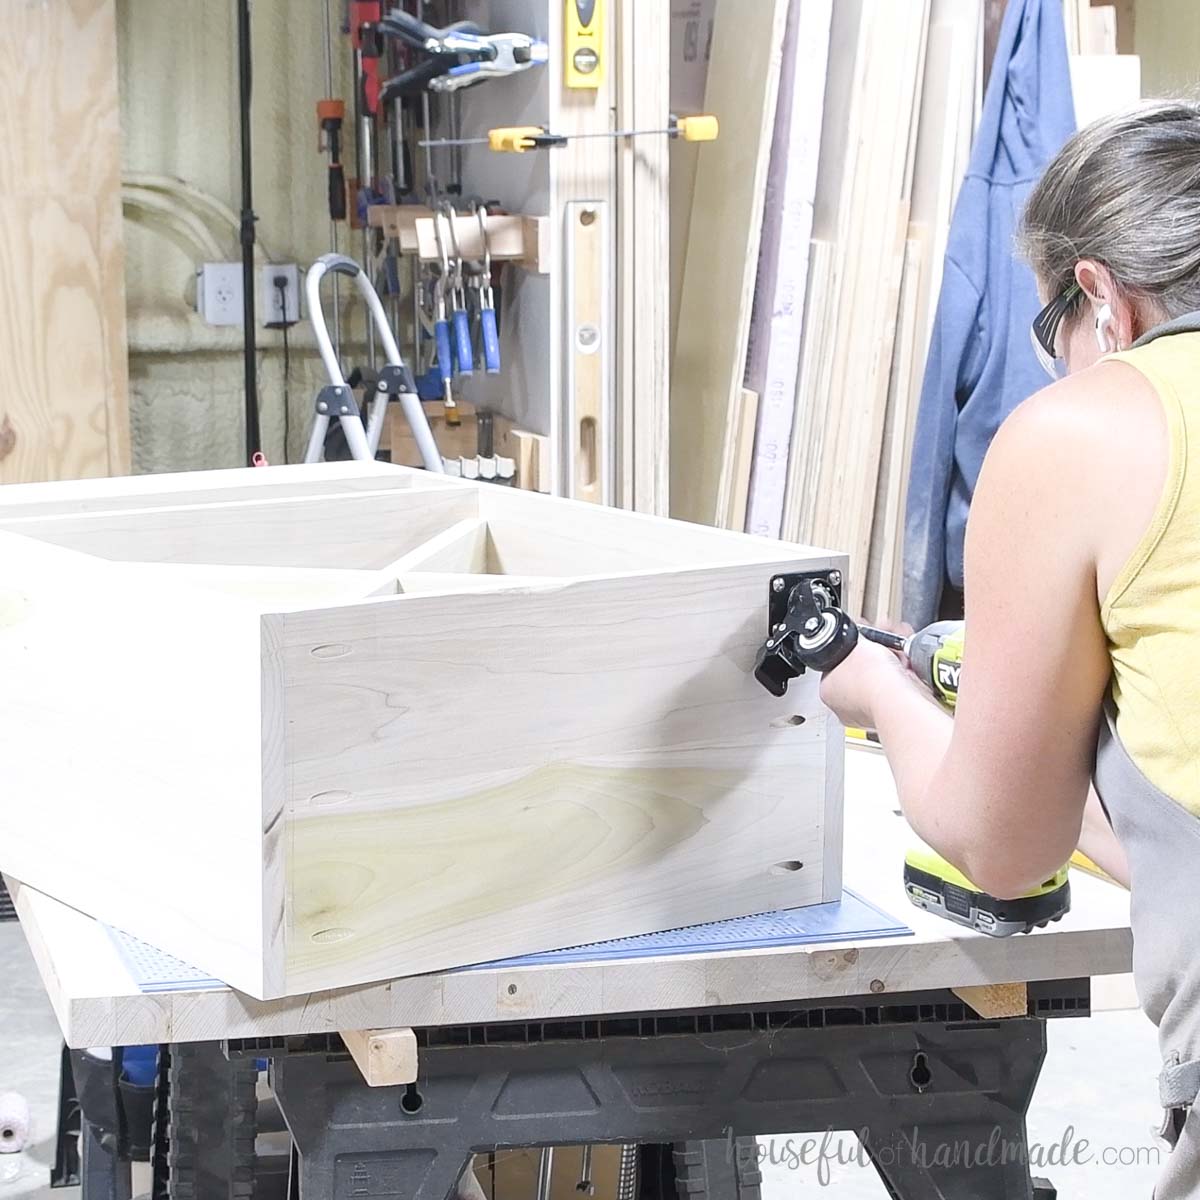
Finally, attach wheels to the bottom of your new craft cart.
And it is all done!
Premium plans include:
- Recommended Tools
- Shopping list
- Easy to read cut list table
- Cut diagrams
- Step-by-step instructions with 3D renderings
- Helpful resources
- BONUS: 3D SketchUp file
Now I can load the new cart up with all my daughter's craft supplies.
It holds way more then she has, which means there is room for growth. She is going to love that!
Happy building!


