Storage is so important in a laundry room. A stackable laundry basket storage is a great way to save on space but add tons of storage and functionality to a small laundry room or closet.
This easy to build shelf unit is the perfect laundry basket organizer so you can keep your dirty laundry hidden.
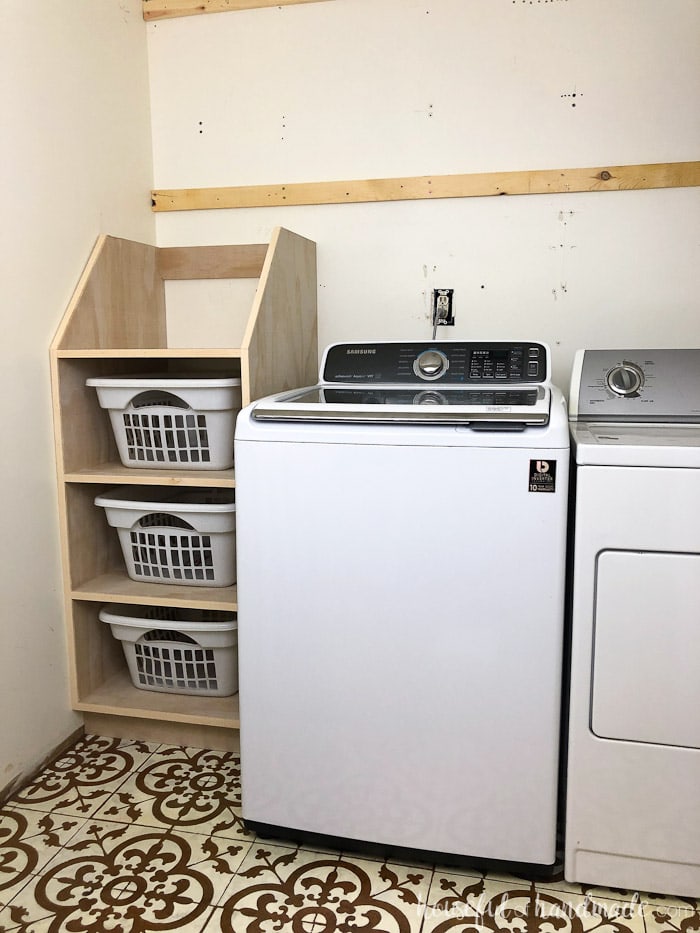
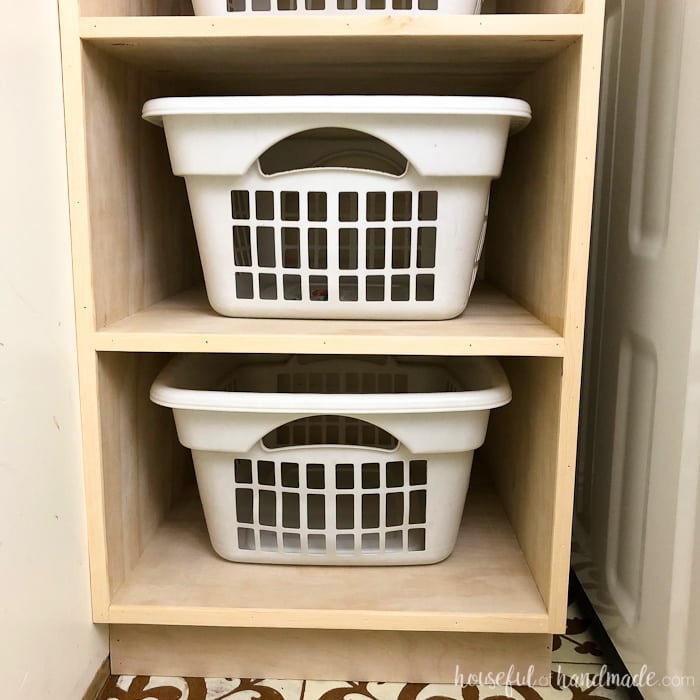
This quick to build shelf holds 4 laundry baskets so you can sort and store all your dirty clothes. And bonus, it is made out of 1 sheet of plywood so it is very budget friendly.
This post may contain affiliate links. As an Amazon Associate I earn from qualifying purchases. Click here to read my full disclosure policy.
Laundry Room Makeover
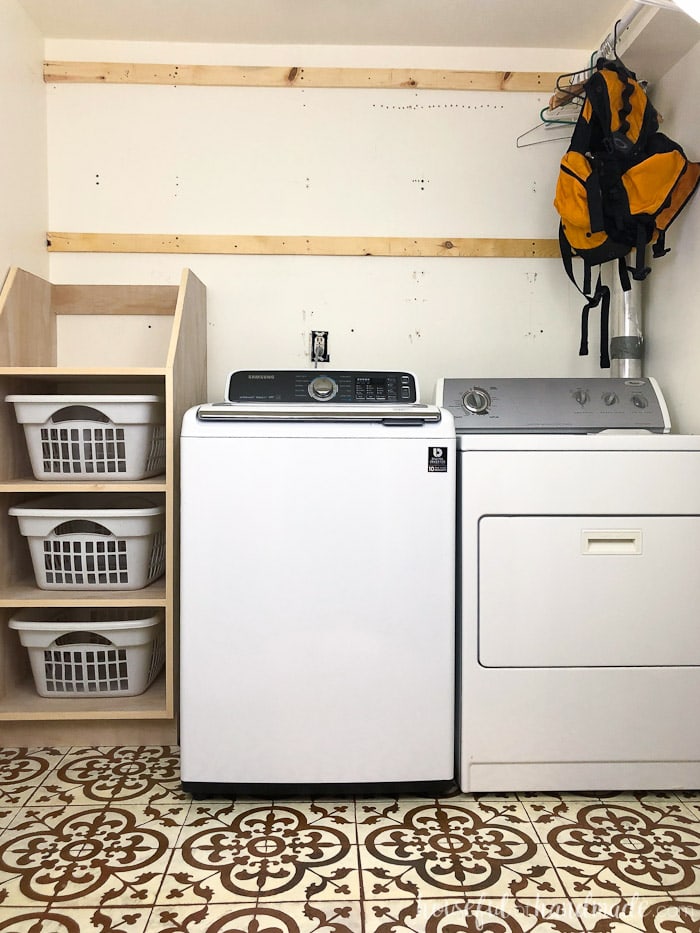
I built this laundry basket storage as part of my $100 laundry room makeover! Yep, I am attempting to redo the entire room only spending $100.
As part of the challenge I can use things I have on hand so I will be repurposing things and using up lots of scraps and left over DIY supplies.
Let’s talk about this amazing stackable laundry basket storage!
Since I had room on either side of our washer and dryer, I knew I wanted to utilize it. I thought about adding a broom cupboard for storing cleaning supplies and such.
But then I would have to go downstairs and retrieve my broom every day when I was sweeping up the kitchen (not going to happen).
Then I realized there was enough space to add a laundry basket organizer.
Right now our laundry baskets are just laid out in the hallway whenever I am doing laundry. The kids have to run the gauntlet of clothes piles and baskets on the way to their bedrooms (but I don’t think they really care). But it drives me crazy!
So I decided to turn the extra space into a stackable laundry basket storage where all the clothes can be sorted and stored while waiting for their turn in the wash.
After making my decision of what to use the extra room for, it was time to go to the drawing board. I needed a way to add the glorious stackable laundry basket storage without breaking my $100 budget!
If you remember from last week, I already spent $19 on the beautifully stenciled floor and there are still many more projects I want to accomplish in the space.
I decided to sacrifice enough room in the budget for 1 sheet of plywood to create the perfect laundry sorting shelves.
The laundry basket storage shelf does take a tiny bit more wood than the 1 sheet of plywood I planned for. It also used 2, 4″ strips of plywood for a toe kick and back brace (so I can attach it to the wall).
Luckily I had a couple scraps of plywood in my stash to take care of this.
If you want to make your own stackable laundry basket storage and do not have scraps of plywood laying around, you can also use a 1×4 board for these two pieces. Easy peasy!
How to Make a Laundry Basket Storage Cabinet
Tools & Materials
Tools needed:
- Circular saw
- I pair my circular saw with the Kreg AccuCut track and RipCut guide to easily rip down sheets of plywood with amazing accuracy all by myself.
- Pocket hole jig
- Finish nailer
- Drill
- Impact driver (optional, but I love not having to switch bits with the drill)
- Measuring Tape
- Clamps
Supplies:
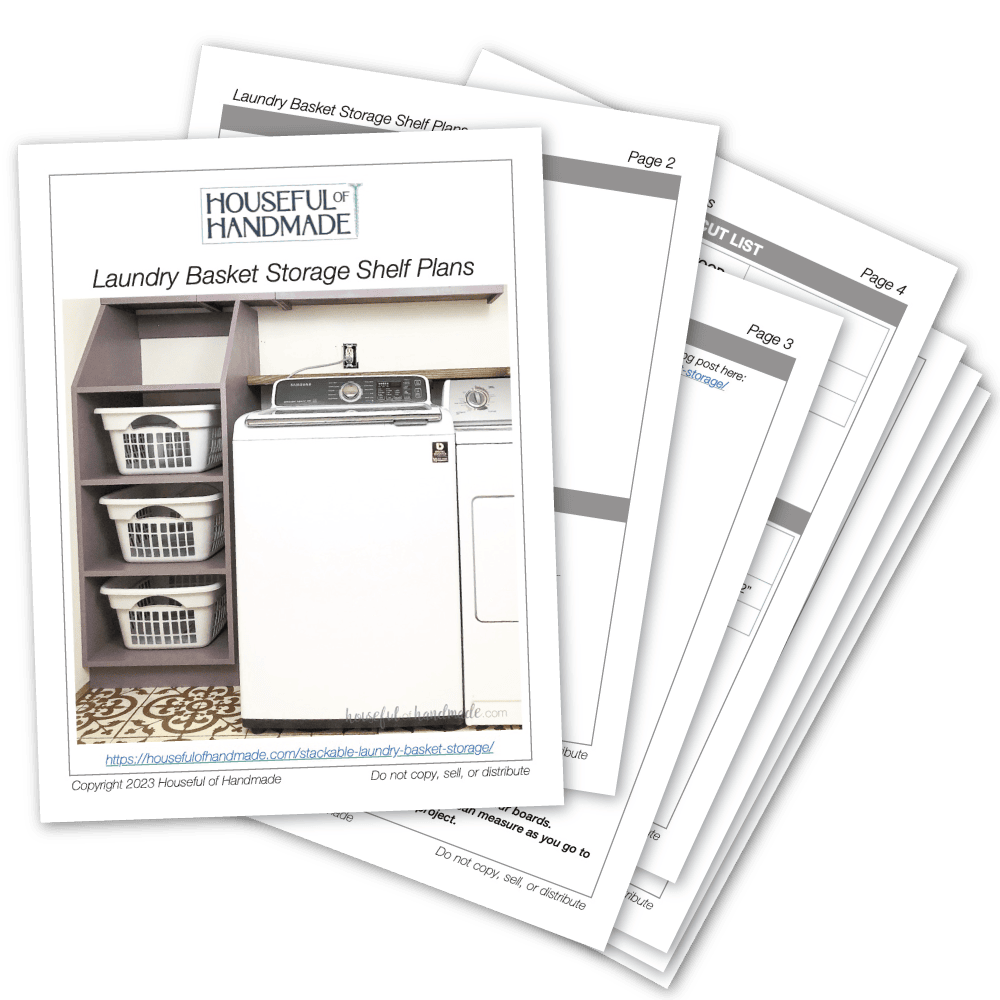
- Printable PDF build plans
- Wood products
- (1) 3/4″ plywood, 4×8 sheet
- (1) 1×4 board, 4′ long
- 1 1/4″ pocket hole screws
- 1 1/4″ finishing nails
- Wood glue
- 23″ x 19″ x 10″ laundry baskets
- Optional: 1/4″ thick strips of wood or plywood edge banding to finish off the edges of the plywood.
Overall Dimensions
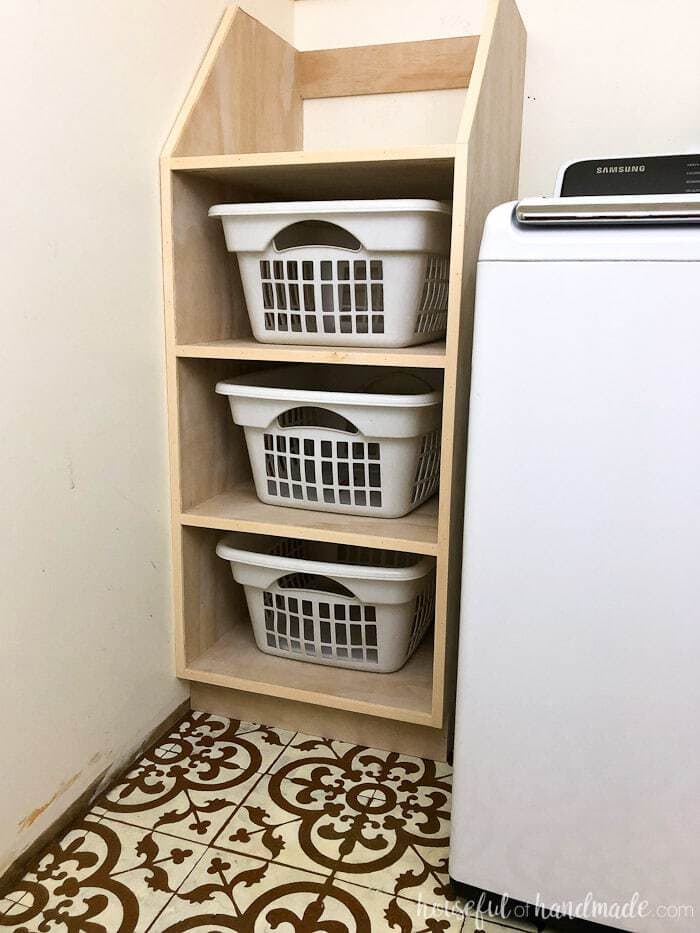
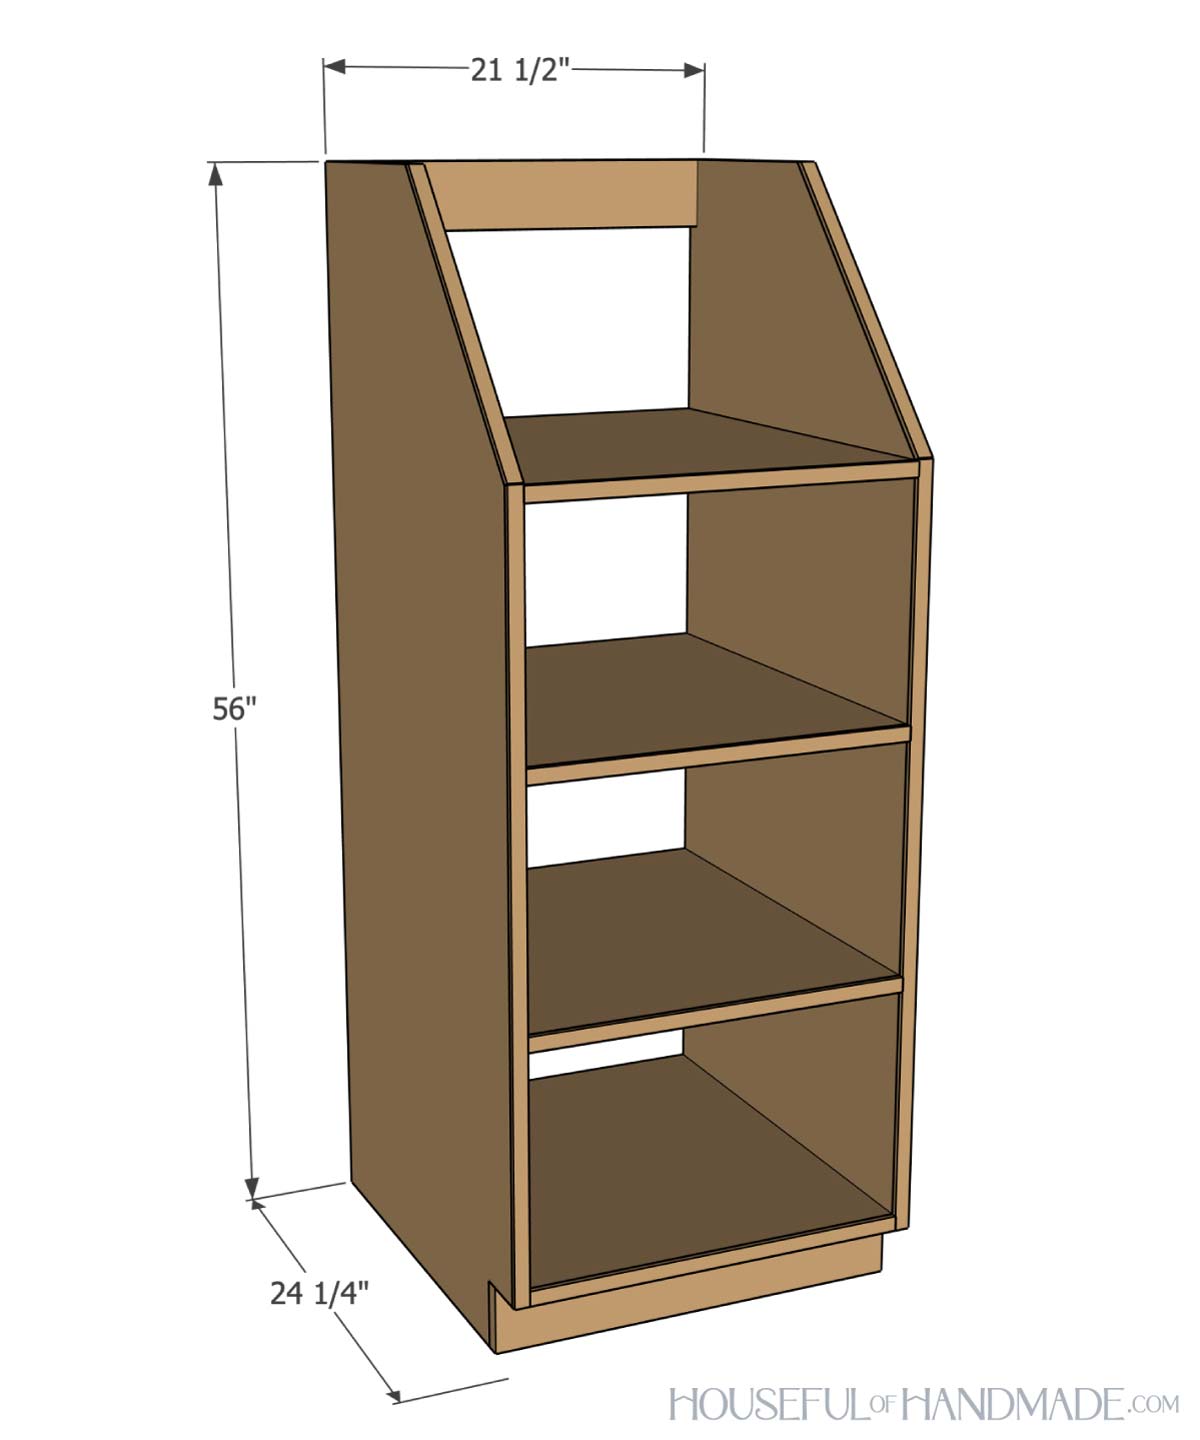
The finished laundry basket cabinet is 21 1/2″ wide by 24″ deep and 56″ tall.
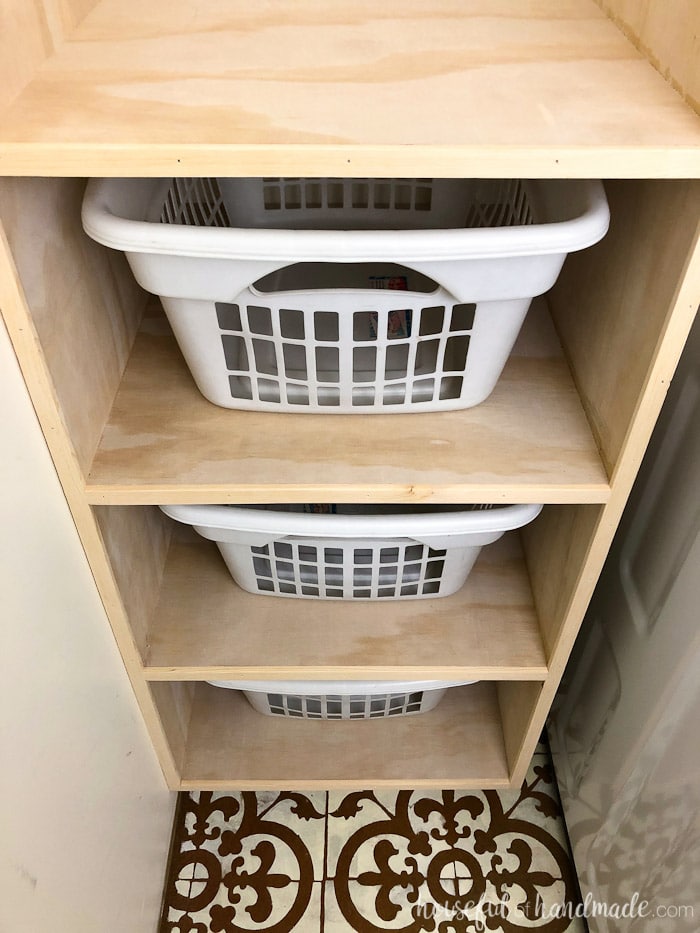
The shelf has three 20″ wide by 15″ tall by 24″ deep shelves for laundry baskets. My laundry baskets are 23″ x 19″ x 10″.
Cut List
Cut out the pieces according to the diagram in the premium PDF plans.
Learn how to cut plywood with a circular saw here.
STEP 1- Assemble cabinet
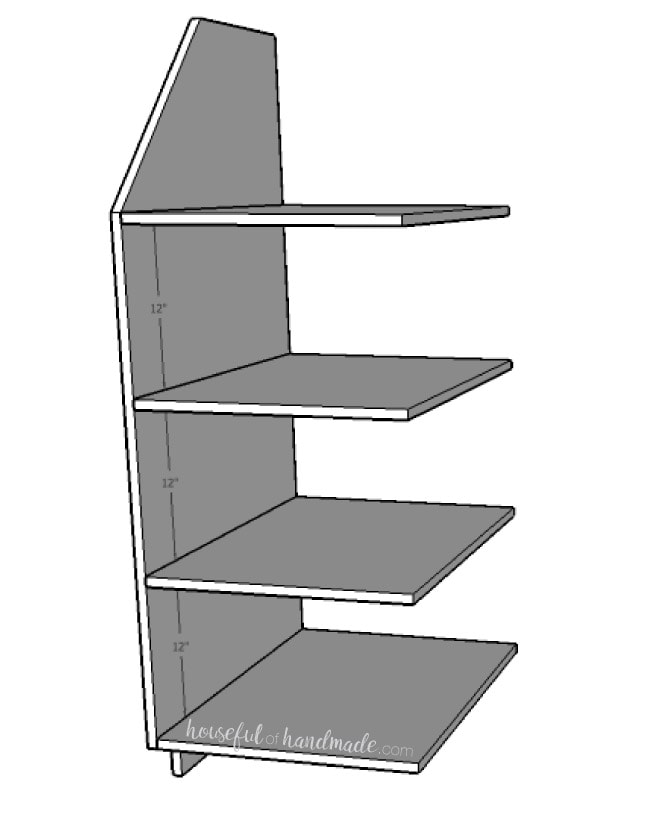
Drill 4 pocket holes in each side of all the shelf board.
Set the pocket hole jig for 3/4″ thick material and use 1 1/4″ pocket hole screws for all the joining.
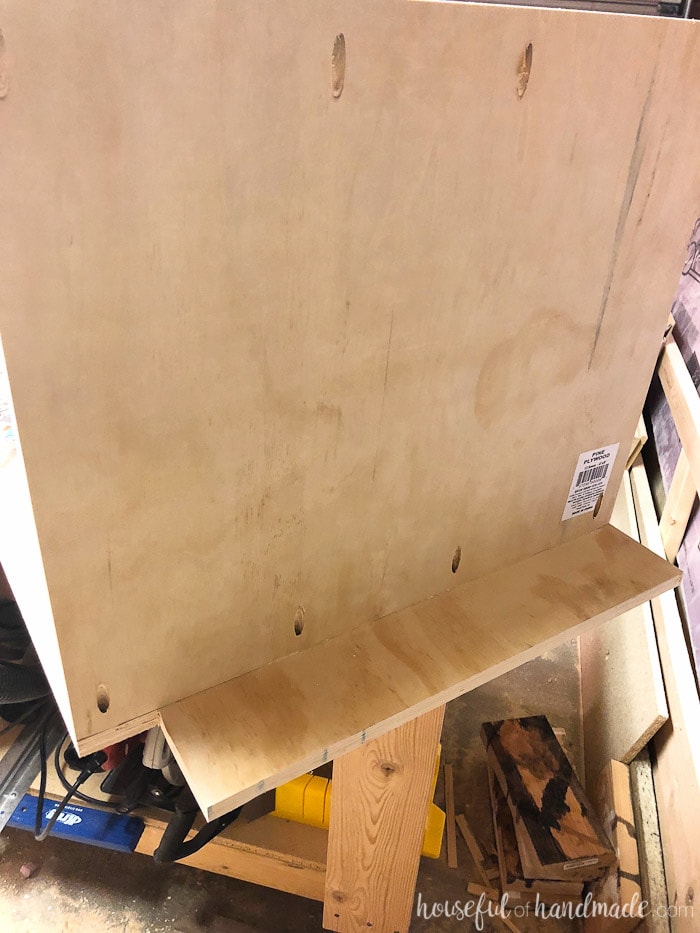
Attach the shelves to one of the side boards with pocket hole screws and wood glue.
Secure them so they are 12″ apart.
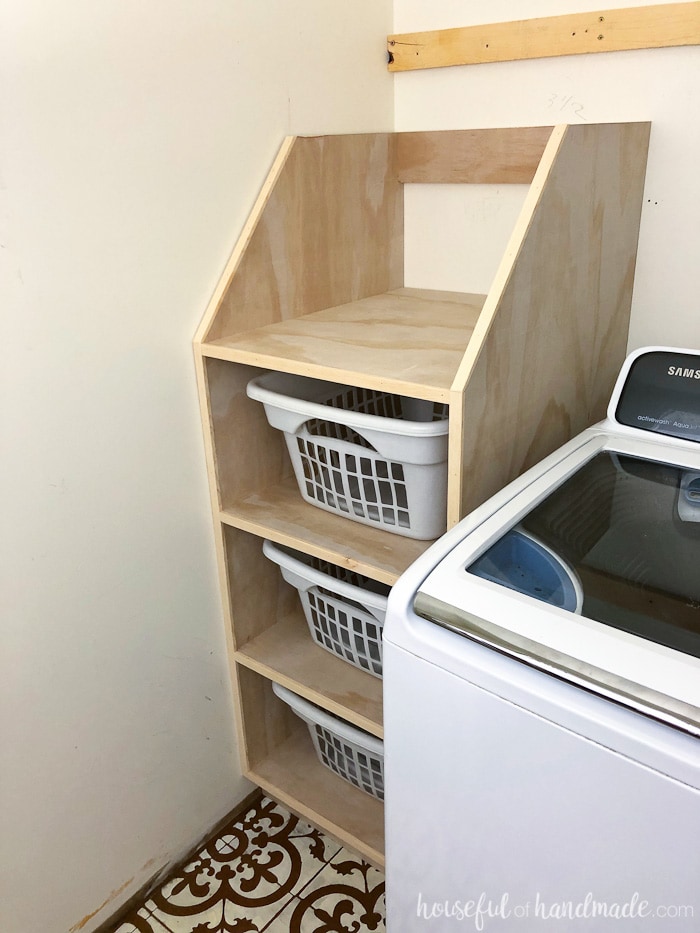
The bottom shelf will be flush with the top of the toe kick. The top shelf will be flush with the top of the angled part of the side.
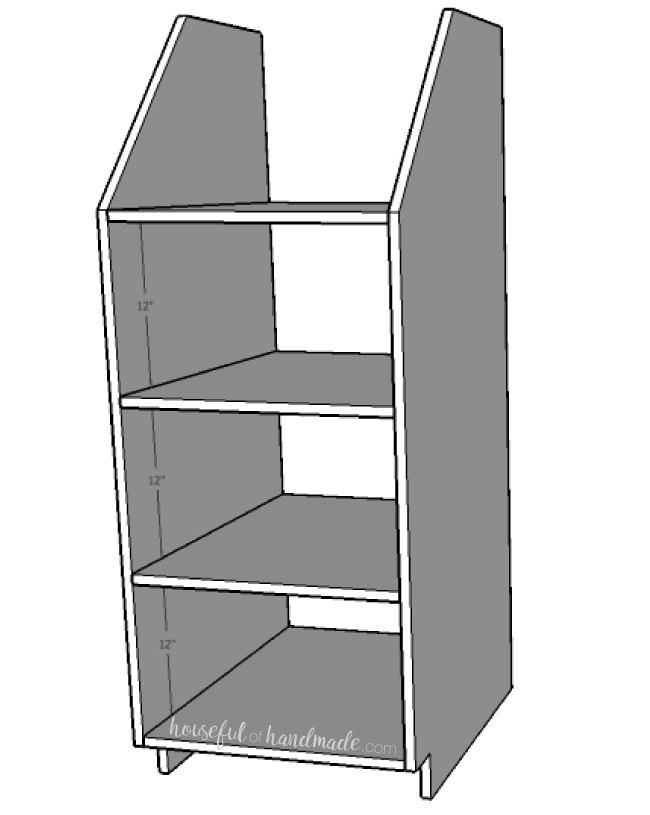
Attach the other side piece with the pocket holes on the other side of the shelves.
Make sure to correctly space the shelves on this side as well to ensure square and level shelves.
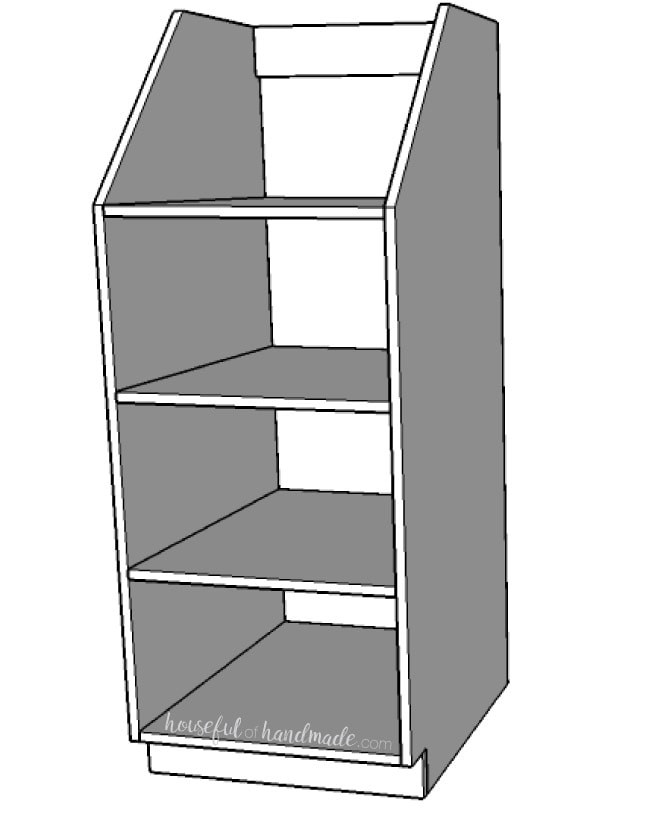
STEP 2- Add toe kick and back support
Cut the 1×4 board for the toe kick and back support. Attach the toe kick with wood glue and finishing nails.
Drill 2 pocket holes on each end of the back support board.
Attach the back support so it is flush with the back of the shelf unit. Secure with glue and 1 1/4″ pocket hole screws.
STEP 3- Finish
You can leave the shelves as is or finish the edges.
I finished the edges with 1/4″ thick strips of pine wood (I ripped them down with my table saw but you can also do it with the AccuCut and circular saw if you support the AccuCut with scraps of wood).
Attach the strips to the front of all the plywood with wood glue and finishing nails.
Or you can finish the edges of the plywood with edge banding.
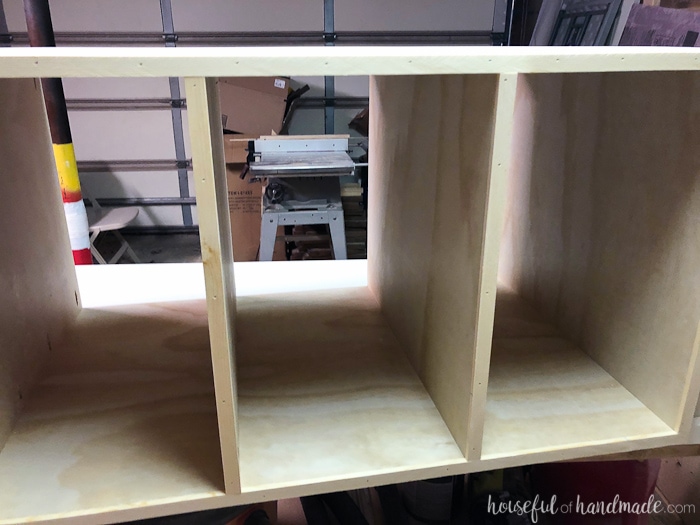
However, finishing the edges of the plywood is not necessary. I didn’t do it in these plywood closet organizers and love the industrial look of the unfinished plywood.
Lastly, sand and stain or paint the finished stackable laundry basket organizer.
Premium plans include:
- Recommended Tools
- Shopping list
- Easy to read cut list table
- Cut diagrams
- Step-by-step instructions with 3D renderings
- Helpful resources
- BONUS: 3D SketchUp file
This weekend I plan to get mine painted as well as the ugly 80s cabinets.
I can't wait to see the transformation after the paint is done!
Cost to Build a Stackable Laundry Basket Storage
Before I share the build plans for the laundry basket storage, let's talk budget! With only $100 to spend on the entire room, every little bit counts.
I am happy to report that paired with some scraps from my garage and thanks to my extensive screw collection (I never toss one, ever), I was able to create the perfect stackable laundry basket shelves for only $35!
Laundry Basket Storage:
- Plywood $35
- Other wood $0 (used a few scraps to finish things off)
- Screws, nails, glue $0 (had on hand)
GRAND TOTAL: $35
$100 Laundry Room Makeover Budget
And that is all that was spent this week. But there is still a huge list of things to do for the complete laundry room makeover!
With $45 left, I may be getting a little nervous about the list. Wish me luck!
- Stencil laundry room floor $19
- Stackable laundry basket storage $35
- Patch holes and touch up wall paint
- Lower cabinets and install a new light so I can have all the doors working
- Build new doors for the cabinets
- Paint cabinets
- Find creative way to cover the dryer exhaust tube
- Build shelf behind washer & dryer
- Tile shelf backsplash
- Add lots of pretty stuff!
This budget laundry room makeover is going to be amazing!
