A look at the cost, installation and appearance differences between installing individual subway tiles and subway tiles sheets.
I love subway tile. It is classic, clean and inexpensive! Especially when you install it yourself. But when looking at the tiles, do you go with individual subway tiles or sheets?
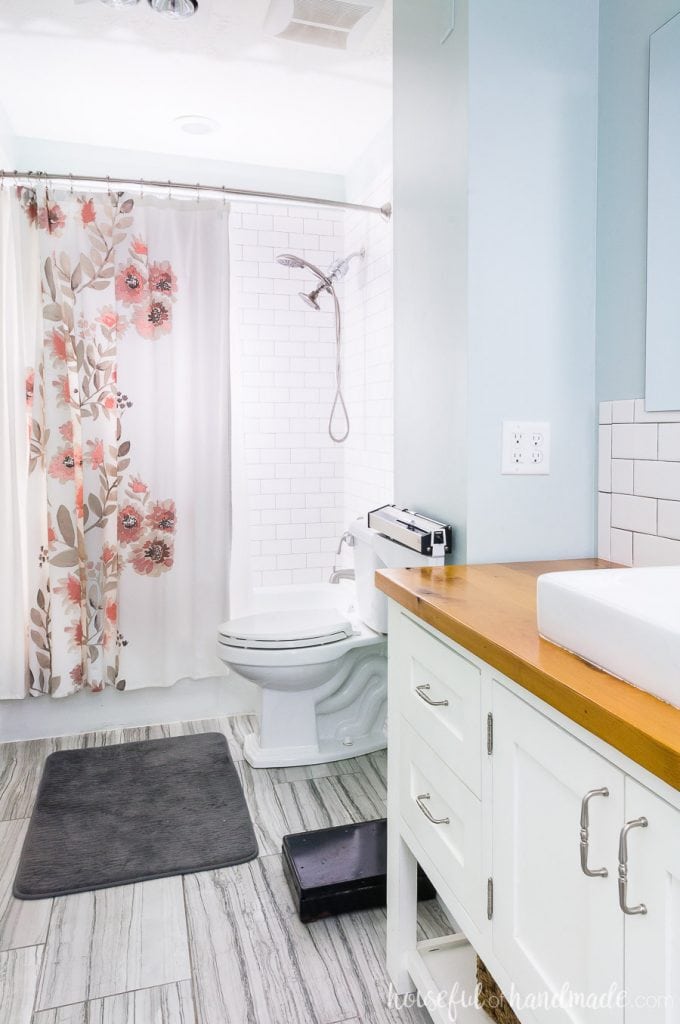
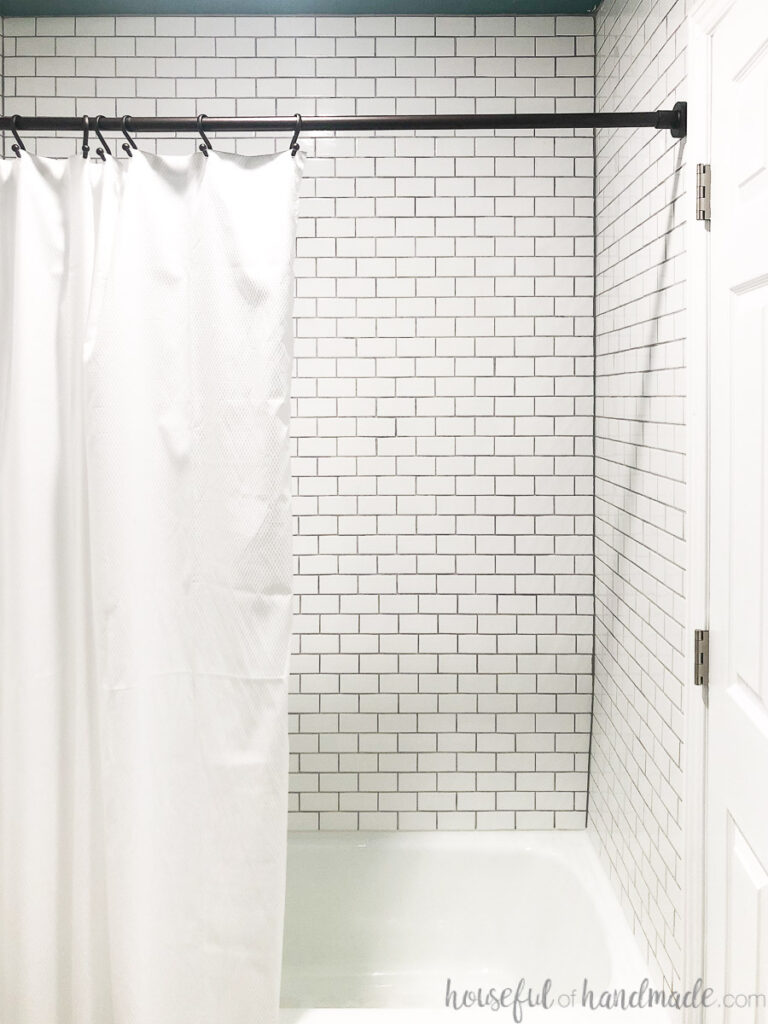
To help you decide which to use, I decided to test them both out. I tiled my master bathroom tub surround with individual subway tiles and then tiled my guest bathroom tub surround with subway tile sheets.
Now I am going to share all about the differences in installing each type, price, and how they look so you can decide which one will be best for your next subway tile project.
This post may contain affiliate links. As an Amazon Associate I earn from qualifying purchases. Click here to read my full disclosure policy.
What is the Cost Difference?
Let’s start with the question everyone wants to know: What is the difference in price between the individual subway tiles and the sheets of subway tiles?
For both tile jobs in my home I used Daltile ceramic subway tiles that can be purchased at the Home Depot (they were both in stock at my local store). These were the least expensive options for both.
Of course you can increase your costs of tile by a lot by using different tile sizes and materials. I am only reviewing the ceramic subway tiles. Maybe someday I will have enough extra money to use Carrera marble in a bathroom!
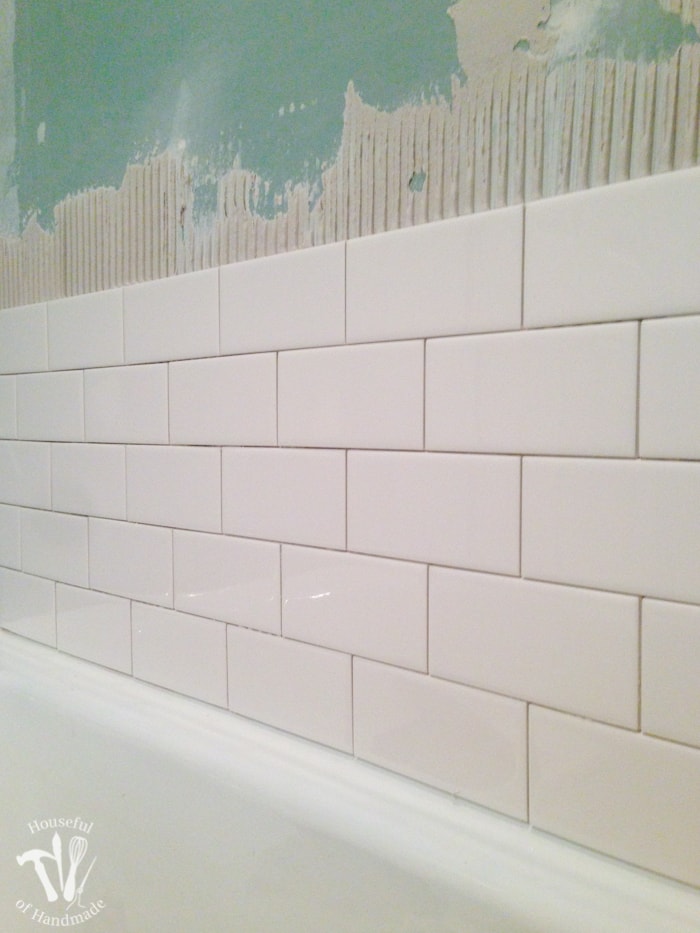
Individual Subway Tiles
Here is the cost breakdown for the Daltile 3×6 ceramic subway tiles I used in our master bathroom remodel:
- $0.15 for each individual tile
- $1.15 per square foot
So for a standard tub surround with the top of the tile ending at 7′ (I like the tile up high) you need approximately 56 square feet of tile. Make sure to add in 10% for cutting and errors for a total 62 square feet.
That brings your total cost for the subway tiles to $70.84 for a standard tub surround (not including any trim tiles you may want to use).
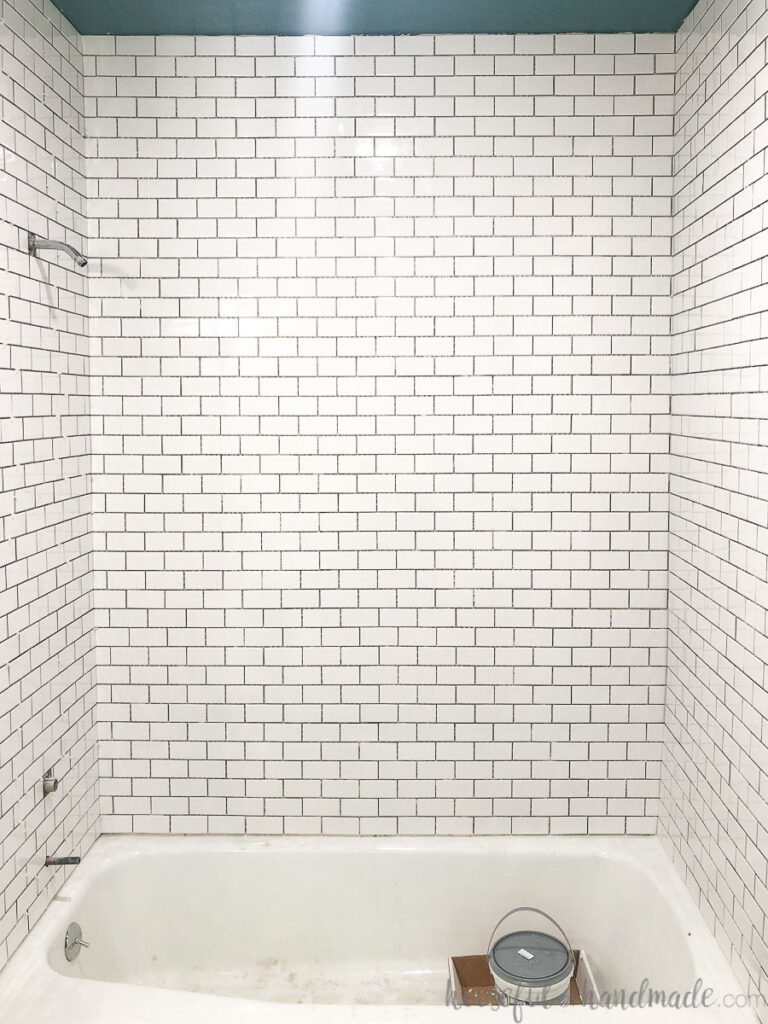
Subway Tile Sheets
Here is the cost breakdown for the Daltile 12 in x 12 in ceramic mosaic wall tiles I used in my guest bathroom remodel:
- $2.98 for each sheet
- $3.59 per square foot
So for a standard tub surround with the top of the tile ending at 7′, you need 56 square feet + 10% for cutting/errors. That makes a total of 62 square feet. Because each sheet covers 0.83 square feet you need to buy 75 sheets to get 62.25 square feet of coverage.
That brings your total cost for the subway tile sheets to $223.50 for a standard tub surround (not including any trim tiles you may want to use).
Cost Breakdown Conclusion
The individual subway tiles are cheaper to use than the sheets.
They are actually 1/3 the cost! That means you could purchase enough tiles to tile 3 tub surrounds in individual subway tiles for the price tiling one tub with the sheet tiles.
So why use the sheet tiles??? Let’s look at the difference in installation next.
Which One is Easier to Install?
Time and effort to install your new tiles are big factors in your DIY project. If you are like me, you have maybe tiled 1 or 2 things (or none as was the case with our master bathroom remodel where I share what I learned from my first time tiling).
So tiles that are easy to install are definitely a plus. This is where the sheet tiles win hands-down!
Installing Individual Subway Tiles
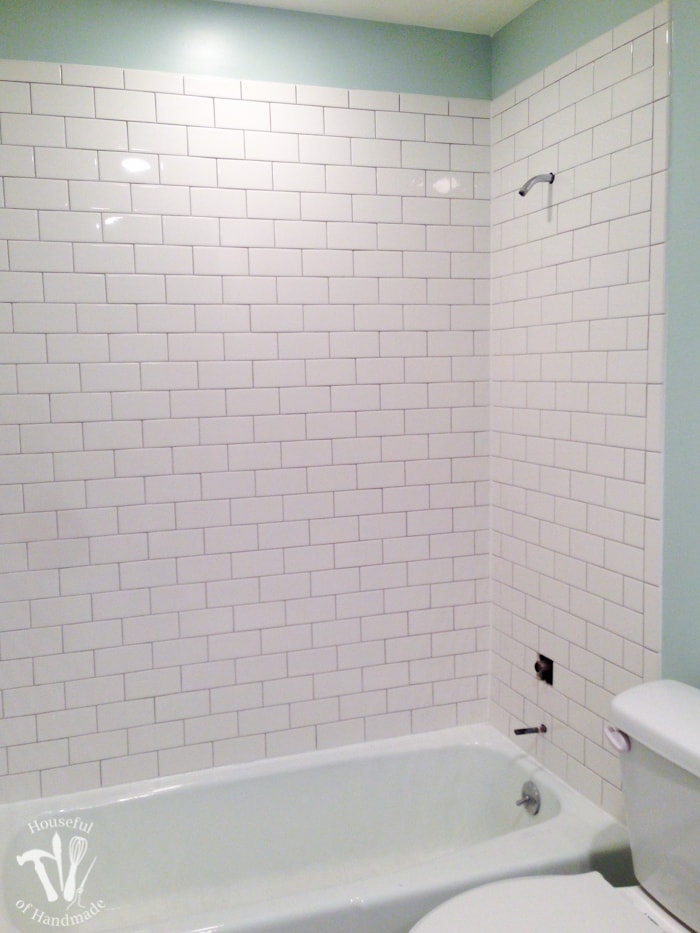
Laying a large surface with individual subway tiles (like a tub surround) requires a lot of precision. You need to make sure you start your line perfectly level and maintain it all the way up.
Just imagine how an uneven line will make the tub look like it is leaning. Not good!
From my experience, it was easy to actually install the individual subway tiles. But when lining them up, they also could easily get a little off. If you tend to squeeze things 1/16th of an inch closer together on one end of the tub, it would only take 8 rows to be 1/2″ off. That is very noticeable.
You will want to continually be checking your line for level to make sure this does not happen.
And you will take a lot more steps out to the tile cutter because you are cutting one tile at a time. It took me 2 full days to lay all the individual tiles in our master bathroom (not including grout).
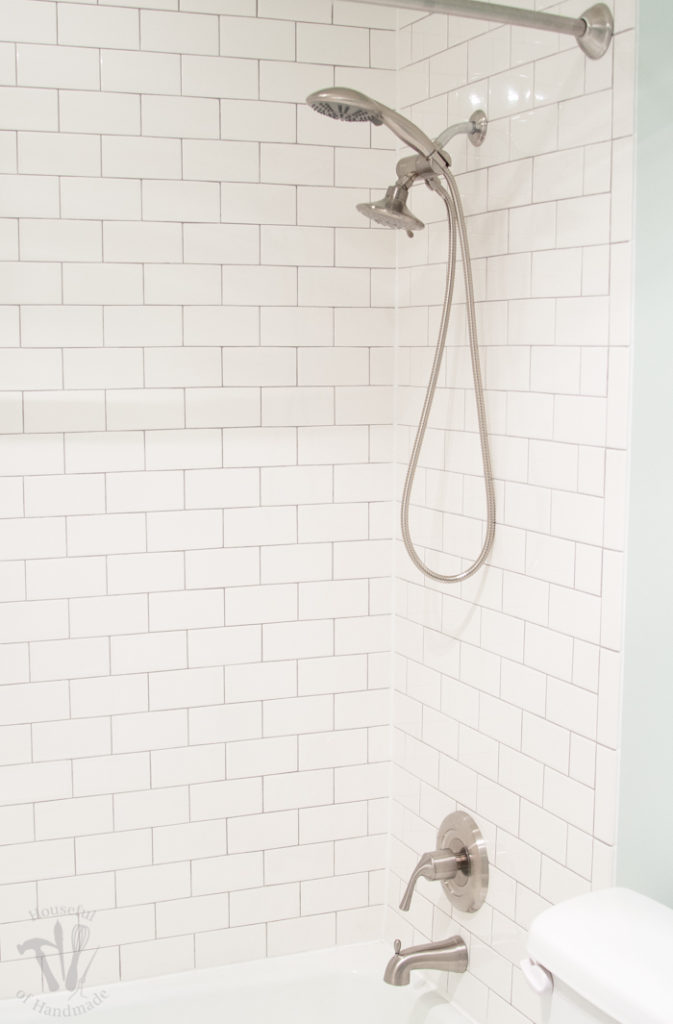
The one place the individual tiles were easier than the sheets for installation were when it came to measuring and cutting out the openings for the shower head & tub facet.
Installing Subway Tile Sheets
To be fair, I did have a couple more tiling projects under my belt between the master bathroom remodel and the guest bath where I used the sheets of subway tiles, but I still feel like they were way easier to install.
Each sheet has 15 smaller tiles attached to it. So when you get one tile lined up it is the same as lining up 15 tiles. But it doesn’t take 15 times longer to line up, more like 2-3 times longer then lining up an individual tile.
Over the course of tiling a standard tub surround, you will be lining up roughly 470 individual tiles or 75 sheets. That is a lot of time savings.
Also, when cutting a sheet to fit into a corner, you can make 1 cut to all 6 rows of tiles to fit into a corner.
But, when you are cutting out holes for the faucet and shower head, it does take a bit more time. You may have to pull tiles off the backing and cut them individually to make them fit depending on where on the sheet the openings end up falling.
You do still need to make sure you start your tile job with a perfectly level line to keep your subway tiles from going askew. But since each row you lay is actually 6 rows of tiles, you can more easily keep those rows level by only having to check a few times.
All in all, it took me 2 half days to tile the tub surround in our guest bathroom (not including grout). It was about half the time as tiling the master bathroom. Again, I did have more experience by then, but not a lot to make me a master by any means.
Installation Conclusion
The sheet tiles are easier to install. You will most likely save quite a bit of time using them over installing the individual subway tiles.
What is the Difference in Appearance?
Tile Sizes
One thing you may not notice just looking at the tiles in the store, but will be way more obvious once installed, is the difference in size of the tiles.
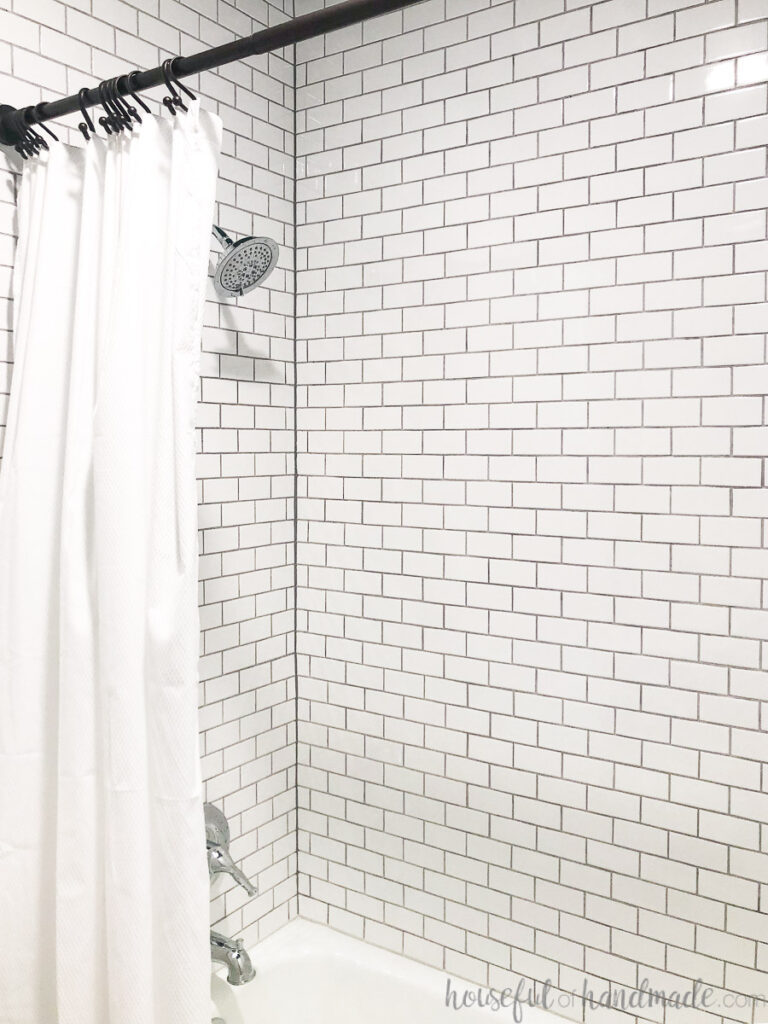
The individual tiles that I used, which are the standard subway tile size, are 3″ tall x 6″ wide. The individual tiles on the sheets are only 2″ tall x 4″ wide.
While the difference in size doesn’t seem like a lot, it is quite noticeable to me when comparing the two bathrooms. One tile looks significantly smaller than the other.
But I cannot say a definitive conclusion on which one is the winner of the appearance. It comes down to personal preference. Do you like the tiles larger or smaller?
And for that matter, there are other options when it comes to individual subway tiles. You can choose a longer 3″ x 12″ tile, a larger 4″ x 12″ tile or even a square 6″ x 6″ tile just to name a few.
Grout
Also note, the smaller tiles you have, the more grout you will end up having. If you want clean white grout lines, maybe don’t opt for the smaller tiles or you will have lots of grout cleaning in your future.
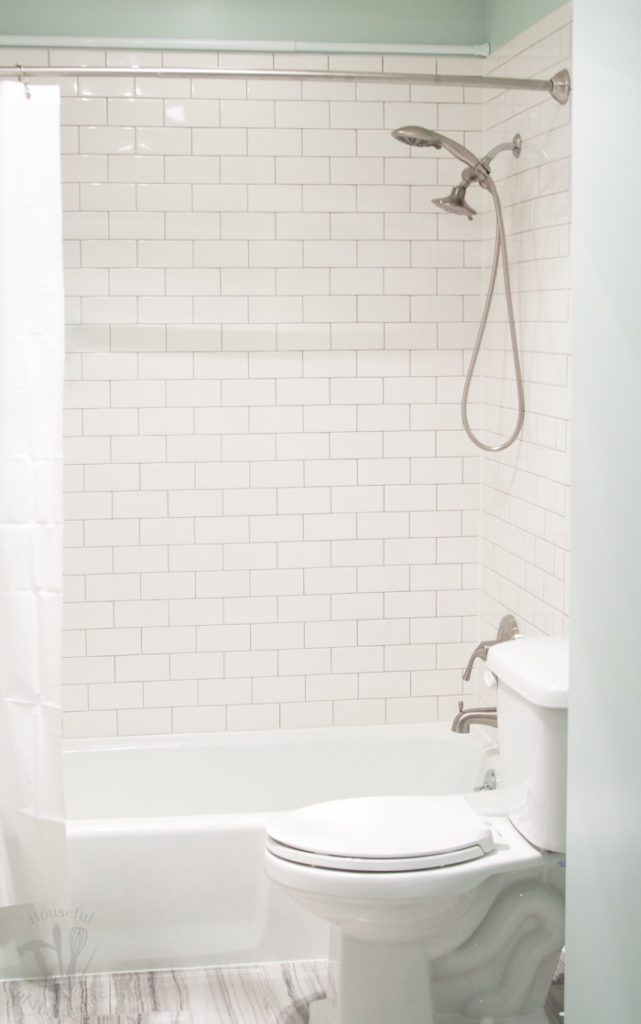
I prefer to use a medium gray grout to minimize the dirty look grout can get after a while. In my experience, the gray grout looks almost the exact same after 2 years of continuous use in my master bathroom.
The darker grout also makes the look of the subway tile really pop, which is good if you have straight even lines between your tiles. If your tiles are askew or wobbly, the darker grout will only highlight it so it would be better skip the contrasting grout.
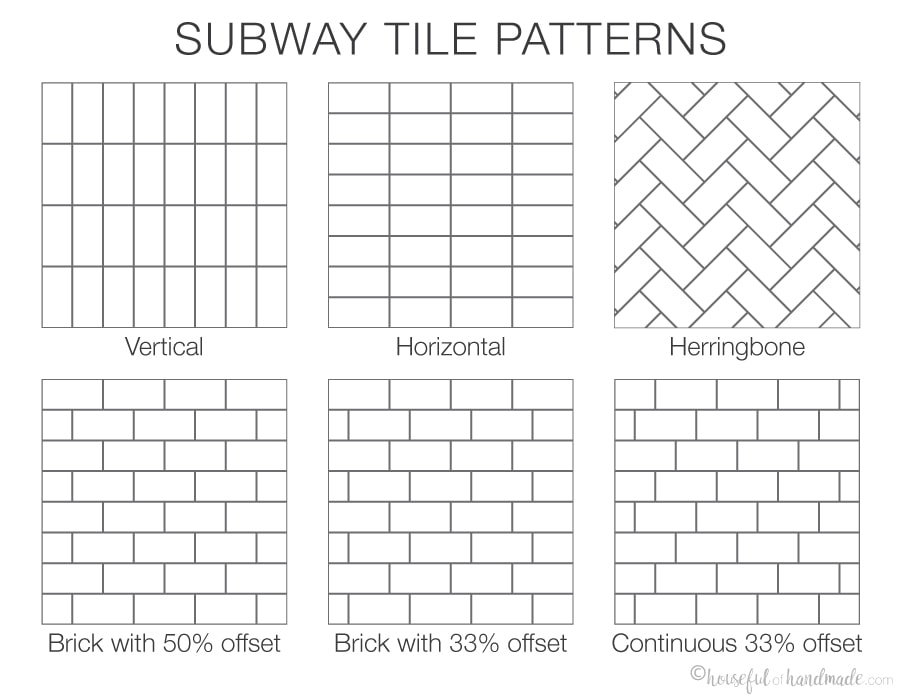
Tile Pattern
If you want to go with the classic 50% brick joint pattern for your subway tiles, you can achieve that look with both individual and sheet subway tiles.
However, if you want to go with any of the other interesting tile patterns like the ones below, you will need to choose individual subway tiles for your project.
Conclusion
So you will have to decide on your own if you prefer the smaller tiles or larger ones, and what type of grout will work best for you own preferences and lifestyle.
Personally I think both of our bathrooms turned out beautifully and I will not hesitate to use white ceramic subway tiles again and again!
