Got an old picnic table? Give it a new life by painting it!
Our kids wooden picnic table has been loved. The kids do art projects on it, science experiments on it, pile up their found treasures on it, and of course… eat on it. But it was starting to show its age and needed a makeover.
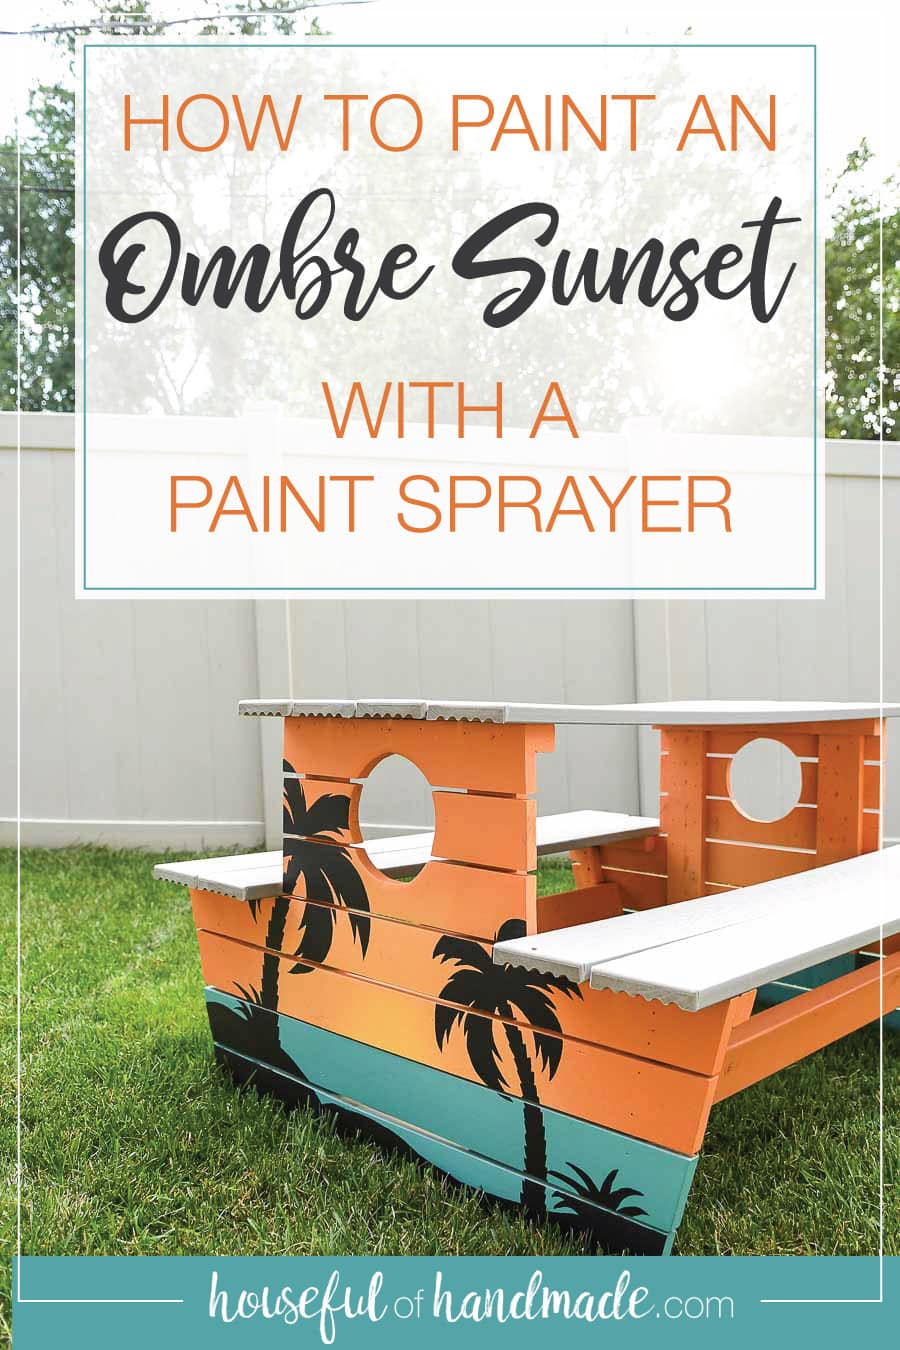
So I partnered with HomeRight to use their Super FinishMax sprayer for the perfect painted picnic table! The sprayer made quick work of getting between all the slats. And I also used it give the table a little tropical flair!
A Picnic Table for Bigger Kids
This wooden kids table was built 4 years ago. I was inspired by some plans from Ana White and adjusted them to make the boat picnic table perfect for my bigger kids. And it’s big enough I can comfortably sit with them.
This post may contain affiliate links. As an Amazon Associate I earn from qualifying purchases. Click here to read my full disclosure policy.
If you want a picnic table for the family, you can also check out these wood picnic table plans for a modern table or these outdoor dining table plans for a more classic farmhouse look.
However you get your picnic table, let’s talk a look at how to easily paint it with the HomeRight Super FinishMax sprayer!
Pros of Painting with a Paint Sprayer
I love using the HomeRight sprayer to make quick work of any paint job, but especially for the wooden picnic table. With all those slats and crevasses it would take days to paint it. But with the paint sprayer, you can quickly get around even the oddest shaped objects.

Also, when it is hot outside (which it was while I was painting our picnic table), the paint can dry very quickly causing issues with brush strokes and gunning up your paint brushes. Not with a paint sprayer. You can feel confident painting on the hottest of days and still get a perfectly smooth and professional finish.
How to Paint a Picnic Table
Prepping for Paint
The first step in any project is prep work. If you want the best results from your paint job, do not skip this step!
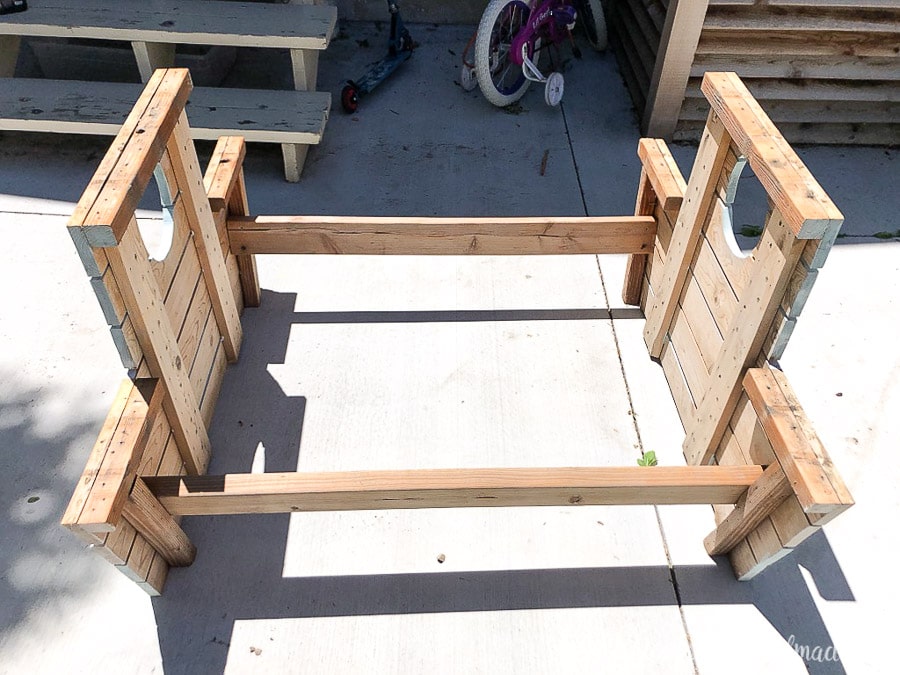
We decided to replace the warped and twisted table top boards and seat boards with something that would hold up to the kids and weather better. So we removed these boards.
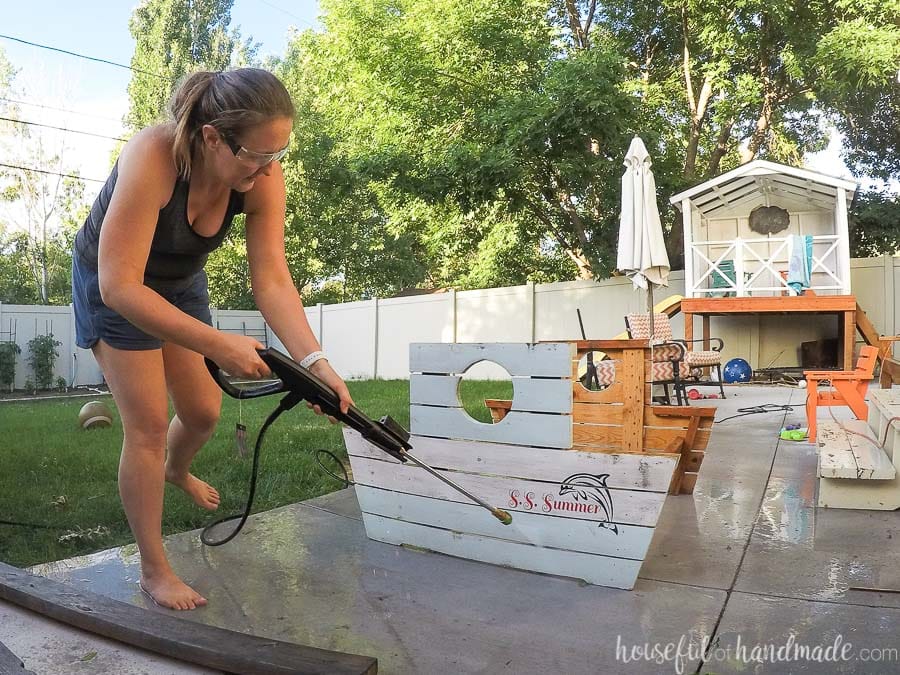
Next we needed to clean the years of dirt off the picnic table. Since I convinced my husband we needed a power washer last year, I figured this was a great reason to use it. If you do not have a power washer, you can easily clean up with a bucket of soapy water and a rag.
Make sure to let the wood fully dry before proceeding. Here is UT it is dry and hot so I let it dry overnight.
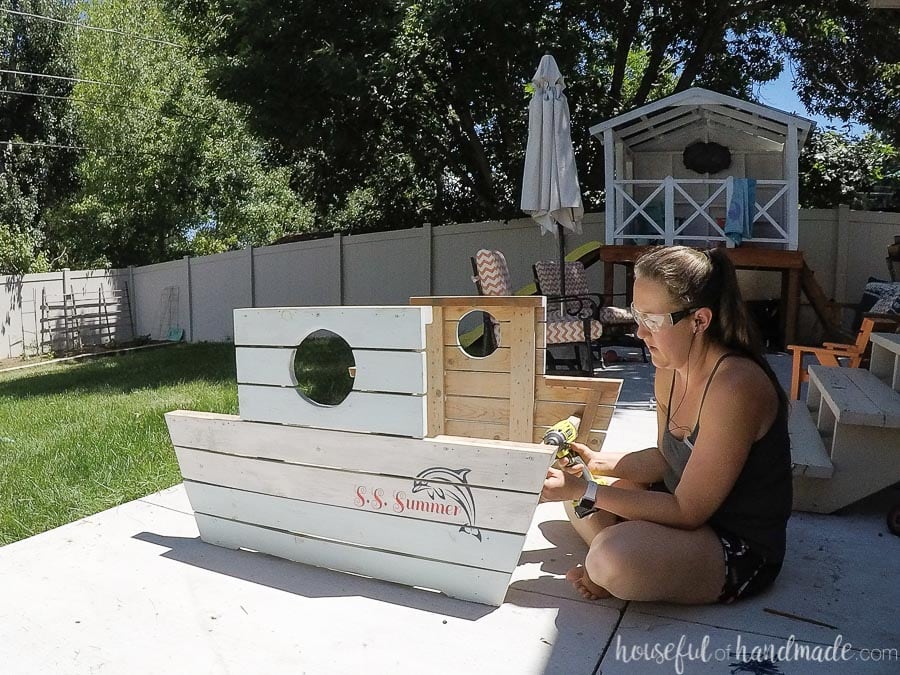
After drying, I took some time to fix any loose boards with a couple screws from the inside. Whenever you restore an item, you want to take the time to strengthen up any wobbly joints.
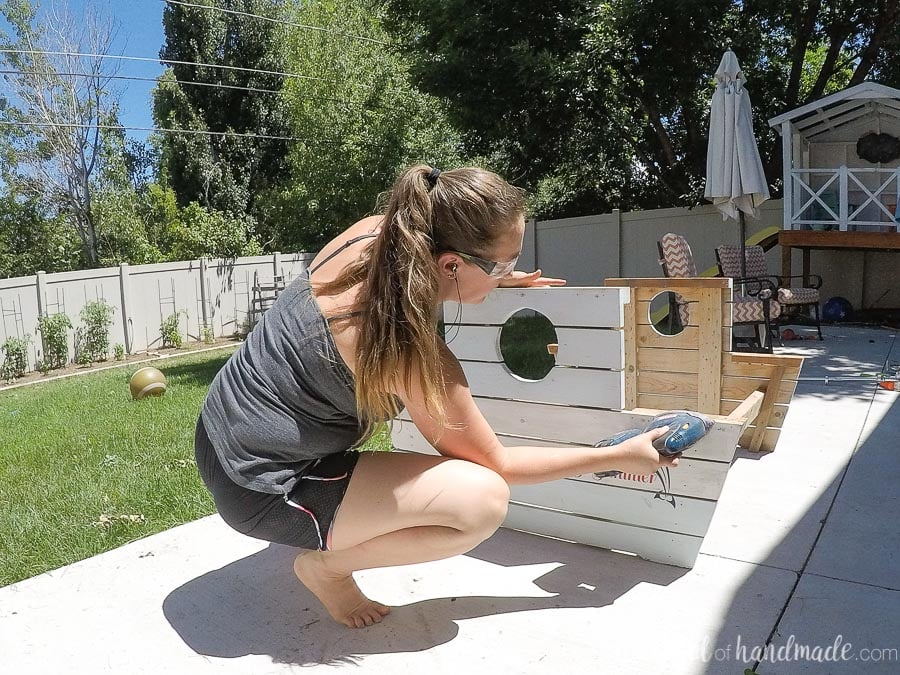
Lastly, it was time to sand the entire surface. Because we are painting the picnic table, we didn’t need to completely sand off the previous paint. Instead, just sand it enough to rough up the surface so the new paint can adhere. And sand any rough spots smooth.
Then clean off the sanding dust so you are ready for paint. I used an air compressor to blow the dust off with high power. But you can also use a vacuum and tack cloth to remove it.
Painting the Picnic Table
Now it is time for paint! But what paint do you want to use for a picnic table that will last?
Best Paint for Picnic Tables
Make sure to select a paint that is labeled for exterior use. These paints are formulated to last longer in the elements and also will protect your color from fading from the sun.
For our picnic table I used Behr exterior paints. Since I used a variety of colors to create our tropical sunset, I was able to purchase paint samples for the blue (Aqua Rapids), yellow and black paint I needed. For the orange paint (Sizzling Sunset), I bought a quart and used about half of it.
Painting an Ombre with a Paint Sprayer
Turning our picnic table into a tropical sunset was really easy with the HomeRight Super FinishMax paint sprayer. It was so easy I am excited to add ombre to another project.
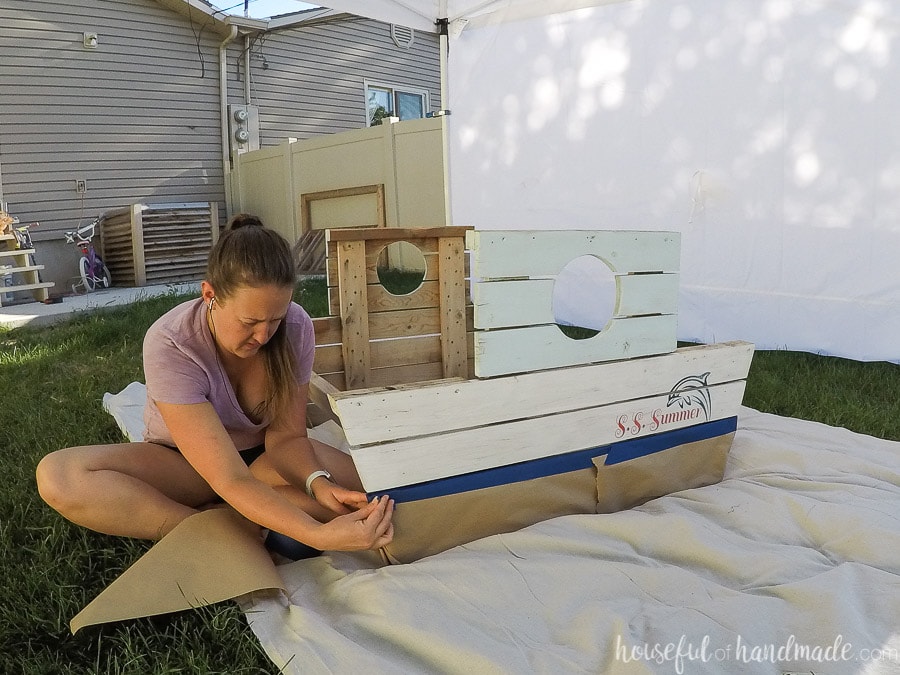
First I taped off the bottom two slats on the side of the table. These will be the water and get painted blue later. To tape off, I used painters tape with some brown masking paper.
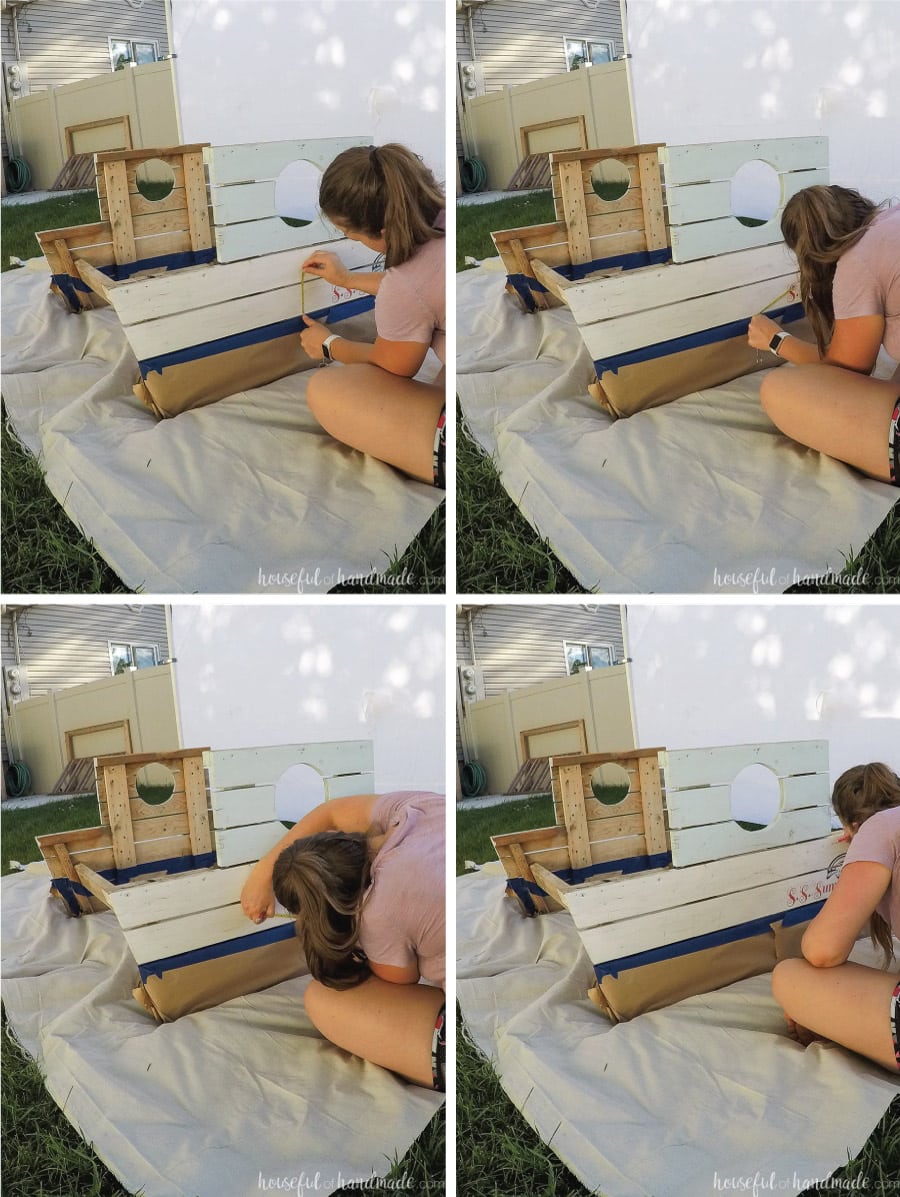
Mark off the ombre to help keep it centered and circular.
Start by making a center half-circle. Mine is 5″ so I marked a line 5″ up from the taped off boards in the center of the picnic table.
Then keeping the tape measure with the 5″ mark at the center point, rotate it around an inch and mark. Keep rotating and marking until you get to the taped off boards. And then repeat on the other side. Use these marks to sketch your half-circle.
Repeat for the ombre rings. I did 2 more rings at 3″ wide, measuring off the center circle.
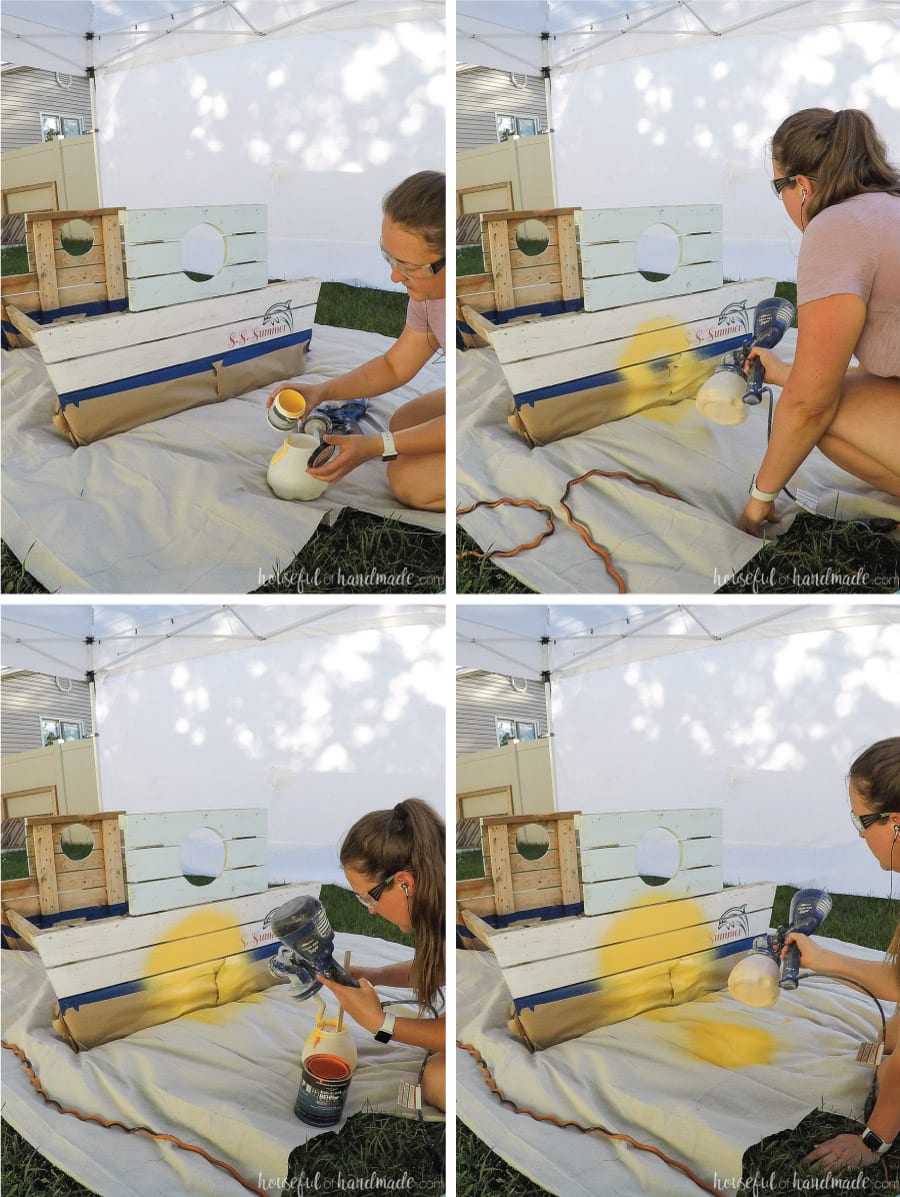
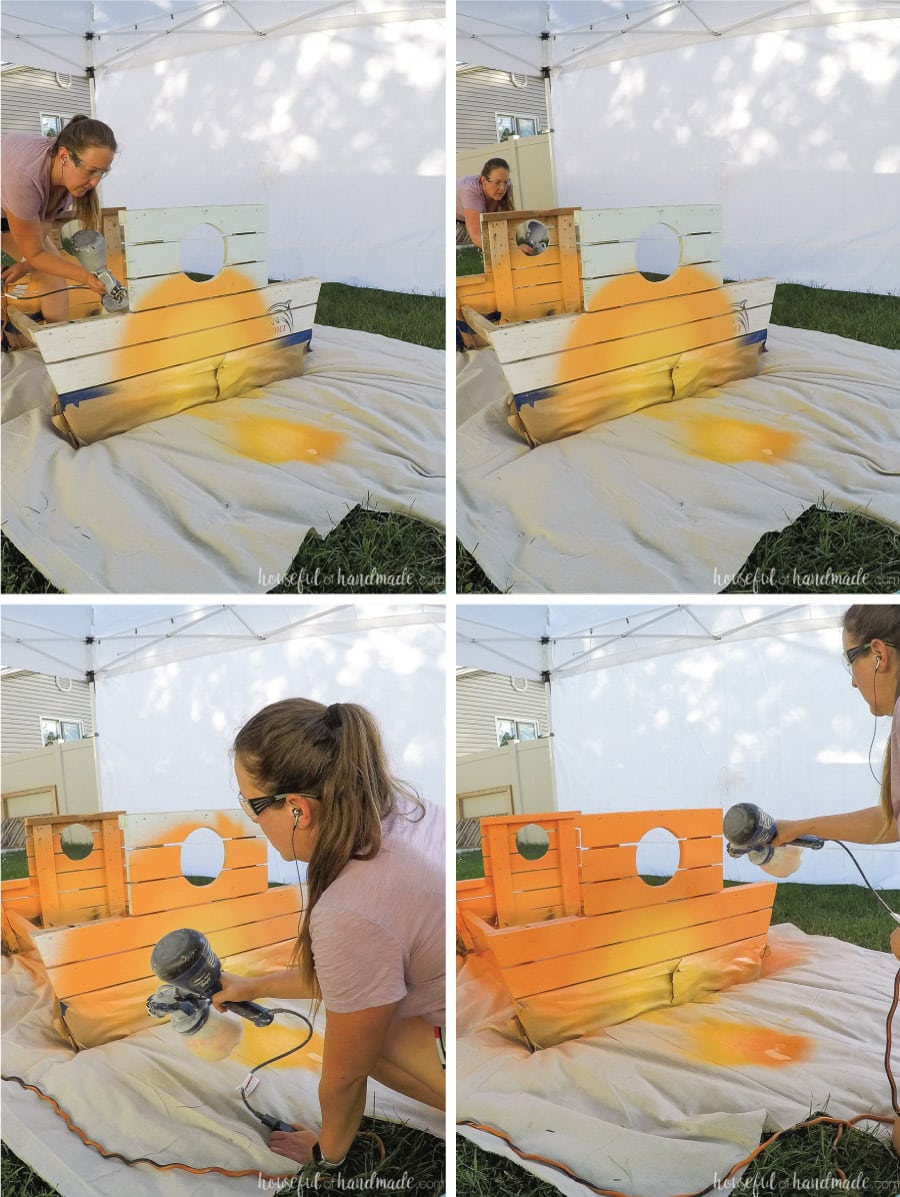
For the ombre you want to start with the lightest color, which in this case is the center circle. Add just enough paint to the bucket of the Super FinishMax sprayer to be able to spray. You will have to make sure the intake tube is pointed down so it reaches into the lower corner of the bucket.
Turn the nozzle of the paint sprayer so the spray pattern is vertical. And double check the flow for your paint. You want very small splatters, no large spots.
Spray the yellow on the center circle. It is okay if it gets a little over (it is a paint sprayer and spreads well). But try your best to get as close to your marks as possible. Repeat on the other side.
Now it is time to add a bit of the darker color to start the ombre. When doing this, use these tips:
- Twist off the paint bucket slightly.
- With the intake tube still in the bucket, but not in the paint, press the trigger to release any paint in the tube back into the bucket.
- Set the sprayer aside and pour a tiny bit of the darker paint into the bucket.
- Stir it up with a paint stick as best as you can. Adjust the color if necessary by adding more light or dark paint.
- Replace the sprayer on the bucket and tighten.
- Spray the sprayer a little bit until you start seeing the darker color come through.
I found it was easy to “prime” the sprayer with the next color on the inside of the picnic table. That way it was also slightly ombre, but it didn’t matter if the colors were slightly off. And then I didn’t waste paint!
Spray the ring around the center half-circle with the darker paint.
Repeat the above steps to darken the color a bit more and more and more until you have finished your painting the picnic table.
If you want the very last spray (on the outer edges) to be the actual color of the darker paint, you will need to clean out the sprayer and then fill it with just the darker paint. I choose a paint color that was pretty dark so I was happy with the outer area without doing this.
After you are done painting, clean out the paint sprayer and let the sunset dry before moving onto painting the lower part (aka, the water).
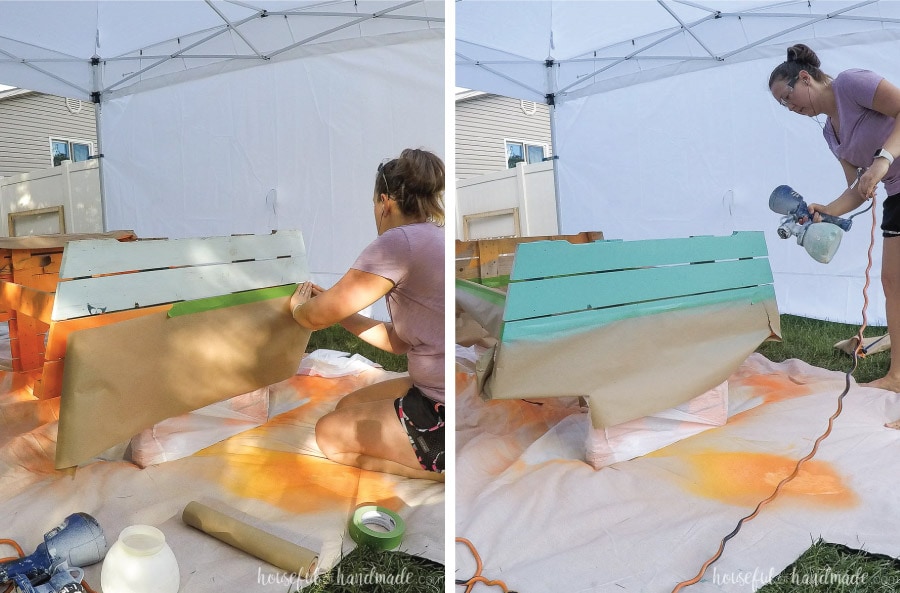
Painting the Non-Ombre Slats
Once the ombre paint was nice and dry, I flipped the table over and taped it off with painters tape and brown masking paper. I also used a couple plastic garbage bags to cover the picnic table up.
You do not want there to be any chance of getting blue on the picnic table so take your time ensuring all the sunset parts are totally covered. Remember the paint sprayer creates a breeze when painting and can move masking paper a little bit so tape the bottoms too.
Then fill your bucket with the blue paint for the water under your tropical sunset and spray away. If you want to get extra creative, you could also ombre this part (it would look more realistic). But I love the way it turned out with a flat color.
Let this dry well before proceeding.
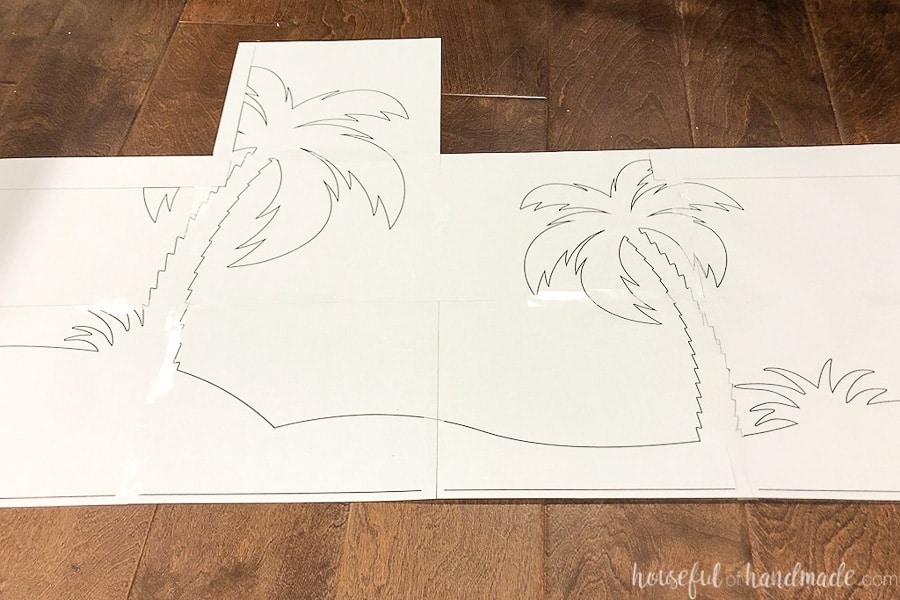
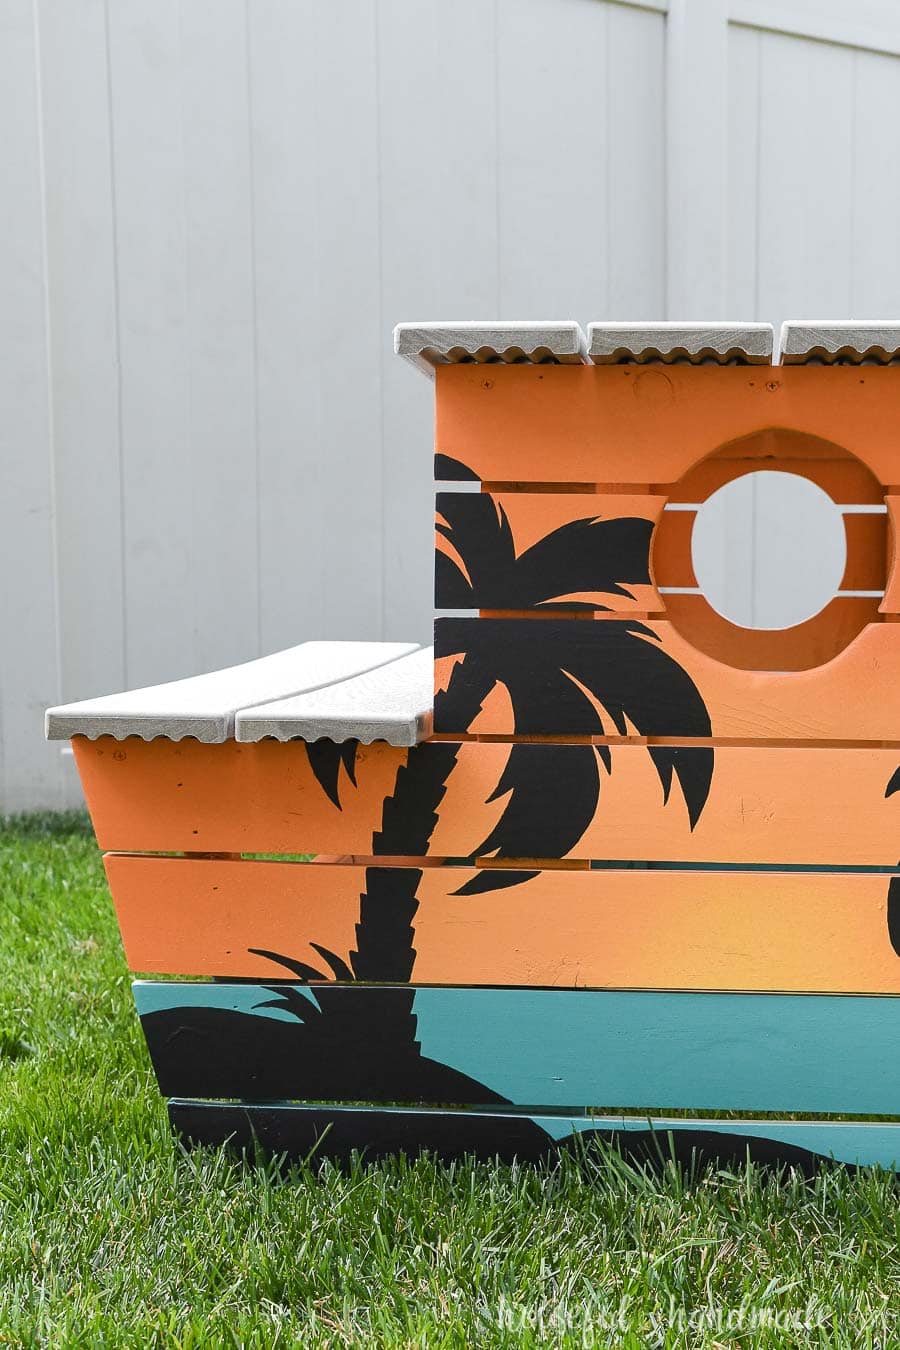
Painting the Tropical Silhouette
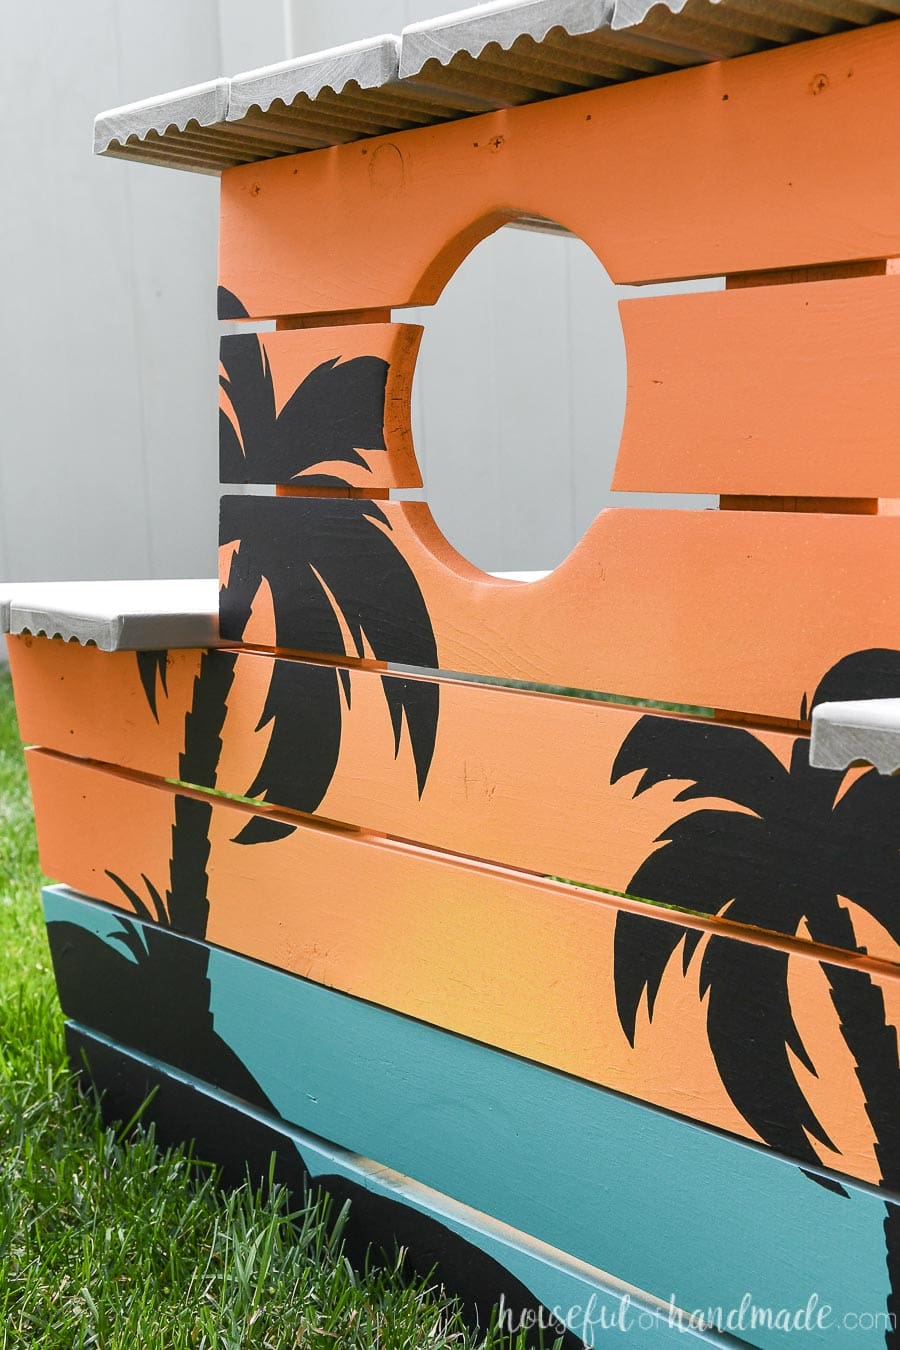
You could definitely leave your painted picnic table with just an ombre sunset over the water, but I wanted to make it look totally tropical. And what is more tropical than a silhouette of palm trees overlooking the water.
While paint is drying, you can design your tropical silhouette. I used Adobe Illustrator to make the design then scaled it up really big to fit my picnic table. I printed it on 9 piece of paper and taped them all together.
Then I cut it out with a pair of scissors to use as a template.
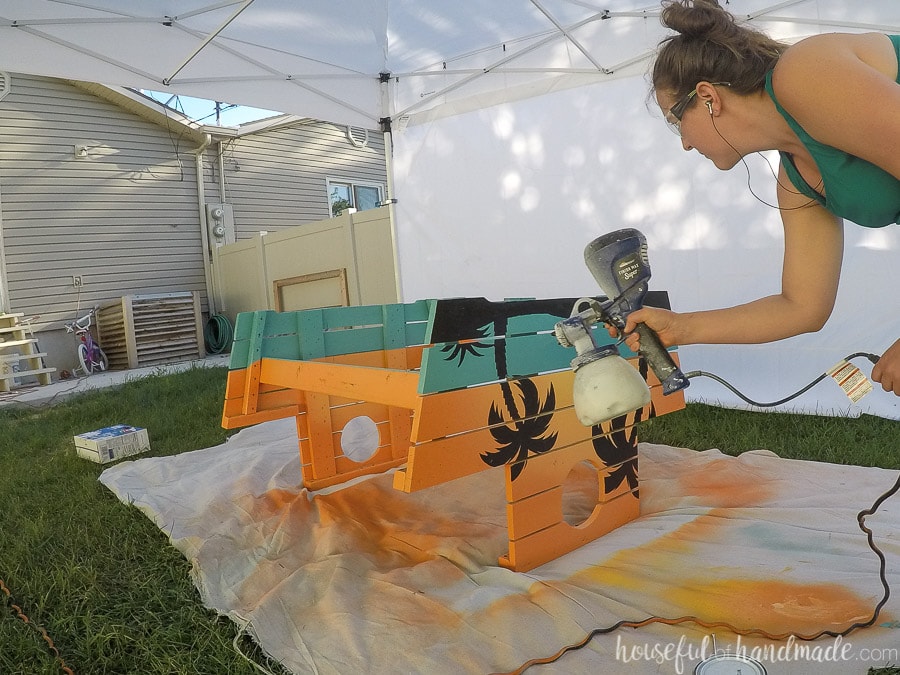
With the table still upside down (it was way easier than fighting gravity). I taped the template to the picnic table with some tiny pieces of painted tape. Then traced around it with a pencil.
This gave me the perfect lines to follow to fill in the design.
I used some craft paint brushes to fill in the design. This was not a quick process, but very relaxing. I put in my headphones with a good audiobook and just enjoyed the process.
Because it was so hot out, I found the paint kept drying on my paint brushes (which is why the sprayer is so awesome). So I grabbed a container of water and rinsed them frequently. This solved the problem and kept my brushes clean so I got better lines.

Sealing a Painted Table
I really wanted to seal the table to protect all my work and keep it looking new as long as possible (with kids around it is harder).
But the problem is you cannot use an oil based sealer (aka, polyurethane or sparurethane) on a latex paint. It will make it turn to goop. You can seal latex paint with a water based sealer (aka, polycrylic), but these are not great for outdoor use.
I asked the guy at the paint counter what he would recommend and the answer surprised me! He said to use a can of the deep base, untinted. This is the base they use to make darker colors.
The deep base actually looks a lot like polycrylic when untinted. And when applied in a light coat, will give you a clear layer of sealer on top of the paint. For the picnic table, make sure to use a deep base for exterior paint and you will get all the benefits of UV protection in the clear coat.
I put the deep base into the Super FinishMax sprayer and sprayed a couple light coats over the entire surface to seal it.
Replacing the Top and Seat Boards
We decided to really make our new painted picnic table last even longer, to replace the top and seat boards with an engineered decking.
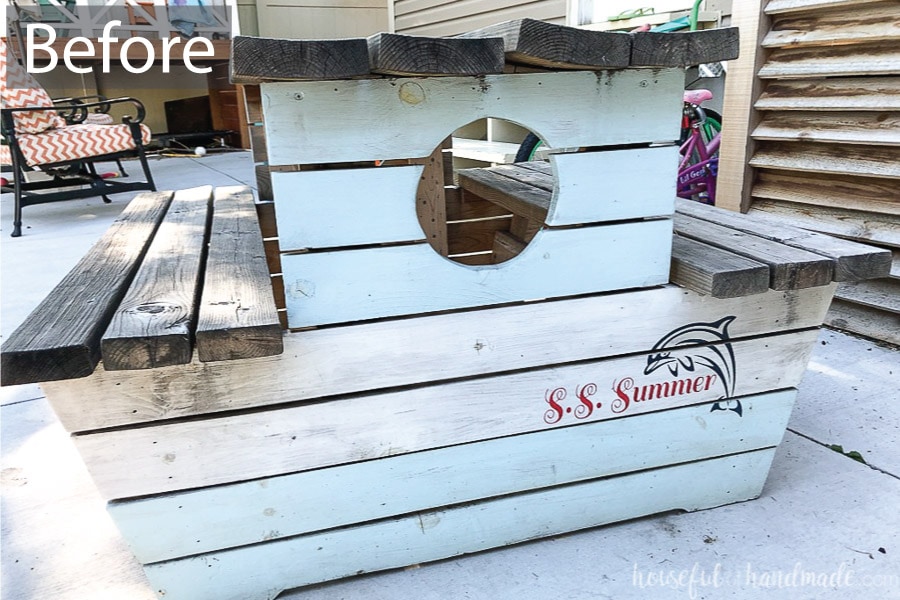
As you can see from this before photo, the 2x4s and 2x6s that were previously used just did not hold up well. It was partially because of the sealer I chose (it was not actually a sealer, but a penetrating oil that needed to be reapplied often, which I did not do).
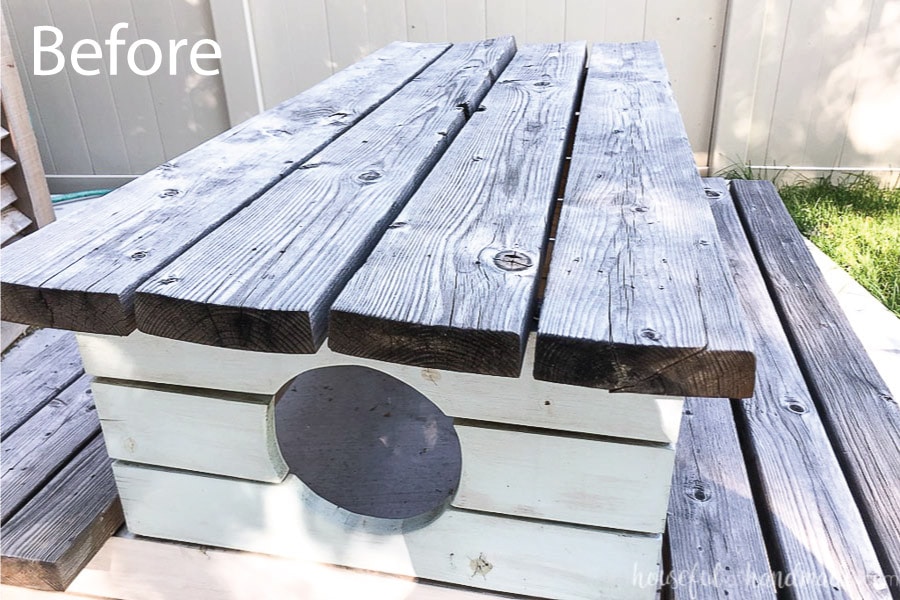
And partially because the top and seat had a lot more standing moisture (aka, snow) that would sit for long periods of time causing the boards to warp. This could have been solved if we had a place to store the picnic table during the winter, but we do not.
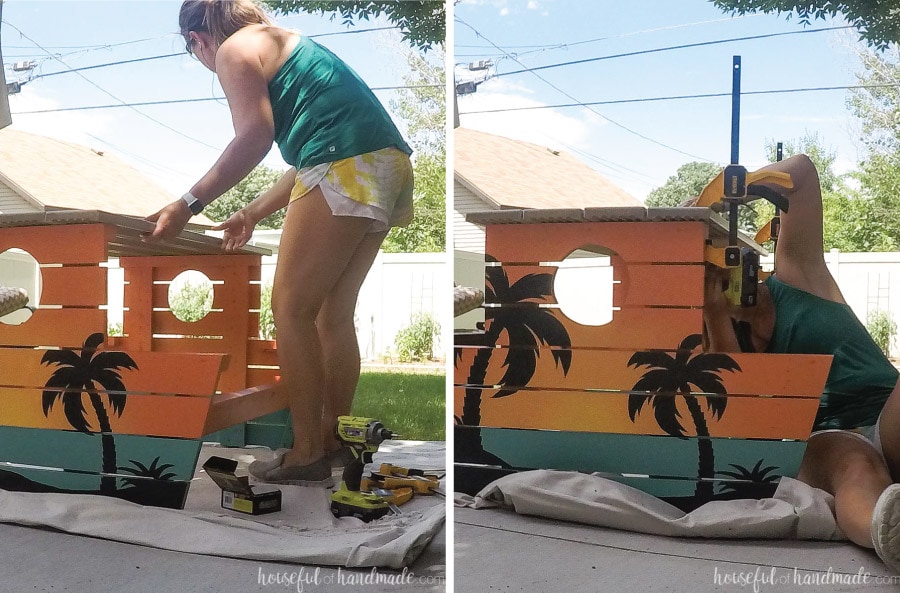
The decking boards are easy to cut with your regular woodworking tools. I cut them in to length with my miter saw. Then used a palm router to curve over the ends so I wouldn’t have to worry about kids getting scratched on them.

It was easy to reattach these new boards where the old boards were. But since they are not as thick as the 2x boards, I had to use shorter screws. The original screws were 2 1/2″ long and the new screws were 1 3/4″ long.
I used a 1/4″ thick scrap of wood as a spacer to make sure the gap between the boards was even.
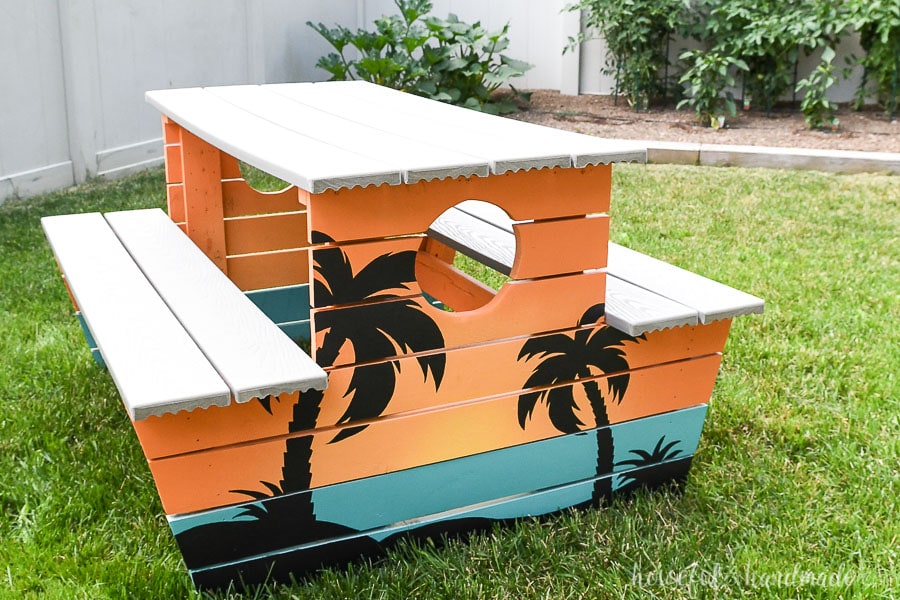
And now our painted picnic table is all done!
I absolutely love the tropical sunset. It makes our backyard the perfect vacation spot. And it fits in with our Island Inspired Outdoor Living Spaces so much better than the nautical picnic table did.
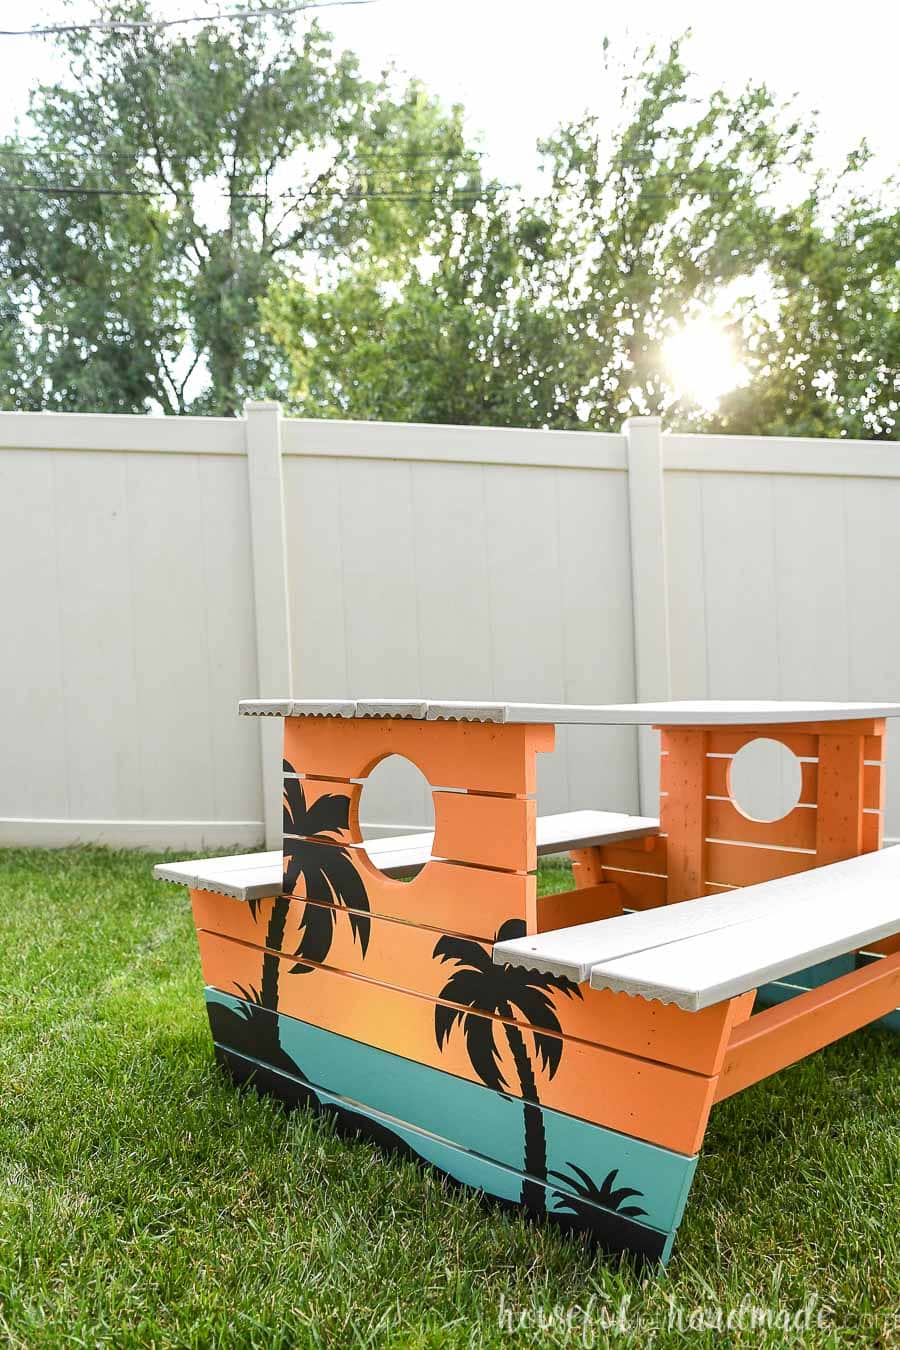
I just cannot get over how easy it was to paint the ombre with the Super FinishMax sprayer. It only took me about 1 hour to completely paint the sunset on both sides of the table… and clean out the sprayer.
And that sunset is almost as good as an actual ocean sunset… almost!
Now our backyard is ready for some serious summer fun! Anyone up for a BBQ???

Thank you to HomeRight for sponsoring this post. I only recommend products that I use and love and all opinions are 100% my own. Click here to read my full disclosure policy.