

I like to work out at home and have slowly bought a bunch of different sized weights to use.
But I was done with the pile of dumbbells sitting on my floor. It made vacuuming a big chore since I had to move all the weights around.
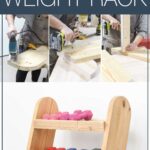
So I decided to build my own simple weight rack. This is a quick project using basic construction lumber. And it turned out amazing!
This post may contain affiliate links. As an Amazon Associate I earn from qualifying purchases. Click here to read my full disclosure policy.
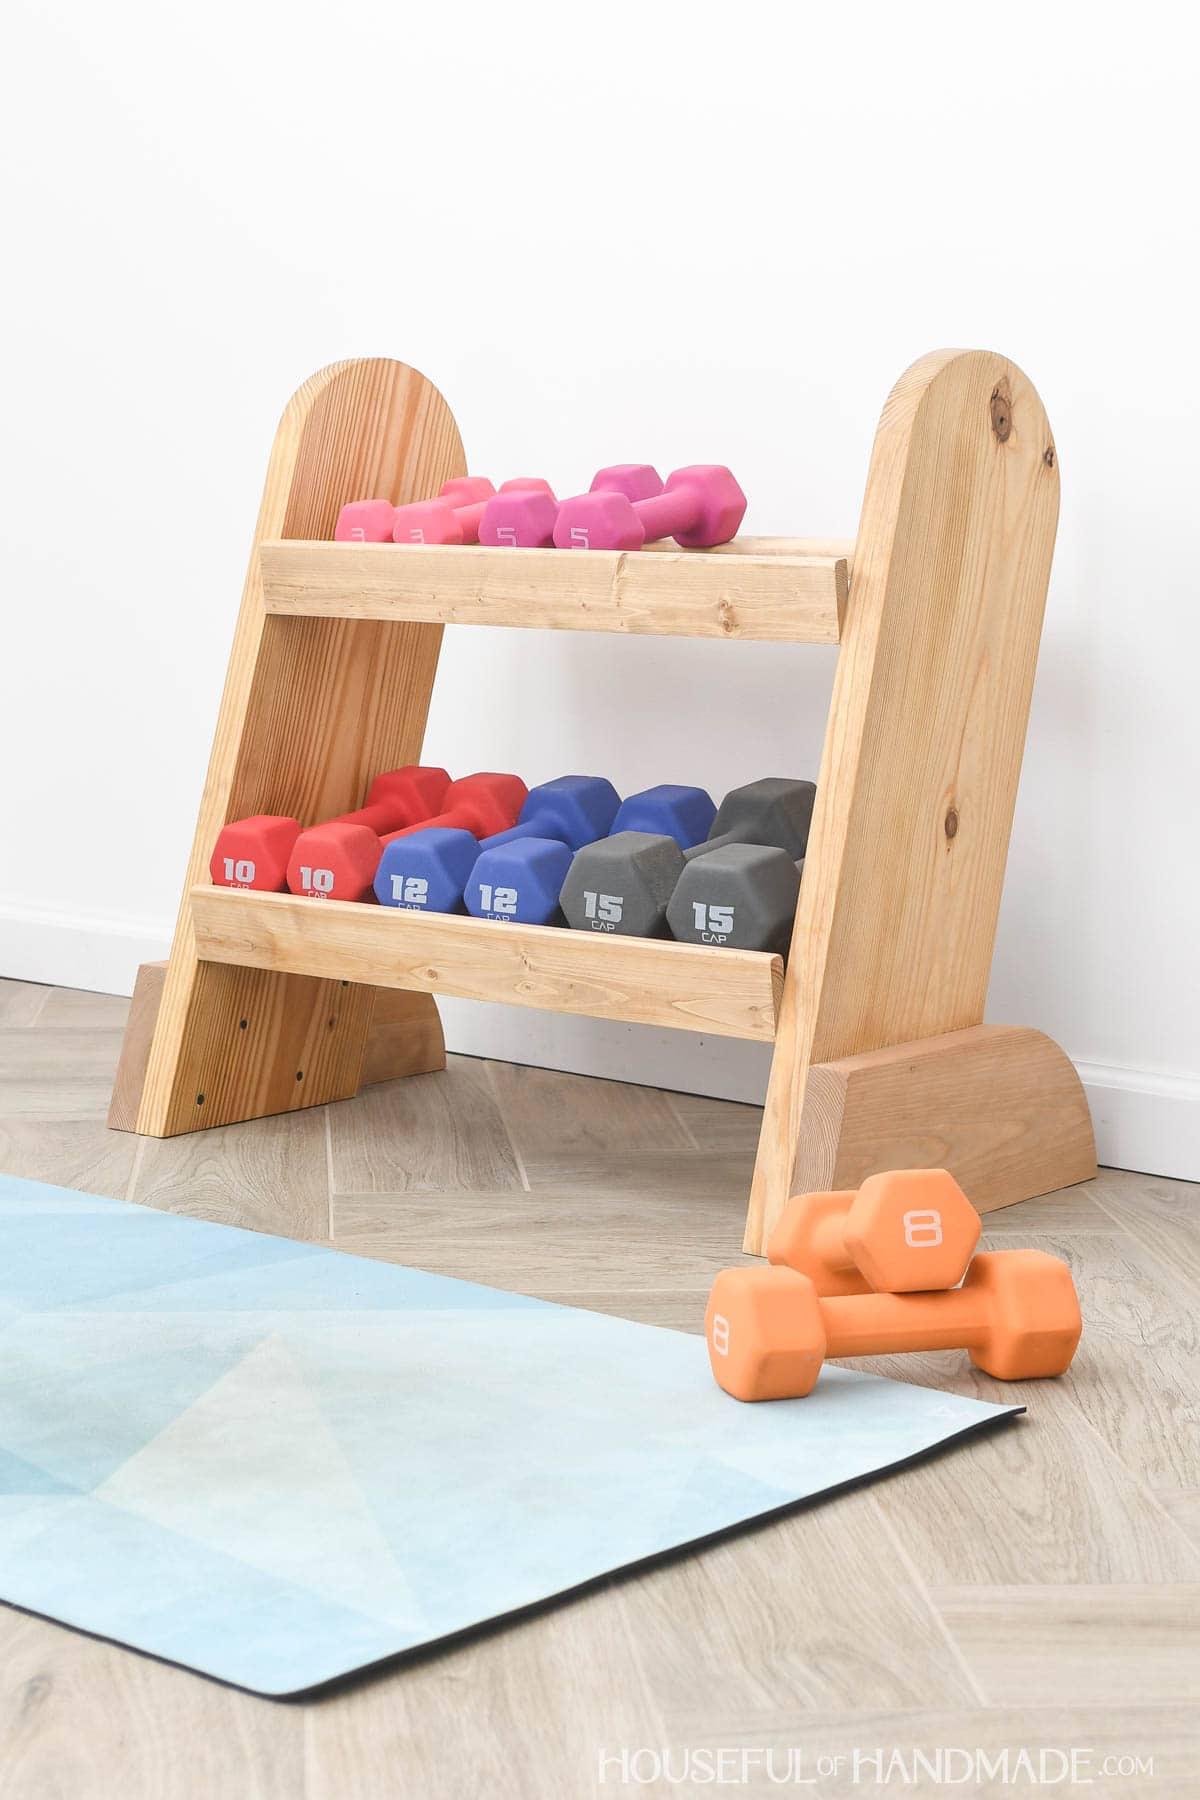
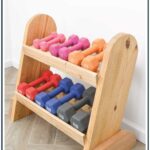
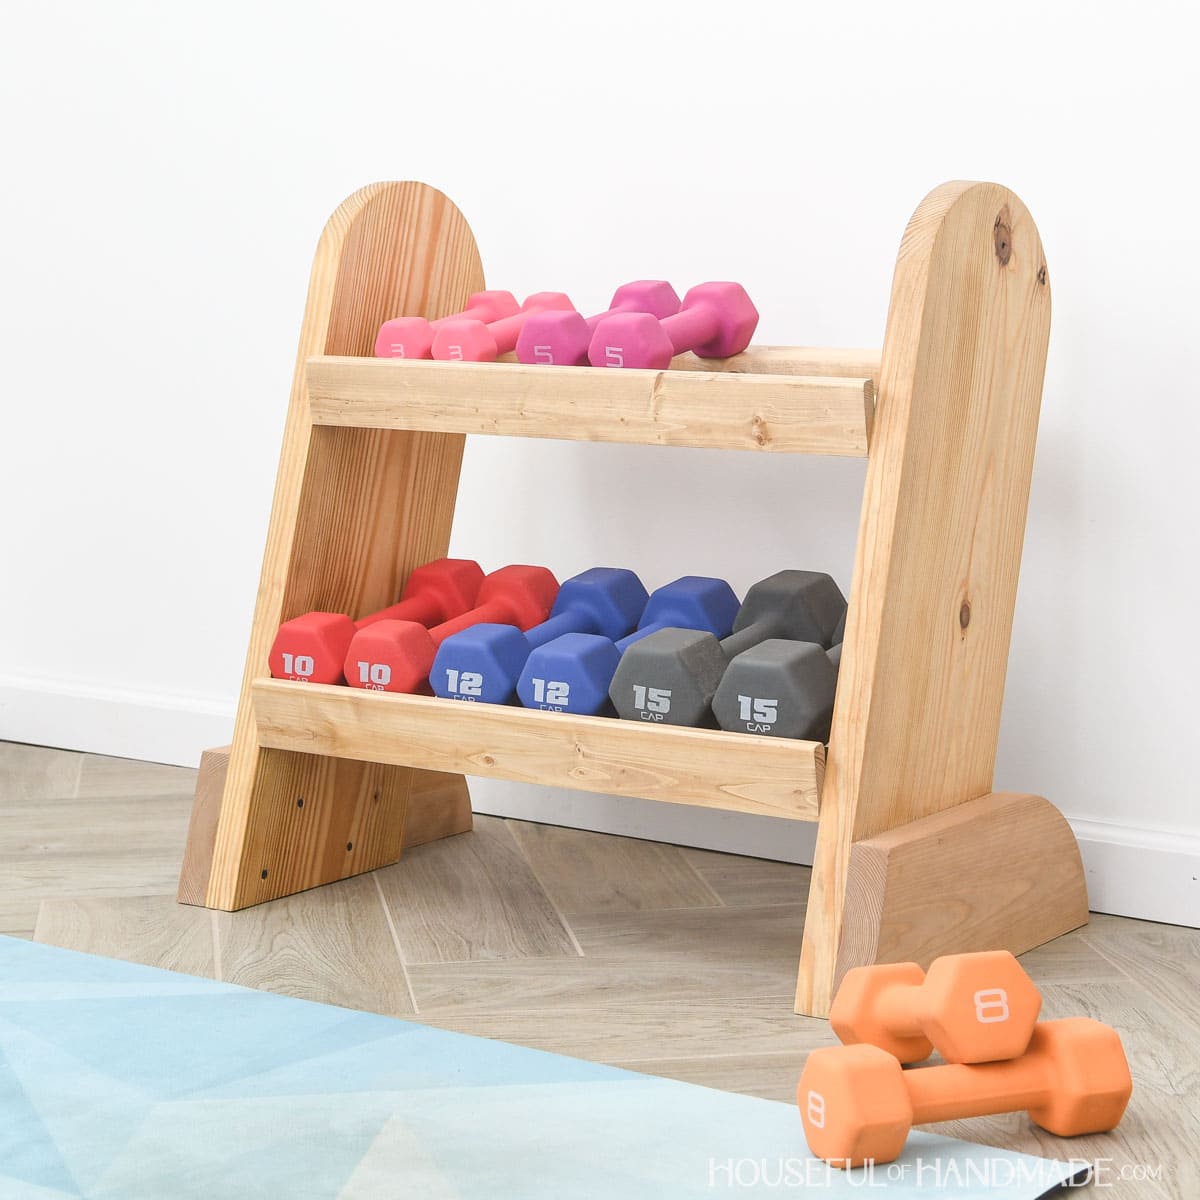
Weight Storage Shelf
This shelf is perfect for holding 6-7 sets of dumbbells.
The shelves are split in the center where the handle for the dumbbell is. It makes it easier to grab the weights during a workout without worrying about banging your knuckles.
The front shelf also has a little lip on it to ensure dumbbells stay on the shelf easily.
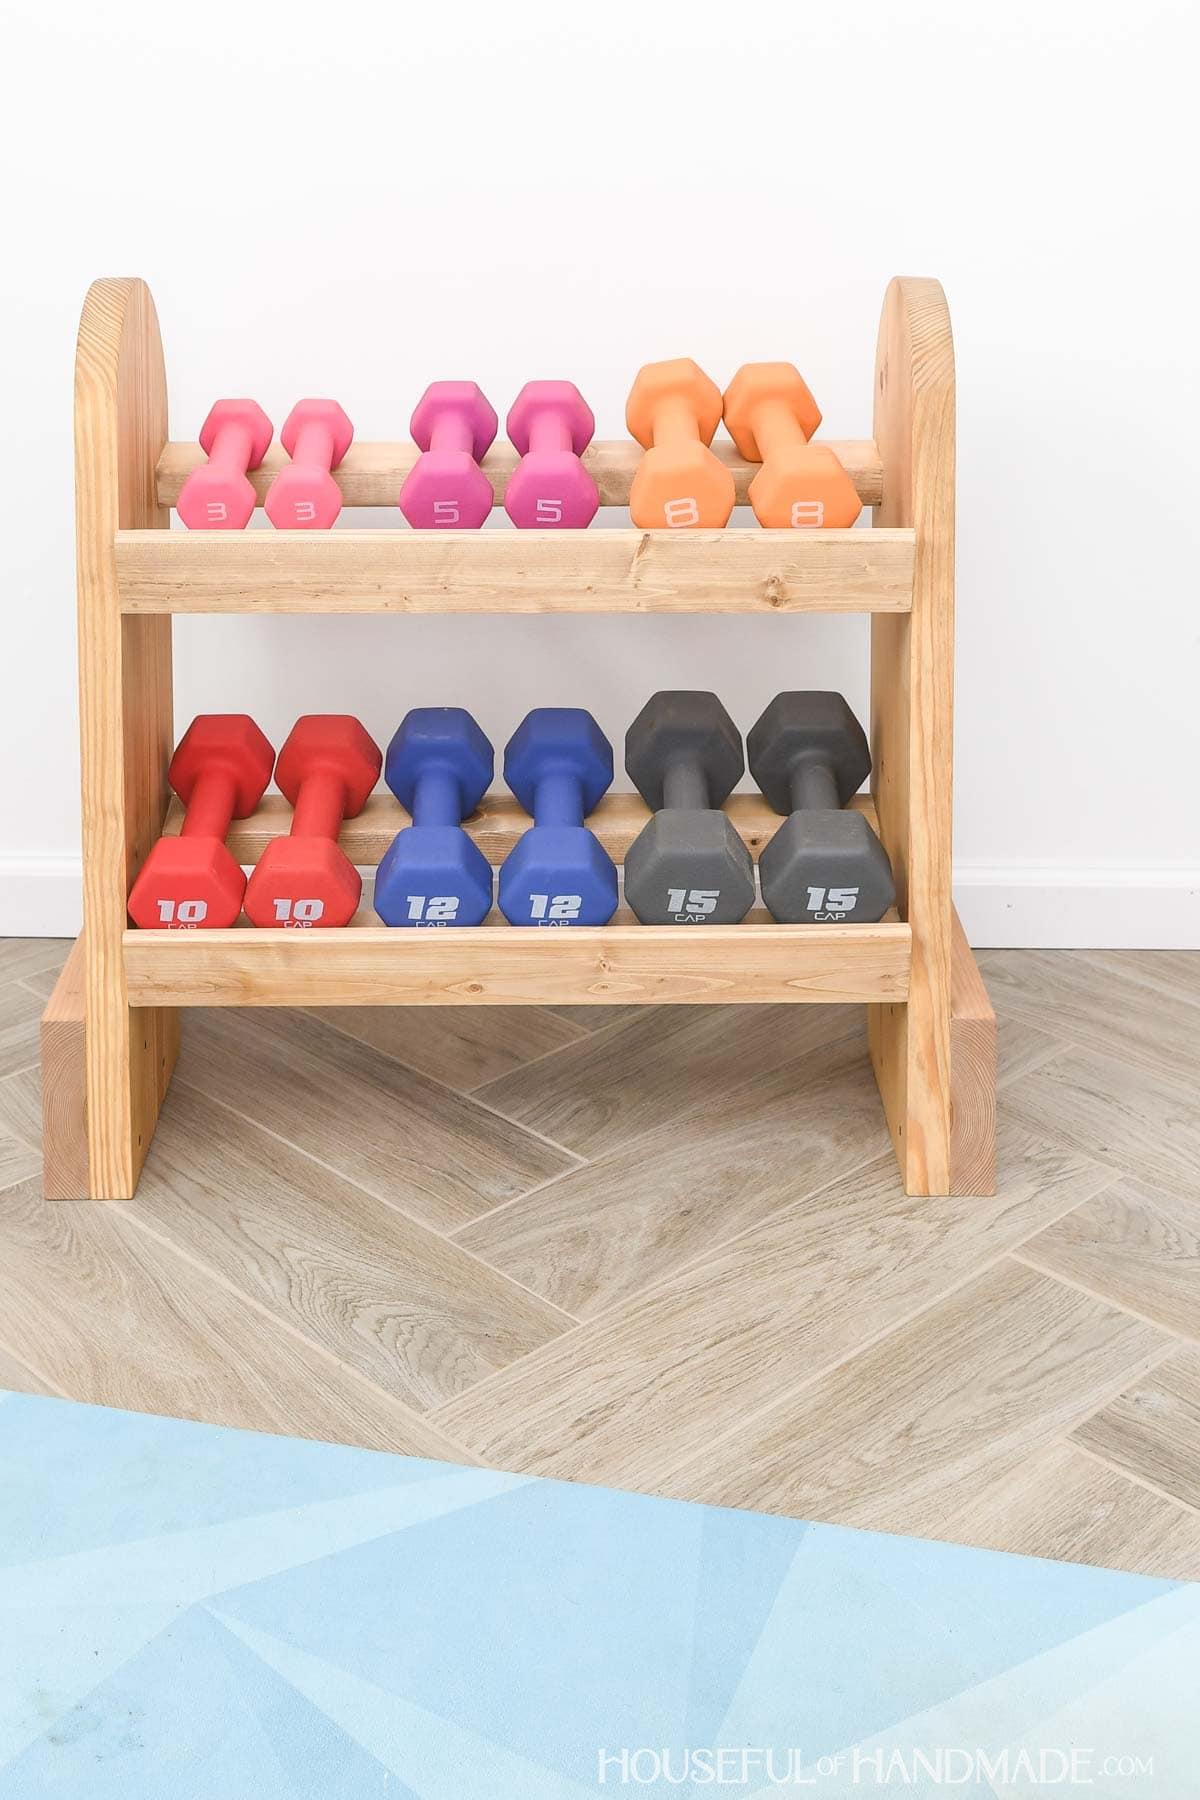
Both the sides and shelves are set and an angle. This means the lower shelf is not hidden under the upper one.
It love that it is just as easy to grab the dumbbells on the lower shelf as it is to get ones on the upper shelf.
And most importantly, it keeps the weights off the floor! Now cleaning around my workout gear will be much easier.

More Simple Storage DIYs
Storage doesn’t have to be big and take forever to build. These quick DIYs will help you get your home organized too!
How to Build a Weight Rack
Tools & Materials
Recommended Tools:
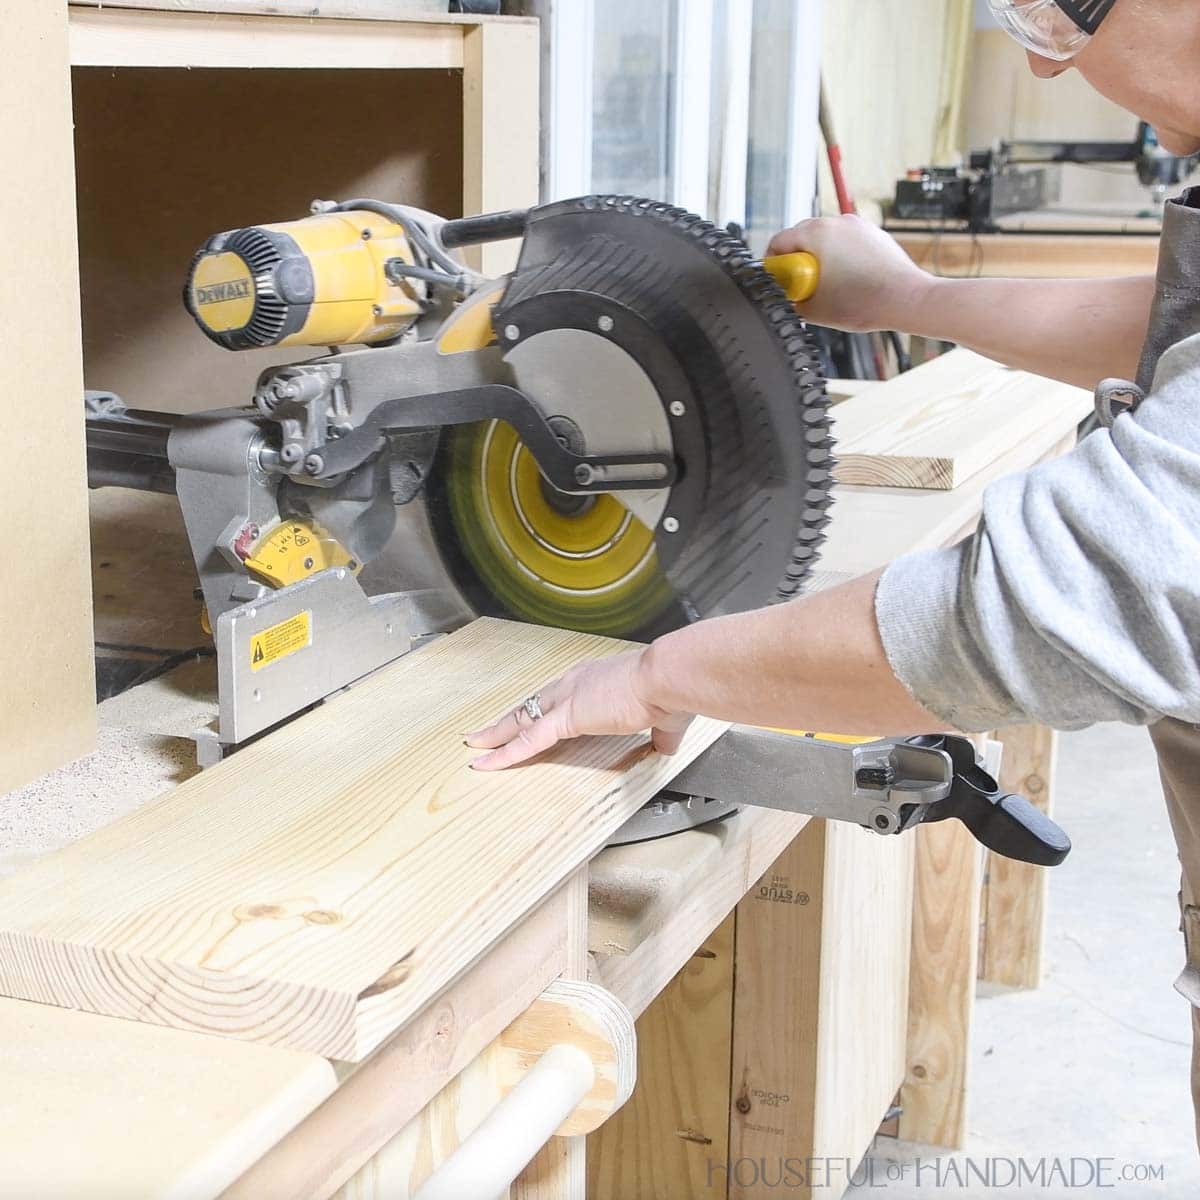
- Sliding miter saw or circular saw with guide
- Jig saw
- Pocket hole jig
- Brad nailer
- Drill
- Impact driver (optional, but I love not having to switch bits with the drill)
- Speed square
- Sander
Supplies:
- Wood products
- (1) 2×10 board, 5’ long
- (1) 2×6 board, 3’ long
- (1) 2×3 board, 8’ long
- (1) 1×3 board, 4’ long
- 2 1/2” wood screws
- 2 1/2″ pocket hole screws
- 2 1/2″ brad nails
- 1 1/4” brad nails
- Wood glue
- Sandpaper
Overall Dimensions
The finished weight rack is 30″ wide by 16″ deep and ~26 1/2″ tall. There are two 24″ shelves to hold weights.
You could widen the shelves a bit to hold more weights. I probably wouldn’t go wider than 36″.

Cut List
Cut out the pieces according to the easy-to-read table in the premium PDF plans.

Both the side and feet boards have one side cut at an angle.
If you do not have a sliding miter saw, you can use a circular saw to cut the 2×10 board at an angle.
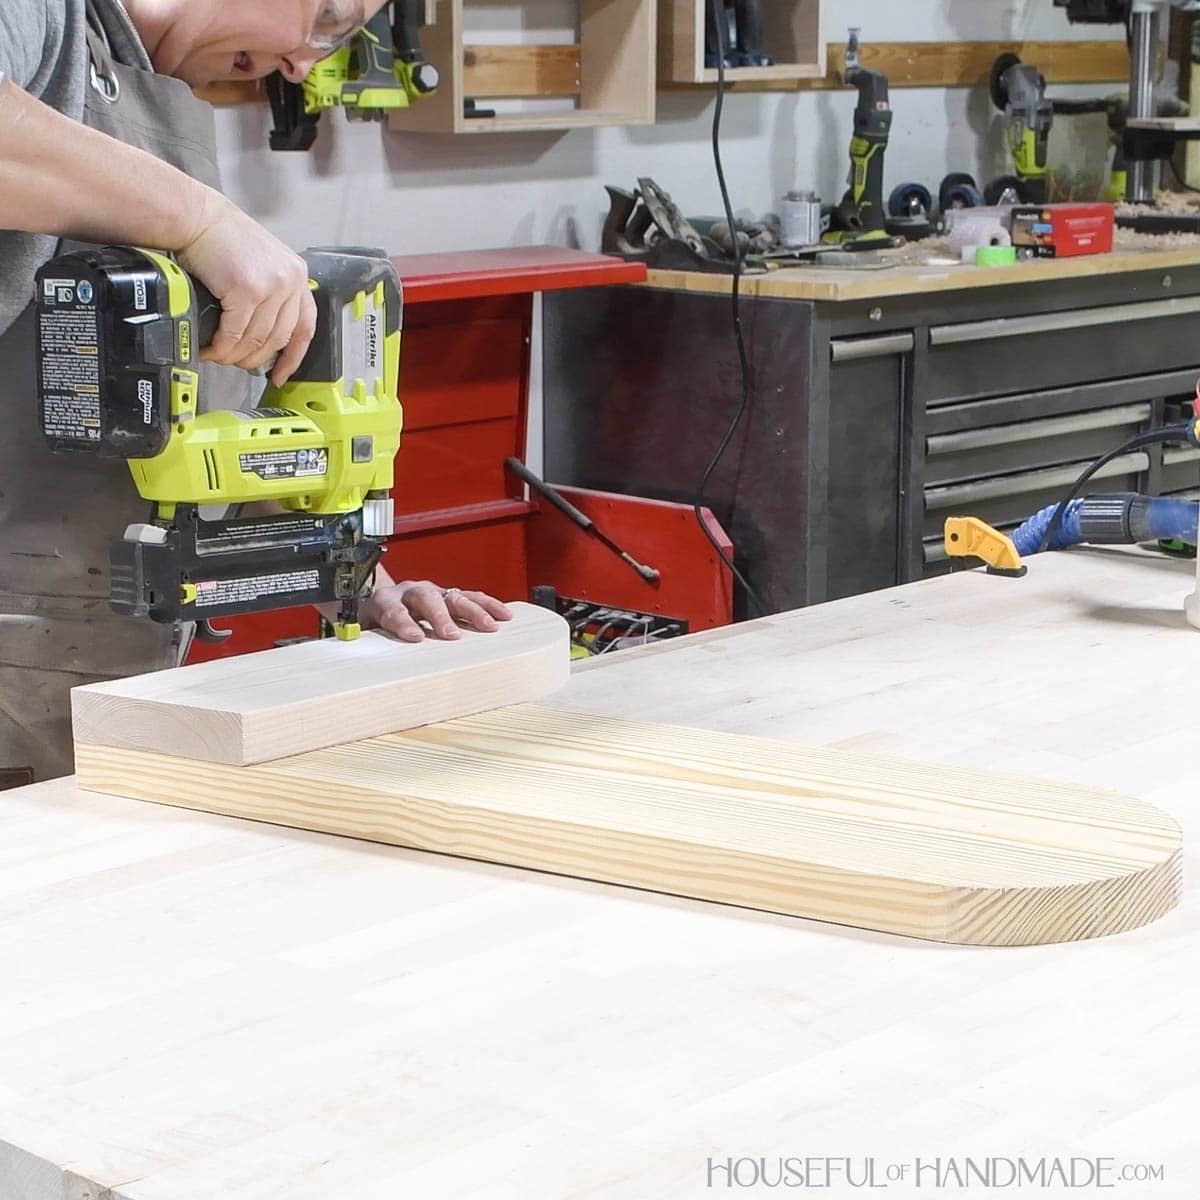
STEP 1- Cut curves in sides and feet
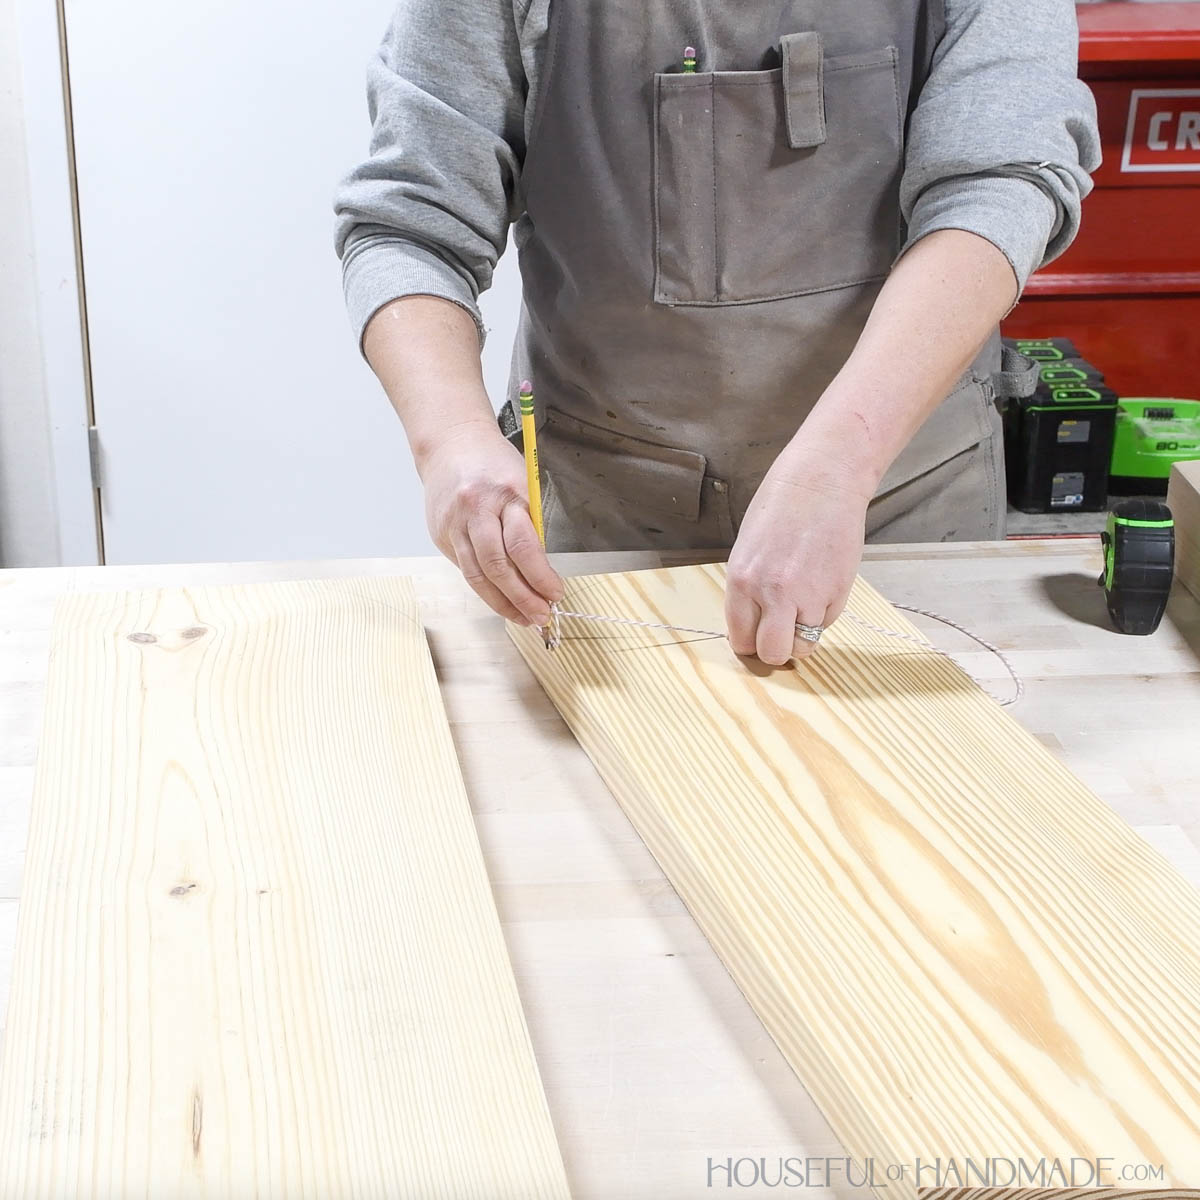
Draw a half circle on the top of both side boards.
I do this by measuring down 4 5/8” in the center of the board. Then using a string tied to a pencil, place the string on the center mark and the point of the pencil on the edge of the board. Pull the pencil tight to the center point and draw the arch.
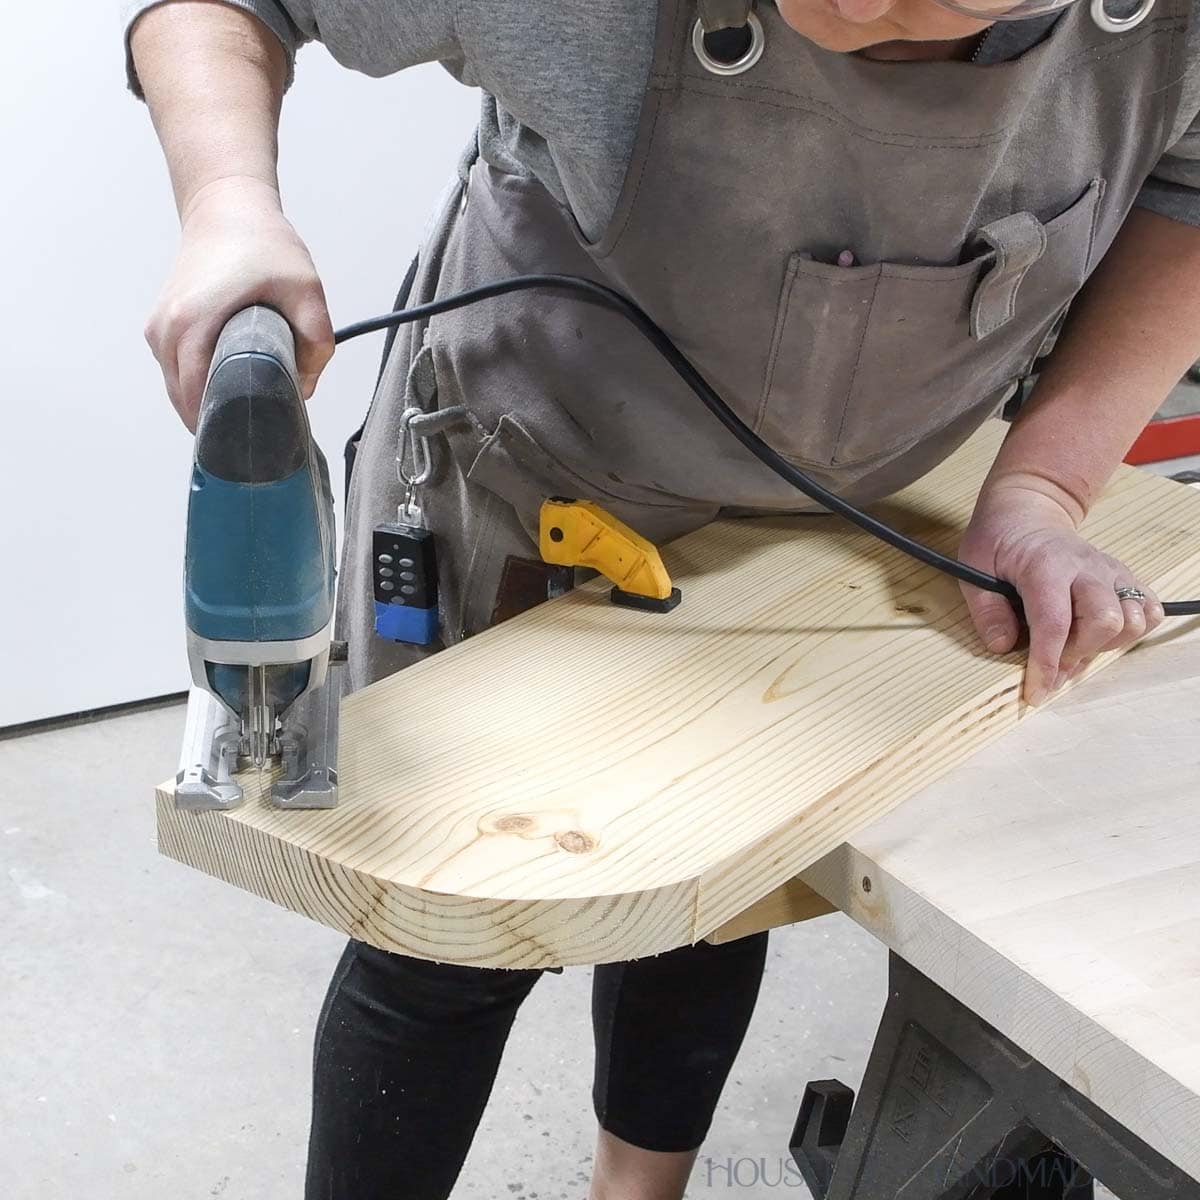
Cut the arch off with the jig saw.
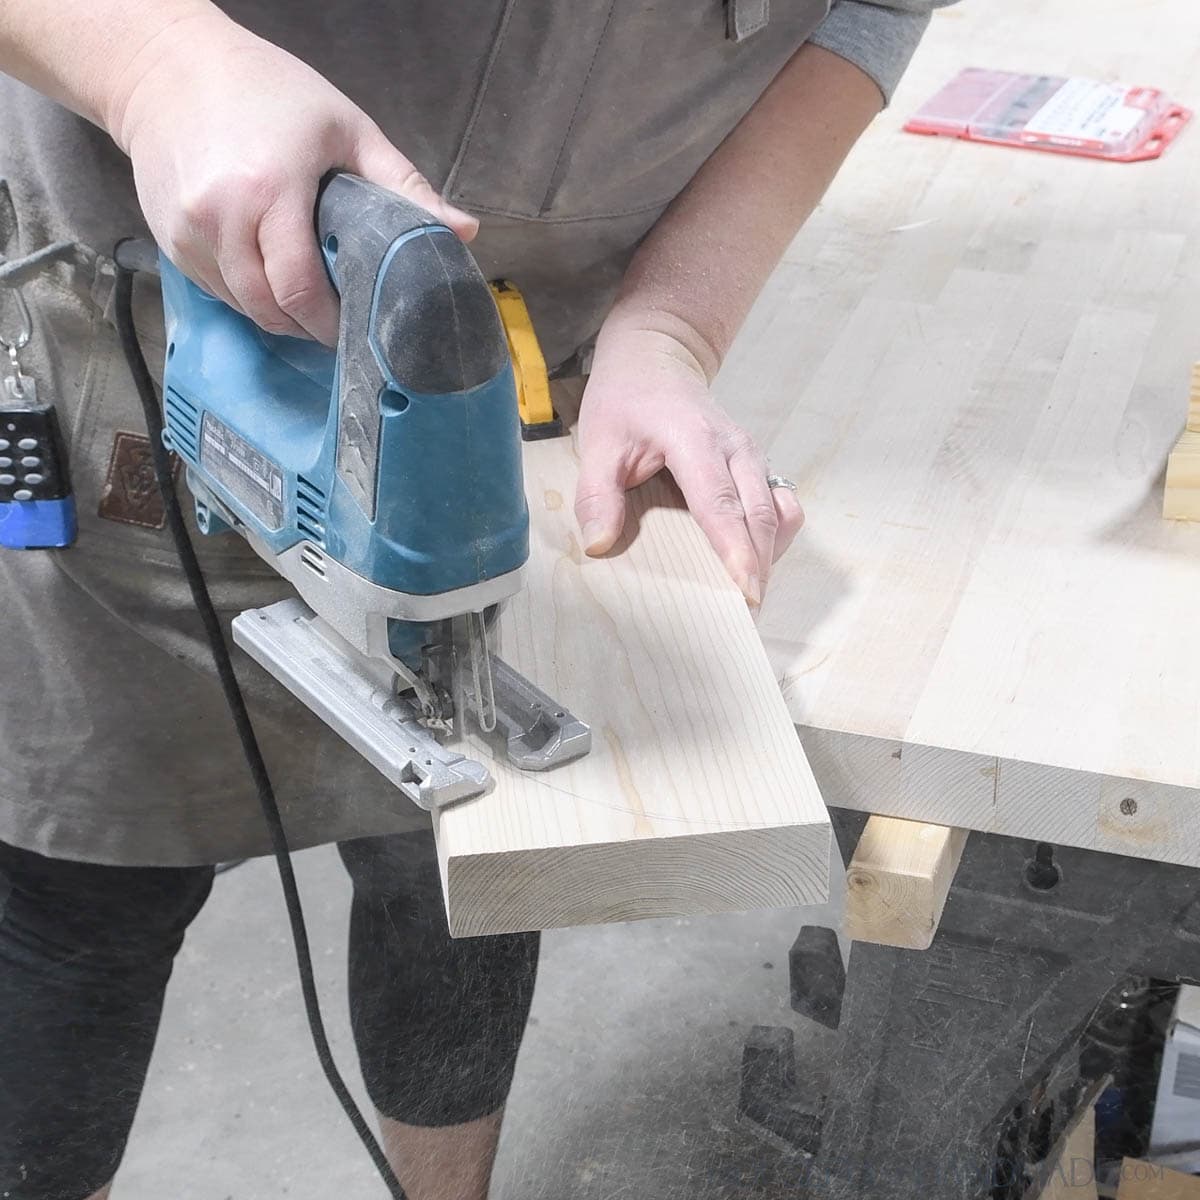
Add a curve to the back of each foot board. This is the side that is not cut at an angle.
Measure 5 1/2” in from the back of the long edge of the board. Then use the same string trick to draw the half arch.
Cut the curve away with a jig saw.
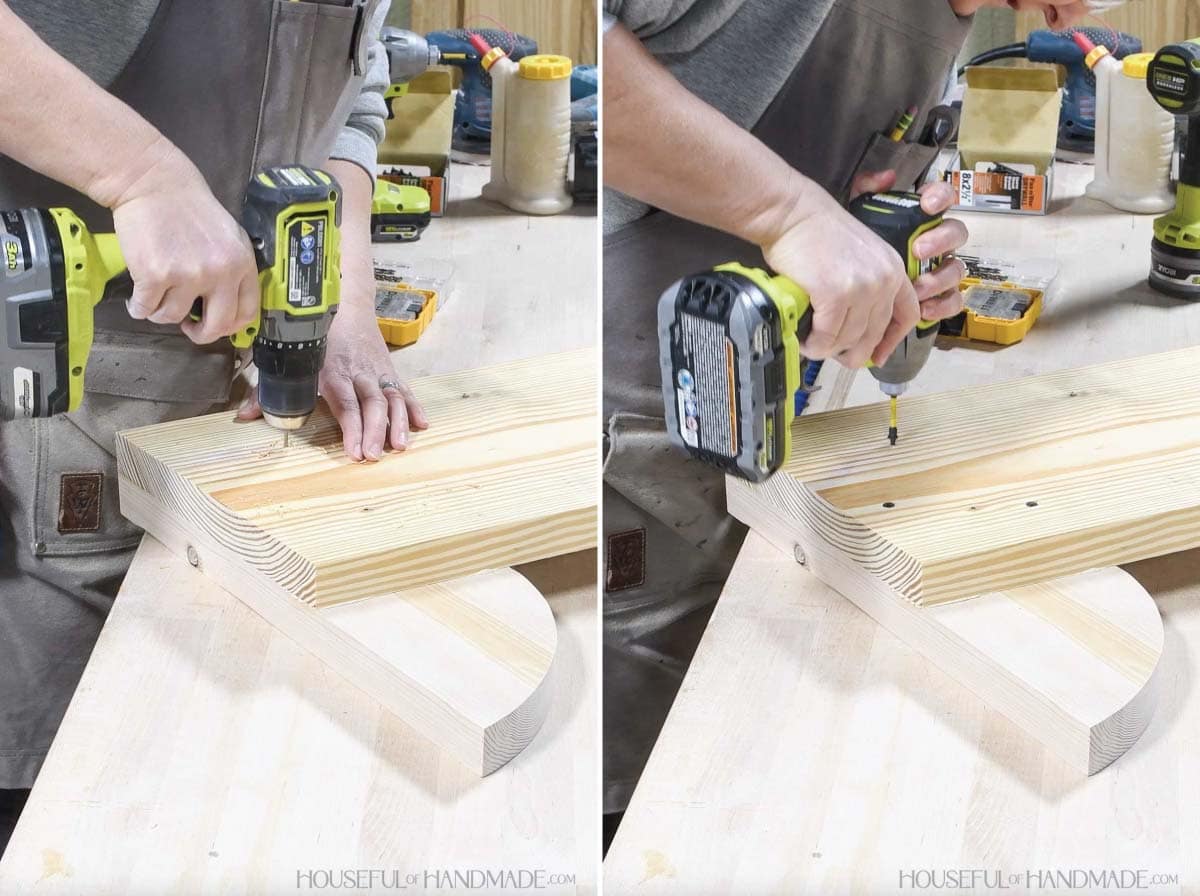
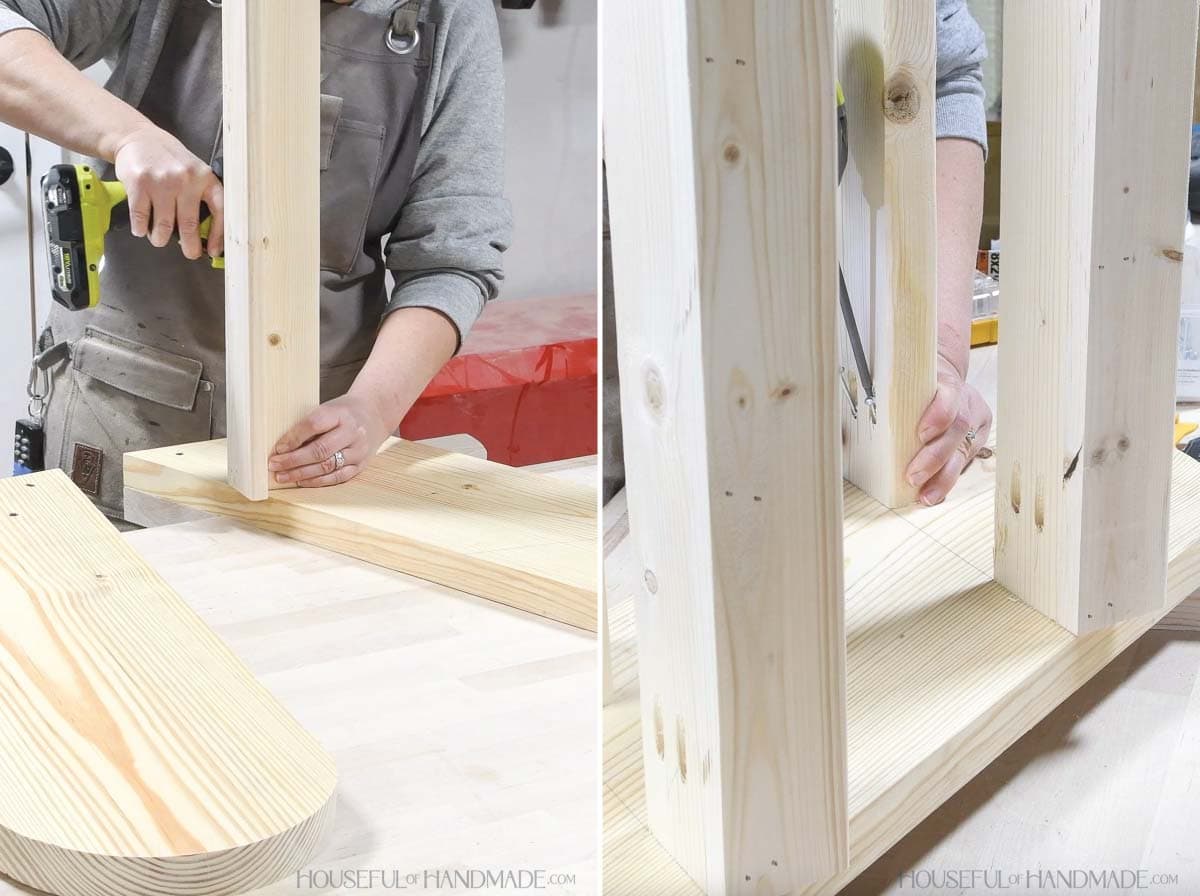
STEP 2- Build sides
Add glue to the bottom 5” of the side board, then place a foot on top so it is flush to the bottom and front.
Temporarily secure with 2 1/2” brad nails.
Then flip the side over and permanently attach the foot with 2 1/2” wood screws. Use 4 into each foot.
Repeat for the other side, but make sure to mirror it so the feet are on the outside when placed next to each other.
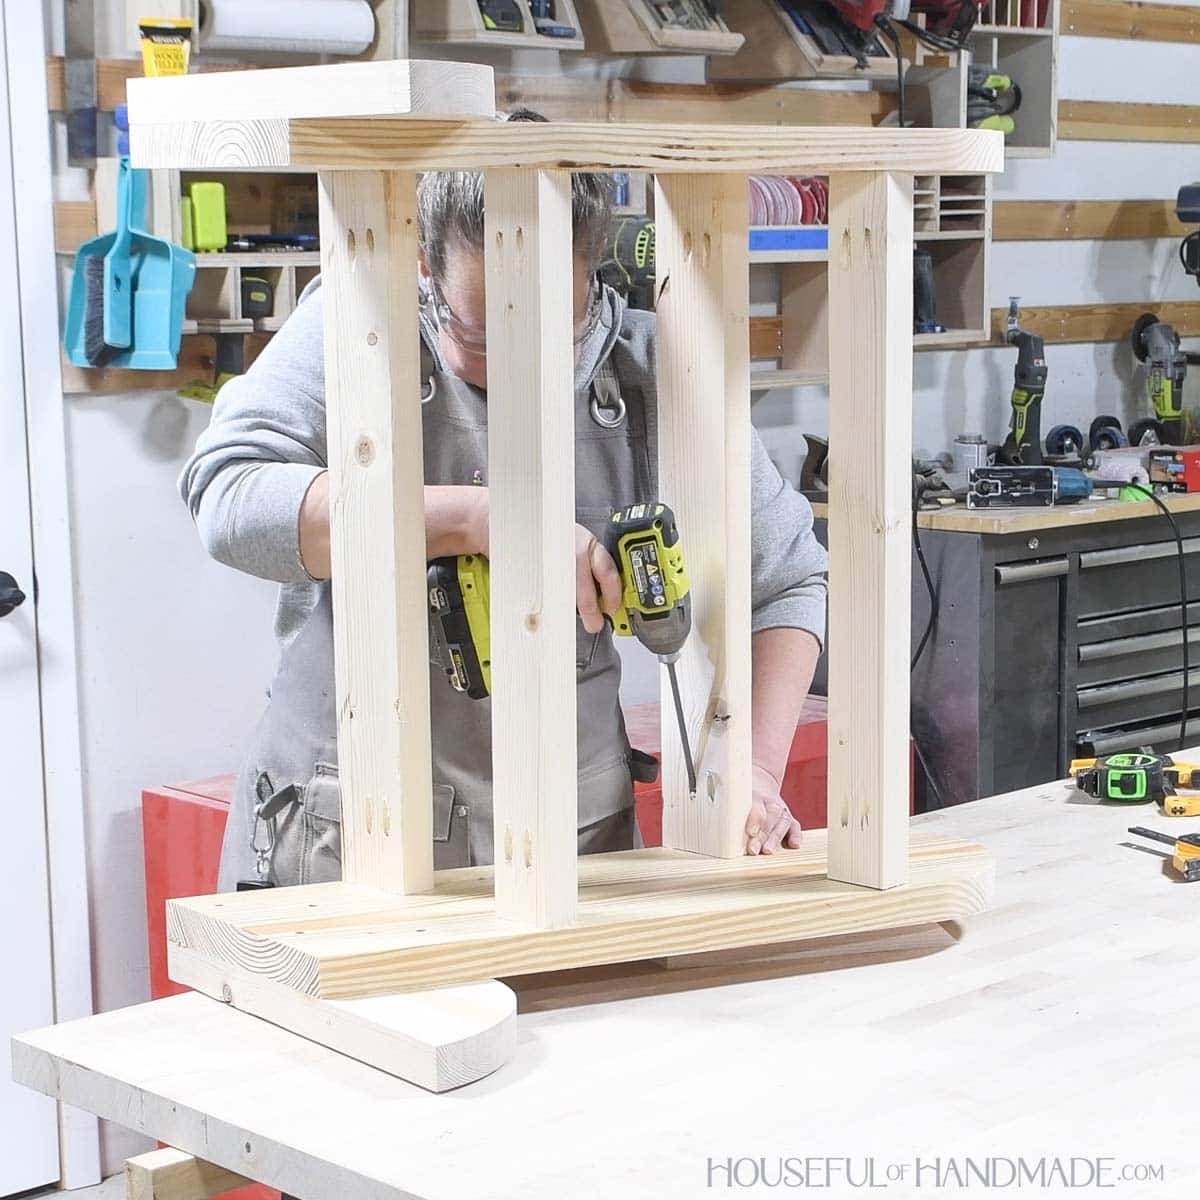
STEP 3- Attach weight shelves
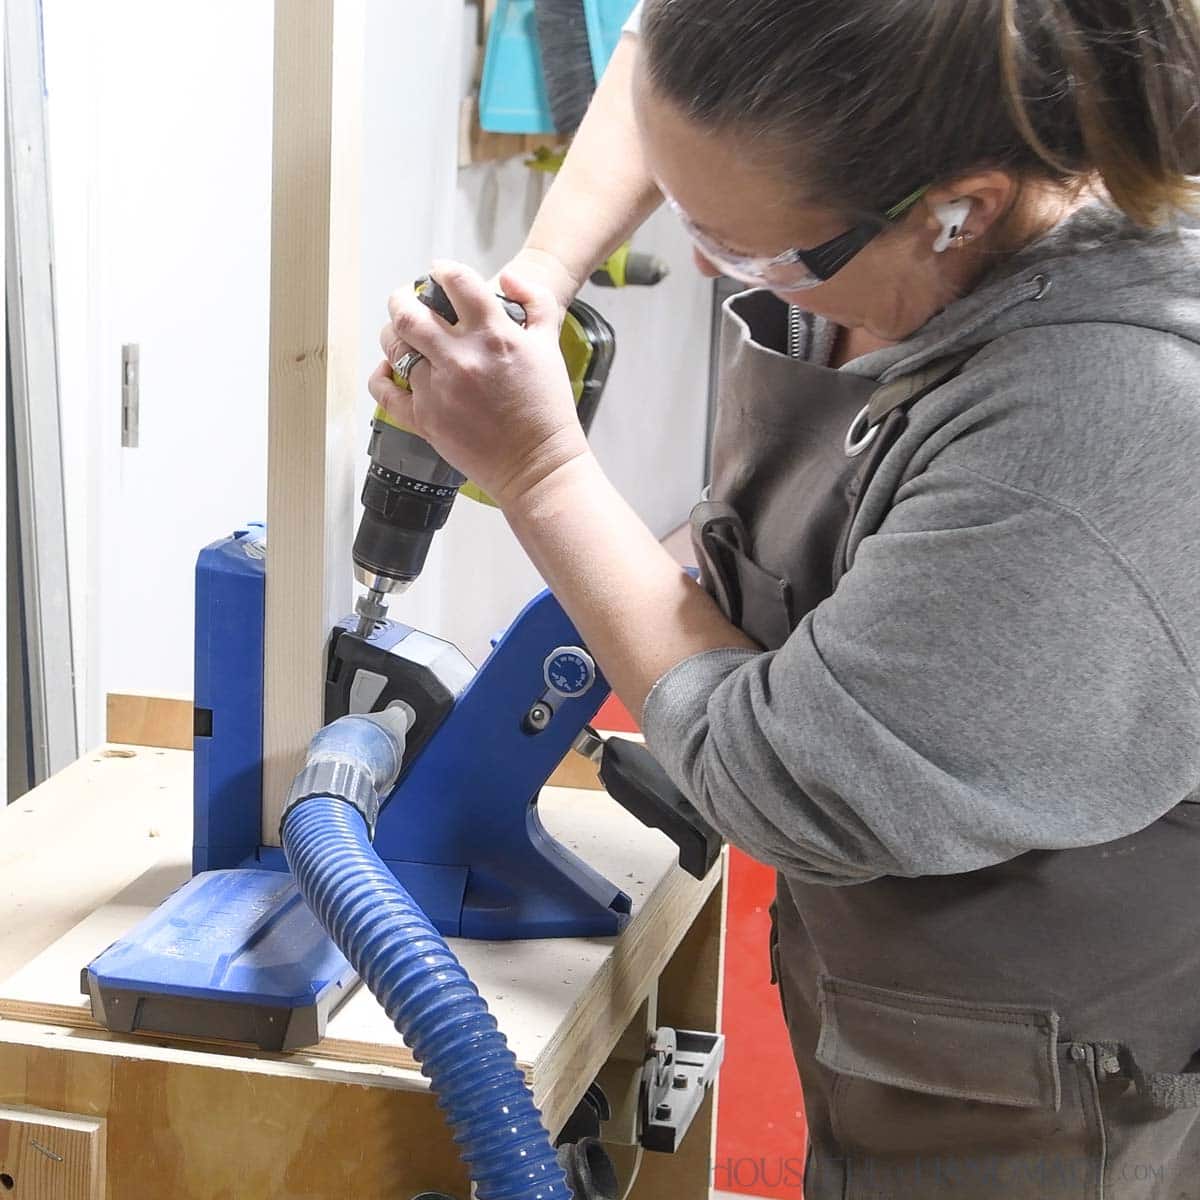
Drill 2 pocket holes set for 1 1/2” thick material on both ends of all 4 shelf boards on the bottom.
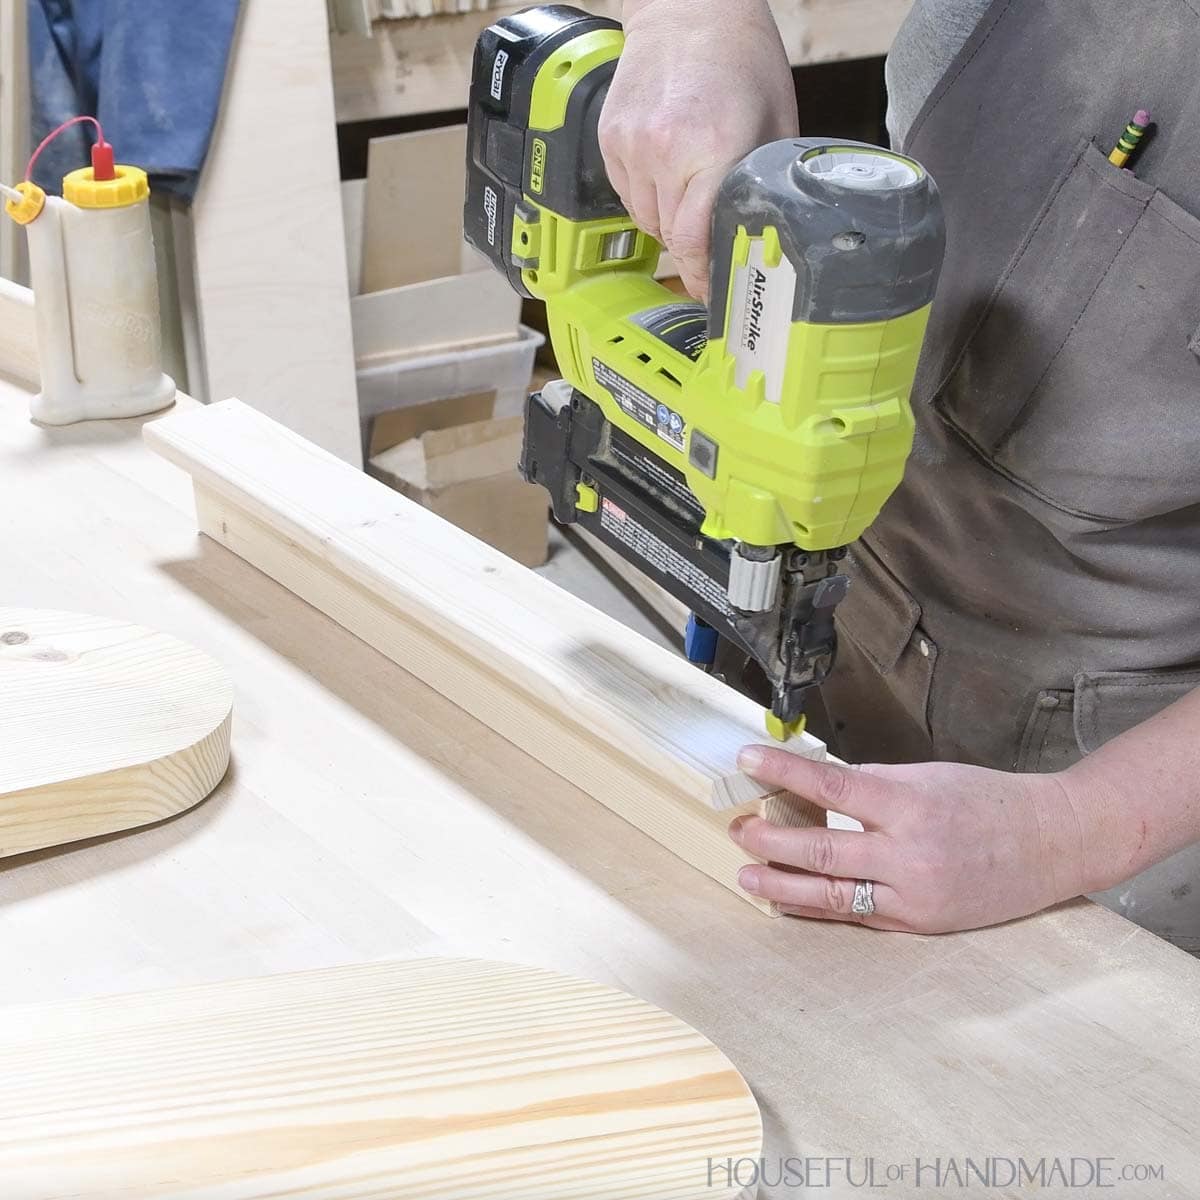
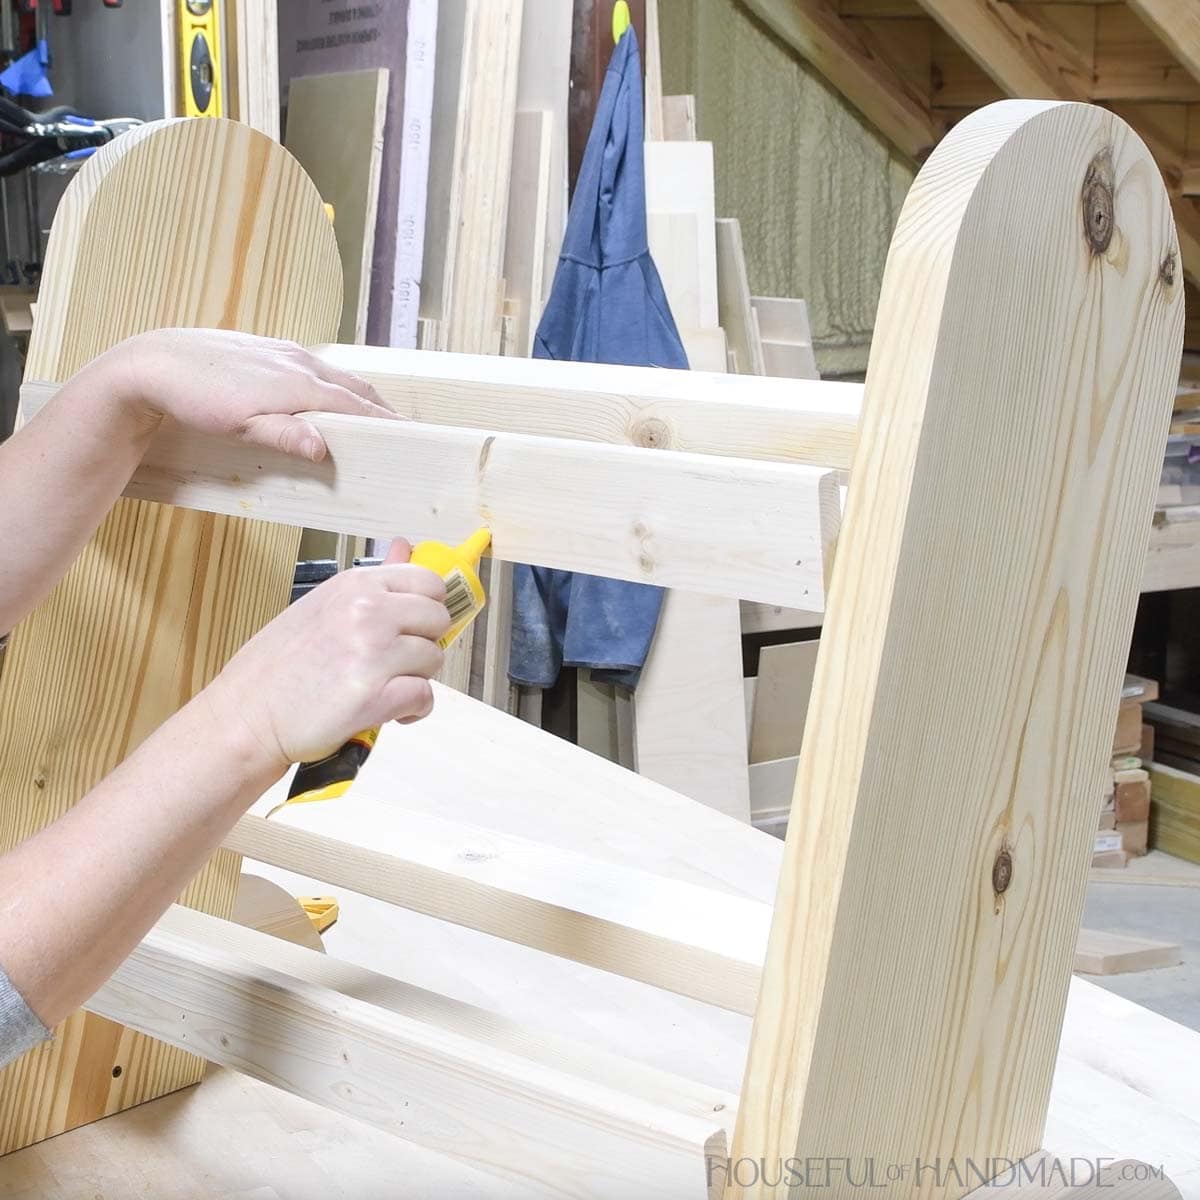
Place glue on the front of one shelf board.
Line one shelf front board up so it is flush on the sides and the bottom. Secure with 1 1/4” brad nails.
Repeat for another shelf board so you have 2.
On the sides, measure and mark where the shelves go according to the diagram in the plans. Draw lines between these the front and back marks.
Attach the shelves with fronts to one side so the bottom is flush to the line and the front lower corner is flush to the front of the side.
Attach the remaining two shelf boards so the bottom is flush with the line and the lower back corner is flush to the back of the side.
Secure with 2 1/2” pocket hole screws.
Then flip the entire thing over onto the other side board.
Line up the boards up with the lines the same as the other side and secure.
STEP 4- Finish
Fill the nail holes with wood filler.
Then sand and finish your new weight rack.
I used a combination of Minwax Weathered Oak and Early American to stain my dumbbell shelves.
You did it!
Premium plans include:
- Recommended Tools
- Shopping list
- Easy to read cut list table
- Cut diagrams
- Step-by-step instructions with 3D renderings
- Helpful resources
- BONUS: 3D SketchUp file
Now you can place your weights on the shelves and get ready to exercise.
I am so excited my dumbbells have a home and no long just sit on the floor.
Happy building!
