I love blankets! In the winter they are piled up on the sofa, chairs, and bed. Not such a great storage solution.
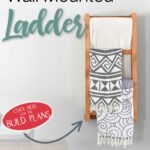
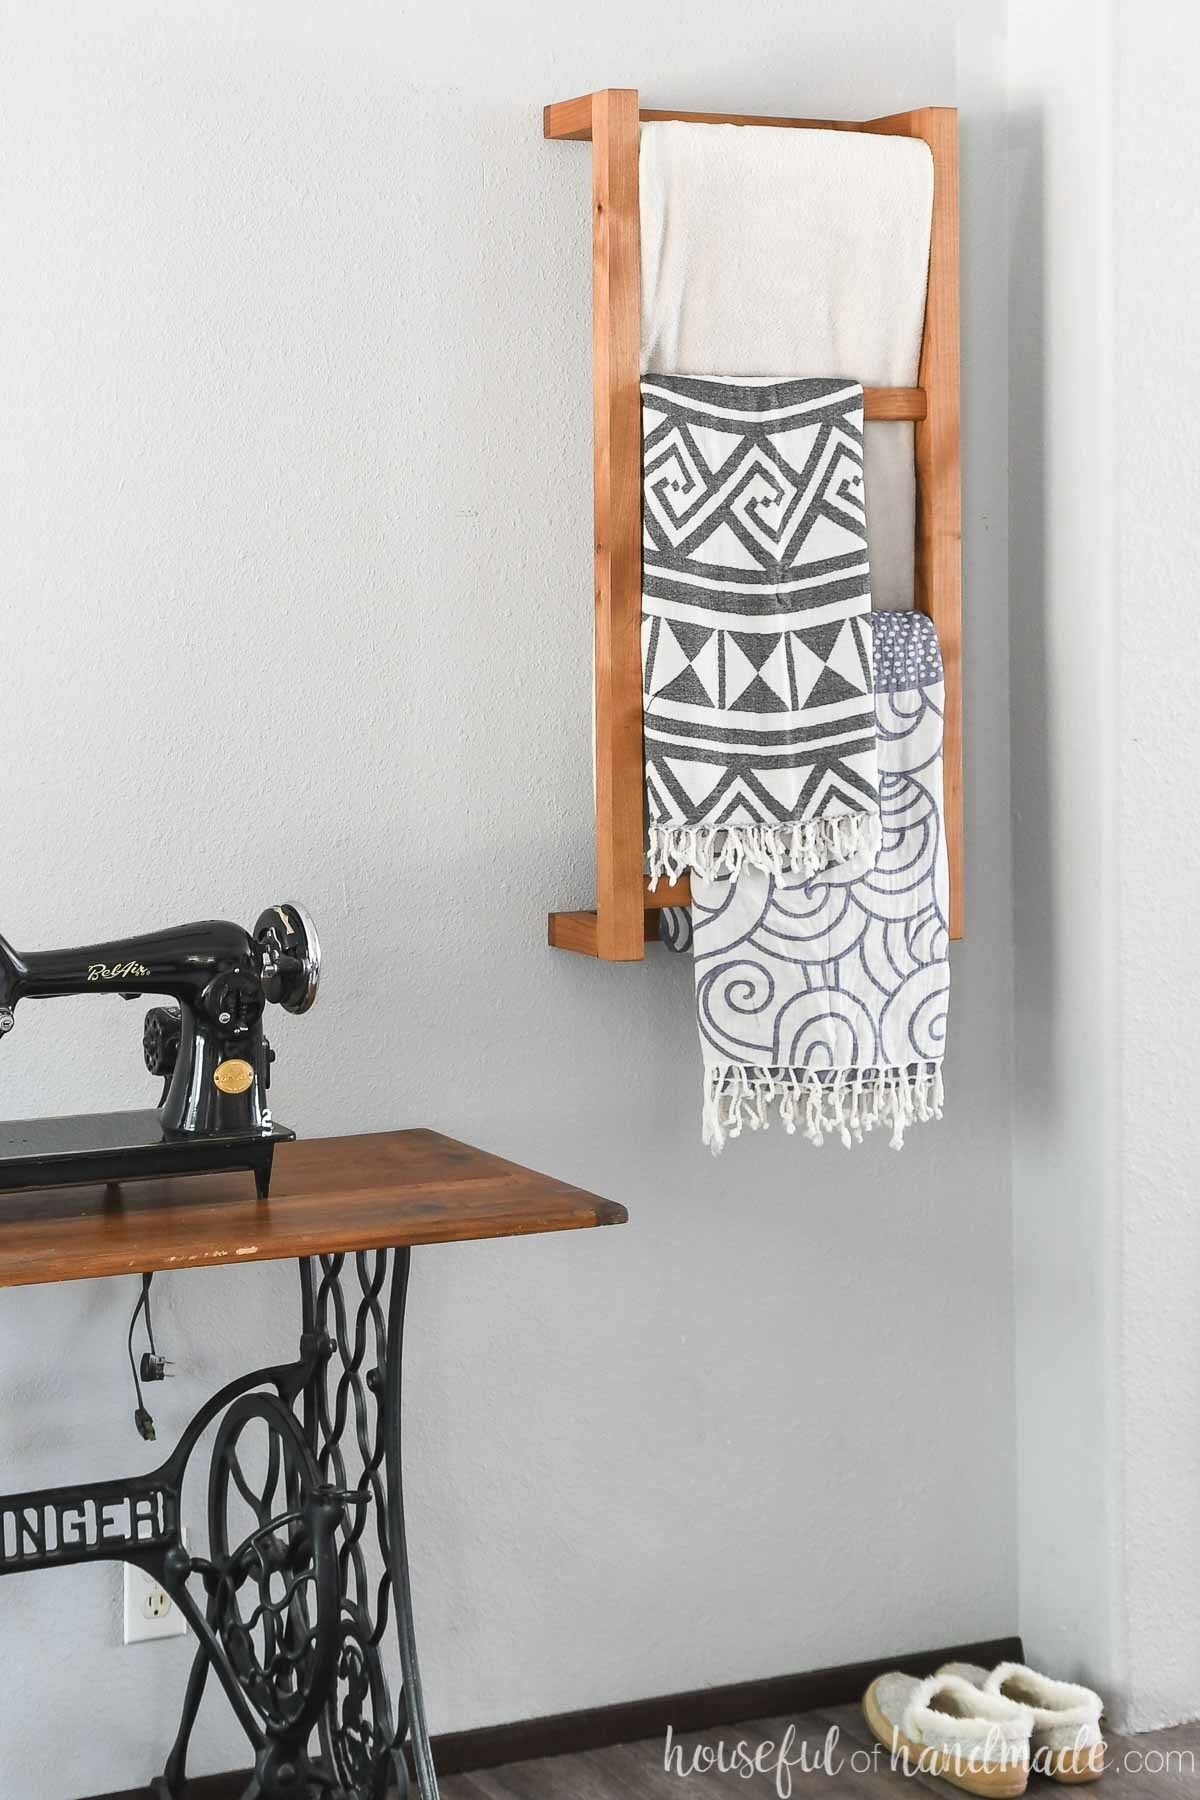
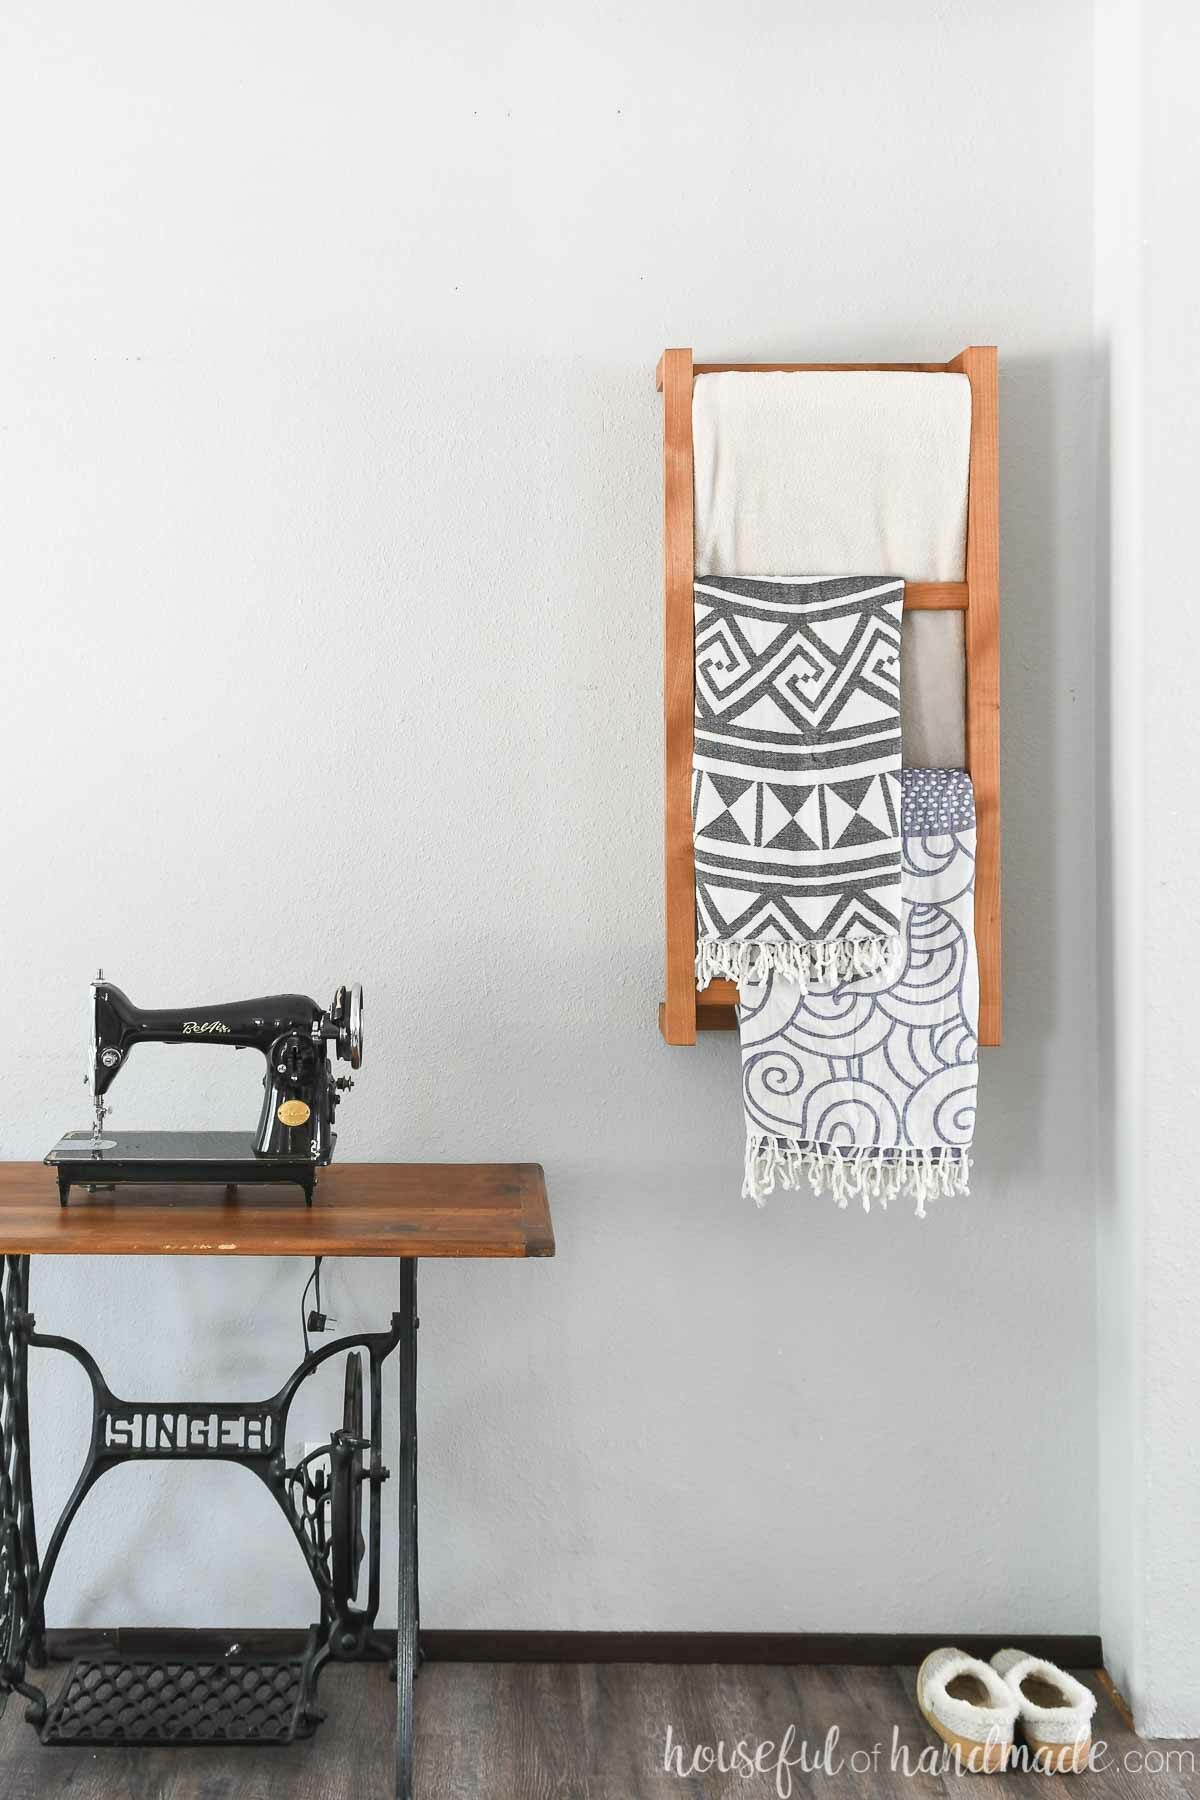
So I decided to build a blanket ladder. But instead of one that leaned up against the wall. I wanted one that mounted on the wall leaving the floor under it clear!
I partnered with Kreg Tools to use the Kreg pocket hole jig to make this a fun and simple build. This project is perfect for any beginner woodworker.
This post may contain affiliate links. As an Amazon Associate I earn from qualifying purchases. Click here to read my full disclosure policy.
Two Board Build
One of the best parts of this project is it only uses 2 boards for the entire build.
All you need is one 8′ 2×2 board and one 8′ 1×2 board!
Since you only need a couple boards to build the wall ladder. This is a great project to have some fun with your wood choice.
I used alder wood I had leftover from the dining table build plans. The alder is an inexpensive hard wood. It is a softer hardwood so it is still quite easy to work with.
I love the warm color of it when just sealed. No stain needed!
But you can use this opportunity to build your wall ladder with any wood you want. Try using a wood you have always wanted to work with.
There is no better build to practice working with new species.
Beginner Friendly Build
If you are new to woodworking or using pocket holes this is the perfect project for you!
This simple build will have you using pocket holes in 2 standard lumber sizes. And we use 3 different lengths of screws to learn when each is needed.
Even though the project is simple to build, I go into detail with the step-by-step tutorial.
My goal is to make sure even the most novice builder will be happy with their new wall mounted ladder! Something they are proud to show off and that makes them eager to get back in the shop.
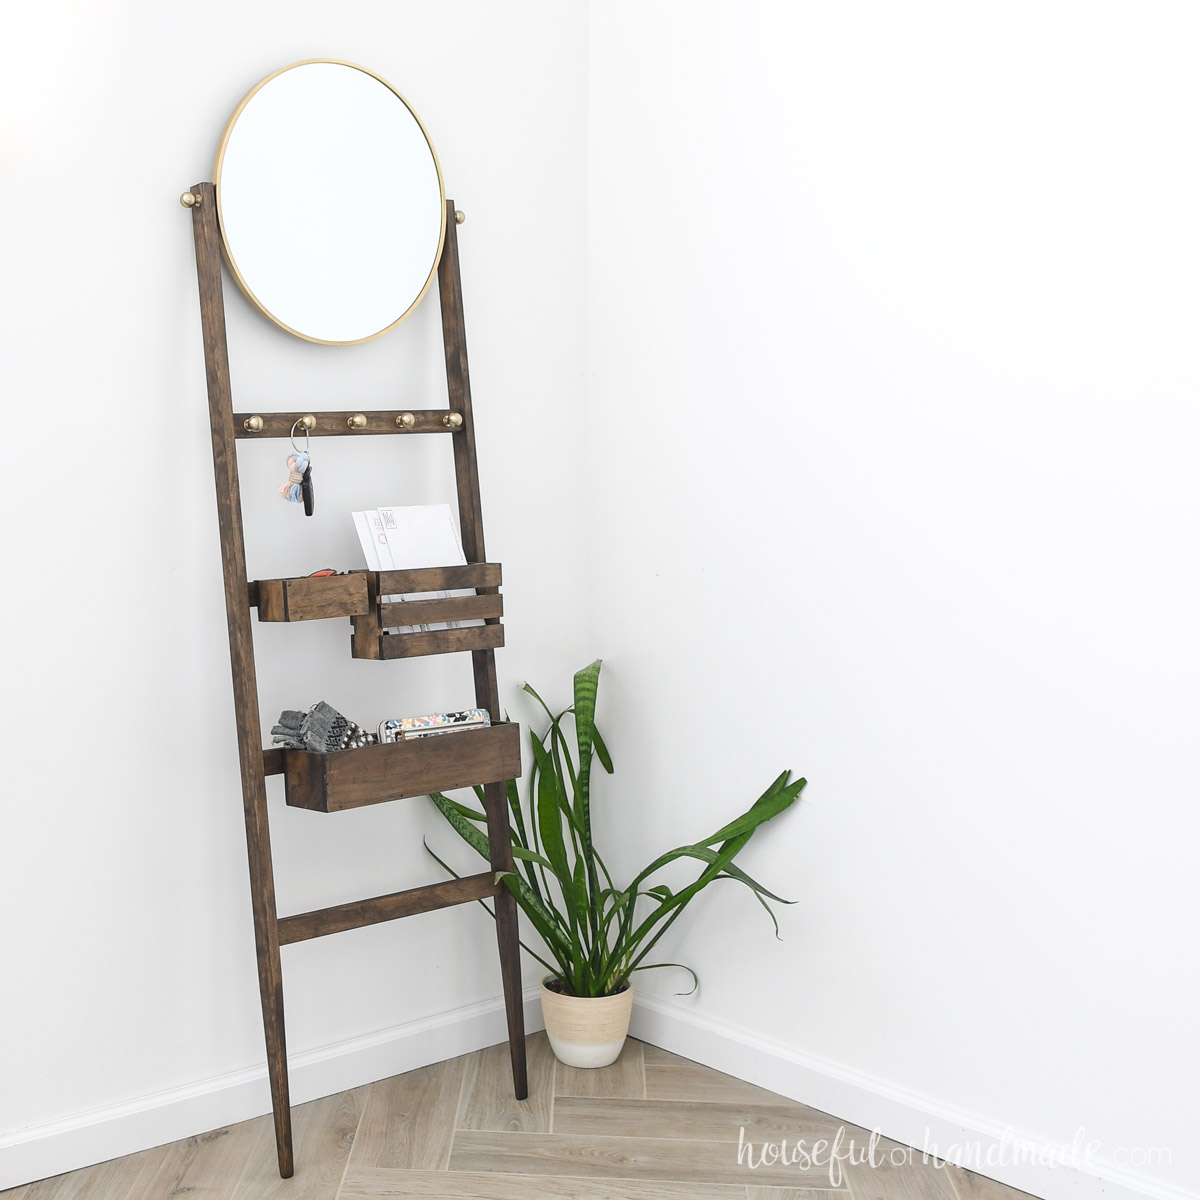
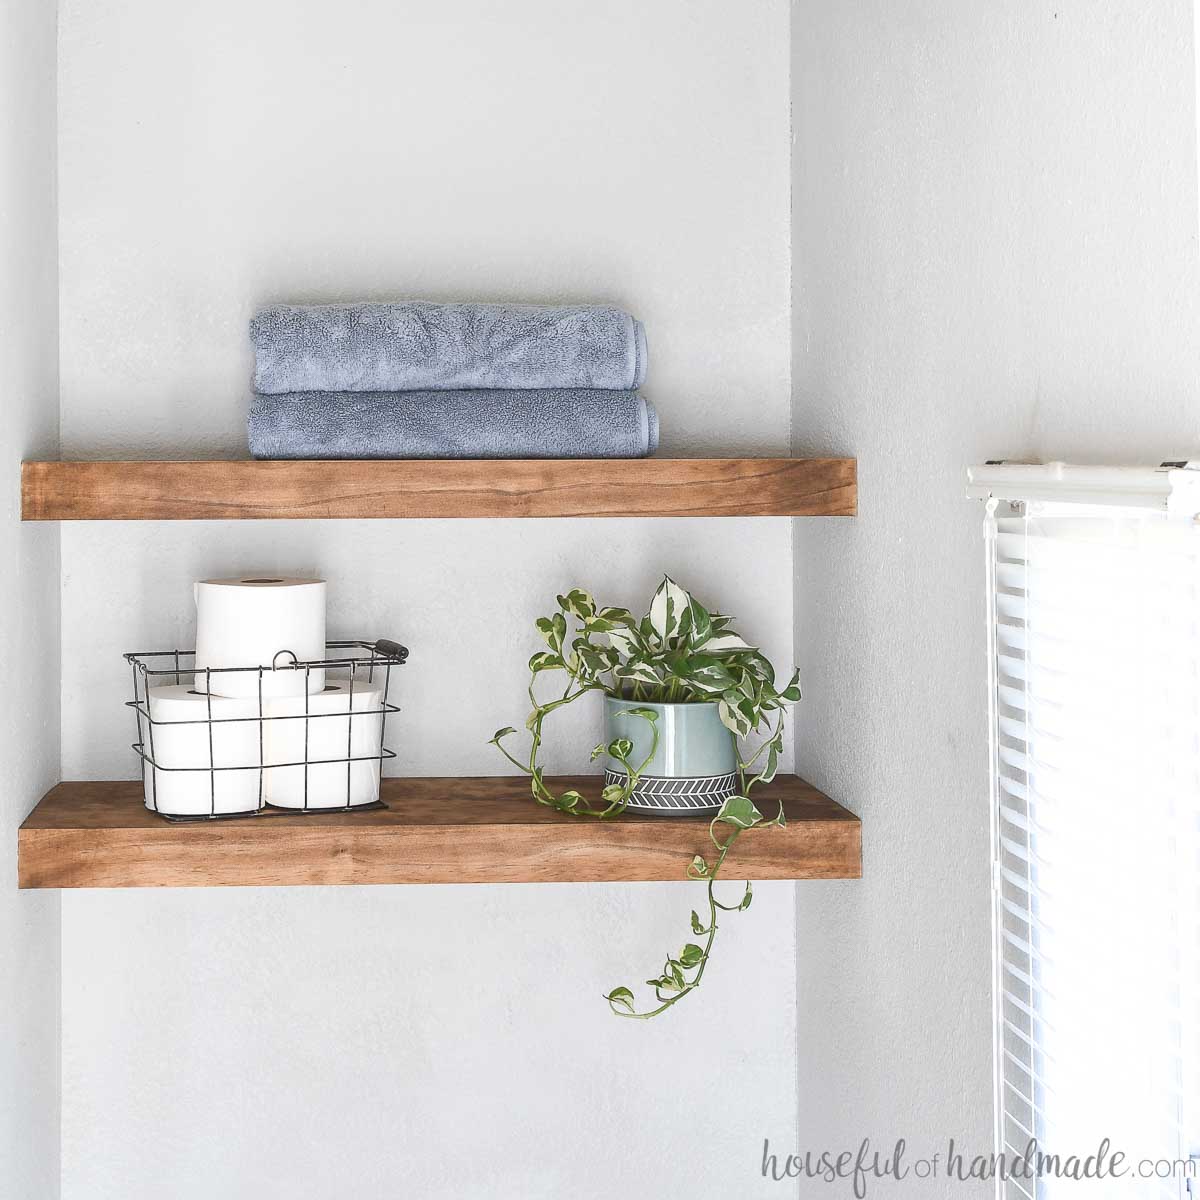
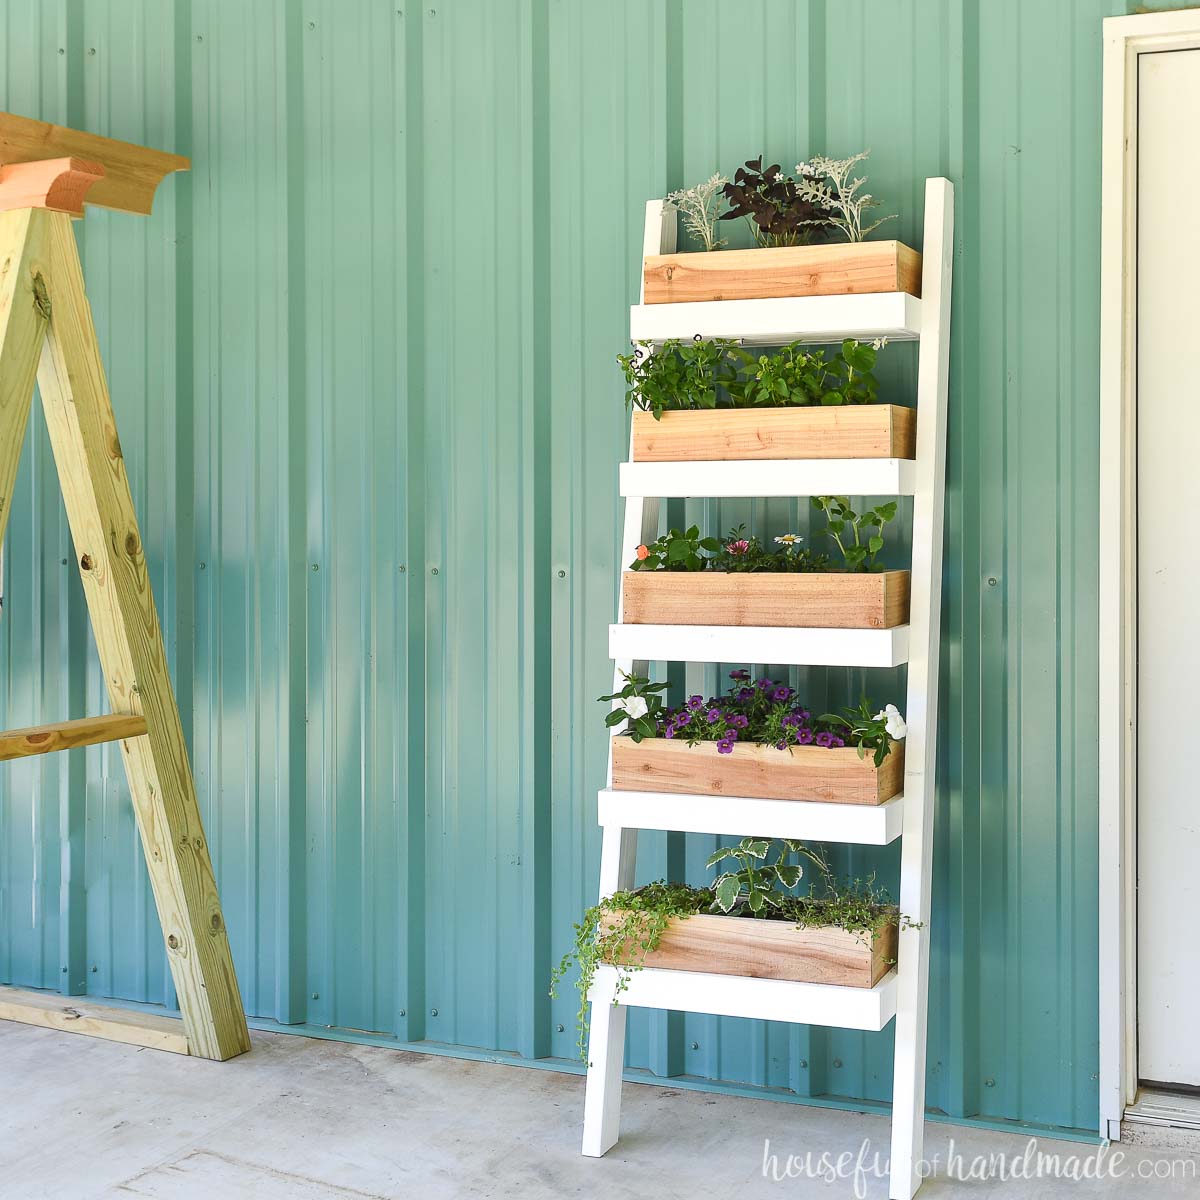
More Vertical DIY Ideas
You don’t need a lot of space if you use vertical storage! These fun DIYs will make the most use of your walls.
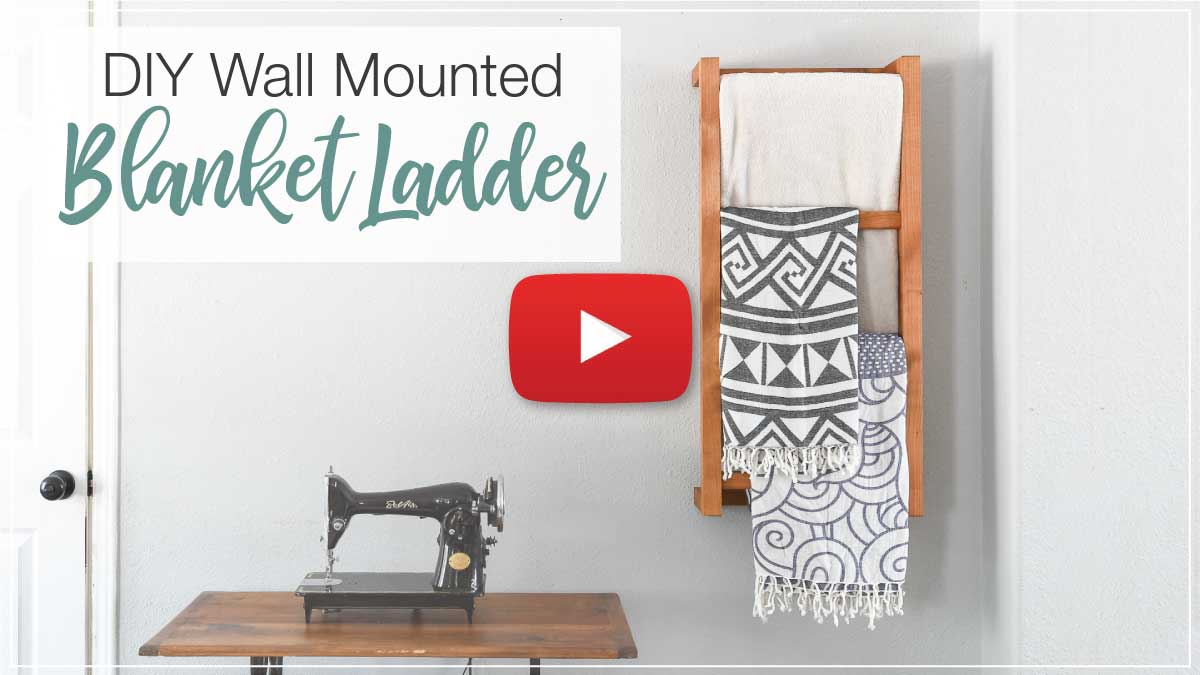
How to Build a Wall Mounted Ladder
Tools & Materials
Recommended Tools:
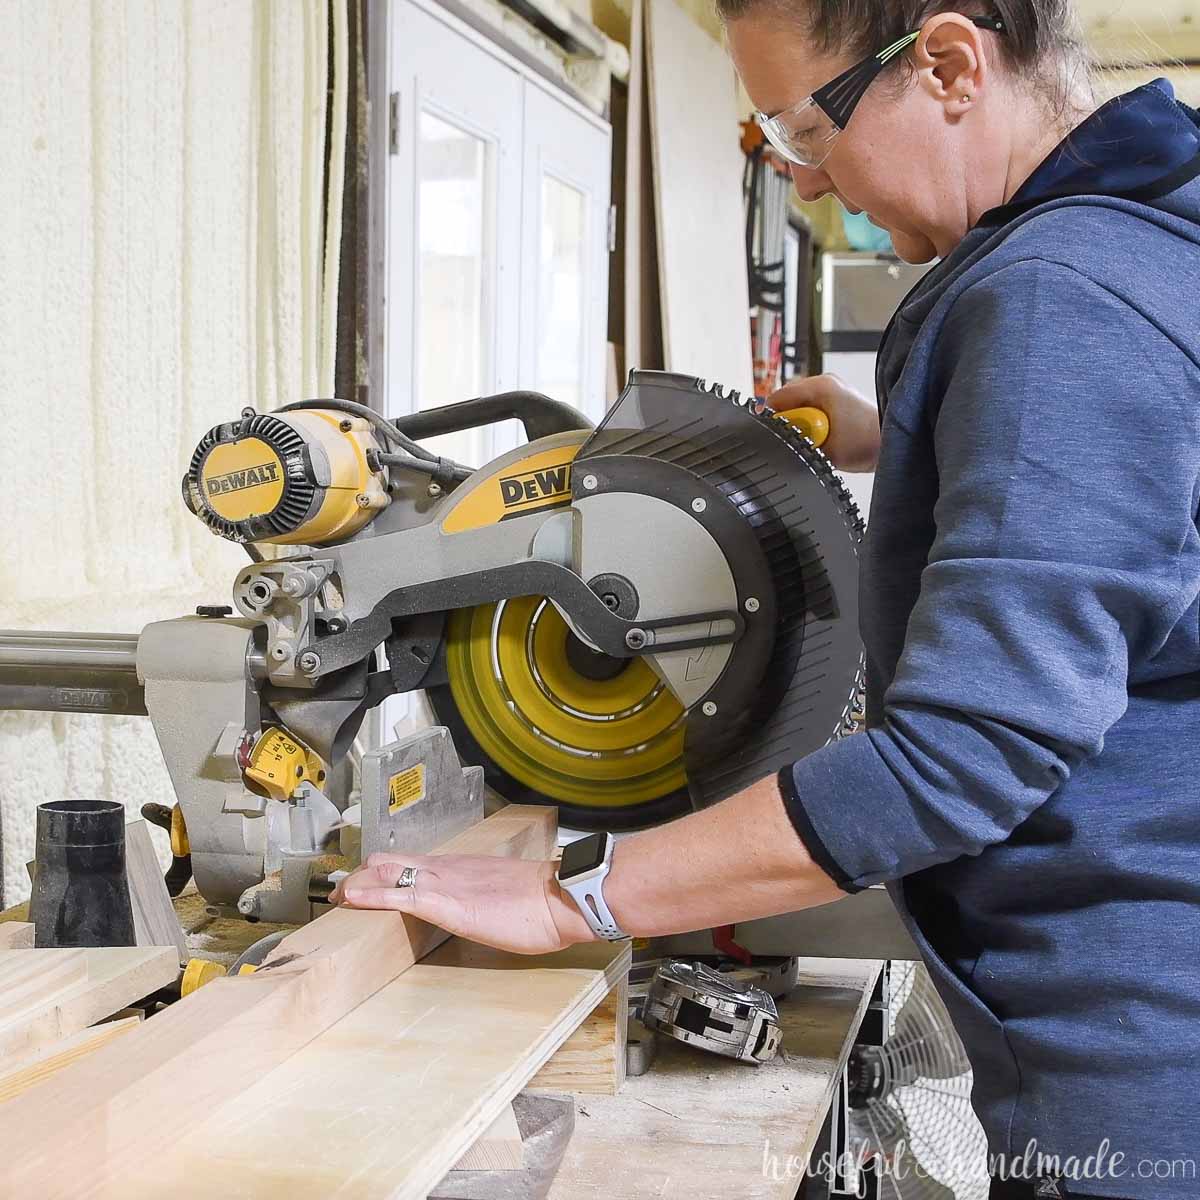
- Miter saw
- I recently upgraded to this larger sliding miter saw (watch for it to go on sale), but all my projects before were built with this inexpensive miter saw that I loved.
- Kreg pocket hole jig
- Router with round over bit
- Drill
- Impact driver (optional, but I love not having to switch bits with the drill)
- Sander
- Level
- Measuring tape
- Kreg pocket hole clamp
Supplies:
- Wood products:
- (1) 2×2 board, 8′ long
- (1) 1×2 board, 8′ long
- 1 1/4″ Kreg pocket hole screws
- 2″ Kreg pocket hole screws
- 2 1/2″ Kreg pocket hole screws
- Dry wall anchors
- 2 1/2″ wood screws
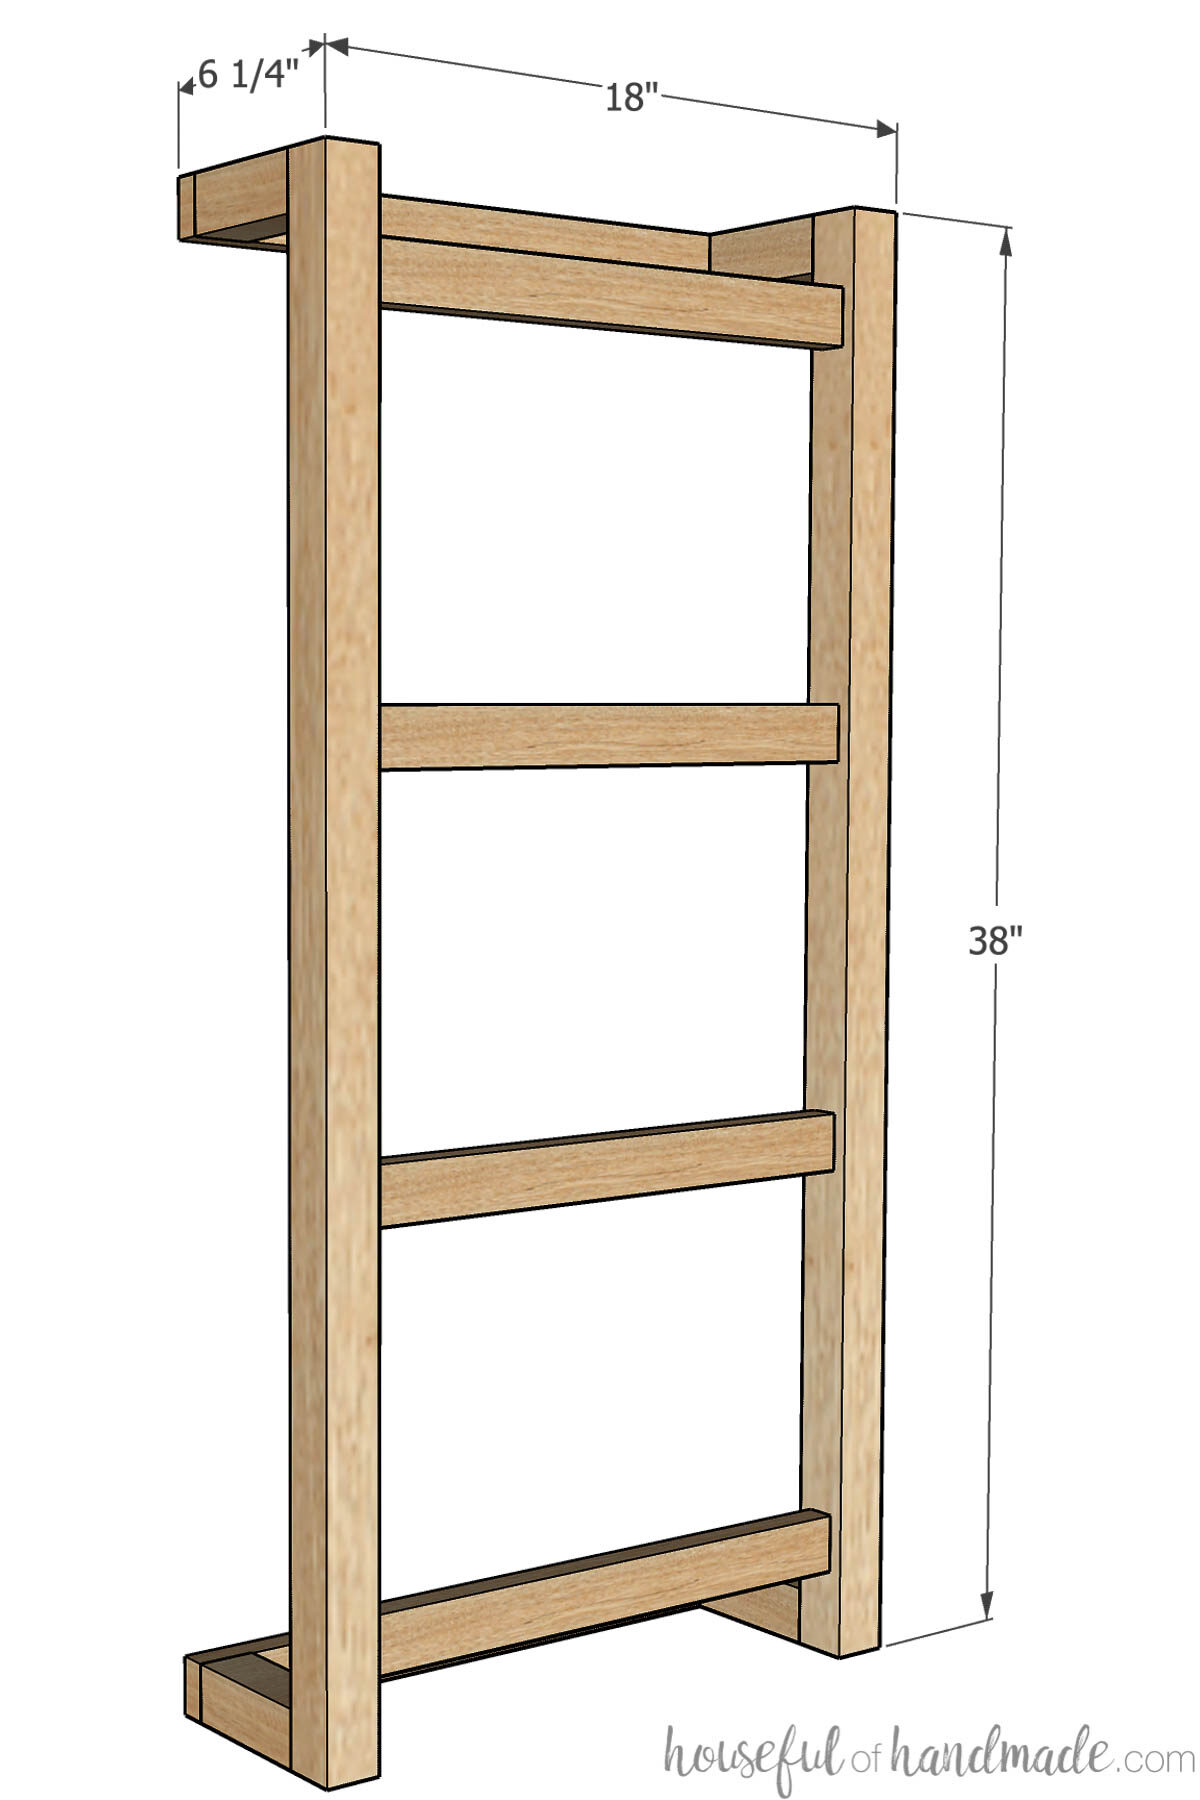
Overall Dimensions
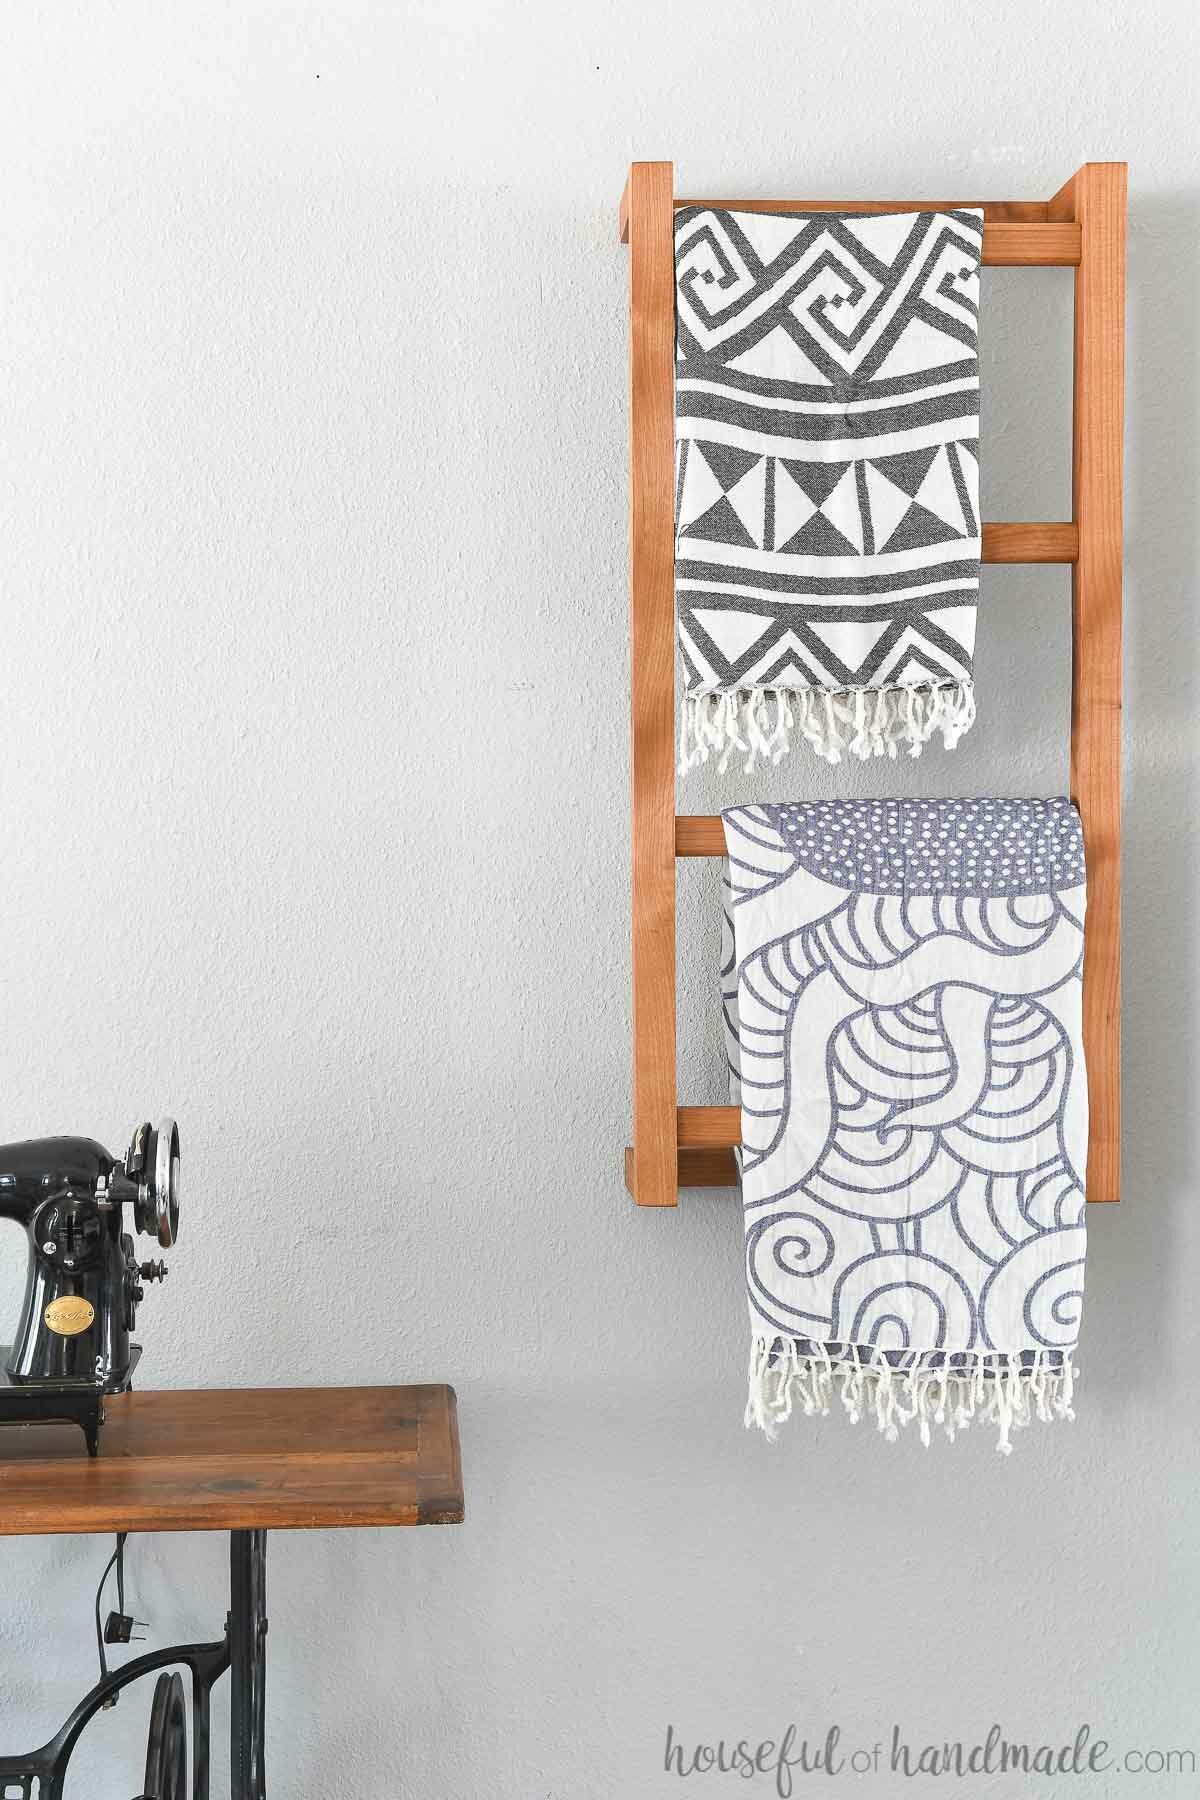
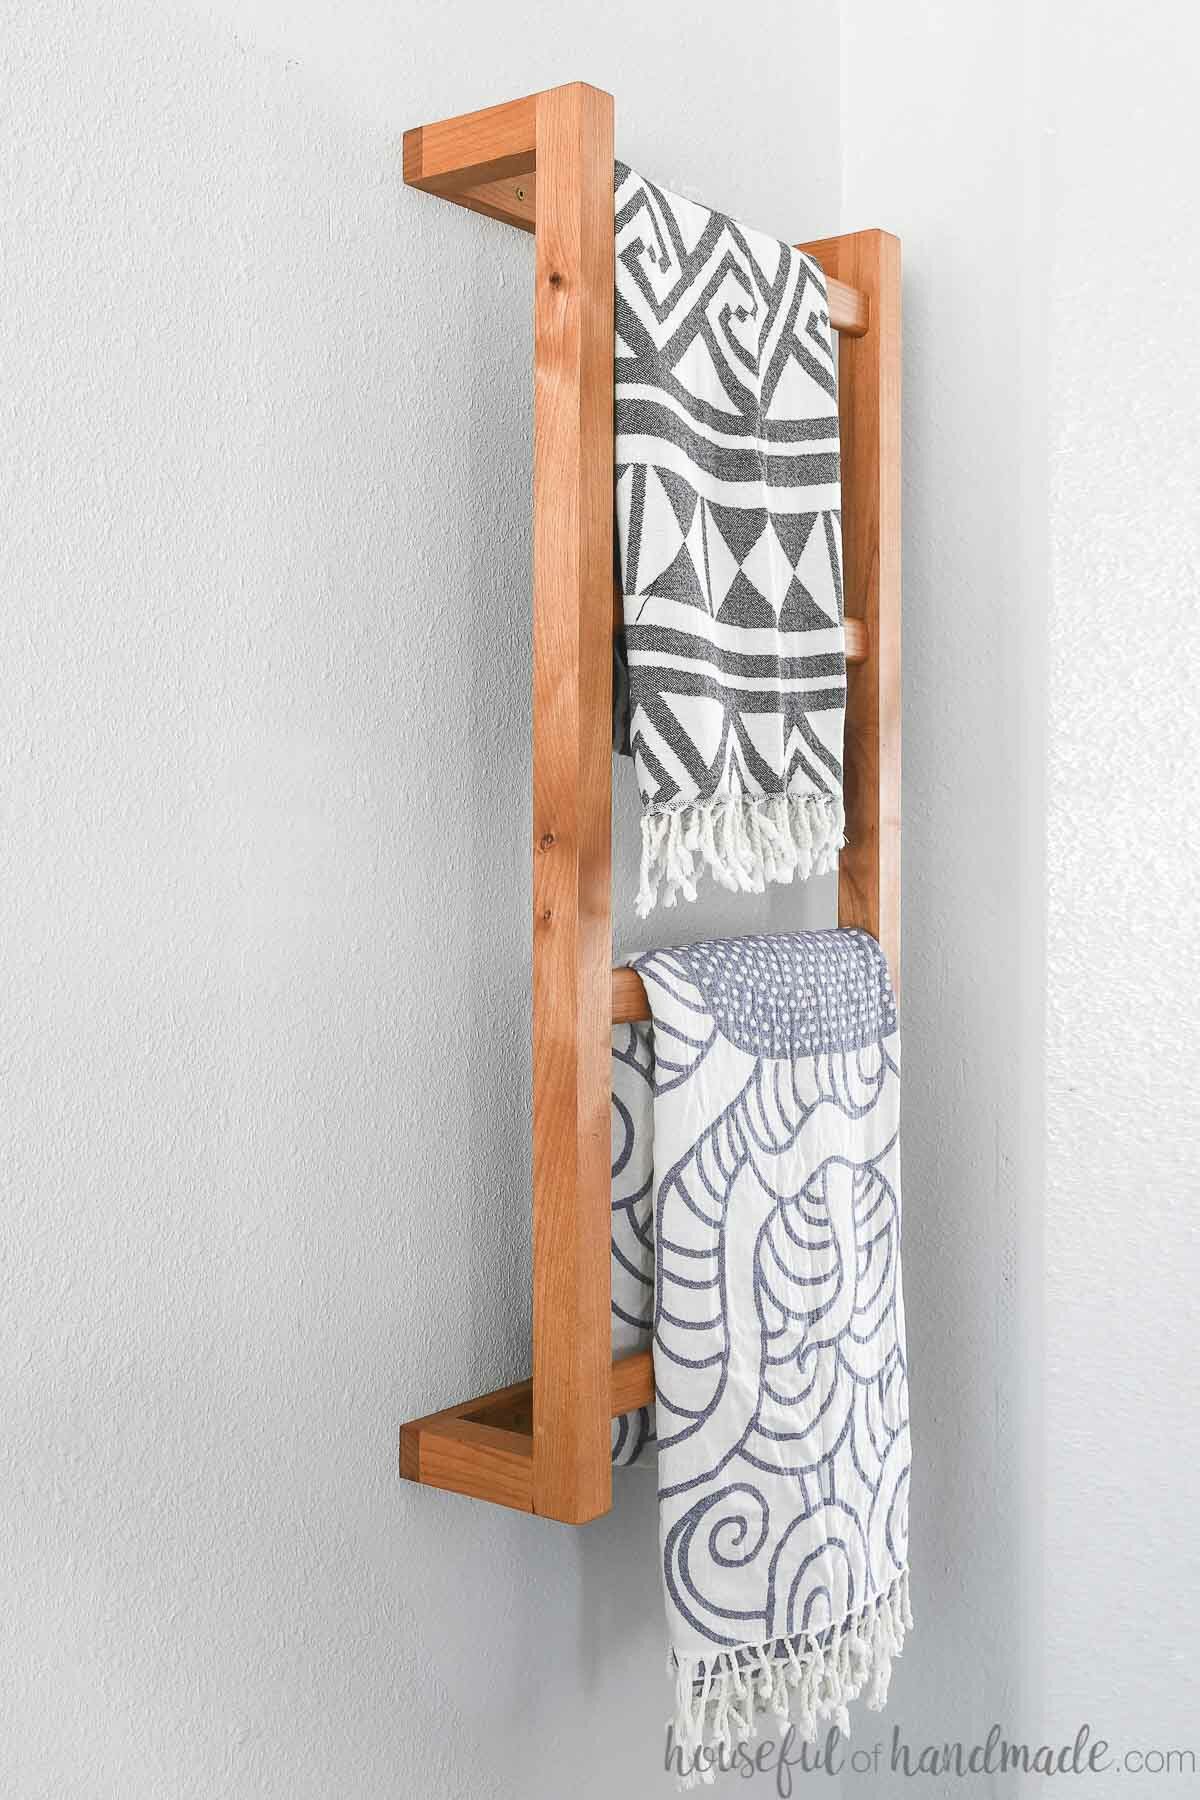
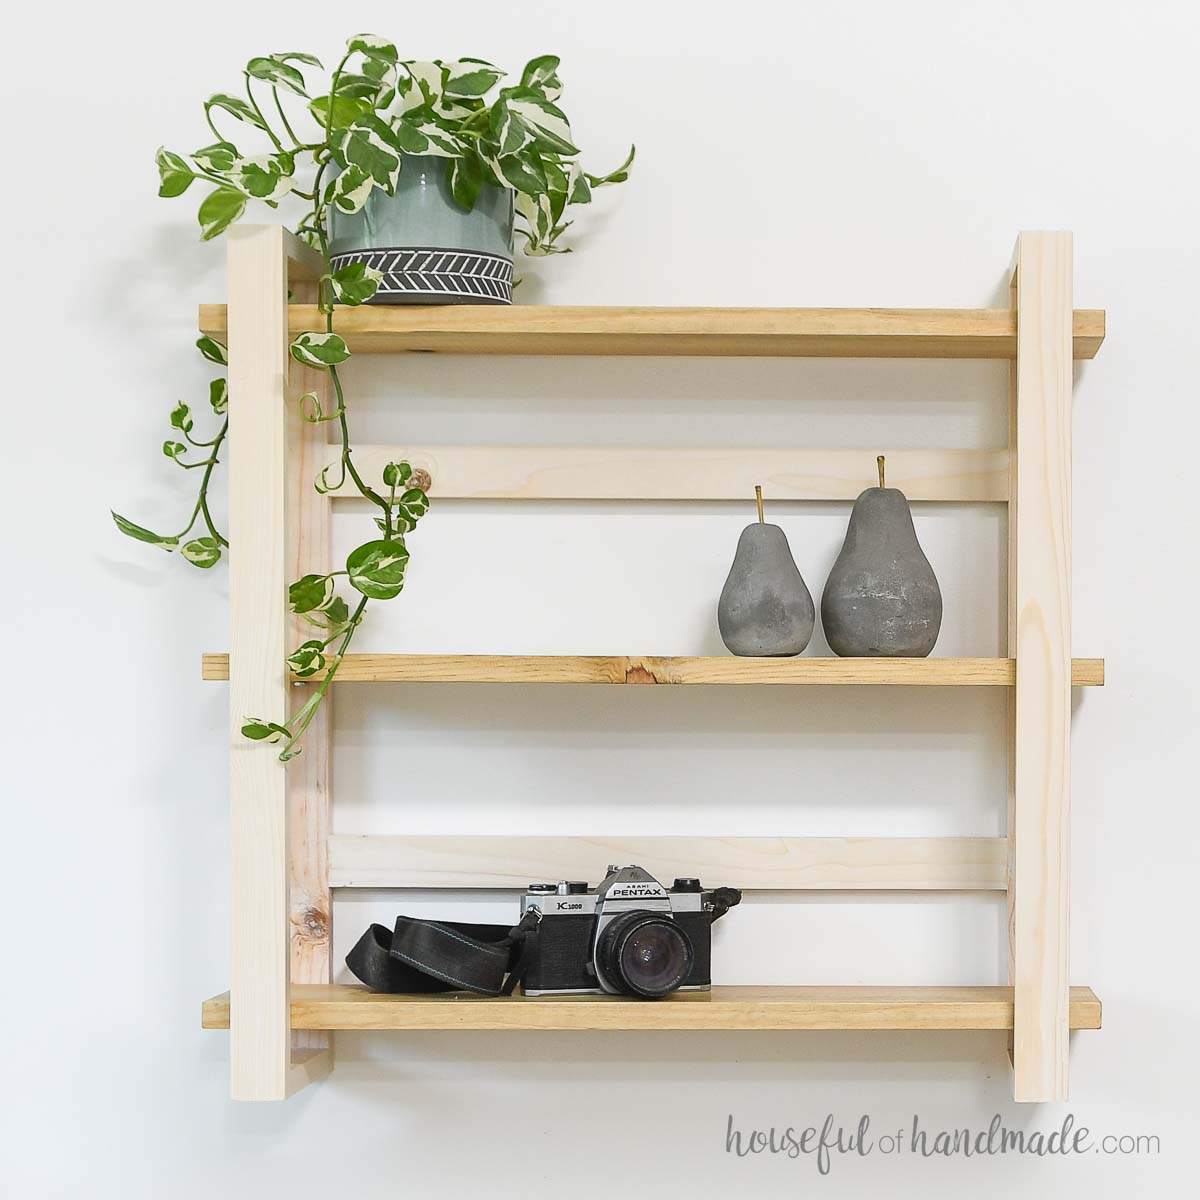
The finished blanket ladder is 18″ wide by 38″ tall and 6 1/4″ deep.
There are 4 slats roughly 9″ apart to hold blankets, towels or throws.
Cut List
Cut out the pieces according to the easy-to-read cut table in the PDF plans.

Usually you want to cut the pieces to length as you build. However, for this project you can cut all the pieces but the back supports before assembly.
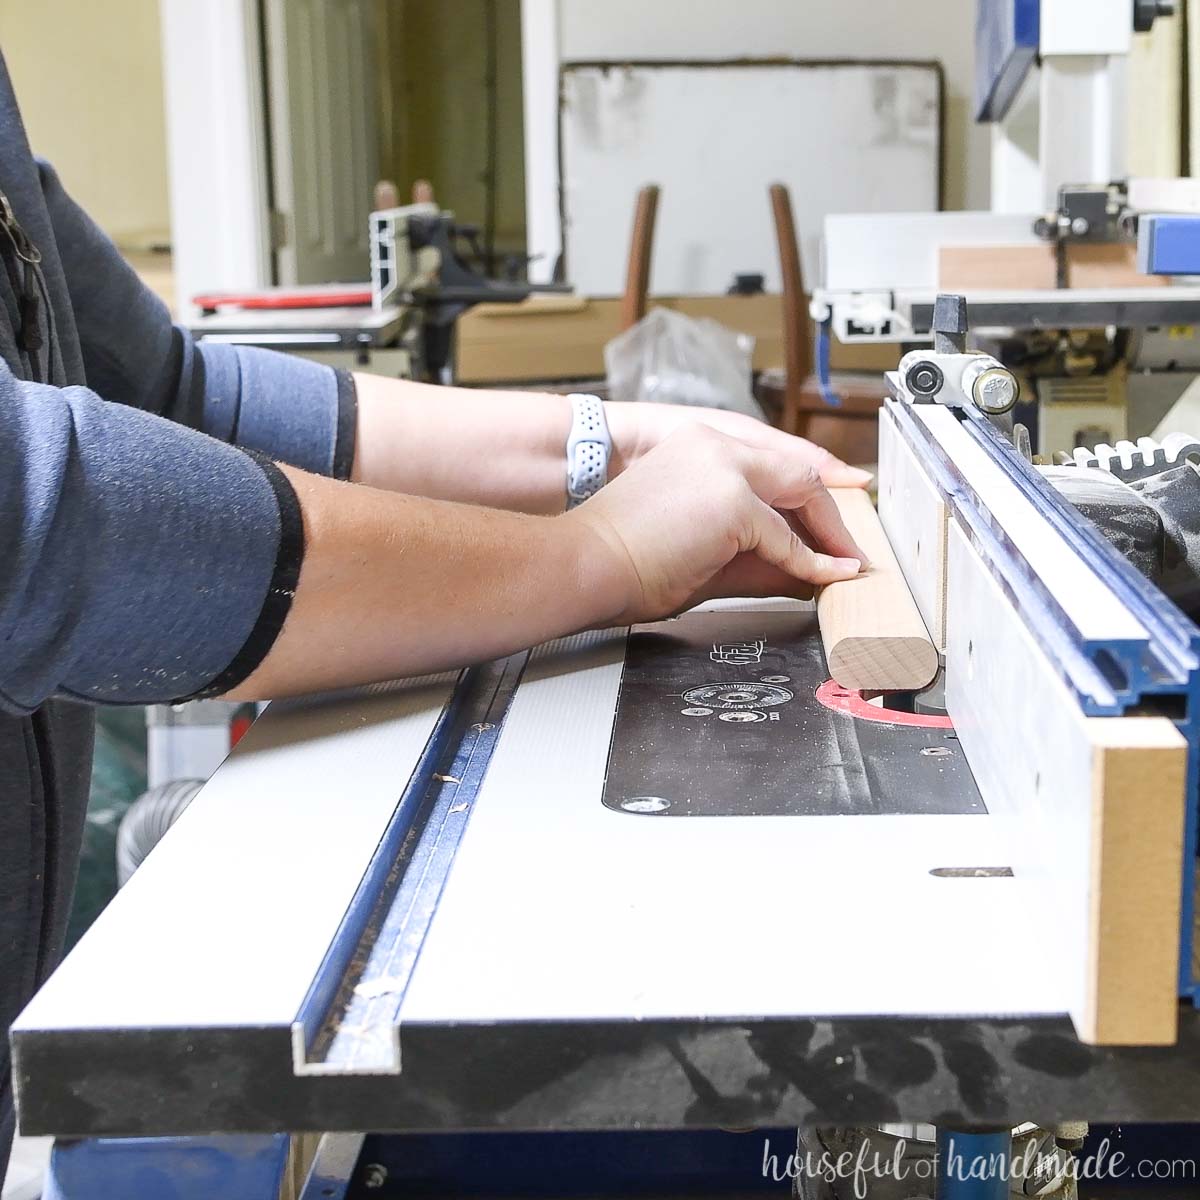
Add a round over to all 4 edges of the ladder rungs.
This step is totally optional. Feel free to leave the corners square.
Or if you do not have a router but want smooth edges, you can also smooth the corners of the boards with your sander.
STEP 1- Assemble the ladder
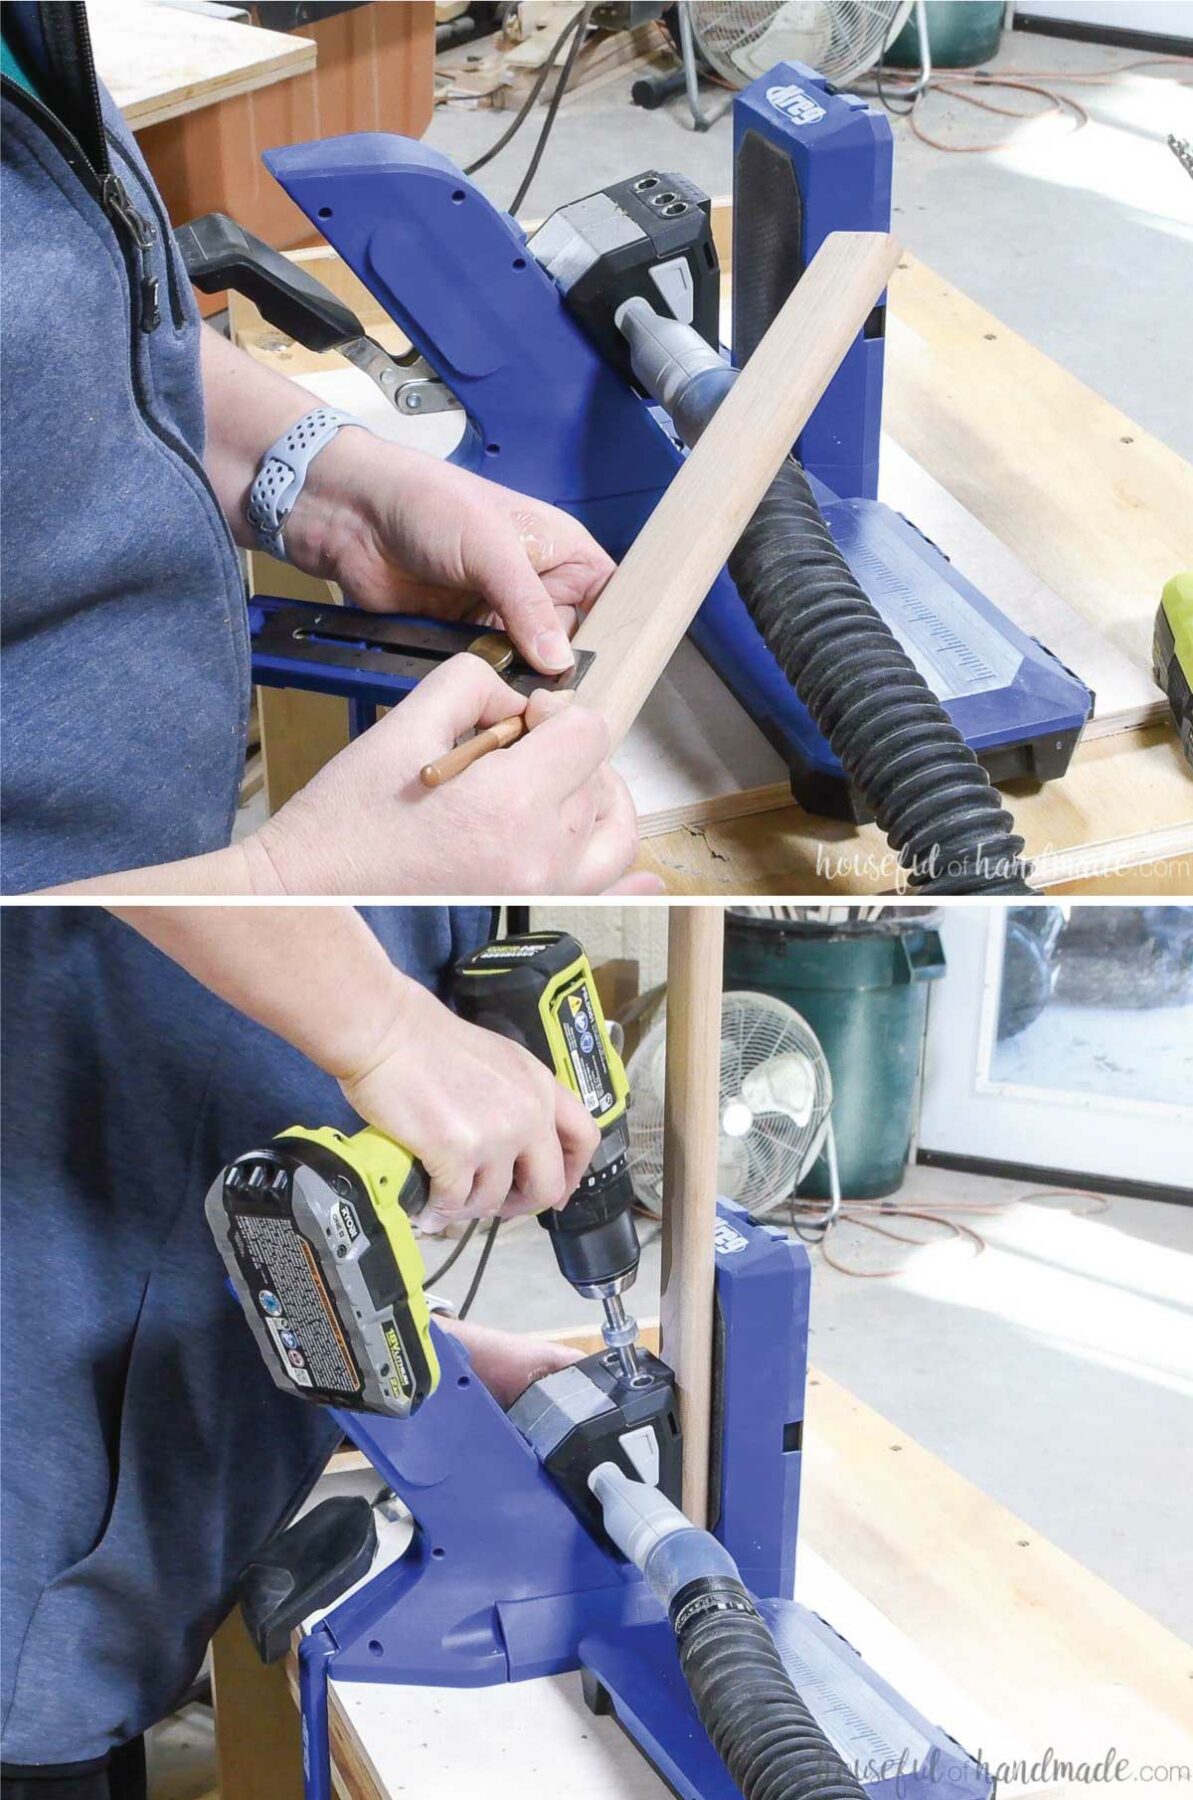
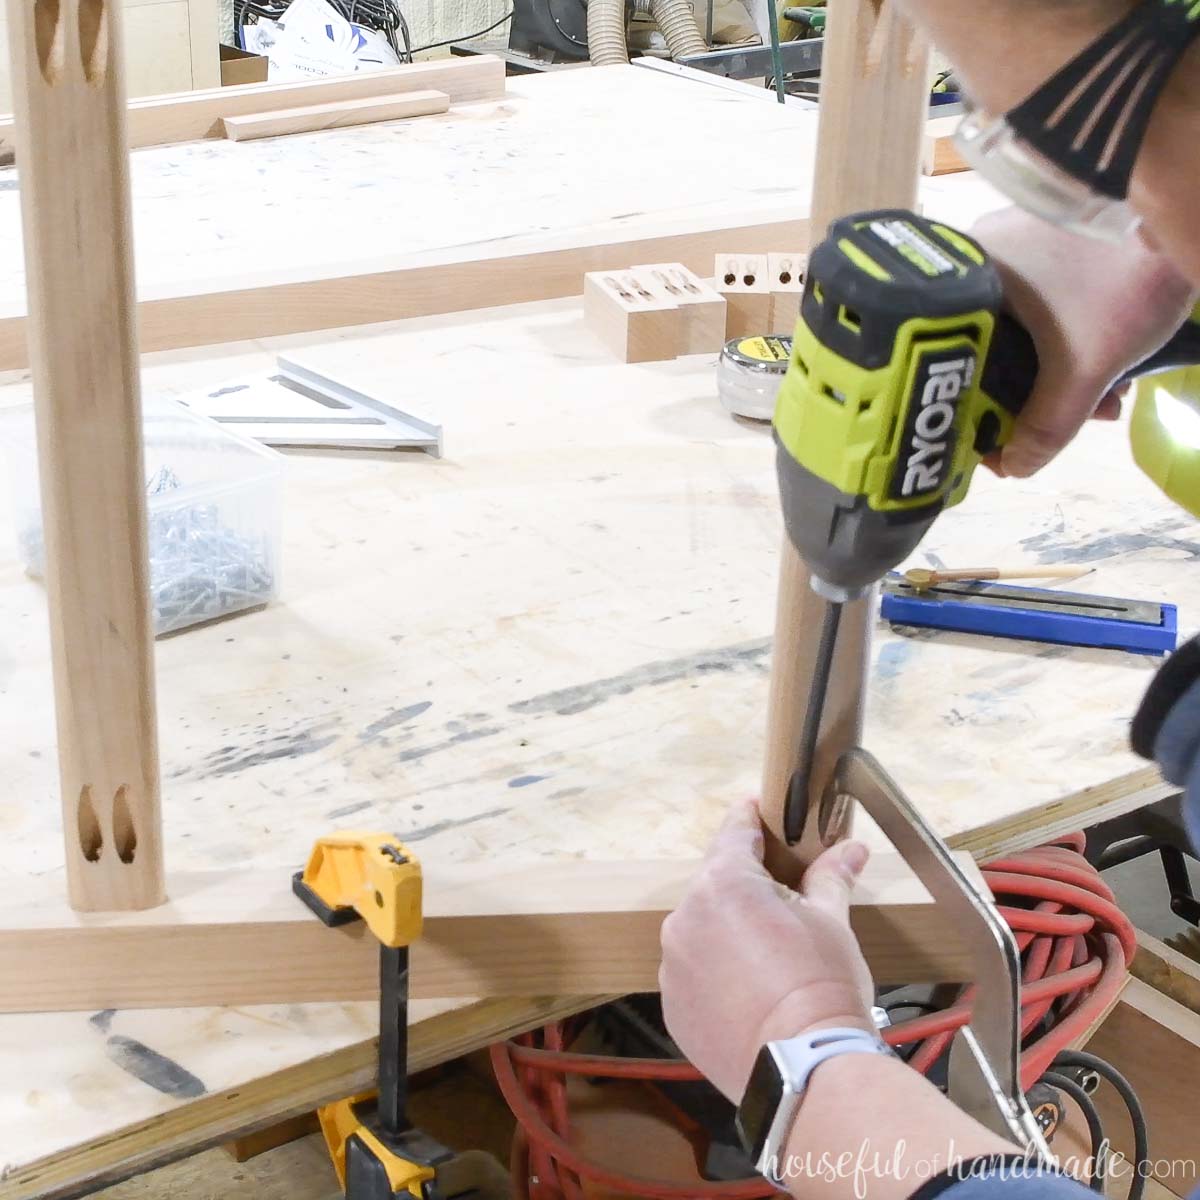
Set your pocket hole jig up to drill holes in 3/4″ thick material (1x boards are only 3/4″ thick).
Drill 2 pocket holes in the back of all the ladder rung pieces.
To make sure the pocket holes are centered on the 1×2 boards (especially important if you added the round over), measure and mark the center of the boards.
Then line the center line up with the mark on the Kreg pocket hole jig and drill two pocket holes.
Measure and mark where you want the rungs on the ladder sides according to the diagram in the printable plans.
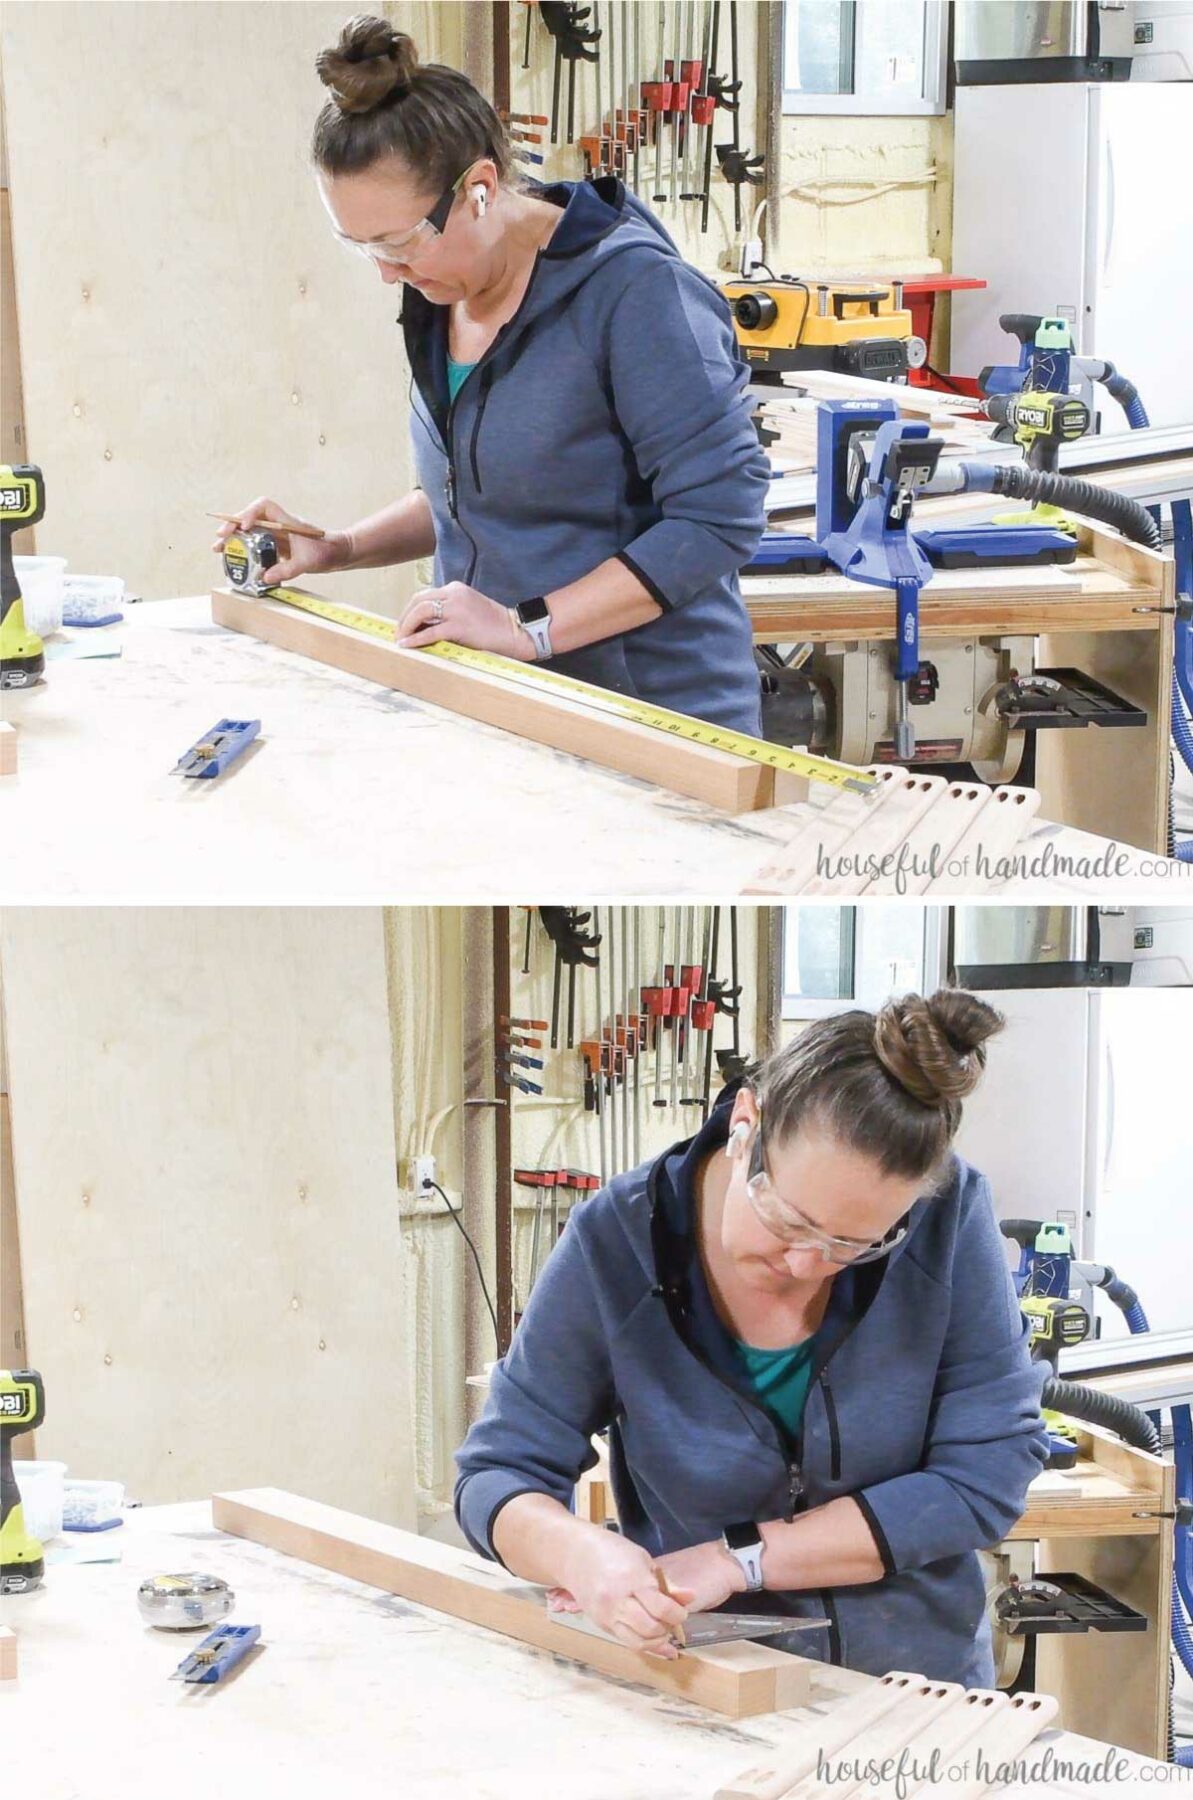
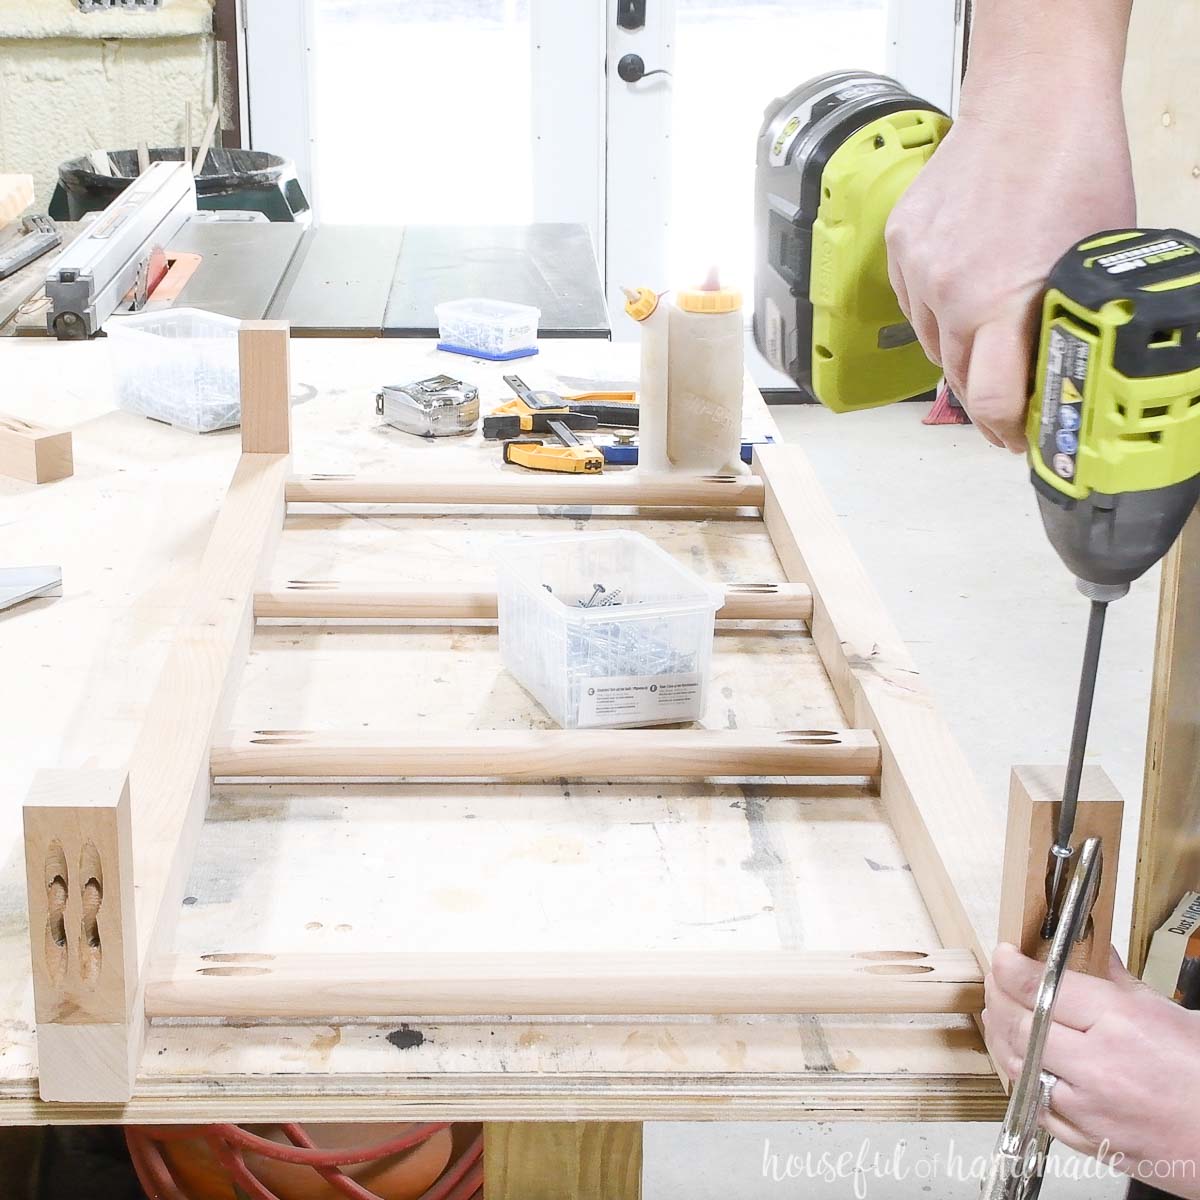
Attach all the rungs to one side piece so they are centered on the 2×2 (they should be 3/8″ in from the front and back).
Use wood glue and 1 1/4″ pocket hole screws to attach all the rungs to one side board.
Then attach the rungs to the other side piece. Make sure line up the rungs with the marks.
Secure with wood glue and 1 1/4″ pocket hole screws.

STEP 2- Add the back slats
Switch your pocket hole jig to drill holes for 1 1/2″ thick material (for the 2×2 boards).
Drill 2 pocket holes in each end of the 4″ long pieces. These pocket holes will overlap each other, but they will still work like normal pocket holes.
Attach the top/bottom blocks to the back top and bottom of the side pieces.
EXPERT TIP:
Position the pieces on the top so the pocket holes face up and on the bottom so the pocket holes face down. This will make it easier to attach and make the pocket holes out of eye-sight when the ladder is hung.
Use wood glue and 2 1/2″ pocket hole screws to secure.
To hang the ladder on the wall, you will add a 1×2 piece to the back of the top and bottom of the ladder, attached to the 4″ pieces.
Measure to get an accurate measurement for this piece and cut to that measurement.
Attach the back support to the back of the ladder on the blocks using the pocket holes already drilled in them.
Usually 2 1/2″ screws are used when working with 2x lumber. But because you are attaching 1 1/2″ thick wood (2x) into 3/4″ thick wood (1x) you will use 2″ pocket holes screws.
Secure with wood glue and 2″ pocket hole screws.

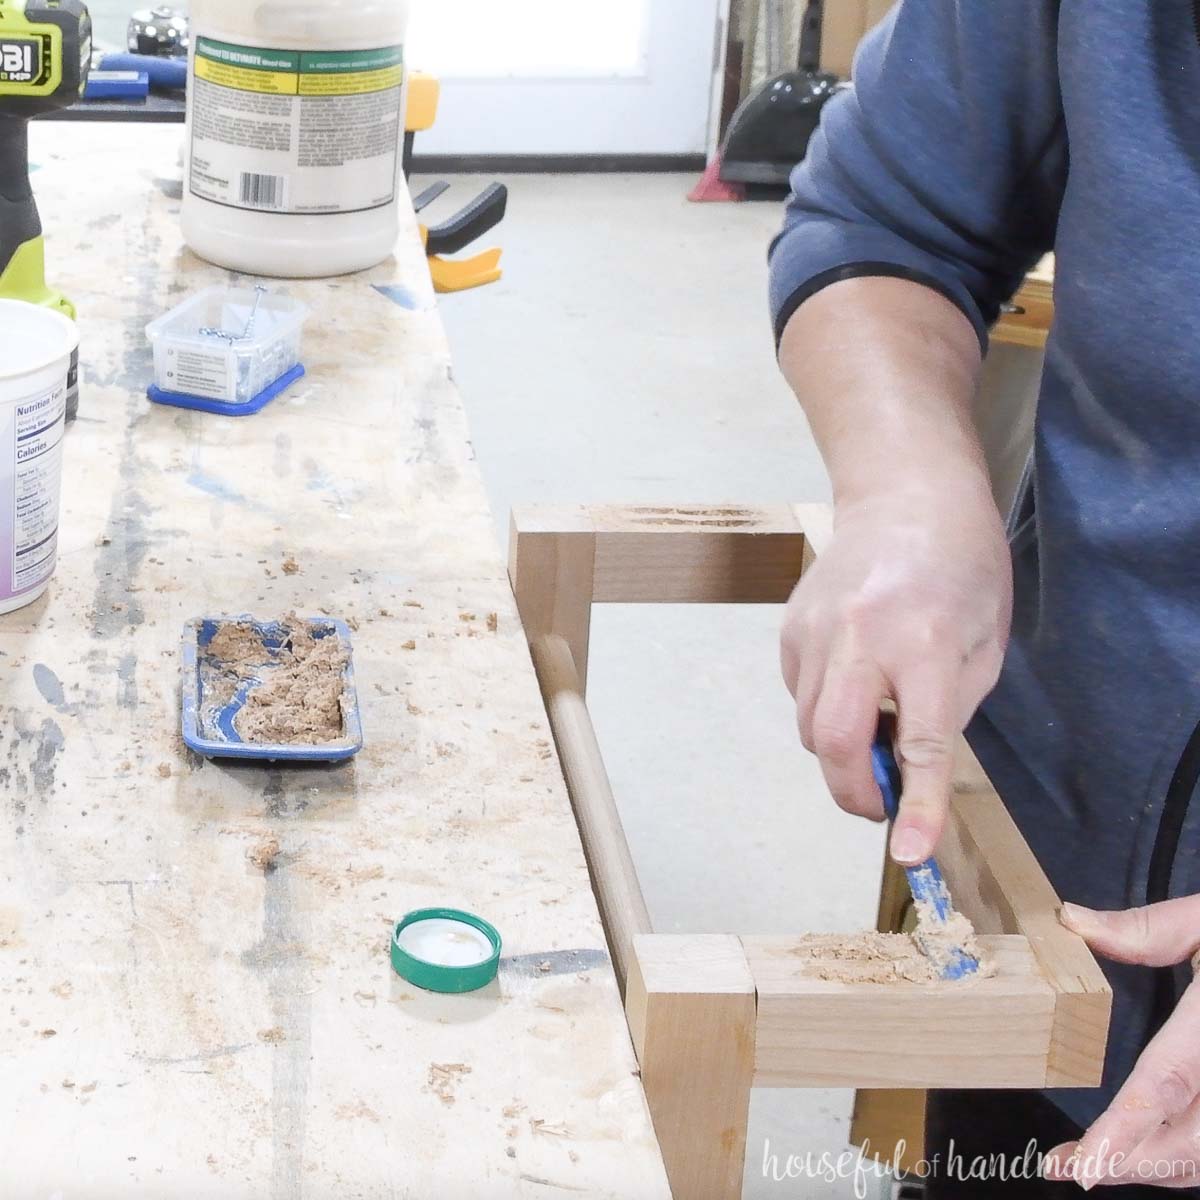
Fill the pocket holes with wood filler or plugs.
EXPERT TIP:
Make a wood filler that matches your wood nicely by mixing fine sawdust from your project with wood glue. This type of filler is not stainable (since wood glue is not stainable) but is great for non-stained or painted projects.
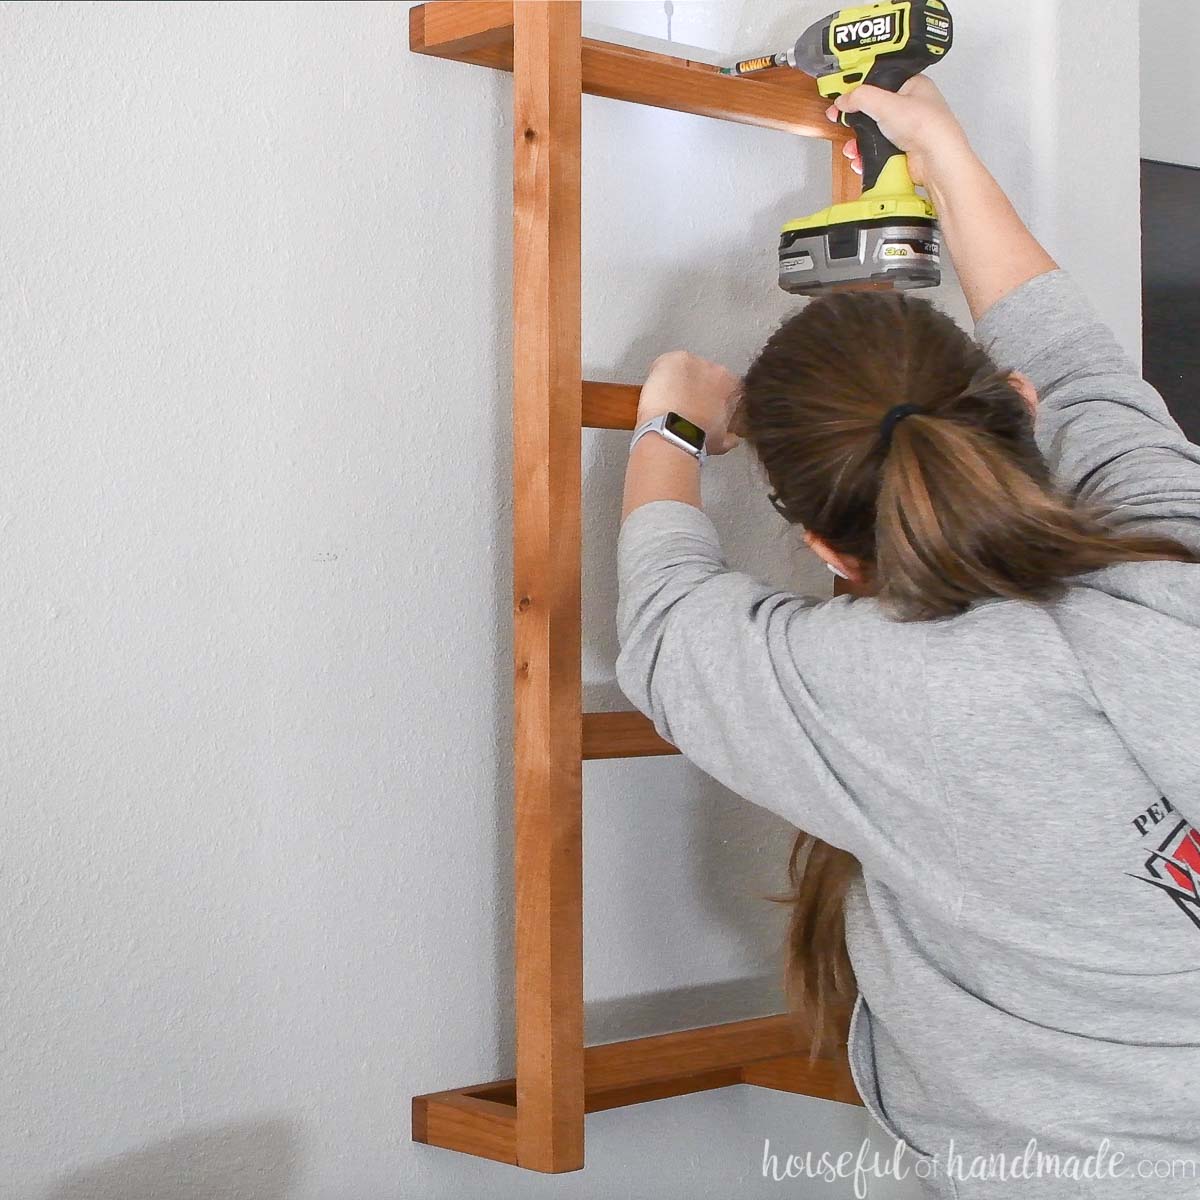
STEP 3- Hang the wall ladder
Use 2 1/2″ long wood screws through the back 1×2 into your wall to hang.
You want to make sure at least one screw on each 1×2 is into a wall stud. Use a drywall anchor on the other screw.
Mark where the wall stud will be on the back of the blanket ladder then mark the area for the wall anchor so it is evenly spaced.
Hold the ladder level on the wall. Predrill holes through the back slat for the screws and into the wall to mark the wall anchor.
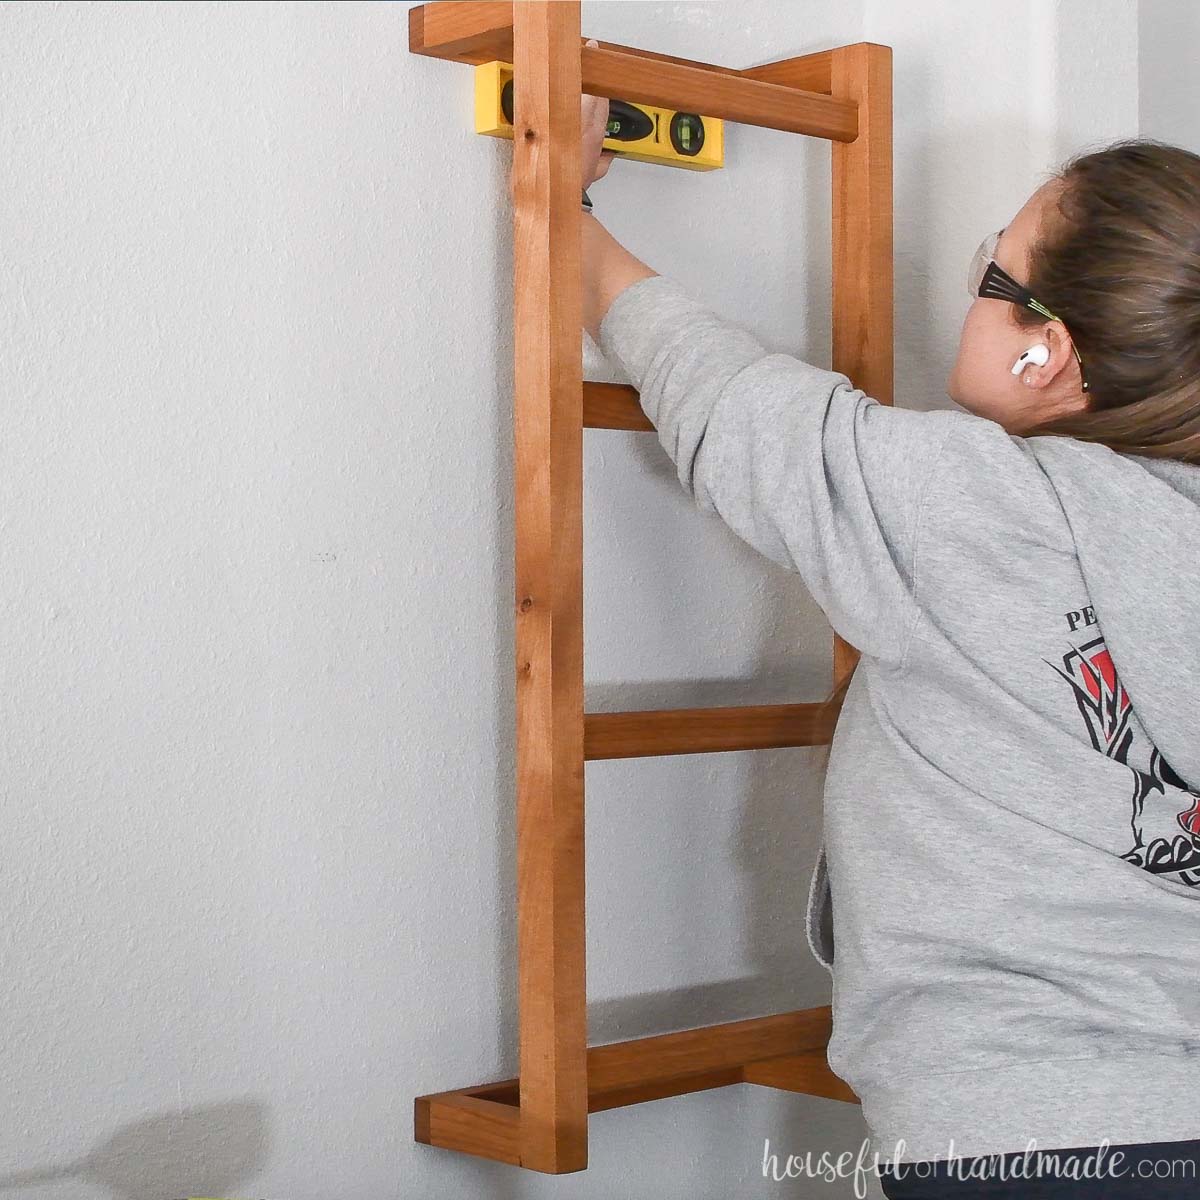
Add your wall anchors.
Then secure the wall mounted ladder to the wall with the 2 1/2″ long wood screws.
You did it!
Premium plans include:
- Recommended Tools
- Shopping list
- Easy to read cut list table
- Cut diagrams
- Step-by-step instructions with 3D renderings
- Helpful resources
- BONUS: 3D SketchUp file
/*<![CDATA[*/ (function () { var scriptURL = 'https://sdks.shopifycdn.com/buy-button/latest/buy-button-storefront.min.js'; if (window.ShopifyBuy) { if (window.ShopifyBuy.UI) { ShopifyBuyInit(); } else { loadScript(); } } else { loadScript(); } function loadScript() { var script = document.createElement('script'); script.async = true; script.src = scriptURL; (document.getElementsByTagName('head')[0] || document.getElementsByTagName('body')[0]).appendChild(script); script.onload = ShopifyBuyInit; } function ShopifyBuyInit() { var client = ShopifyBuy.buildClient({ domain: 'houseful-of-handmade.myshopify.com', storefrontAccessToken: '67be1252d864e69b28d4cd5343206ccd', }); ShopifyBuy.UI.onReady(client).then(function (ui) { ui.createComponent('product', { id: '8170870014140', node: document.getElementById('product-component-1739215124936'), moneyFormat: '%24%7B%7Bamount%7D%7D', options: { "product": { "styles": { "product": { "@media (min-width: 601px)": { "max-width": "calc(25% – 20px)", "margin-left": "20px", "margin-bottom": "50px" } }, "title": { "color": "#ffffff" }, "button": { "font-size": "16px", "padding-top": "16px", "padding-bottom": "16px", ":hover": { "background-color": "#326963" }, "background-color": "#37756e", ":focus": { "background-color": "#326963" }, "border-radius": "15px", "padding-left": "80px", "padding-right": "80px" }, "quantityInput": { "font-size": "16px", "padding-top": "16px", "padding-bottom": "16px" }, "price": { "font-size": "16px", "color": "#ffffff" }, "compareAt": { "font-size": "13.6px", "color": "#ffffff" }, "unitPrice": { "font-size": "13.6px", "color": "#ffffff" } }, "text": { "button": "Add to cart" } }, "productSet": { "styles": { "products": { "@media (min-width: 601px)": { "margin-left": "-20px" } } } }, "modalProduct": { "contents": { "img": false, "imgWithCarousel": true, "button": false, "buttonWithQuantity": true }, "styles": { "product": { "@media (min-width: 601px)": { "max-width": "100%", "margin-left": "0px", "margin-bottom": "0px" } }, "button": { "font-size": "16px", "padding-top": "16px", "padding-bottom": "16px", ":hover": { "background-color": "#326963" }, "background-color": "#37756e", ":focus": { "background-color": "#326963" }, "border-radius": "15px", "padding-left": "80px", "padding-right": "80px" }, "quantityInput": { "font-size": "16px", "padding-top": "16px", "padding-bottom": "16px" }, "title": { "font-family": "Helvetica Neue, sans-serif", "font-weight": "bold", "font-size": "26px", "color": "#4c4c4c" }, "price": { "font-family": "Helvetica Neue, sans-serif", "font-weight": "normal", "font-size": "18px", "color": "#4c4c4c" }, "compareAt": { "font-family": "Helvetica Neue, sans-serif", "font-weight": "normal", "font-size": "15.299999999999999px", "color": "#4c4c4c" }, "unitPrice": { "font-family": "Helvetica Neue, sans-serif", "font-weight": "normal", "font-size": "15.299999999999999px", "color": "#4c4c4c" } }, "text": { "button": "Add to cart" } }, "option": {}, "cart": { "styles": { "button": { "font-size": "16px", "padding-top": "16px", "padding-bottom": "16px", ":hover": { "background-color": "#326963" }, "background-color": "#37756e", ":focus": { "background-color": "#326963" }, "border-radius": "15px" }, "title": { "color": "#121212" }, "header": { "color": "#121212" }, "lineItems": { "color": "#121212" }, "subtotalText": { "color": "#121212" }, "subtotal": { "color": "#121212" }, "notice": { "color": "#121212" }, "currency": { "color": "#121212" }, "close": { "color": "#121212", ":hover": { "color": "#121212" } }, "empty": { "color": "#121212" }, "noteDescription": { "color": "#121212" }, "discountText": { "color": "#121212" }, "discountIcon": { "fill": "#121212" }, "discountAmount": { "color": "#121212" }, "cart": { "background-color": "#f4f4f4" }, "footer": { "background-color": "#f4f4f4" } }, "text": { "total": "Subtotal", "button": "Checkout" } }, "toggle": { "styles": { "toggle": { "background-color": "#37756e", ":hover": { "background-color": "#326963" }, ":focus": { "background-color": "#326963" } }, "count": { "font-size": "16px" } } }, "lineItem": { "styles": { "variantTitle": { "color": "#121212" }, "title": { "color": "#121212" }, "price": { "color": "#121212" }, "fullPrice": { "color": "#121212" }, "discount": { "color": "#121212" }, "discountIcon": { "fill": "#121212" }, "quantity": { "color": "#121212" }, "quantityIncrement": { "color": "#121212", "border-color": "#121212" }, "quantityDecrement": { "color": "#121212", "border-color": "#121212" }, "quantityInput": { "color": "#121212", "border-color": "#121212" } } } }, }); }); } })(); /*]]>*/
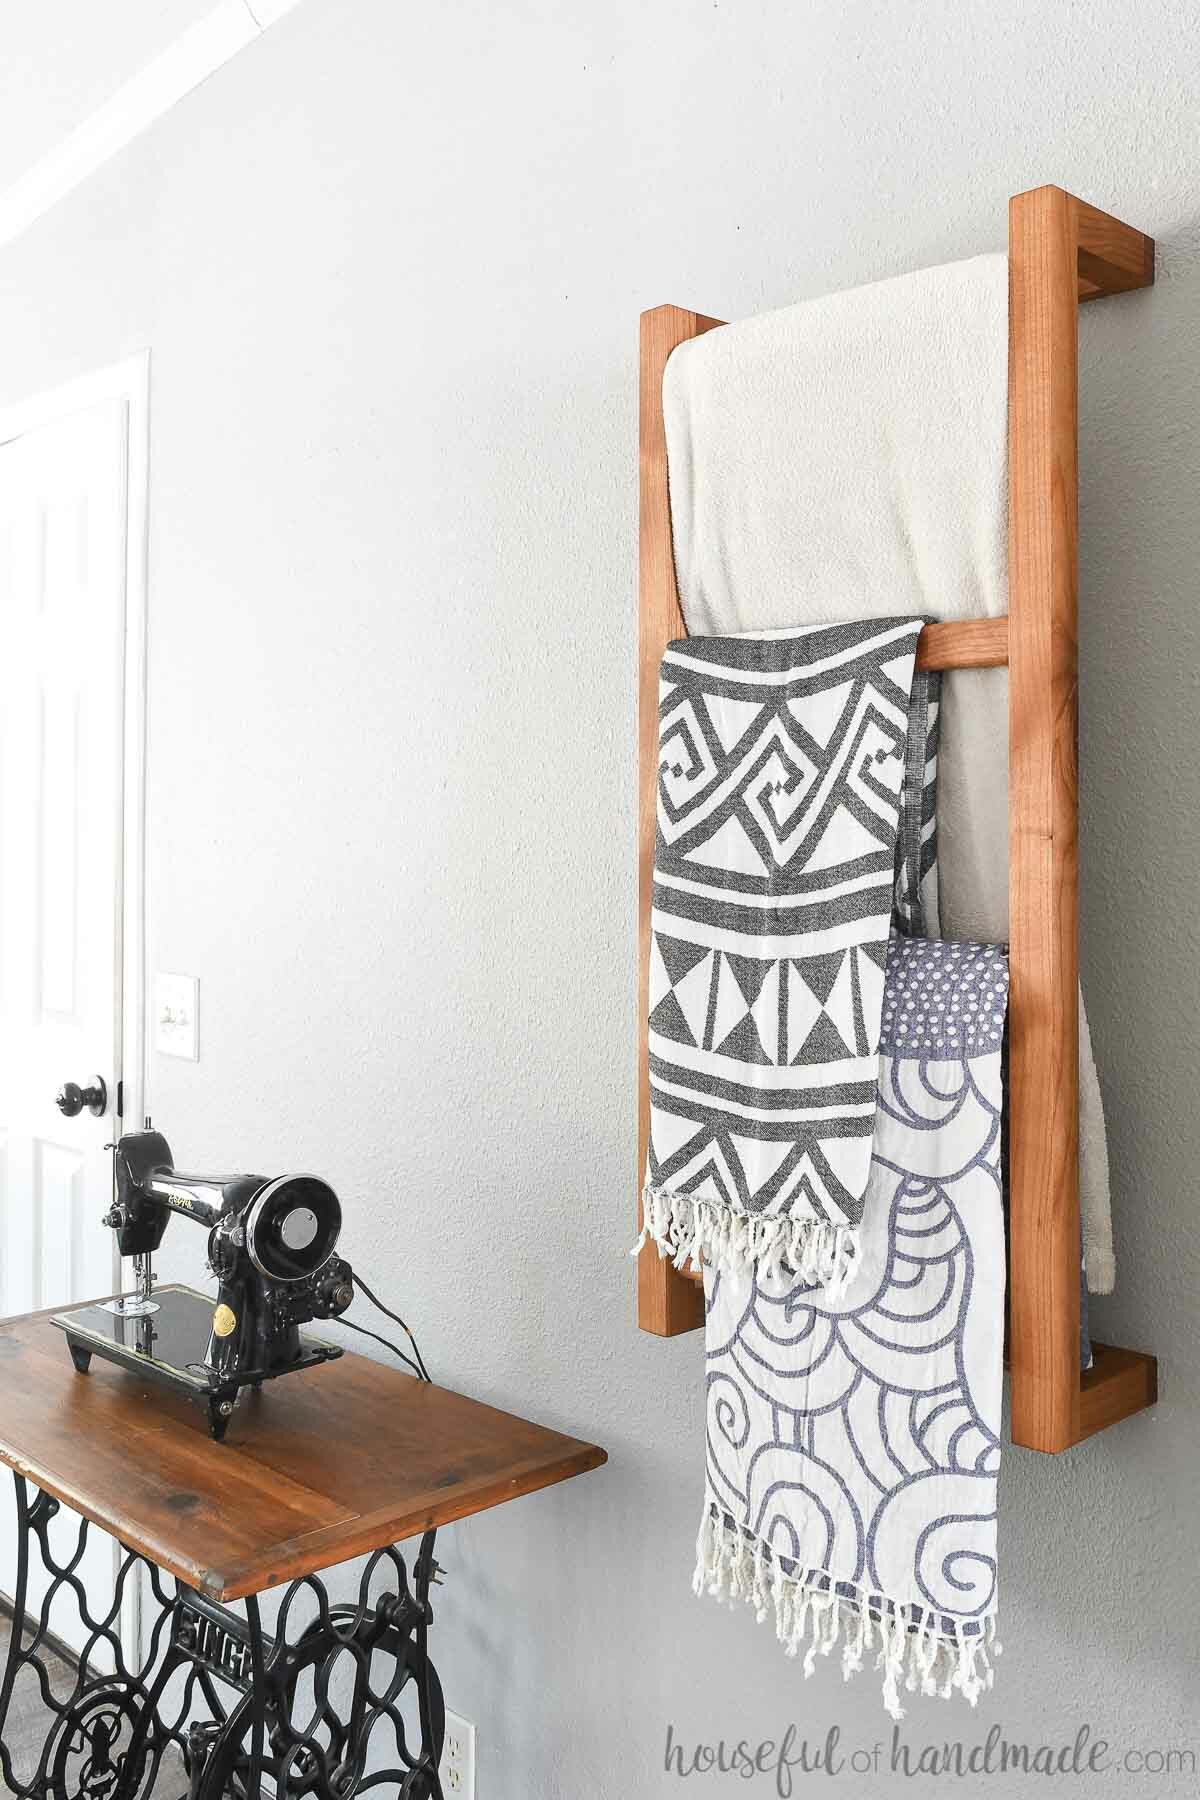
Now your new blanket ladder is all done! And you no longer have to worry about things getting lost behind it because it is mounted high on the wall.
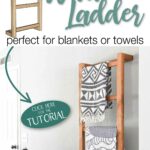
Or you can mount it in a bathroom to use as the perfect towel ladder.
Make it larger or smaller as needed to work best for your needs.
Happy building!

Thank you to Kreg Tools for sponsoring this post. I only recommend products that I use and love and all opinions are 100% my own. Click here to read my full disclosure policy.