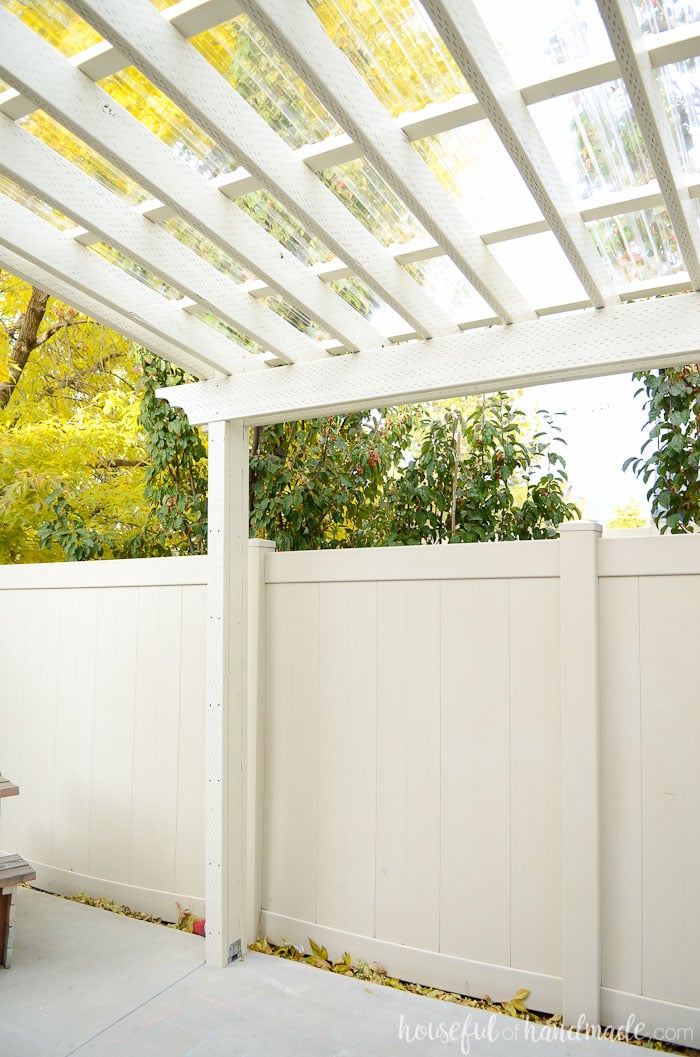
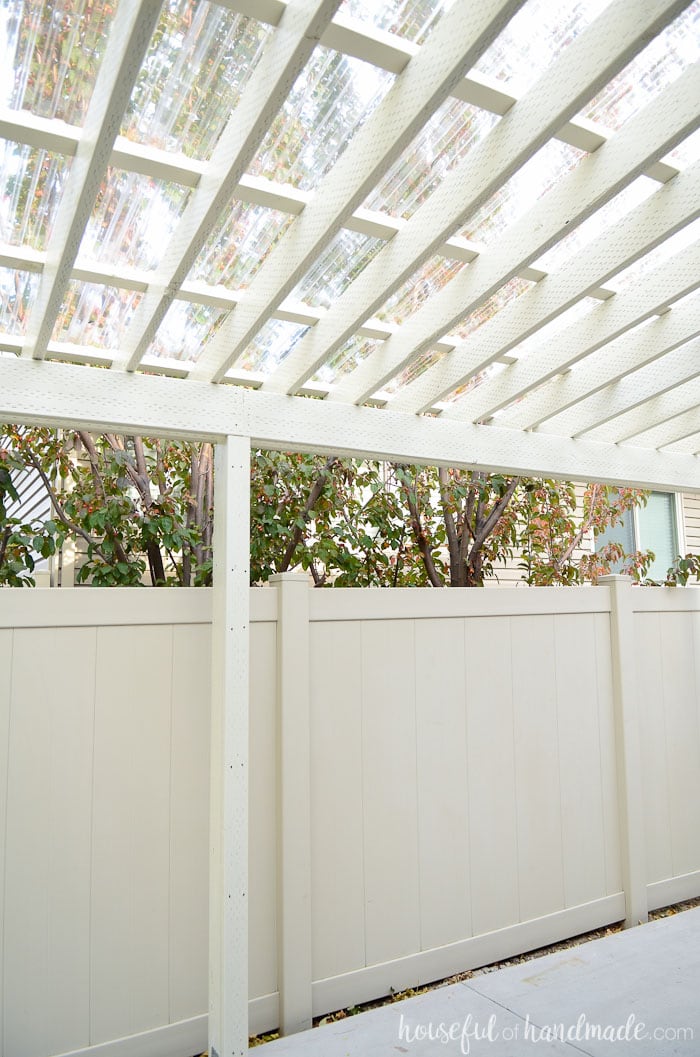
Installing a clear pergola roof was the best decision ever. It has turned our side yard is a three season patio that we can enjoy in any weather.
We love our new patio pergola, but the only thing that could make it better was installing a clear pergola roof. Now even if it decides to rain for an entire month (like it did in September), we can still enjoy gatherings on the patio.
Adding a roof to a pergola seems like a big deal, but we partnered with the Home Depot to make it easy! Now we cannot wait for another storm so we can test out our new clear pergola roof.

This post may contain affiliate links. As an Amazon Associate I earn from qualifying purchases. Click here to read my full disclosure policy.
After installing the SunTuf corrugated roofing on the kids outdoor playhouse, I knew I wanted to use it again. It looks so nice and is absolutely DIY friendly.
But my favorite part is that it lets the light in but blocks out the UV rays. Blocking UV rays on the patio means all our patio furniture will last longer. No more fading and sun bleaching! And we can enjoy the patio even if the weather decides to rain out another of our parties!

The biggest decision we had was whether to use the same Solar Gray color on the patio as we had on the playhouse roof. I love that the playhouse has the extra shading so the kids can play in it all summer long and it stays a bit cooler.
Originally I had planned on using the shading color for the patio pergola too. Then I realized the patio is completely shaded by the house in the late afternoon on and our neighbor’s trees block most of the direct sun in the morning, so we would only have direct sun for a small portion of the day.
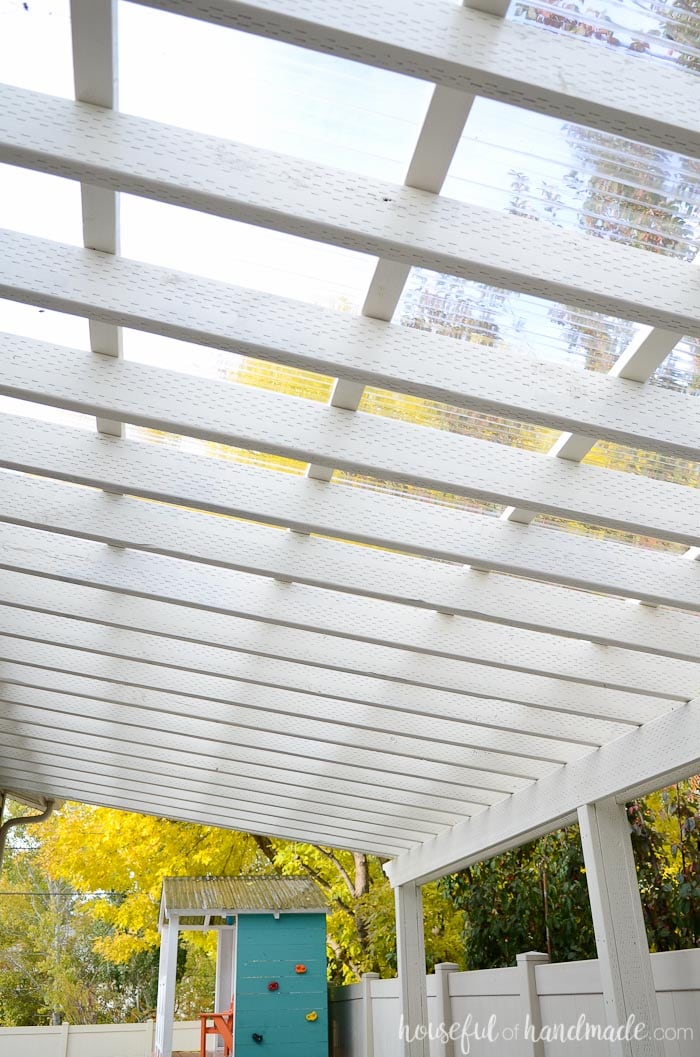
I was a little worried that the patio area might be a little dark with a shaded pergola roof, so I consulted my home design expert (aka, my mom) and she agreed with me. A clear pergola roof was the way to go! So off we went to the Home Depot for the clear SunTuf panels and I haven’t regretted my decision once!
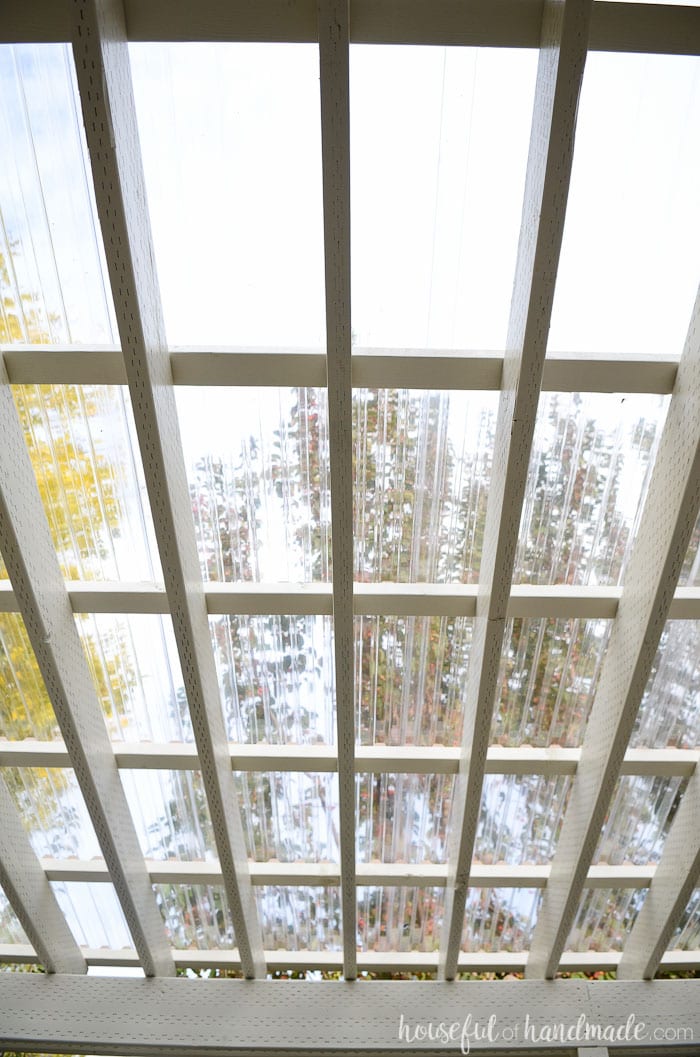
The clear pergola roof still blocks some of the sun (about 10%) so the patio still feels cooler than the non-covered area. And being able to see the sky through the roof is so beautiful.
I seriously cannot wait for a rain storm so we can sit under the roof and watch the rain drops dance on it. Since it is later in the fall season now, we may have to be bundled up with a cup of hot cocoa, but you better believe we are not going to miss our first storm under the new clear pergola roof!
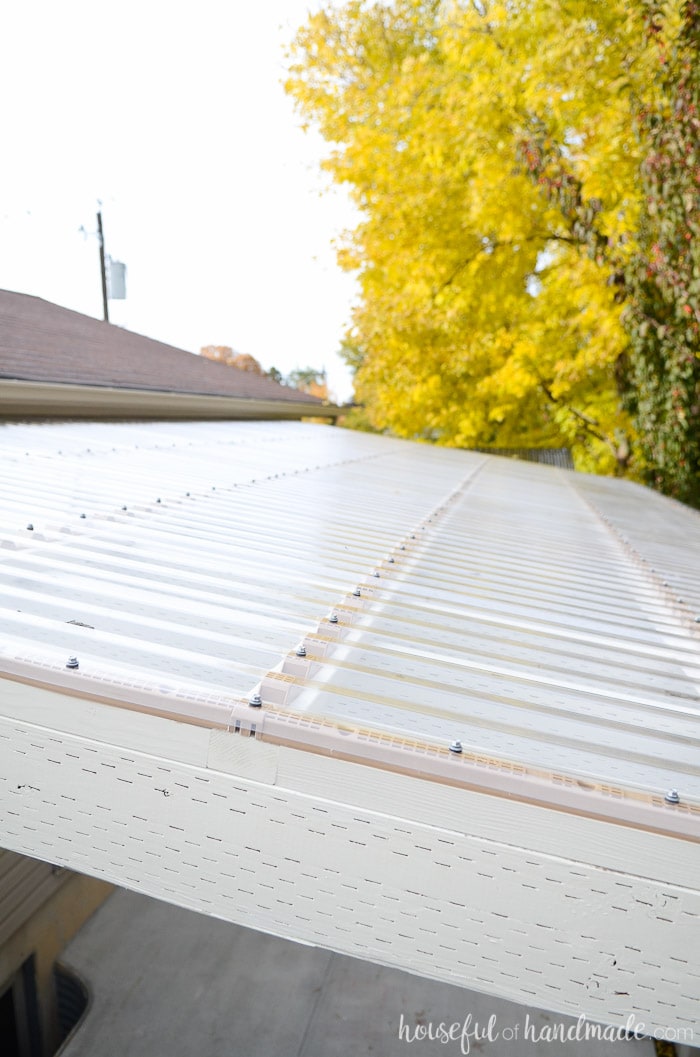
The best part of the SunTuf corrugated roofing panels is you can attach them to an existing structure. You only need to add purlins to the existing structure to attach the panels to. So if you have ever wanted to add a roof to an existing pergola, porch or even chicken coop, you are going to want to read on.
And don’t forget to check out the complete patio pergola build and the rest of our woodworking tutorials.
How to Install a Clear Pergola Roof
Supplies:
- 2×3 boards for the purlins
- 2×2 boards
- SunTuf clear corrugated roofing panels
- We used 10 12′ long panels.
- Horizontal closure strips
- Vertical closure strips
- Woodtite 2′ fasteners
- Measuring tape
- Circular saw
- Impact Driver/Drill
- Screw driver
- Ladder
Installing the Purlins
We installed the purlins to the top of the pergola from 2×3 boards. To match the pergola, I first painted the boards (way easier than painting after installing, trust me).
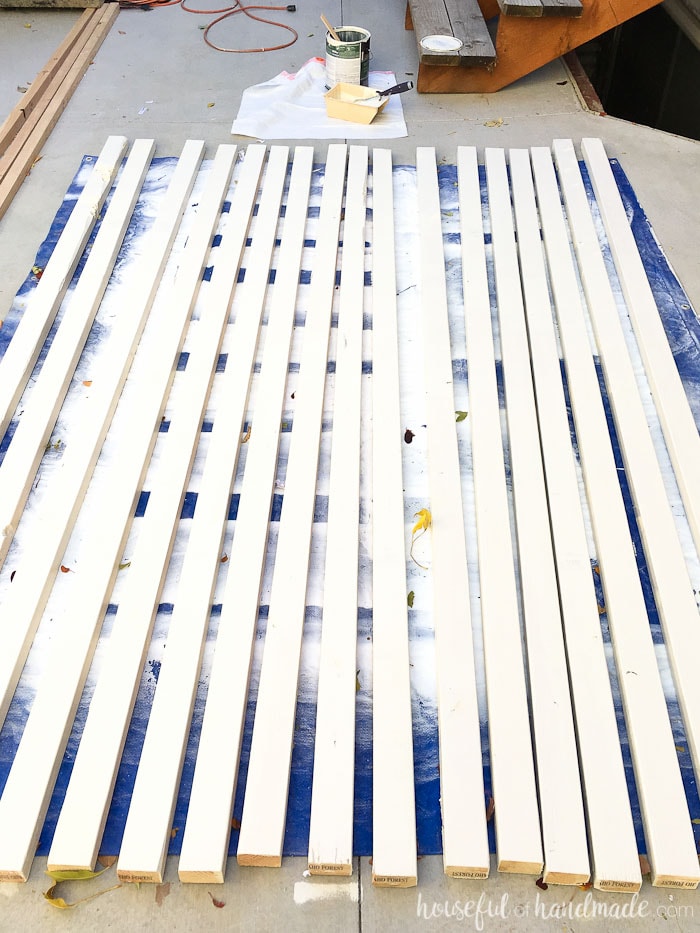
Once dry, it was time to install. This isn’t a very hard step especially if you have two people. However, I decided to try to get it done one afternoon while my husband was at work.
I think I went up and down the ladder a thousand times that afternoon (I know it was a lot because my bootie hurt so bad the next day). And I only completed 3 out of 7 purlins. The next day my husband helped me and the other 4 purlins were installed in no time.
The moral of this story, get an extra set of hands to make this so much easier on yourself.
Because our pergola is large (20′ x 11′ to be exact), it took multiple boards for each purlin. To make sure they were super sturdy, we cut the 2×3 boards so they broke over a pergola cross beam. So each purlin had to be measured to make sure the cuts with the saw were braced on the center of the beams (see where the extra set of hands comes in nicely).
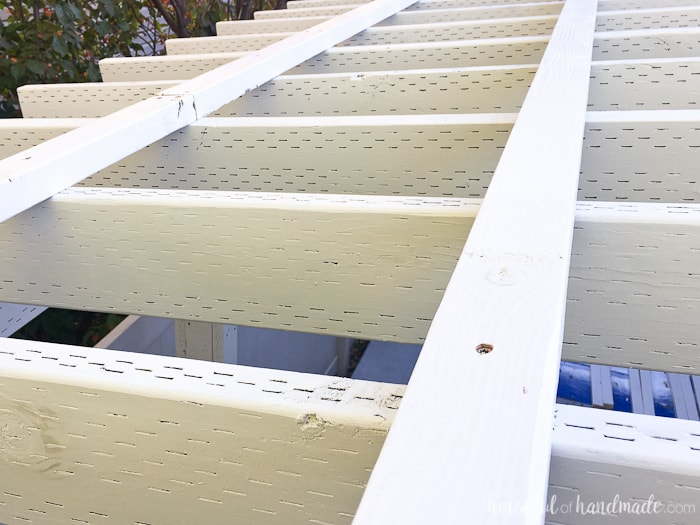
We measured and cut the boards then started screwing them into the 2×6 cross beams so they were perpendicular to the cross beams. We secured them with 2 1/2″ construction screws and made sure to screw them into each beam.
Our purlins were spaced 21″ on center apart. The requirement for our snow load was 24″, but 21″ made them even on the total pergola width so I figured less is better!
Installing the Closure Strips
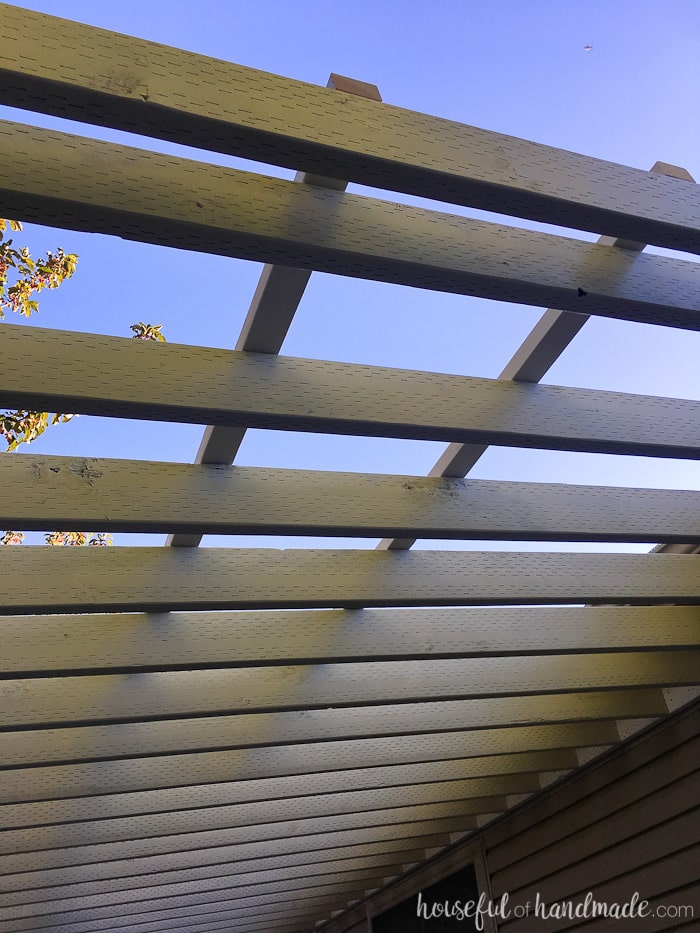
After the purlins were attached, we needed to attach the SunTuf horizontal closure strips. We attached them to the bottom of the purlin on the far edge of the pergola and the center of other purlins with 1 1/4″ construction screws.
They are super easy to install because they just snap together at the ends. We just climbed on top of the pergola and made quick work of it.
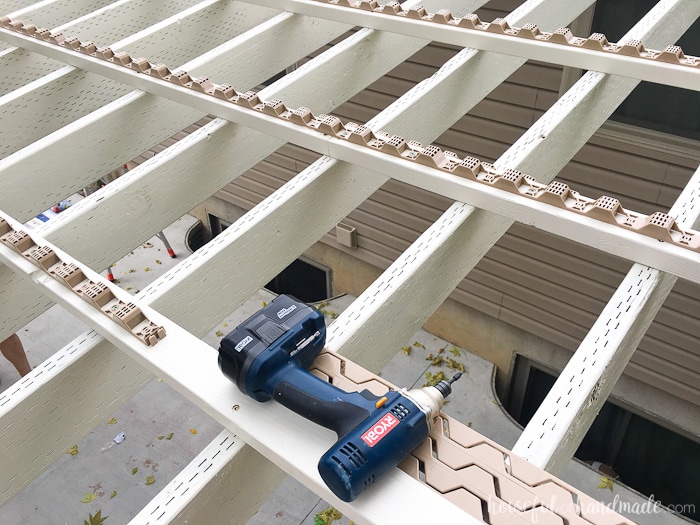
Under the eave of the house it was a very tight fit. We barely had enough space to add the pergola roof. We had to be a little creative to attach the purlins and horizontal closure strips.
First we attached the horizontal closure strips to the 2×3 boards. When the board ended and we needed to attach another closure strip, we marked where the new strip would start on the next board.
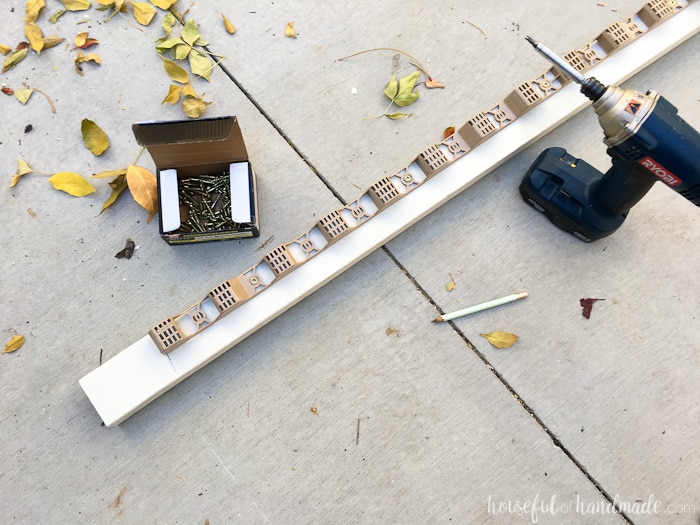
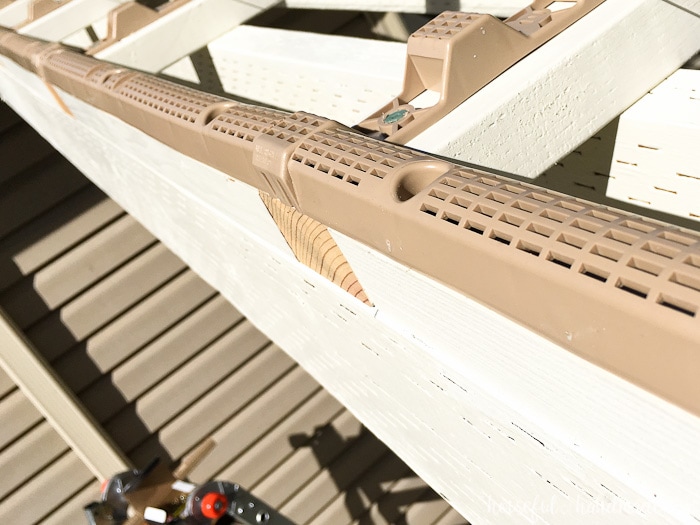
In order to attach the purlin on top of the header, we had to screw up from the header of the pergola into the purlin. We did this by pre-drilling a pilot hole at an angle then securing the purlin with a screw. I added a screw on each side of every cross beam.
Next we attached the vertical closure strips. These go in between the ends of the horizontal closure strips just on the outer edges of the roof.
We needed to add 2×2 boards in between the 2×3 purlins to bring the sides of the pergola up to the same height. These were painted before installing again.
Then it was easy to cut the boards to length and secure with 2 1/2″ construction screws. The vertical closure strips were cut to fit and then attached with the 1 1/4″ screws.
Installing the Clear Roof Panels
Now we were finally ready for the roof! All that prep took way more time that actually adding the roof, but I know proper prep is important (but I definitely prefer being able to see the instant results).
We discovered that our house is not square on the property and made our pergola line up with the fence so it didn’t look crooked. So our roofing had to be measured carefully to ensure the overhang was the proper distance all the way down.
So we measured the start and end of every 26″ panel and cut each one individually. It ended up being that each panel was 1/4″ longer at the back end than the front end. We put the slightly diagonal cut line against the crooked house and left the factory cut line at the overhang.
To cut the panels, we clamped a level to create our cut line and used a circular saw to run right down the edge of it. It was super quick to measure and cut each one. The sound of the saw hitting each corrugation is a little scary at first, but it cuts so clean that there is no need to worry.
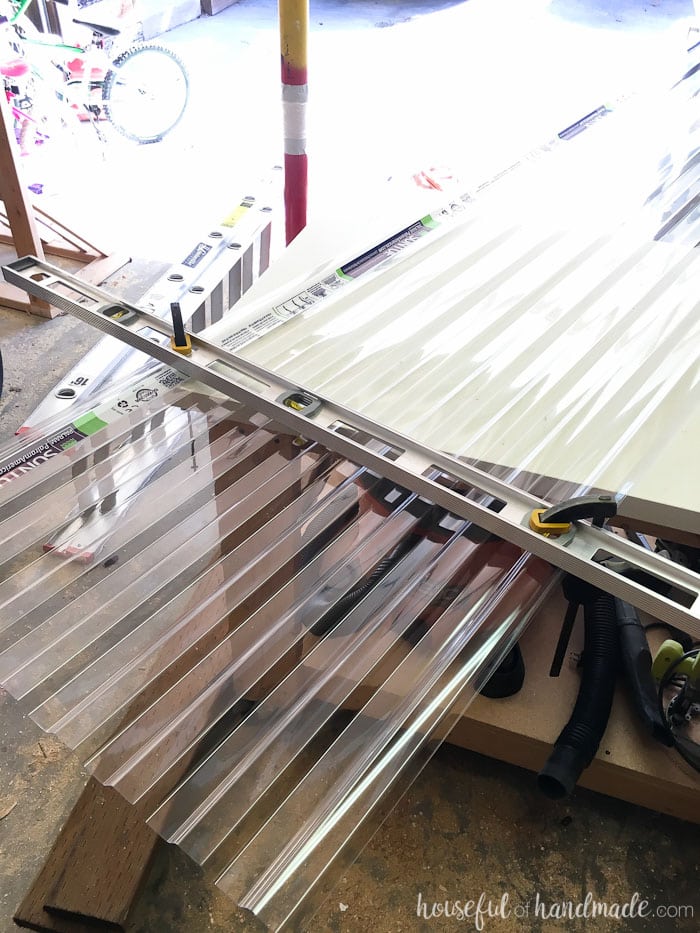
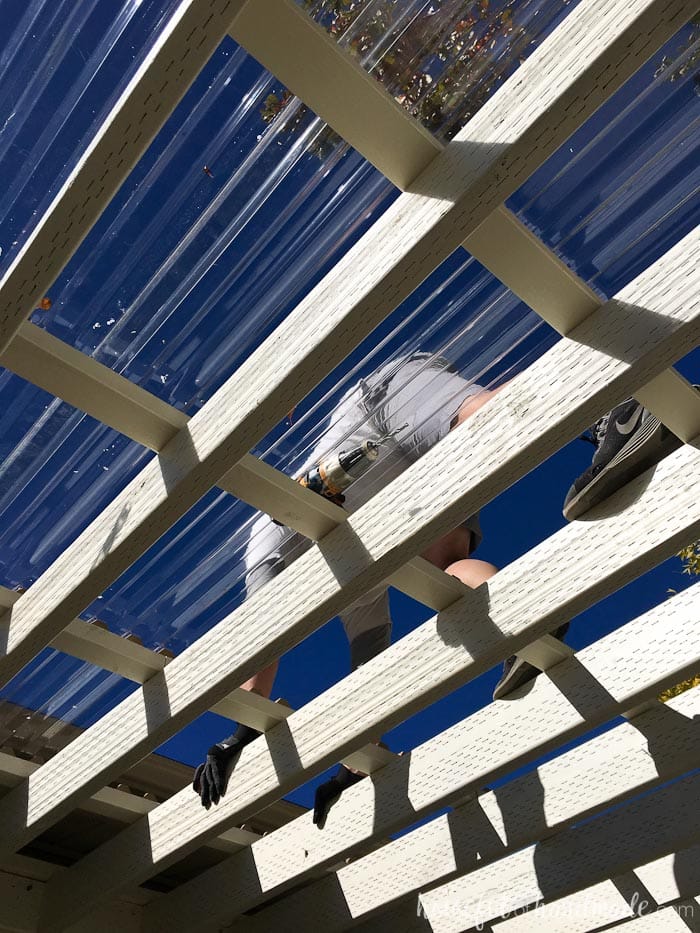
After cutting we placed the beautiful clear roof panels on top of the pergola. They just sit onto the horizontal and vertical closure strips. Once in place, it is time to start securing it.
Each screw hole needs to be predrilled with a 1/4″ drill bit first to allow for expansion and contraction due to change in temperatures. Without this there might be cracking and that is not desirable! So we used both sets of hands to make quick work of it.
One person predrilled the holes and the other one came in behind with the special screws.
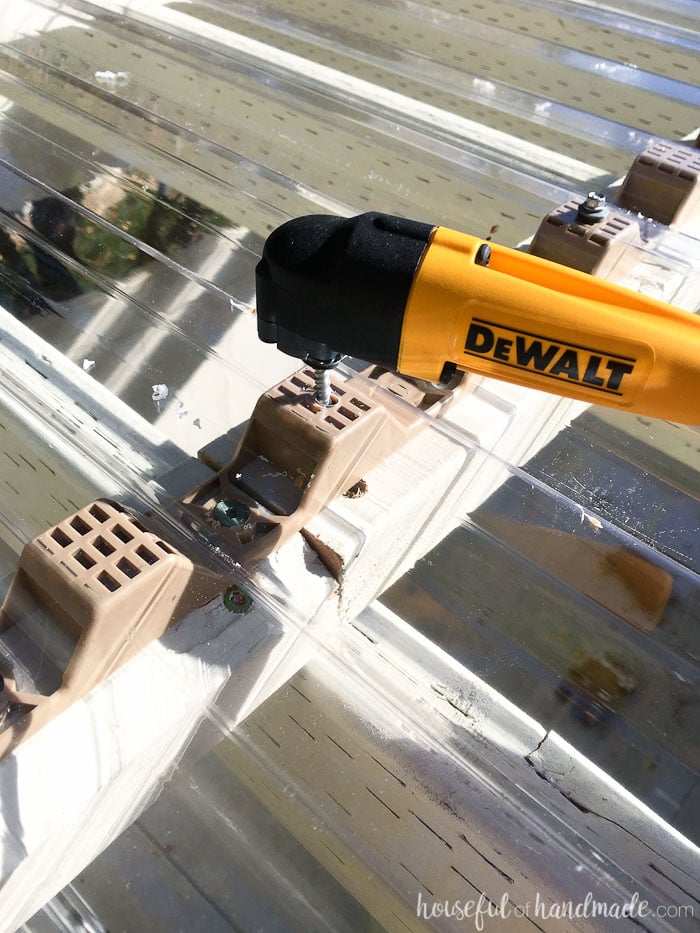
You have to be careful when fastening the screws so they do not sink into the roofing material causing a dimple. After a few screws though, we figured out the groove and were able to quickly insert each screw perfectly. We installed screws in every other corrugation except the last one where the next panel would be overlapping it.
To install the next panel, we measured and cut to the correct length. Then overlapped it one corrugation with the first panel and started pre drilling and screwing in the screws. We found it was easiest to add the screws all the way down the top of the overlap first, then go back in and fill in the rest of the panel.
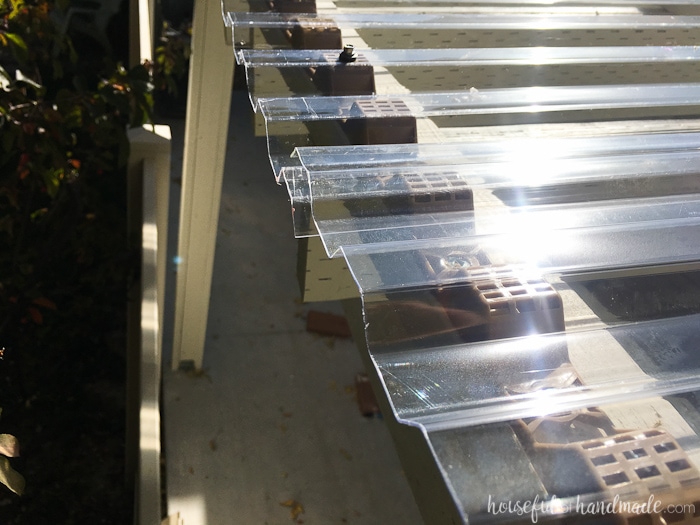
The rest of the day was all about measuring for the next panel, cutting, then securing it to the roof. Luckily it was a beautifully sunny day, with temperatures in the low 70s. A perfect day to install a clear pergola roof!
It was not hard work, but there are a LOT of screws on the top of our pergola so it did take the better part of the day to complete. But when that last screw was finally attached, we cheered a little bit and then had a few minutes to admire our work before the kids needed us.
The next day I couldn’t stop myself from wandering out onto the patio every couple hours to admire the new clear pergola roof. It just looks so beautiful with the trees and sky behind it.
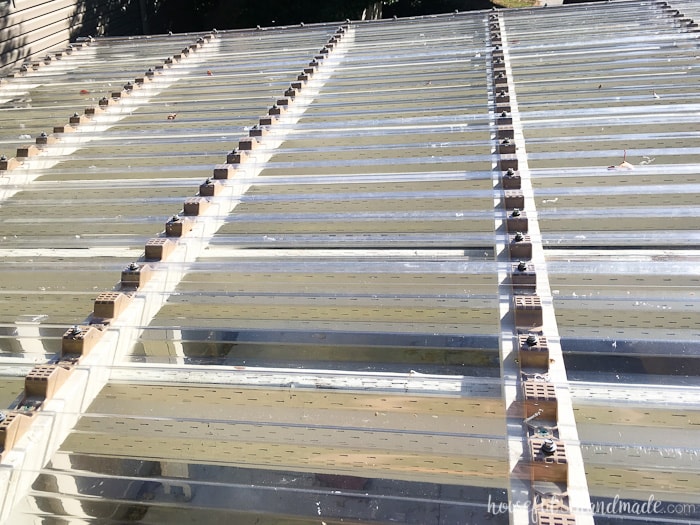
And now we finally get to fill the patio up with furnishings so we can start to enjoy it! The plan is to create an outdoor dining and kitchen area so we can have many family dinners together.
Next I will be sharing the build plans for our outdoor kitchen island. It is going to be the perfect place to store all our outdoor eating and cooking supplies. And even has a bar area for stools so the kids can sit up to it and help cook. Stay tuned for lots more patio fun!
Don’t miss out on any of the fun DIY projects, click here to subscribe to the weekly newsletter today!

Thank you to the Home Depot for sponsoring this post. I only recommend products that I use and love and all opinions are 100% my own. Click here to read my full disclosure policy.

