I must be getting old because a quiet morning sipping my coffee on the patio watching the birds is one of my favorite things.
But I figured I could make that morning even better with a beautiful new birdbath. Nothing is more beautiful that a sweet cardinal splashing in the water.
So I partnered with Kreg Tools to use their Kreg jig and build my own backyard bird bath. And I am sharing the plans with you for free so you can build one too!
This post may contain affiliate links. As an Amazon Associate I earn from qualifying purchases. Click here to read my full disclosure policy.
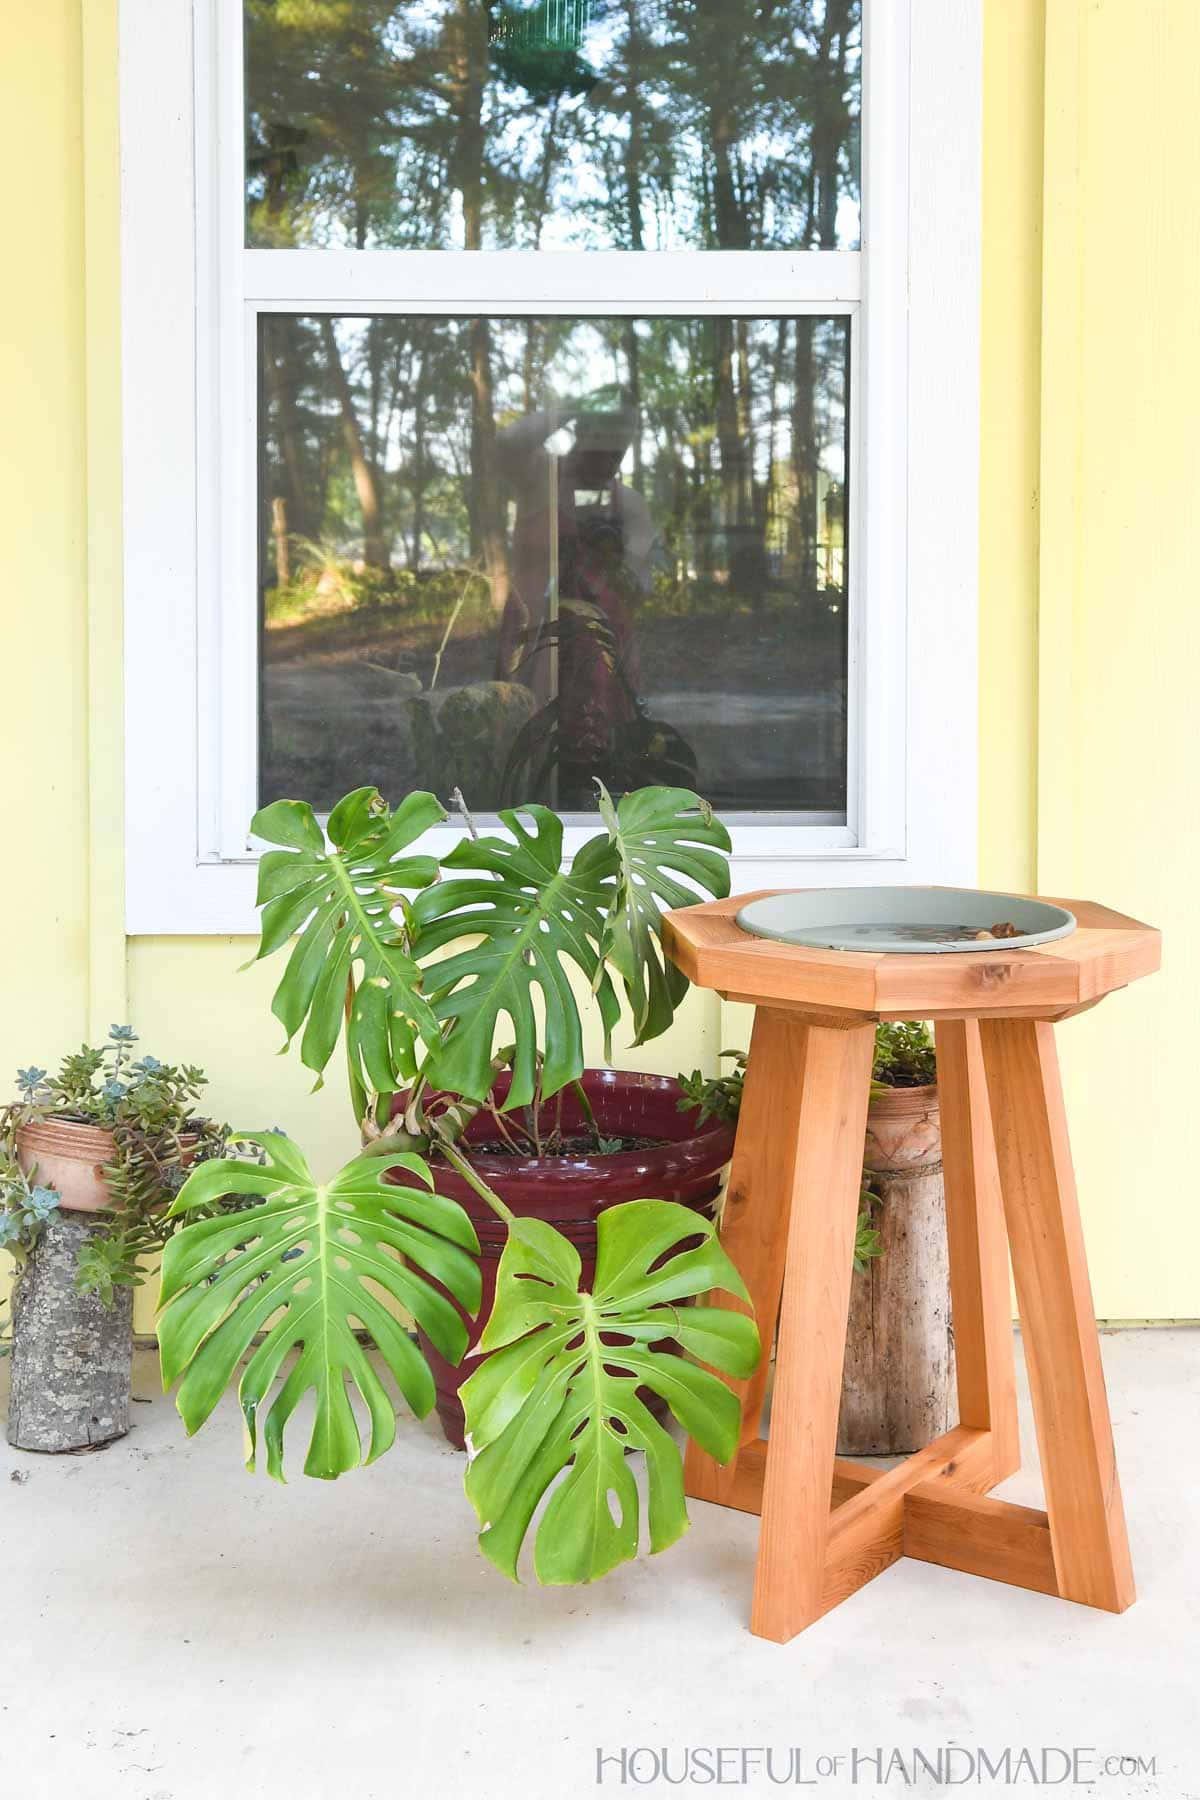
Pedestal Bird Bath
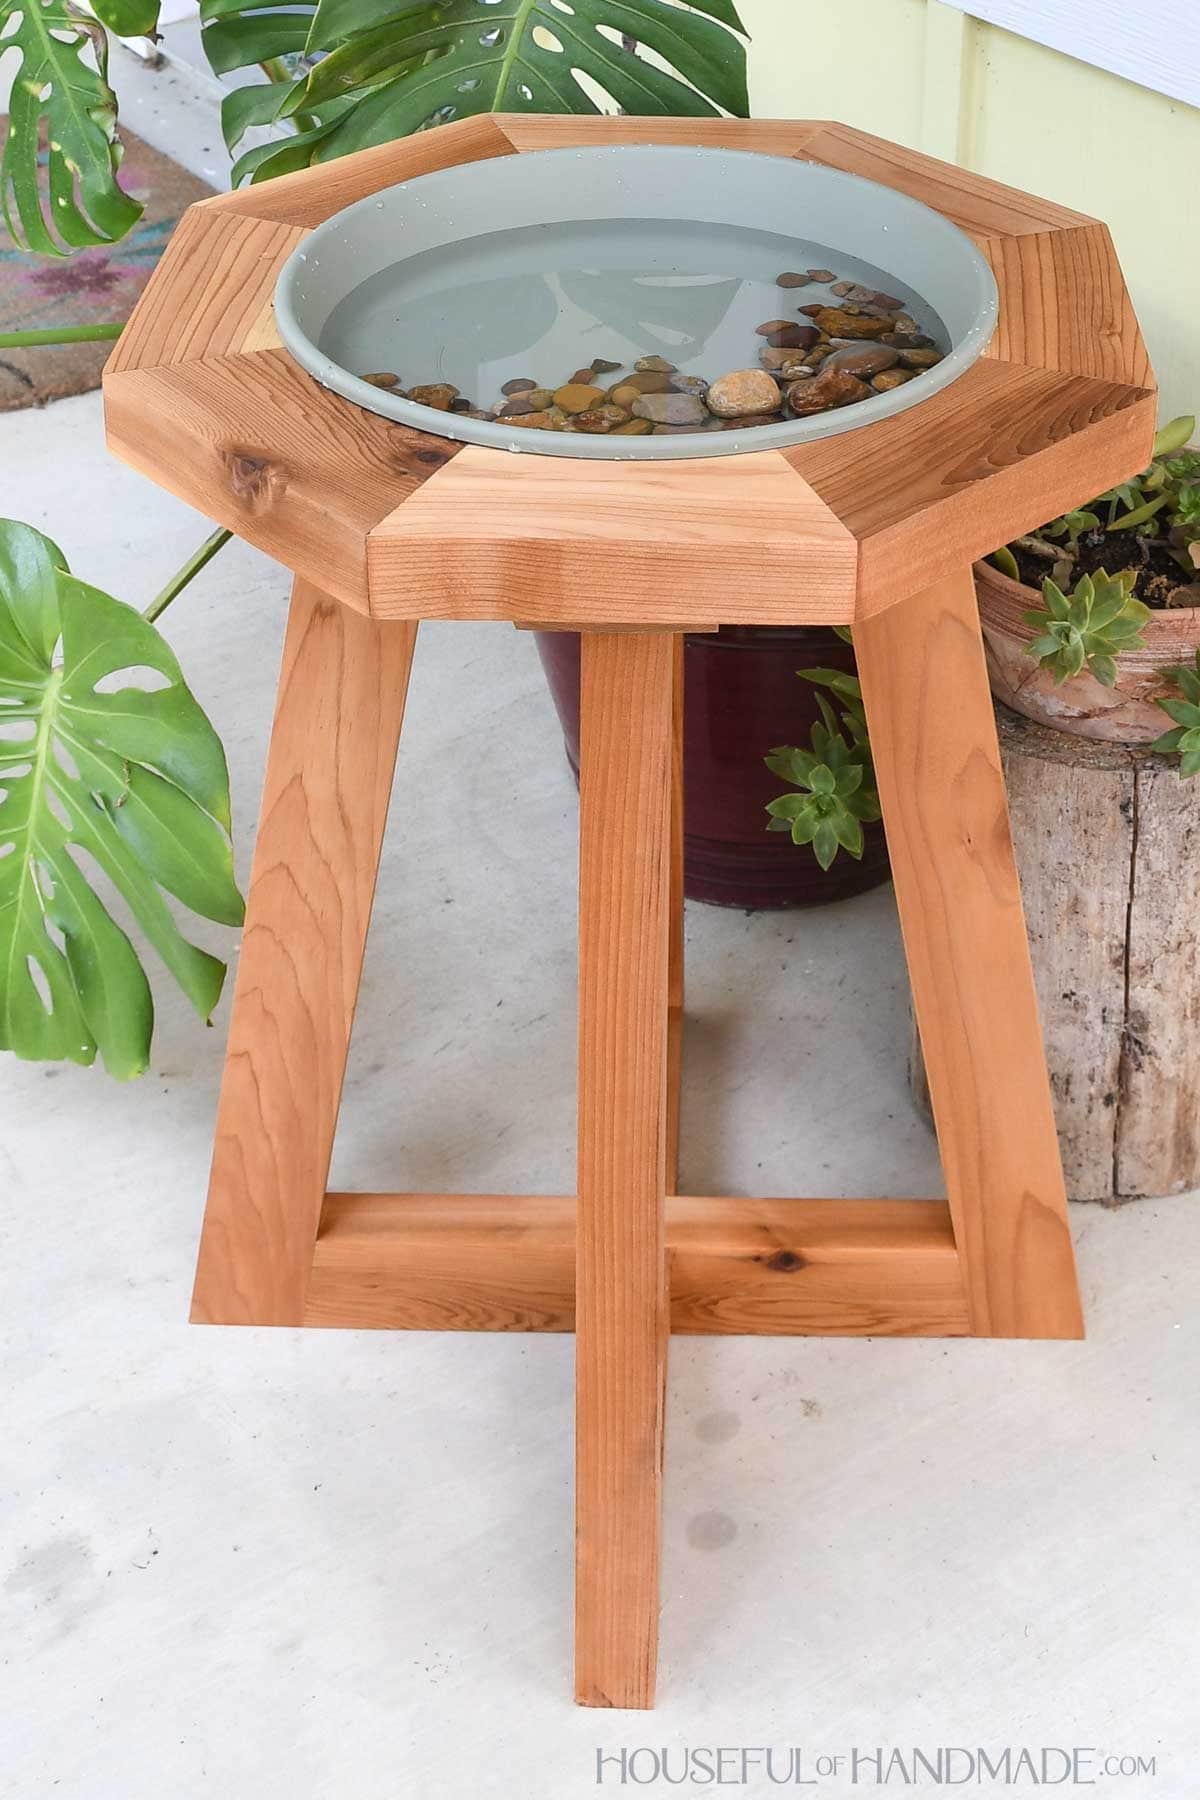
I love the classic pedestal bird baths, but I wanted a more modern take.
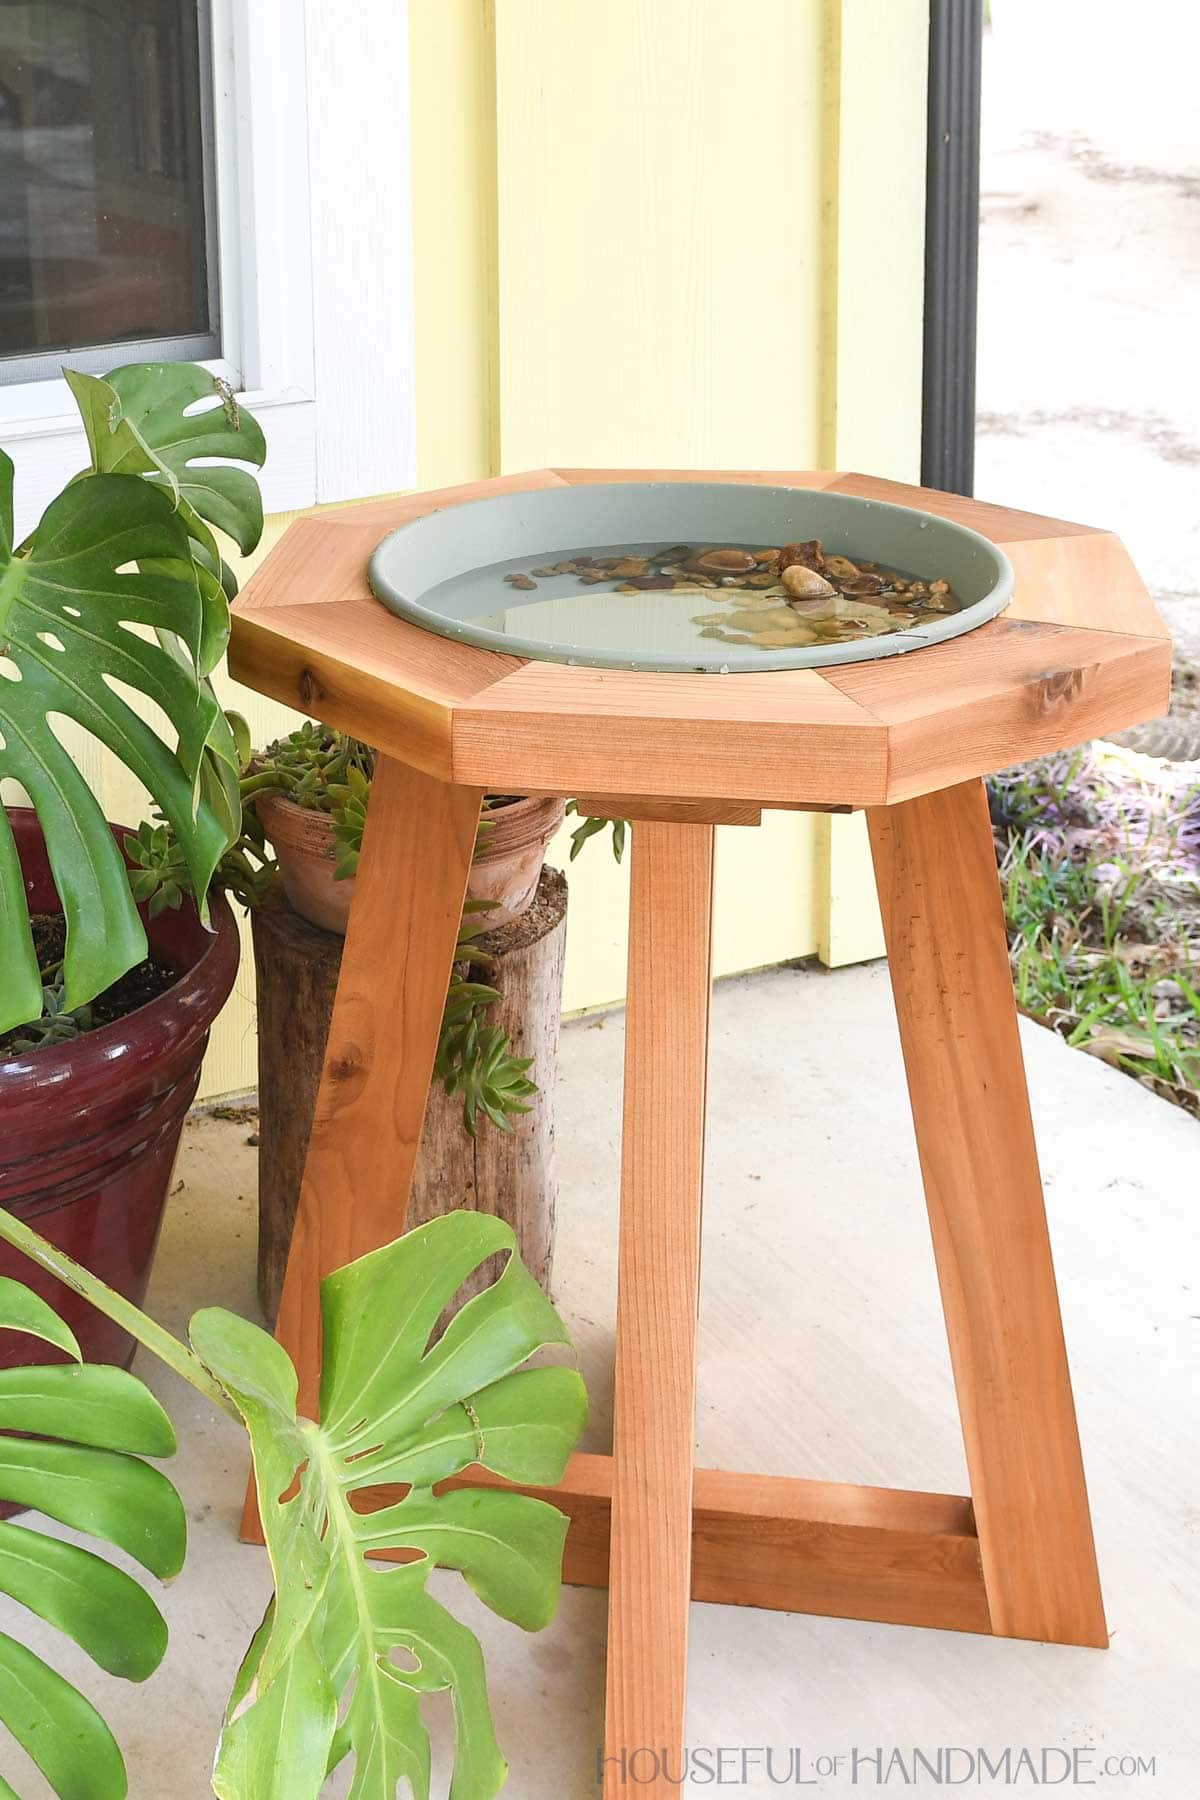
So I designed this simple birdbath with an octagon for the top. The top holds a saucer that is filled with water for the birds to splash in.
And the large octagon around it offers an easy landing place for the birds before and after their bath.
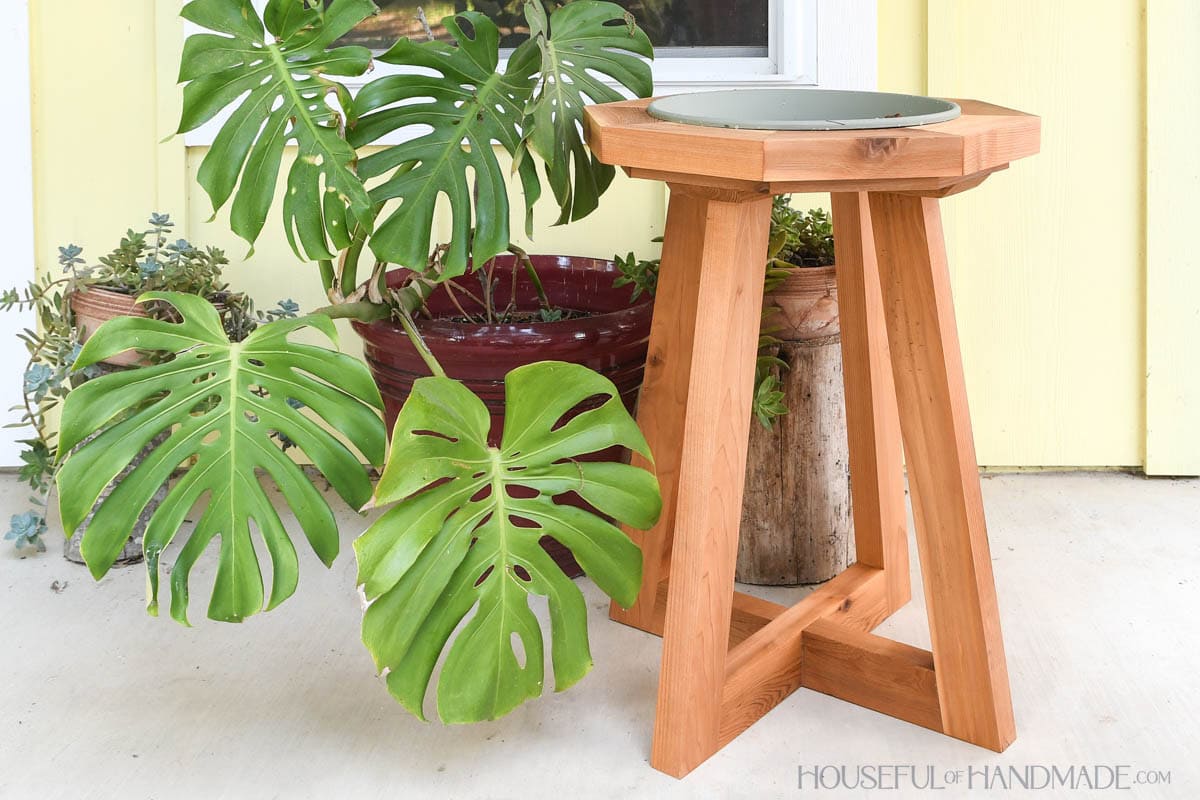
Then the pedestal is built with 4 legs that angle toward the top. The legs can double as trellises for climbing flowers or vines int he garden.
At the bottom, the legs are joined to create a sturdy base. You definitely want the birds to feel secure so they stay to play.
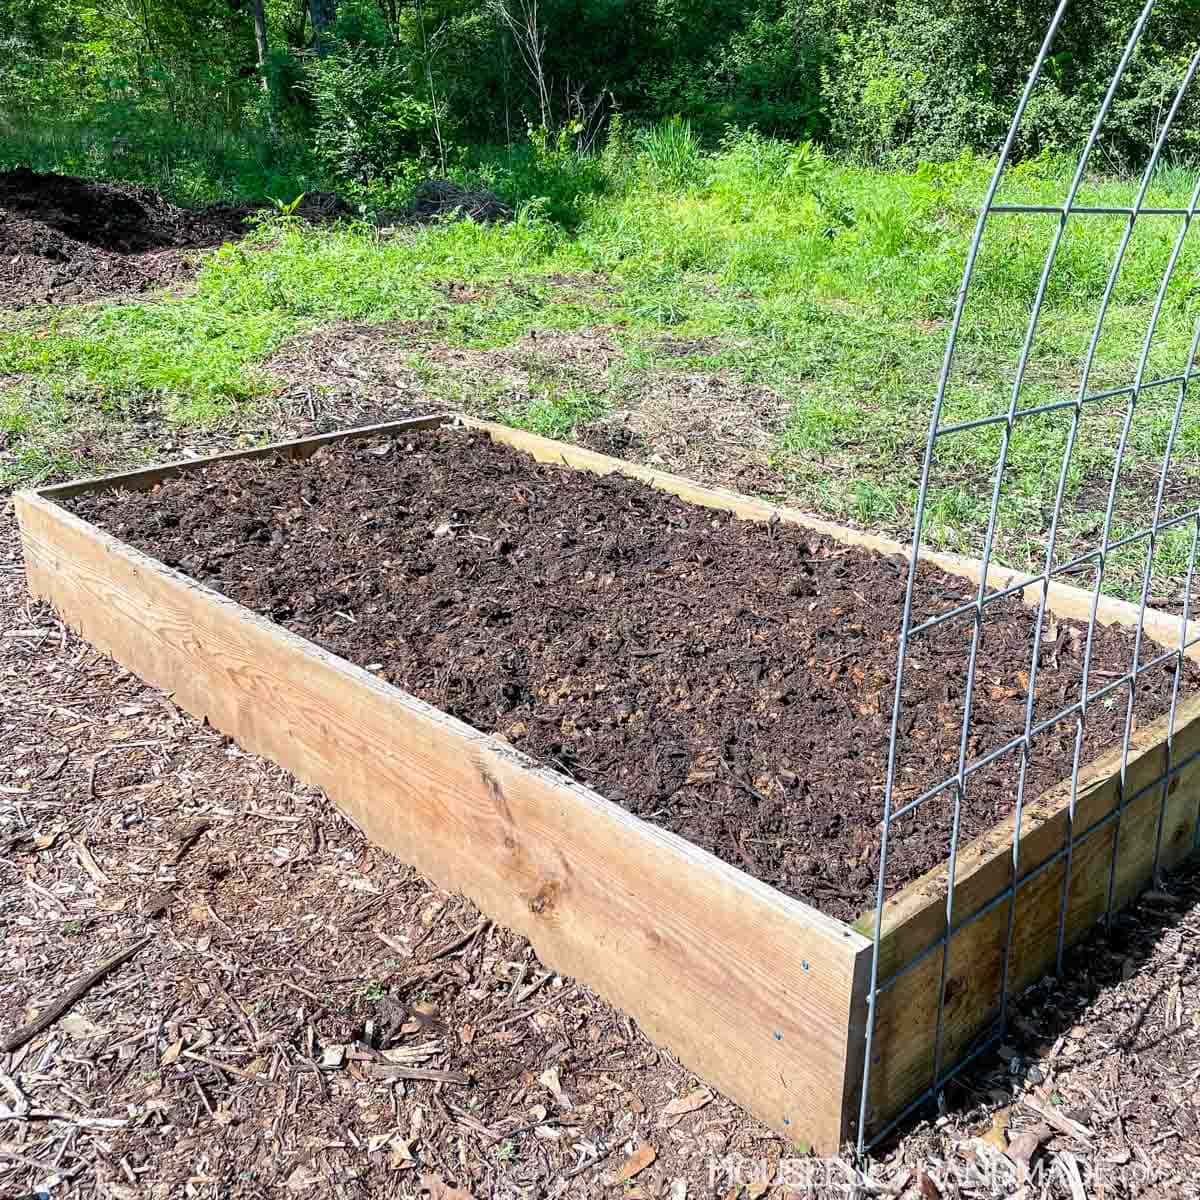
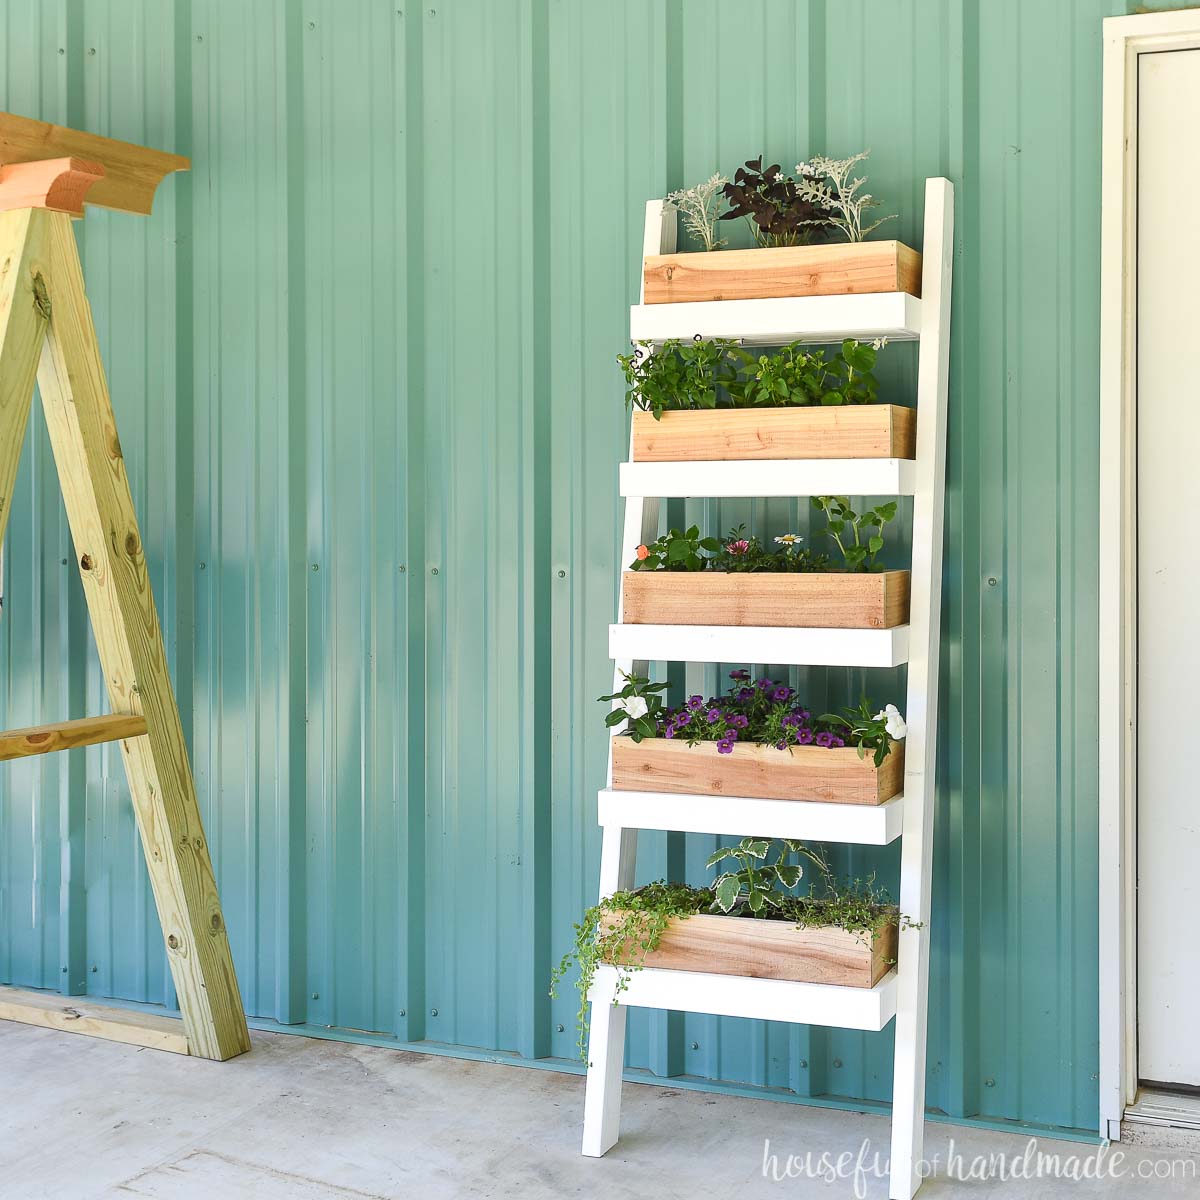
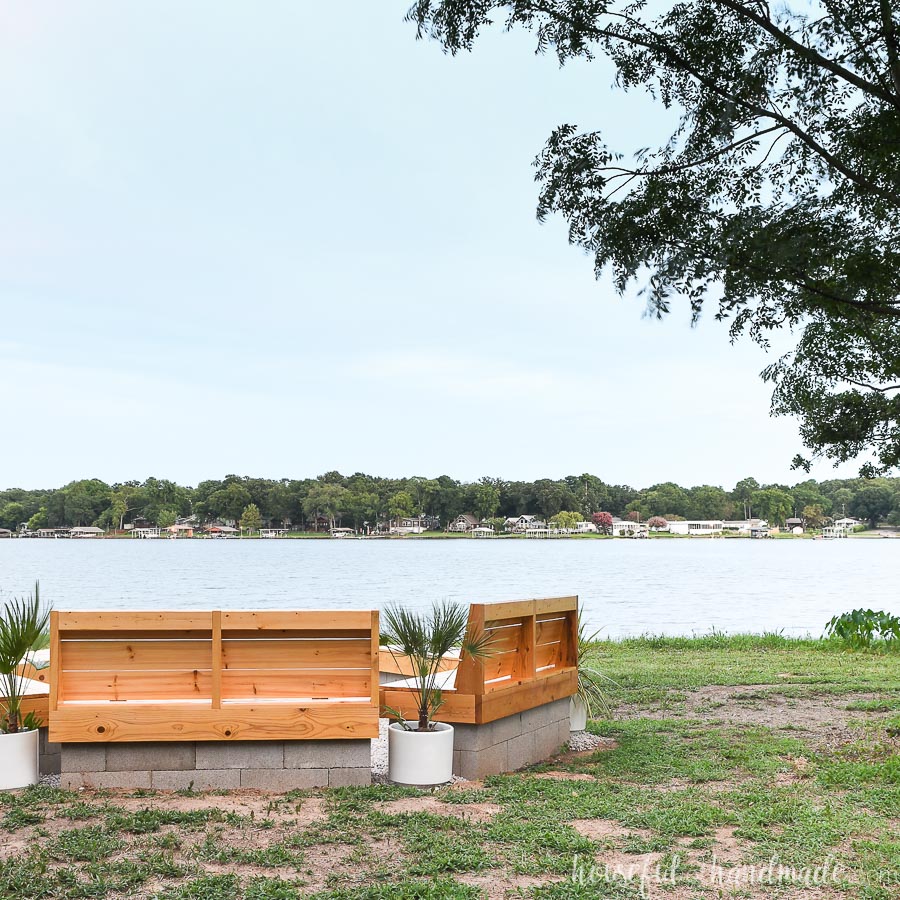
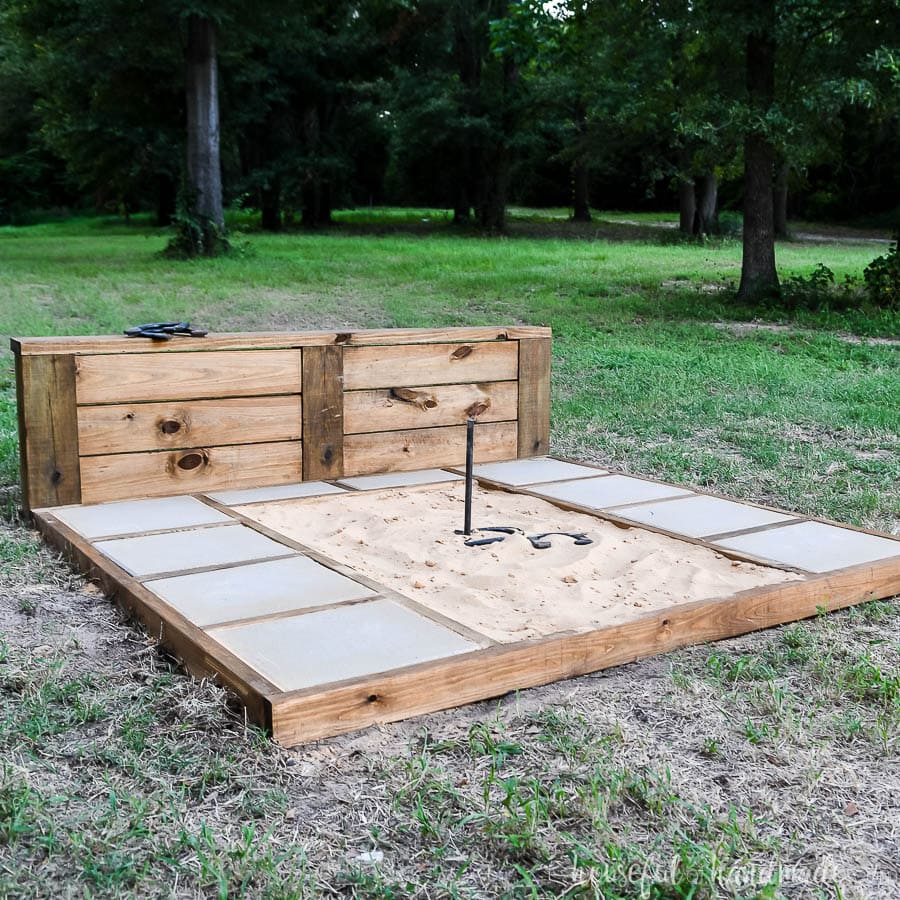
More Yard & Garden DIYs
Make your yard your favorite place to be with these fun builds.
How to Build a Bird bath
Tools & Materials
Recommended Tools:
- Miter saw
- I recently upgraded to this sliding miter saw (watch for it to go on sale), but previously used this inexpensive miter saw that I love.
- Jig saw
- Pocket hole jig
- Brad nailer
- Drill
- Impact driver (optional, but I love not having to switch bits with the drill)
- Speed square
- Multi-mark measuring tool
- Face clamps
- Kreg Quick flip
- Sander
Supplies:
- Lumber (varies by birdbath size)
- (1) 2×4 board, 0-5′ long
- (1) 2×3 board, 8′ long
- (1) 2×3 board, 3-6′ long
- (1) 1×4 board, 3′ long
- (1) 1×2 board, 4-5′ long
- 2 1/2″ Blue-Kote™ pocket hole screws
- 1 1/4″ Blue-Kote™ pocket hole screws
- 1 1/4″ brad nails
- Outdoor wood glue
- 10″ or 14″ plant saucer
- Outdoor wood sealer or paint
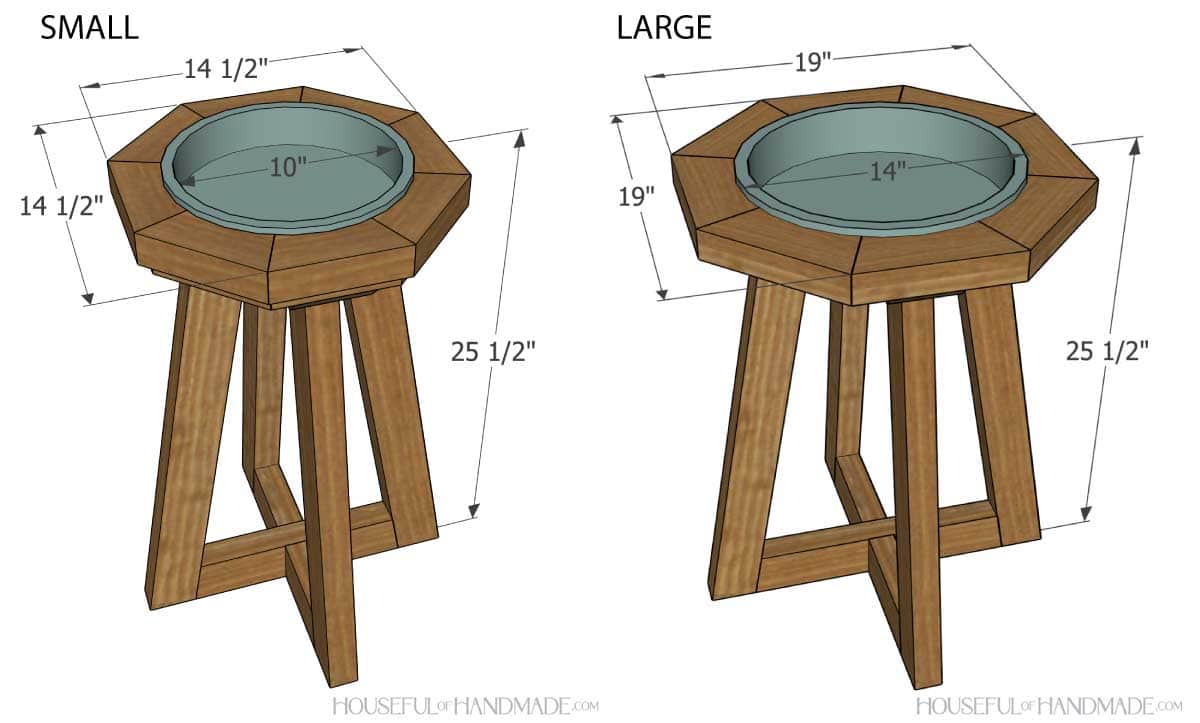
Overall Dimensions
I designed 2 different sizes of bird baths.
The smaller one is 14 1/2″ wide x 14 1/2″ deep at the top and 25 1/2″ tall. The top holds a 10″ wide saucer for the bath area.
The larger one is 19″ wide x 19″ deep at the top and 25 1/2″ tall. The top holds a 14″ wide saucer for the bath area.
Cut List
Cut out the pieces according to the build plans.
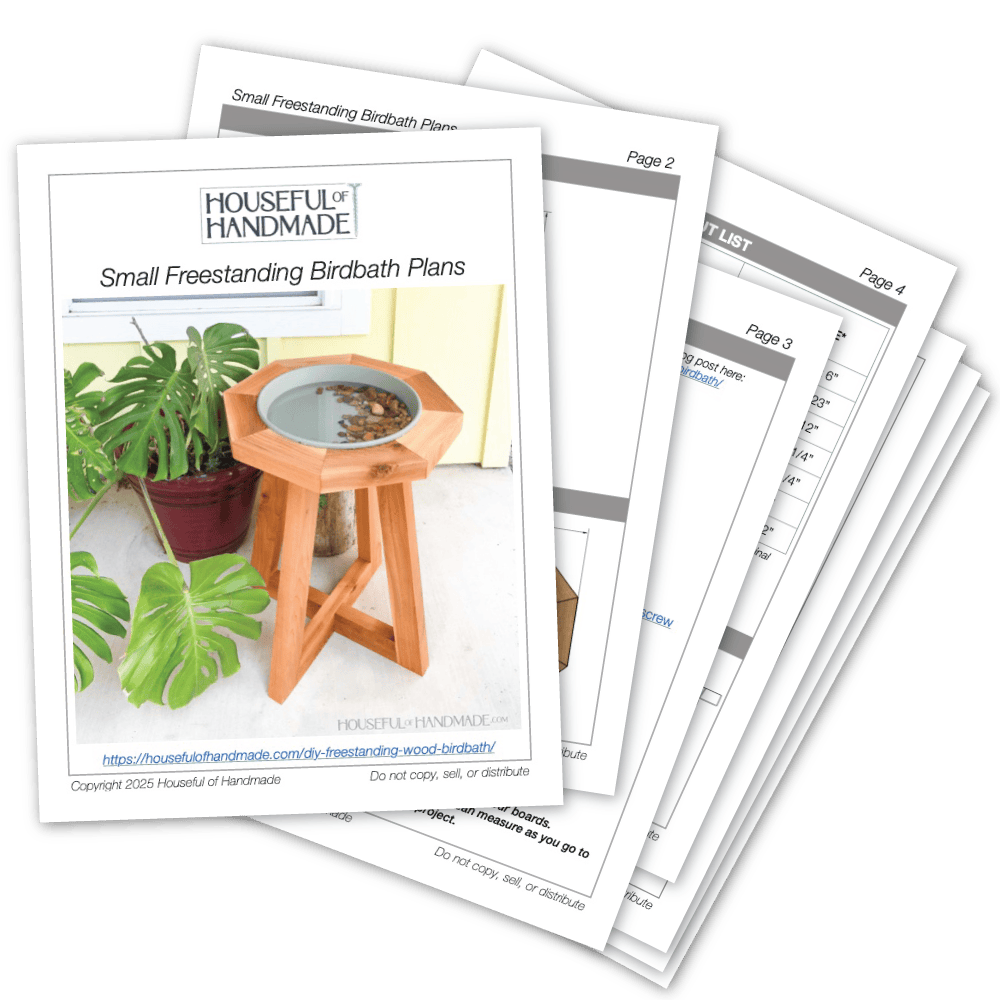
You can find the small freestanding bird bath plans here. Or find the build plans for the large bird bath on Kregtool.com.
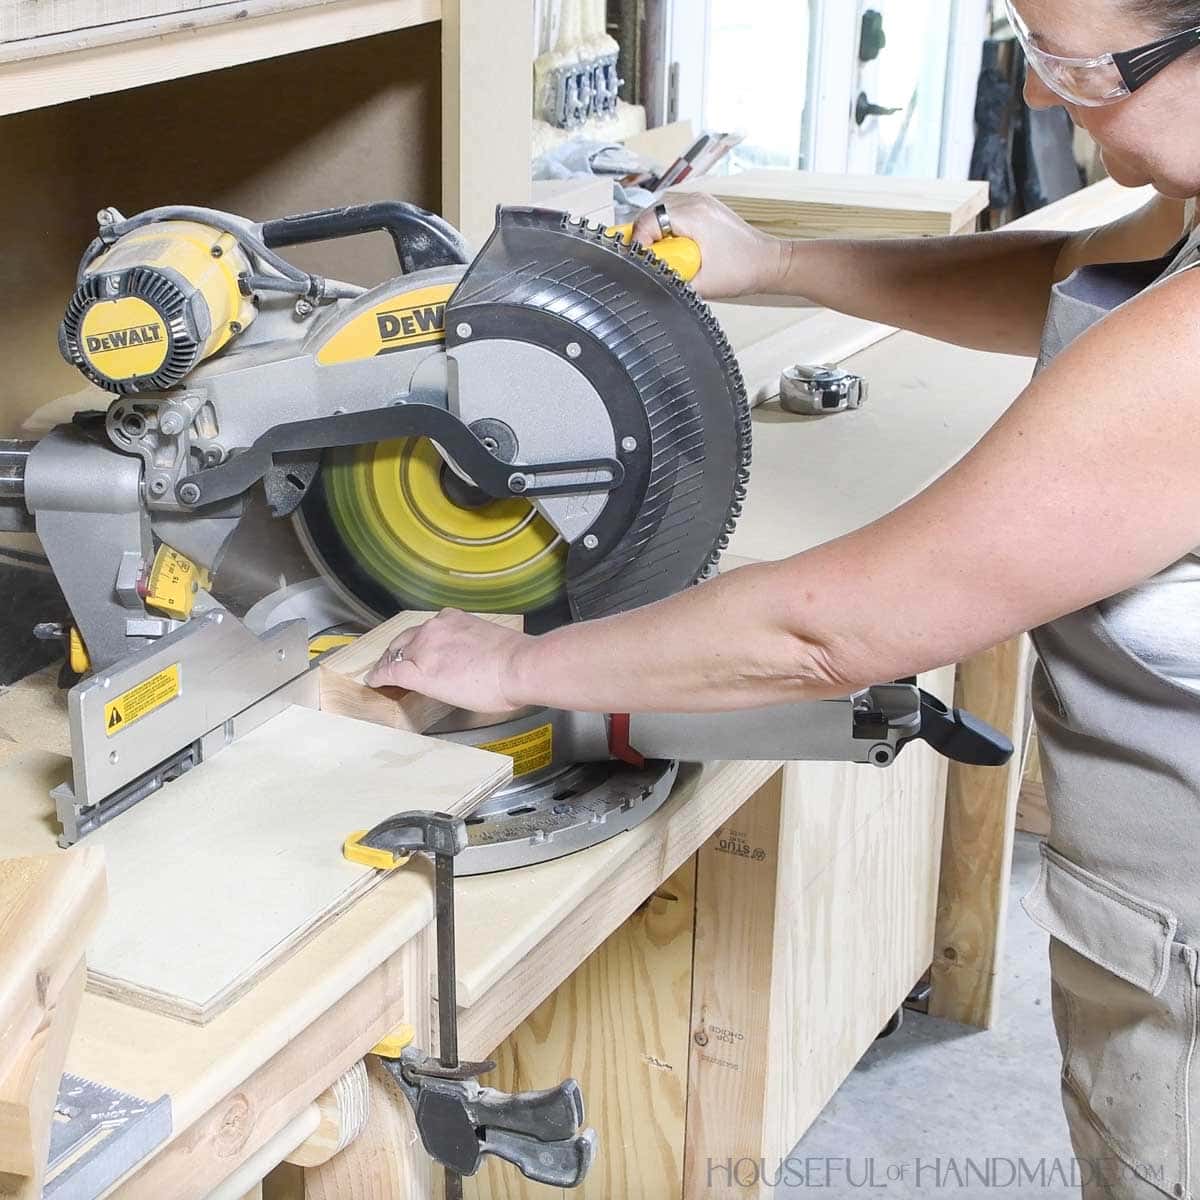
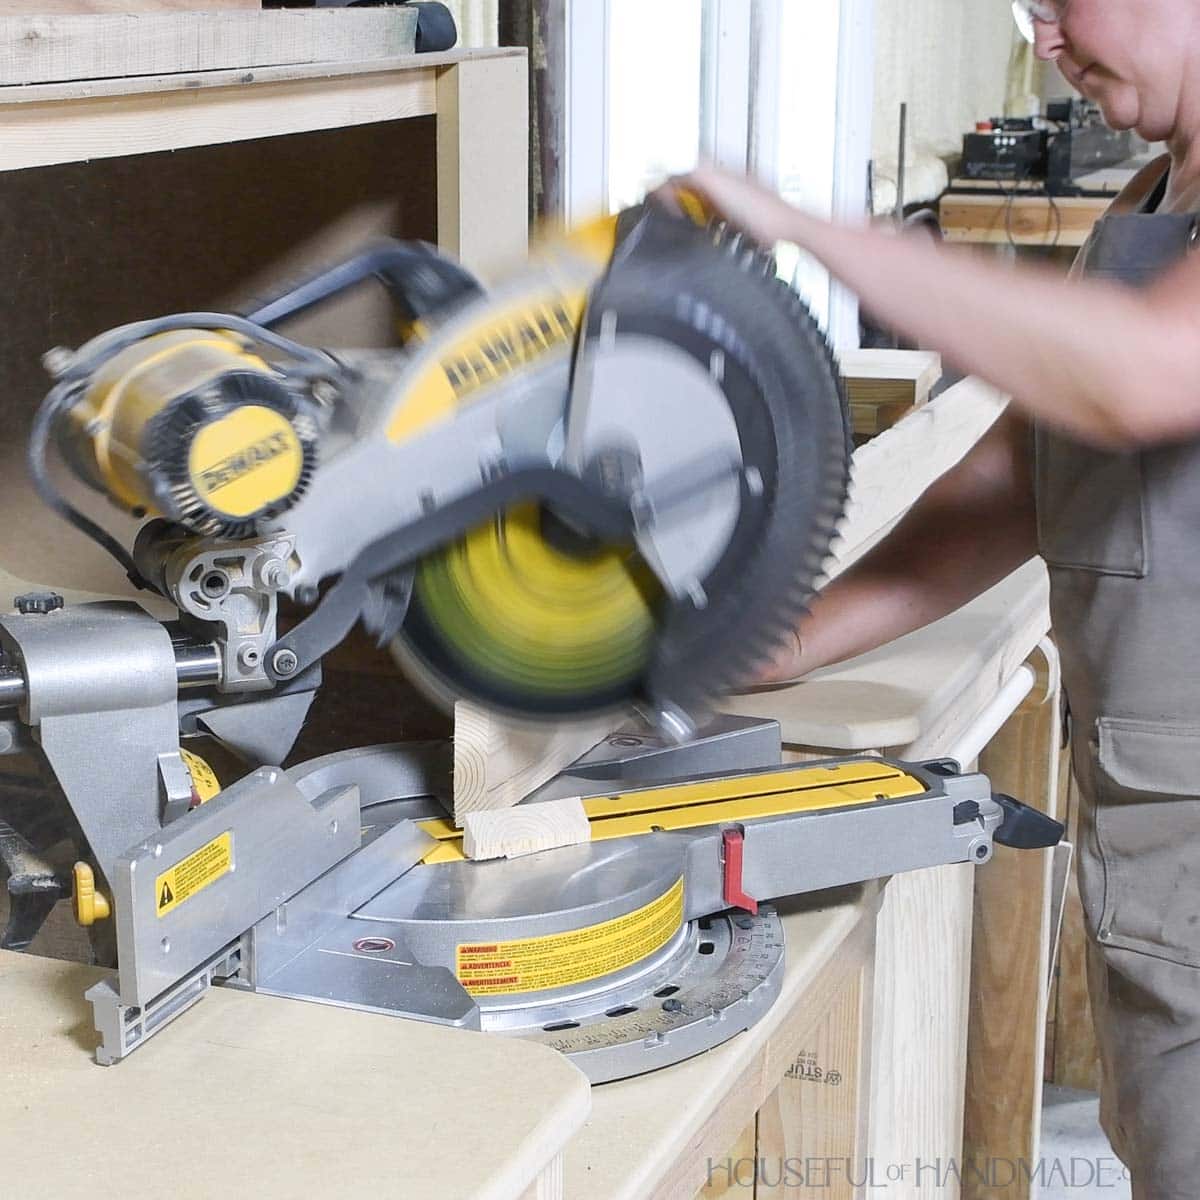
The top octagon and leg pieces are cut at an angle as follows. Refer to the cut diagram in the plans for pictures of the angled cuts.
- Top octagon and lower octagon pieces: both ends cut at a 22.5 degree angle so they angle toward each other.
- Leg pieces: both ends cut at a 10 degree angle so they are parallel.
- Bottom center piece: both ends cut at a 10 degree angle so they are angled towards each other.
- Bottom side pieces: one end cut at a 10 degree angle.
EXPERT TIP:
I like to set up a stop on my miter saw when I need to cut a lot of pieces the same length. This can be as simple as clamping a speed square or scrap board next to saw.
For the top support pieces, you can rip the outer ends at a 45 degree angle to give it a slope.
Or you can sand a slope in the ends once assembled.
STEP 1- Build the octagon
Set your pocket hole jig to drill holes in 1 1/2″ thick material.
Drill 2 pocket holes on one side of each top octagon board. Make sure it is the same side on all the boards.
I get excited and drilled pocket holes in both sides of all my boards before remembering I didn’t need to. So please disregard the extra holes in the photos below.

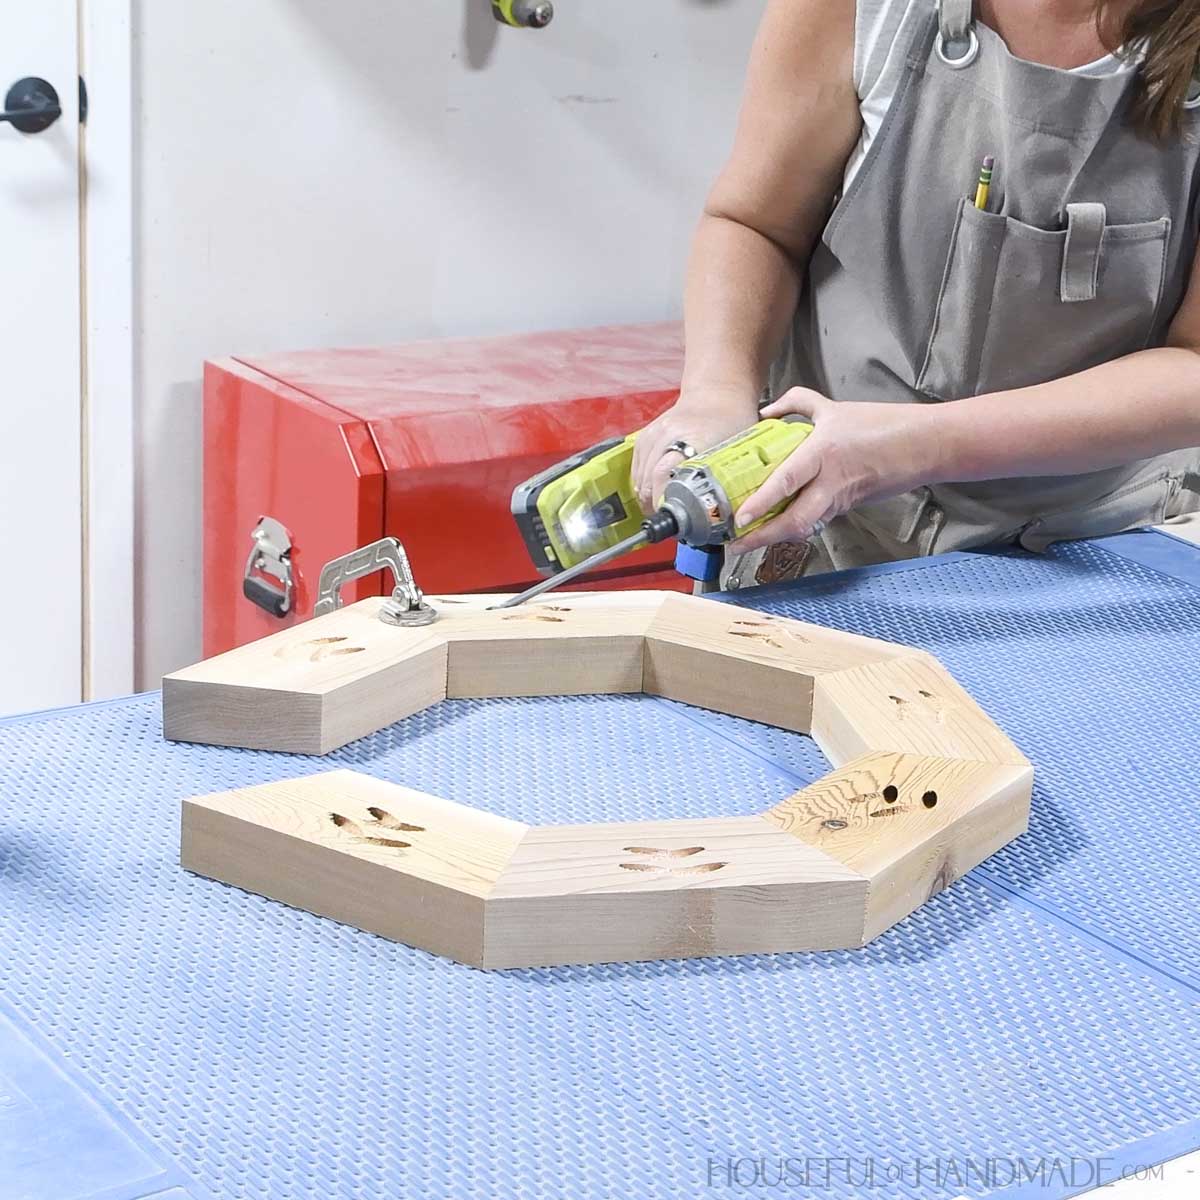
Add glue to the seam of two boards.
Use a face clamp to hold it in place while you secure them together with 2 1/2″ pocket holes screws.
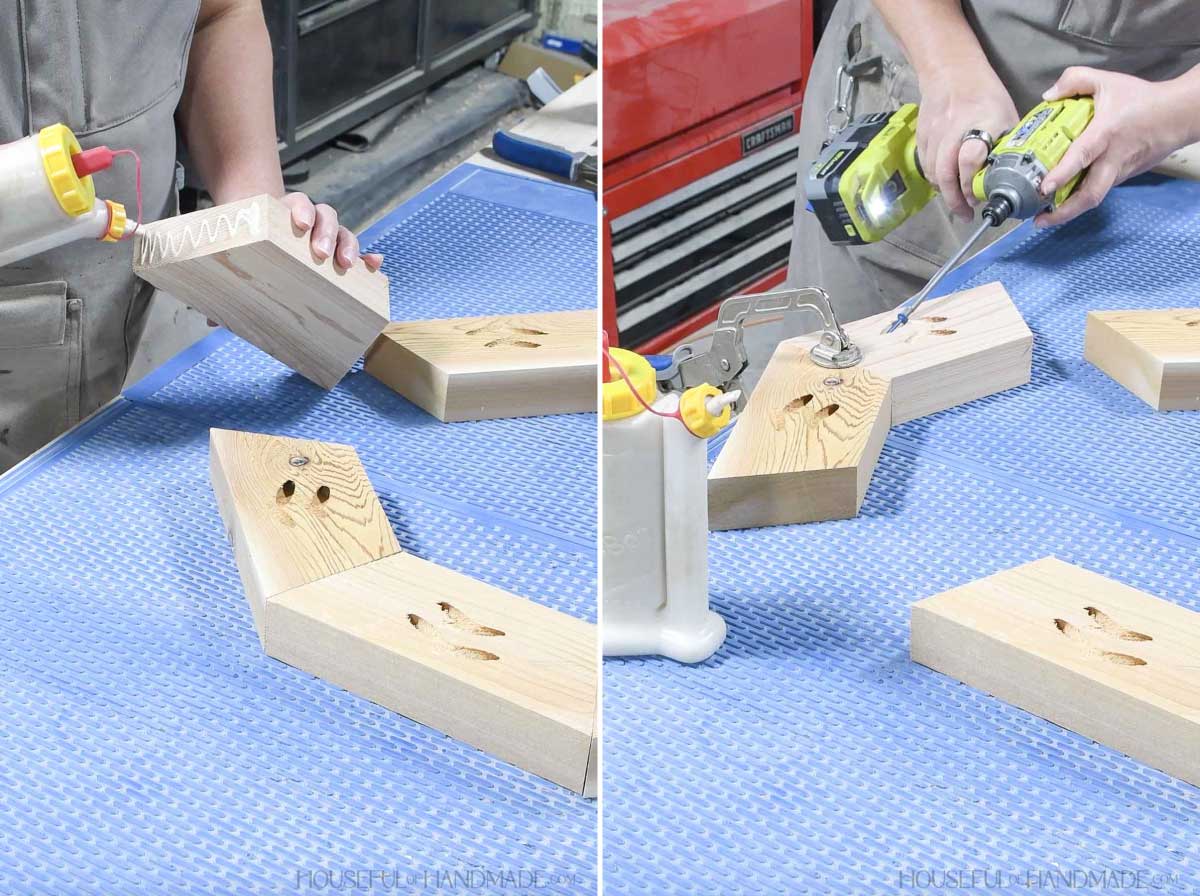
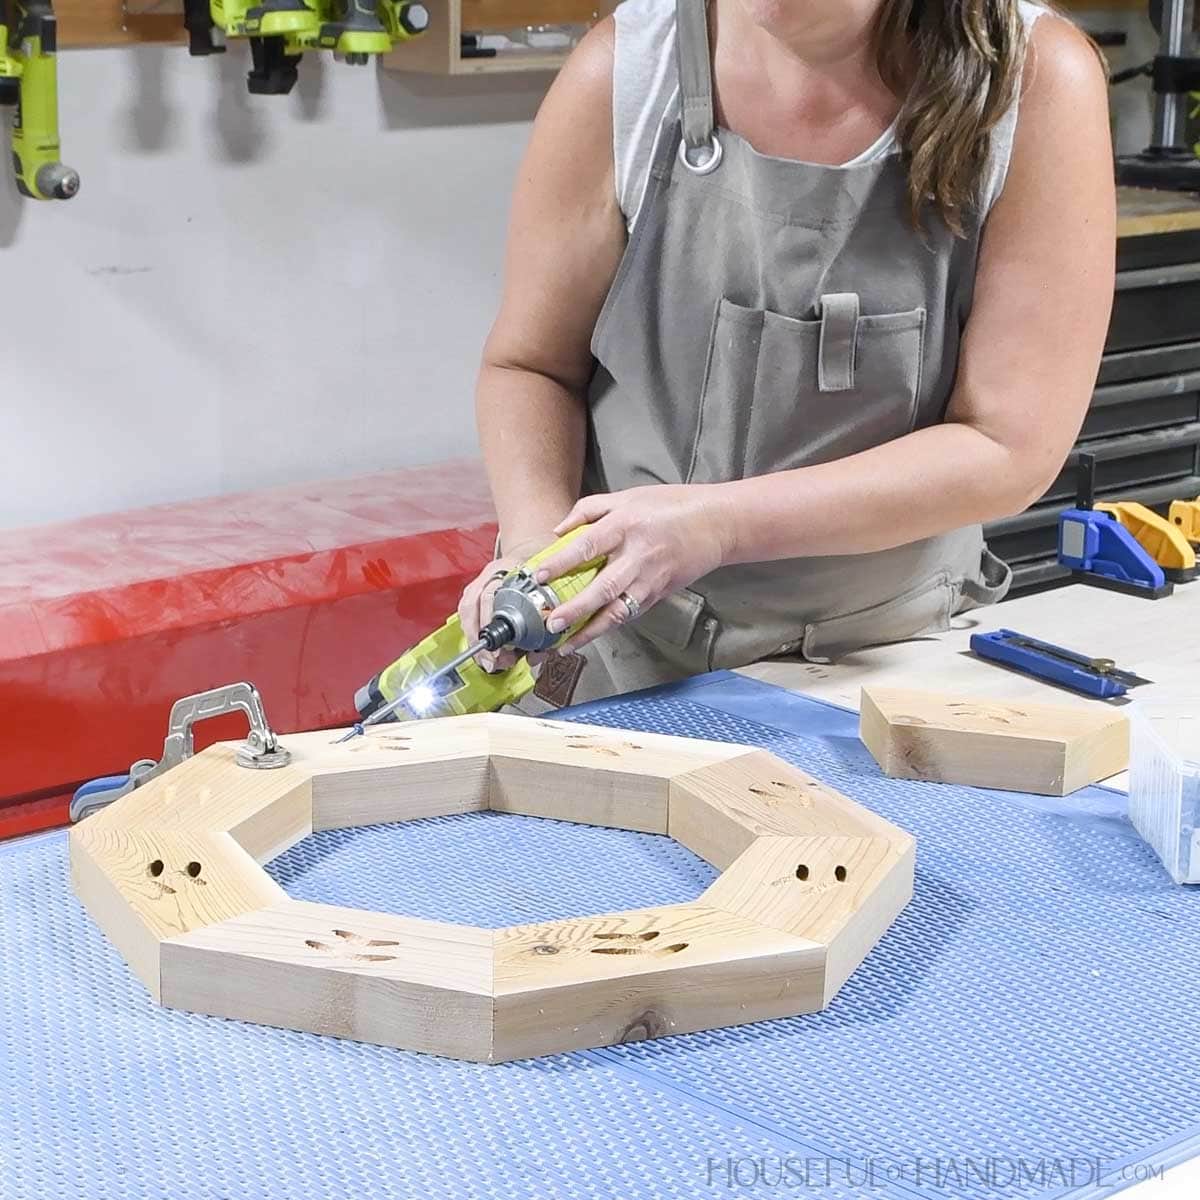
Repeat all the way around until all the pieces are attached to each other creating an octagon.
To get a perfect fit without any gaps, I recommend only cutting and attaching the first 7 octagon pieces first.
Then lay the remaining piece under the octagon where the 8th piece will go. Trace the edges of the boards next to the opening.
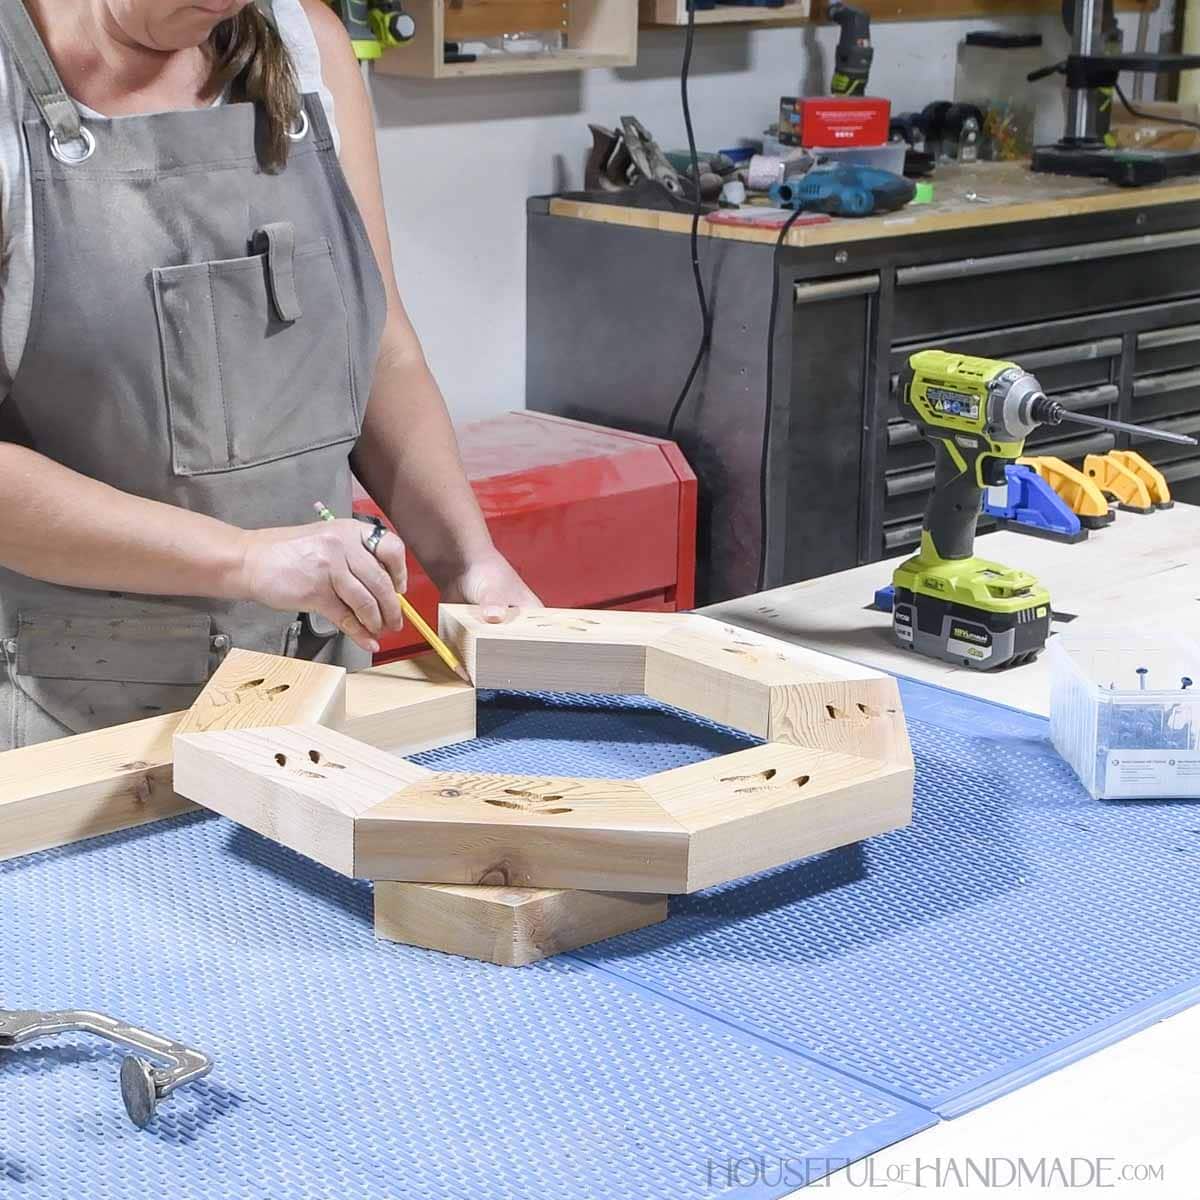
Now you can cut this piece (the angles may have to be adjusted to match your lines).
Add pocket holes to the 8th piece and secure it to both sides for a perfect fit.
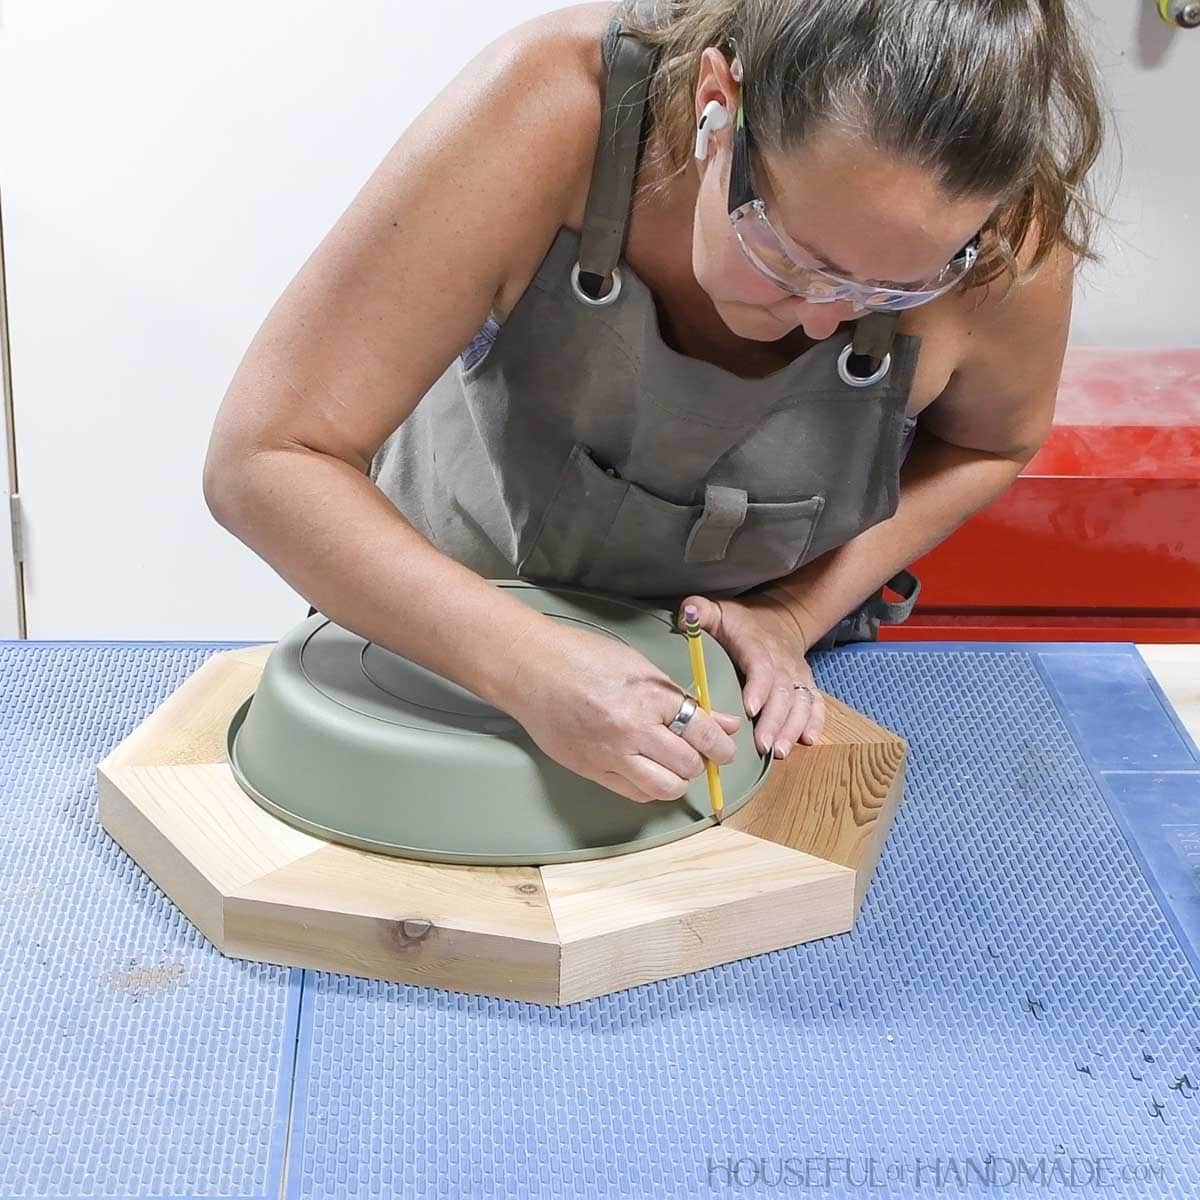
Measure the diameter of the plant saucer under the lip. Draw a circle on the inside of the octagon to match.
For my saucer, I only had to cut the circle between the seams. From seam to seam was the same measurement as my saucer.
EXPERT TIP:
Use the perimeter of the saucer to draw the circle shape between each seam.
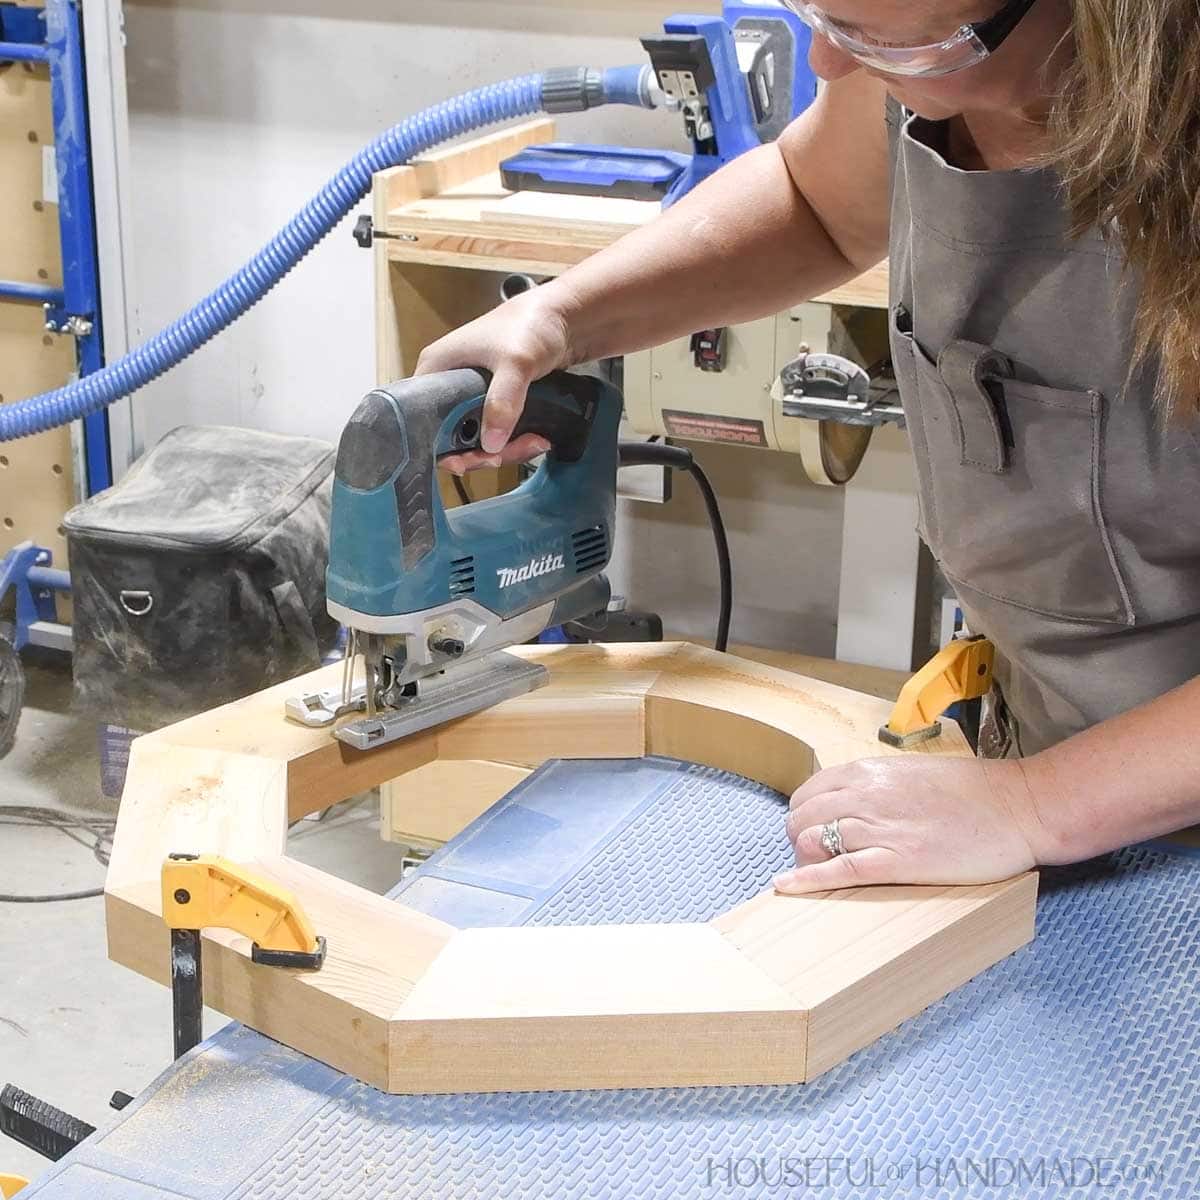
Then cut the circle out of the center with a jigsaw.
Test fit the saucer in the hole and adjust as needed. You want the lip to sit on the top of the boards.
STEP 2- Finish the top
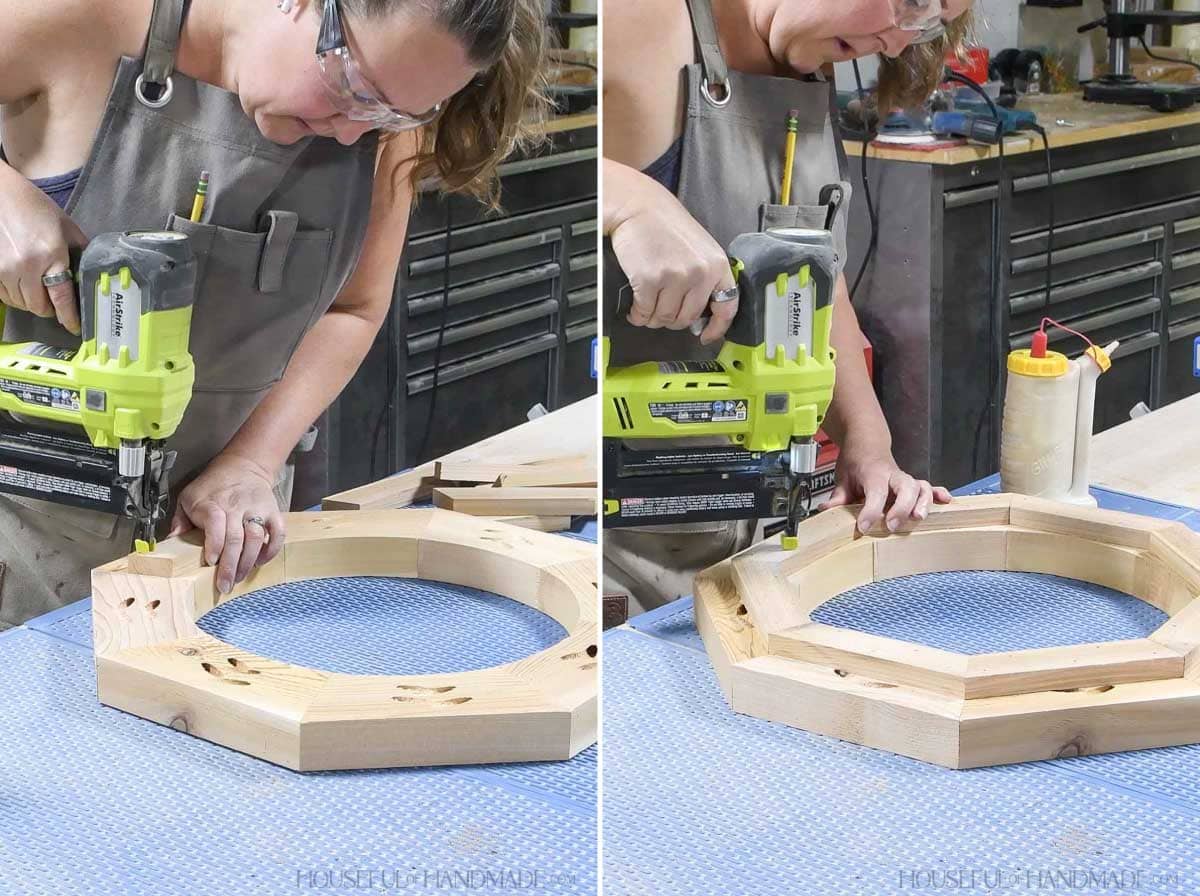
Using glue and 1 1/4″ brad nails, attach the lower octagon pieces to the underside of the finished top.
Line up the angled edge of the lower octagon pieces with the seams in the top as you attach them.
If they are slightly off, don’t worry too much, they are well hidden when the birdbath is finished or feel free to trim the last one to fit like you did the top.
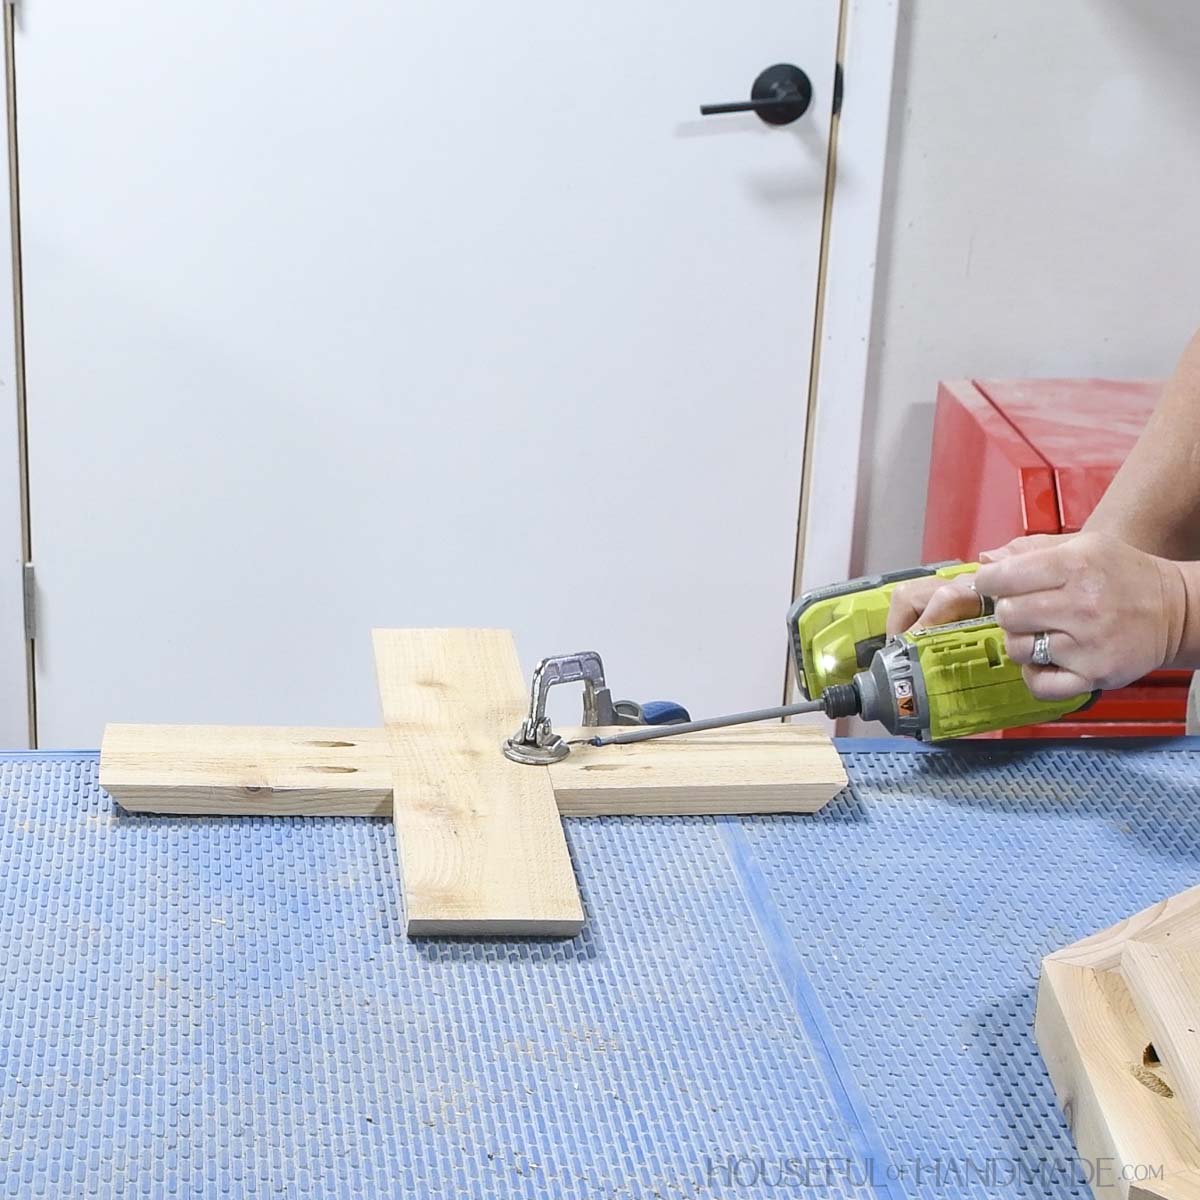
Set your pocket hole jig to drill holes in 3/4″ thick material and drill 2 pocket holes in the non-angled end of the top support sides.
Attach them to the center of the top support center piece with glue and 1 1/4″ pocket hole screws.
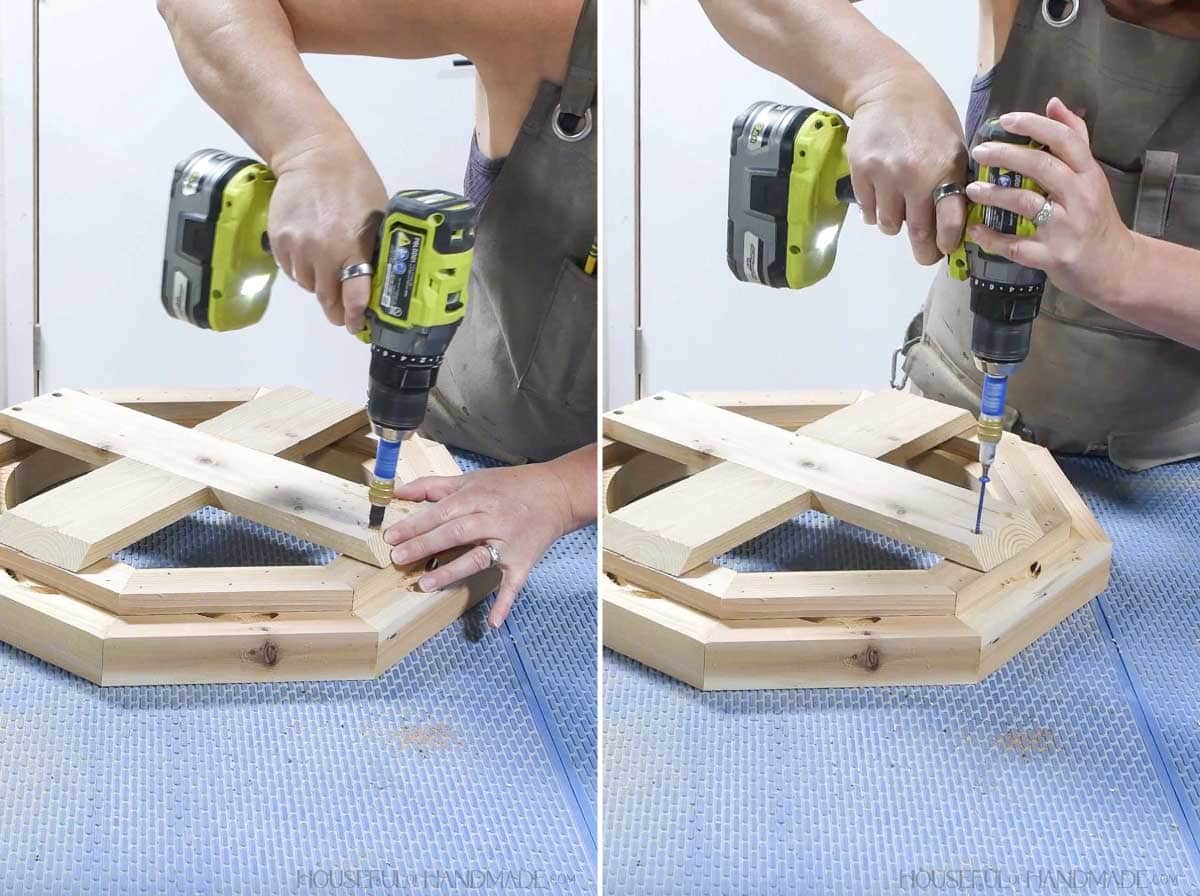
Center the assemble support on the underside of the assembled octagon.
Use the Quick-Flip tool to drill a hole where the support sits on the lower octagon pieces. Only countersink the screw head about 1/4″.
Secure with 2 1/2″ pocket hole screws.
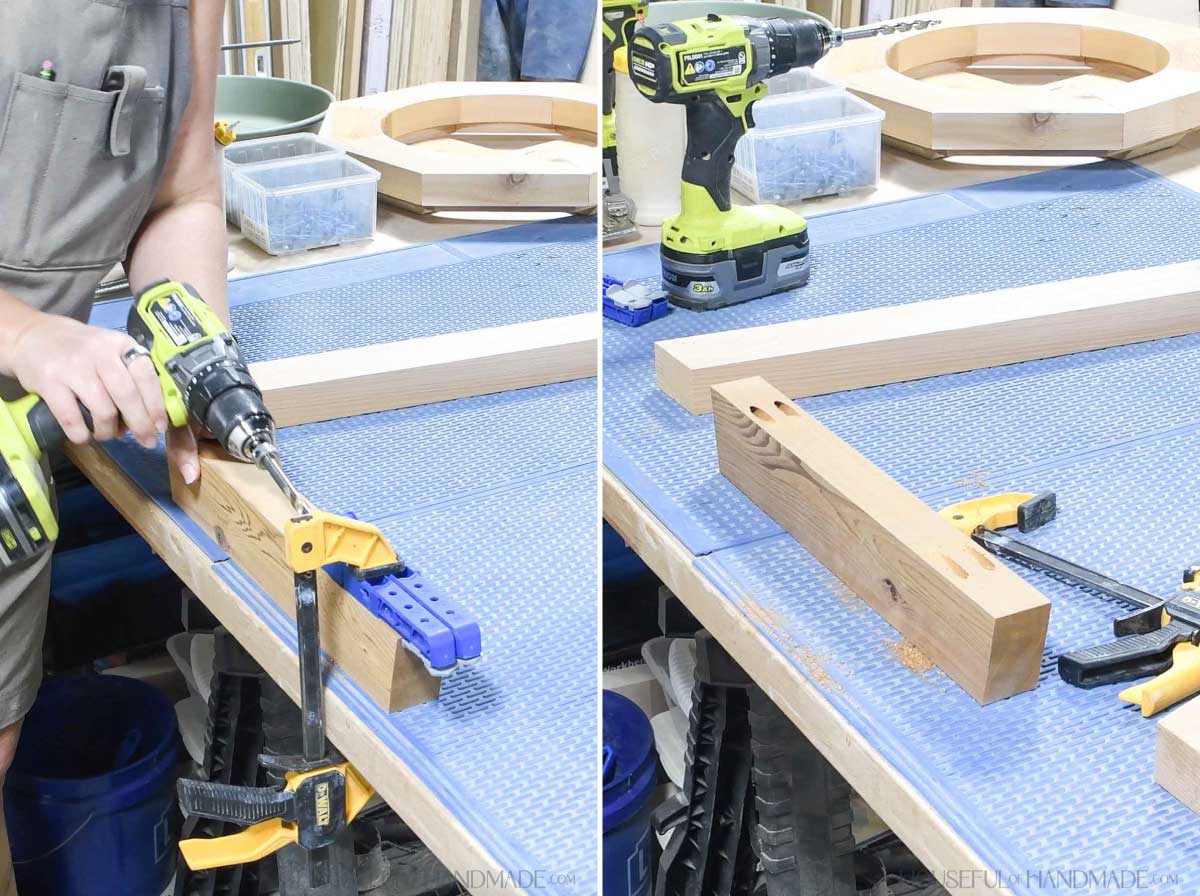
STEP 3- Build the legs
On the 1 1/2″ wide underside of the 2×3 bottom pieces, drill pocket holes set for 1 1/2″ thick material in both ends of the boards.
EXPERT TIP:
You cannot use the Kreg 720 or 520 jigs to add pocket holes to these boards because they are too thick (2 1/2″). This is where the 320 comes in so handy in my shop! It can be clamped to any size board.
Attach the bottoms to the legs so the center is between 2 leg boards and the angled edge of the sides are attached to 1 leg board.
Secure with wood glue and 2 1/2″ pocket hole screws.
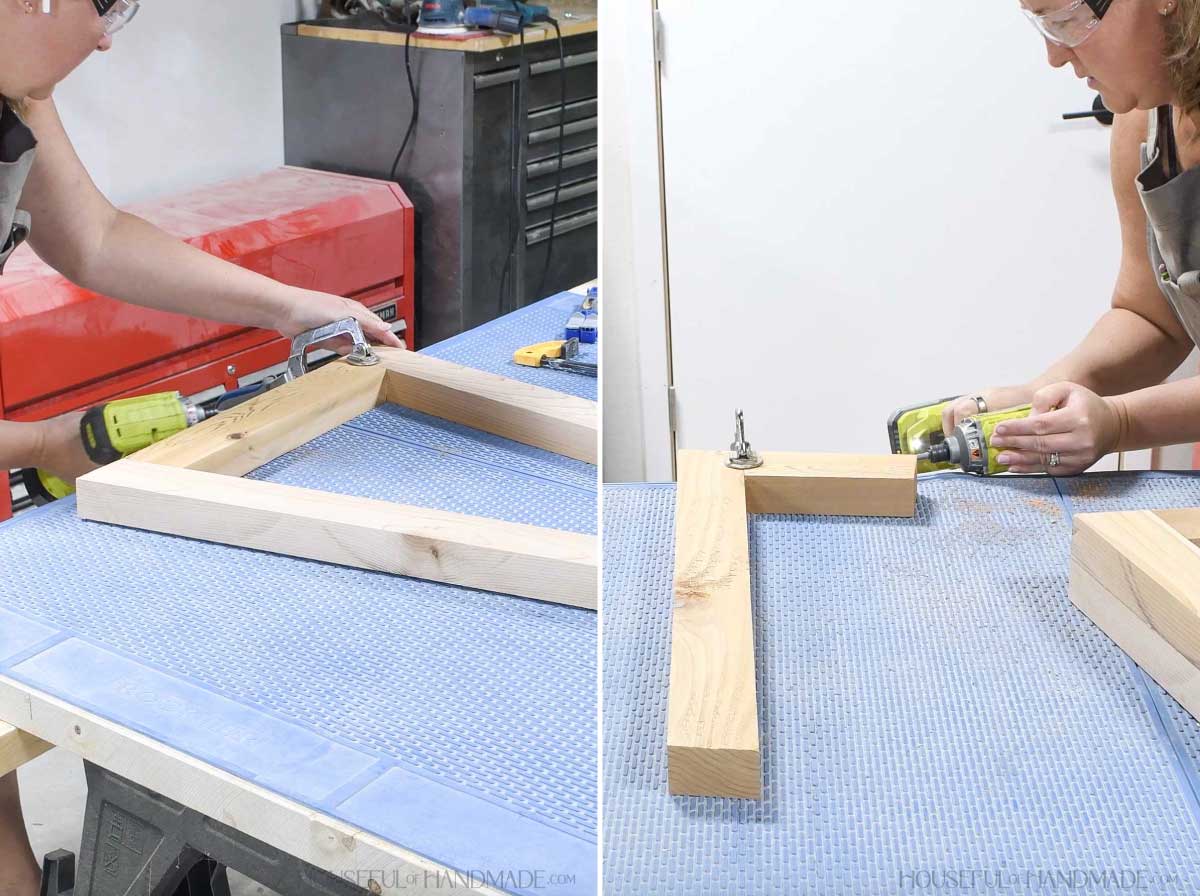
Attach the 4 legs together at the bottom boards so the two sides are centered on the bottom center board.
Secure with 2 1/2″ pocket hole screws and wood glue.

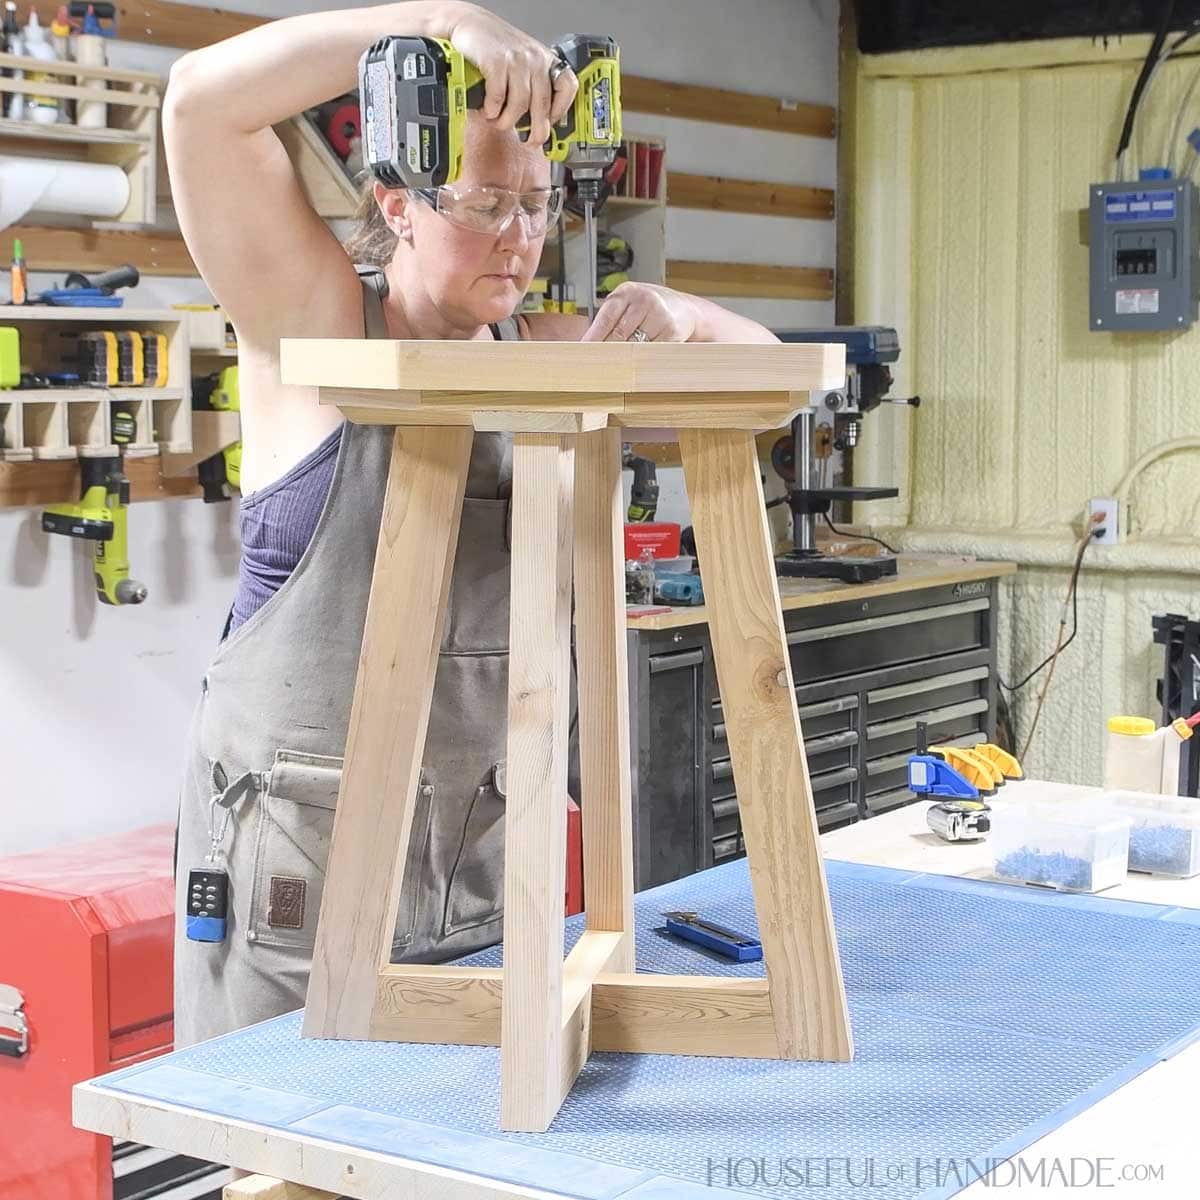
STEP 4- Attach legs to top
Place the top octagon on top of the leg assembly. Center the legs under the support pieces.
Use the Quick-flip to drill a hole and secure with 2 1/2″ pocket hole screws. Add 1 screw per leg.
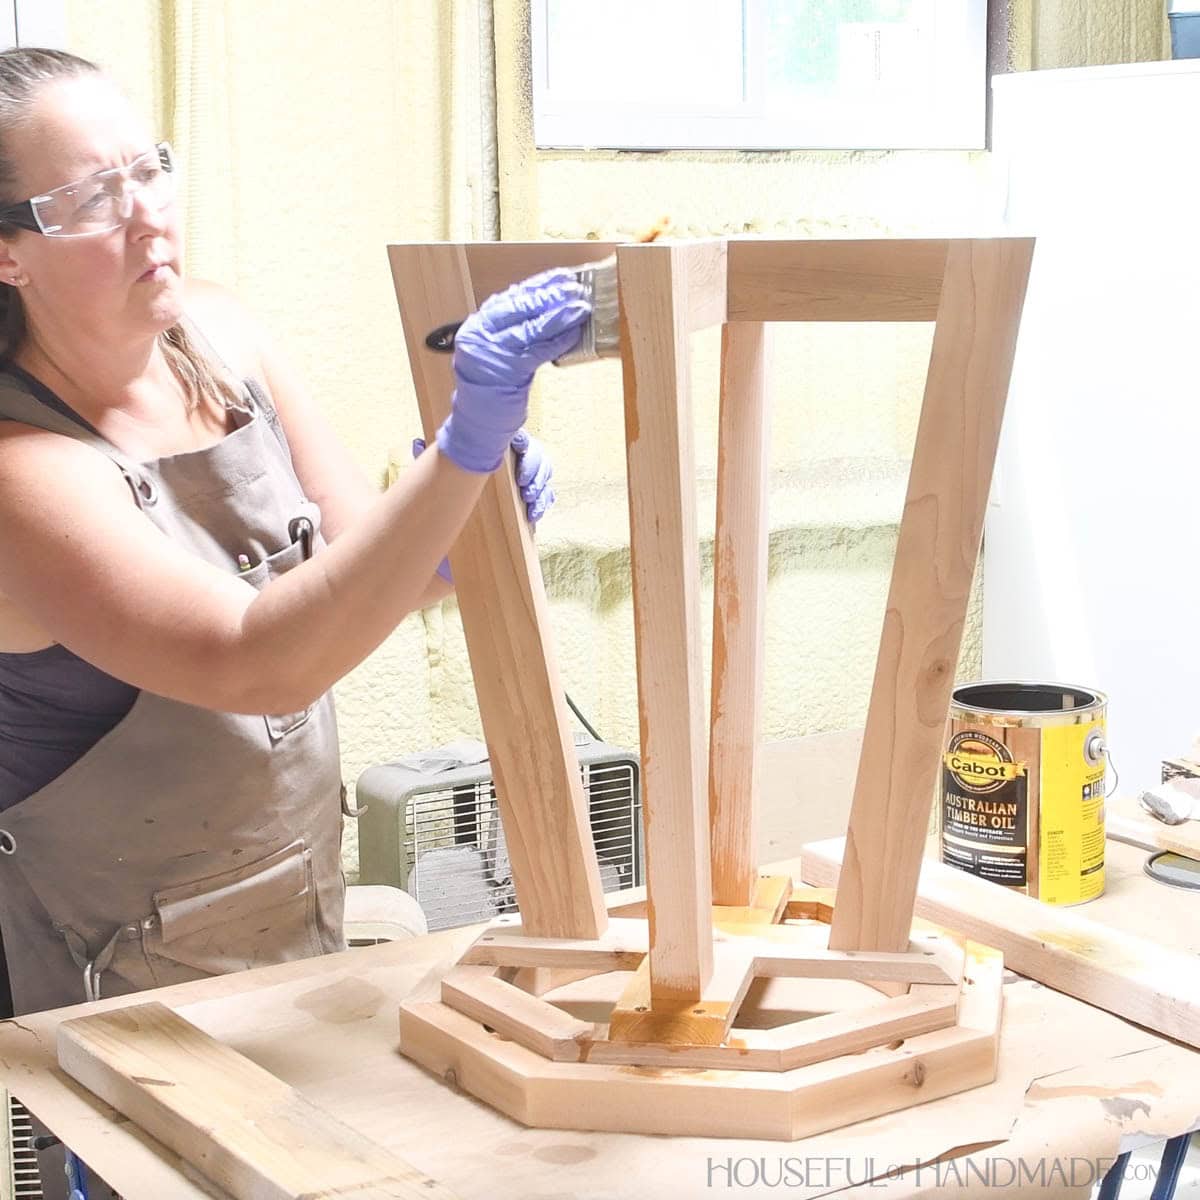
STEP 5- Sand and finish
Sand and finish the birdbath. Make sure to use exterior sealer or paint.
Place the saucer in the top and fill with a couple inches of water. I also added some small rocks and pebbles to one side for smaller birds.
Premium plans include:
- Recommended Tools
- Shopping list
- Easy to read cut list table
- Cut diagrams
- Step-by-step instructions with 3D renderings
- Helpful resources
- BONUS: 3D SketchUp file
You did it!
Now it's time to sit back and wait for the birds to discover their new bath!
Happy building!
