You may have noticed on some of my projects that it looks like I laser engraved a design on them. But I didn’t…
I was able to get the look without an expensive laser in my shop! Instead, I faked the look with a stencil and wood stain.
And the best part is, no one can tell it isn’t laser engraved. Even when they hold the item in person.
This post may contain affiliate links. As an Amazon Associate I earn from qualifying purchases. Click here to read my full disclosure policy.
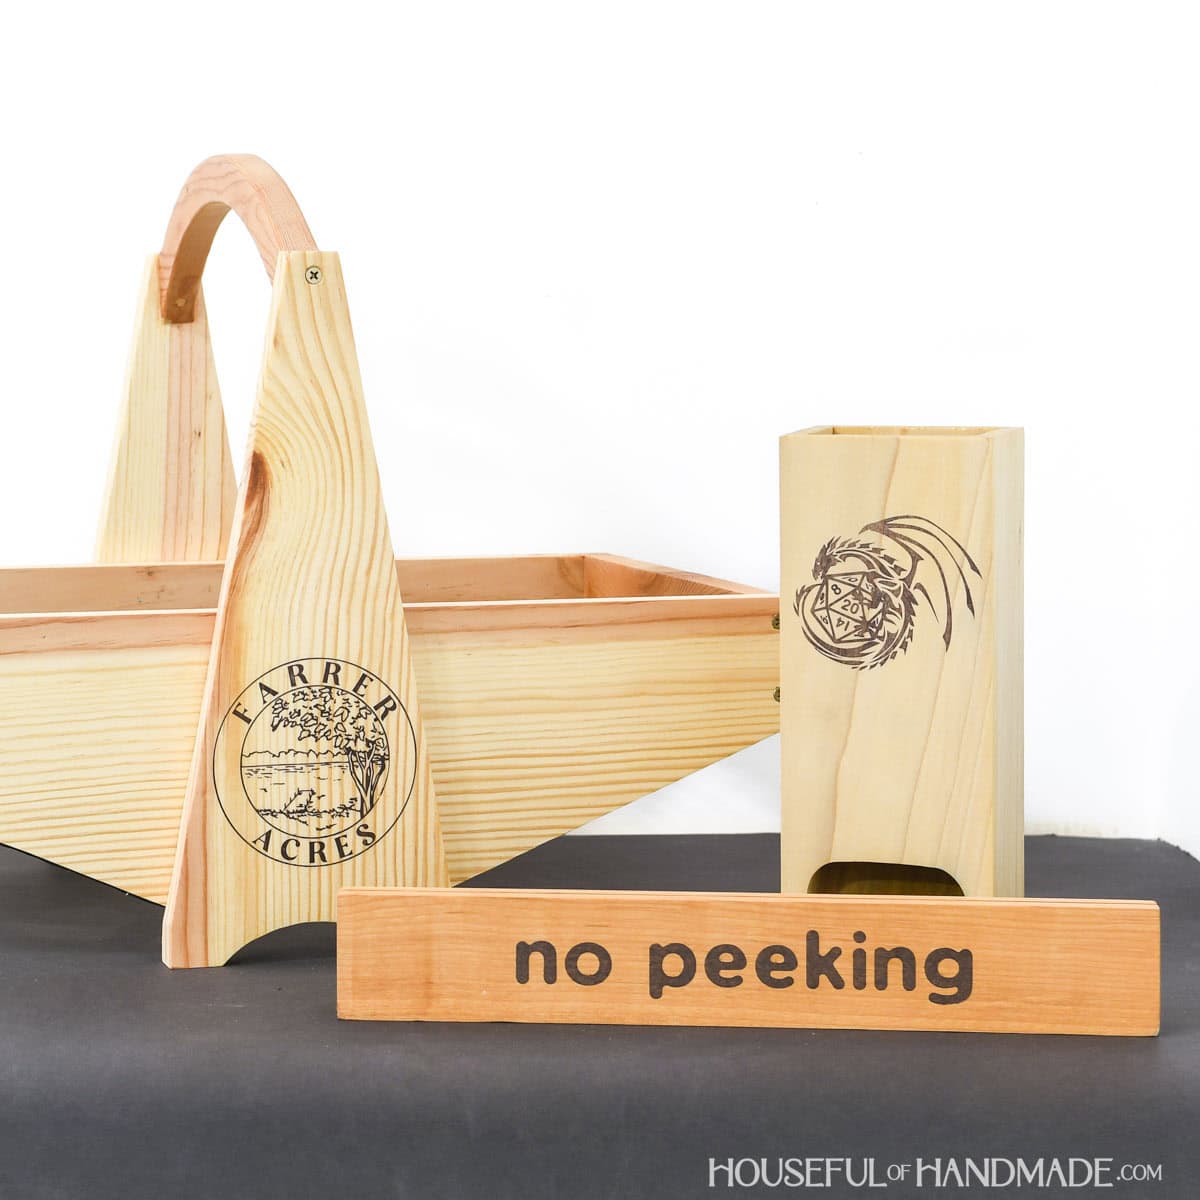
This DIY dice tower I made for my son totally fooled my father in law. He was convinced it was a laser engraved, even after touching the design.
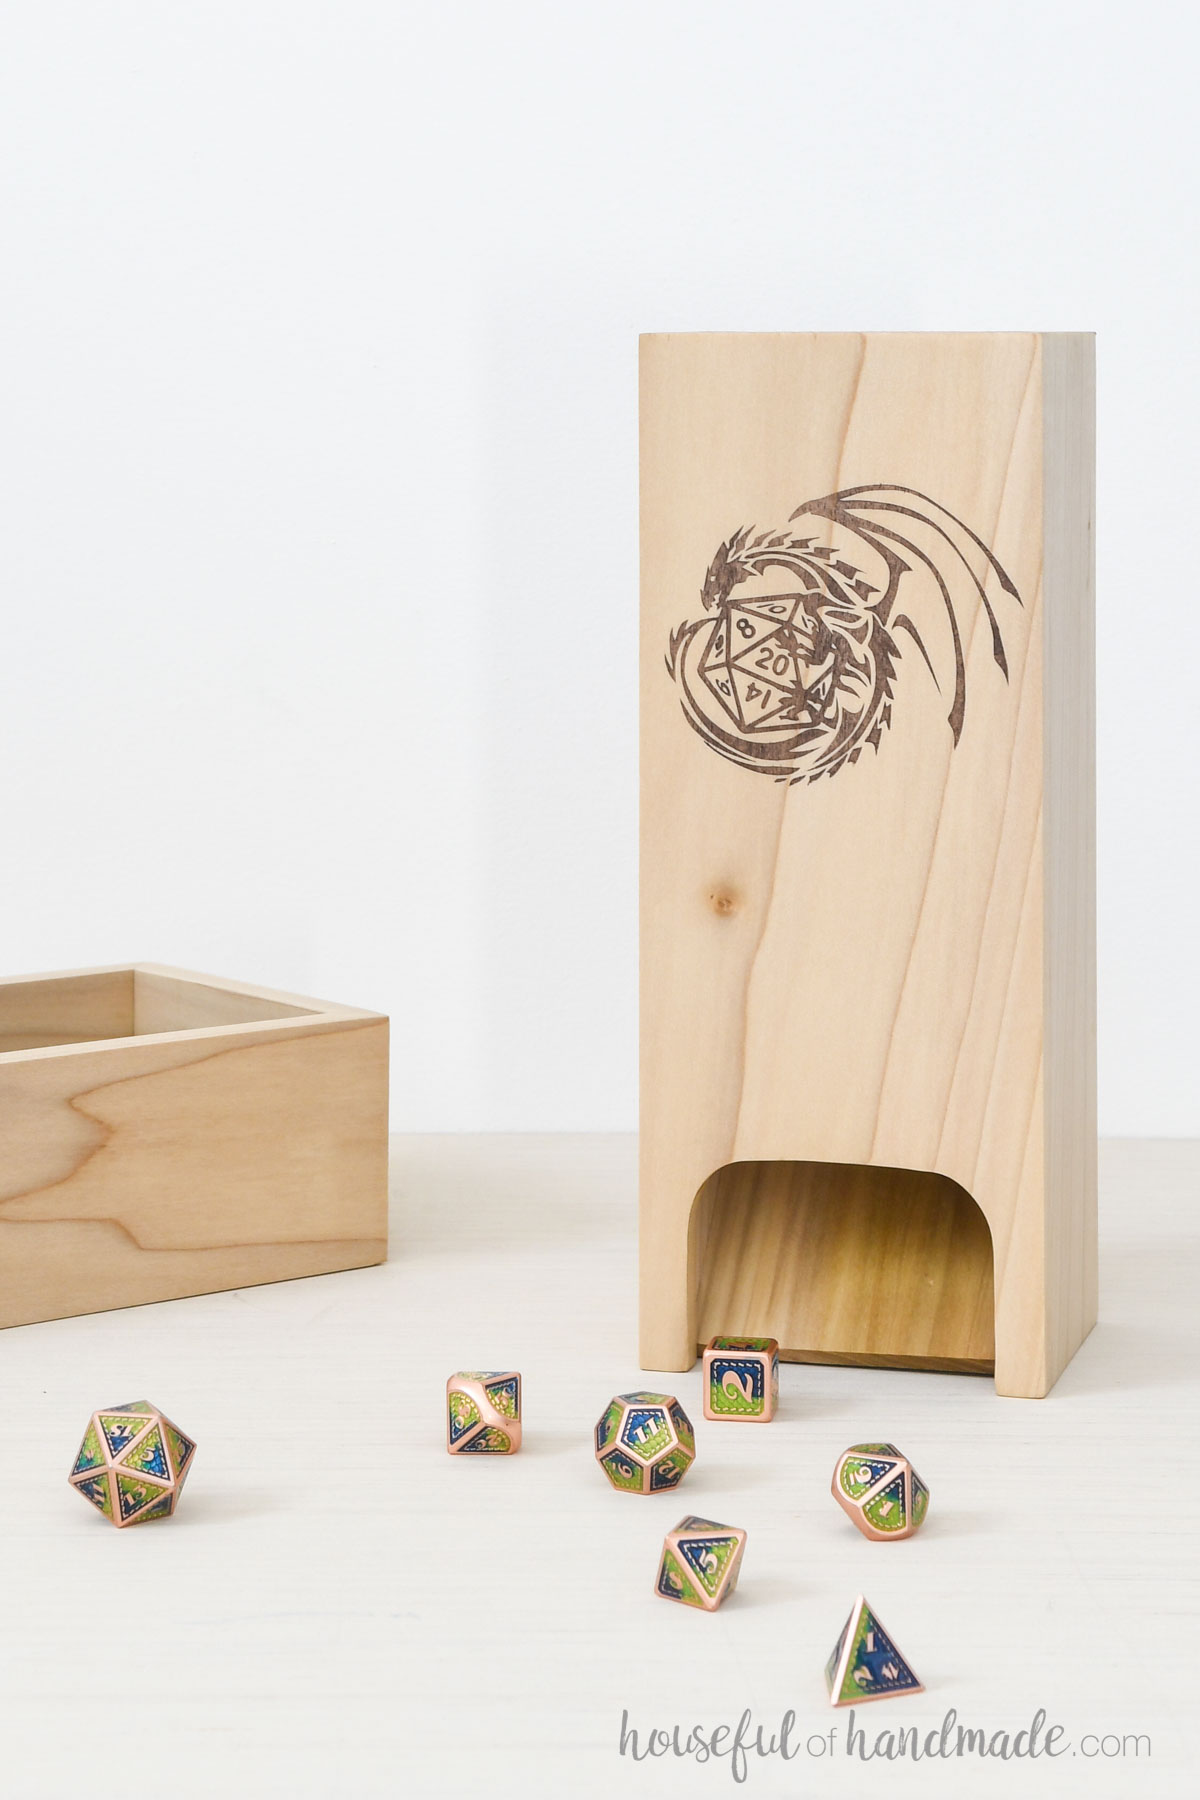
I used a vinyl stencil I cut out with my Silhouette electronic cutting machine. But that is not necessary either. You can purchase a pre-cut stencil to use for your design.
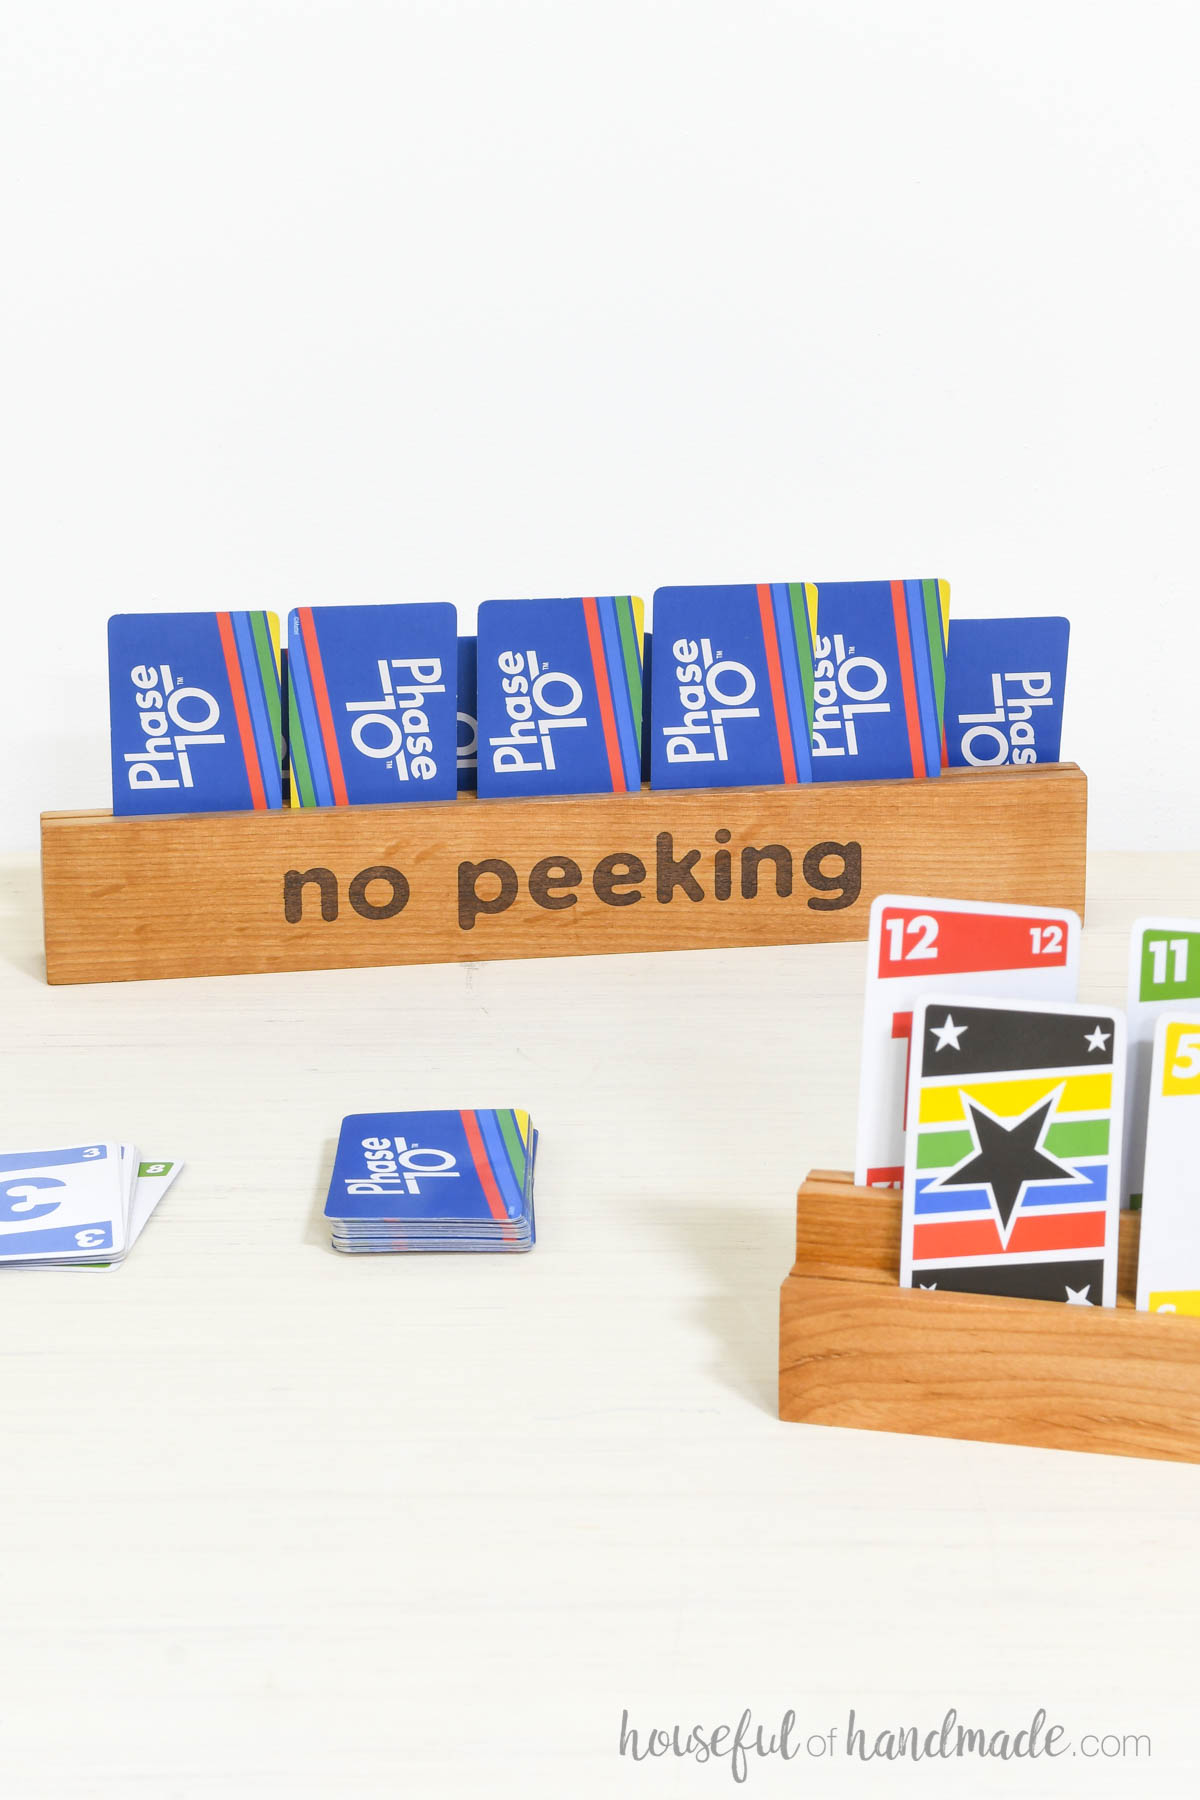
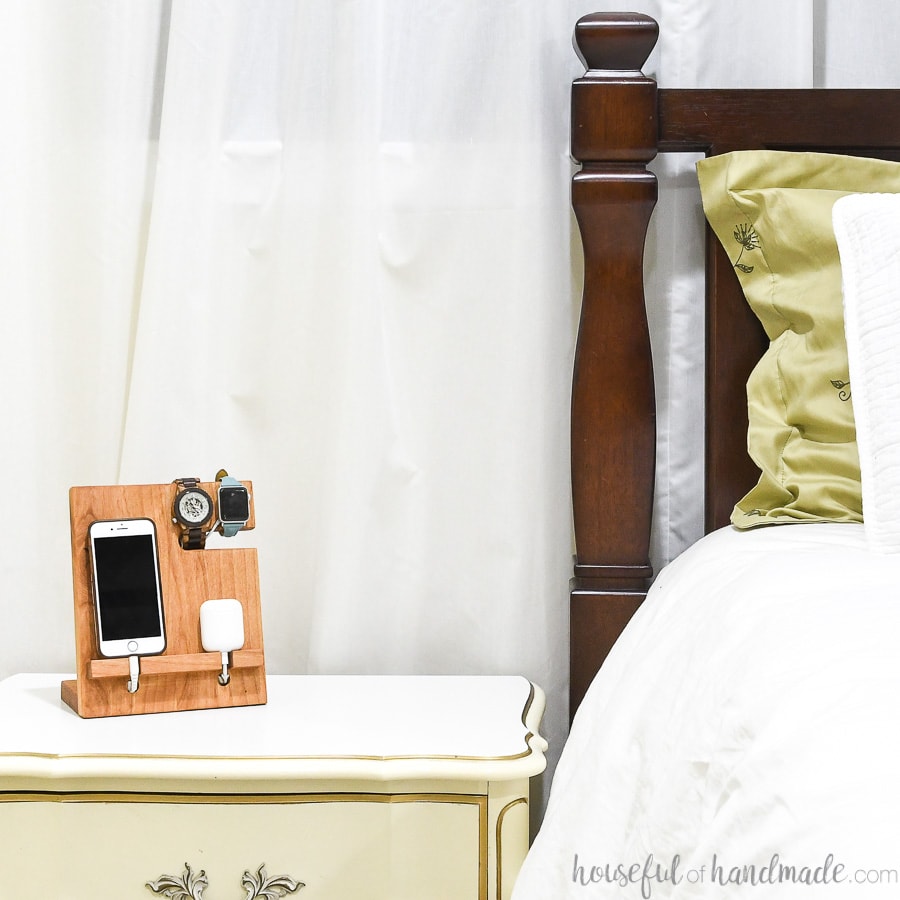
I like to add designs to simple projects like these wood playing card holders I made for gifts last year. It takes the project to a whole new level.
It could also be used to customize your DIYs with names or logos. Have some fun with it, I know I am!
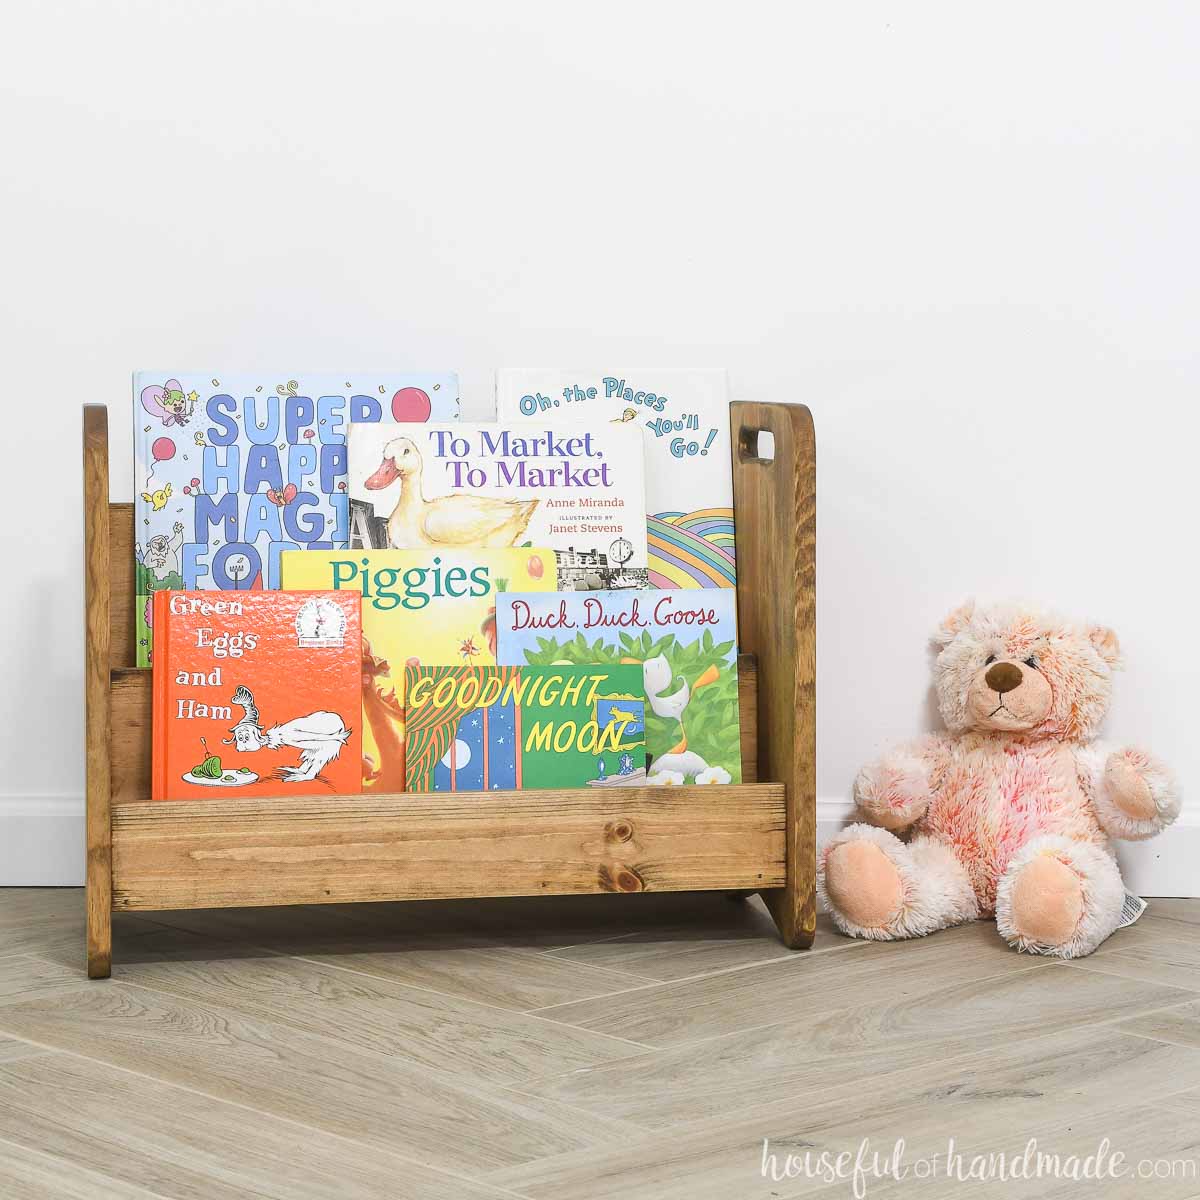
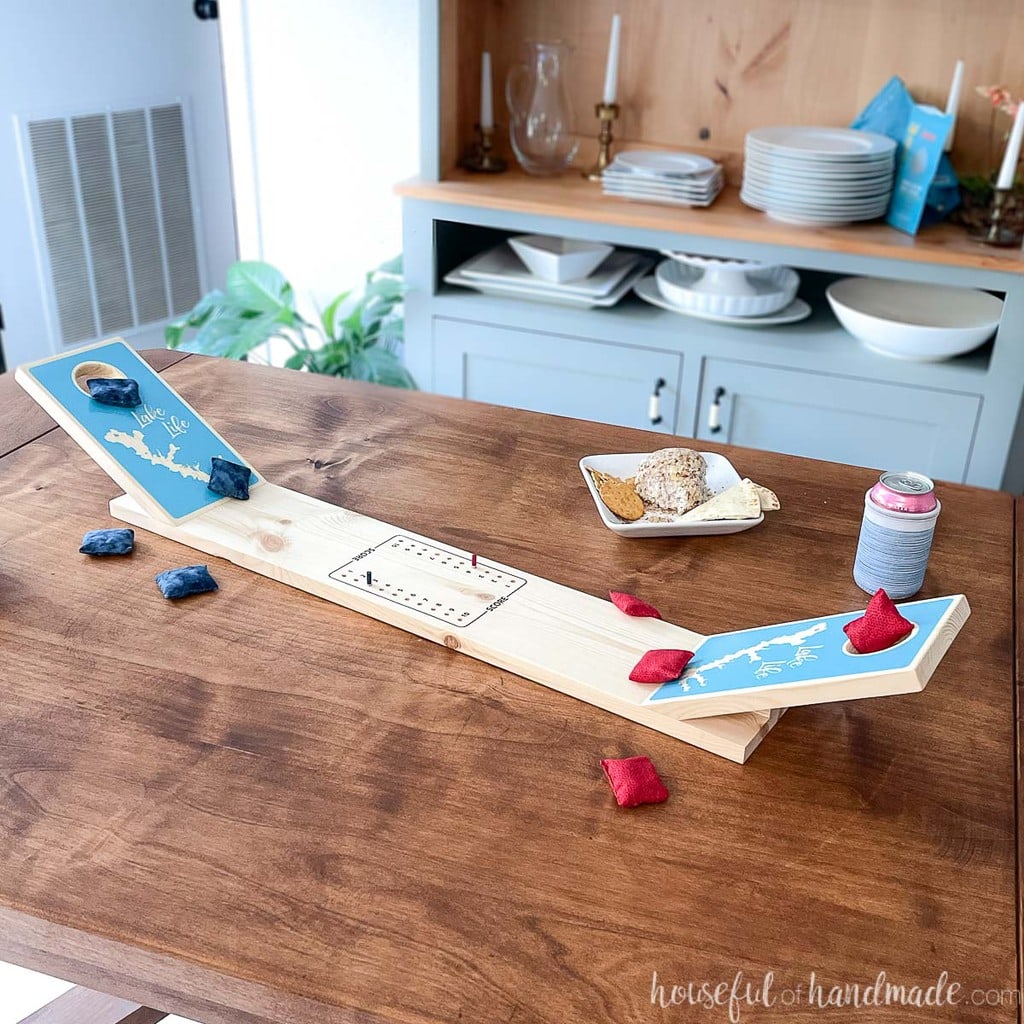
Easy DIY Projects to Engrave
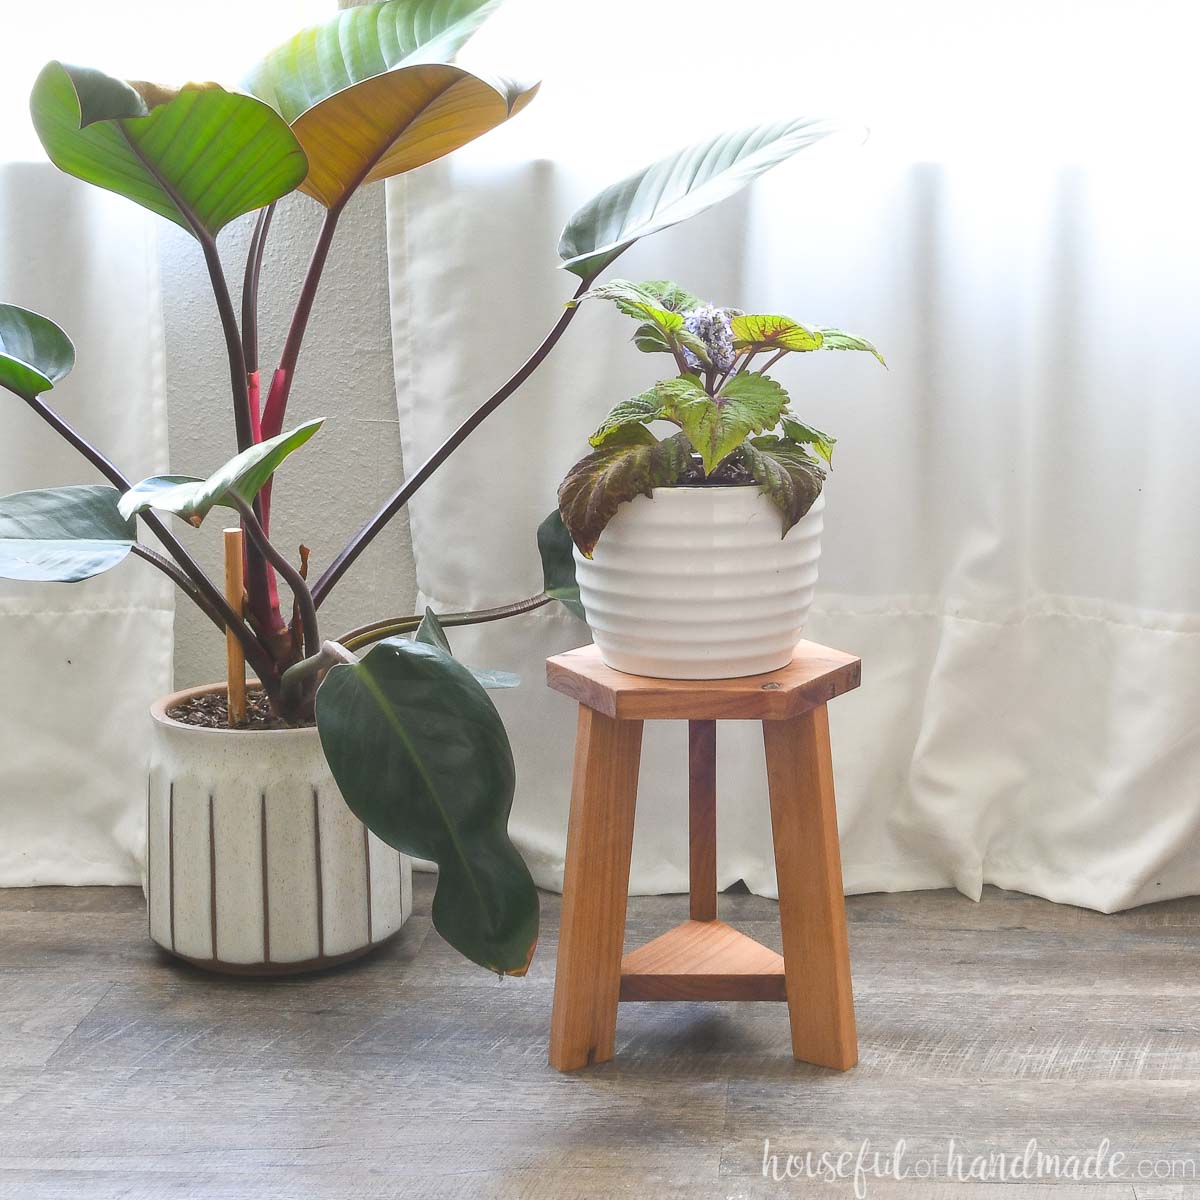
Test out your new “laser engraving” skill on a fun and simple build. These are great DIYs for you to add some personalization to.
How to add Faux Laser Engraving
Tools & Materials
Recommended Tools:
- Sander
- Optional: Vinyl cutting machine like Silhouette Cameo or Cricut
Supplies:
- Tack cloth
- Dark gray semi-transparent water-based wood stain
- I used Sumatra (MW1116) from Minwax
- Lint free cloth
- Vinyl stencil and transfer paper
STEP 1- Prep your wood
I prefer to add the faux engraving to my finished project. That way I do not have to worry about a mistake messing it up or needing to redo it if I mess up that piece.
Once the project is finished being built, sand it completely. Then wipe it clean.
I like to use a tack cloth to wipe away all the dust on the surface.
STEP 2- Place stencil on wood
If you are using a stencil, weed out the area you want “engraved” on the wood.
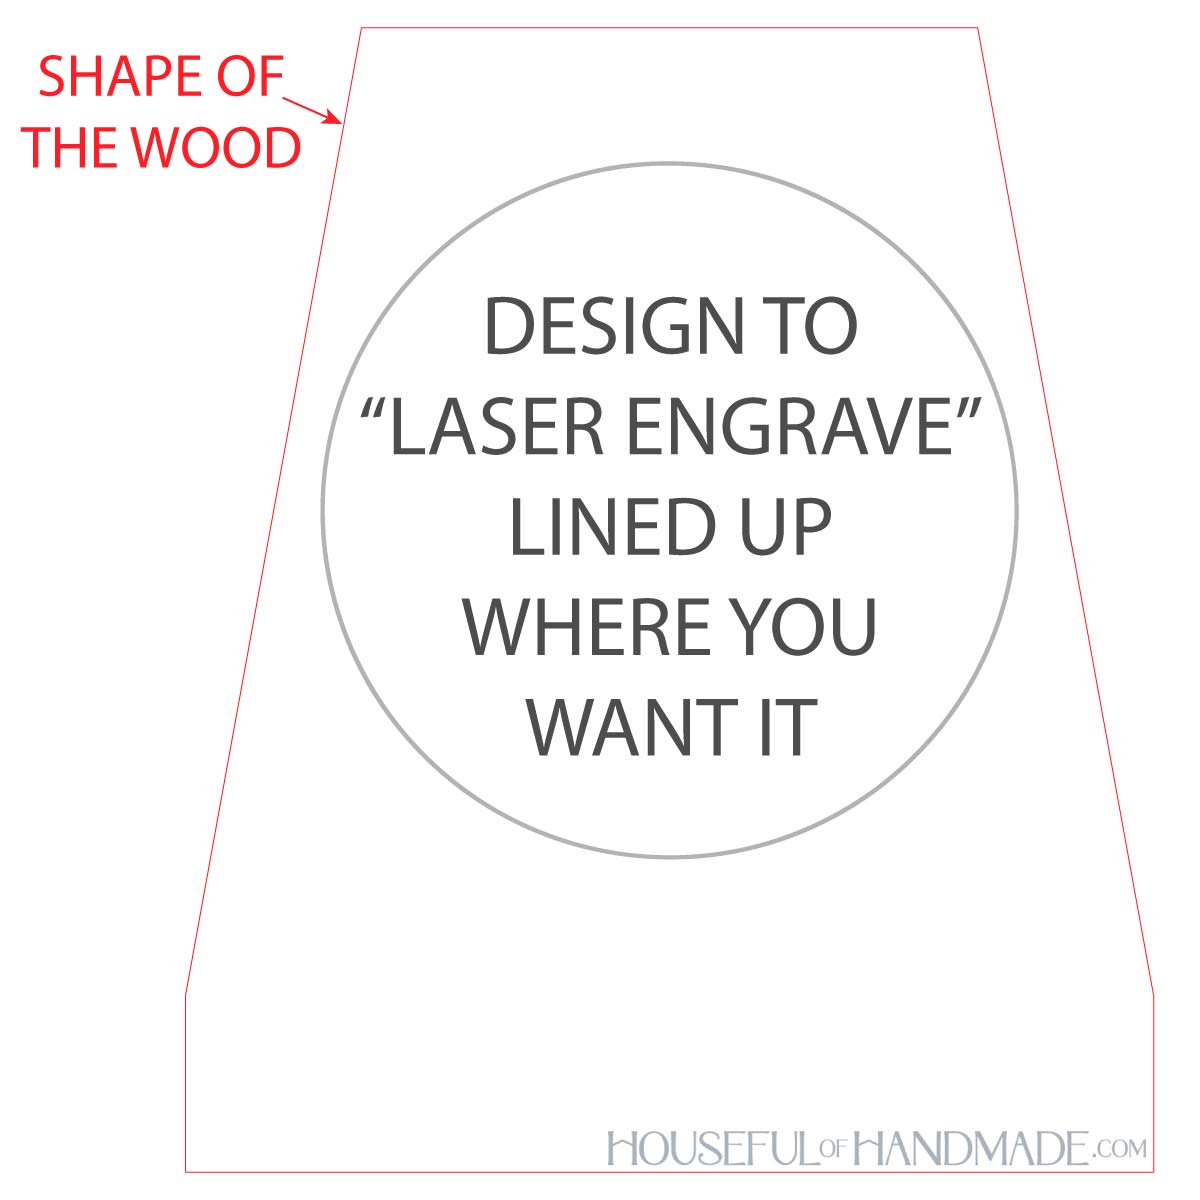
EXPERT TIP:
If cutting your own stencil, add a cut line the shape of the wood you are placing the design on. That way you can use it as a guide when placing the vinyl on the wood to make sure it is lined up how you want.
Place a piece of transfer paper over the weeded stencil. Then pull the stencil off the backing.
Line it up on the project. This is where the cut out shape comes in handy. I just lined the edges up with the edges of my board.
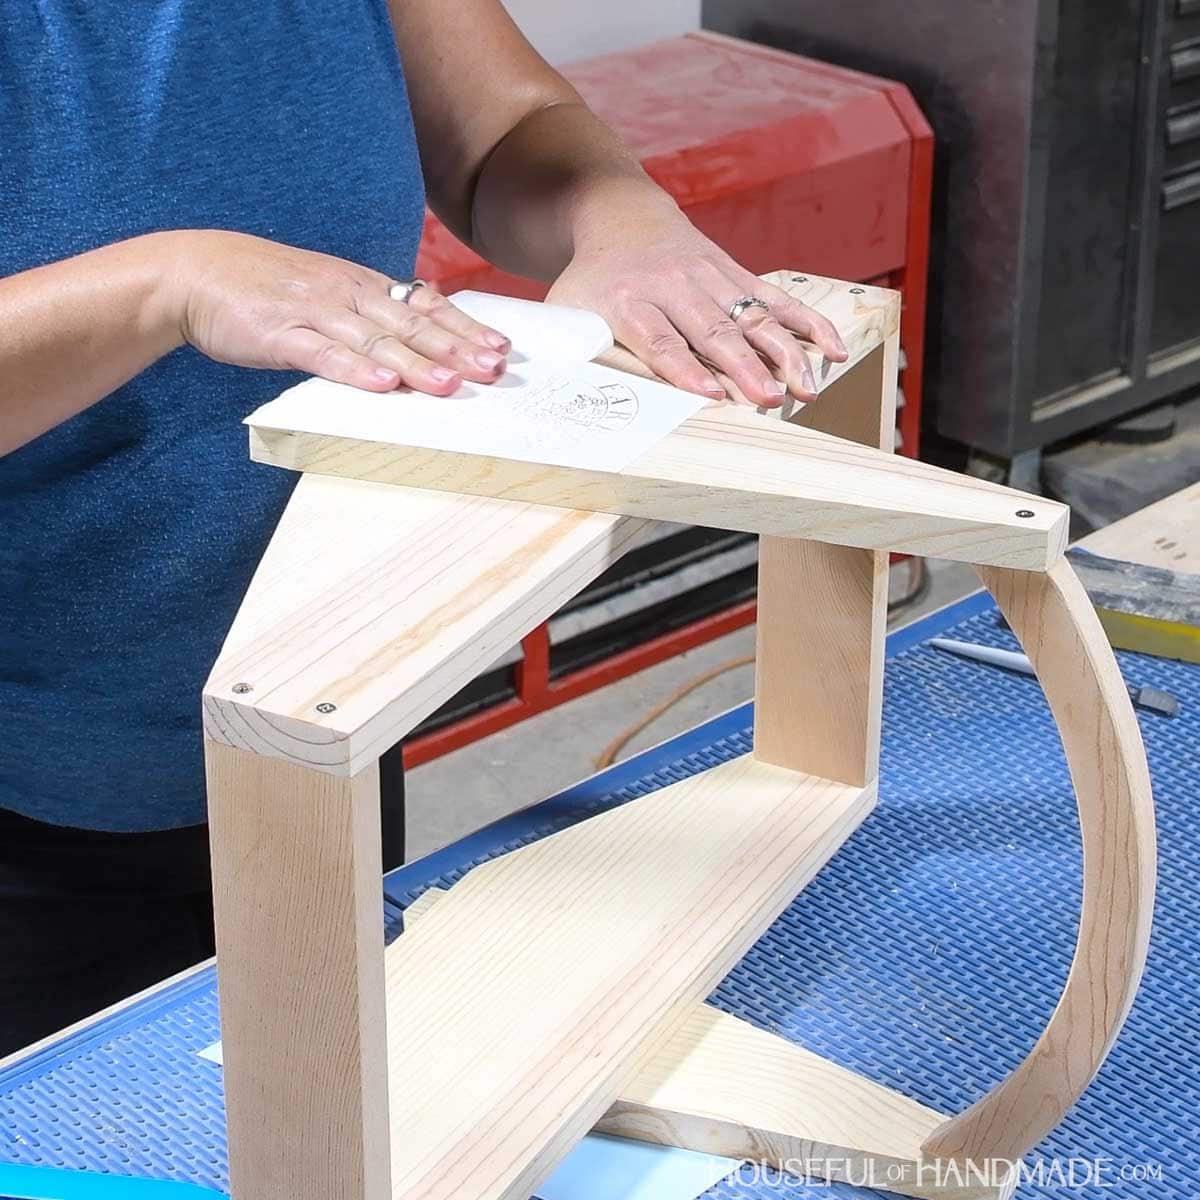
Then press it down. Use a flat plastic scraper to press it firmly on the wood.
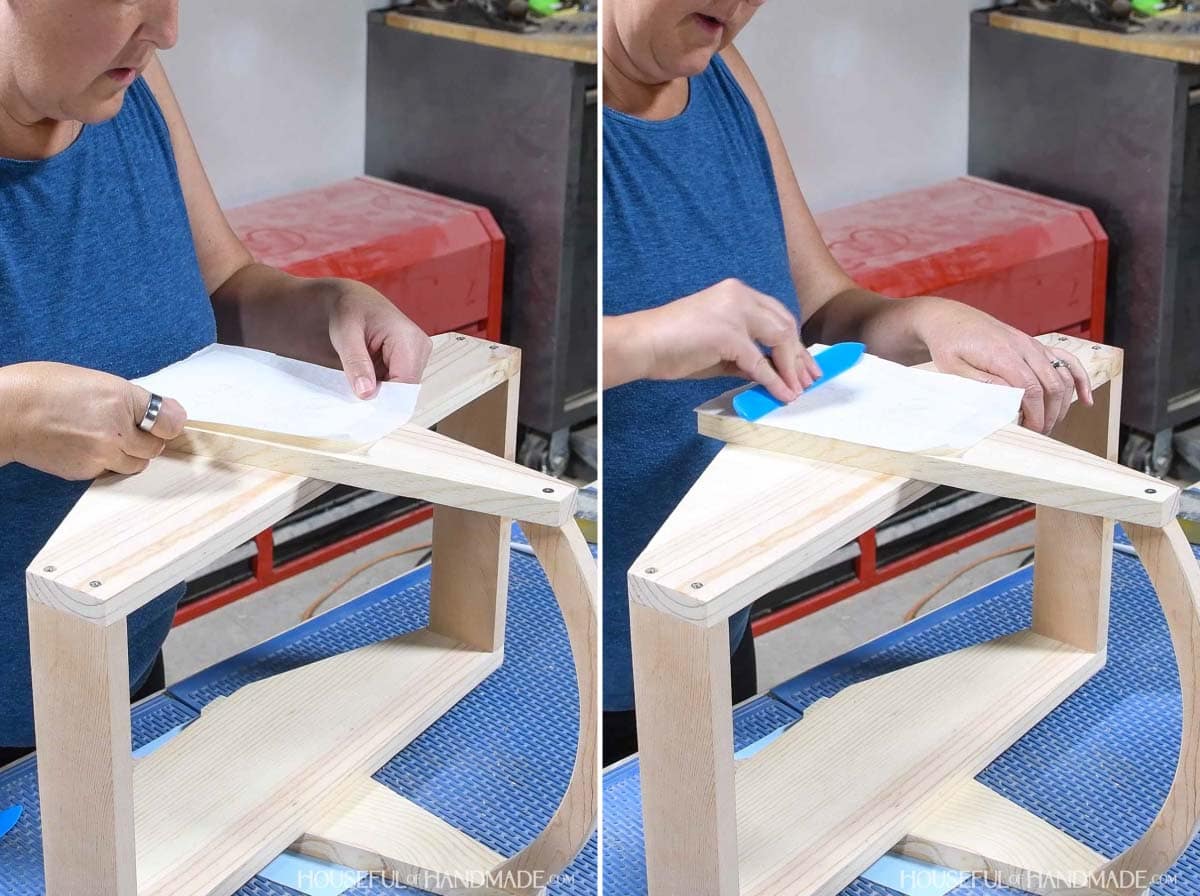
Lastly, remove the transfer paper from the top of the stencil.
I find it best to go slow to make sure the stencil does not pull away from the wood.
STEP 3- Apply stain
The stain you use is the most important part of the process. It must be water-based or it will bleed under your stencil.
A semi-transparent dark gray stain will give the appearance the design was burned into the wood.
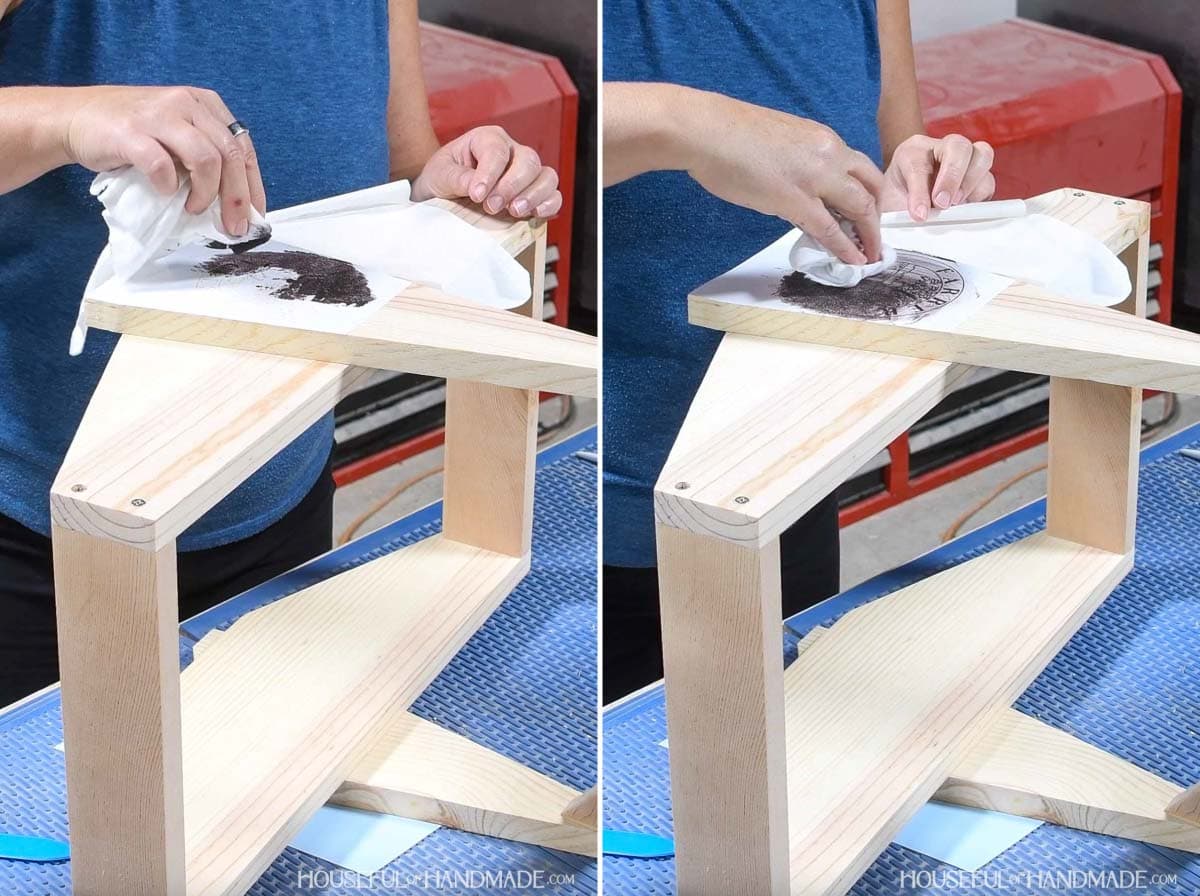
If you are using a stencil, use a cloth to carefully dab the stain into the design. I try not to push the stain into the stencil. Just dab it to get it everywhere you need.
Then carefully rub the excess off.
Now you can pull the stencil off of the wood.
You do not want to wait too long to remove the stencil or it can adhere too well and pull the wood fibers when you remove it.
I like to use a little hook tool or pin to grab the small stencil pieces from more intricate designs.

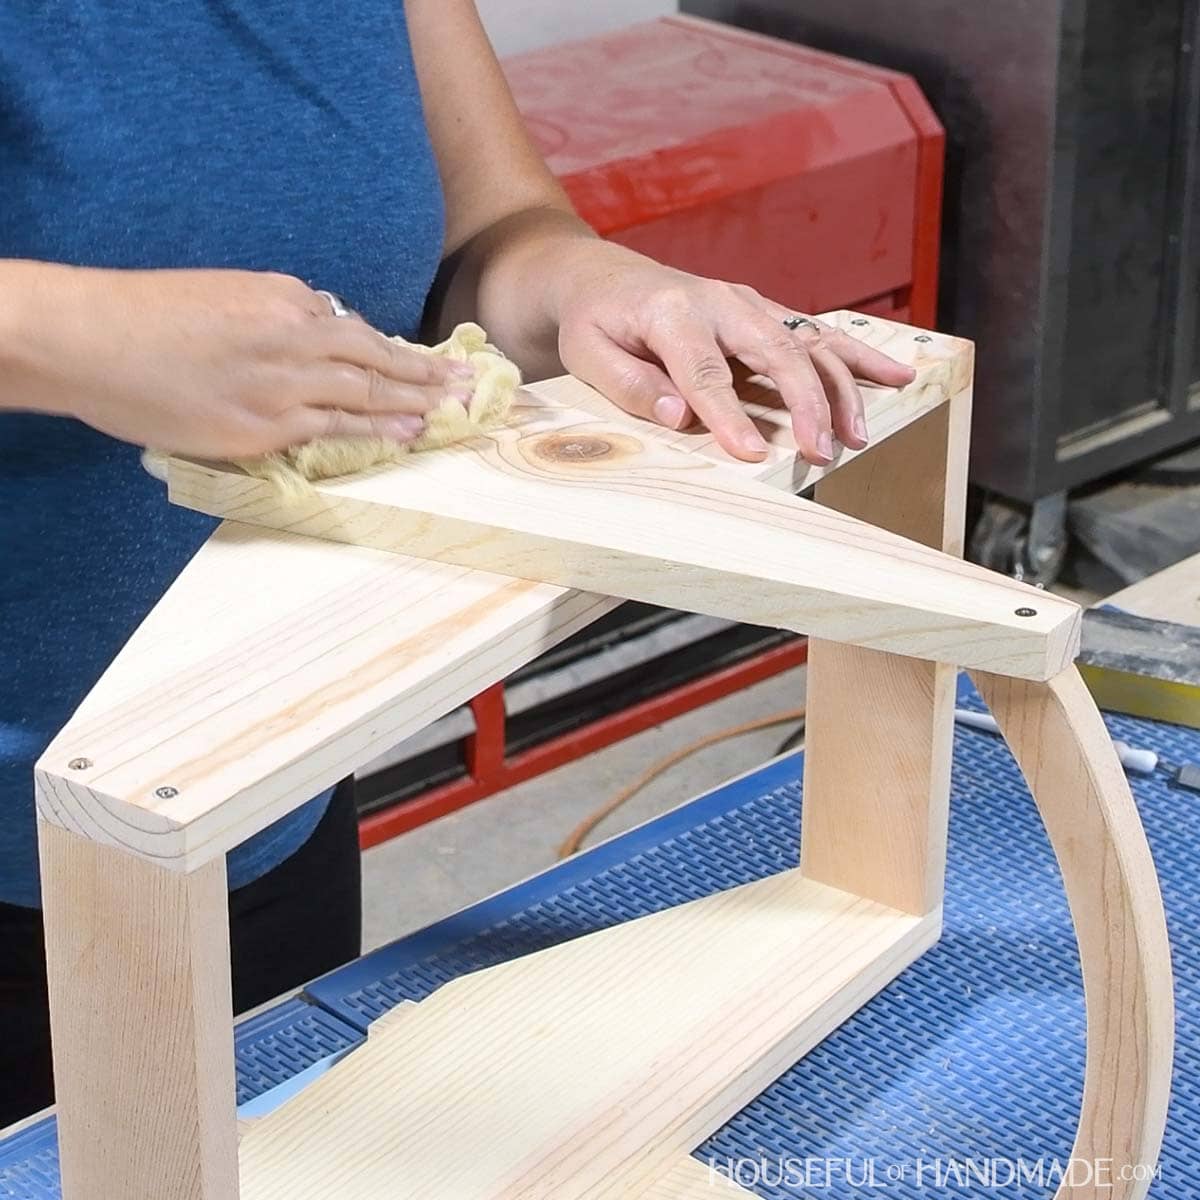
STEP 4- Seal the wood
Now you can seal your entire project however you want.
You can use either a water-based or oil based sealer. For this harvest basket (tutorial coming soon), I used a food safe sealing oil.
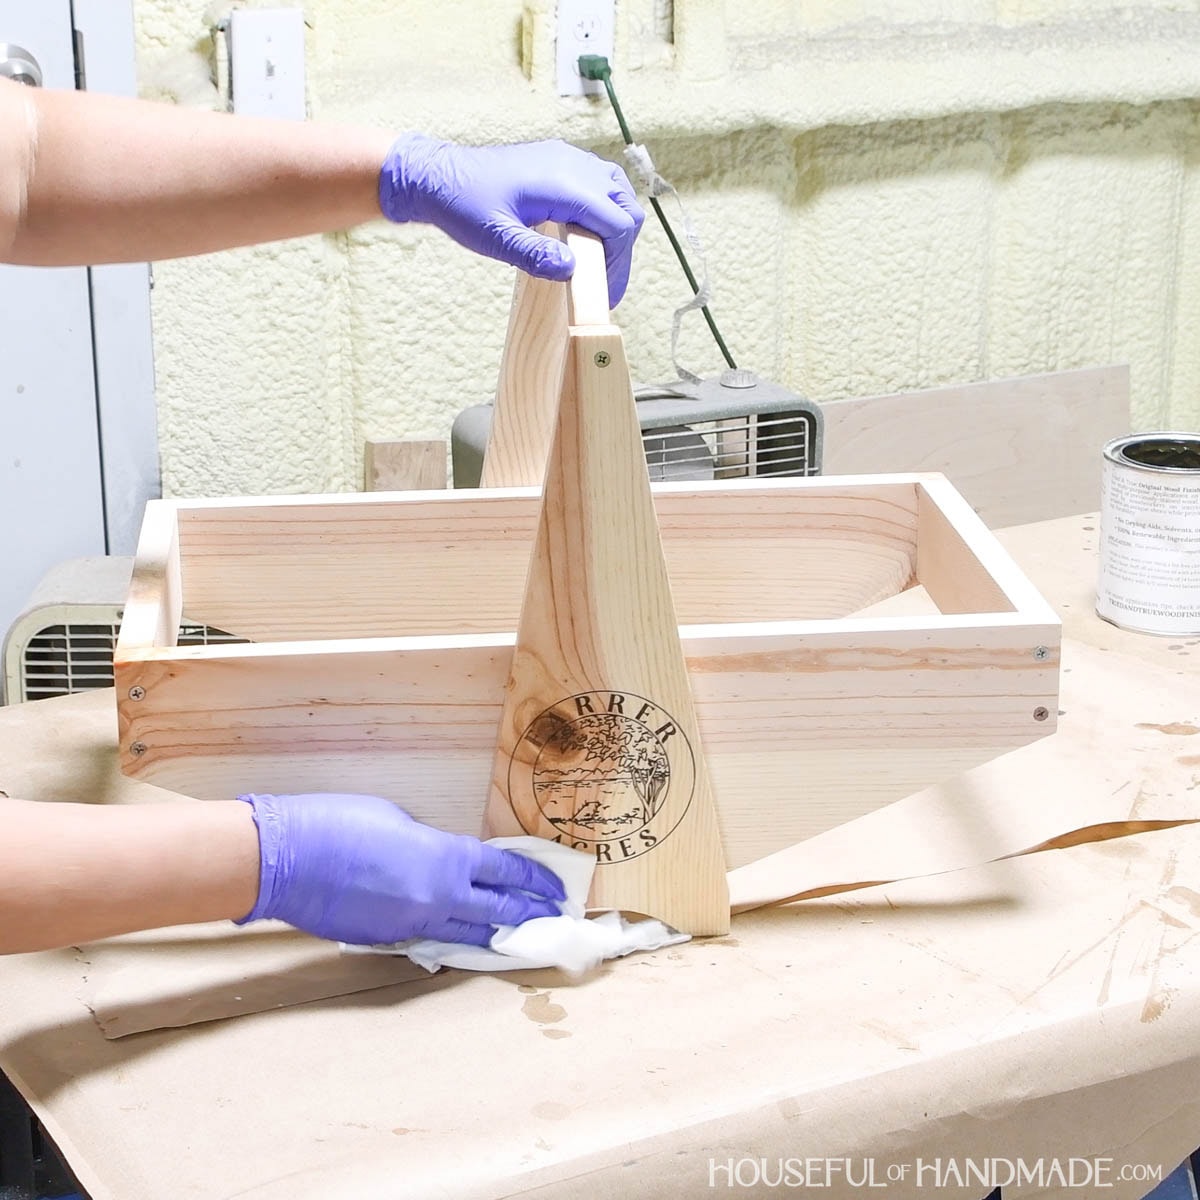
And you are done!
Have fun adding fake laser engraved designs to all your DIYs.
Happy engraving!
