Nothing is better than creating something out of the smallest off-cuts. Even better when you can turn them into a beautiful DIY gift.
I am almost embarrassed to admit how long I have had these two small scraps of wood in my stash, but they were too pretty to toss.
It only took a little creativity and a couple hours to turn them into some useful: a beautiful wooden spoon rest to sit next to the stove!
This post may contain affiliate links. As an Amazon Associate I earn from qualifying purchases. Click here to read my full disclosure policy.
I am sharing this project for Day 4 of DIY Gift week. All week I am partnering with Woodshop Diaries and Anika’s DIY Life to share new easy DIY gifts ideas for you to build.
You can check out their easy gift ideas below.
Handmade Spoon Holder
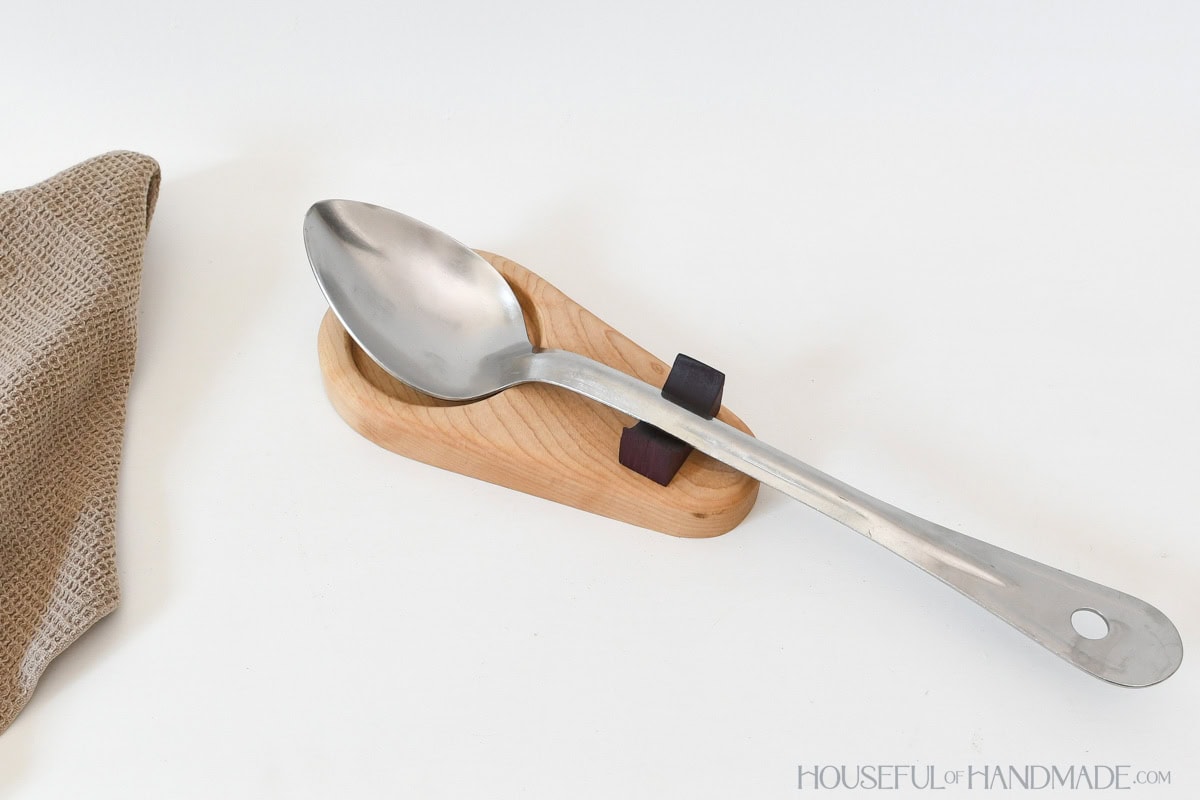
A spoon rest or holder is the perfect kitchen accessory to protect the countertops next to the stove from messy cooking utensils.
And it ensures I always place my spoon in the same spot so I can easily grab it to stir when needed.
I use mine everyday! So I thought it would be the perfect gift idea for anyone on my Christmas list who likes to cook too.
I recommend using a hardwood with a tight grain to build your spoon rest.
Any hardwood that is recommended for build cutting boards would be a great wood to use.
It’s the perfect project to use up small scraps you have been hanging onto of maple, walnut, cherry, pecan, purple heart and more.

More DIY Gift Ideas
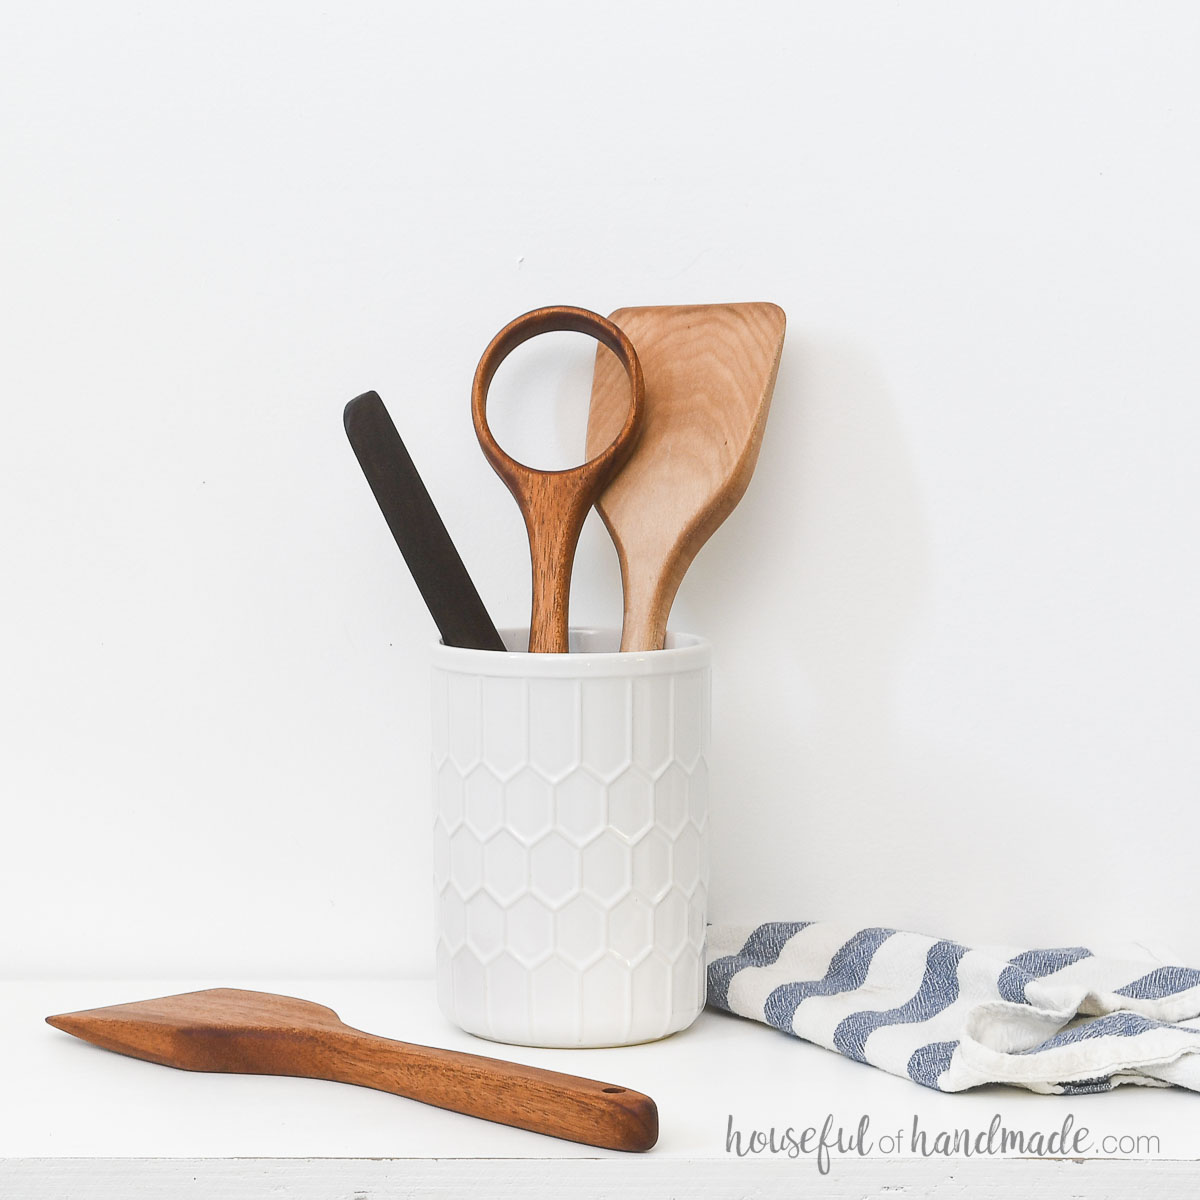
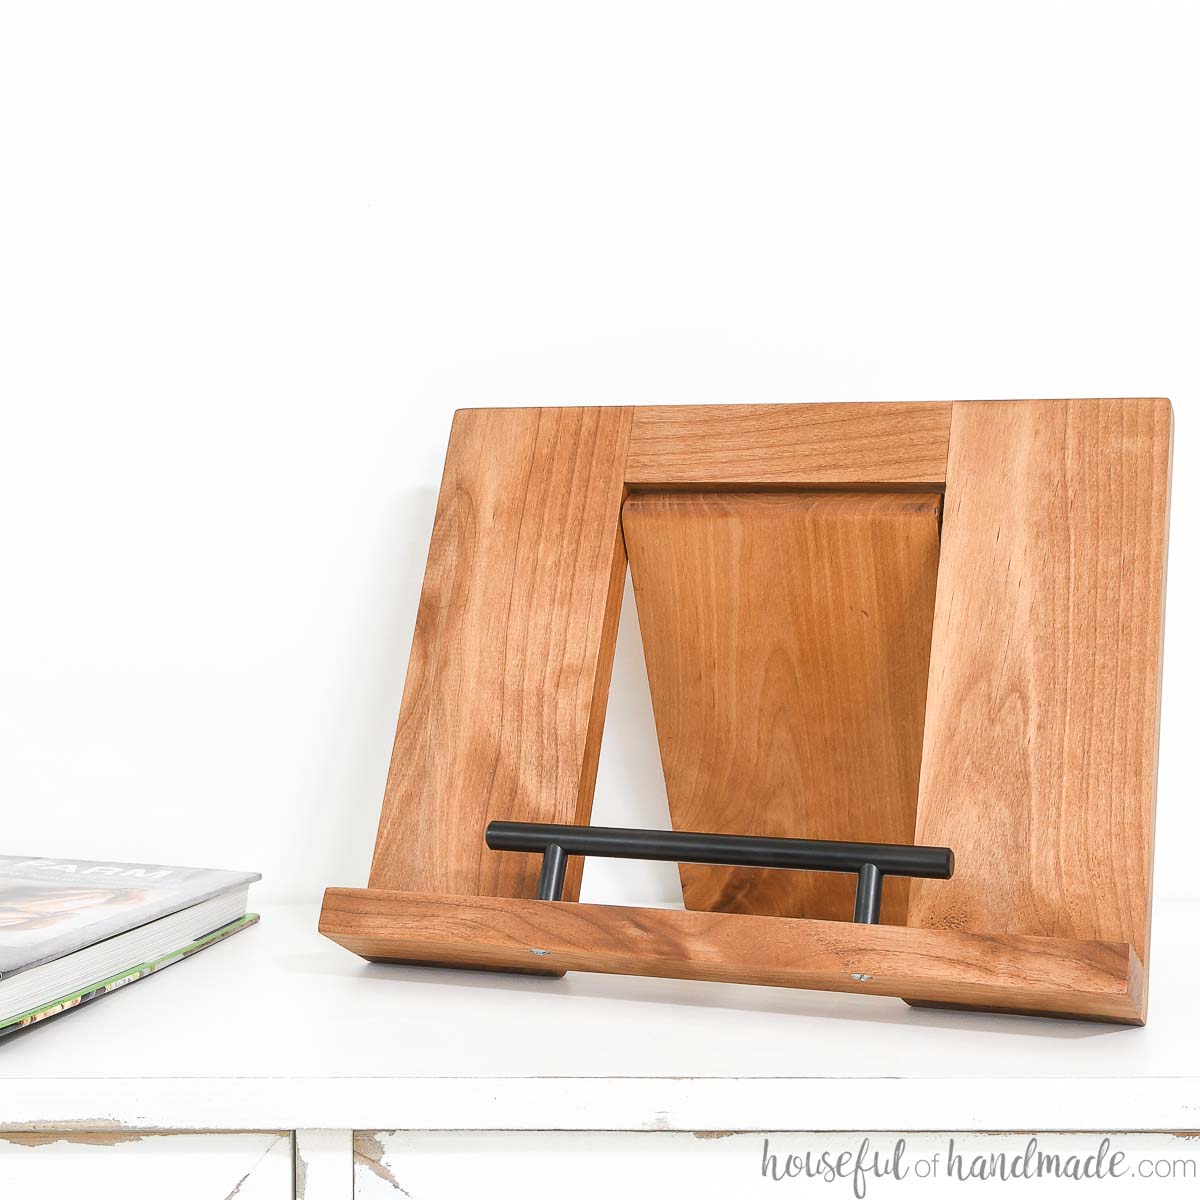
For DIY Gift week this week, I am sharing 5 new DIY gift ideas along with my friends from WoodShop Diaries and Anika’s DIY Life.
Check out their DIY gift ideas below along with a couple more ideas from me.


How to Build a Simple Spoon Rest
Tools & Materials
Recommended Tools:
- Miter saw
- I recently upgraded to this sliding miter saw (watch for it to go on sale), but previously used this inexpensive miter saw that I love.
- Jig saw
- Drill with large forstner bit
- Multi-mark measuring tool
- Trim router
- Sander
Supplies:
- Wood products
- (1) 1×6 board, ~8″ long
- (1) 1×2 board, ~6″ long
- Wood glue
- Cutting board sealer
STEP 1- Cut base
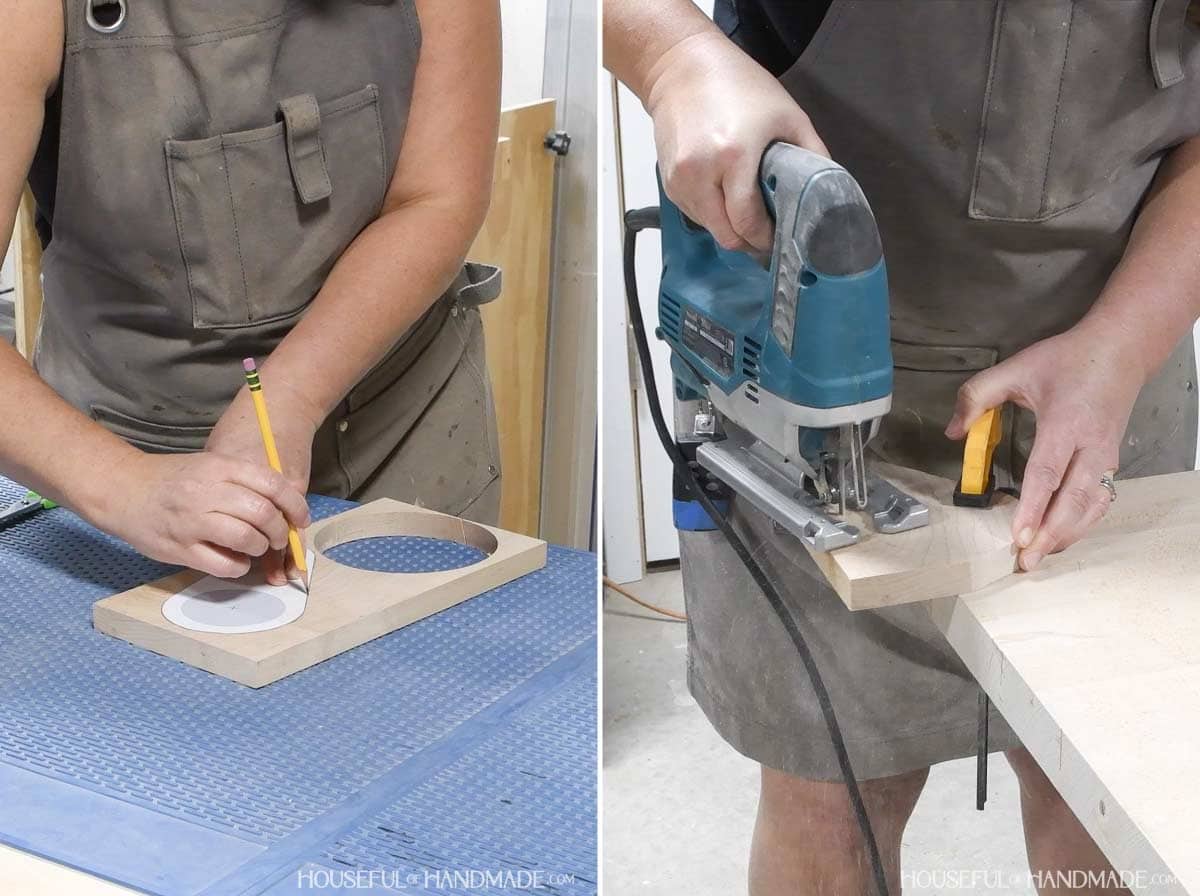
Draw out 2 circles on your scrap board. The top circle should be 1″ bigger than your forstner bit. I used a 2 3/4″ forstner bit but would have gone larger if I had one.
The lower circle should be 2″ wide. Then connect the two circles together at the side to create a rounded tear drop shape.
I drew out my circle on paper then cut it out and used it as a template.
Then cut the base out with a jig saw.
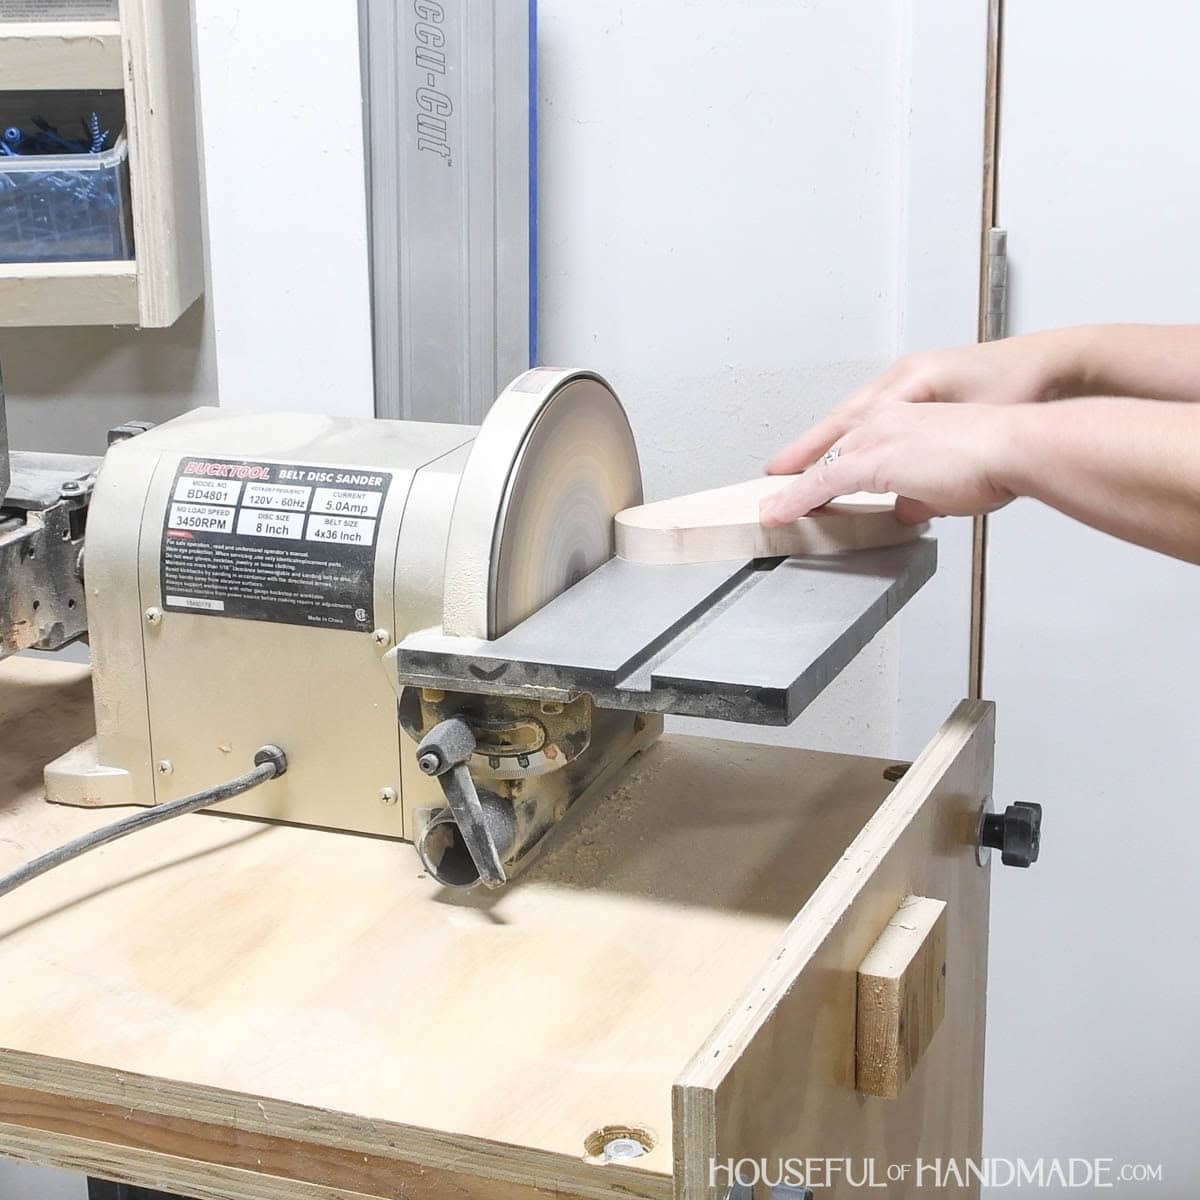
Sand the edges of the tear drop shape.
I love using my disc sander for getting smooth clean curves, but you can also sand with a hand sander like this orbital sander.
STEP 2- Cut handle rest
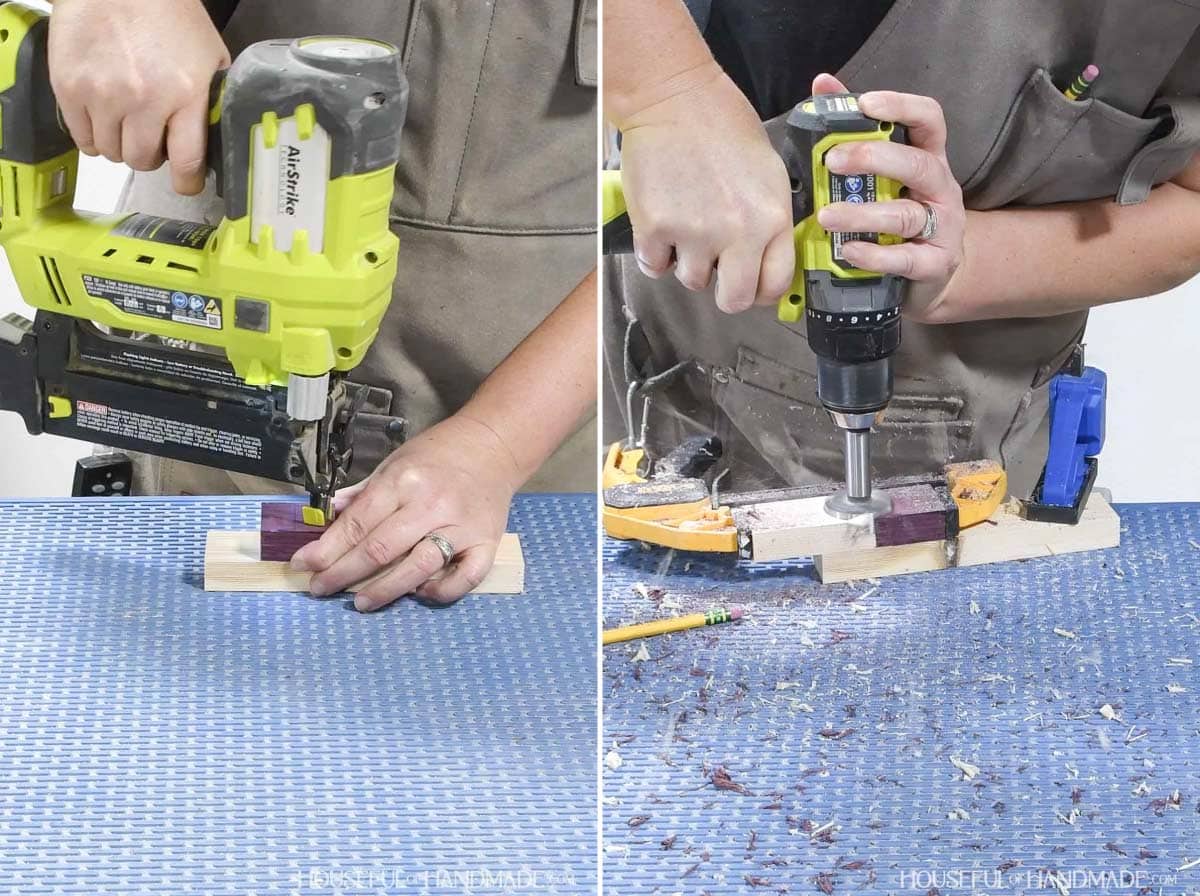
I found a tiny ~2″ piece of purple heart wood and wanted to use it, but it was too small to safely clamp or cut.
So I nailed it to a scrap 1×2 piece. Then I clamped a second scrap to the end. You don’t have to do this if you are working with a normal size scrap.
Using a 1 1/2″ forstner bit or hole saw bit, drill a hole through the end of the 1×2 scrap to create a U shape on the end.
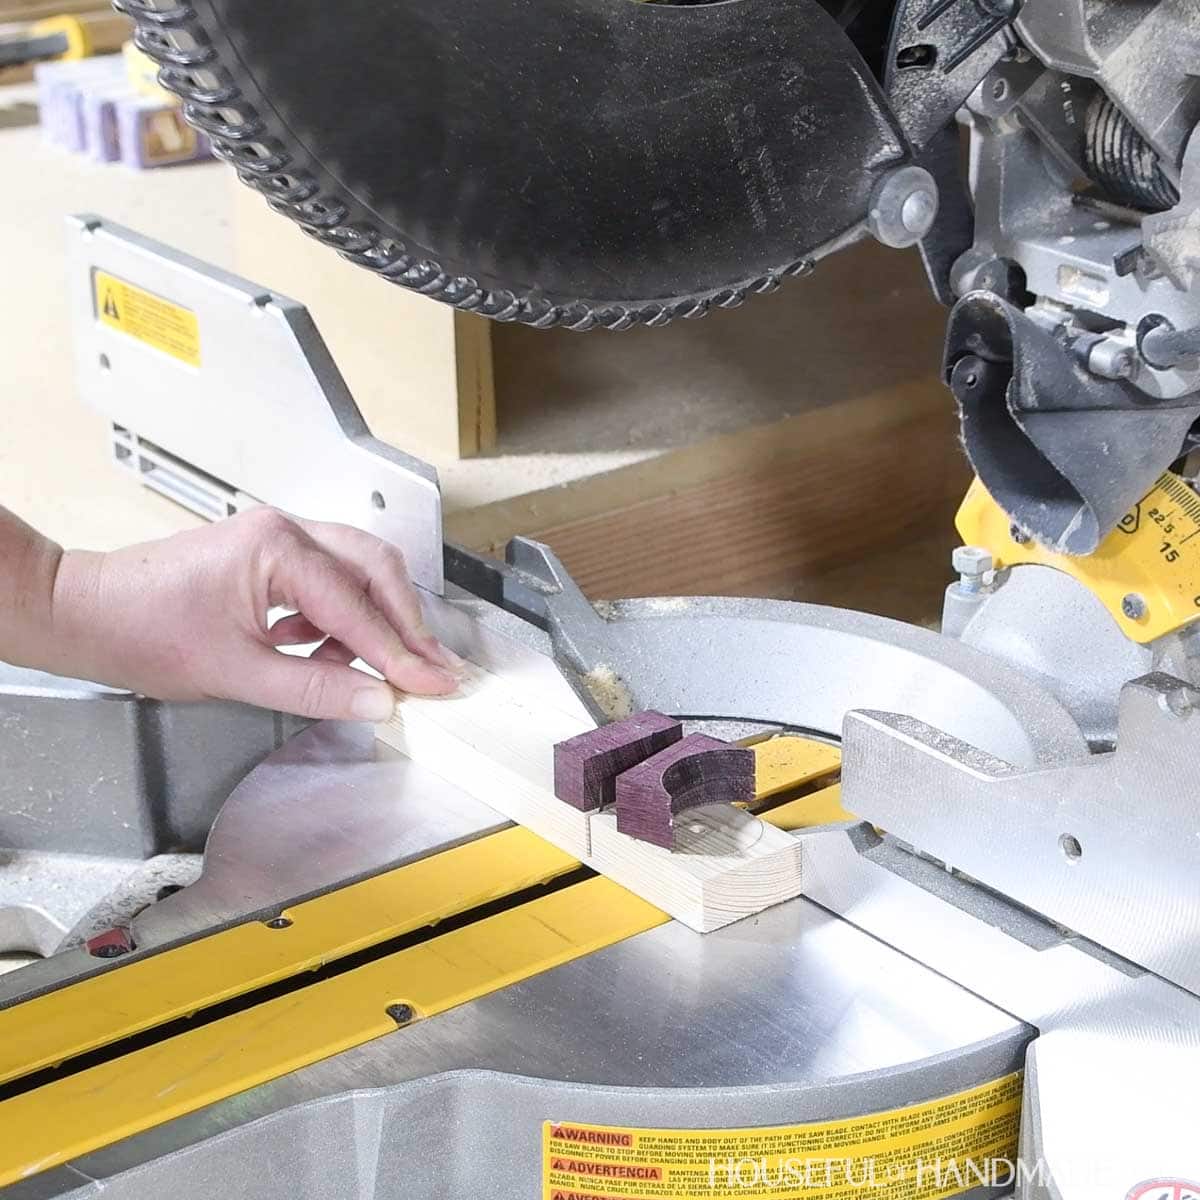
Carefully cut off the U shaped end so it is ~1″ big.
This is where the extra scrap board came in really handy. You could also use a hand saw to cut the small piece.
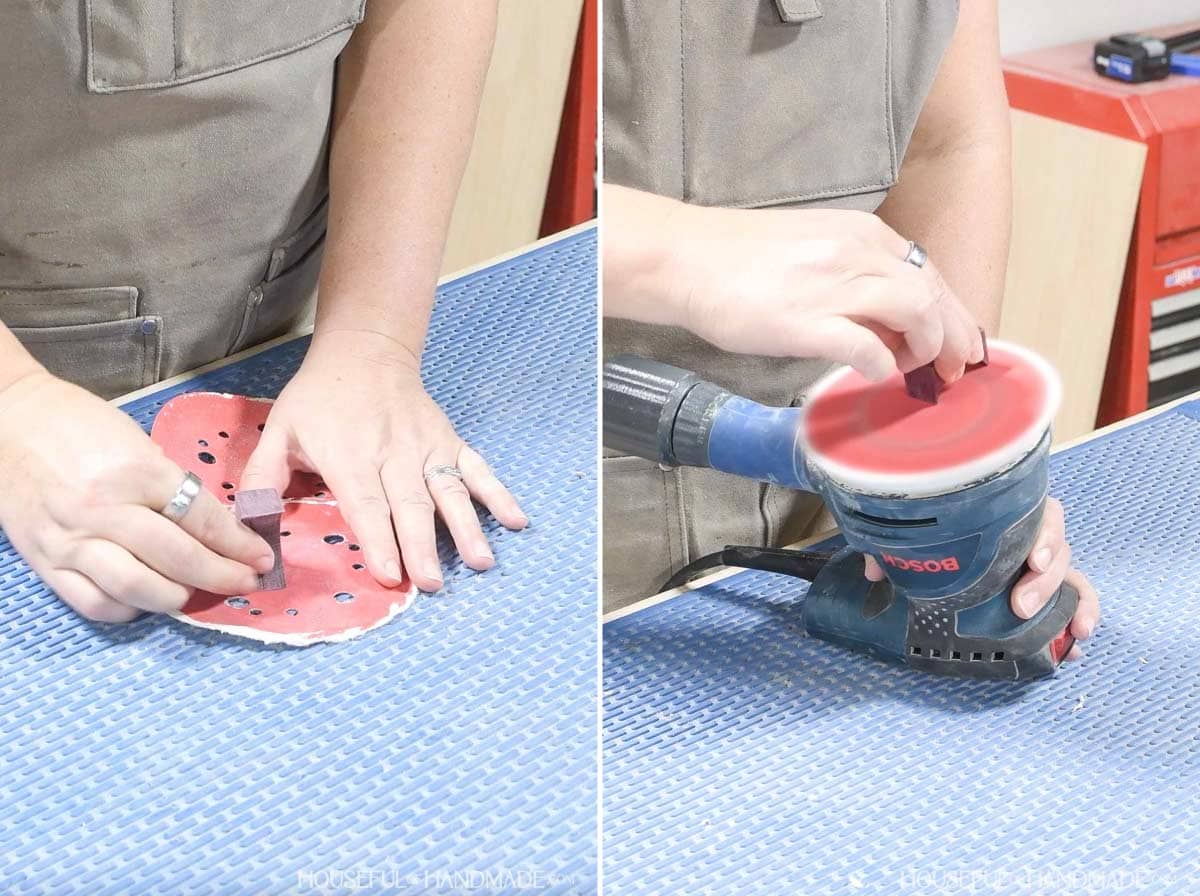
Sand the tips of the spoon handle piece to clean them up. I used the orbital sander to clean up the ends and keep them flat.
Then finish sand the entire piece.
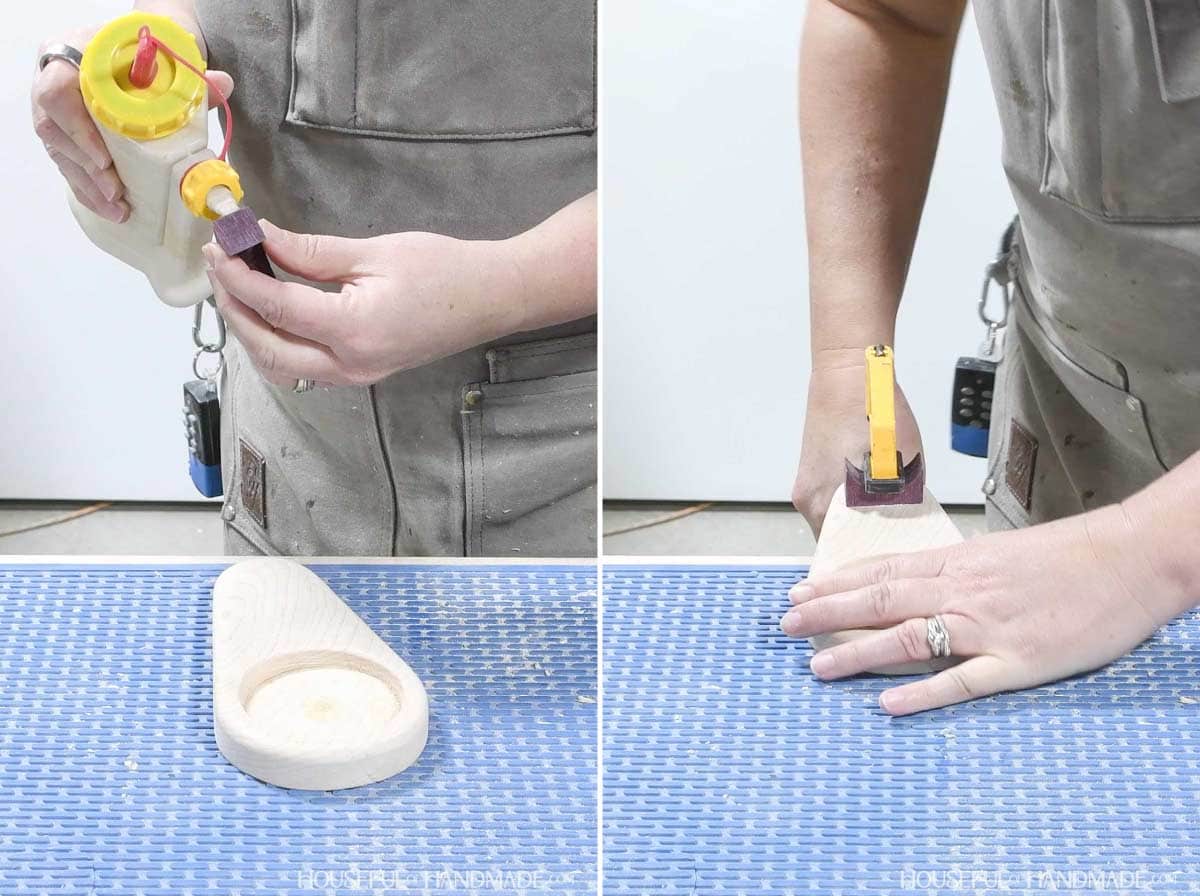
STEP 3- Drill hole in base
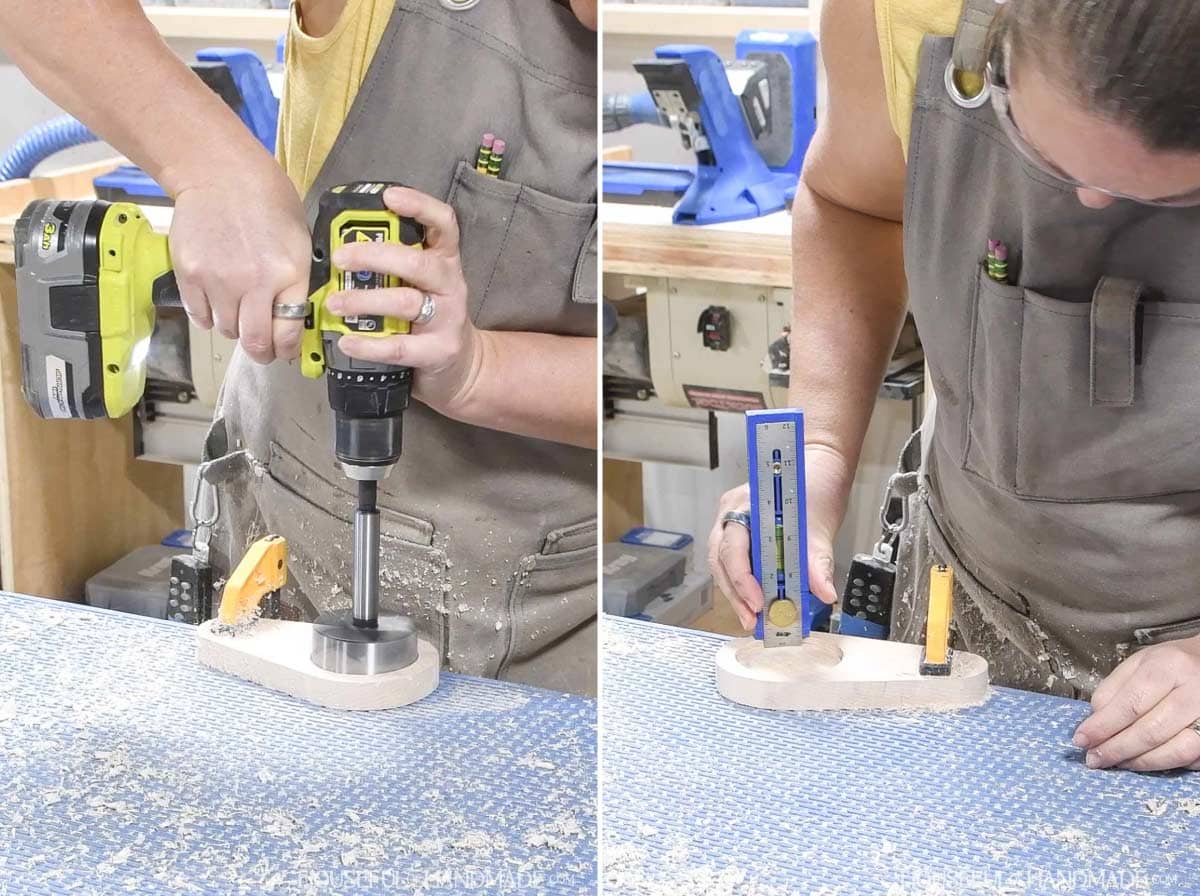
Use a large forstner bit to drill a flat bottomed hole in the larger circle area of the base.
Position it so it is a 1/2″ away from the top and sides.
I had to tip the drill back and forth to get the large drill bit through the hard maple. So I used a measuring tool to ensure my hole was even all around.
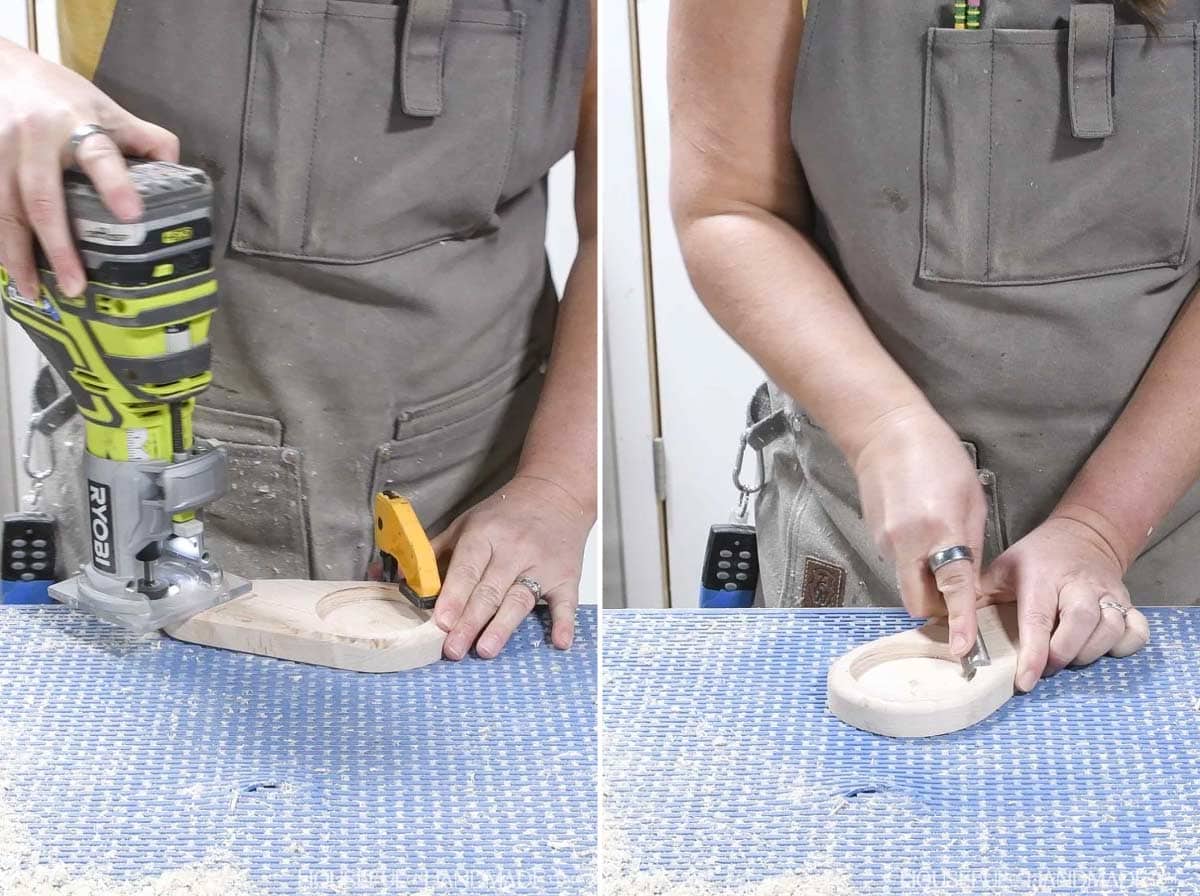
Next I used a trim router with a round over bit to add a curve to the outside top edge of the base.
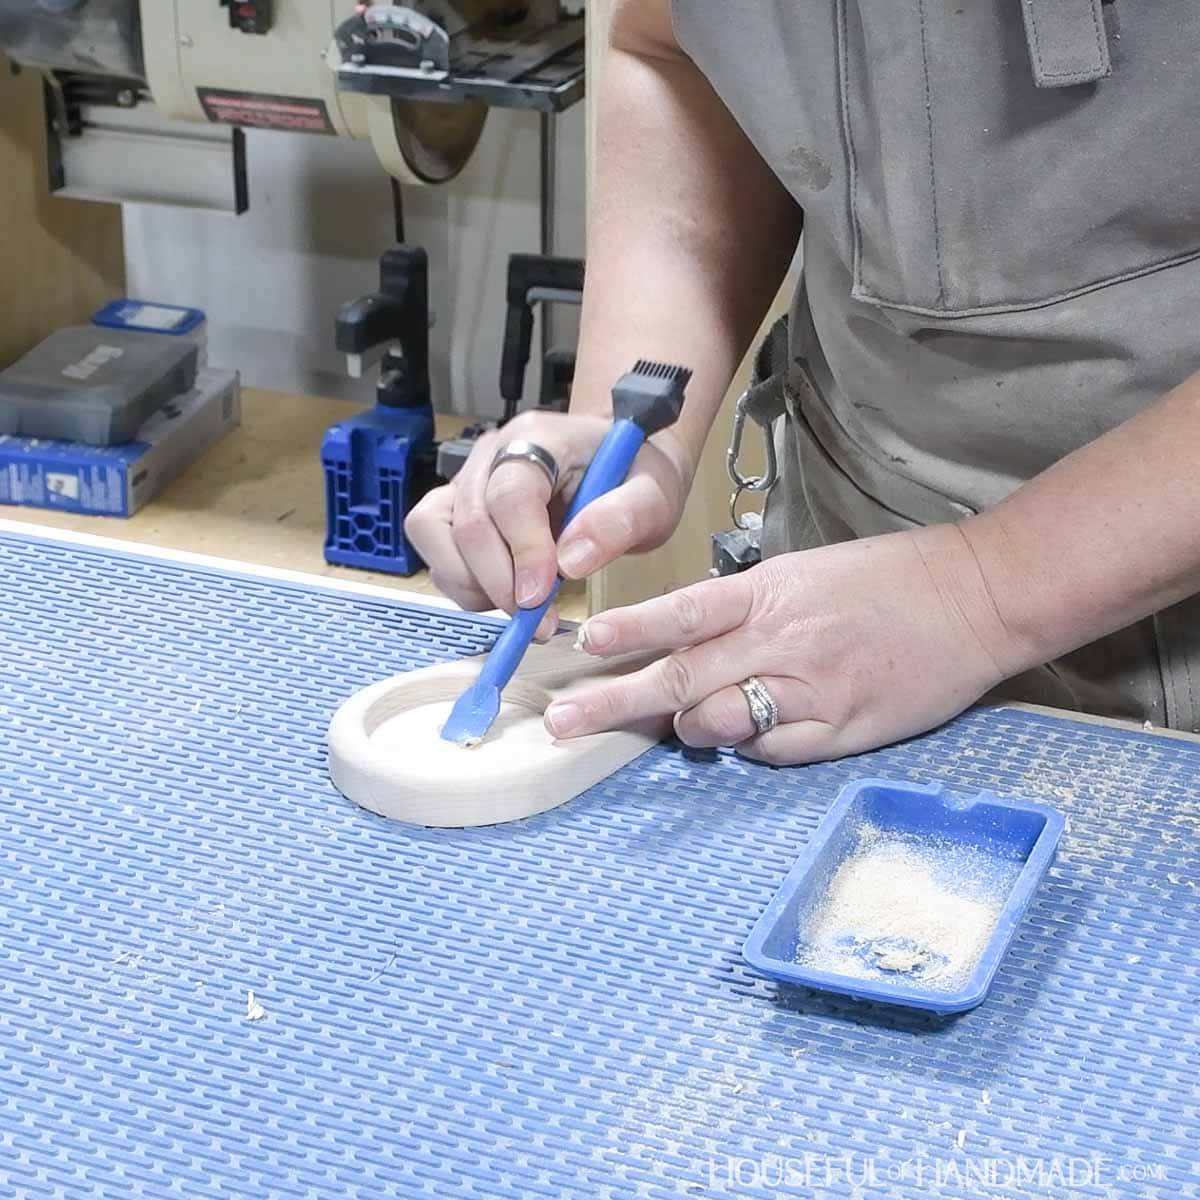
Then I used some carving tools I just purchased at an estate sale to add a round over to the inside of the hole.
You could also round over the inside with sand paper.
Then it was time to sand it all smooth.
I used a variety of methods to get into all the small nooks of the base and hole.
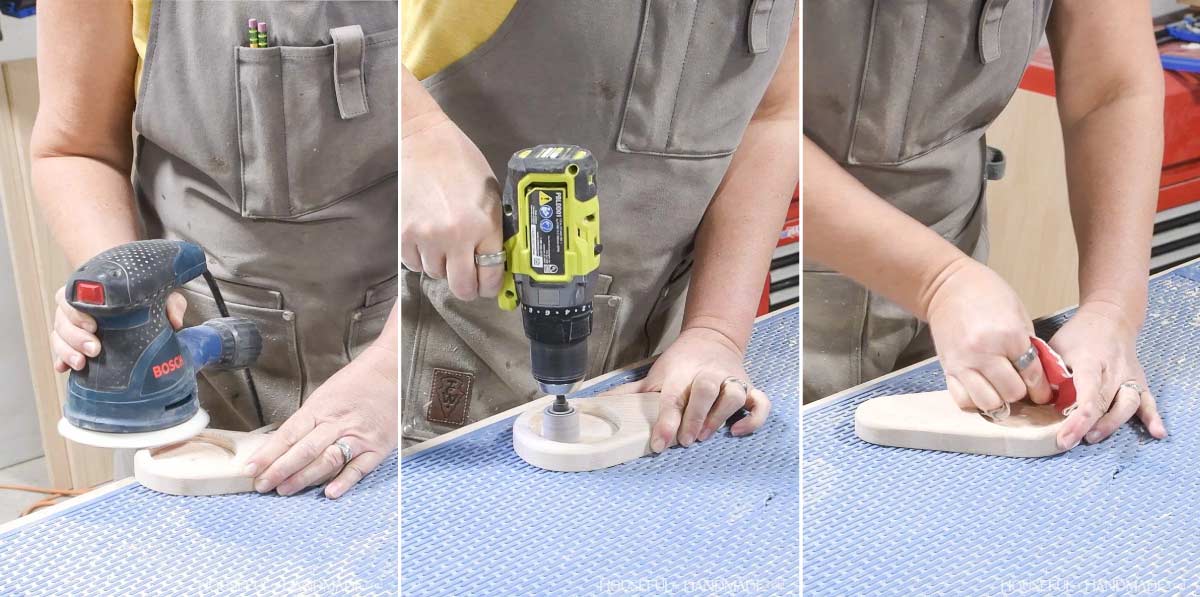
I gathered up some of the dust from cutting the base out with the jig saw.
Then mixed it with a bit of wood glue to fill the small hole made from the center point of the forstner bit.
After drying, I sanded it flat.
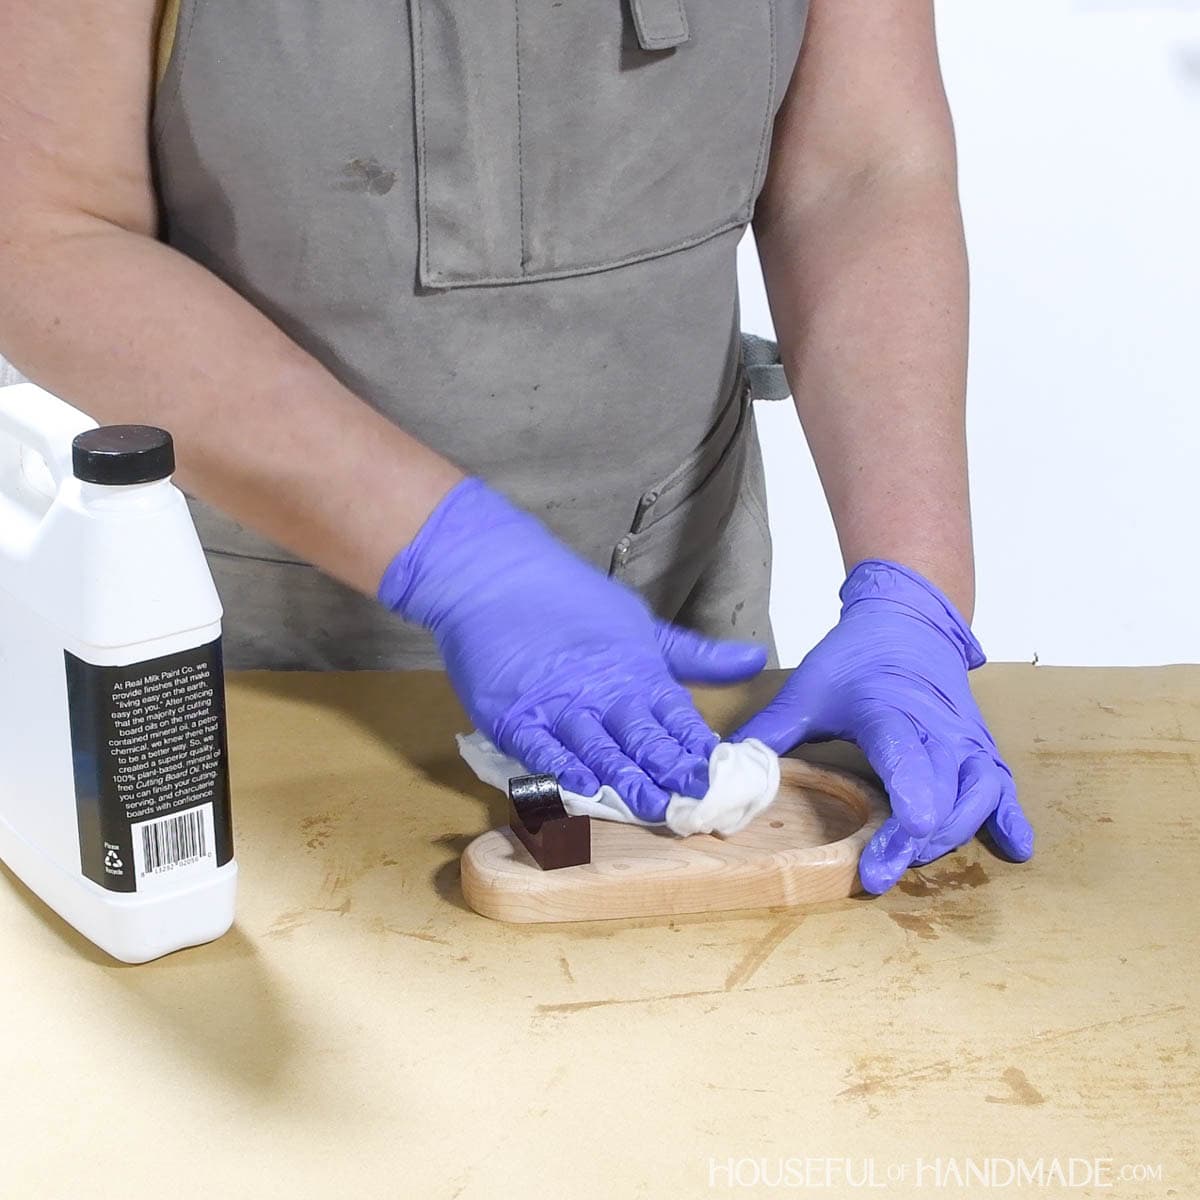
STEP 4- Assemble & finish
I added wood glue to the bottom of the handle rest and centered it on the lower circle of the tear drop.
I clamped it till the glue dried. Then scraped off any glue squeeze out drops with a chisel.
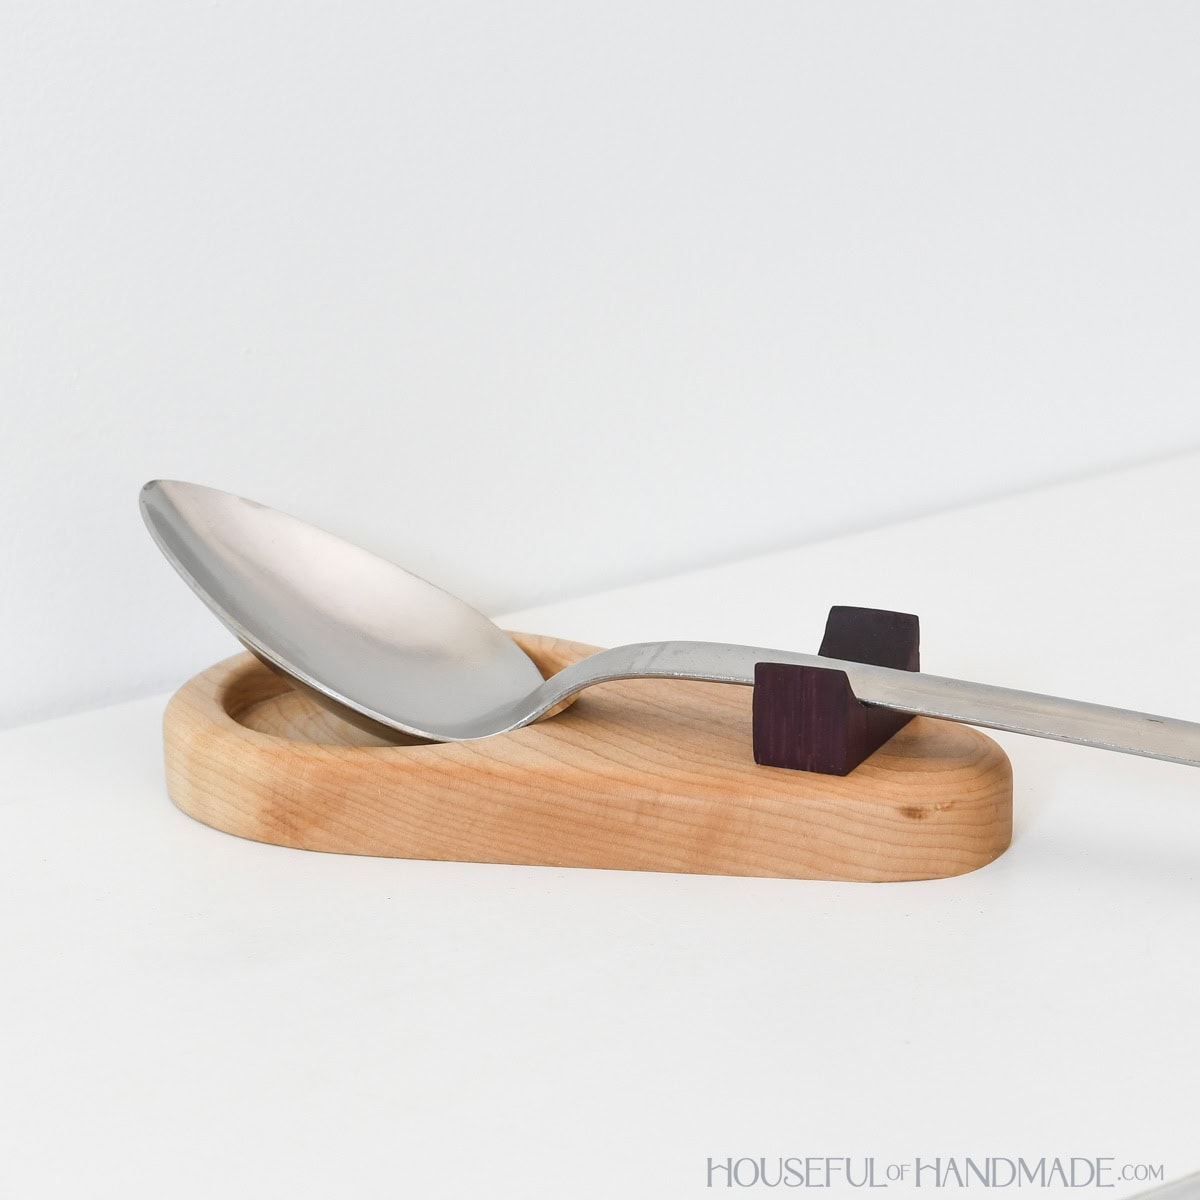
And finally I used cutting board oil to seal the finished spoon rest.
The oil really made the color on the purple heart and maple look stunning. Almost too pretty to use.
You did it!
Now the spoon rest is ready to sit next to the stovetop and hold your spoons while cooking.
You can wash it the same as you would a cutting board, just make sure to oil it regularly.

Happy building!
