There’s just something special about handmade wood utensils. But if you do not have the patience to carve them by hand, what are you going to do?
How about use simple power tools to make some no-carve wood cooking utensils instead!
These beautiful kitchen utensils are quite quick and easy to make. They are the perfect way to turn scraps of wood into something useful.
This post may contain affiliate links. As an Amazon Associate I earn from qualifying purchases. Click here to read my full disclosure policy.
And they make great DIY gifts for Christmas, house warmings, weddings, and more. Pair them with homemade tea towels for a special gift.
What is the best wood for making kitchen utensils?
Wood utensils are best made from hardwoods with a tight grain pattern.
I recommend using woods that are recommended for making cutting boards.
For my cooking utensils, I used maple, walnut and mahogany. Since my mahogany piece was larger, I was able to get 2 wood utensils from it.
You will want to avoid using soft woods like pine, poplar and cedar. Also I don’t recommend hardwoods with open grain like oak and hickory where food can hide.
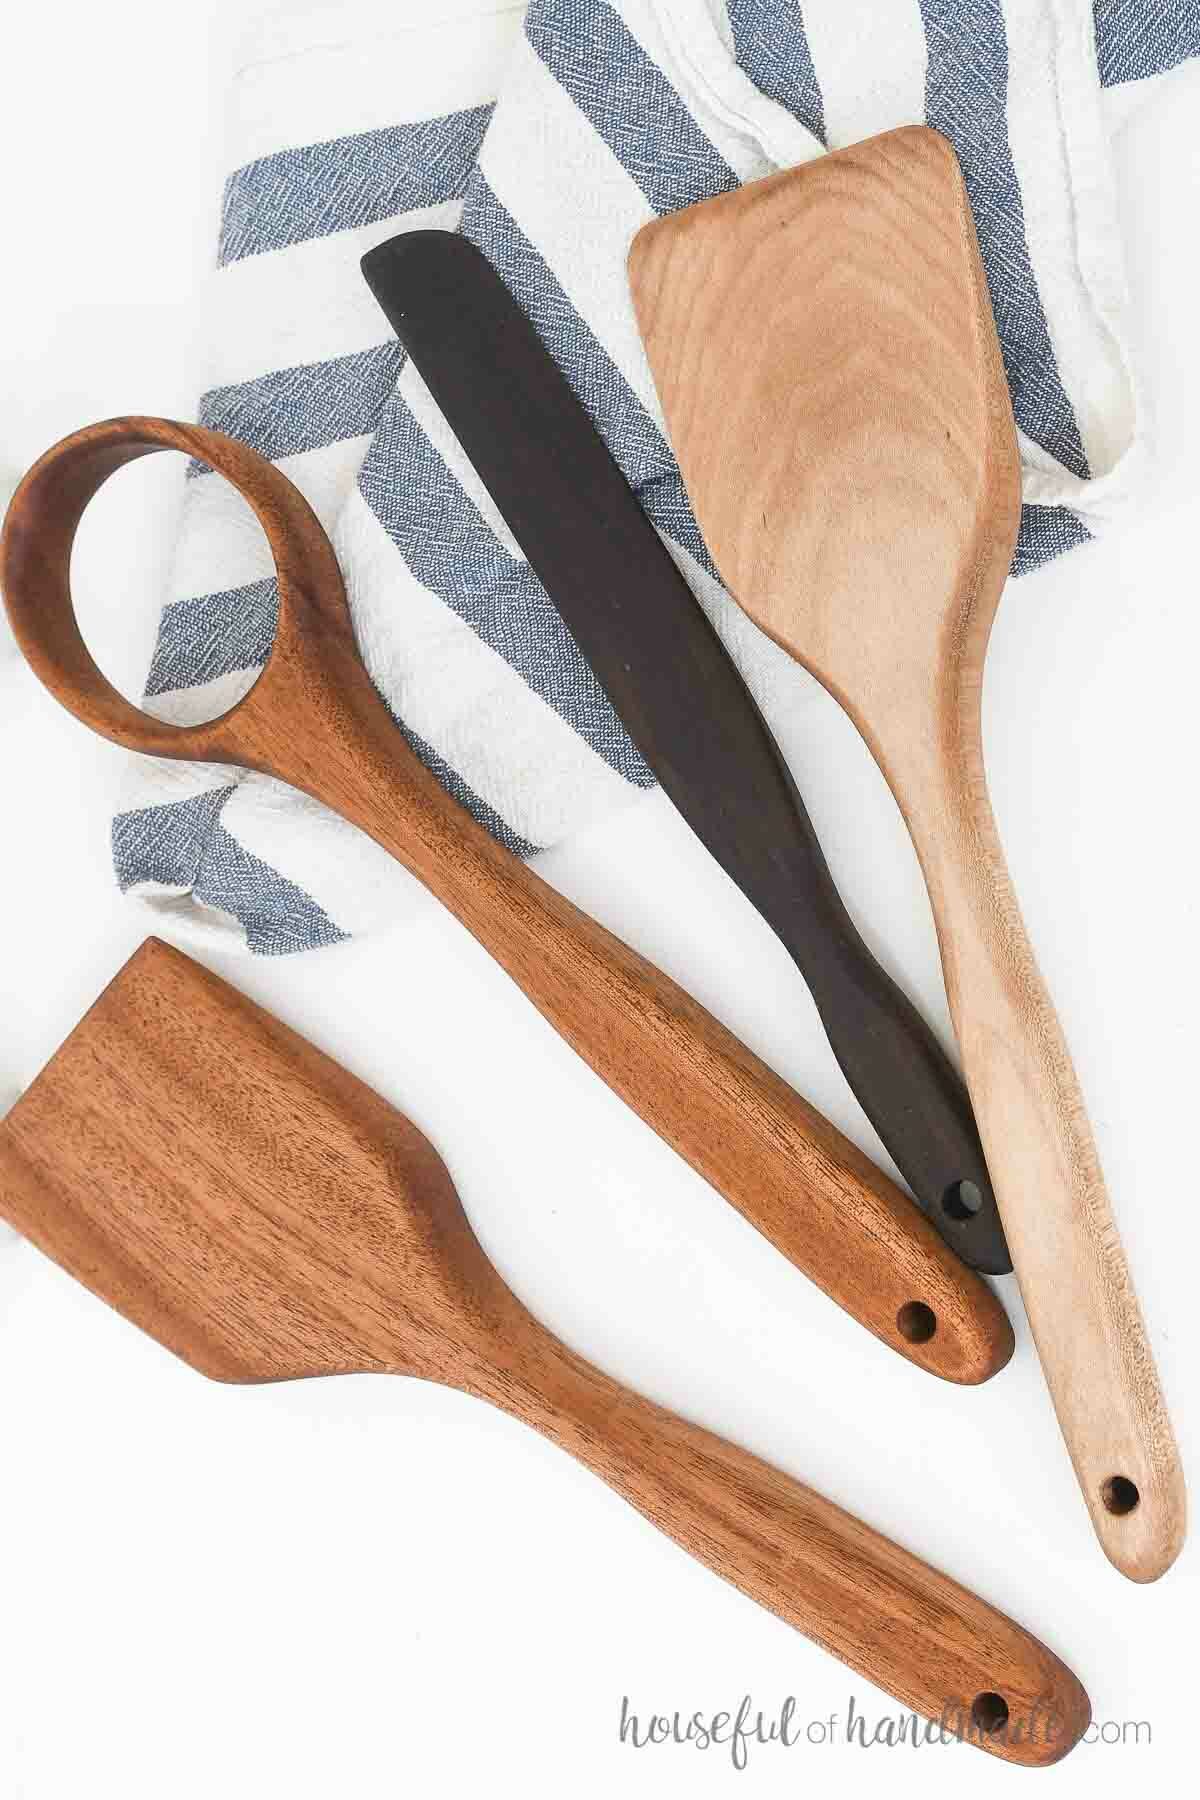
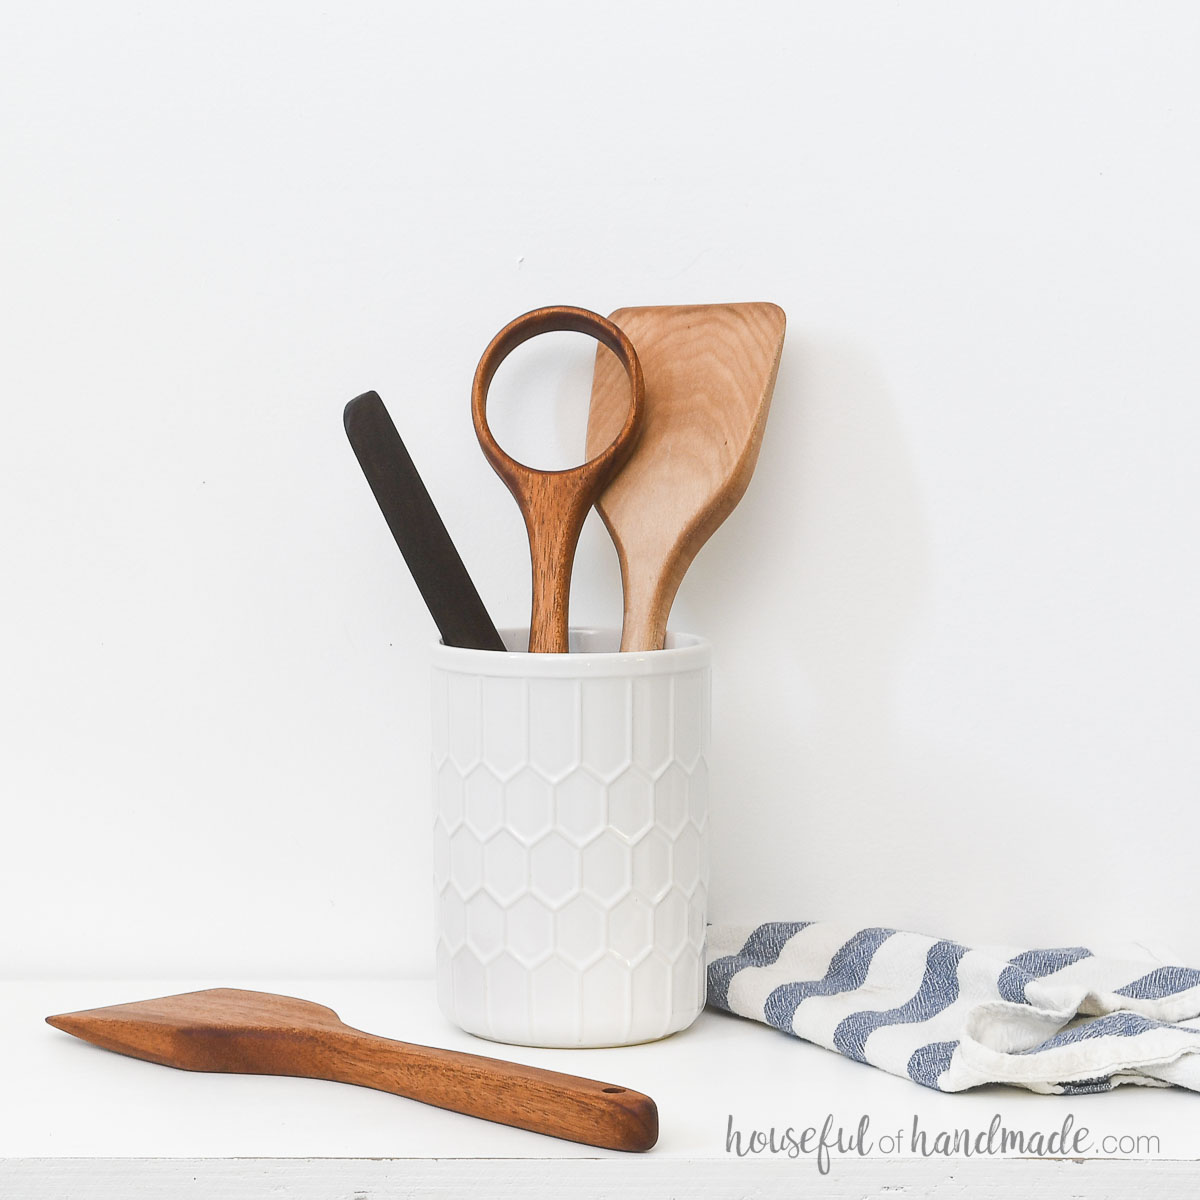
Four Types of Wood Utensils
Without carving out the center of your wood, you cannot get a wood spoon. But you can get other very useful cooking utensils.
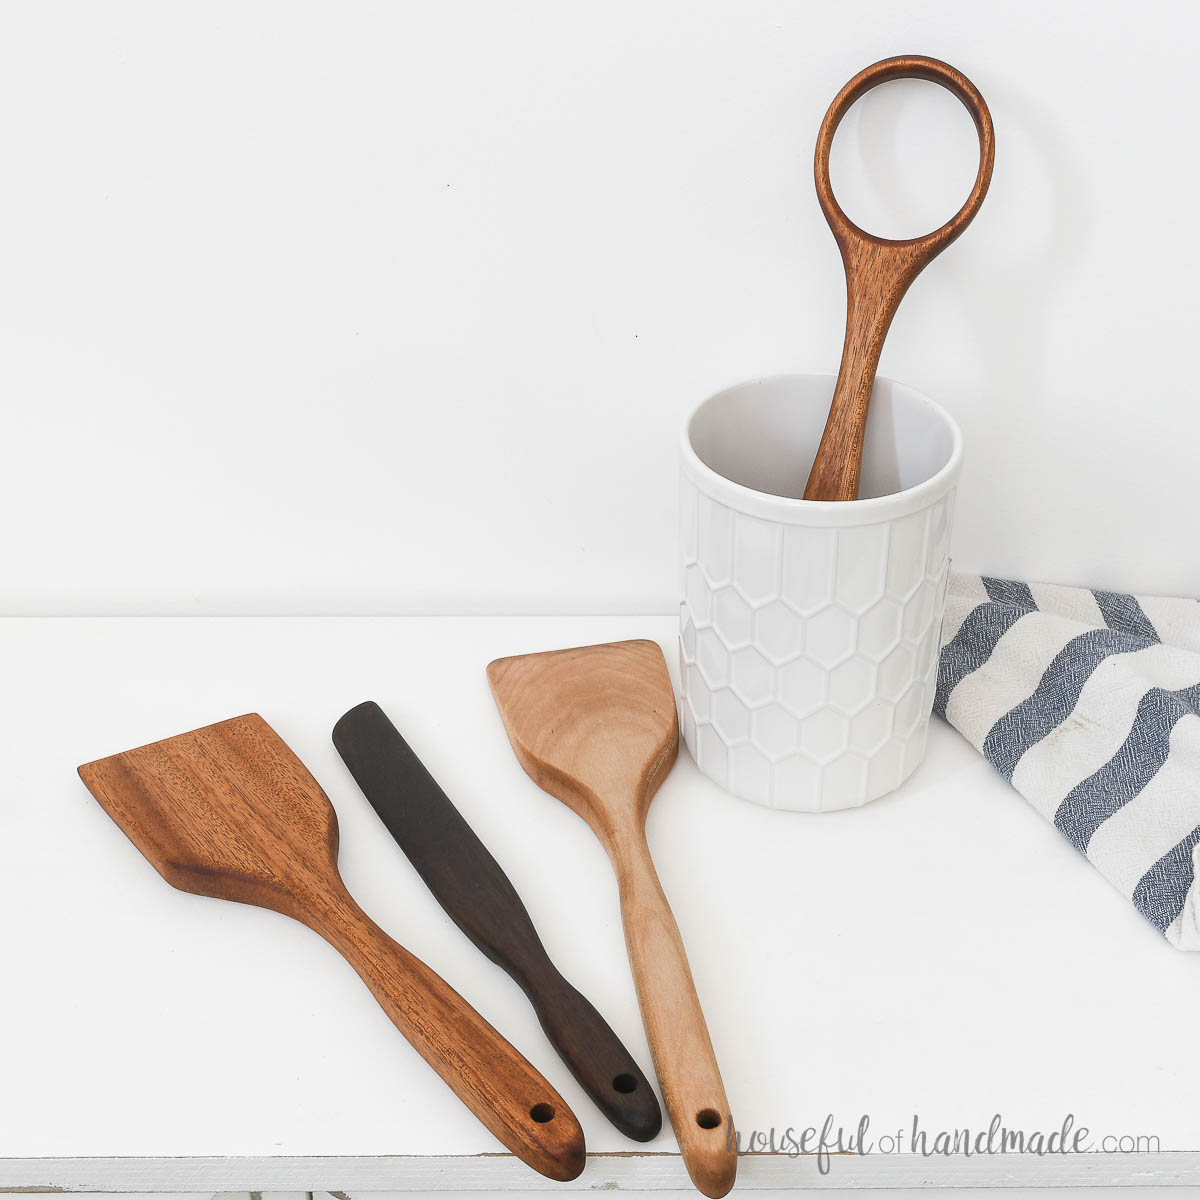
I designed 4 different shaped wood utensils:
- A straight bottom spatula – perfect for breaking up ground meat and stirring
- An angled bottom spatula – great for stirring while scraping the bottom
- A long scraper – for scraping out the insides of jars or stirring sourdough starter
- A wood whisk – perfect for stirring batters and doughs
All of these can be cut with a jig saw, bandsaw, scroll saw or CNC machine. Use what you have and feel comfortable using.
Then I shaped them with a trim router and belt sander to get the perfect tapered edges.

How to Make Wooden Utensils
Tools & Materials
Recommended Tools:
- Jig saw, bandsaw, scroll saw or CNC machine
- Drill
- Trim router
- Belt sander
- Sander
Supplies:
- Kitchen utensils PDF template or SVG/DXF files
- 3/4″ or 1/2″ thick hardwood scraps
- Light tack spray adhesive
- Sandpaper
- Food safe oil
STEP 1- Cut out utensils
Print out the PDF template and tape it together. Rough cut out the different designs.

Find scraps of hardwood that will fit each piece. You can also scale them down slightly if needed to fit on scraps of wood you have.
Spray the back of your paper template with the spray adhesive and press it to the wood piece.
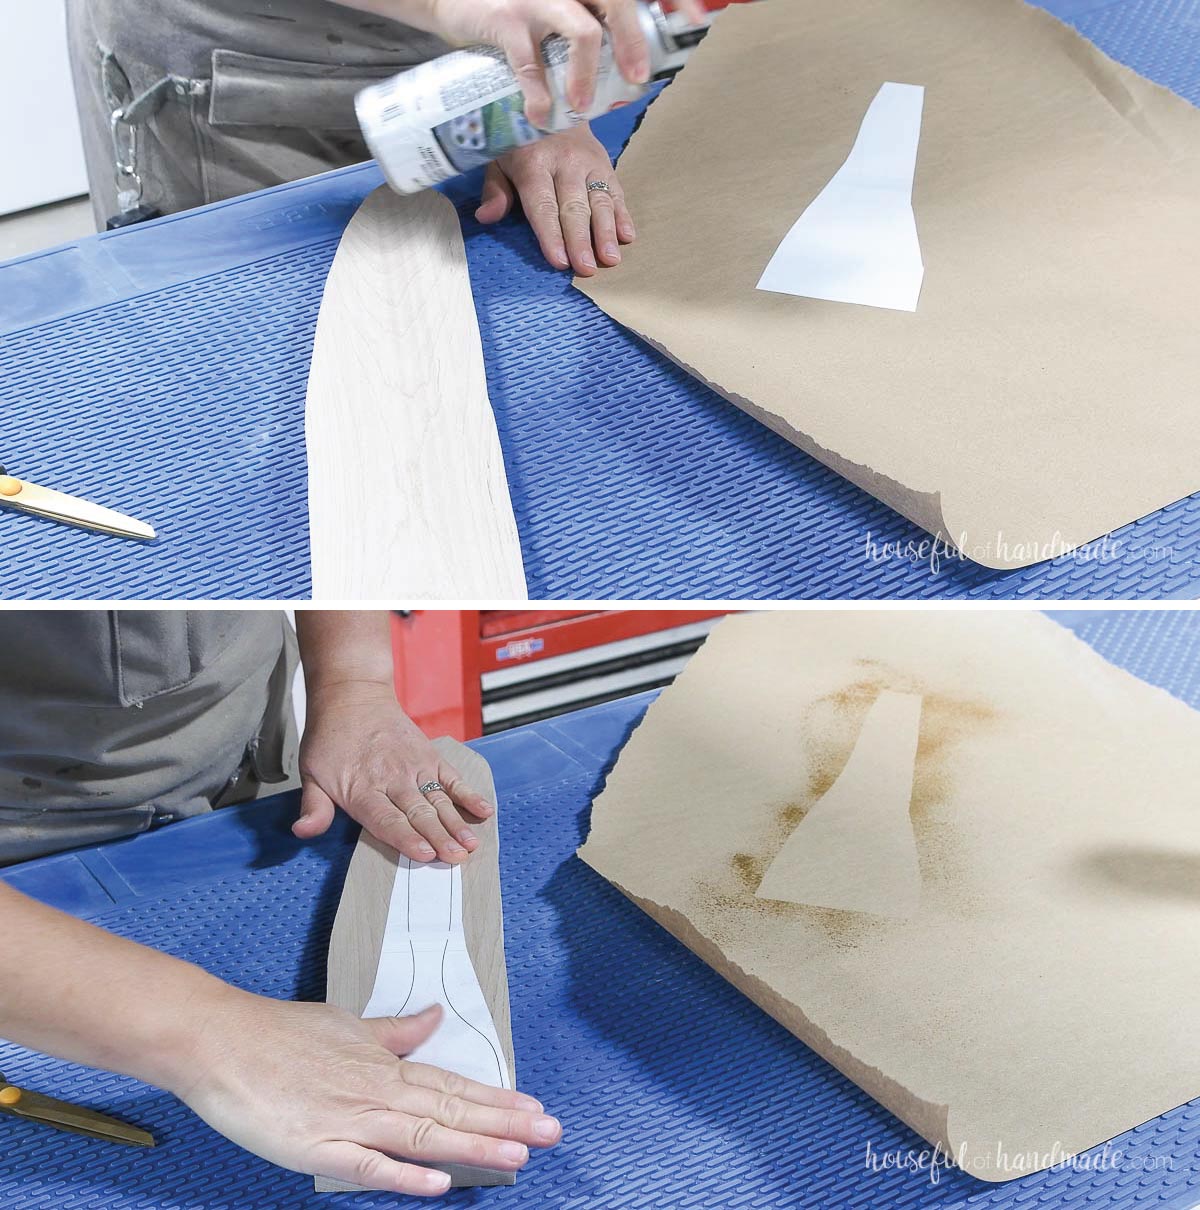
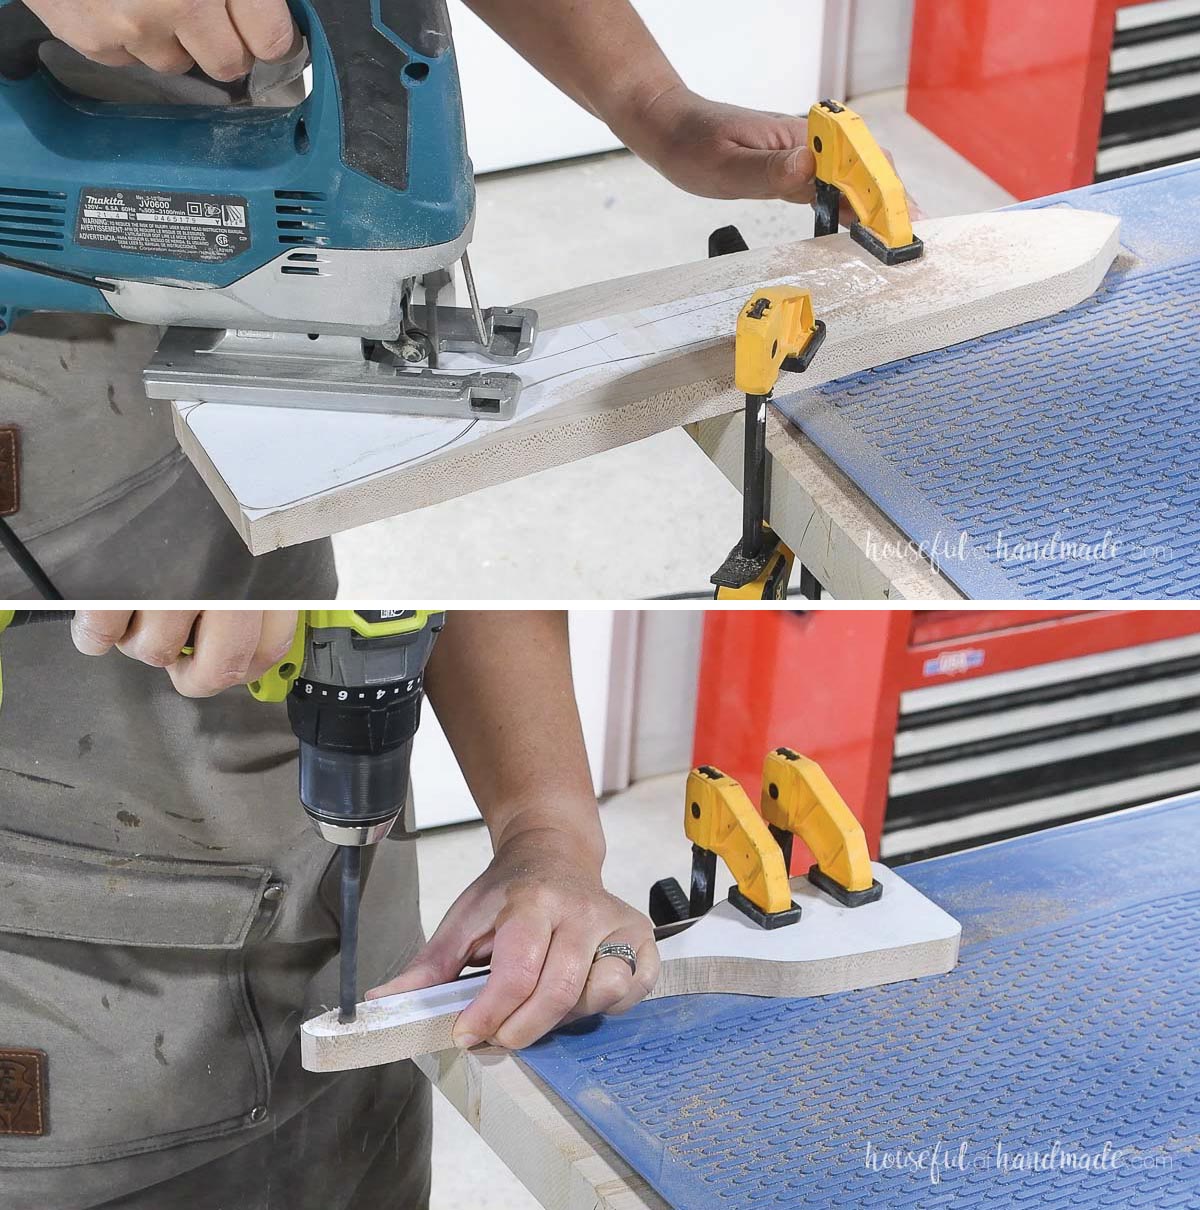
Cut out the shape with your jig saw, band saw or scroll saw.
If using a jig saw, make sure to clamp it firmly so it doesn’t jump when you cut.
Also, be prepared to move the clamps around as you cut so they are not in the way.
Lastly, drill the hole in the handle with a drill bit.
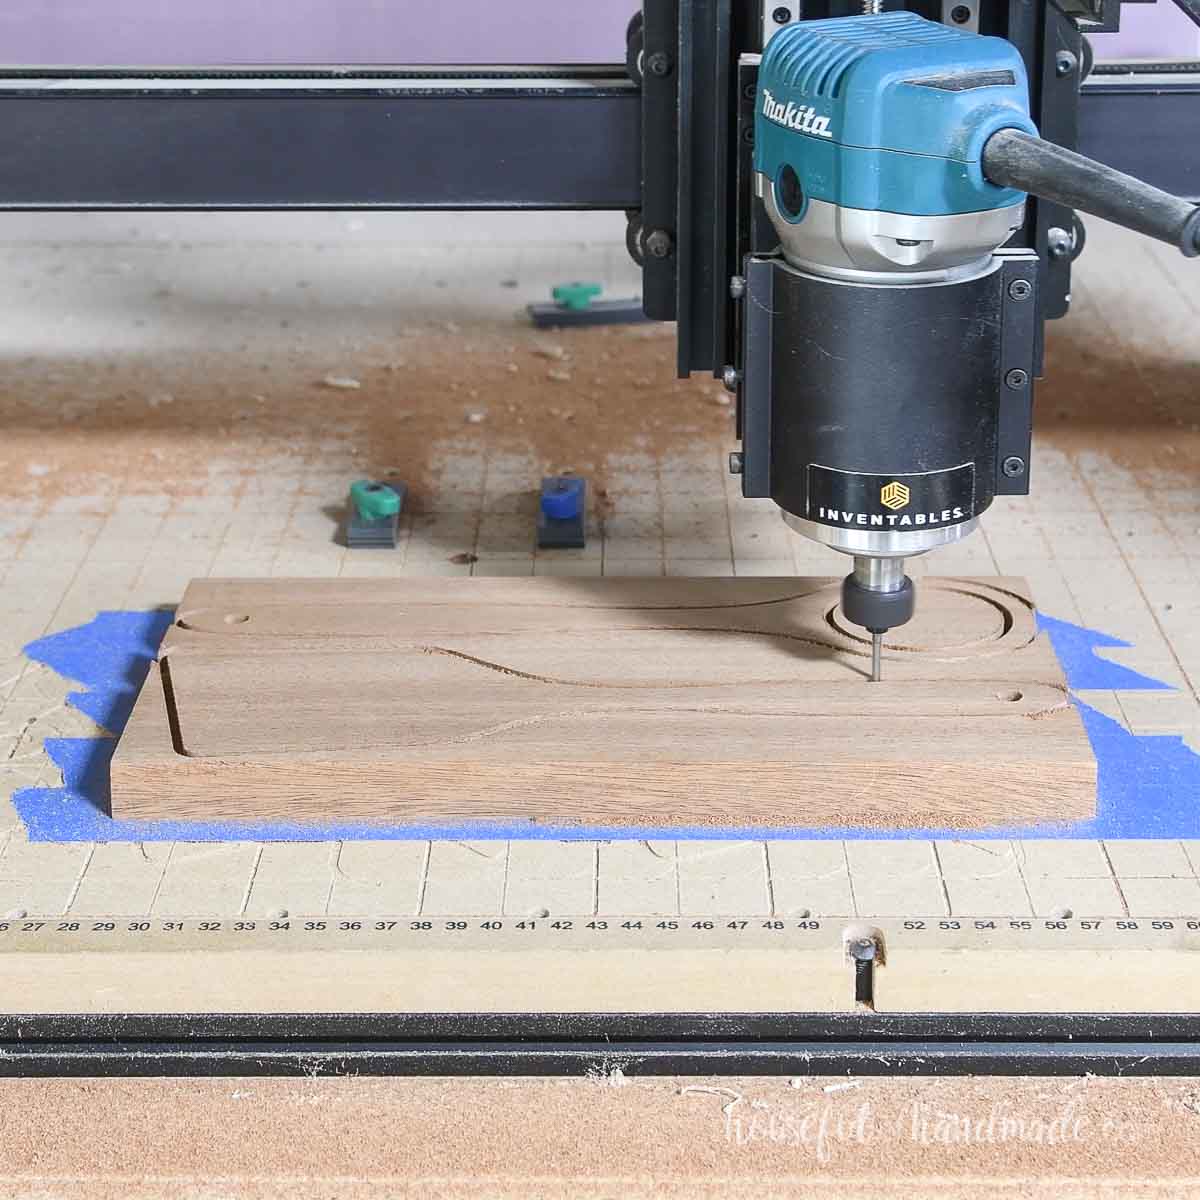
You can also cut out the shapes with a CNC machine.
I include SVG and DXF files with the templates so you can use them in your CNC software.
I used 3/4″ thick lumber for the spatulas and whisk. For the scraper, I used 1/2″ thick walnut. I like the thinner size for this.
I think all the utensils could be made with either 1/2″ or 3/4″ material. The 1/2″ material will require less sanding in the end.
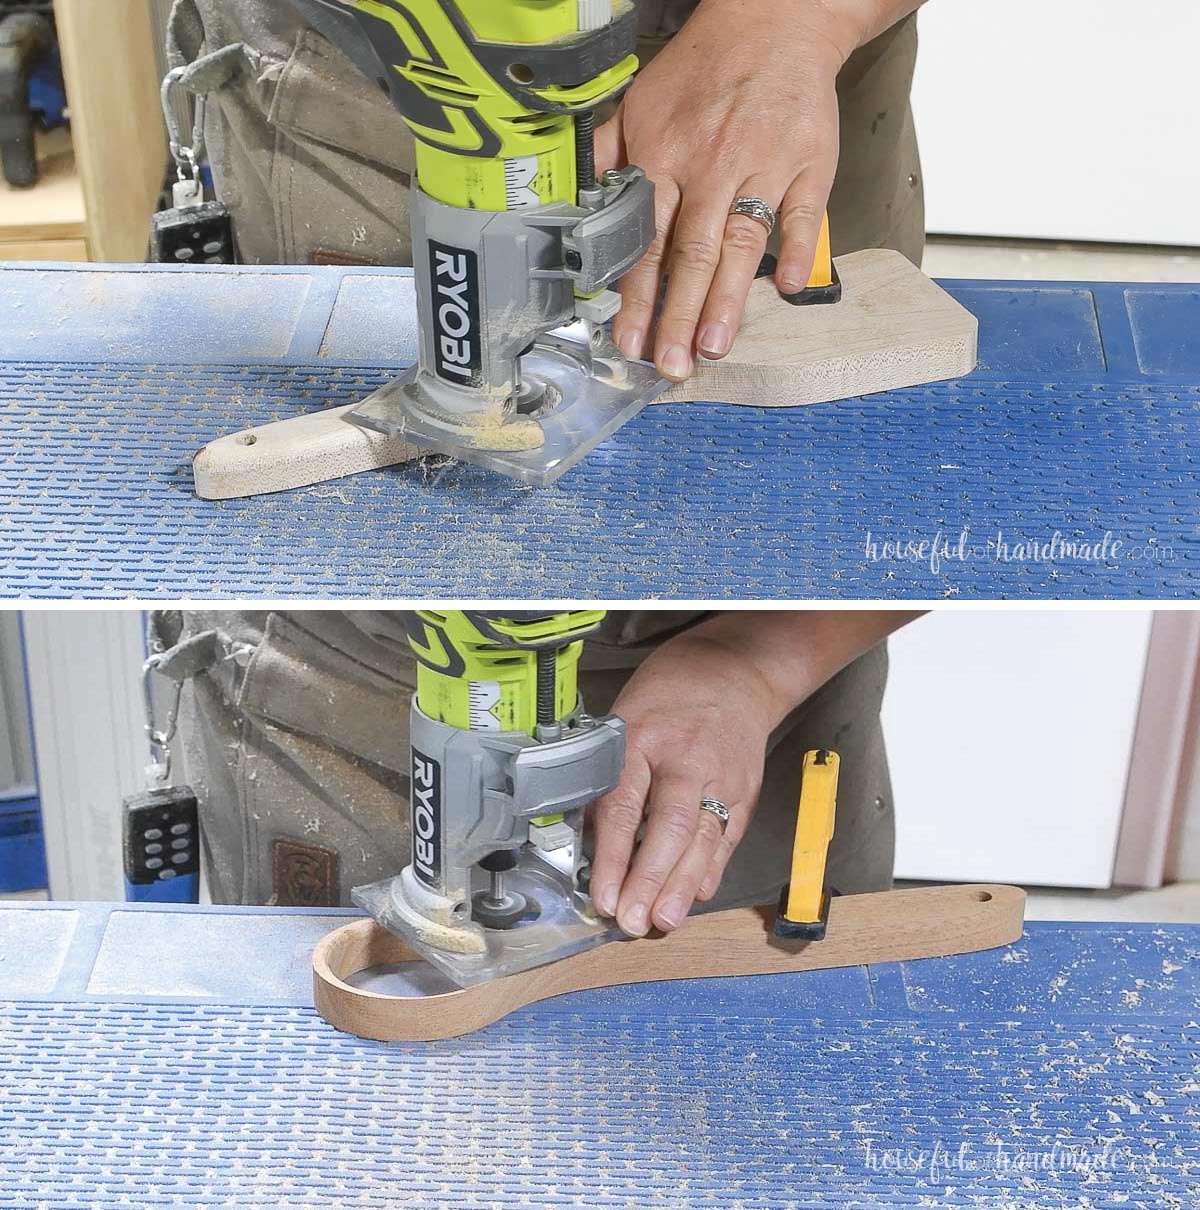
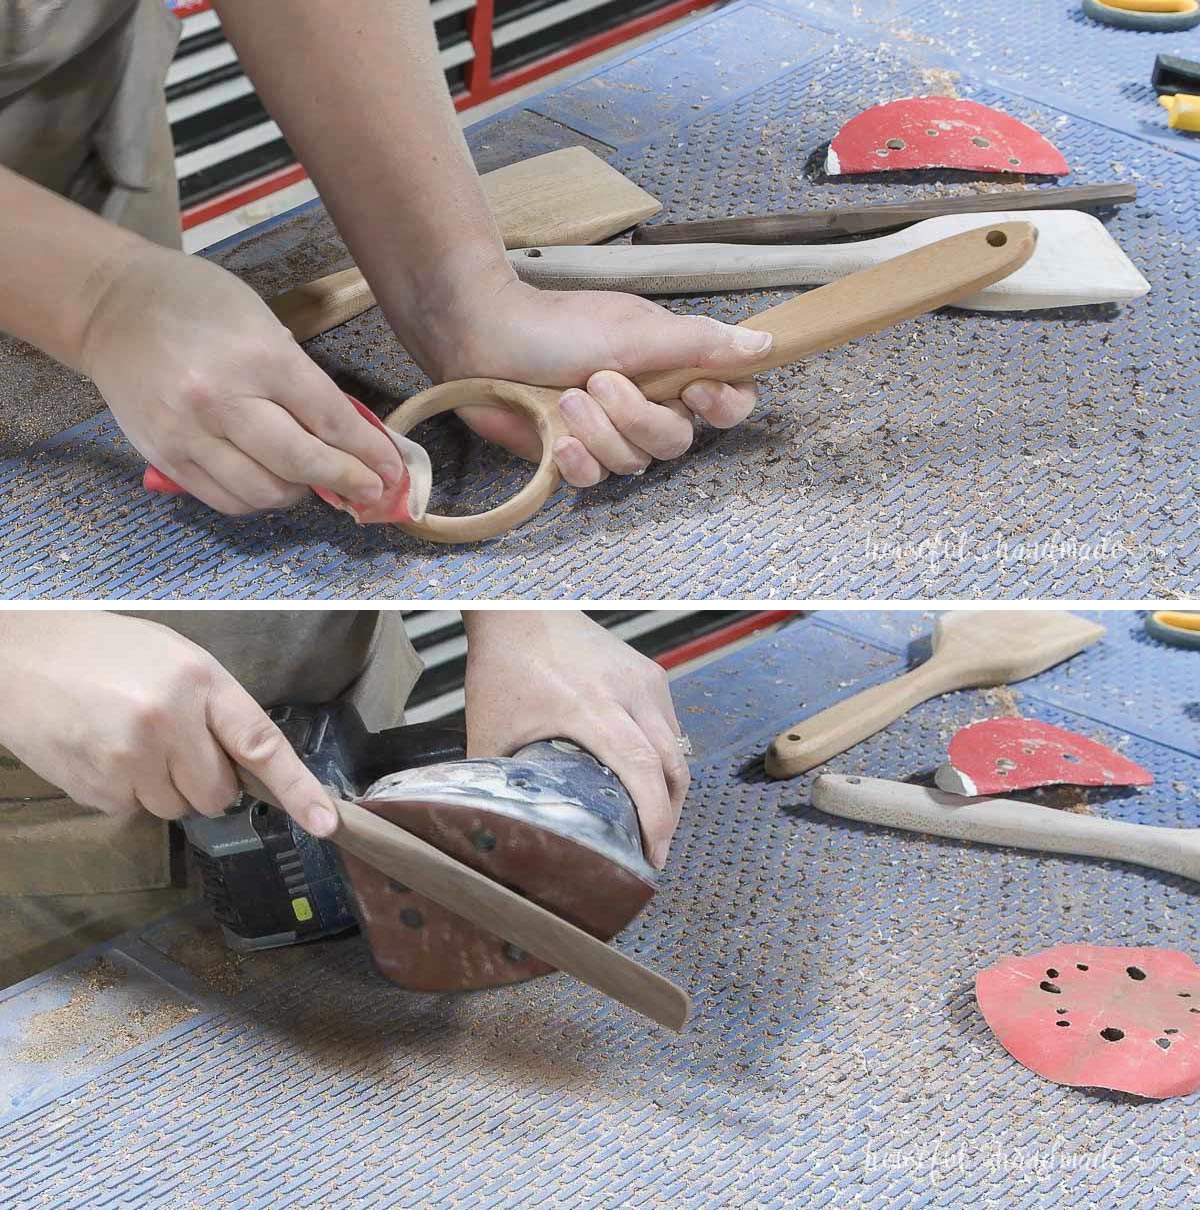
STEP 2- Round over edges
Using a round over bit in a router, curve over all the edges you will not be sanding on the utensils.
For the whisk, I rounded over both the inside and outside. For the spatulas I didn’t round over the bottom edges.
STEP 3- Shape ends
Using a belt sander, shape the scraper and spatulas by sanding away excess wood.
It takes a few minutes of sanding each utensil and makes a lot of dust so make sure to use a mask.
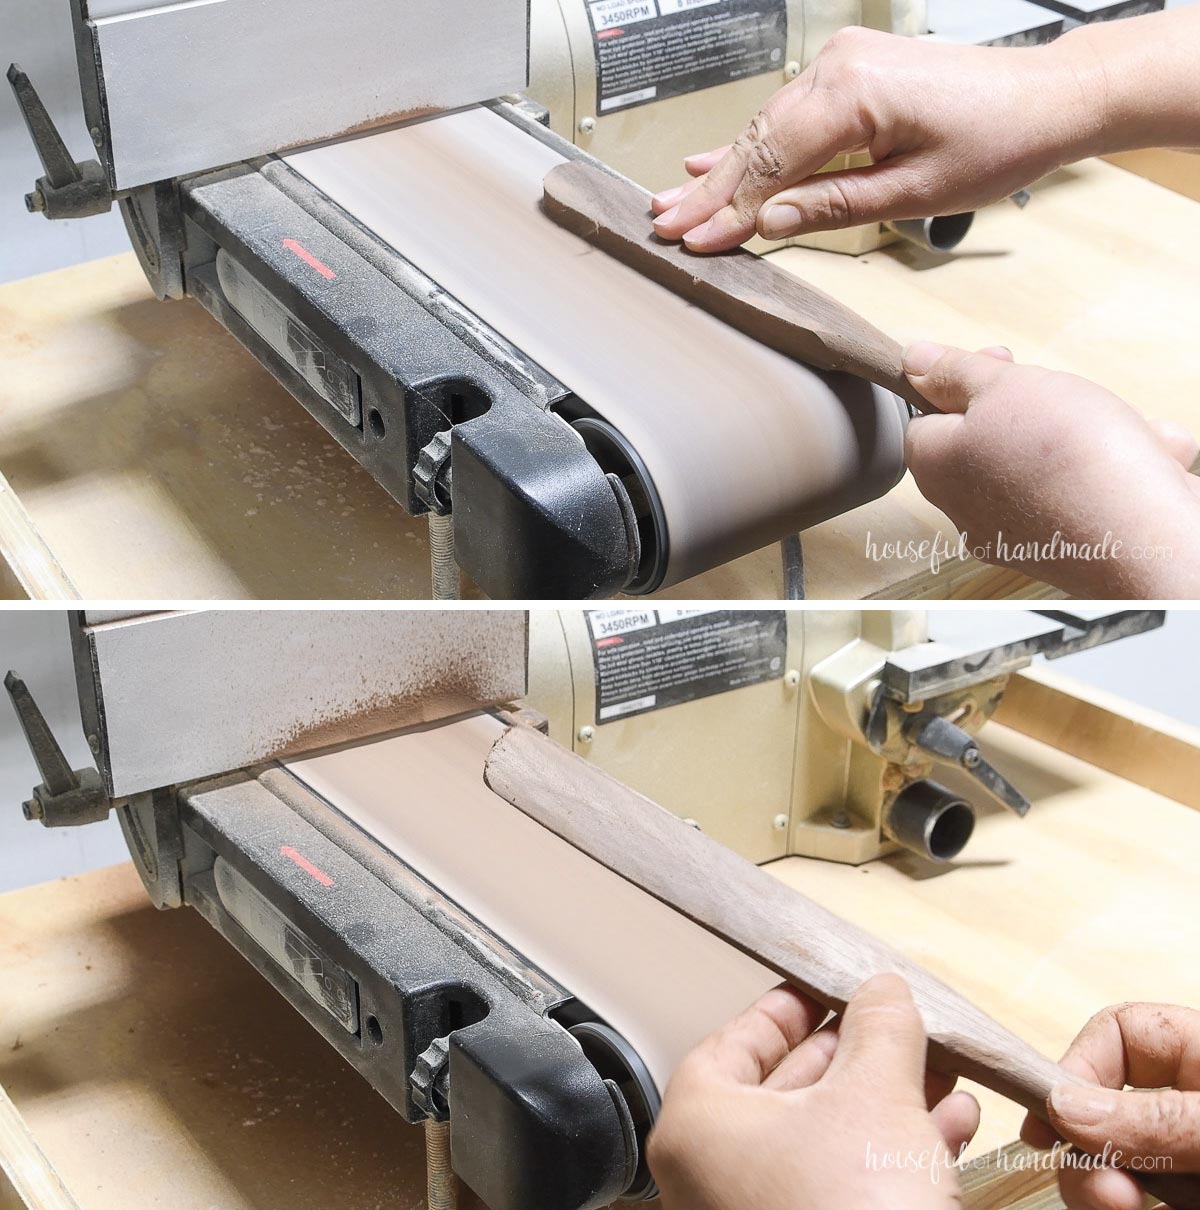
For the scraper, slowly add a V to one side. Make sure to flip it back and forth so that the V comes together evenly.
For the spatulas, do the same but to the end not the edge.
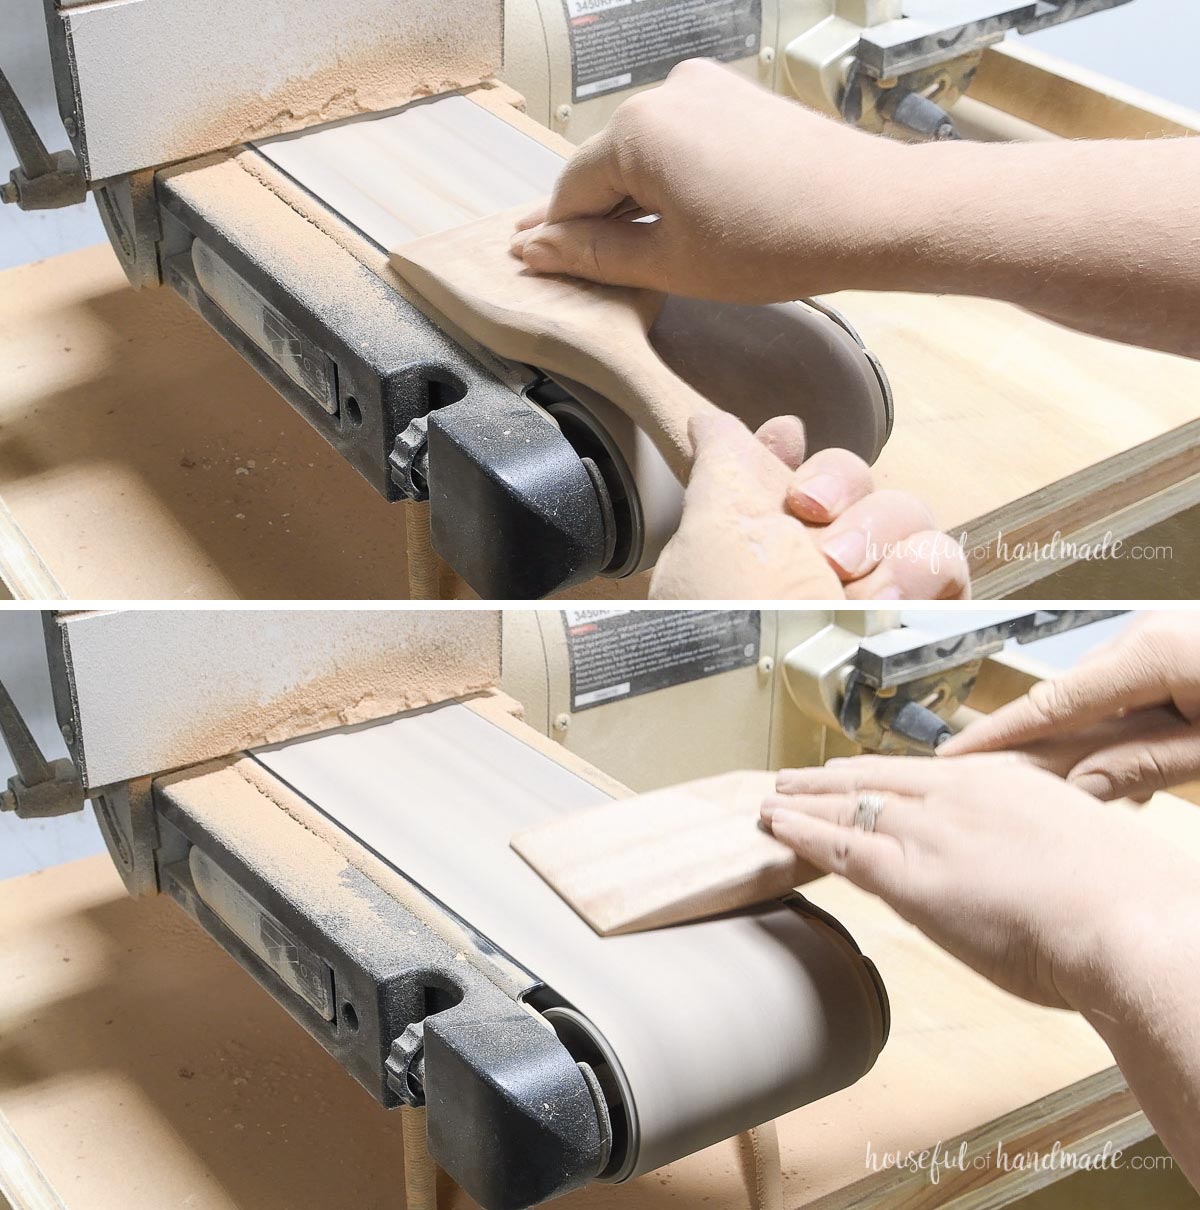
Once you are happy with the shape, do some detail sanding with 220 grit sandpaper by hand.
I also used my corner sander for some larger area.
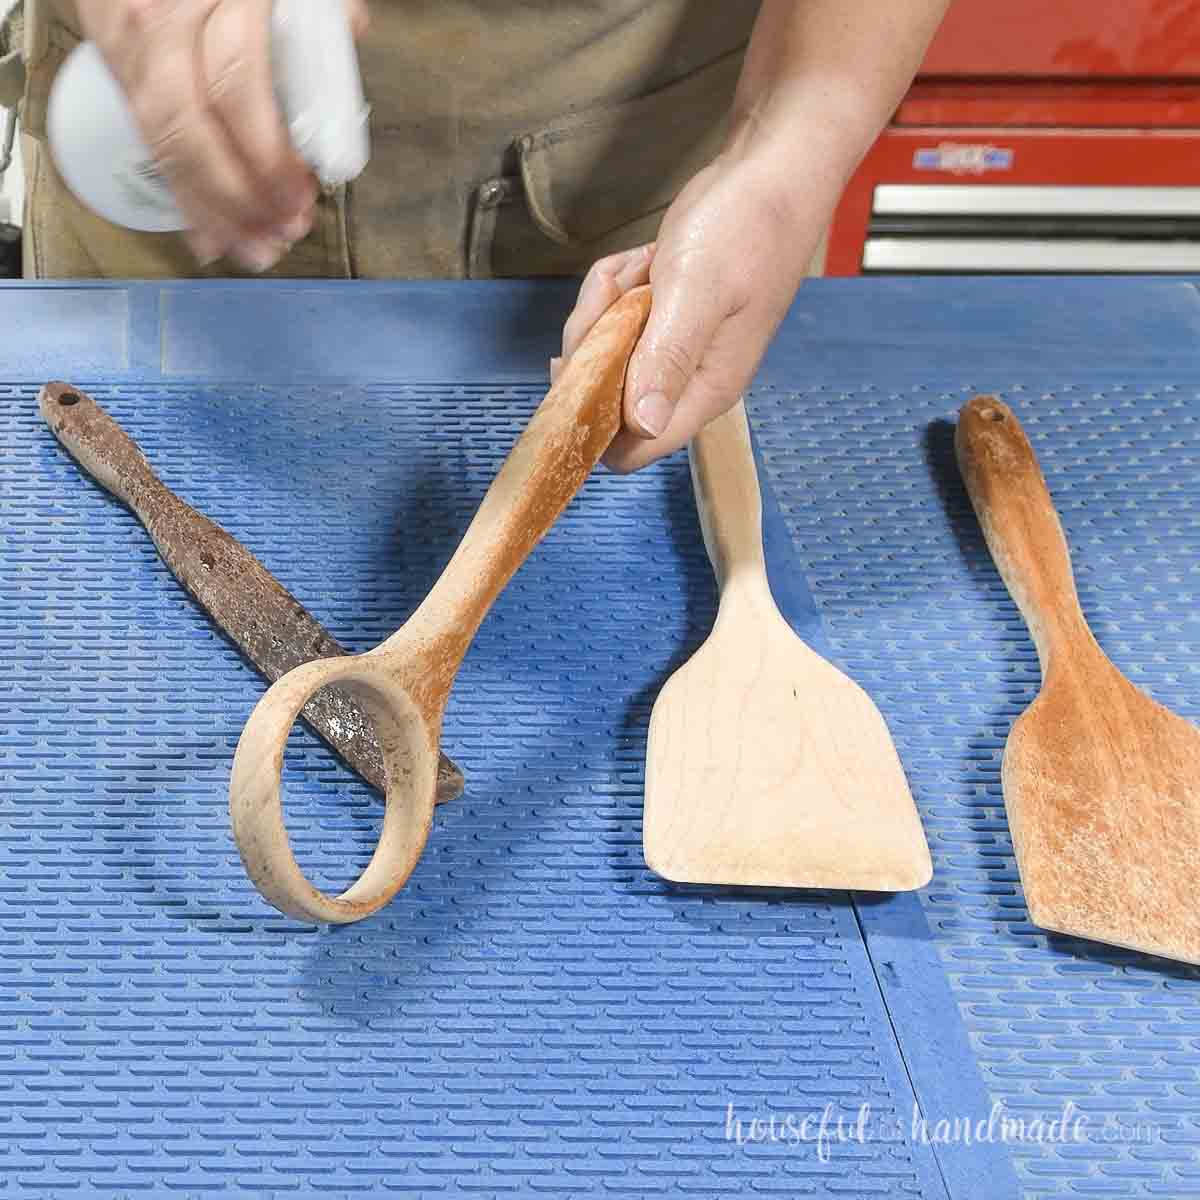
STEP 4- Finish and seal
Once they are all shaped and sanded, spritz them with a little water. Then sand again.
This will raise the grain in the wood so you can sand it off. That way, your wood cooking utensils will stay smooth even using/washing.
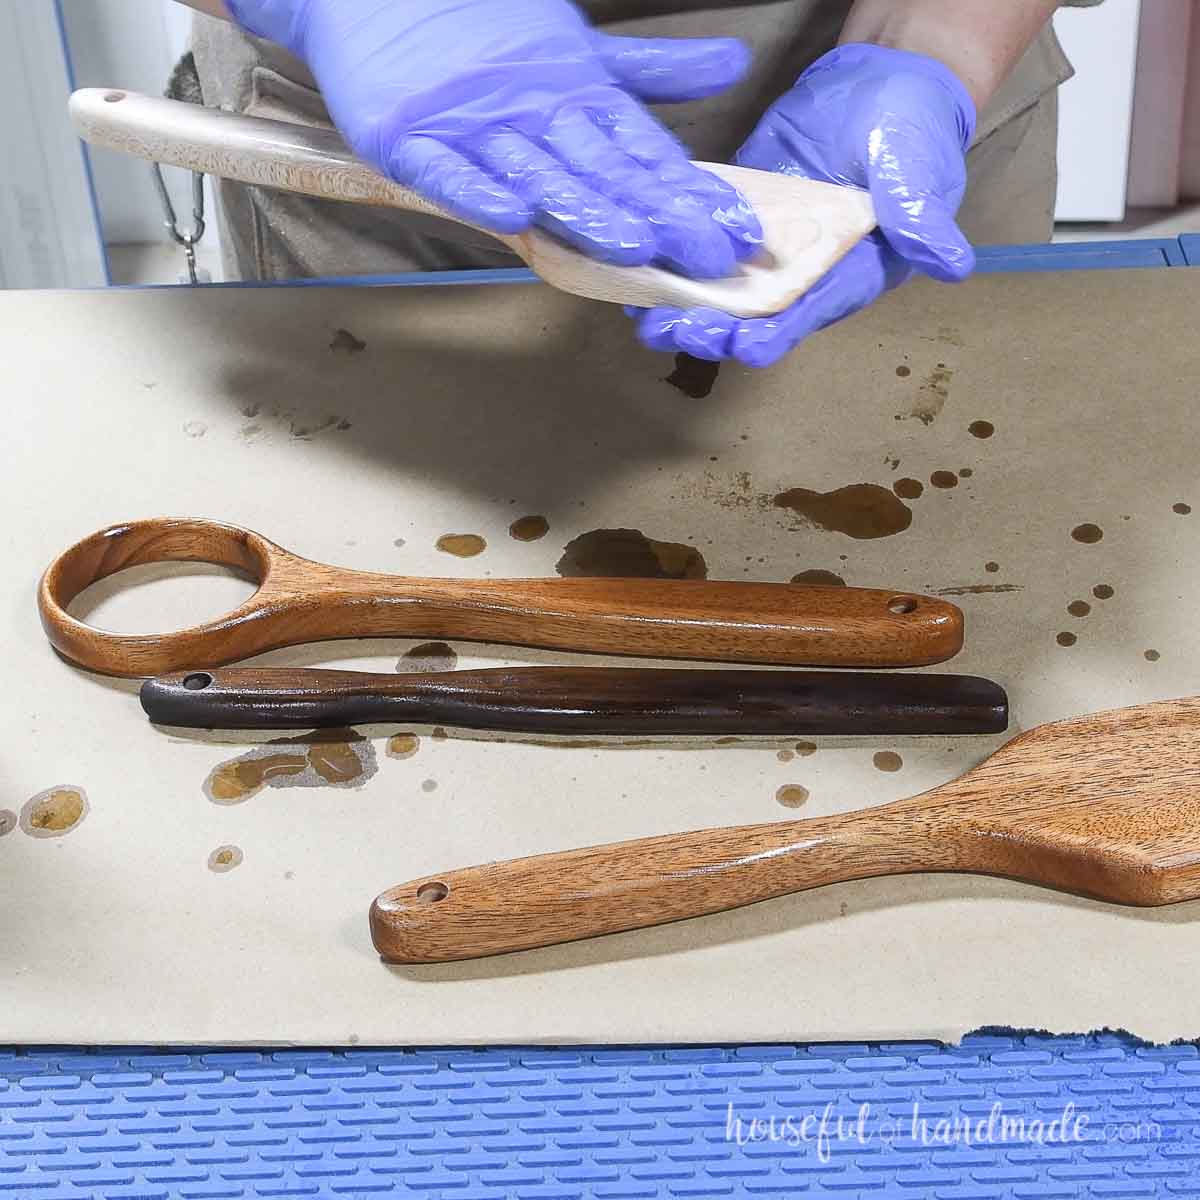
Now they are ready to oil.
Coat them heavily with your oil and let it soak in for 20-30 minutes. Then coat it again and wait 10-15 minutes more.
Wipe away any excess oil from the surface.
You did it!
Premium templates include:
- Printable PDF template for hand cutting
- SVG and DXF files for CNC machines
- Recommended Tools
- Shopping list
- BONUS: Printable PDF Instructions
Now your kitchen utensils are ready for cooking. Or give them as amazing homemade gifts this year.
They make amazing stocking stuffers. And no one has to know you carved these with power tools instead of by hand.
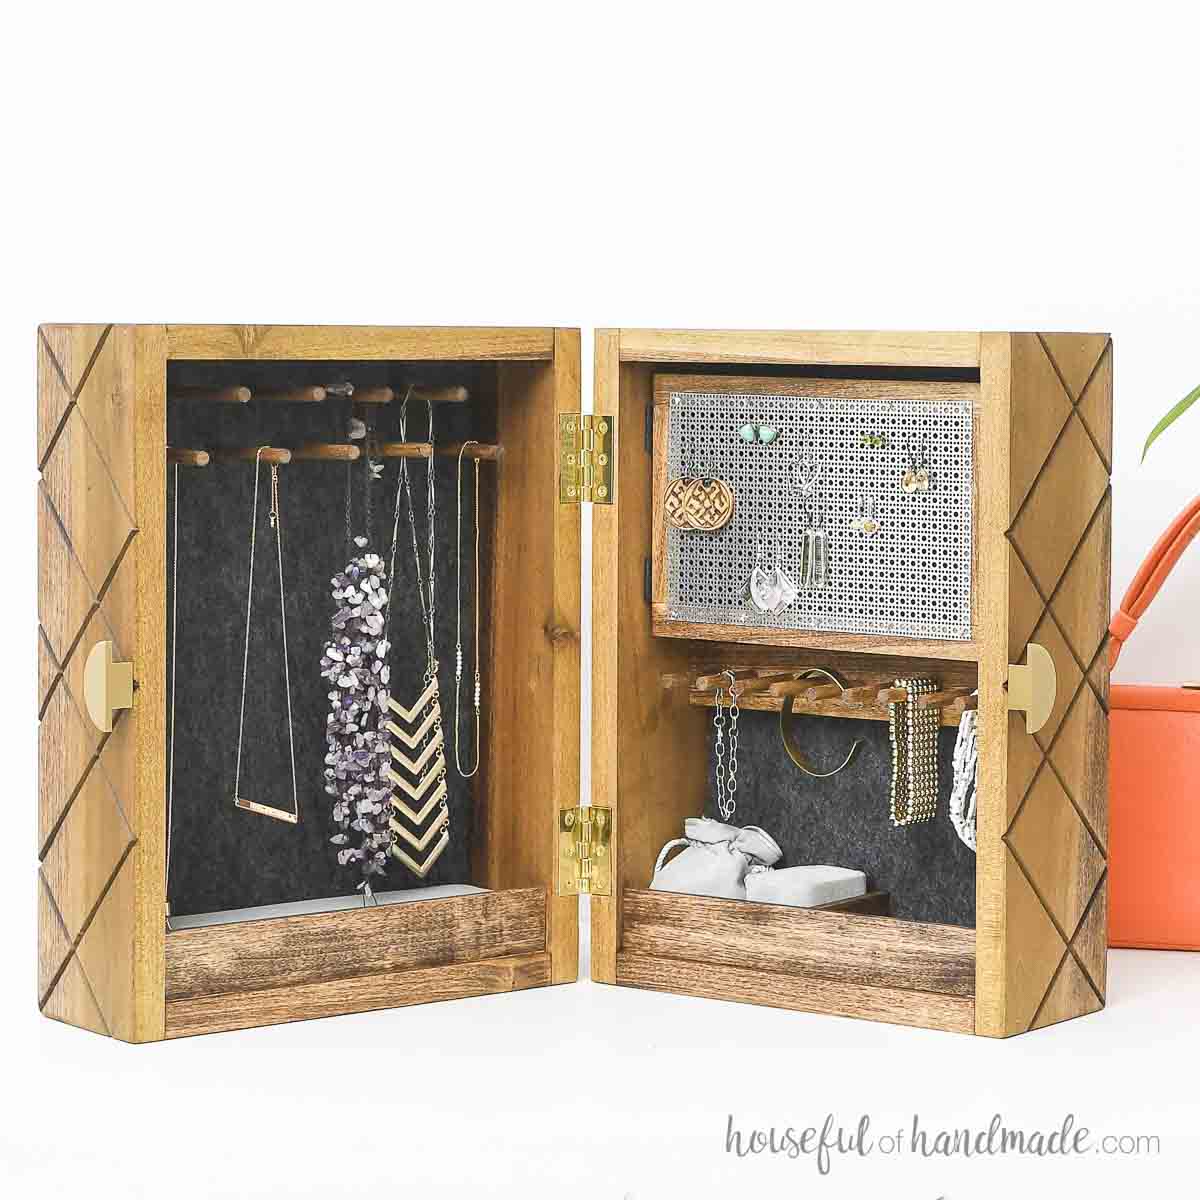
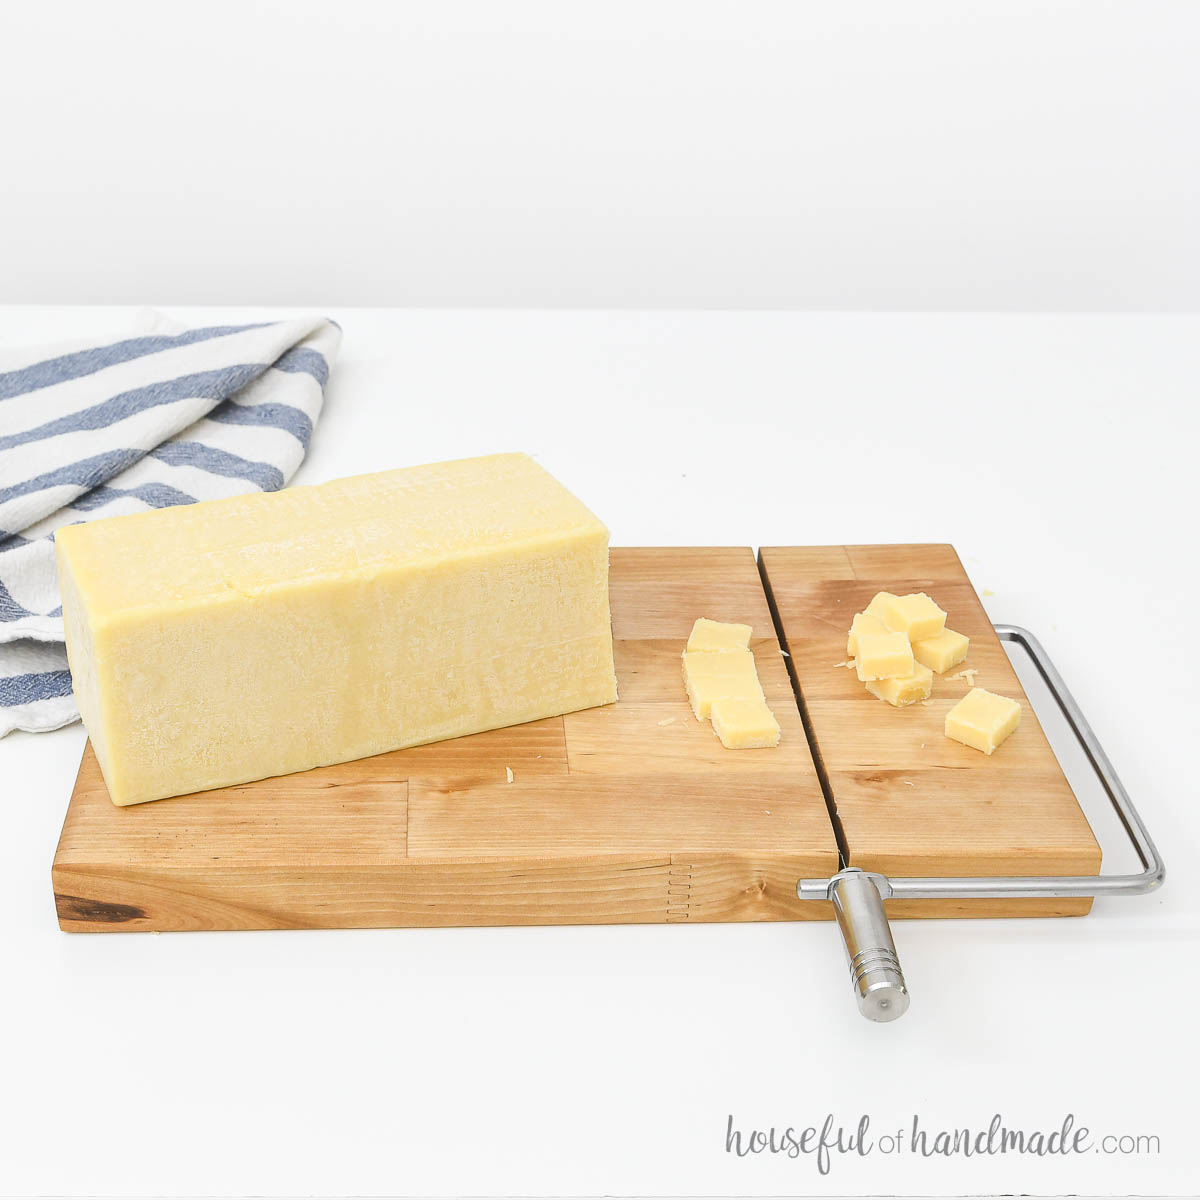
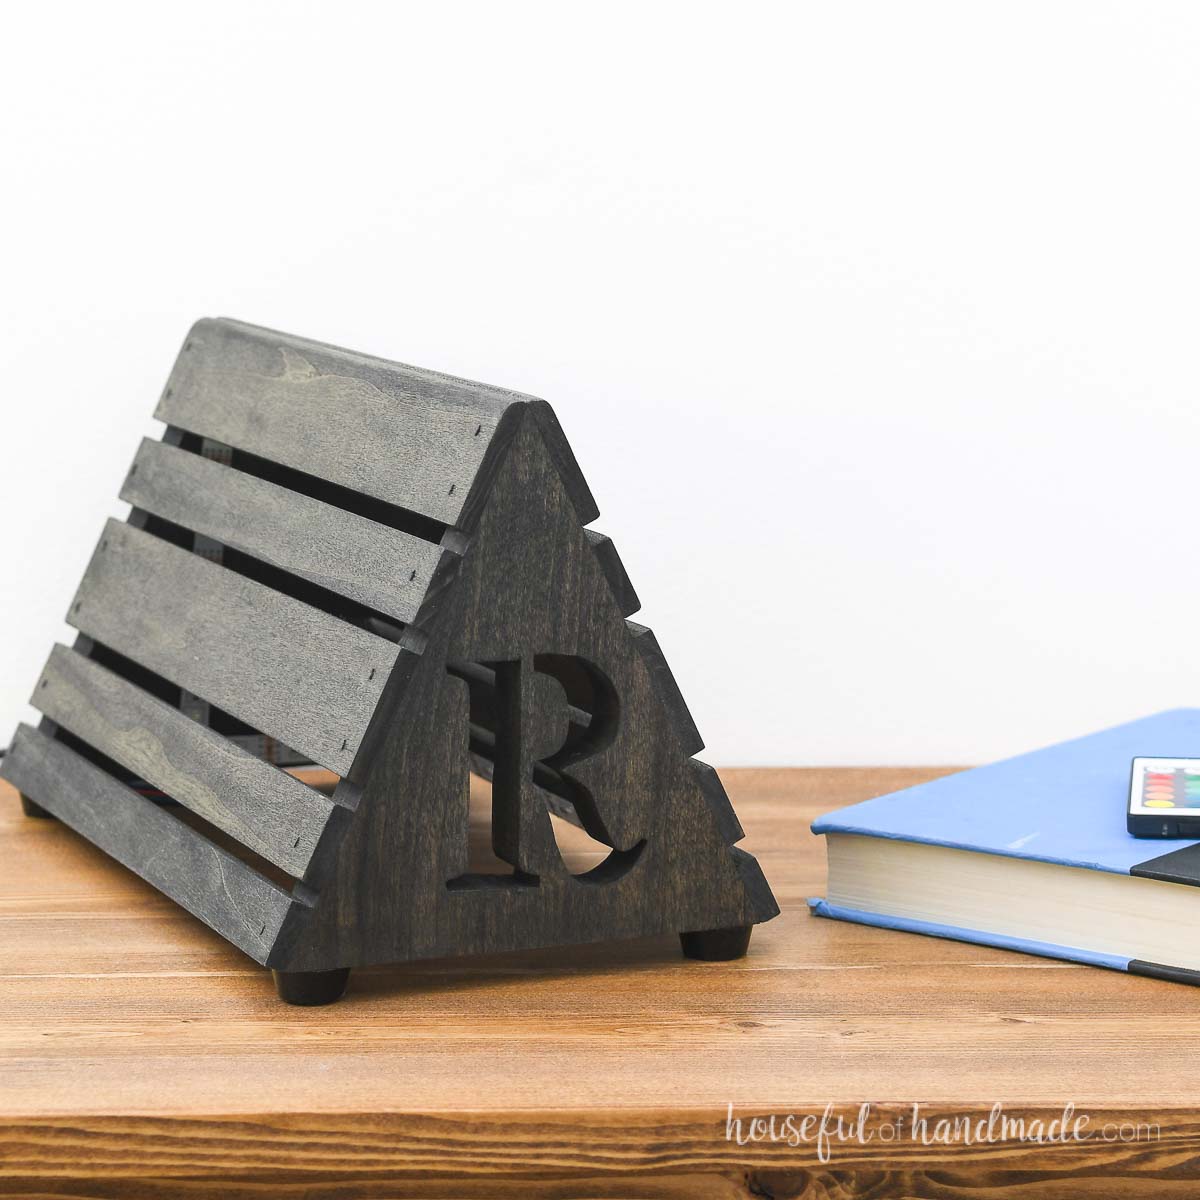
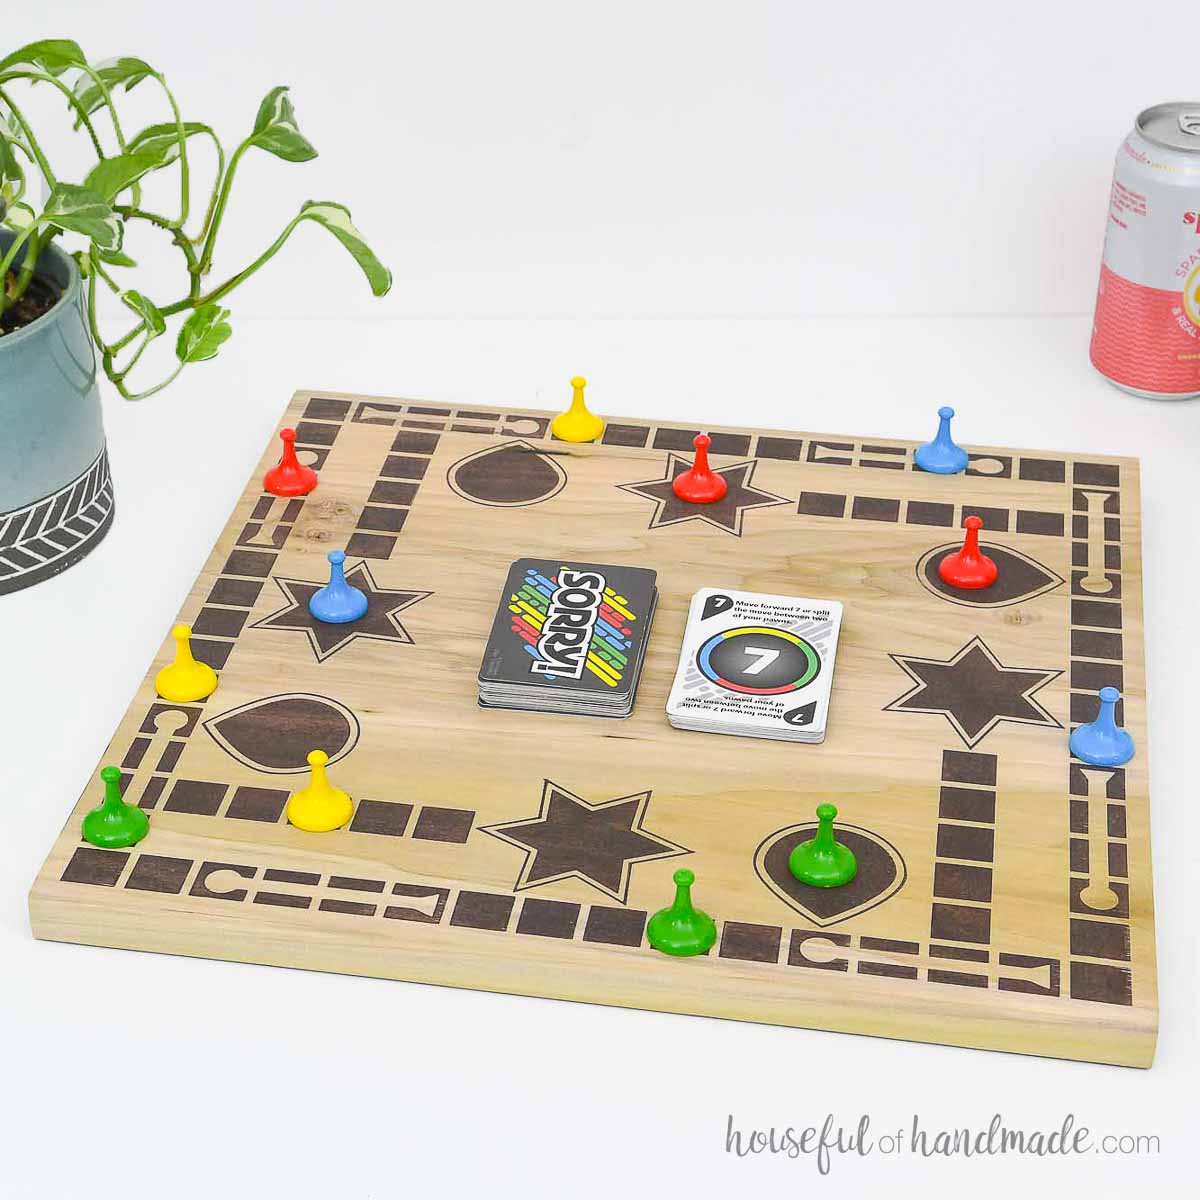
DIY Gift Ideas
These wood cooking utensils would makes an wonderful DIY gifts!
And with the holidays fast approaching, I teamed up with my friend Shara from Woodshop Diaries to share 5 easy DIY gifts for everyone on your list.
Check back everyday until Thanksgiving for new gift ideas and discover any you may have missed below.


Happy building!
