
My teens never seem to have enough storage in their bathroom. So I decided to use the space on the back of the door to give them more!
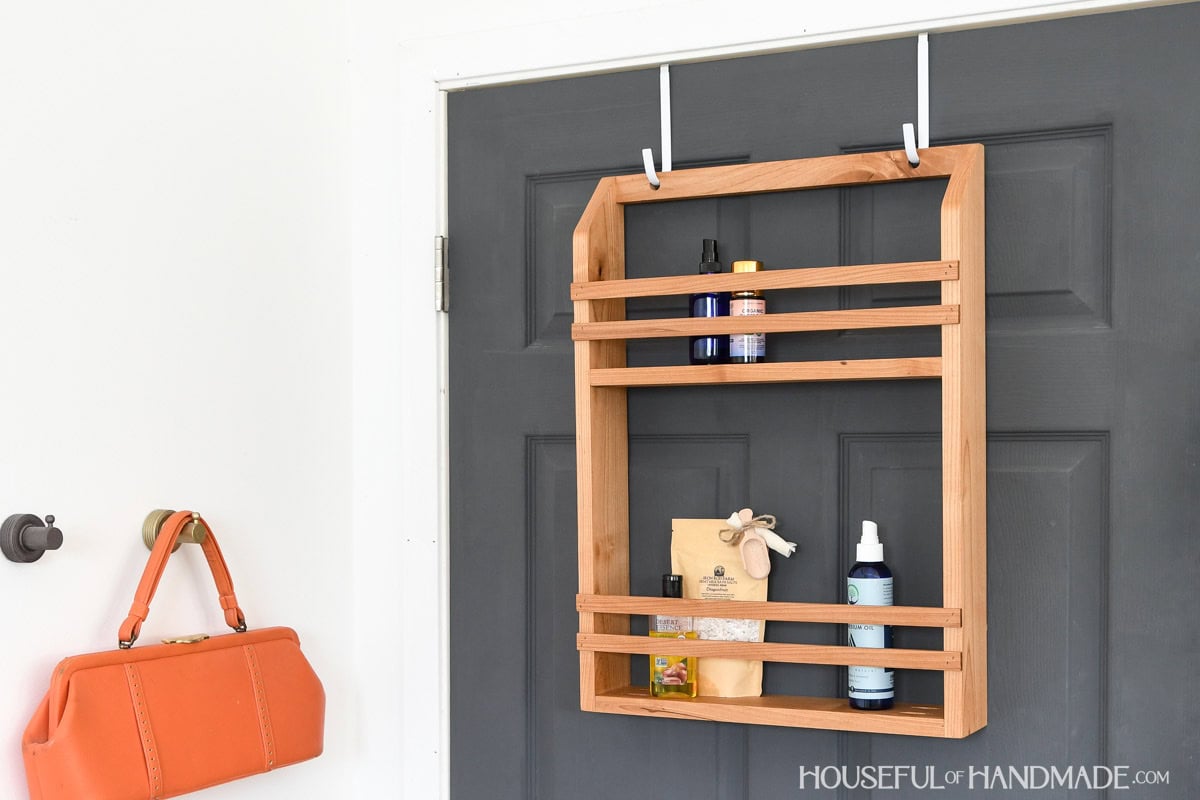
This simple over the door shelf holds so much more than I though it would. And the lower shelf is tall enough for big bottles.
You can use it in the bathroom like we are, or use it anywhere you have a door and need storage.
This post may contain affiliate links. As an Amazon Associate I earn from qualifying purchases. Click here to read my full disclosure policy.
But the best part, it was made from scraps of wood! Time to go check your scrap wood pile and add some easy storage to your home.
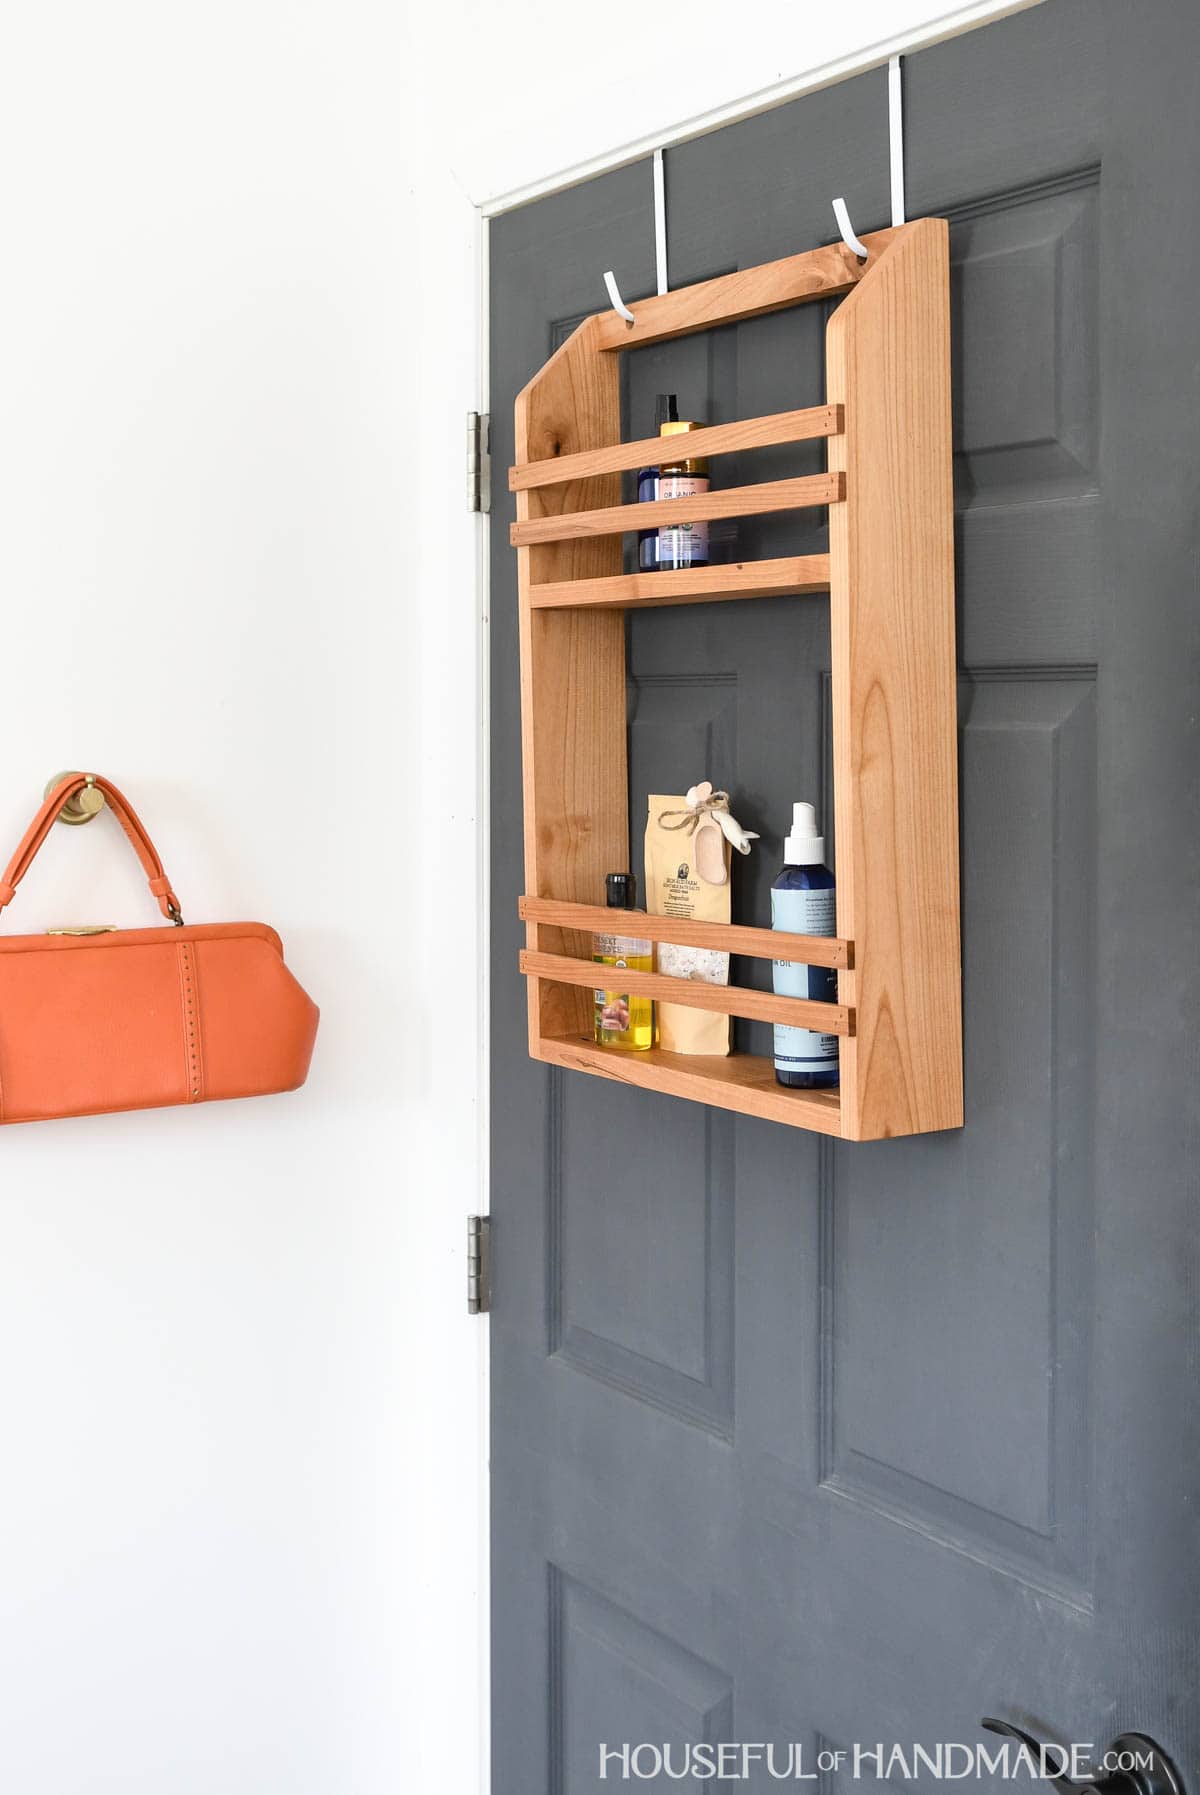
Hanging Storage Shelf
I love that this easy to build shelf fits on the back of any door in the house.
It will obviously add lots of function to my teens bathroom (they have so many bottles of product).
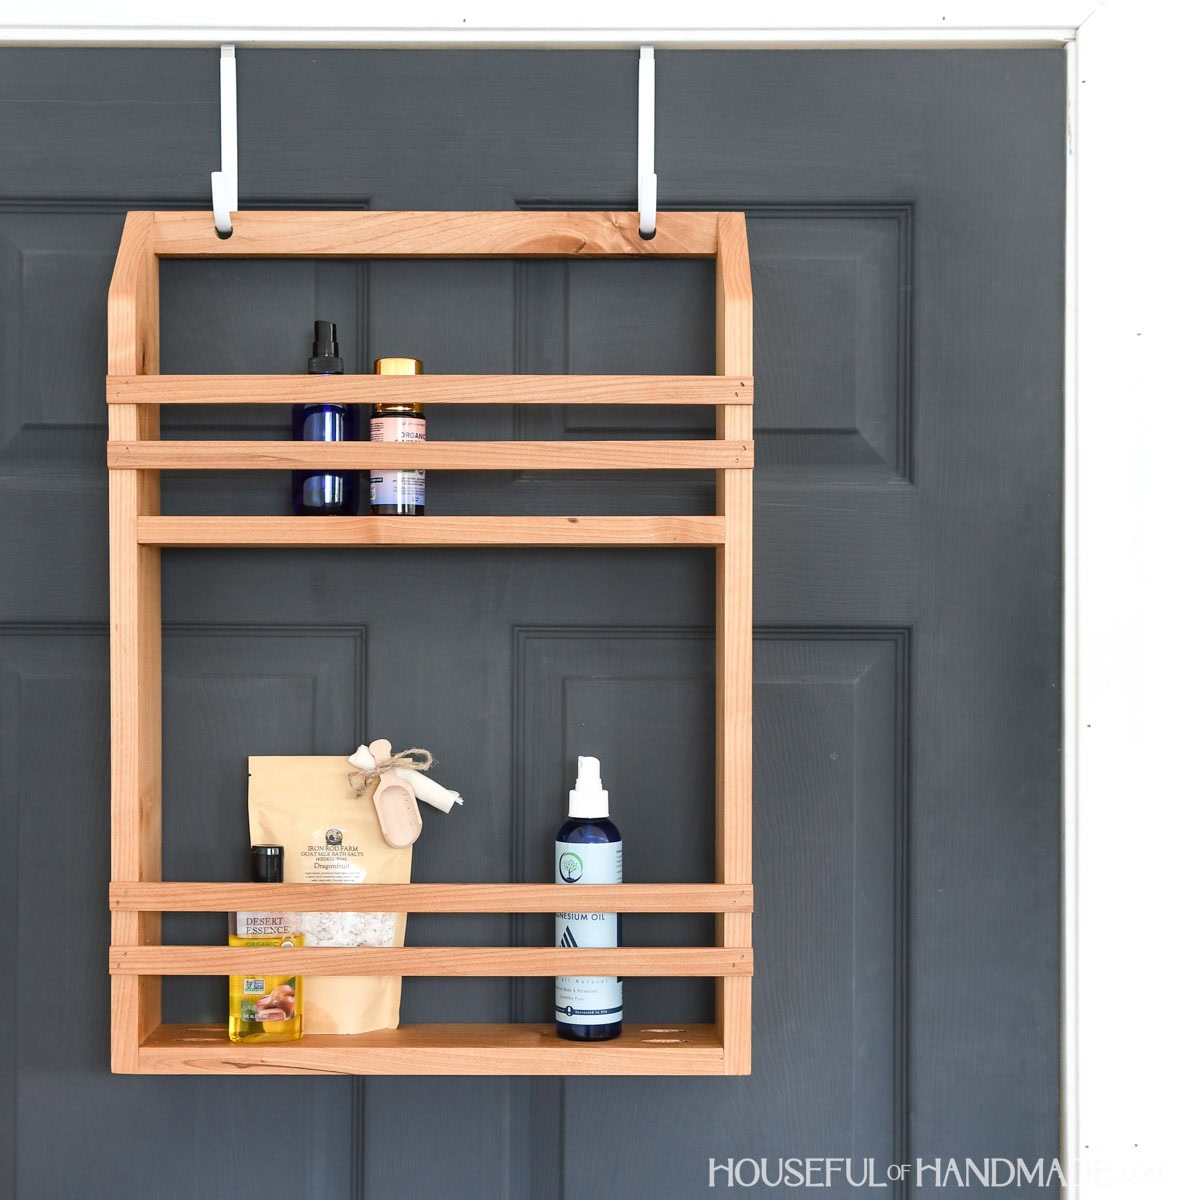
But don’t limit yourself to just using it in a bathroom.
You can use this shelf on the back of any door! The storage possibilities are endless.
- On a pantry door for holding snacks
- Over an office door for sorting mail
- On a closet door for small accessories
- Over a door in a family room to hold games
- On a bathroom door for bottles and makeup
- And much more!
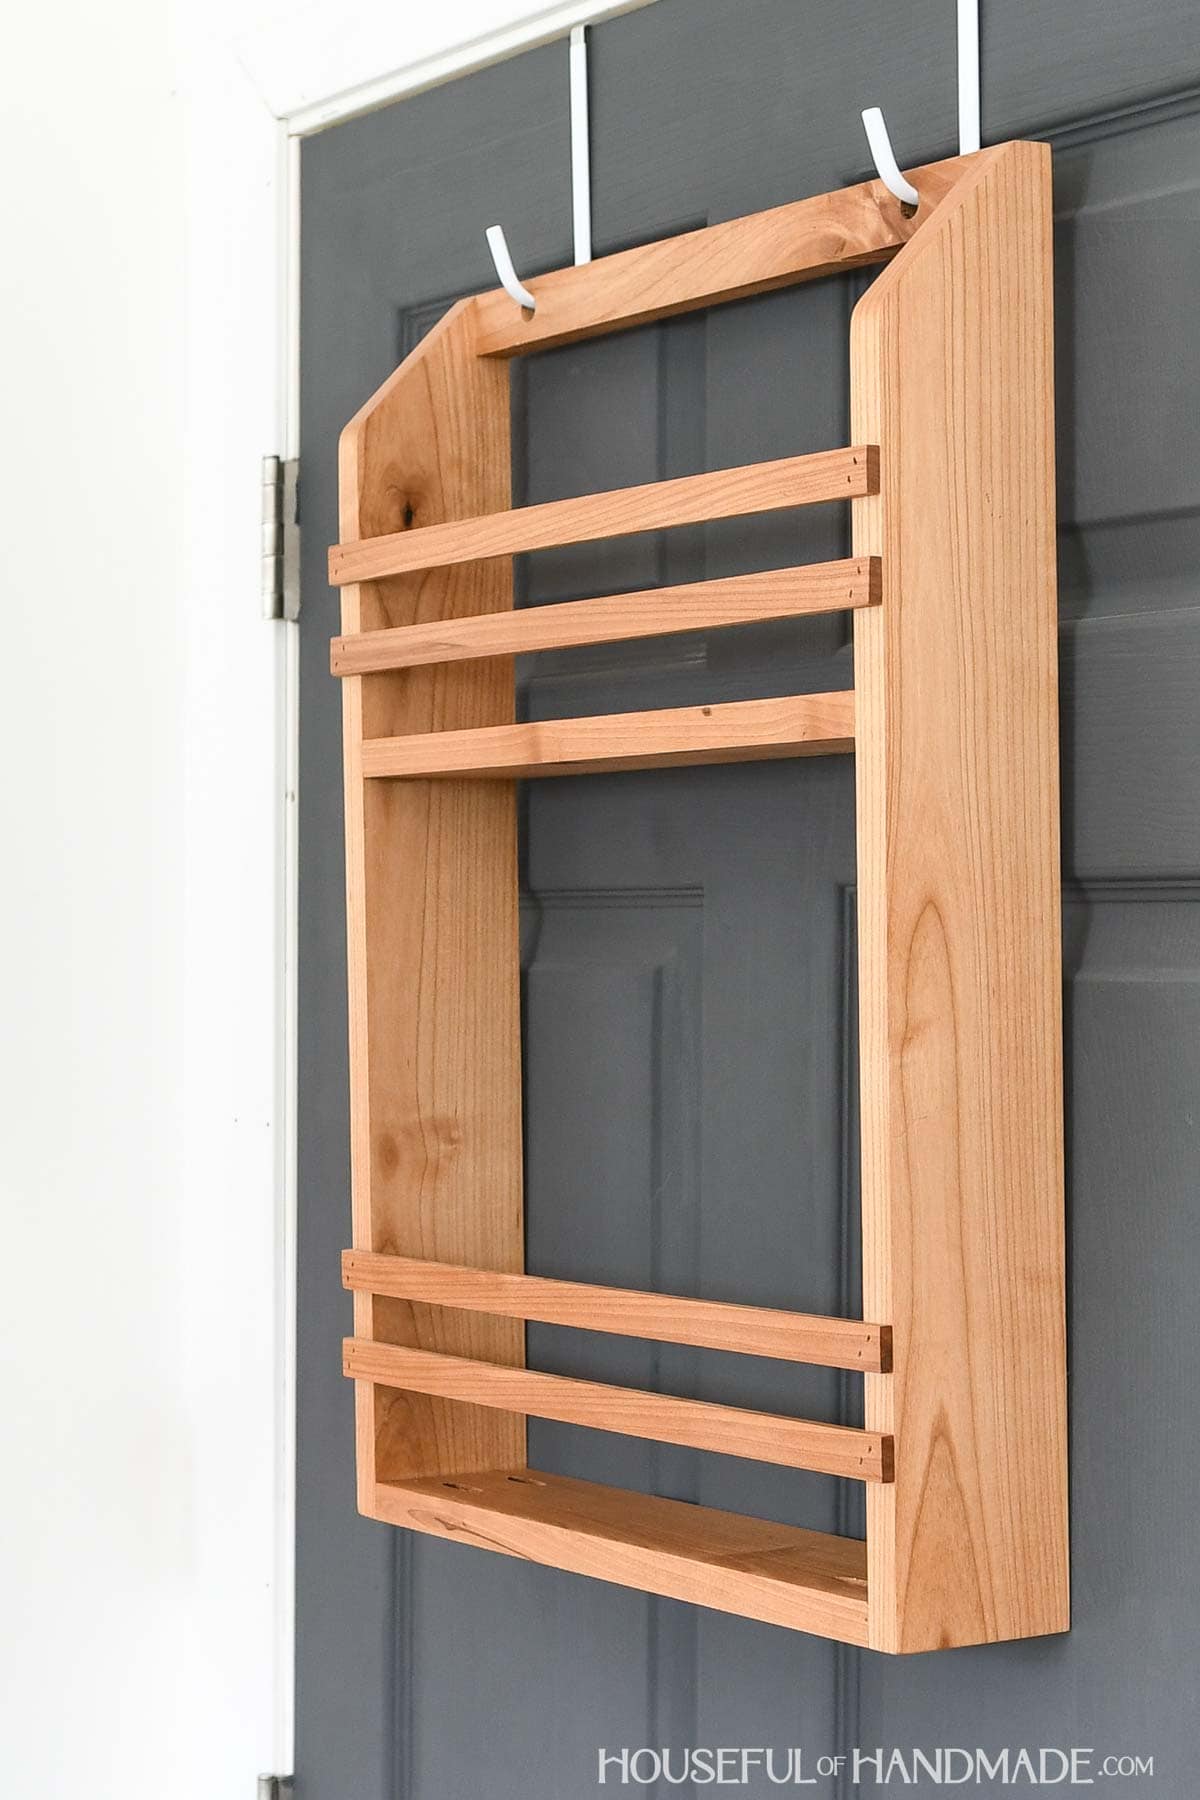
How to Build a Back of Door Shelf
Tools & Materials
Recommended Tools:
- Miter saw
- I recently upgraded to this sliding miter saw (watch for it to go on sale), but previously used this inexpensive miter saw that I love.
- Table saw or circular saw with guide
- Pocket hole jig
- Drill
- Impact driver (optional, but I love not having to switch bits with the drill)
- Speed square
- Brad nailer
- Sander
Supplies:
- Wood products
- (1) 1×2 board, 2’ long
- (1) 1×4 board, 7’ long
- (1) 1/4”x1 board, 6’ long
- 1 1/4” pocket hole screws
- 3/4” brad nails
- Wood glue
- (2) narrow over the door hooks
Overall Dimensions
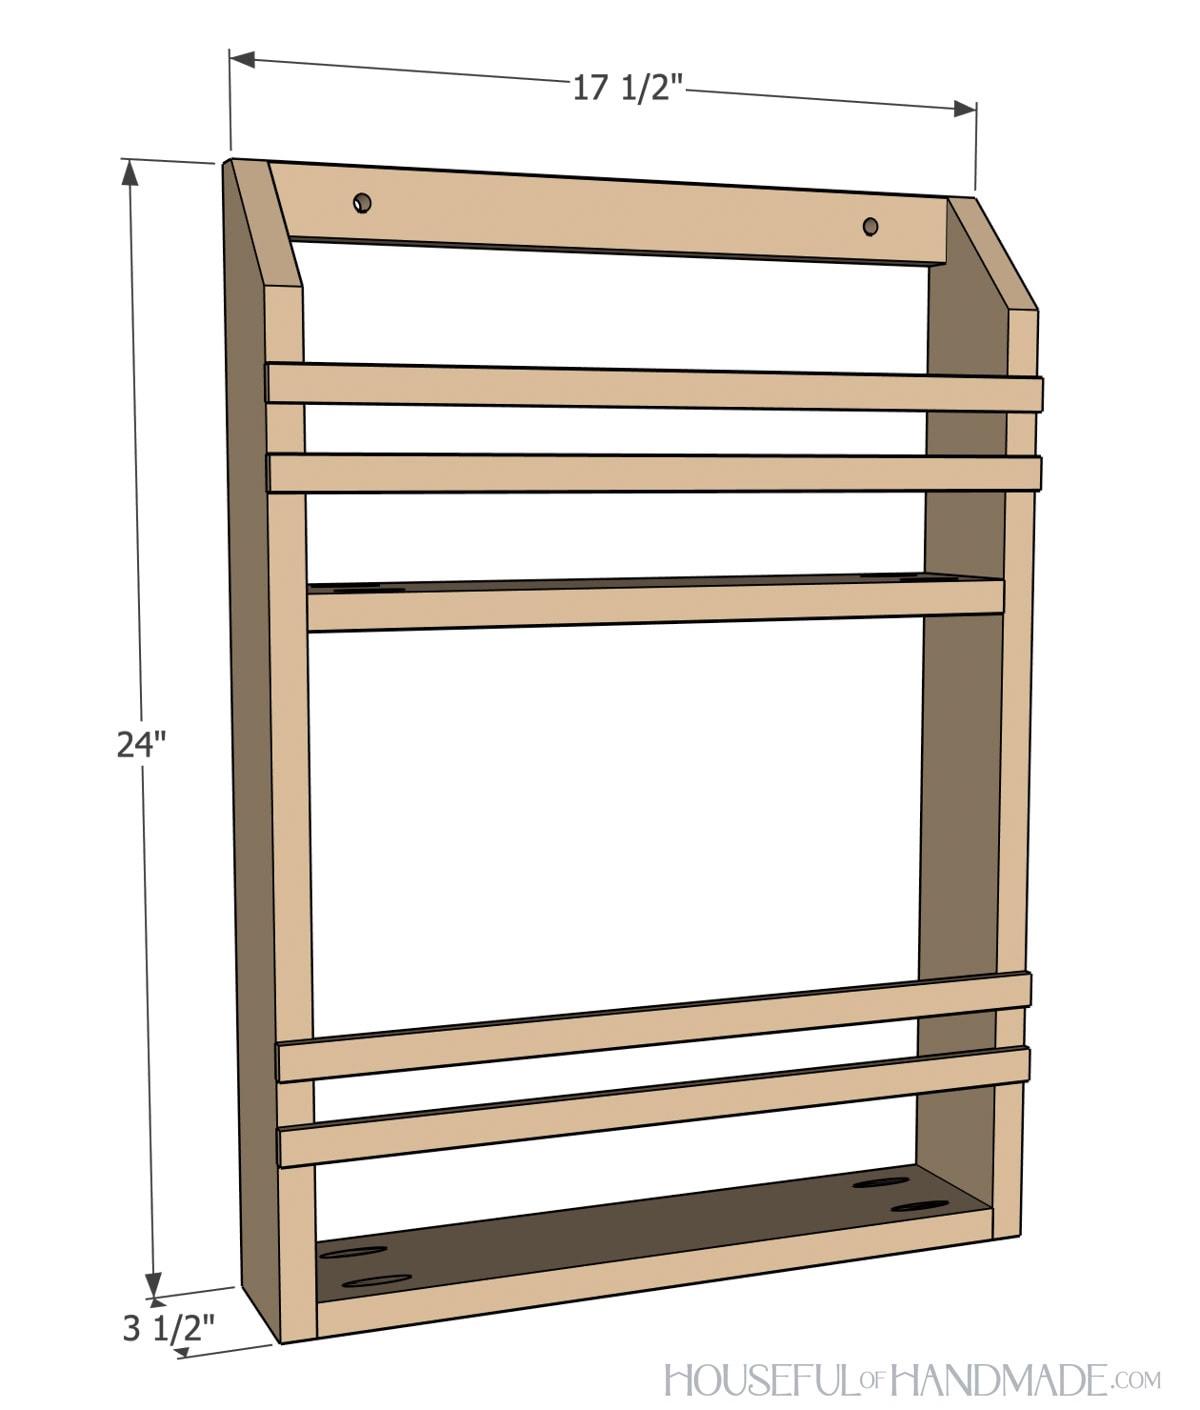
The finished shelf is 24″ tall by 17 1/2″ wide and 3 1/2″ deep. It easily fits behind an open door with a standard door casing.
Cut List
Cut out the pieces according to the easy-to-read table in the PDF plans.

On the side pieces, measure the angle on the front. Cut away this corner on the miter saw set to 45 degrees.
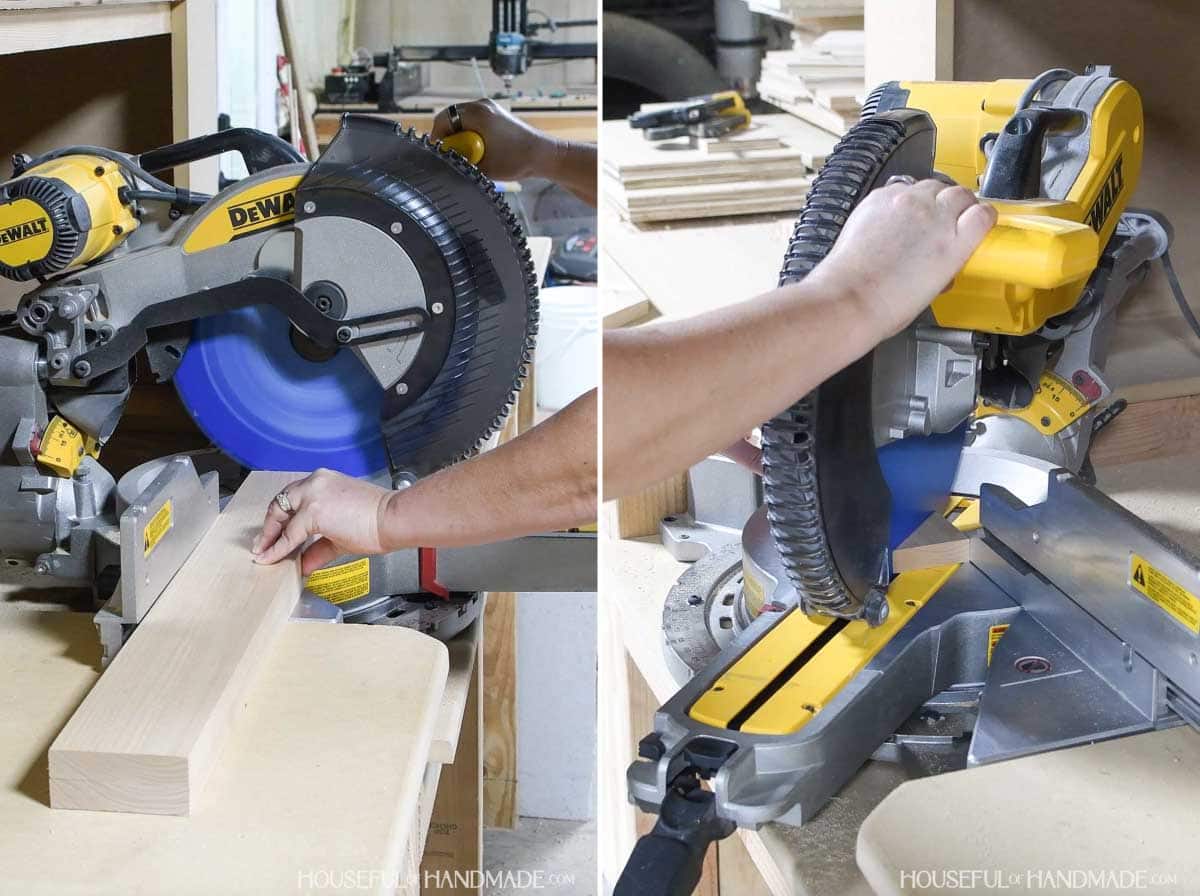
STEP 1- Prep the boards
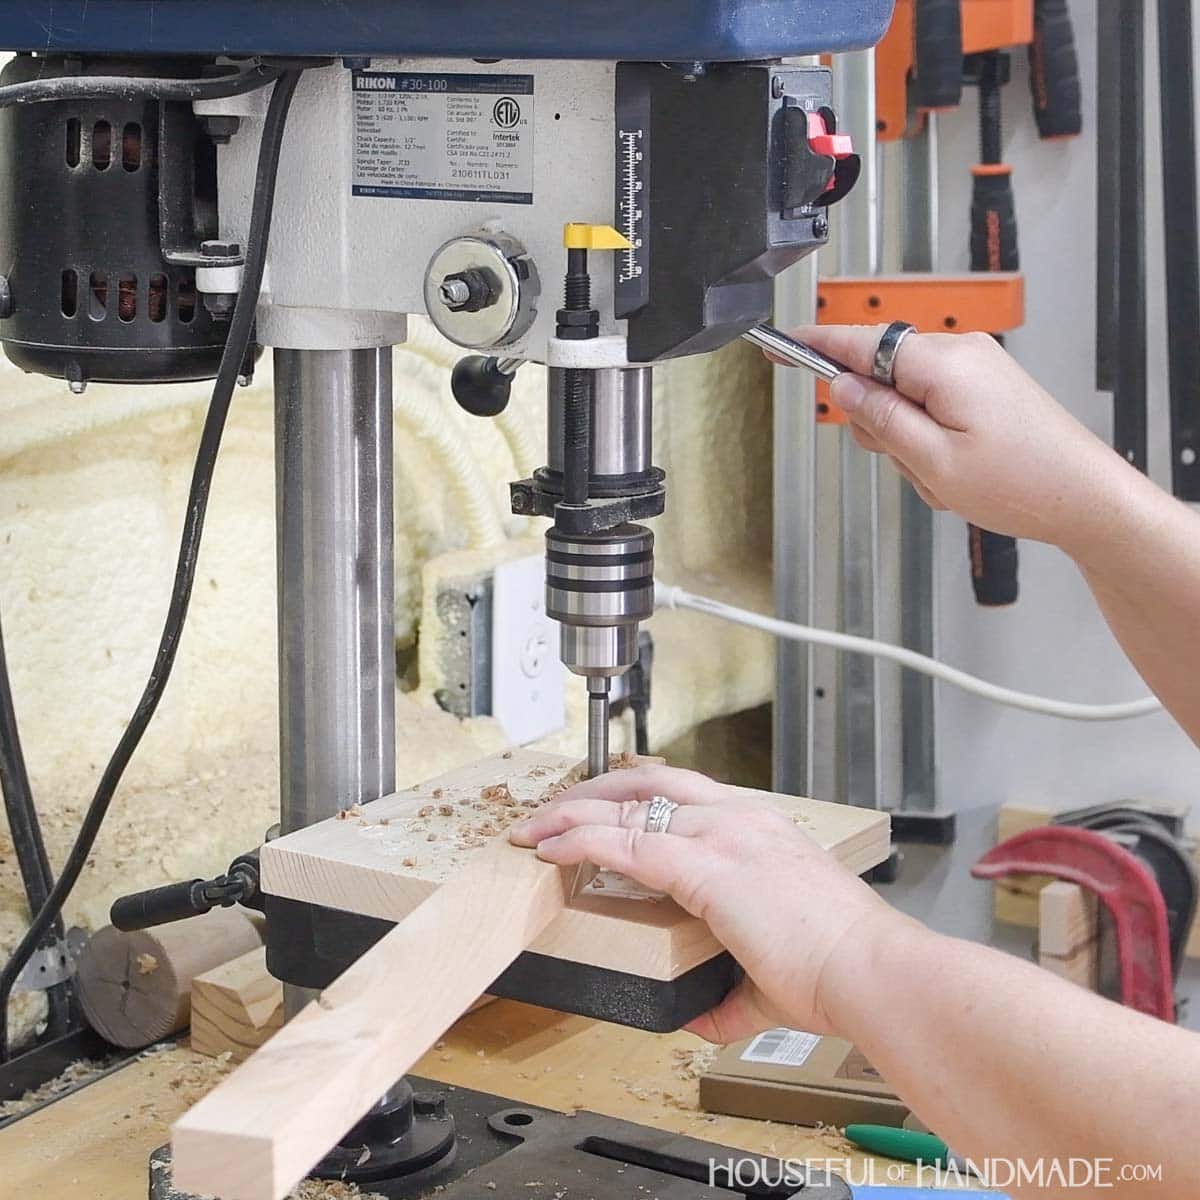
Measure the width of your over the door hooks. Drill two holes, large enough to fit the hooks, 2” in from each end of the top board.
My hooks were 3/8” wide so I drilled 1/2” big holes.
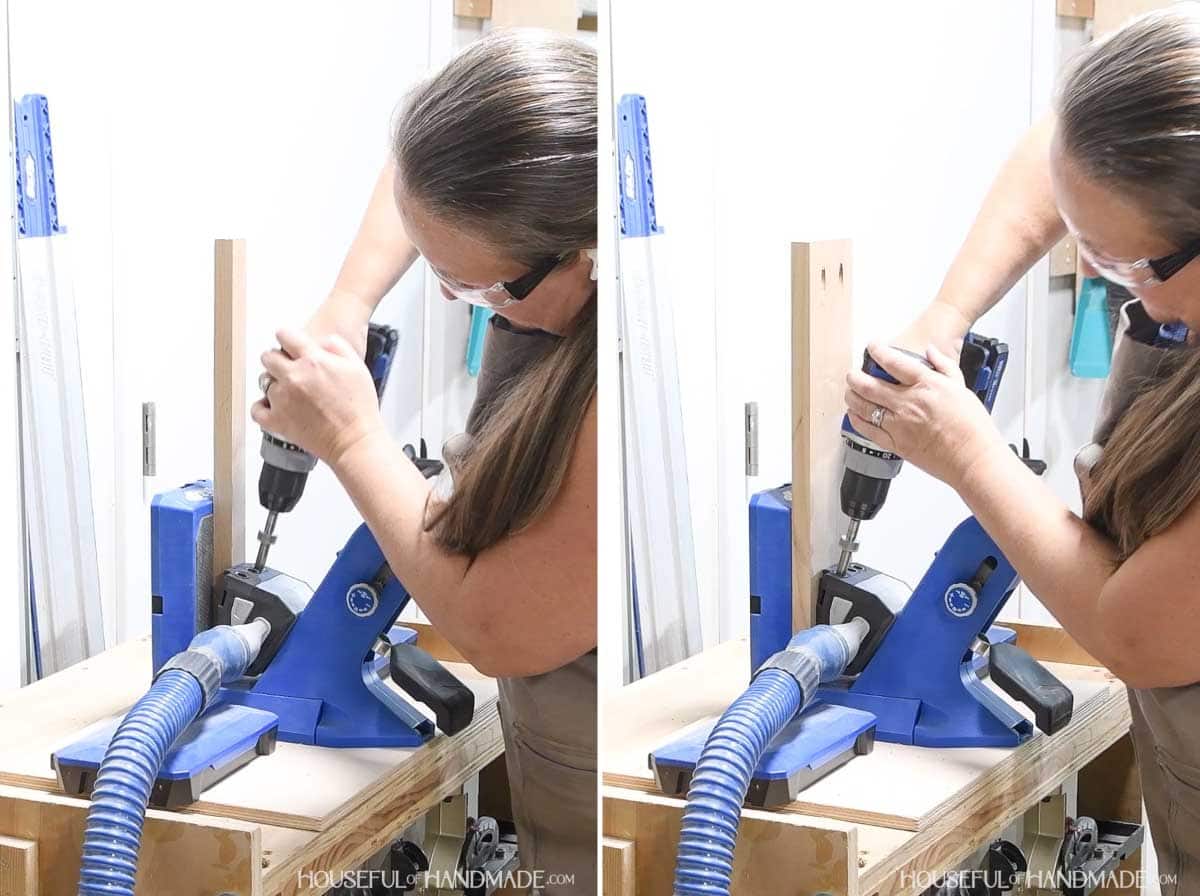
Drill 2 pocket holes set for 3/4” thick material in the back of the top piece and both shelf boards.
STEP 2- Build the frame
Using wood glue and 1 1/4” pocket hole screws, attach the shelves to one of the side boards.
Then attach the top so it is flush with the top and back of the sides.
EXPERT TIP:
Placing the pocket holes on the upper side of the shelf will make them less noticeable when the shelf is hanging on a door. The items on the shelf will also help hide them.
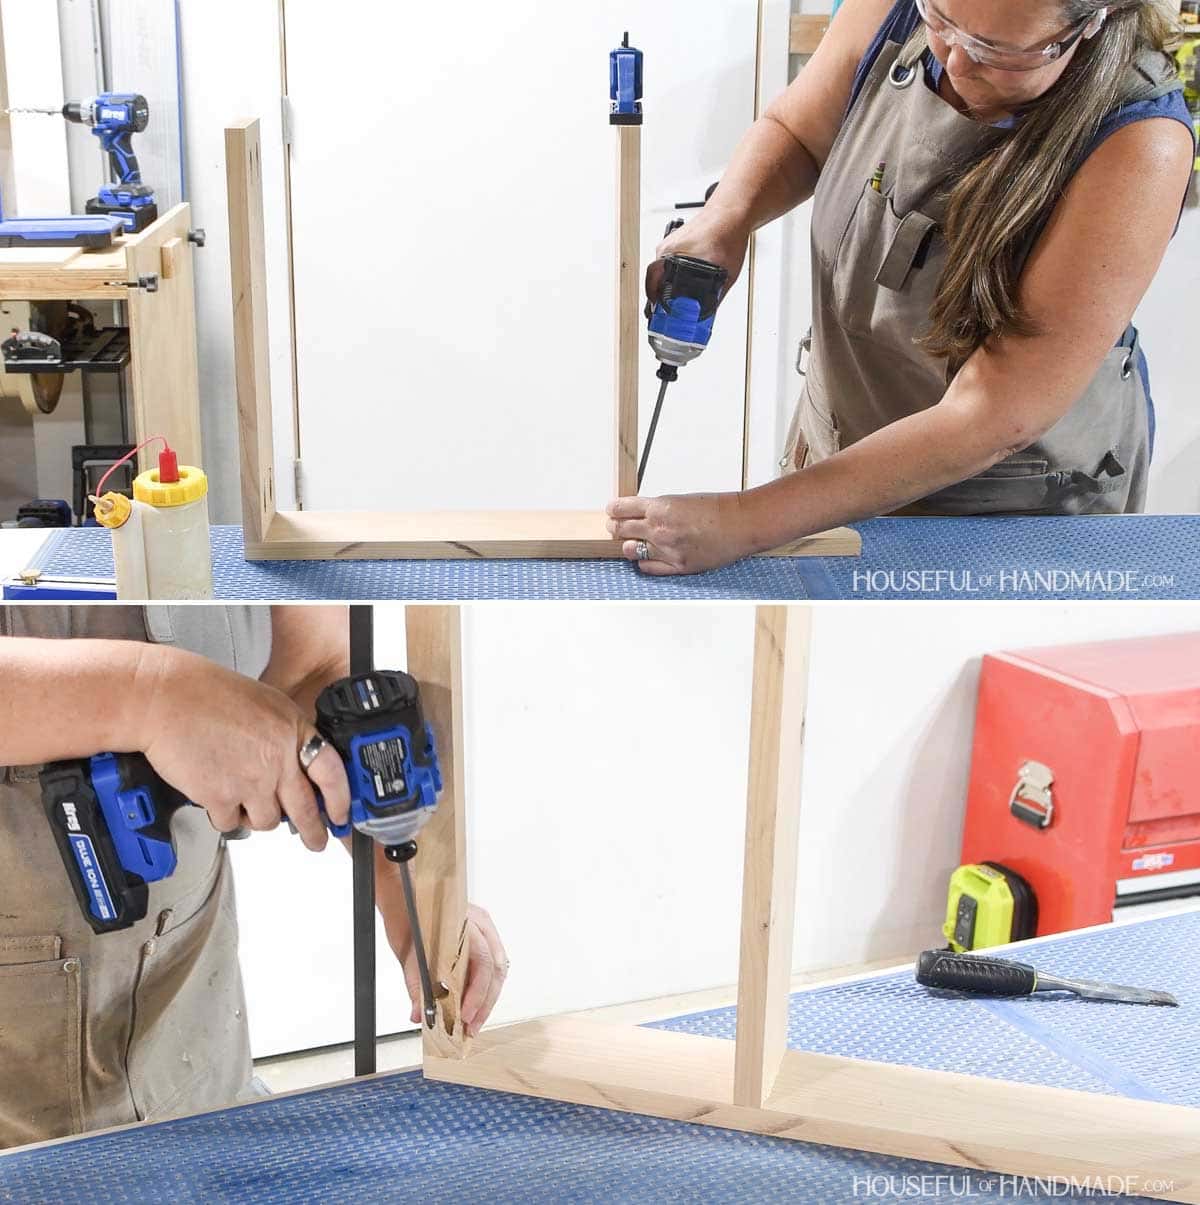
Attach the remaining side to the other ends of the shelves and top boards. Make sure to line up the shelves the same as the first side.
Secure with wood glue and 1 1/4” pocket hole screws.
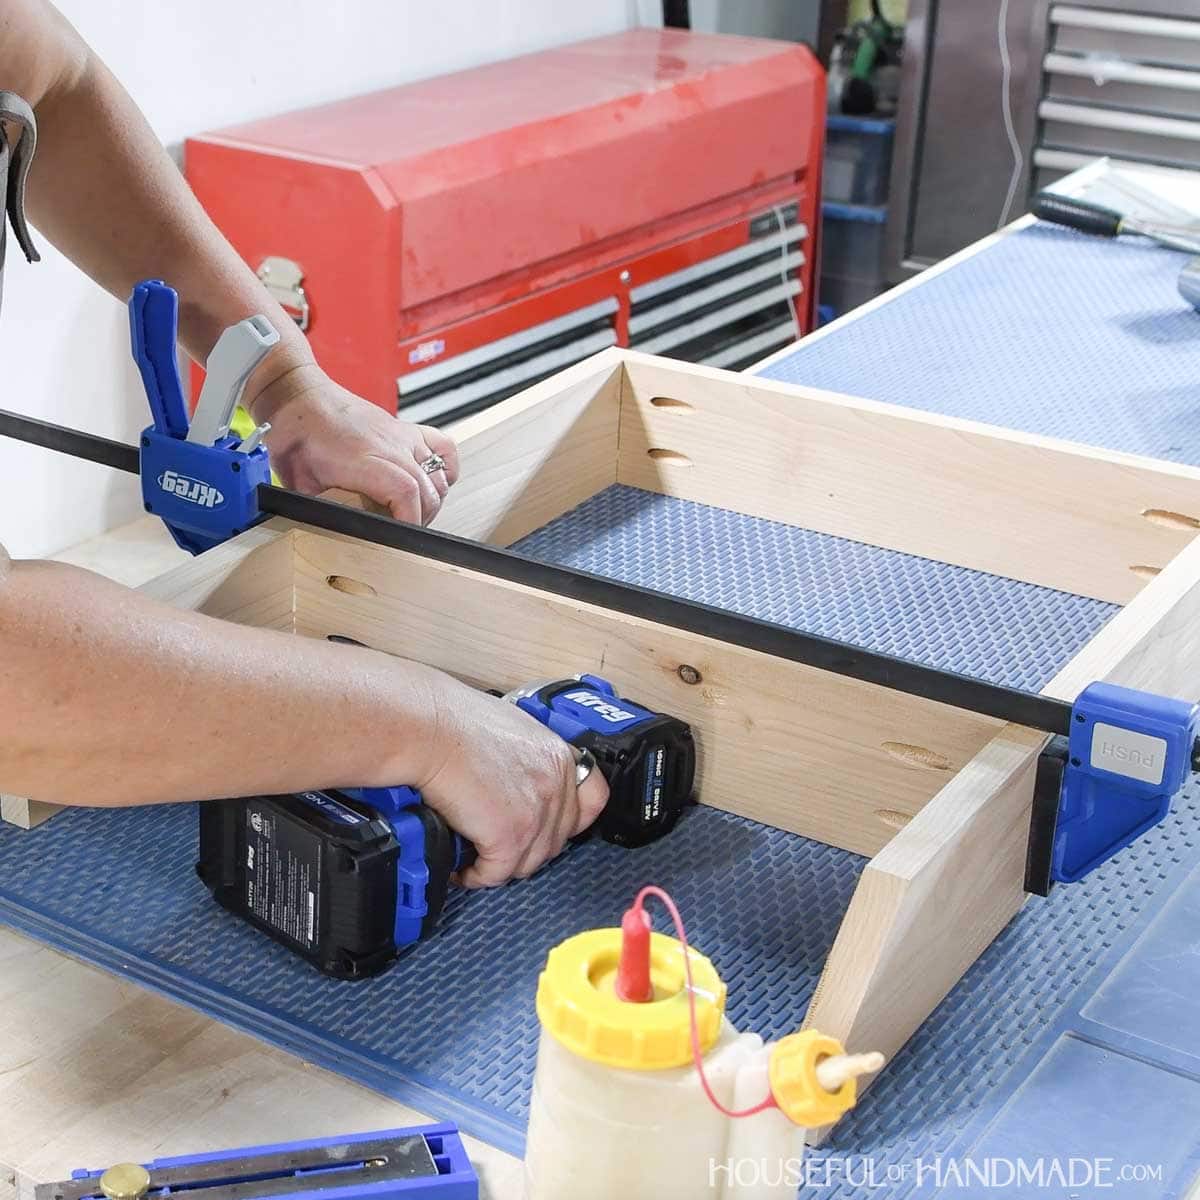
Fill the pocket holes to make them less visible if preferred.
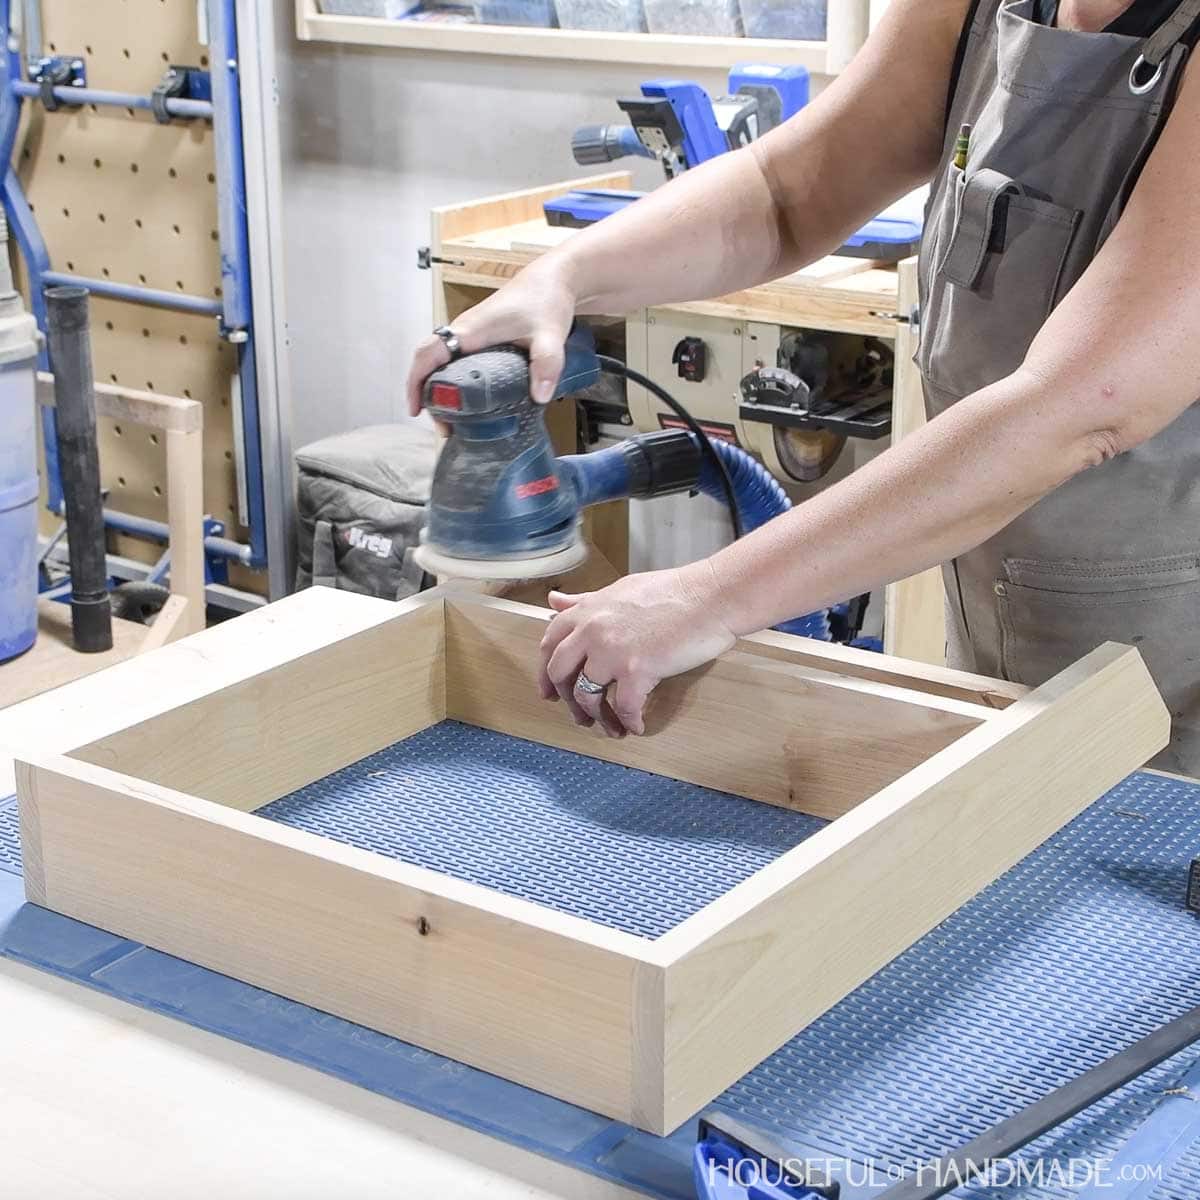
Sand the finished frame. It is easier to get a good sanding before attaching the rails.
STEP 3- Attach rails
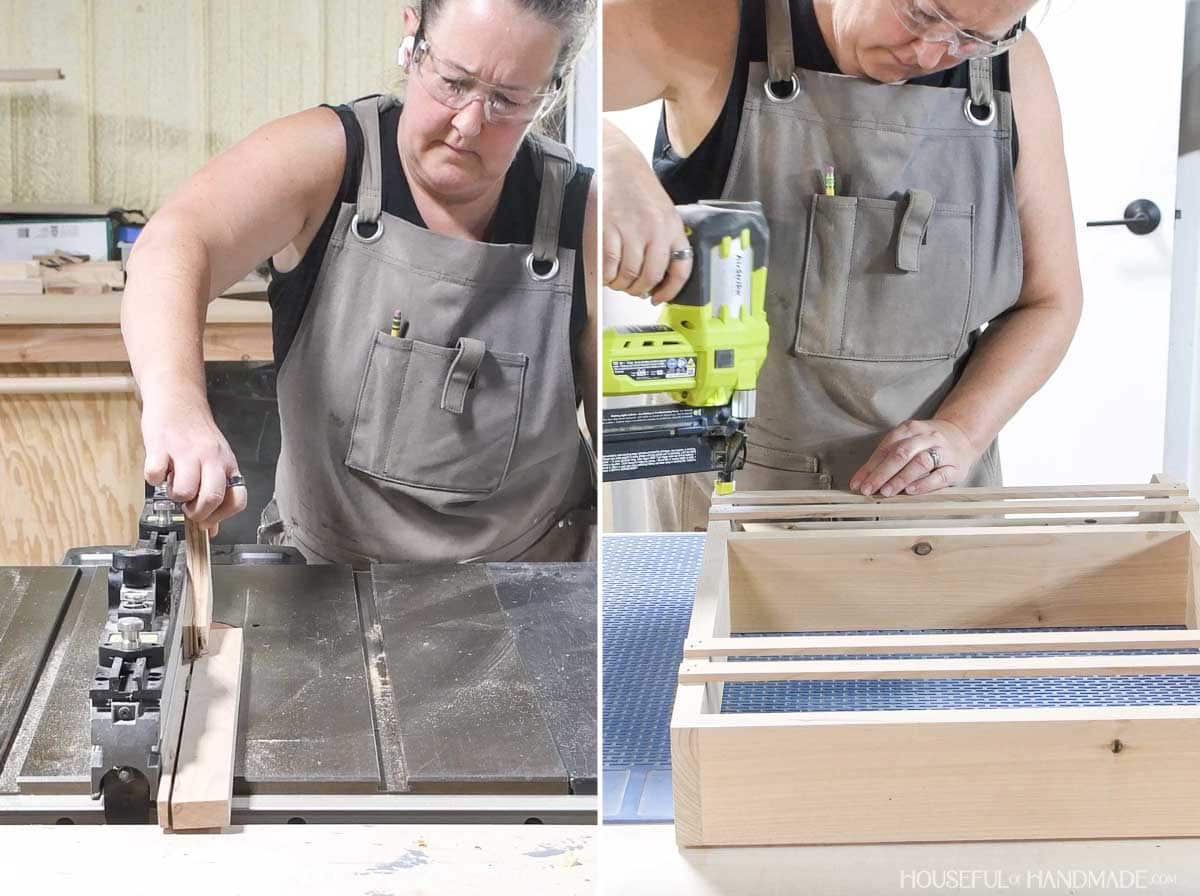
Rip 1/4” thick pieces from a scrap of 1x board or you can buy 1/4” thick boards and rip them into 3/4” wide strips for the rails.
Attach the rails according to the spacing in the diagram. Secure with wood glue and 3/4” brad nails.
STEP 4- Finish and hang
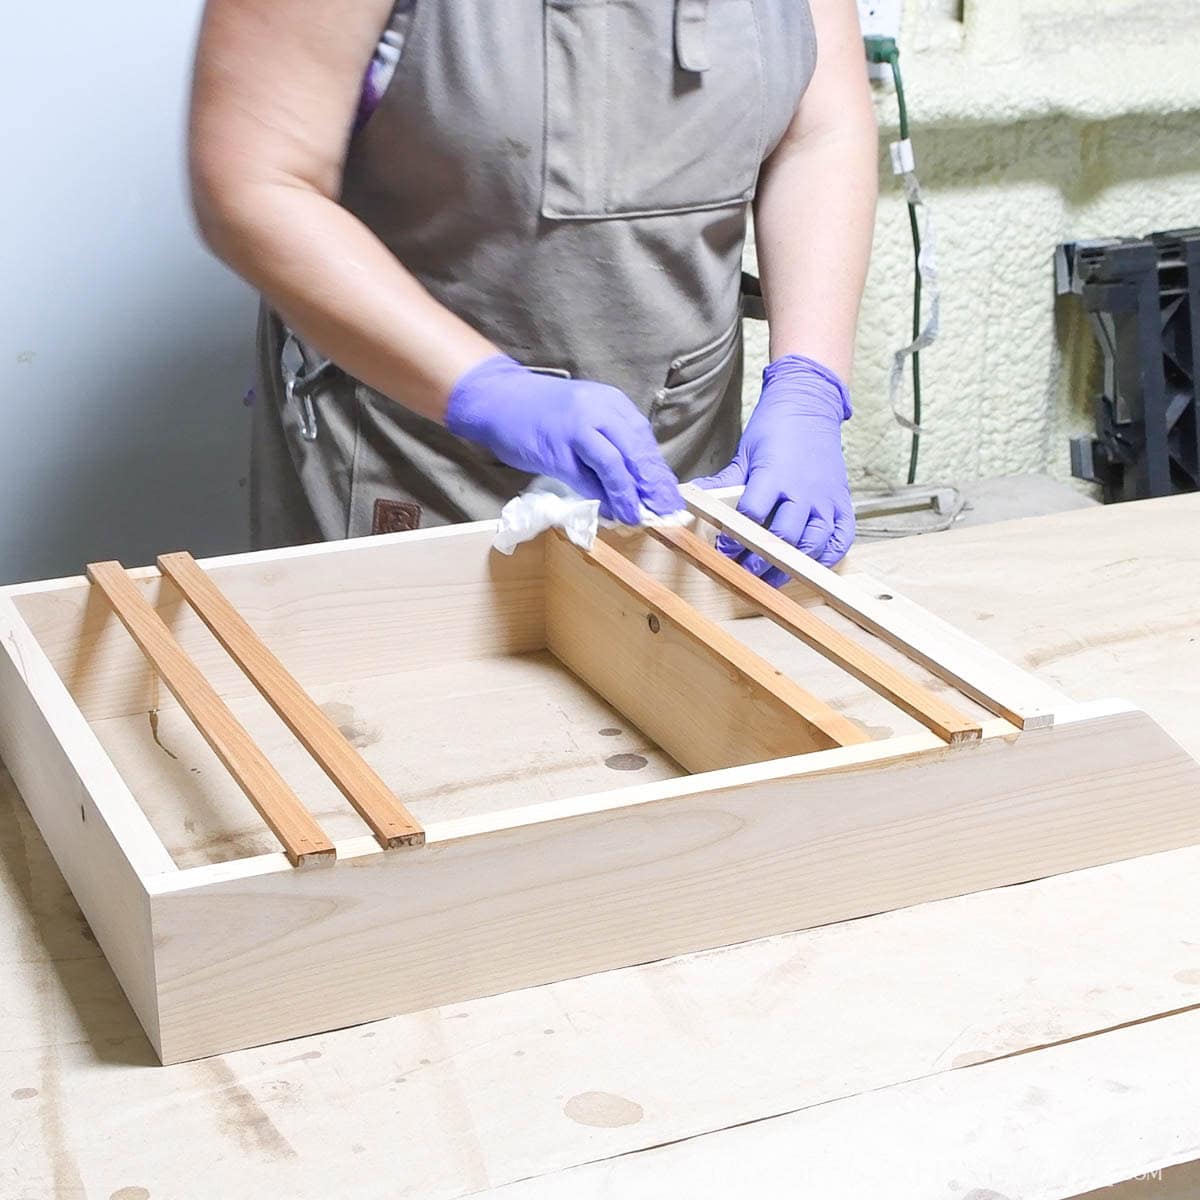
Touch up sand anything that is needed and apply your desired finish.
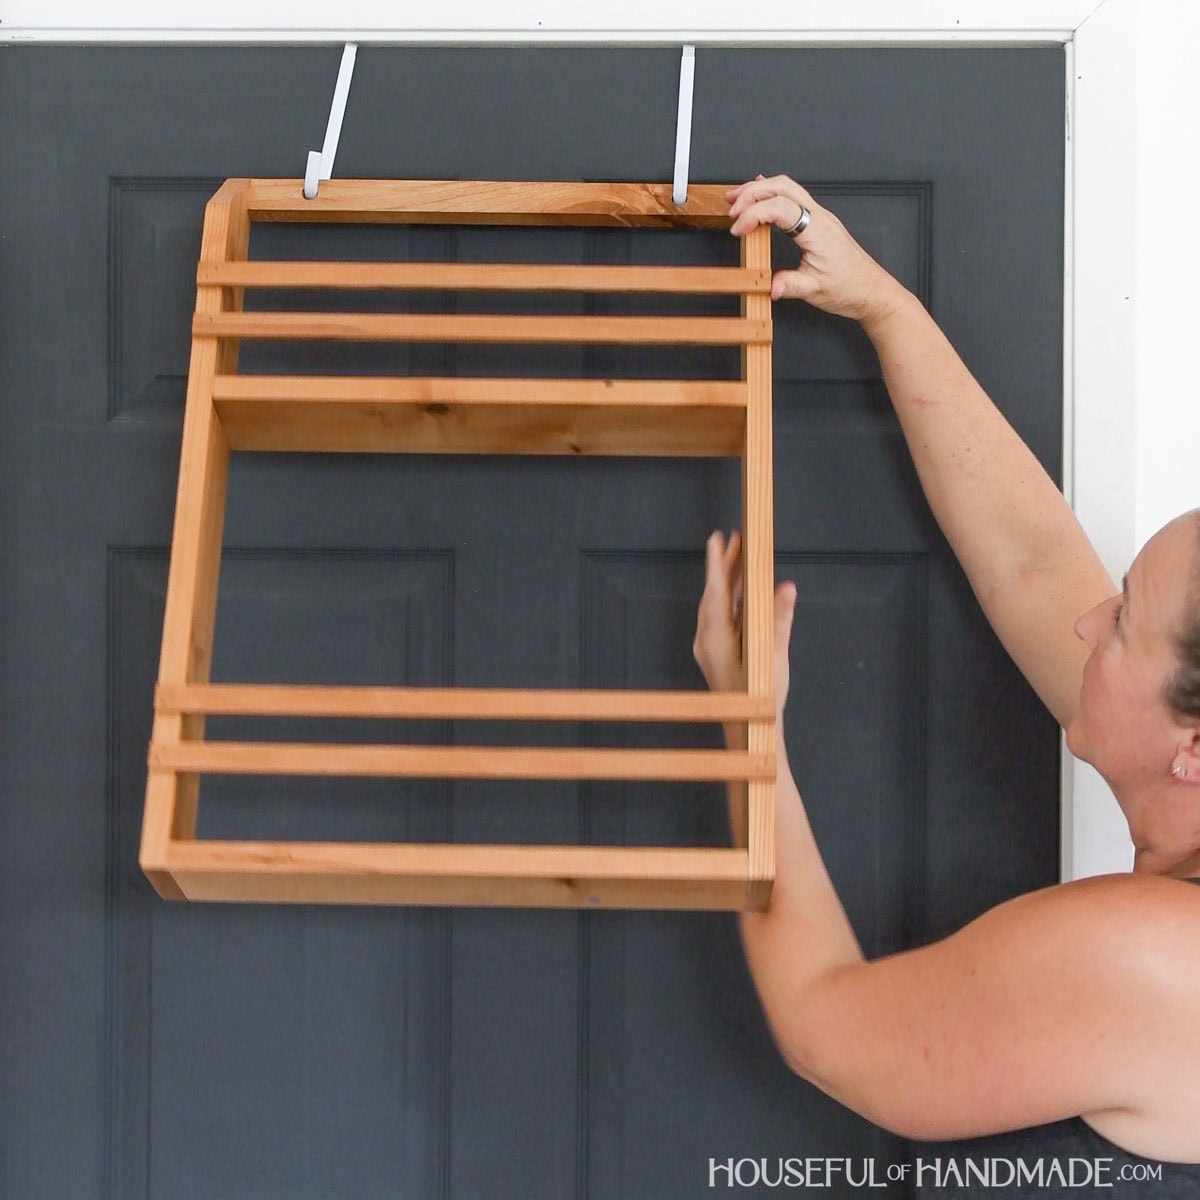
To hang the shelf, place your over the door hooks on the door and loop the holes in the top over them.
Let the shelf slide down to full rest against the door.
Premium plans include:
- Recommended Tools
- Shopping list
- Easy to read cut list table
- Cut diagrams
- Step-by-step instructions with 3D renderings
- Helpful resources
- BONUS: 3D SketchUp file
You did it!
Now you can load up the shelves with anything you need to store.
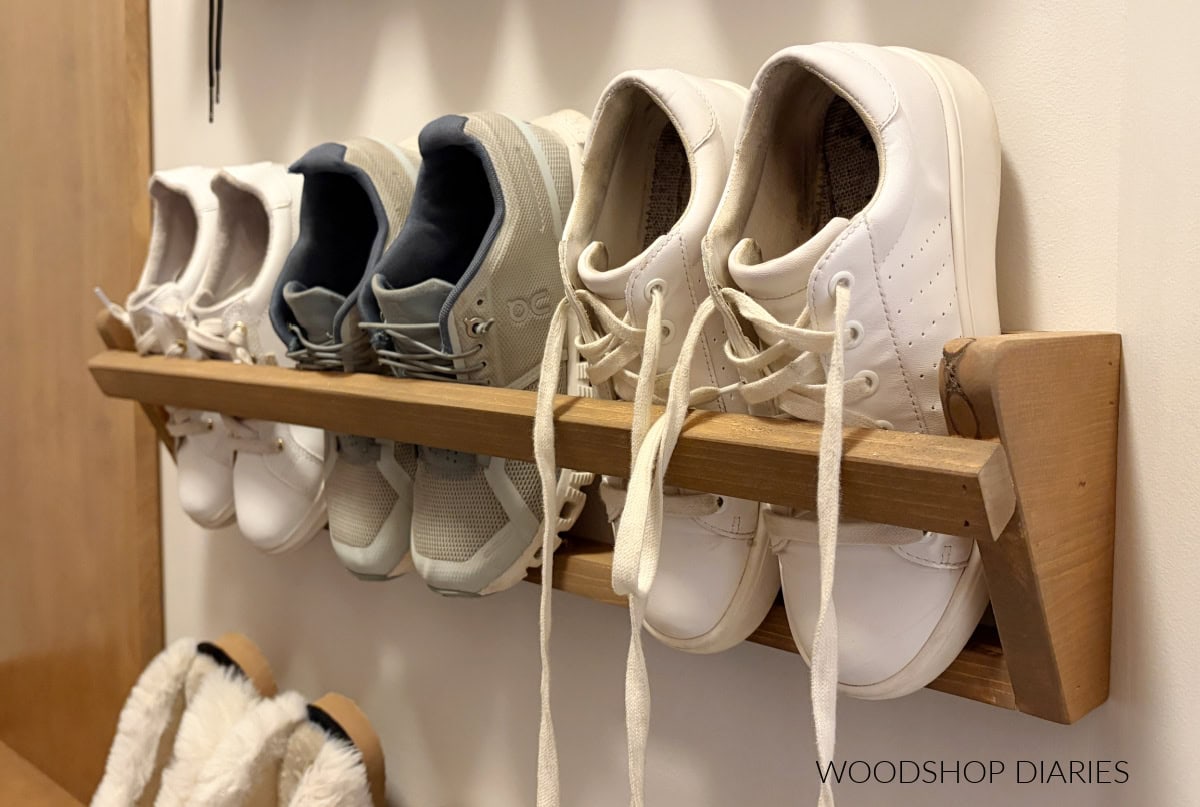
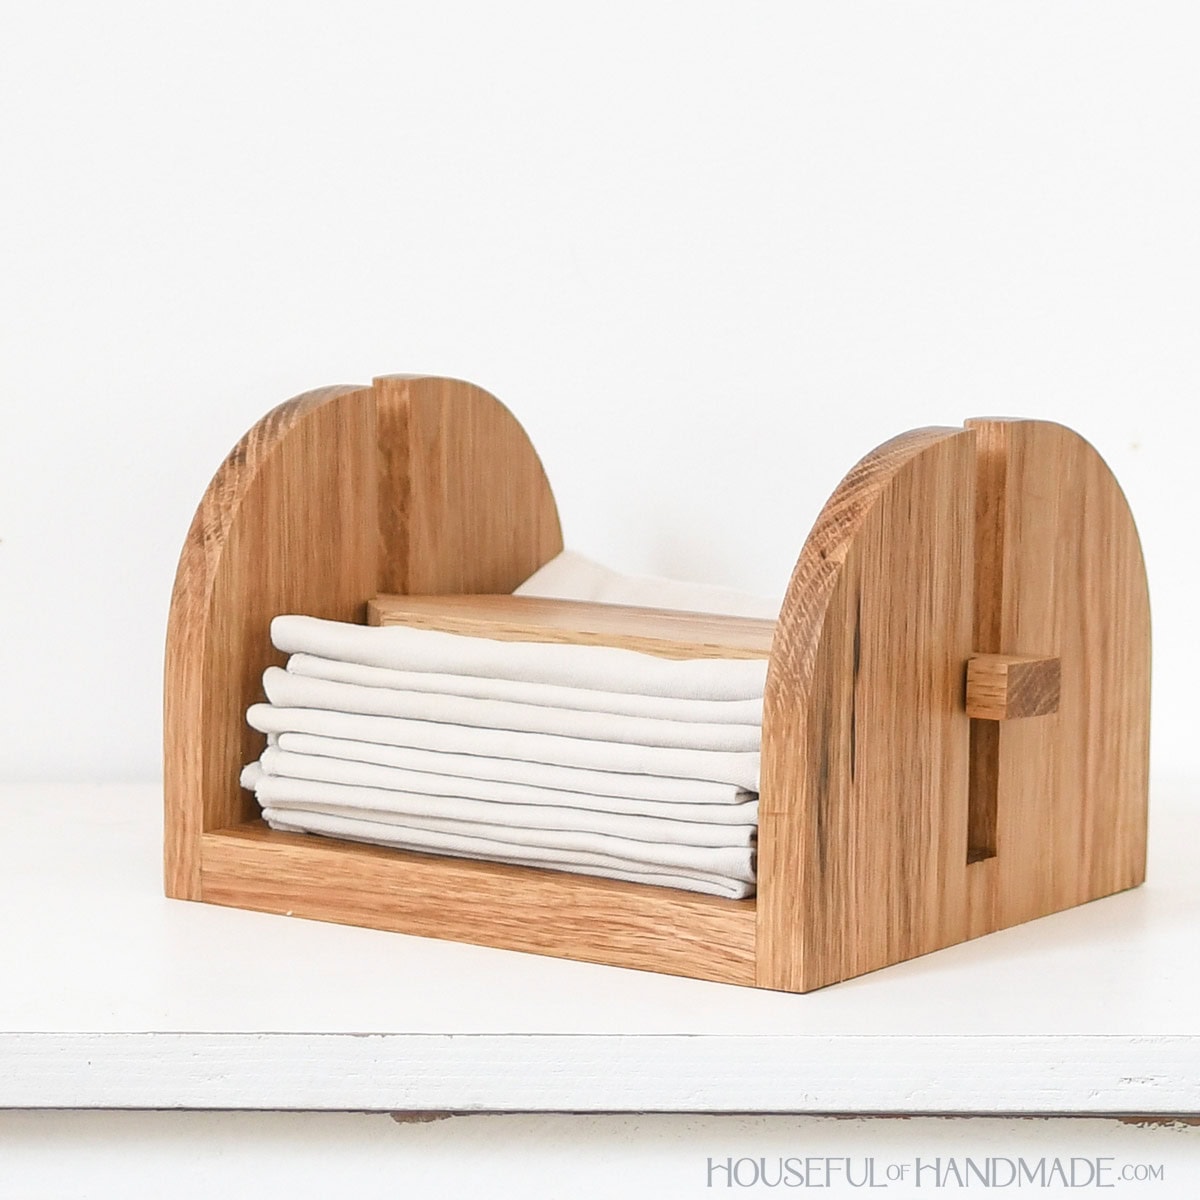
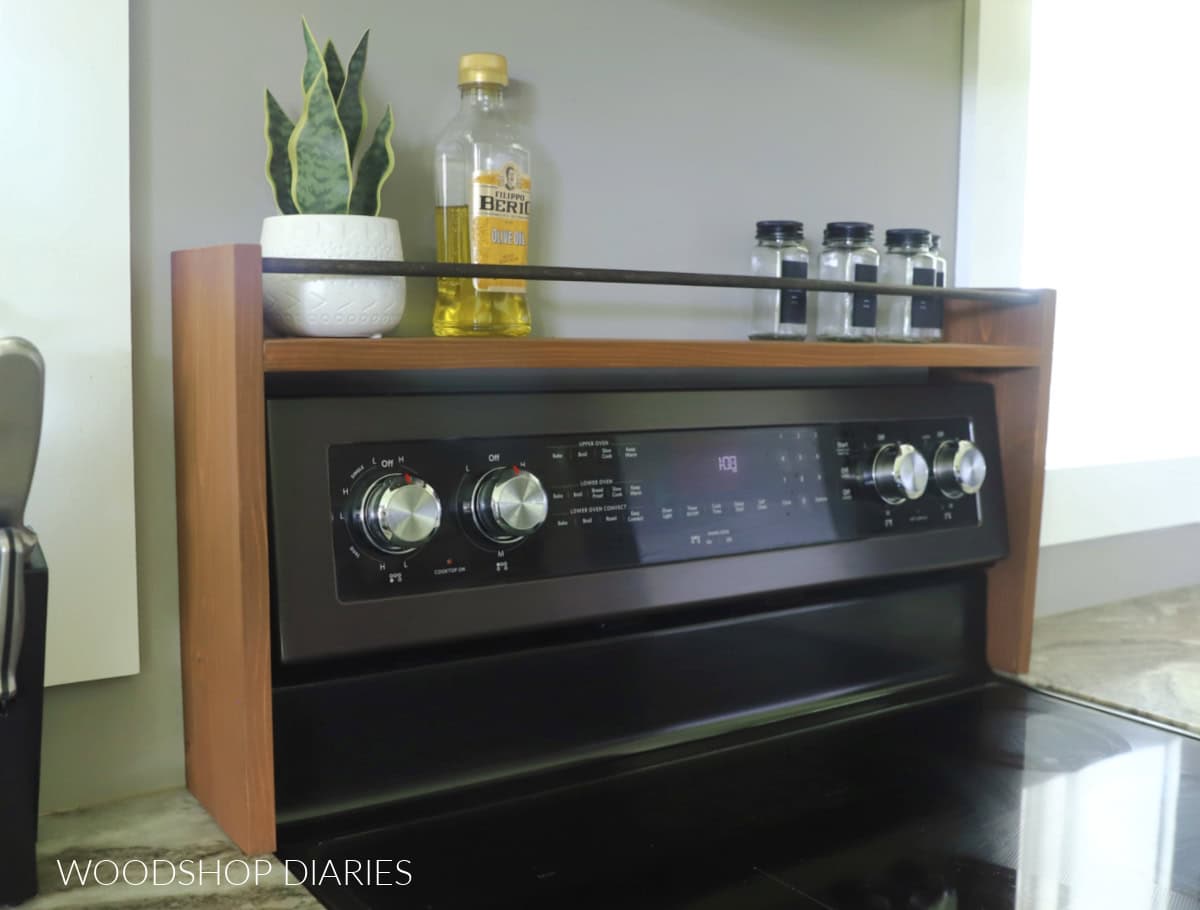
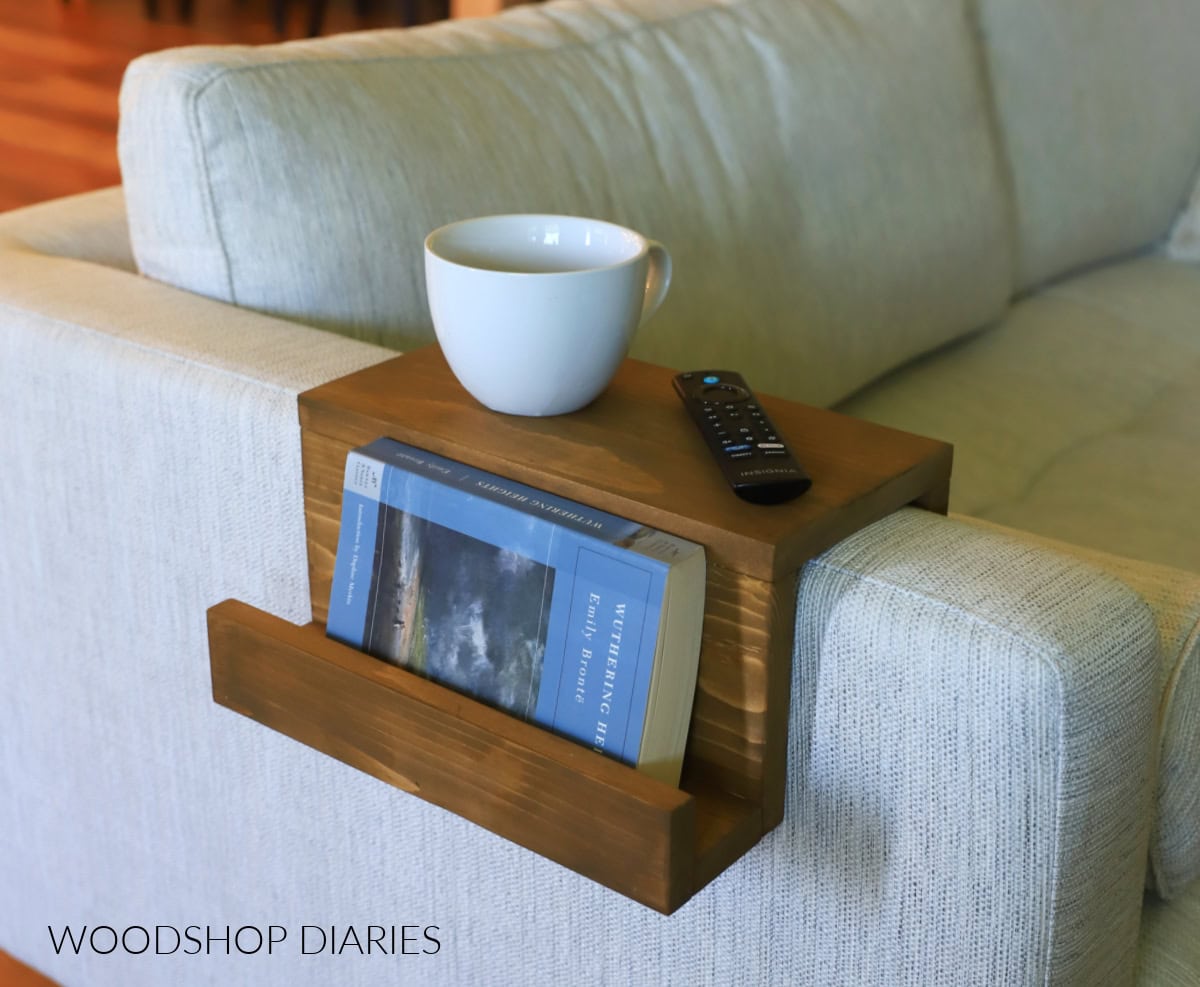
More Scrap Wood Projects
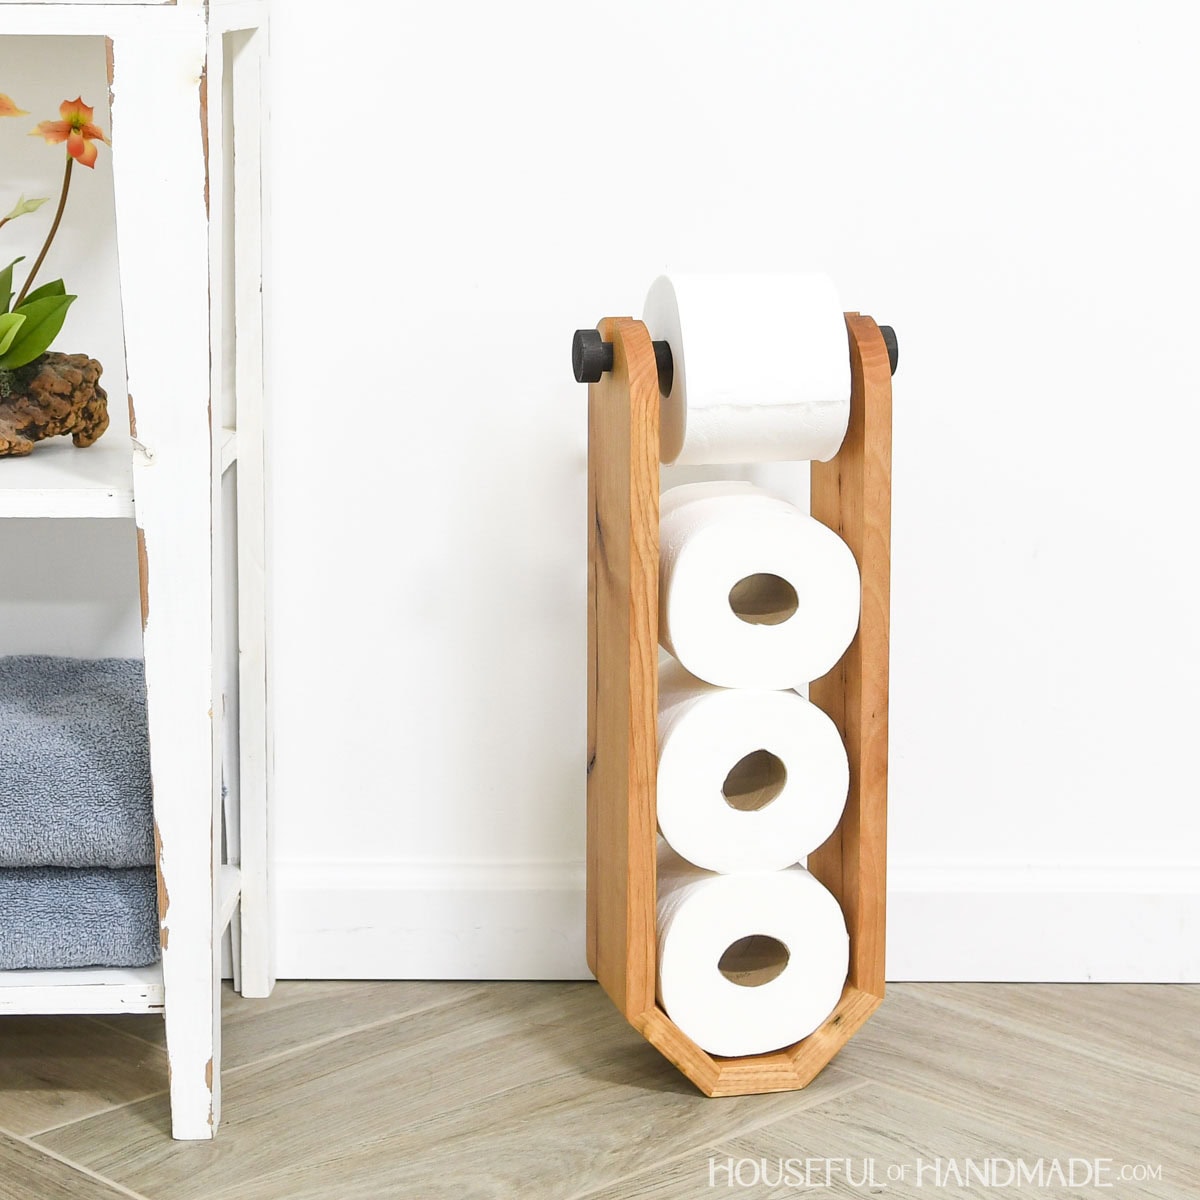
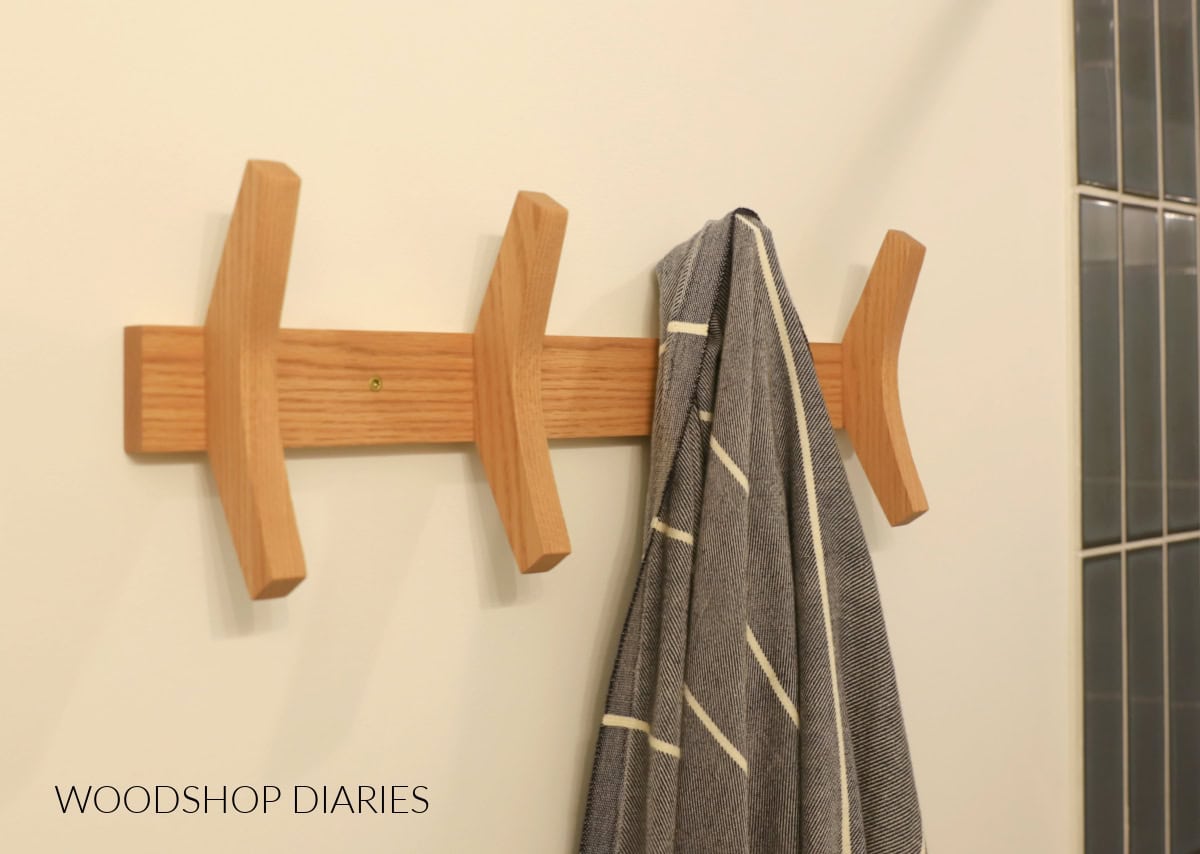
Building shelves and storage with wood scraps is my favorite thing. So of course I needed to include it as part of this years Scrap Wood Summer.
Every Tuesday this month I am sharing a new scrap wood along with my friend Shara from Woodshop Diaries.
I’ll share each week’s new projects below so you can use up your scraps too!

Happy building!