
My raised garden beds are overflowing this year. Every day I fill my large harvest basket to the top!
I have been busy in the kitchen working hard to preserve the harvest. One of my favorite preservation methods is to canning.
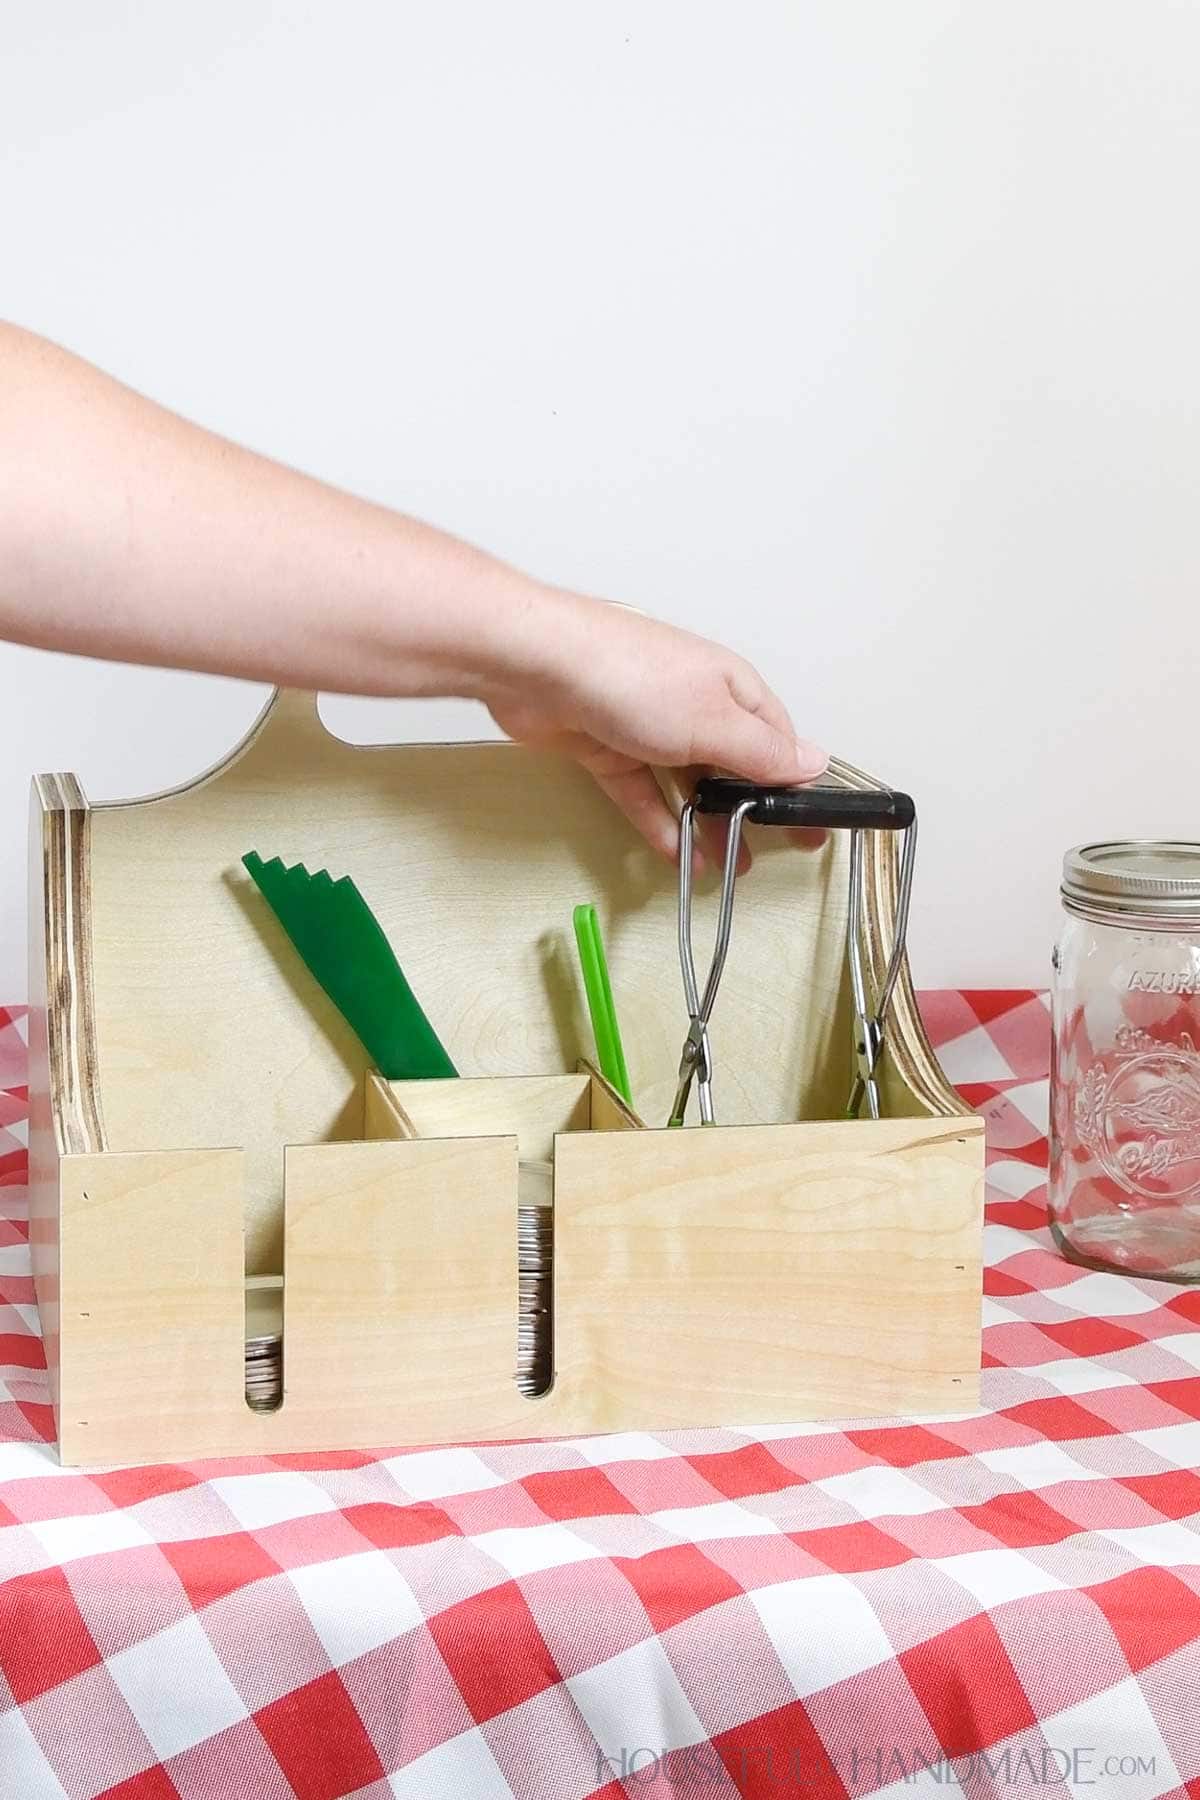
We love canned tomatoes, green beans, pickles, jalapenos and more! And to make it easier for me when canning, I designed the perfect caddy to hold my canning accessories.
This post may contain affiliate links. As an Amazon Associate I earn from qualifying purchases. Click here to read my full disclosure policy.
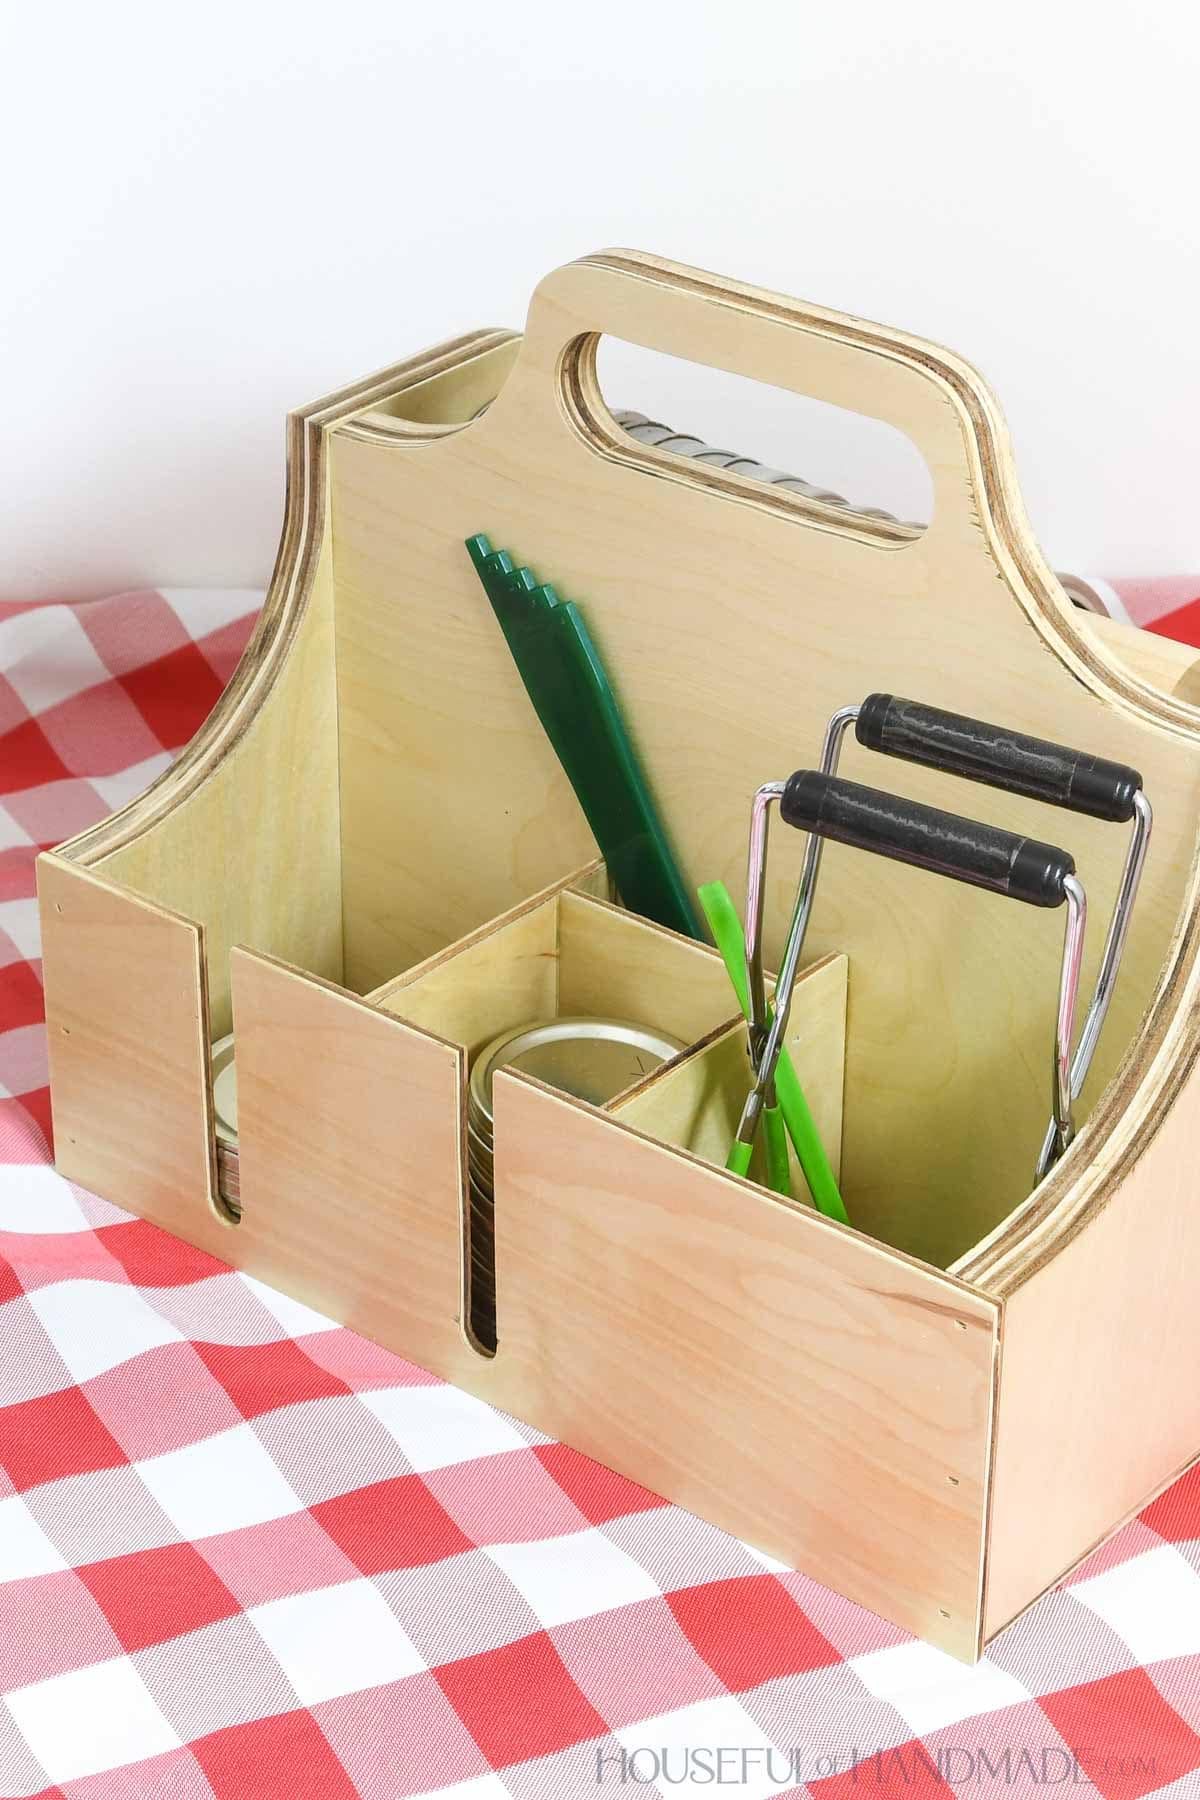
Canning Supply Holder
There are lots of different tools I use when canning, plus I need to have my lids and rings for both wide and regular mouth jars.
I found myself running circles in the kitchen to gather everything up every time I started a canning session.
Then it hit me, why not build a simple caddy designed to hold my lids, rings, jar lifter and more!
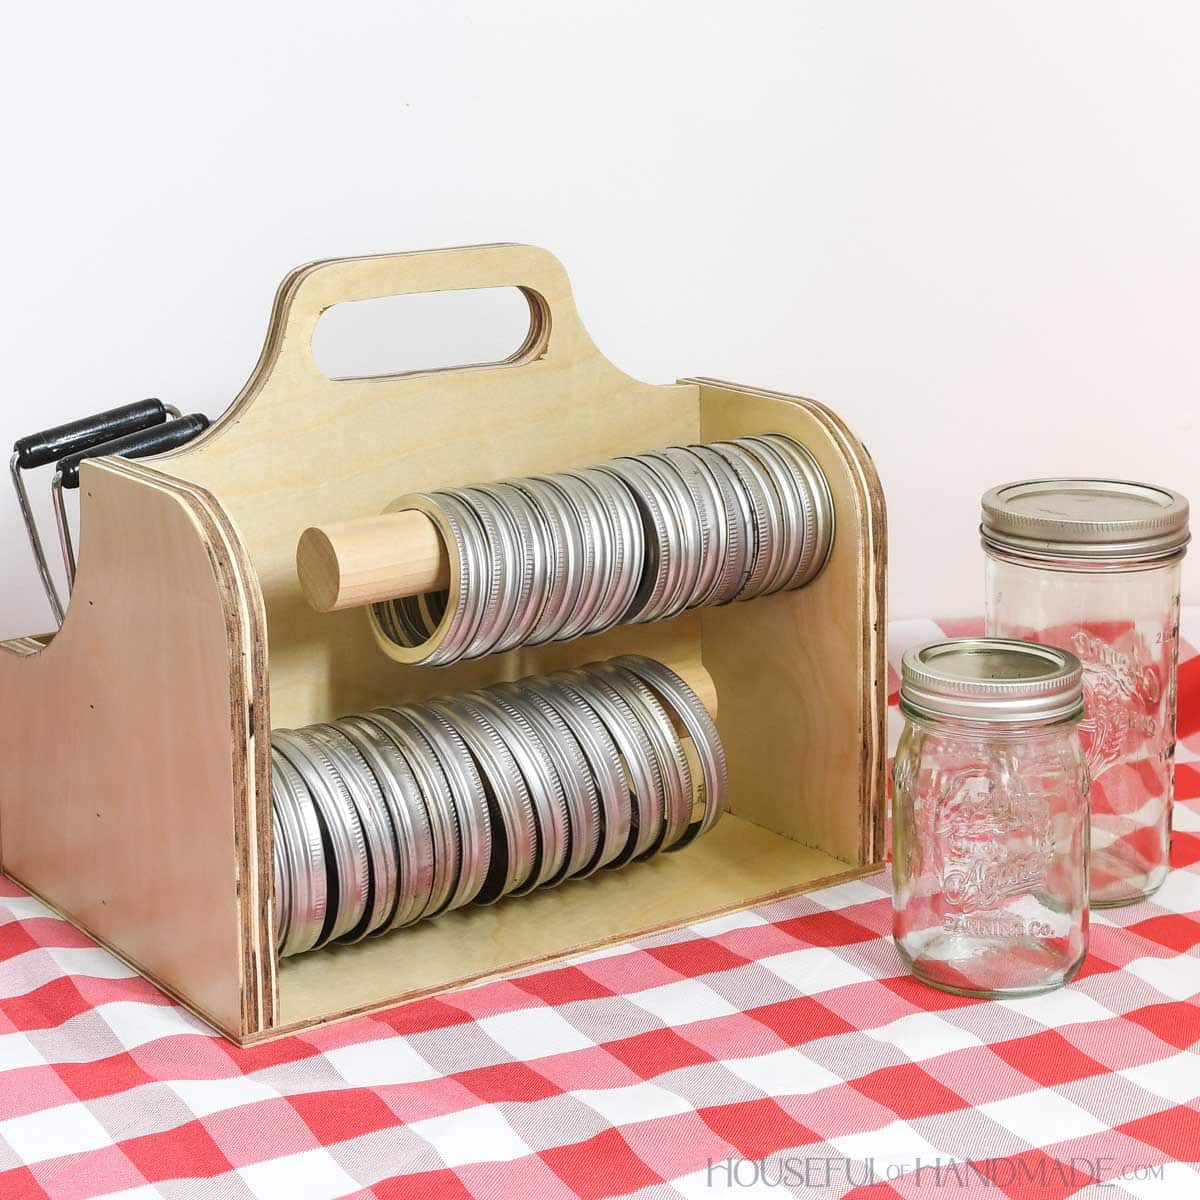
This simple caddy was designed specifically to hold everything I need to can, except for the jars and food. It can easily be stored in a cupboard or the pantry, then pulled out when needed.
But the best part, it was built from a few plywood scraps I already had in my shop. Those smaller cut-offs I was afraid to toss are now making my life easier this summer.
I love that all my canning supplies are stored in one easy to grab holder so I can preserve things fast.
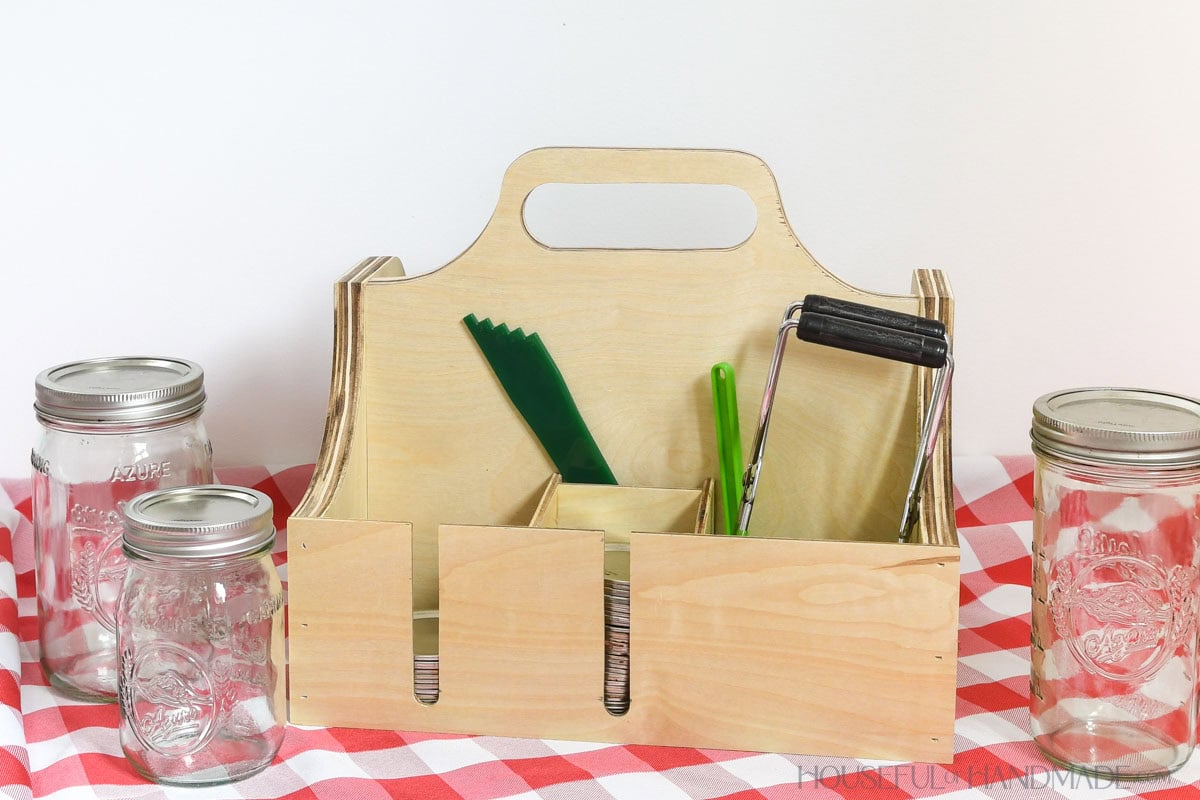
How to Build a Canning Accessories Holder
Tools & Materials
Recommended Tools:
Supplies:
- Wood products
- (1) 3/4 plywood, 18” x 22” piece
- (1) 1/4 plywood, 14” x 18” piece
- (1) 1 3/8” dowel, 2’ long
- 1 1/4” brad nails
- 3/4” brad nails
- Wood glue
- Painter’s tape
Overall Dimensions
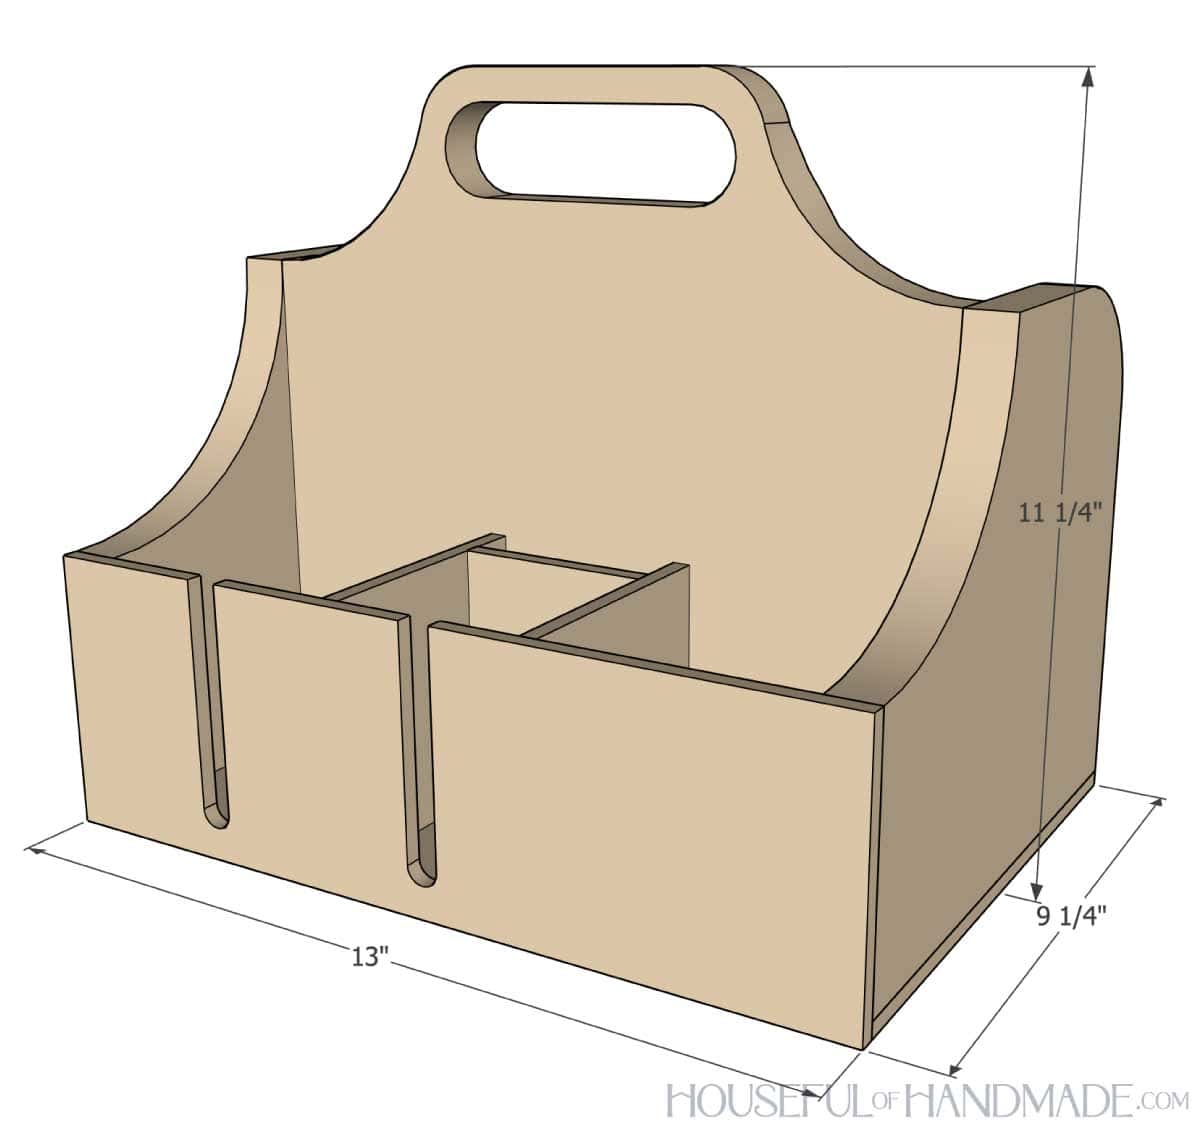
The finished caddy is 11 1/4″ tall and 13″ wide by 9 1/4″ deep.
The front has compartments designed to hold wide and regular mouth rings and other accessories. The back has 2 dowels to hold wide and regular mouth rings.
Cut List
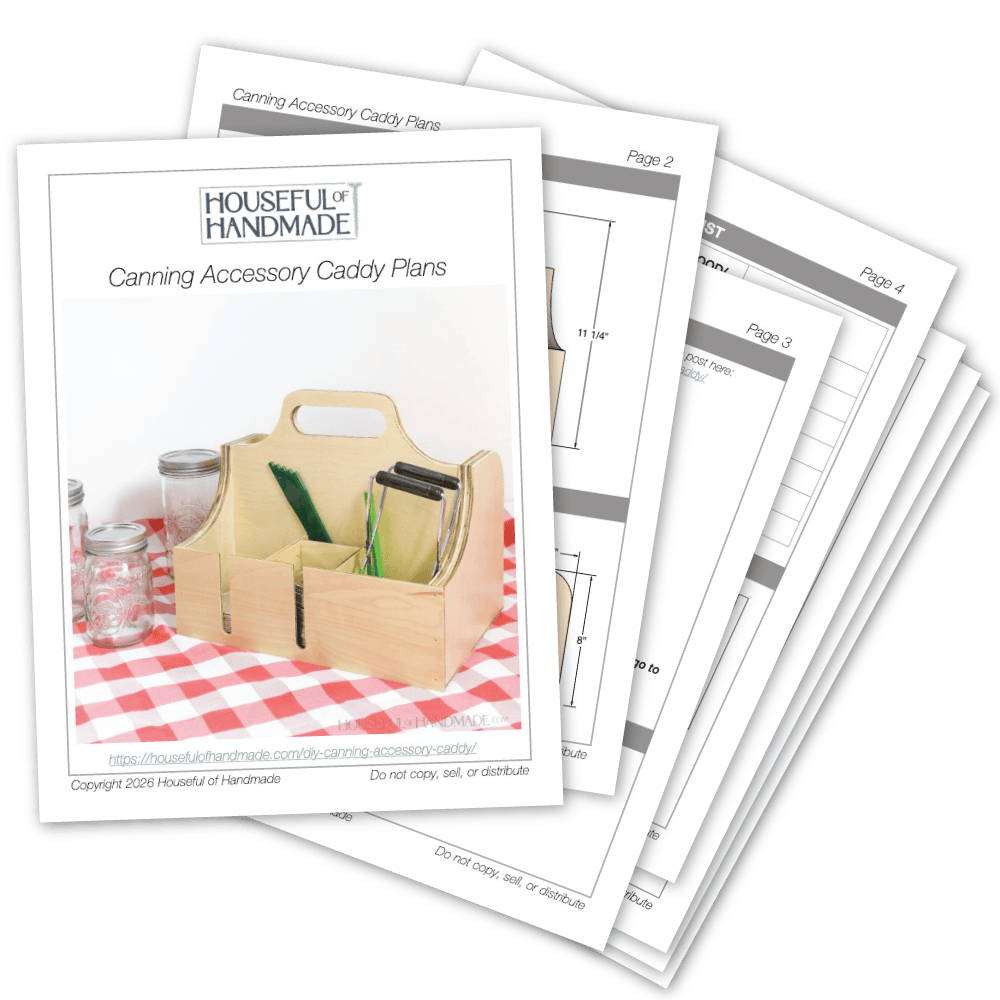
Cut out the pieces according to the easy-to-read table in the PDF plans.
STEP 1- Shape boards
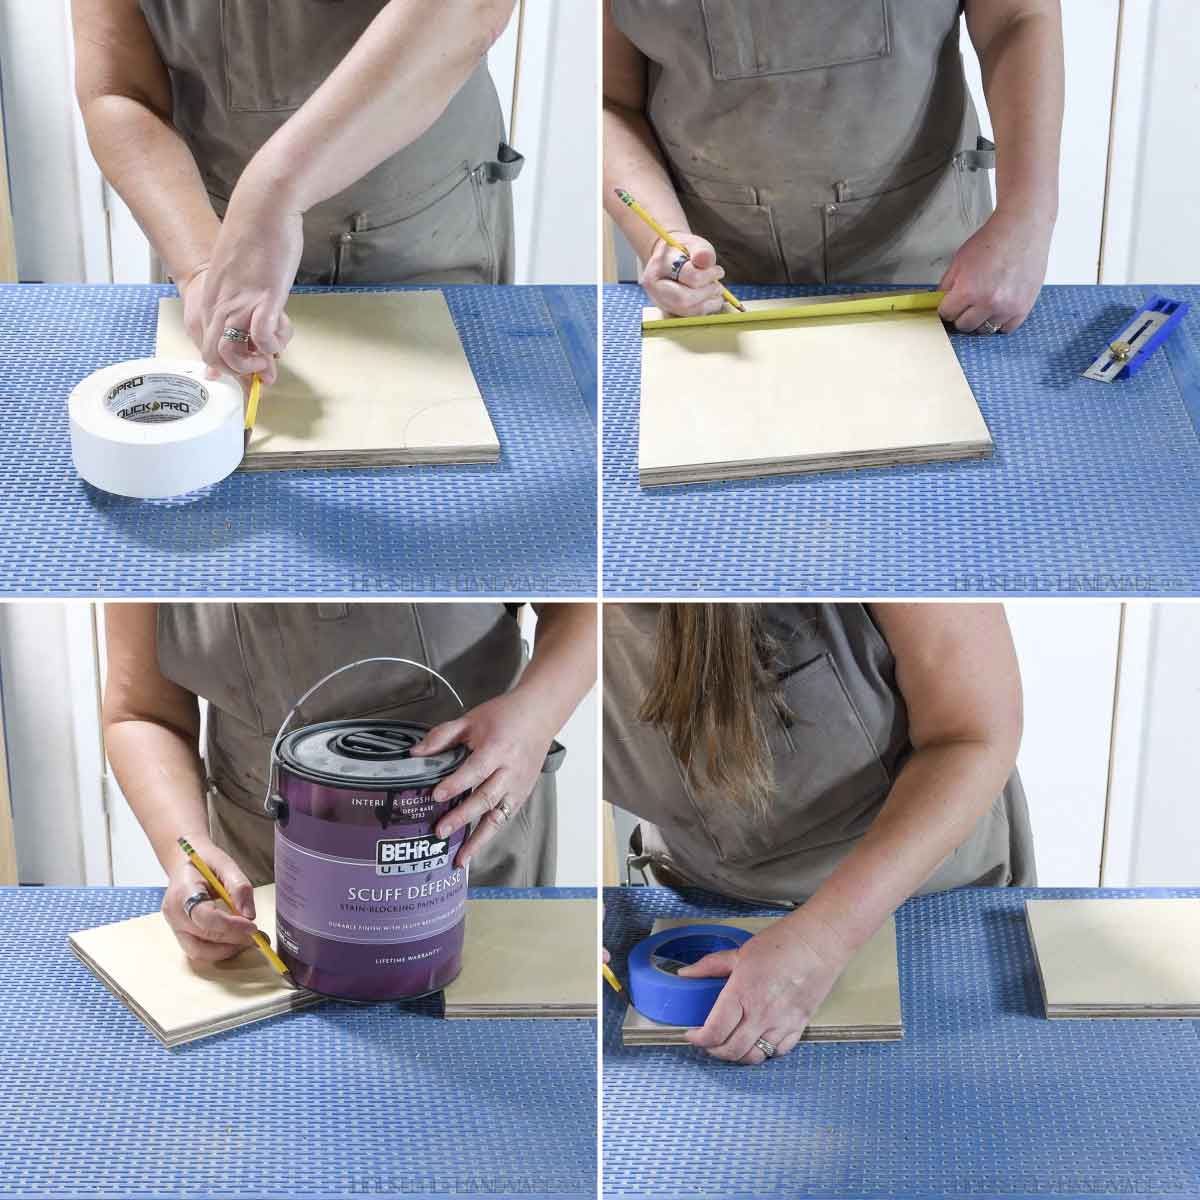
Measure out the handle design on the top of the center board and crves on the side pieces according to the diagram in the plans.
To create the curves, I traced a used objects I found in my shop and lined them up between the marks.
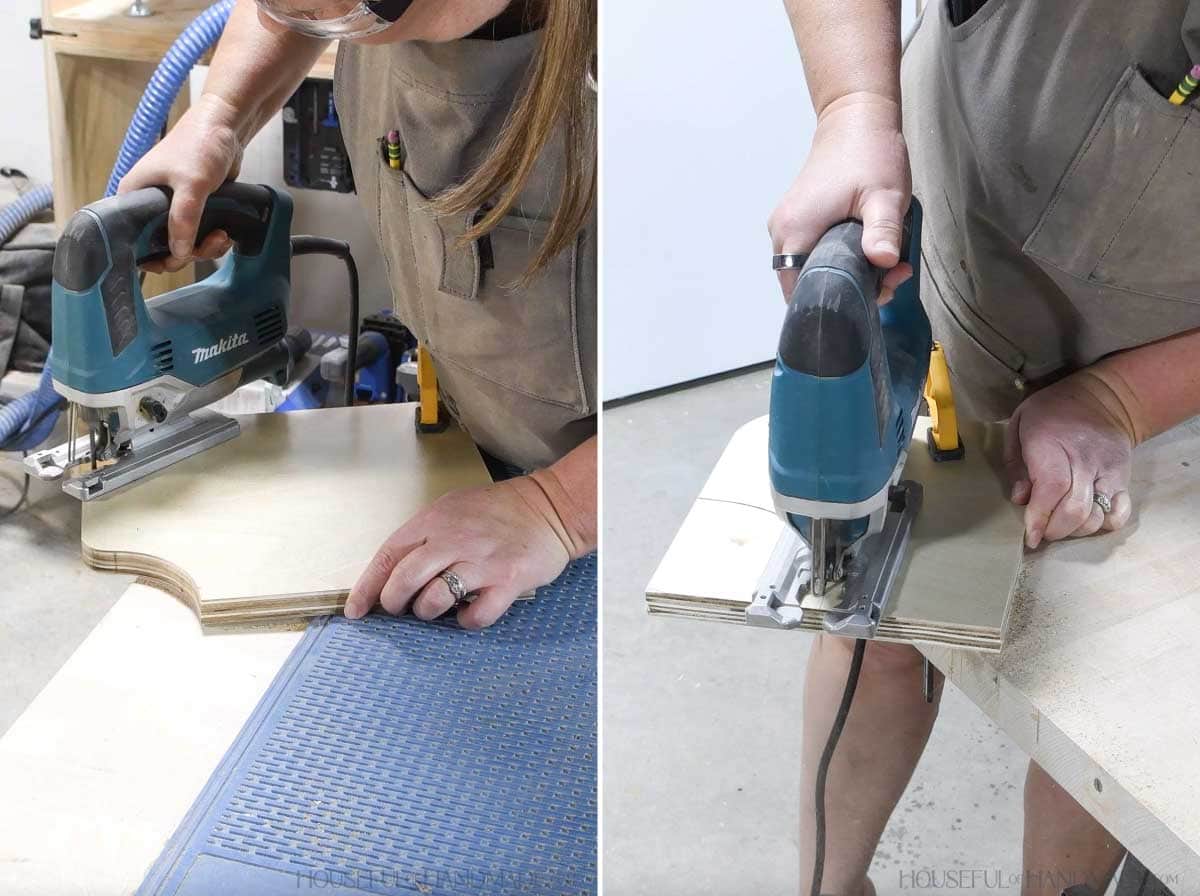
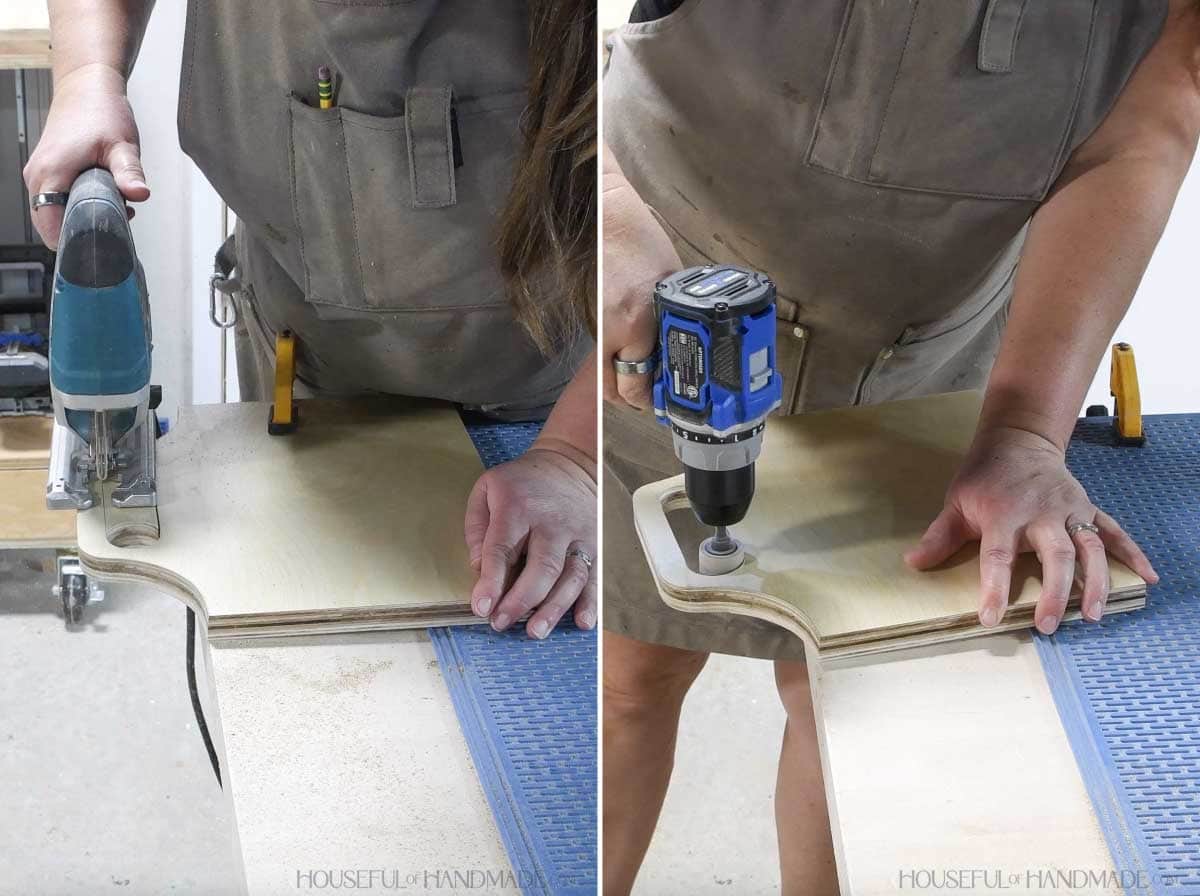
Cut the curves out with a jig saw.
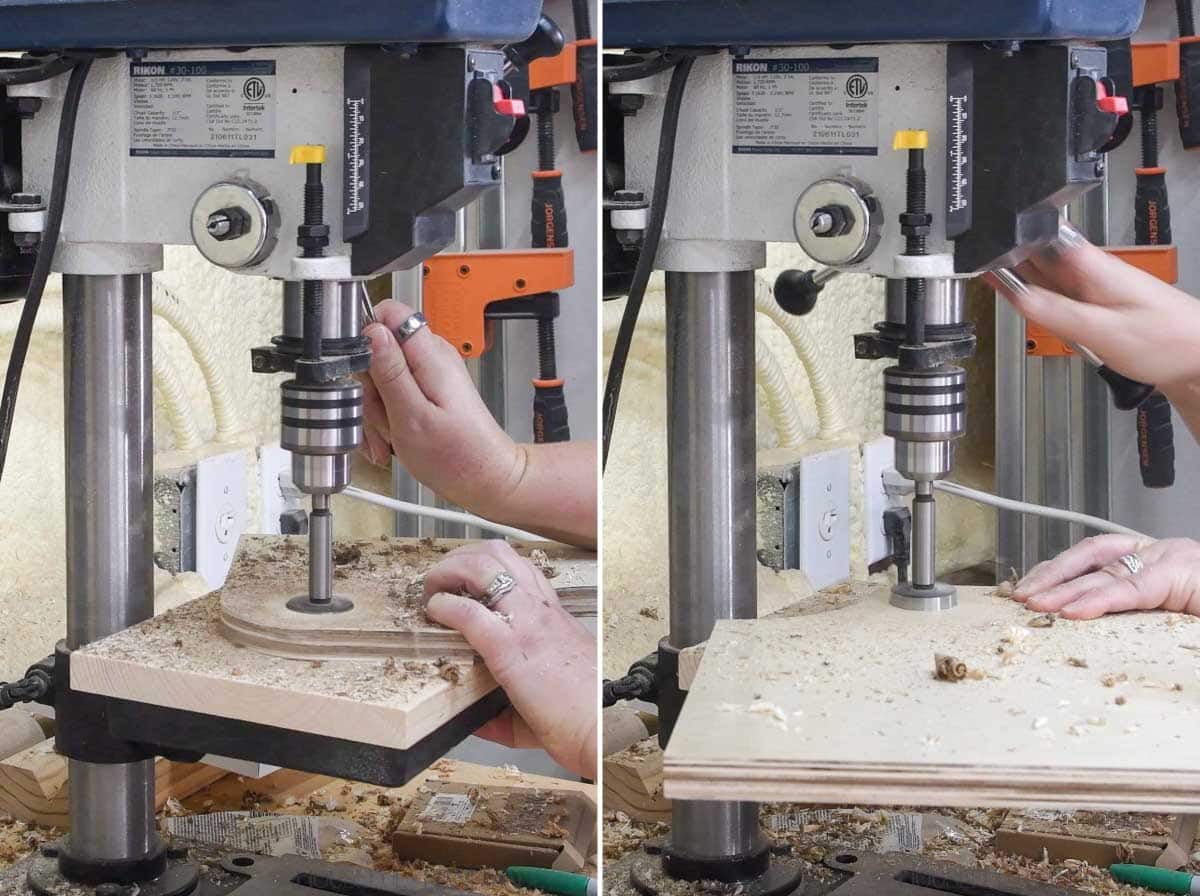
For the handle opening, drill 2 holes all the way through, centered in the top.
On the sides, decide which side of the plywood will be the inside. Mark the center point for the holes then drill a 1/2” deep with a forstner bit.
Be careful to make sure the holes are straight.
To finish the handle, draw straight lines between the top and bottom edges and cut it away with a jigs saw.
Sand the inside of the handle (I love these drum sanding attachments for the drill).
STEP 2- Assemble the caddy
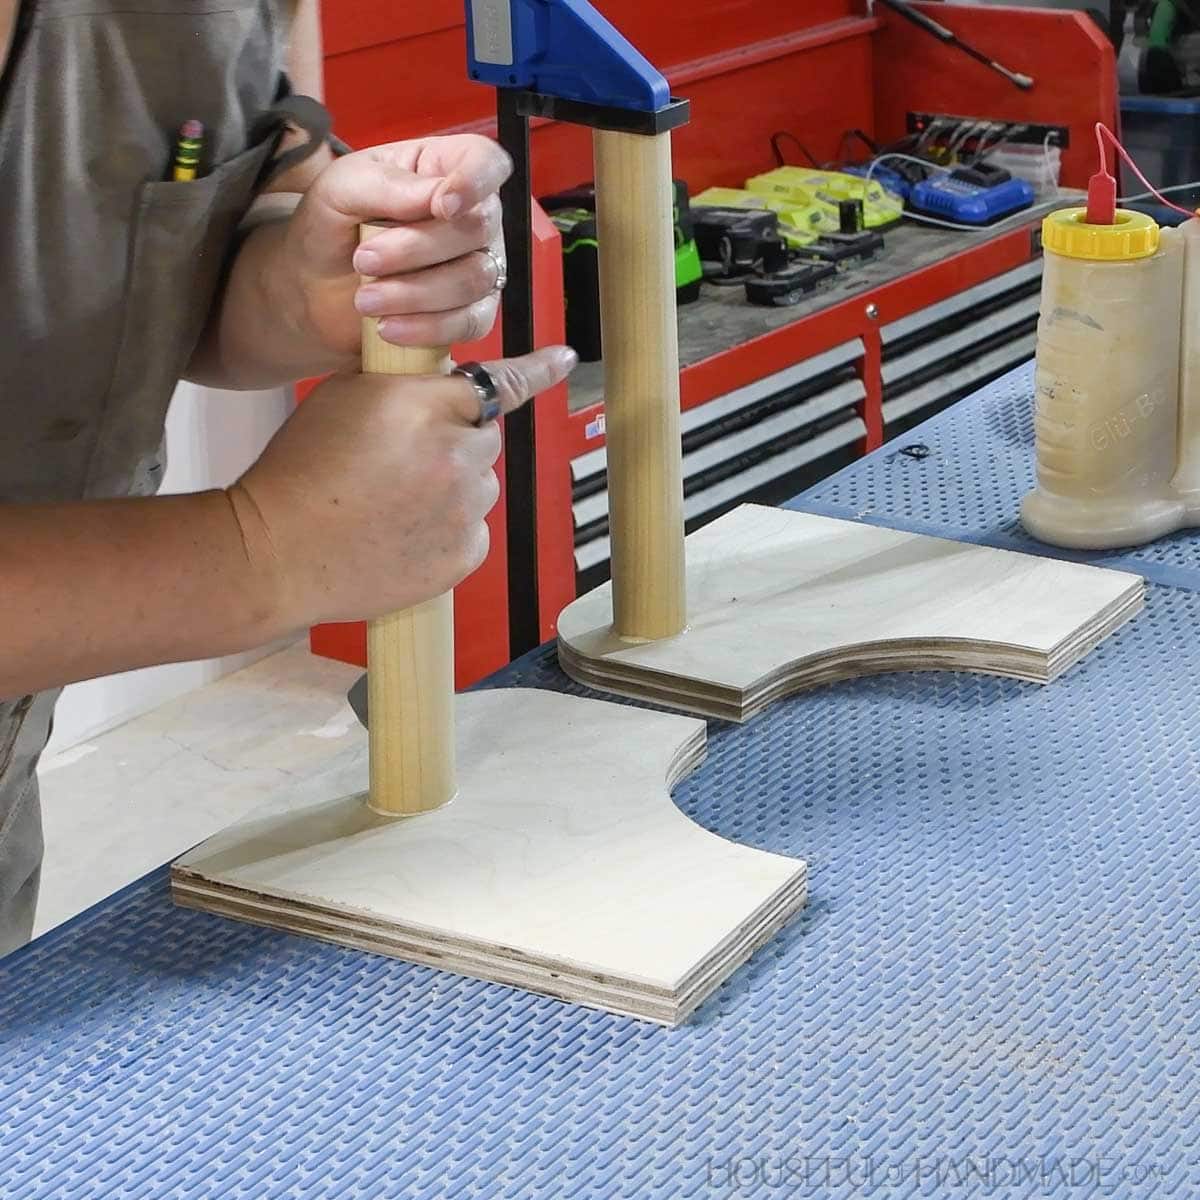
Add glue to the bottom of the holes and around the bottom of the cut dowels.
Place the dowels in the holes and clamp to dry. Make sure the dowels are perpendicular to the sides.
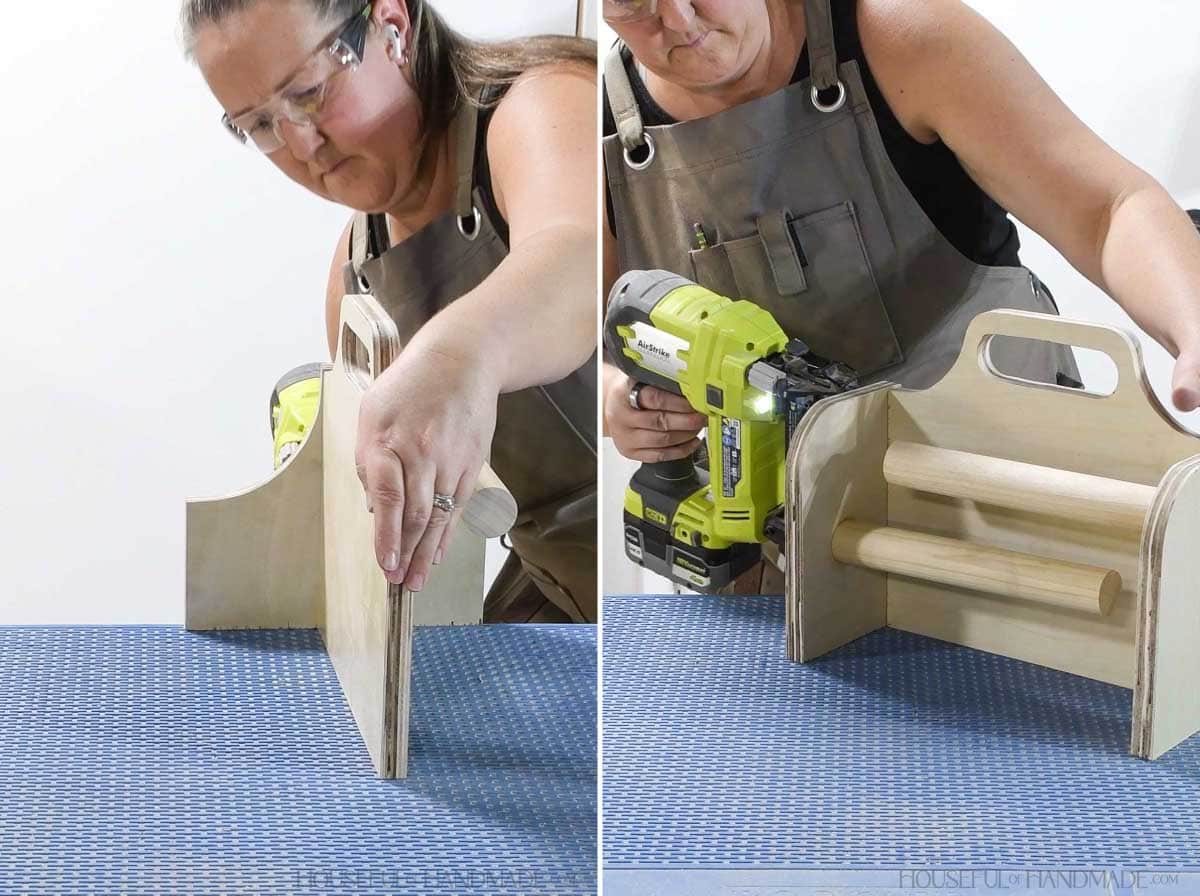
Place the center between the two sides. The top should be flush with the inside of the front curve.
Attach with glue and 1 1/4” brad nails.
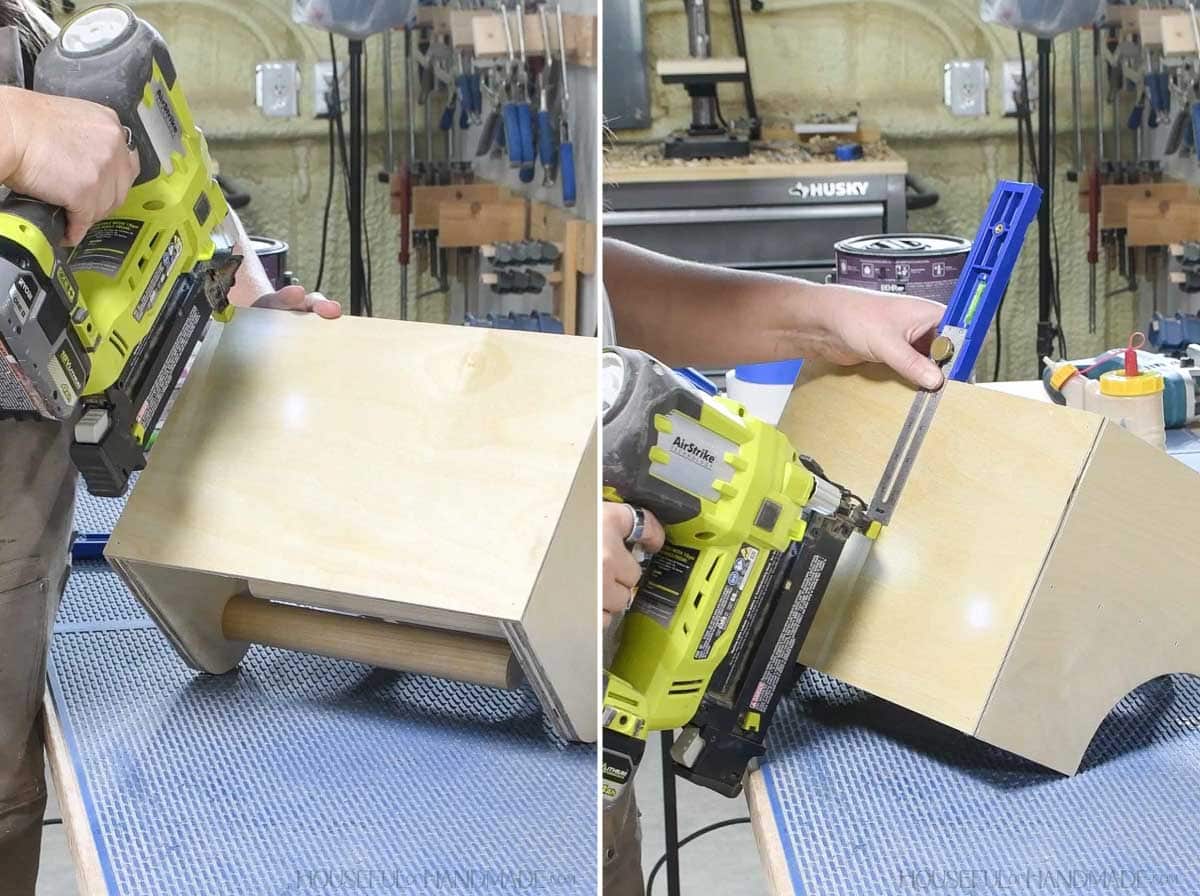
Attach the bottom so it is flush to the front and sides.
Secure with glue and 3/4” brad nails.
EXPERT TIP:
I suggest measuring the assembled caddy and cutting the bottom to fit. Unless your plywood is exactly 3/4” wide (which it is usually not) your piece will be slightly oversized.
STEP 3- Attach divider and front
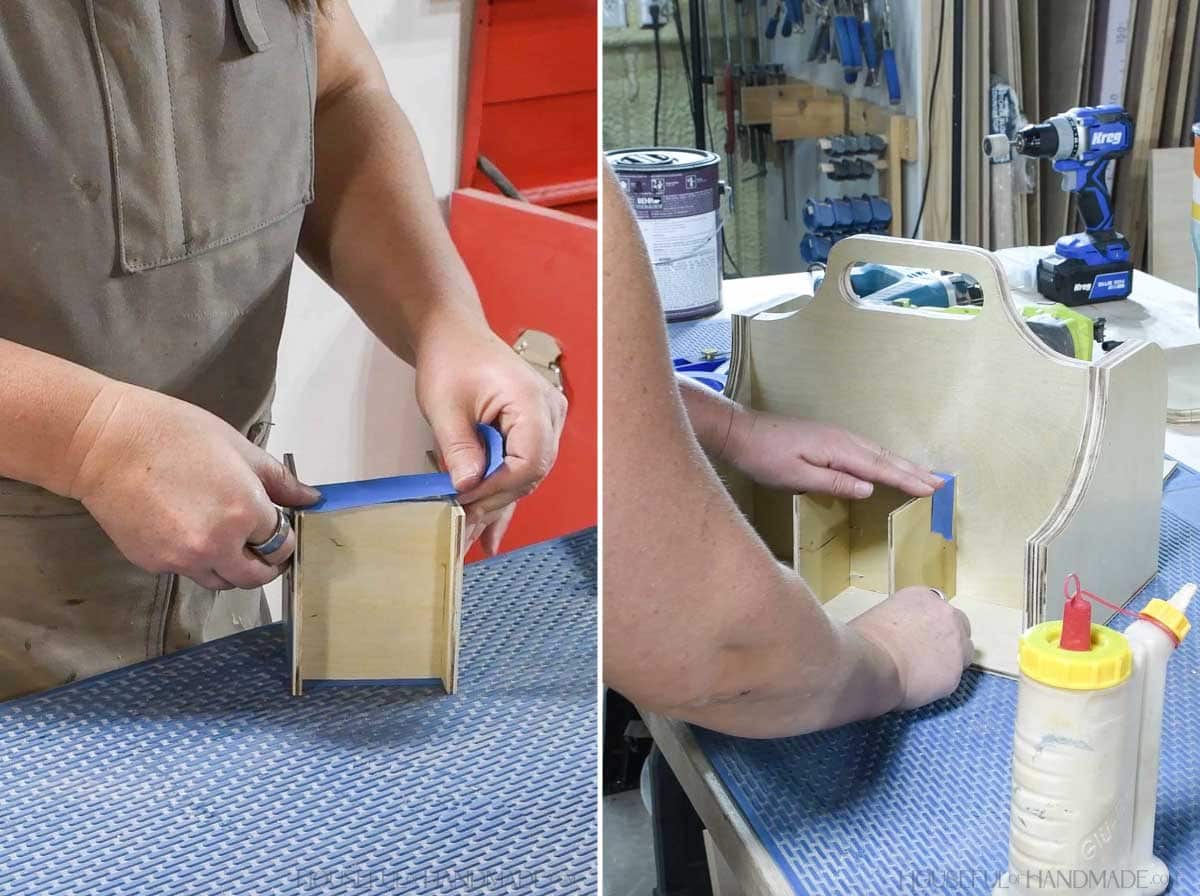
Attach the small divider between the two large dividers so it is set back from the front 3”.
Secure with glue. I like to use painter’s tape to hold the small pieces in place while the glue dries.
Then glue the dividers inside the front of the caddy so it is centered. Again, use tape to hold it in place while the glue dries.
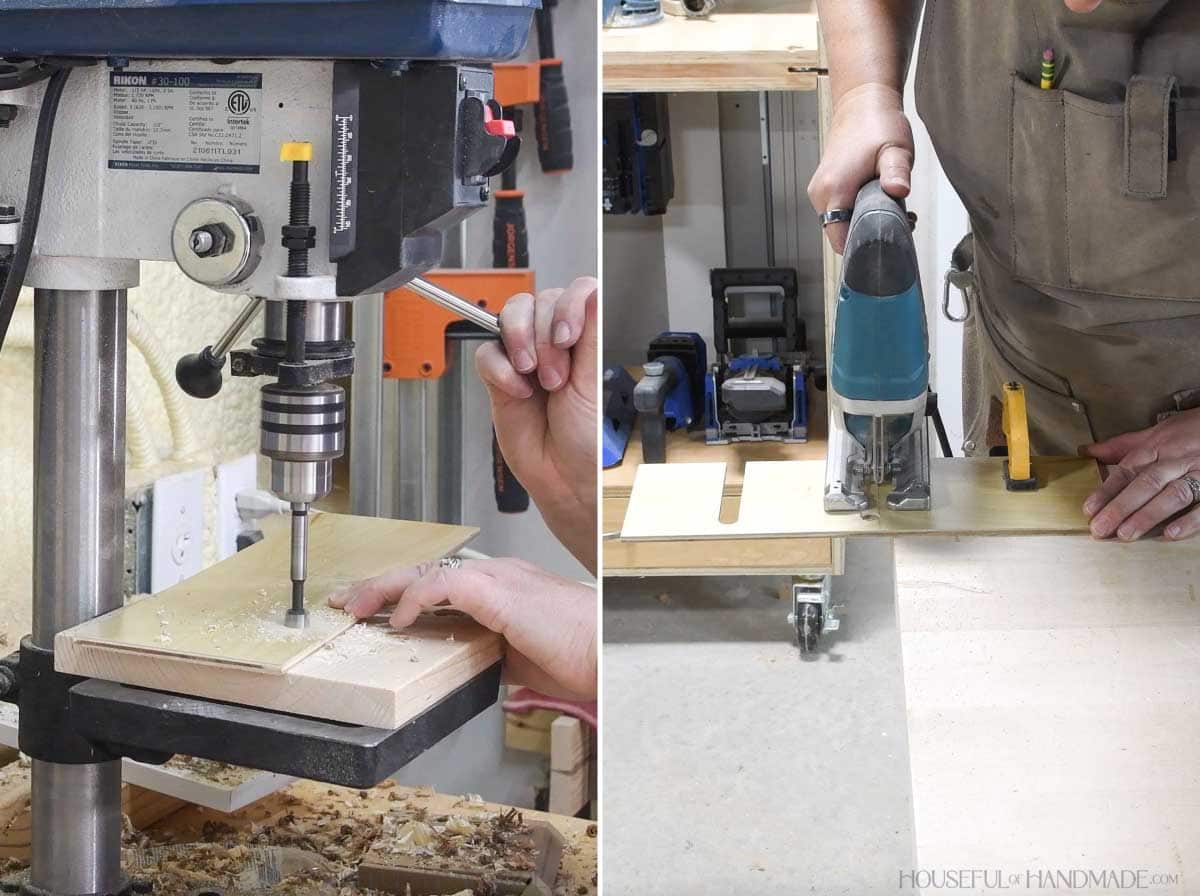
On the front piece, mark out the center point for the holes according to the diagram in the plans.
Drill 1/2” holes through these two points.
Then draw a straight line up from the sides of the holes to the top. Cut down these lines with a jig saw to create a channel.
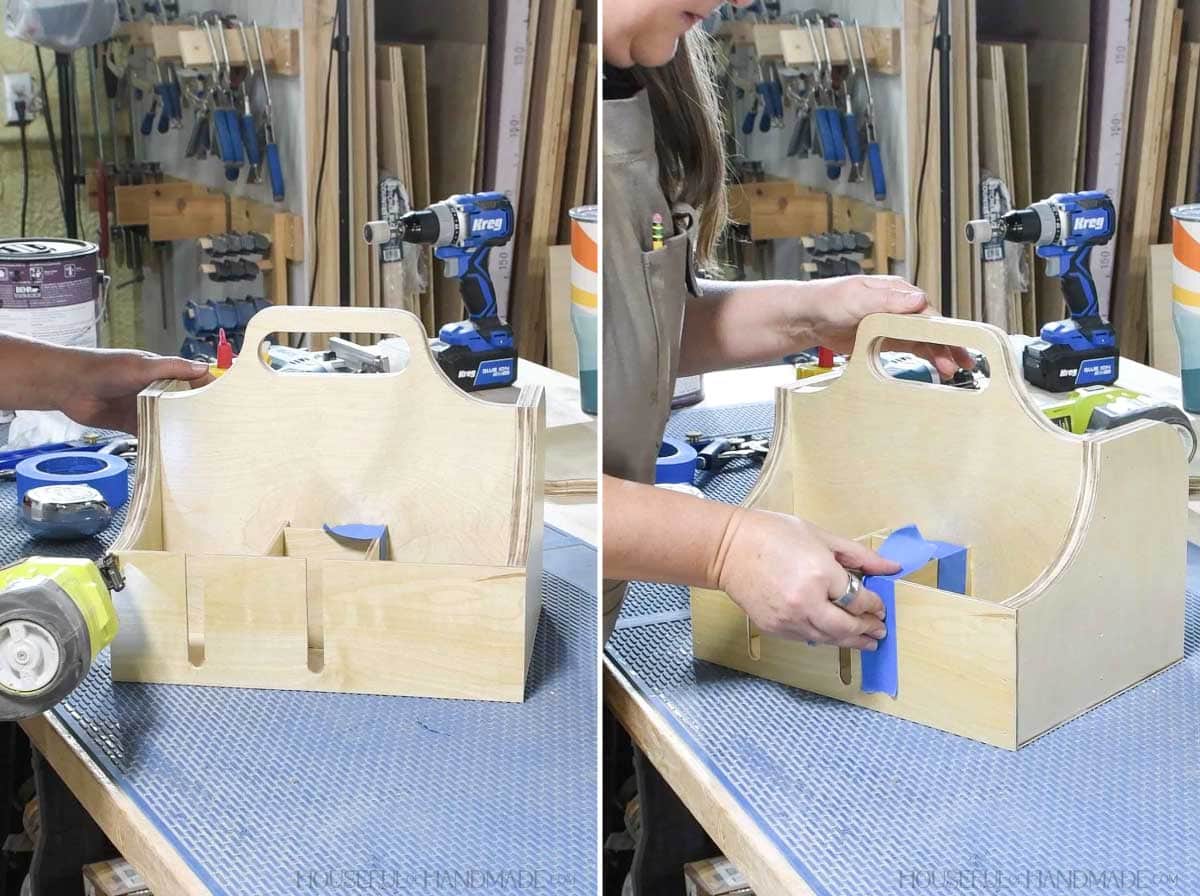
Add glue to the front of the sides, bottom and dividers.
Attach the front piece so it is flush on the sides and bottom. Secure to the sides with 3/4” brad nails.
Use painter’s tape to hold the front to the dividers and bottom until the glue dries.
STEP 4- Sand and finish
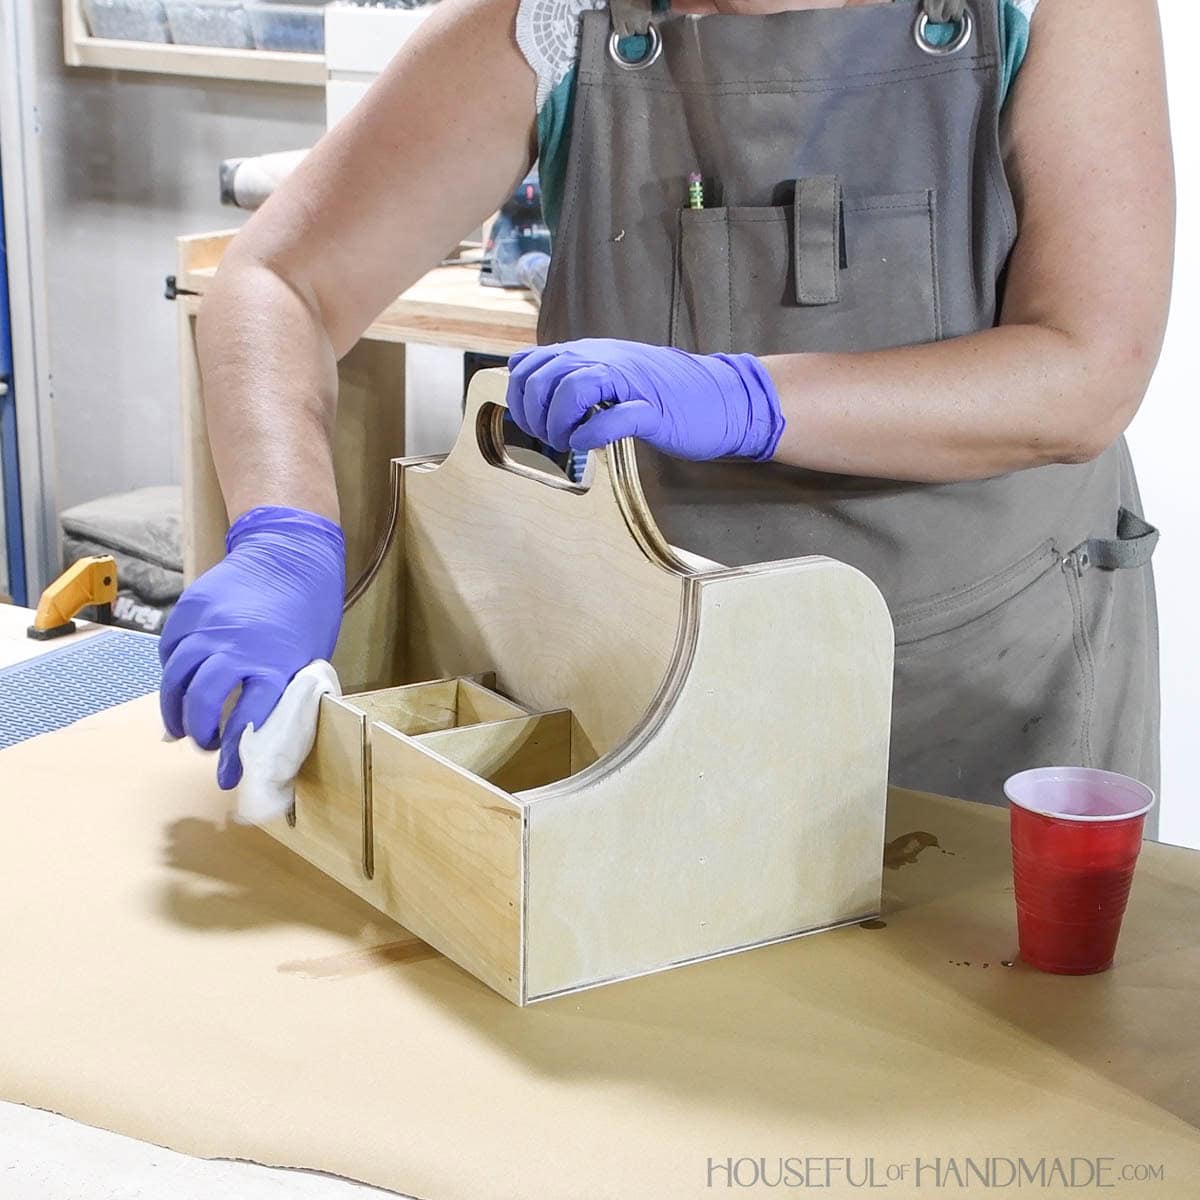
Sand and finish your completed caddy.
I used a wipe on polyurethane to seal mine so it would be easy to wipe clean.
Premium plans include:
- Recommended Tools
- Shopping list
- Easy to read cut list table
- Cut diagrams
- Step-by-step instructions with 3D renderings
- Helpful resources
- BONUS: 3D SketchUp file
You did it!
Now you can load up your wide and regular mouth canning lids, rings and all the rest of your accessories.
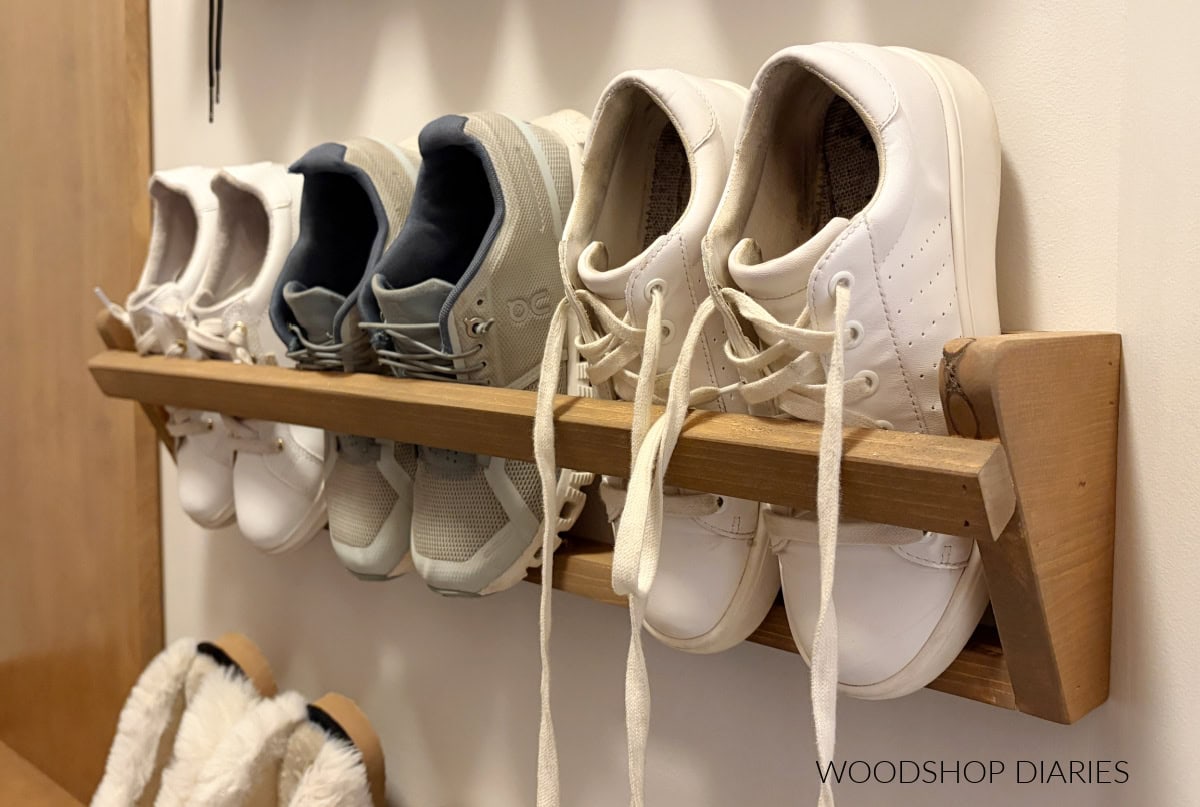
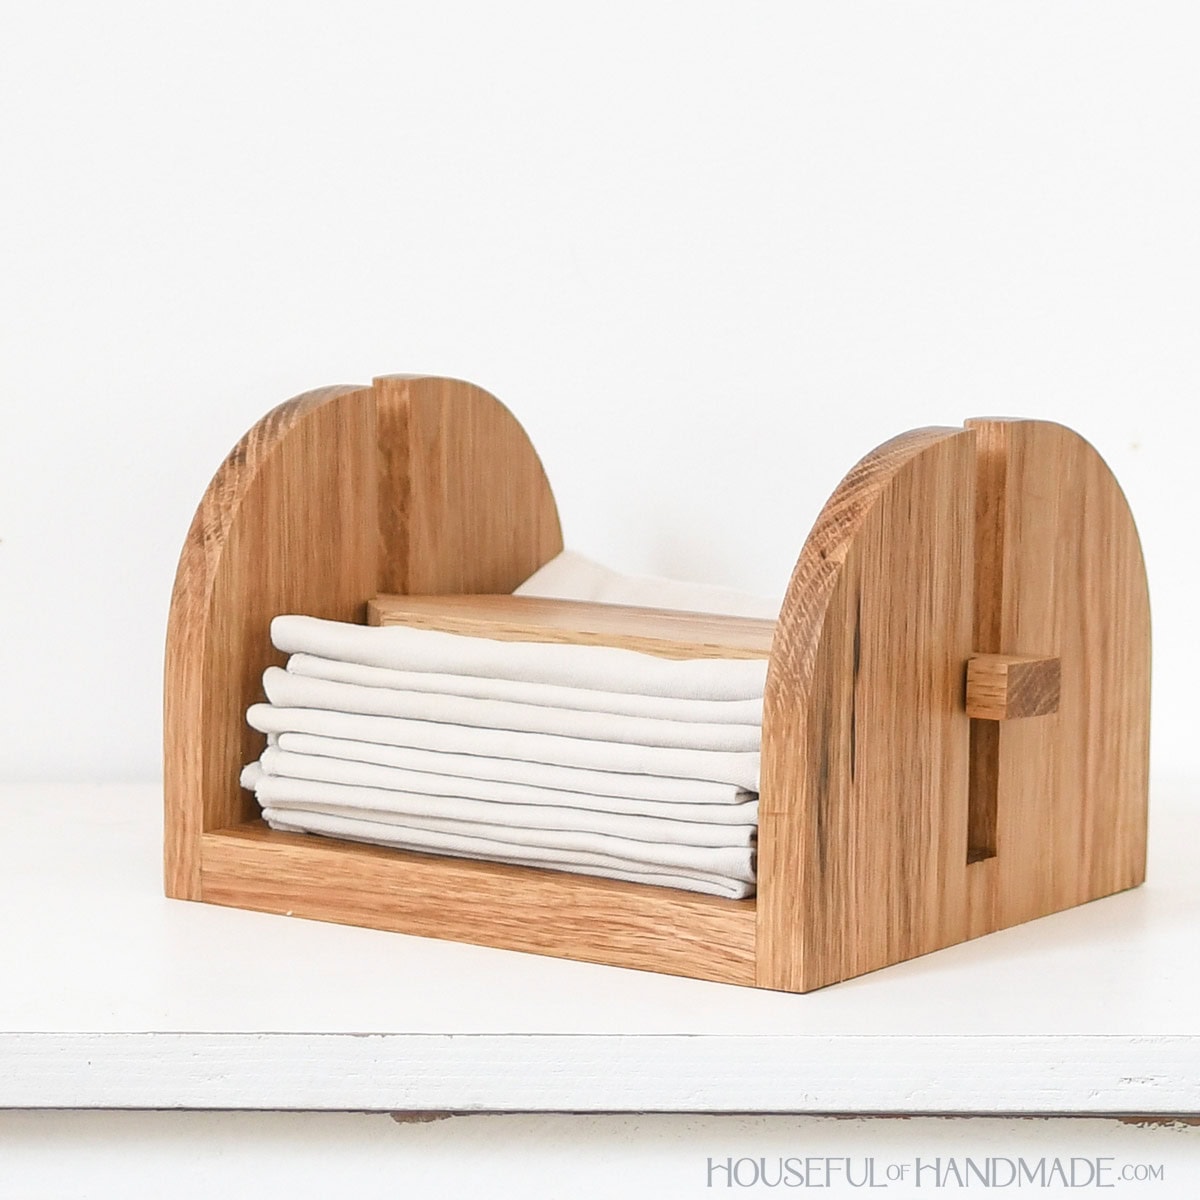
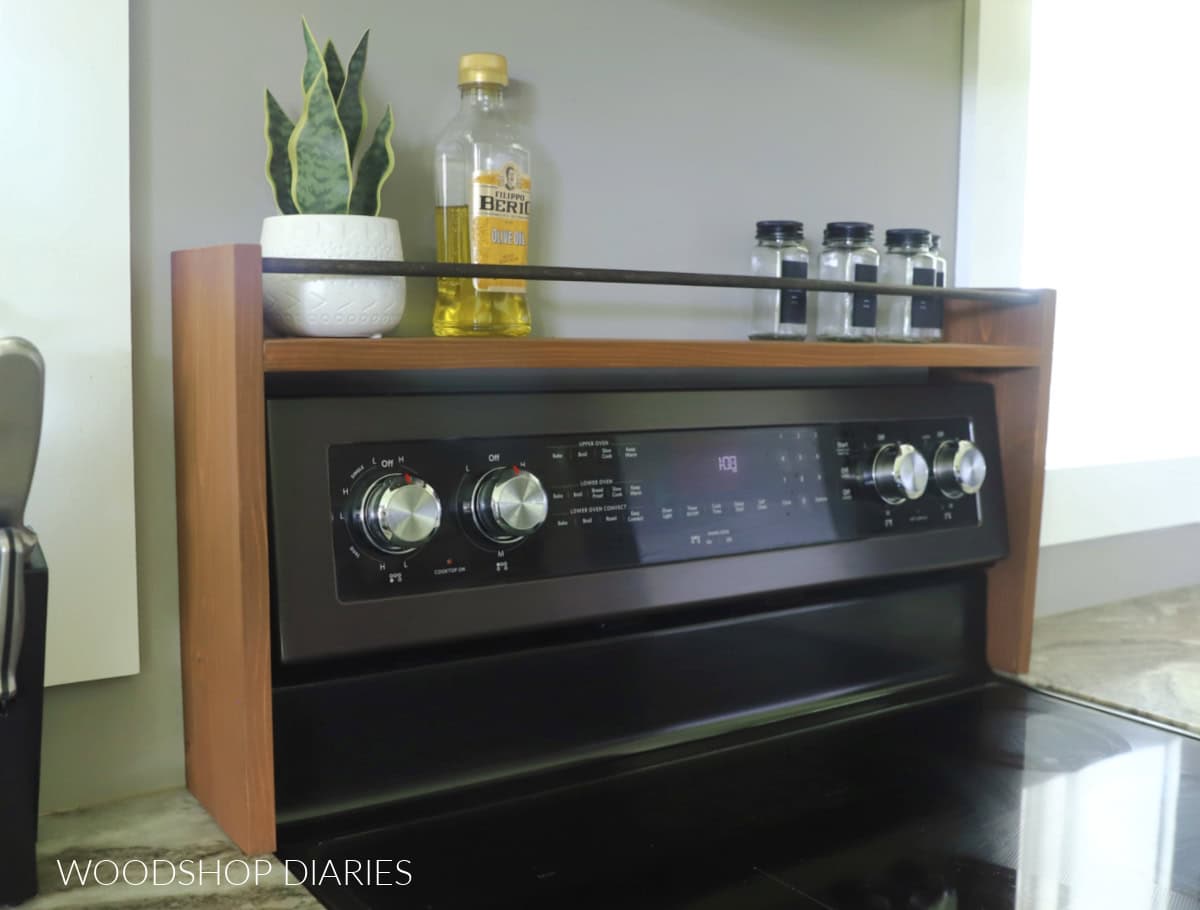
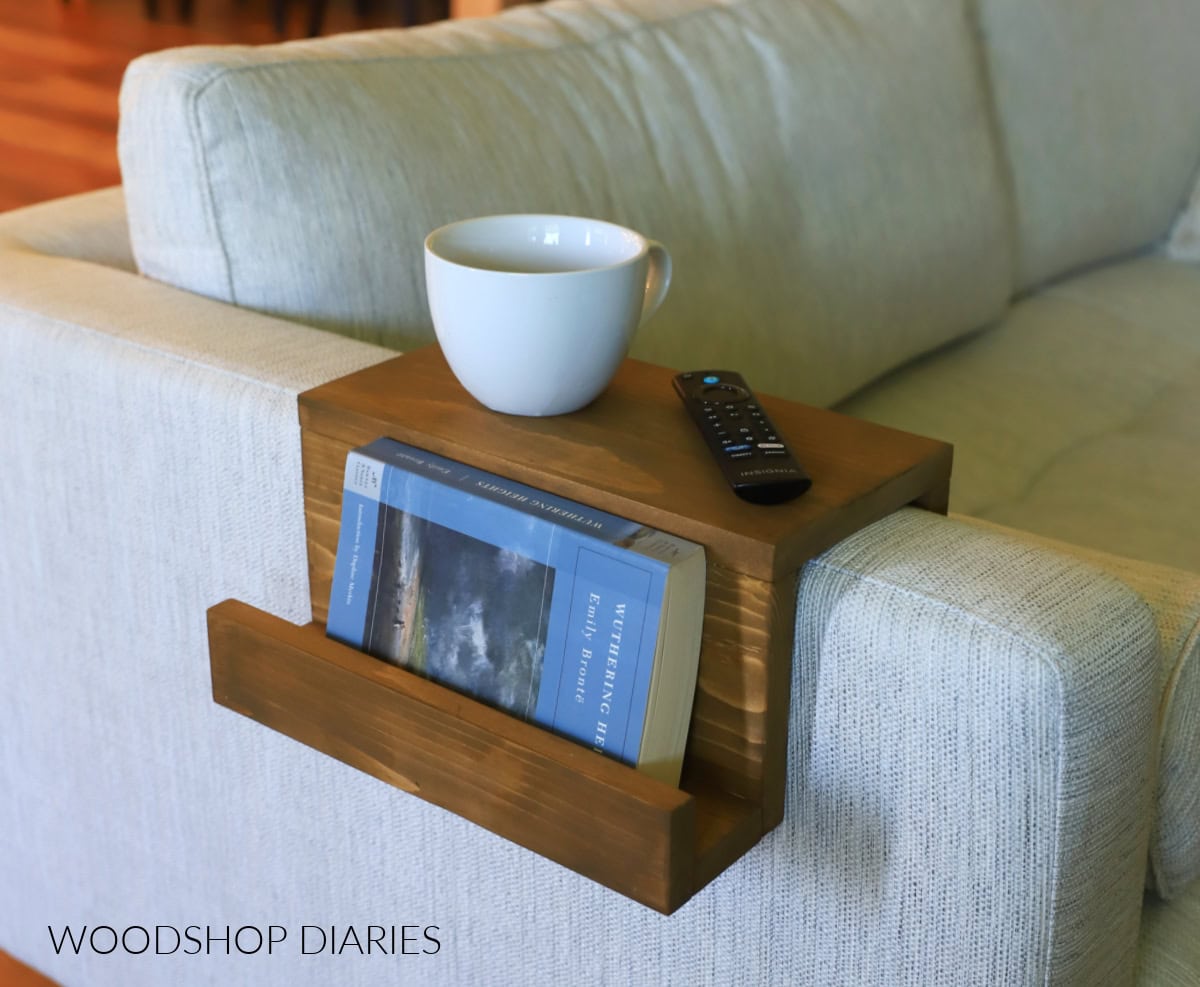
More Scrap Wood Project Ideas
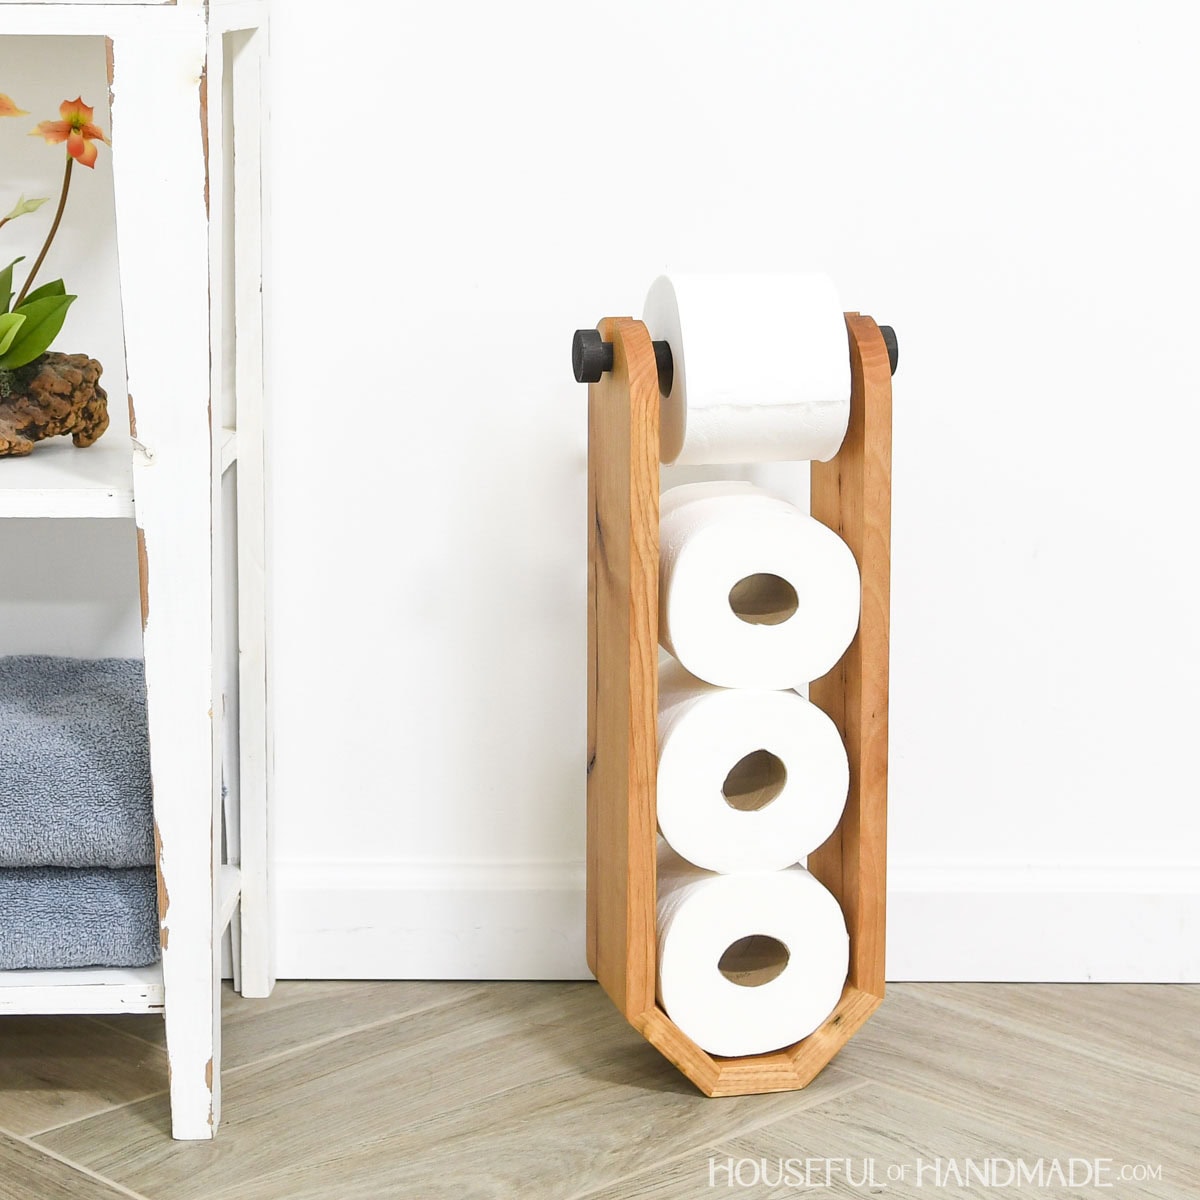
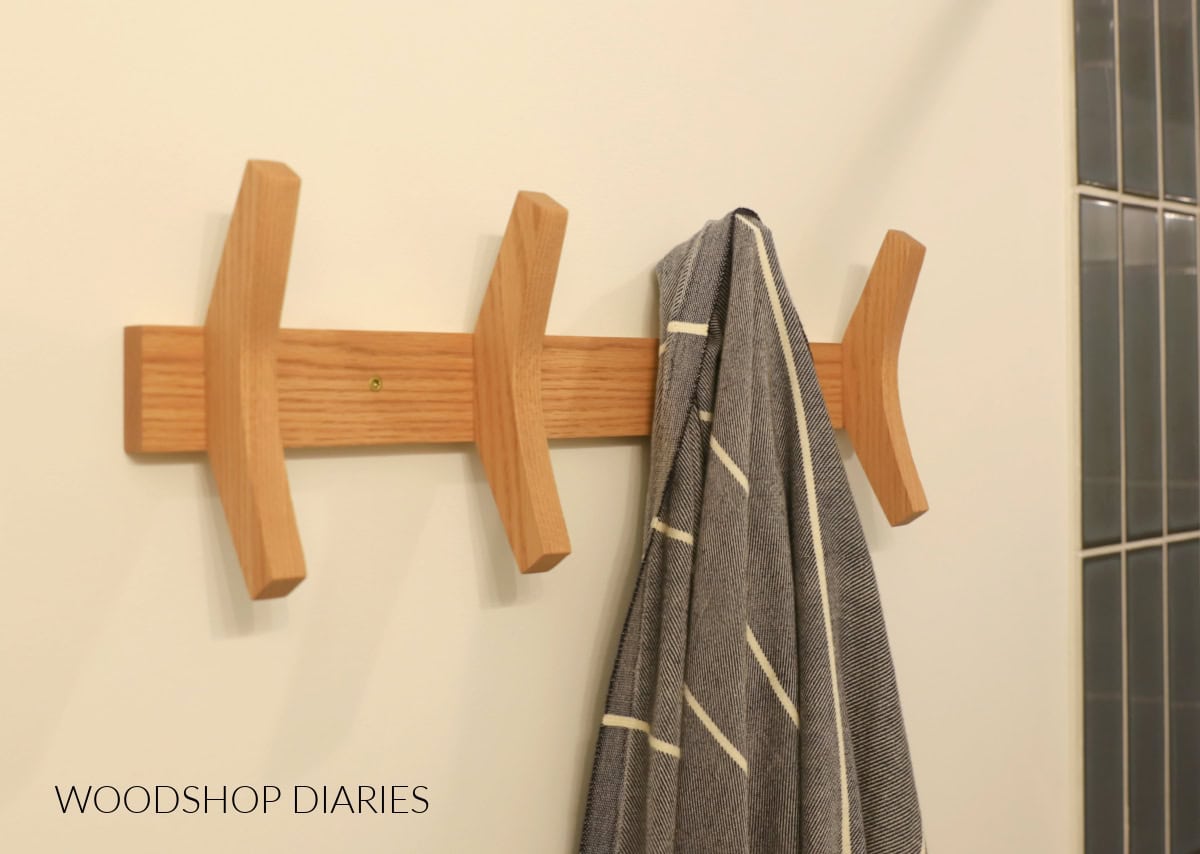
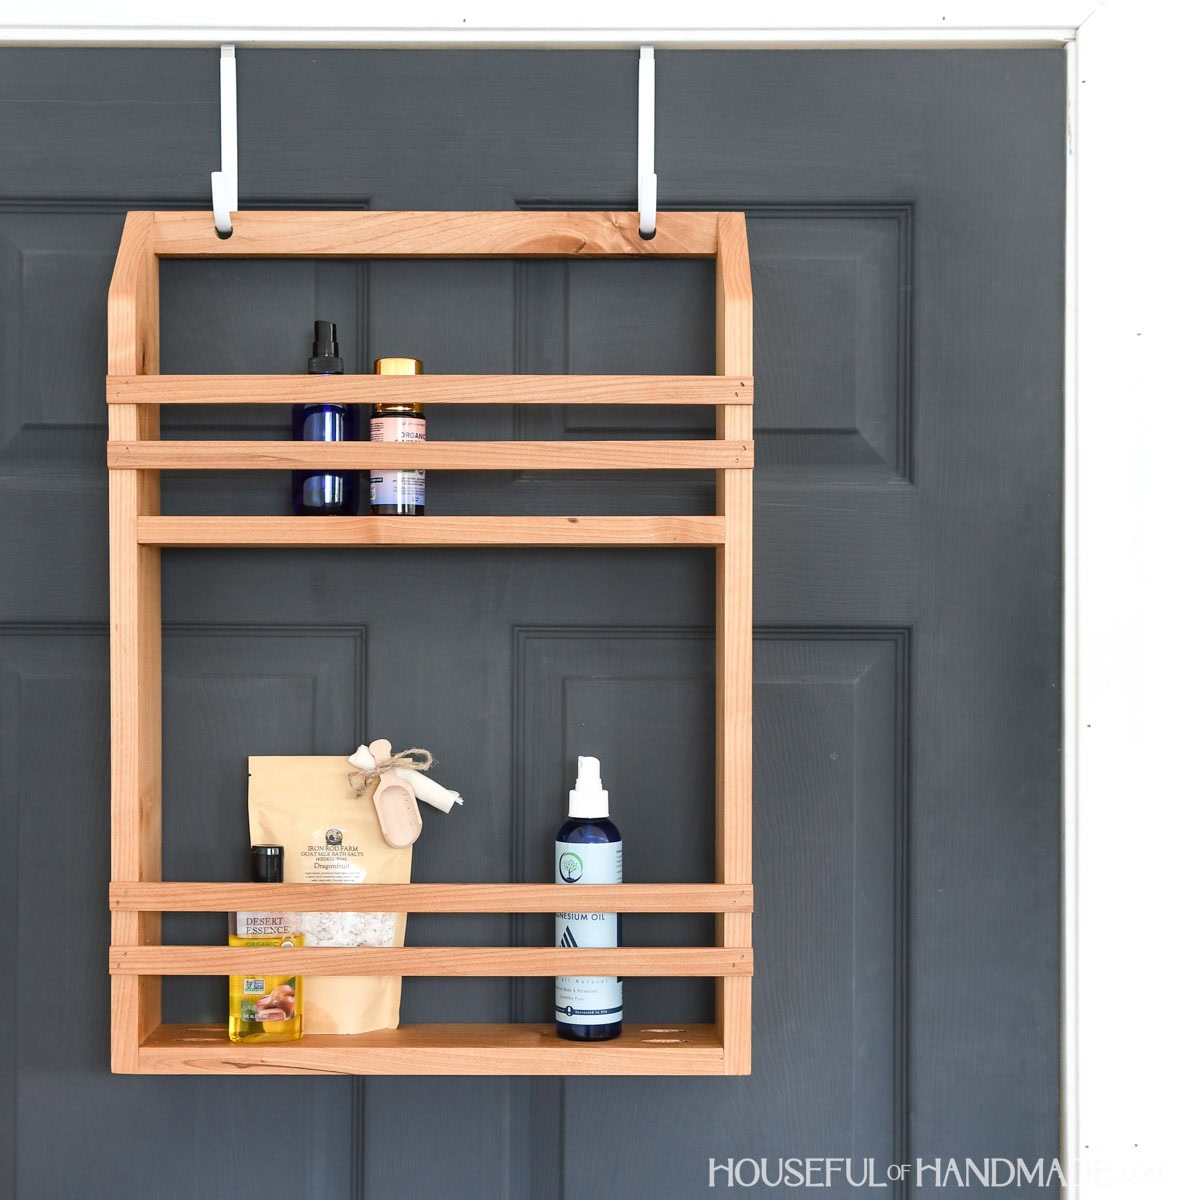
I built this fun caddy as for my final Scrap Wood Summer project. I have loved partnering with my friend Shara from Woodshop Diaries to help clean out the scrap pile.
I’ll share each week’s new projects below so you can use up your scraps too!

Happy building!