
I am embarrassed to admit it, but a napkin holder has been on my to-build list for years.
It has taken me too long to plan a design that held the napkins without flopping over and looked beautiful enough to leave on my table.
I am happy to share that I found the perfect design and it looks so good. But even better, it is an easy build made entirely from scraps!
This post may contain affiliate links. As an Amazon Associate I earn from qualifying purchases. Click here to read my full disclosure policy.
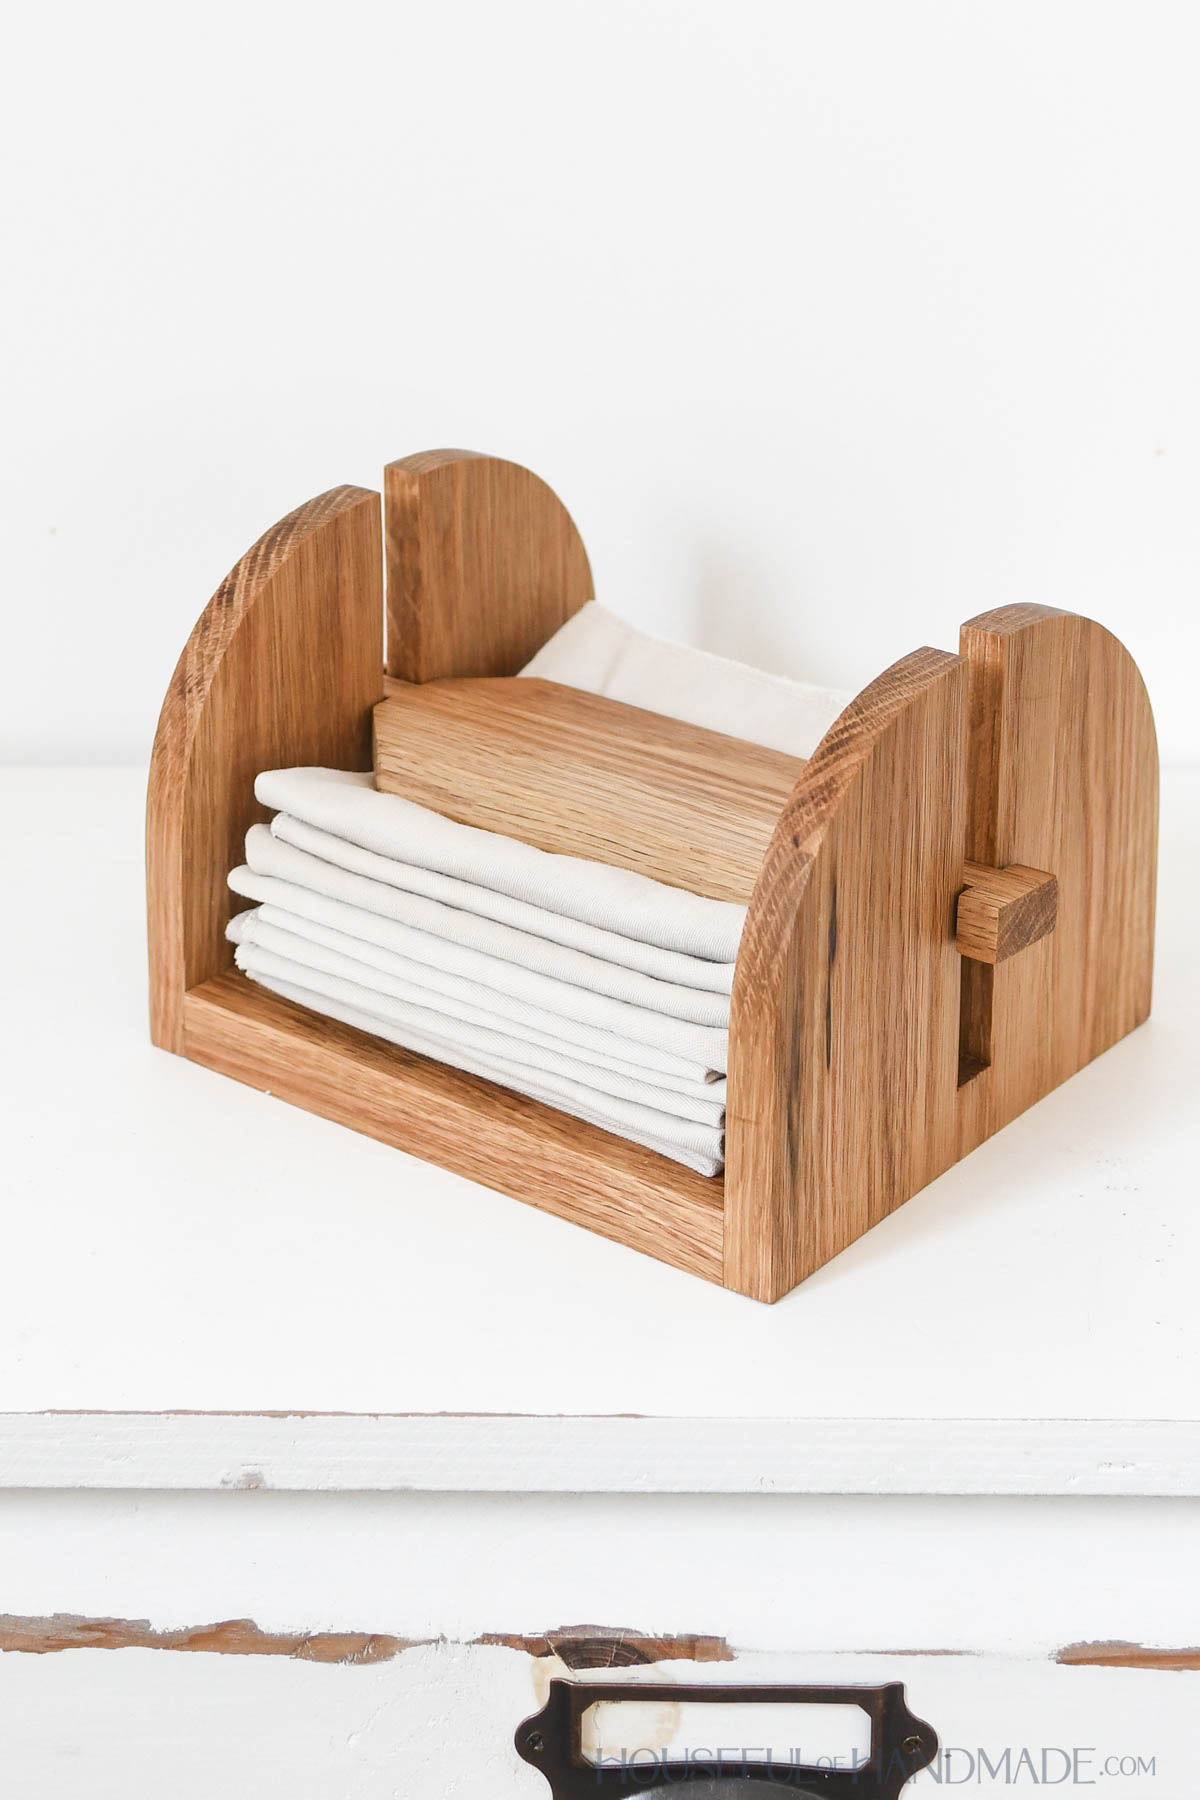
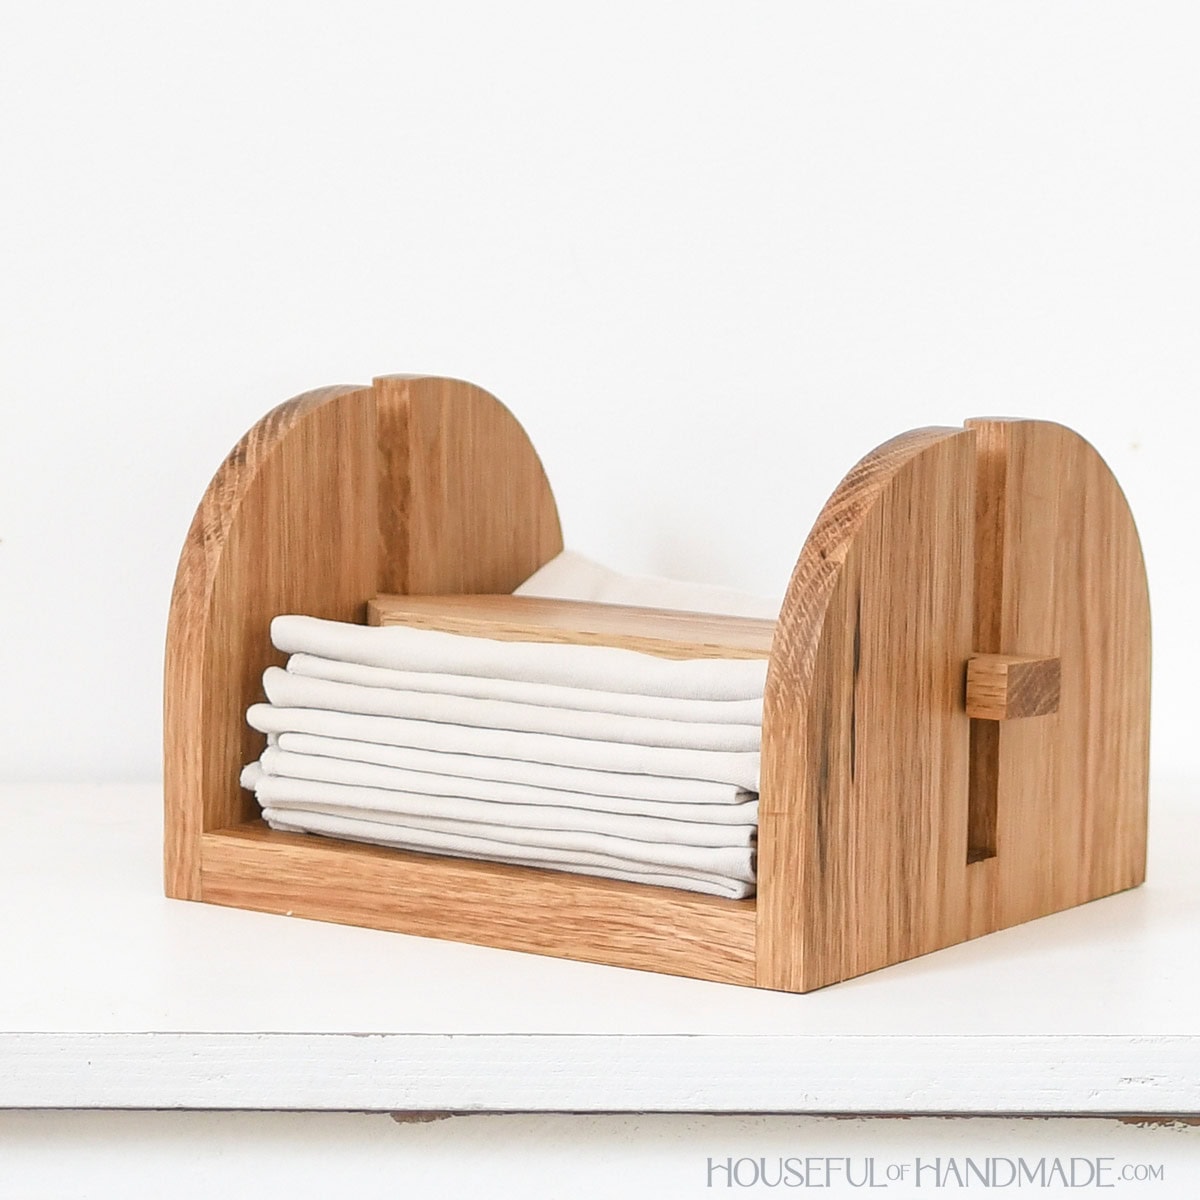
Weighted Napkin Holder
Nothing is worse than napkins blowing all over!
Even in the house, lightweight napkins can escape their holder when walking them to the table or with a light fan.
And since we love eating outside on our beautiful picnic table, I knew we needed a weighted napkin holder.
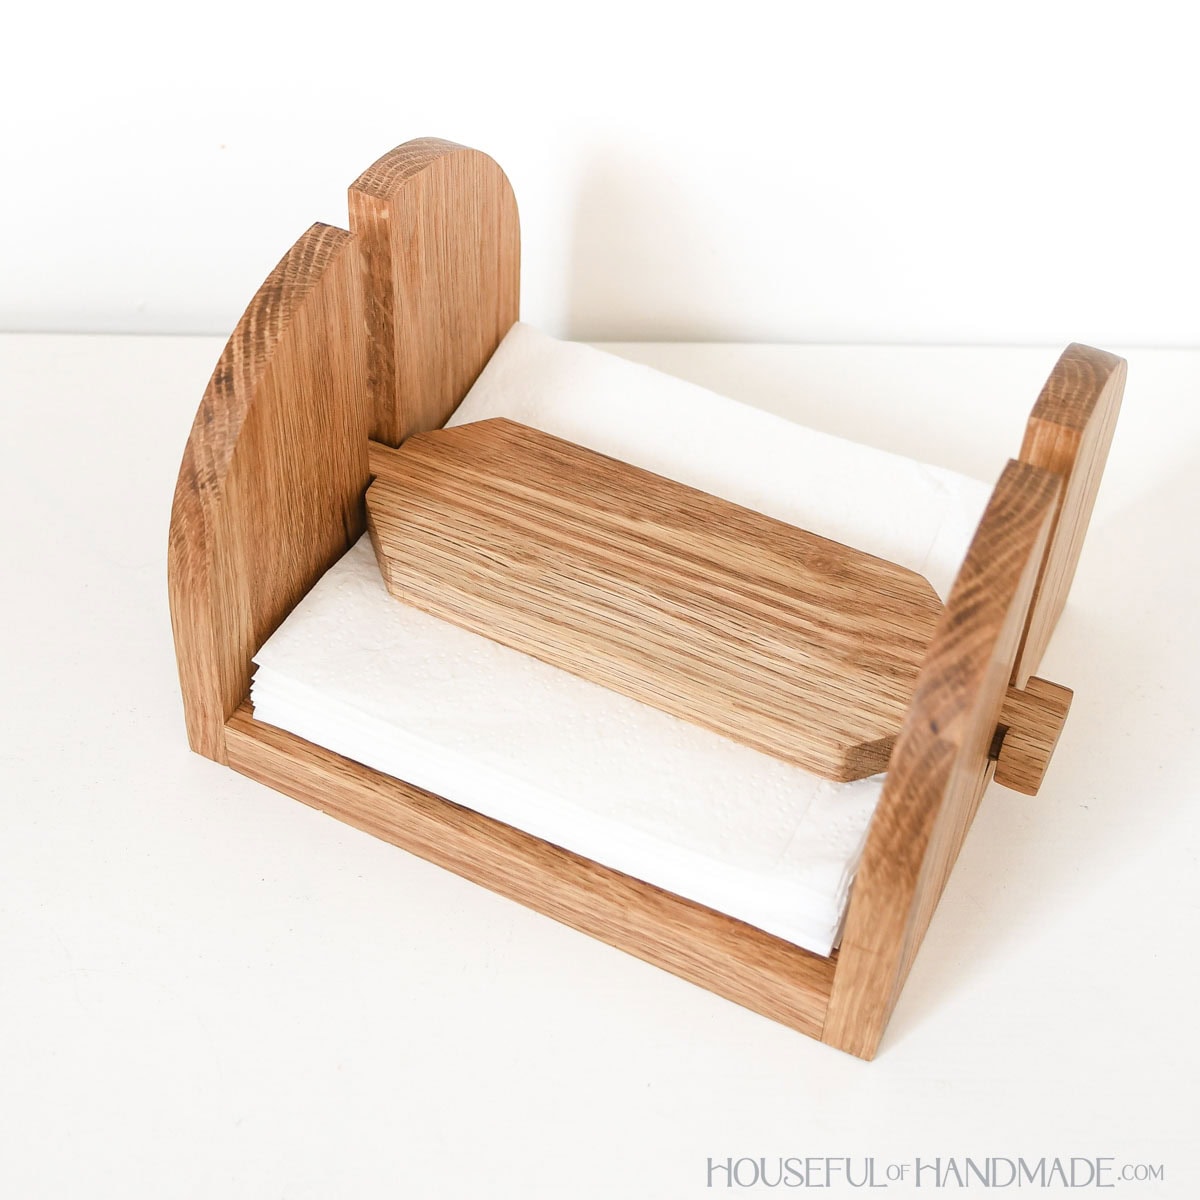
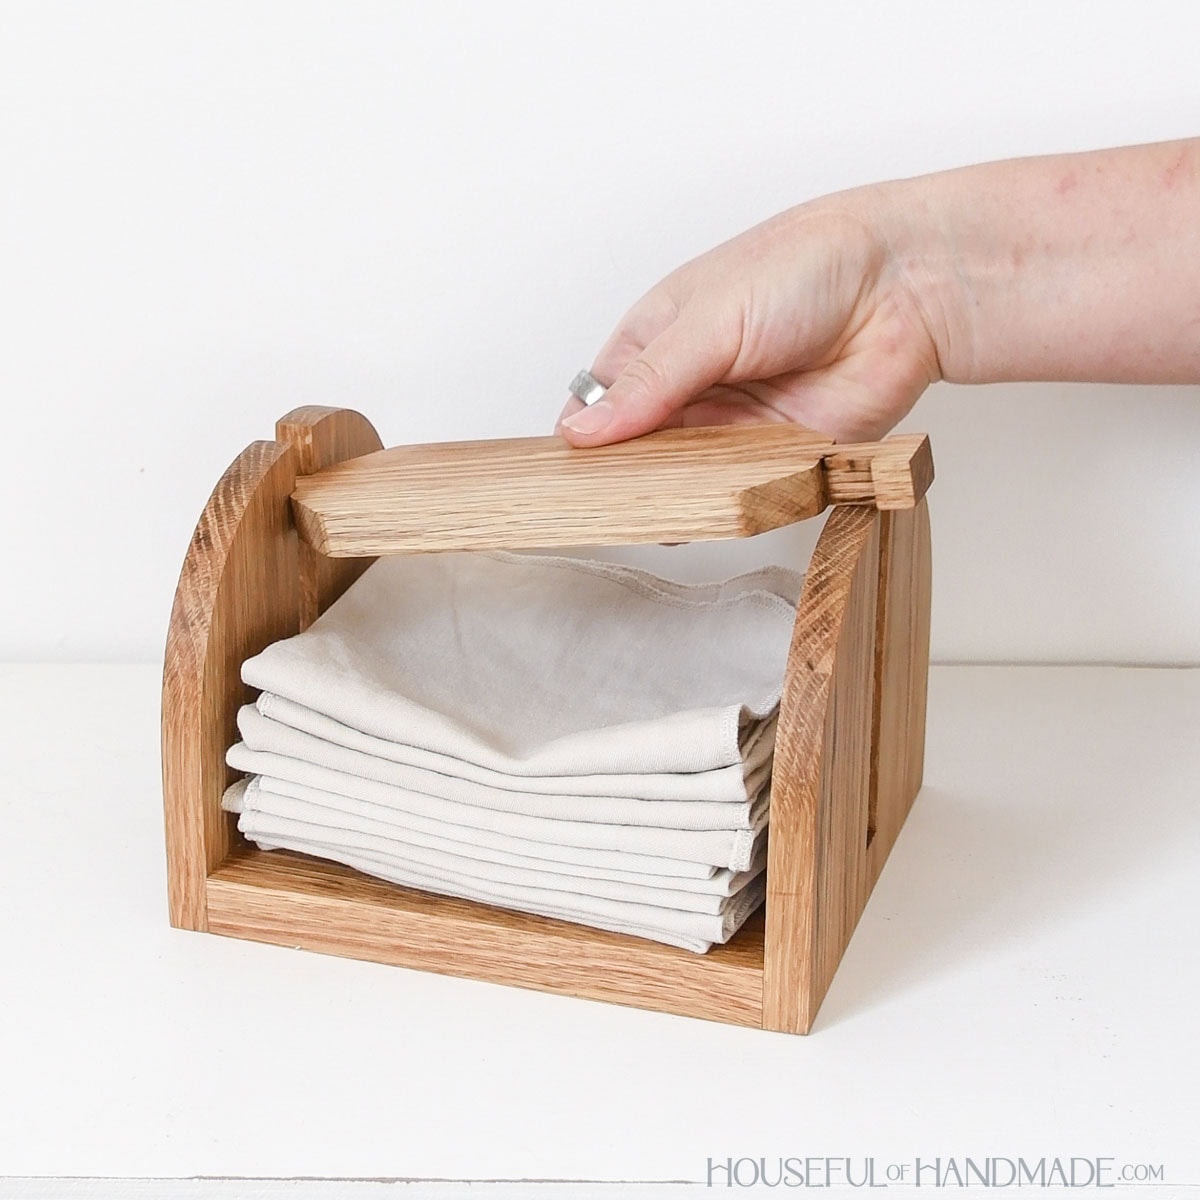
To keep things simple, the weighted top is a separate piece. But it slides into the sides to hold it firmly in place.
And you don’t even have to move the weight out of the way to grab a napkin. The top keeps the napkin from blowing around, without holding them hostage.
Whether using inexpensive paper napkins or cloth napkins, this napkin holder will be your new favorite dining room accessory.
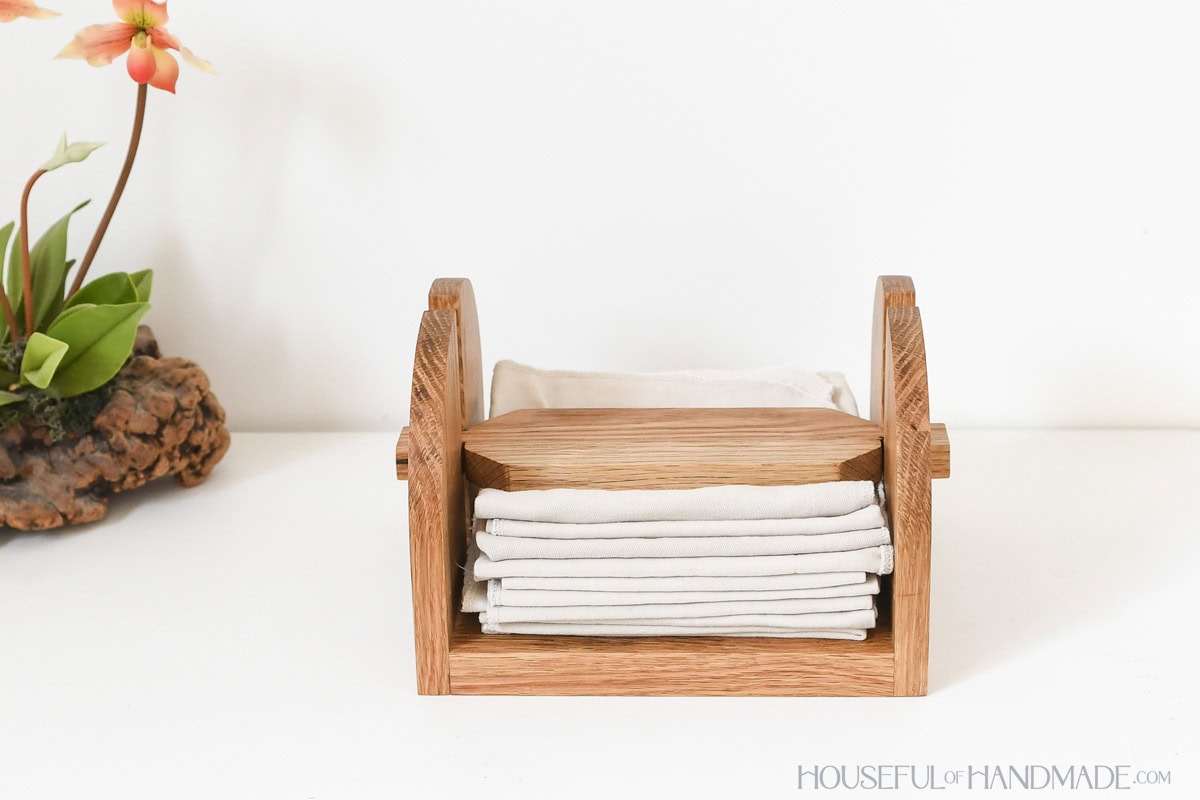
How to Build a Napkin Holder
Tools & Materials
Recommended Tools:
- Miter saw
- I recently upgraded to this sliding miter saw (watch for it to go on sale), but previously used this inexpensive miter saw that I love.
- Table saw or Circular saw with guide
- Jig saw
- Multi-mark measuring tool
- Sander
Supplies:
- Wood products
- (1) 1×8 board, 18” long
- (1) 1×3 board, 10” long
- Wood glue
- Sealer
Overall Dimensions
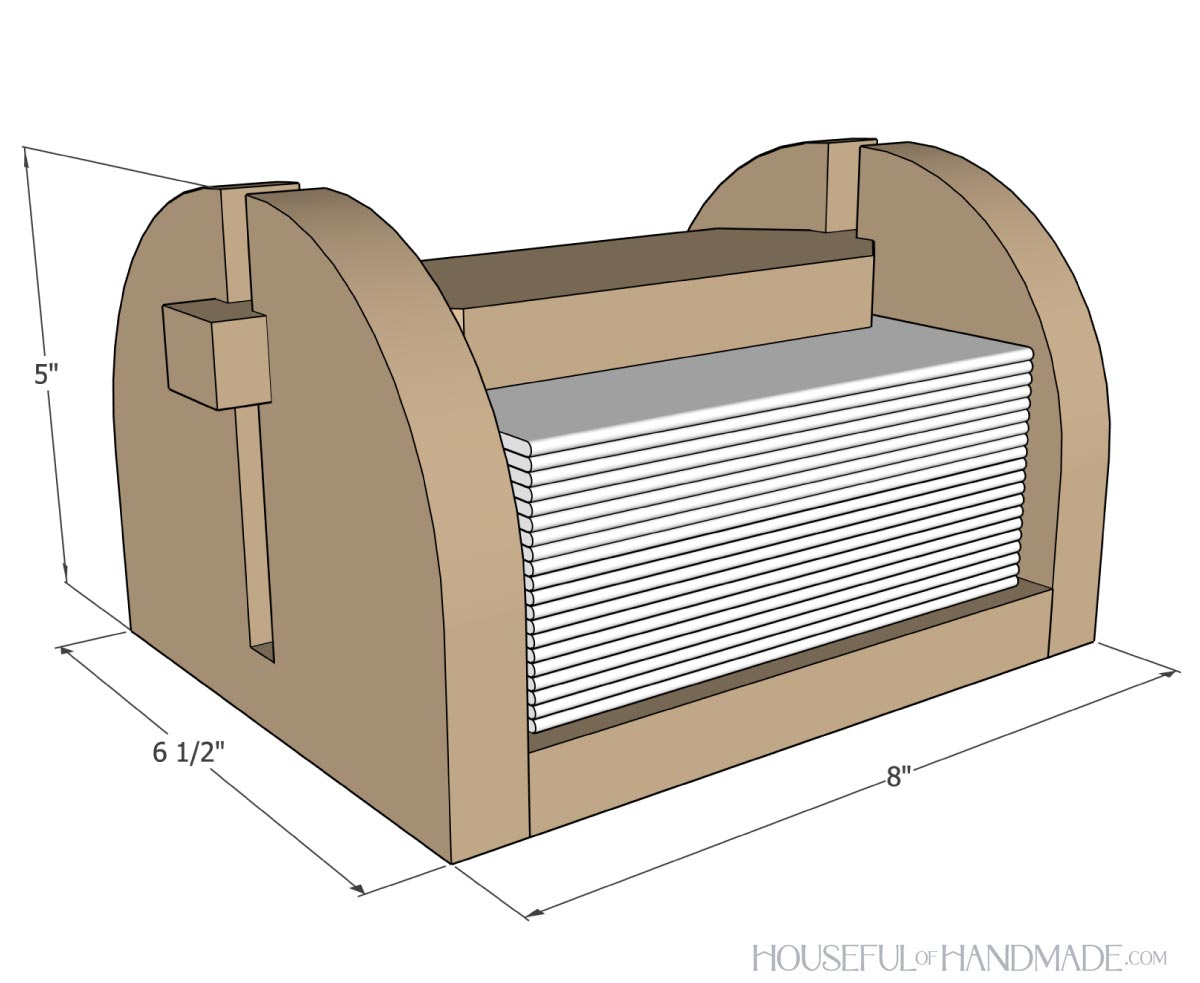
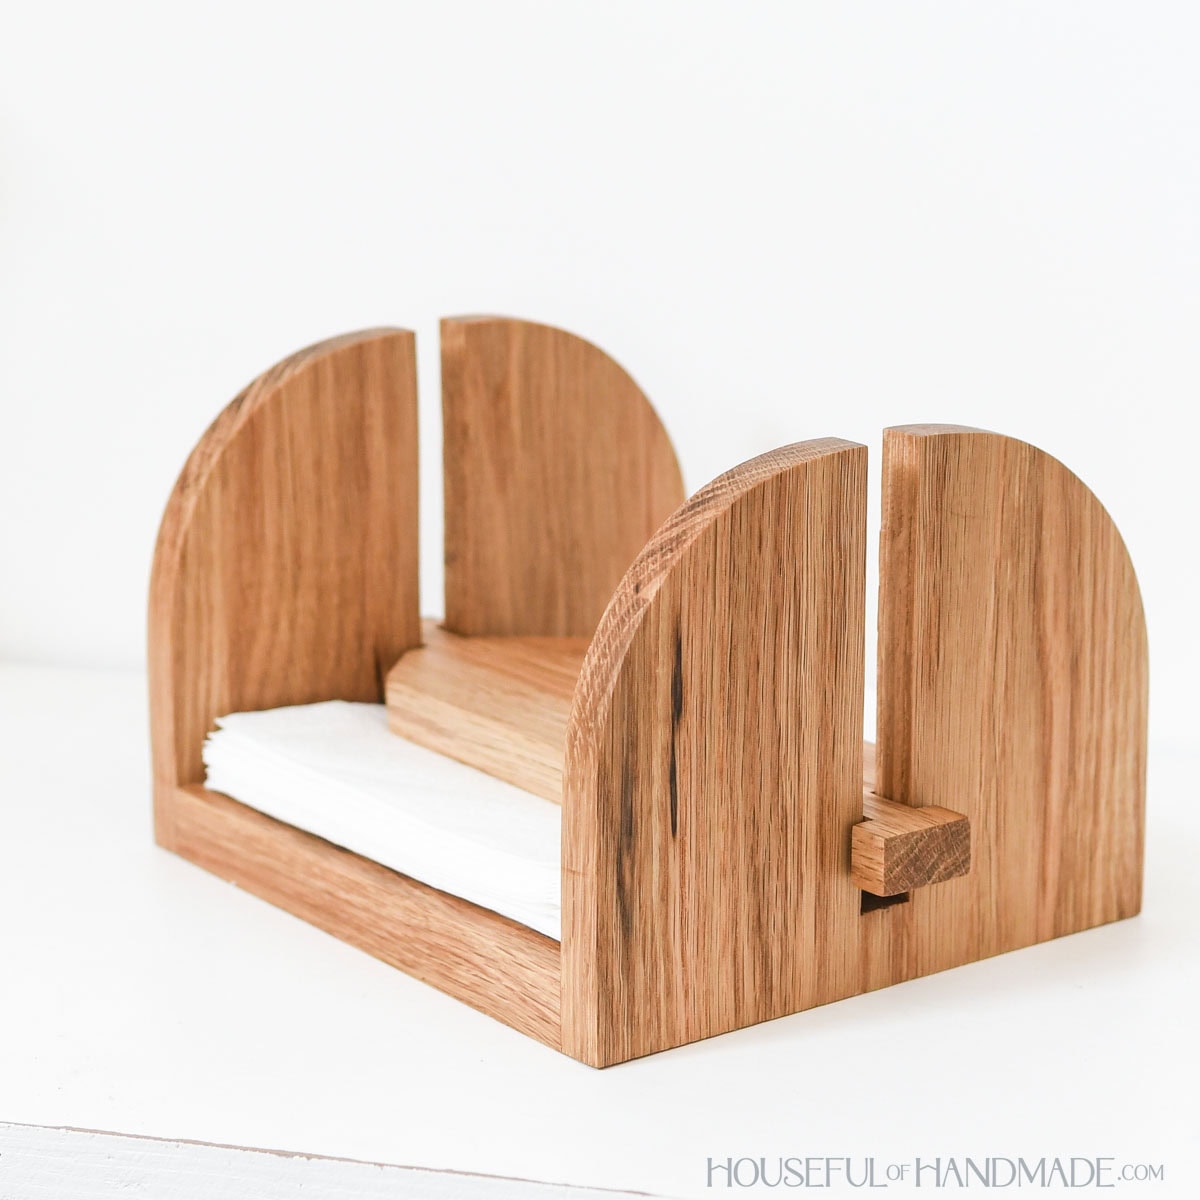
The finished napkin holder is 8″ wide and 5″ tall. The bottom area is 6 1/2″ x 6 1/2″ to hold a basic napkin.
Cut List
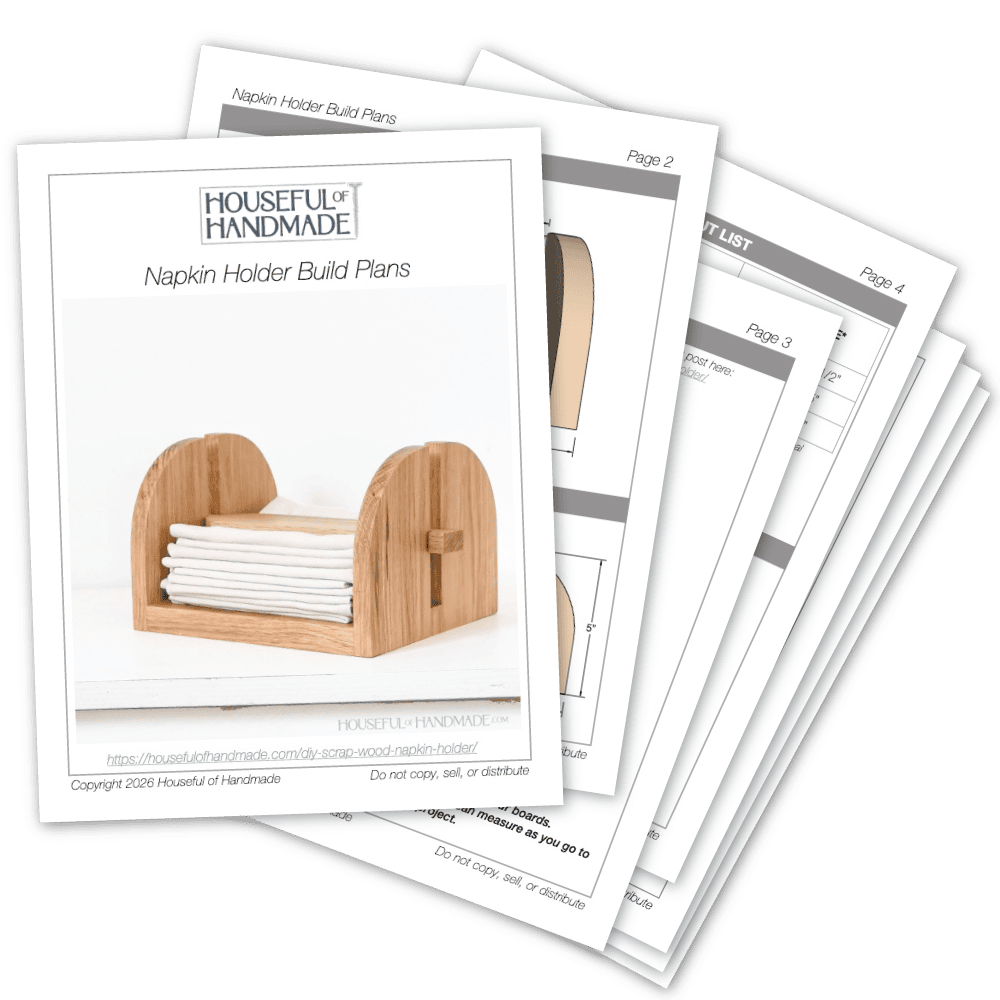
Cut out the pieces according to the easy-to-read table in the PDF plans.
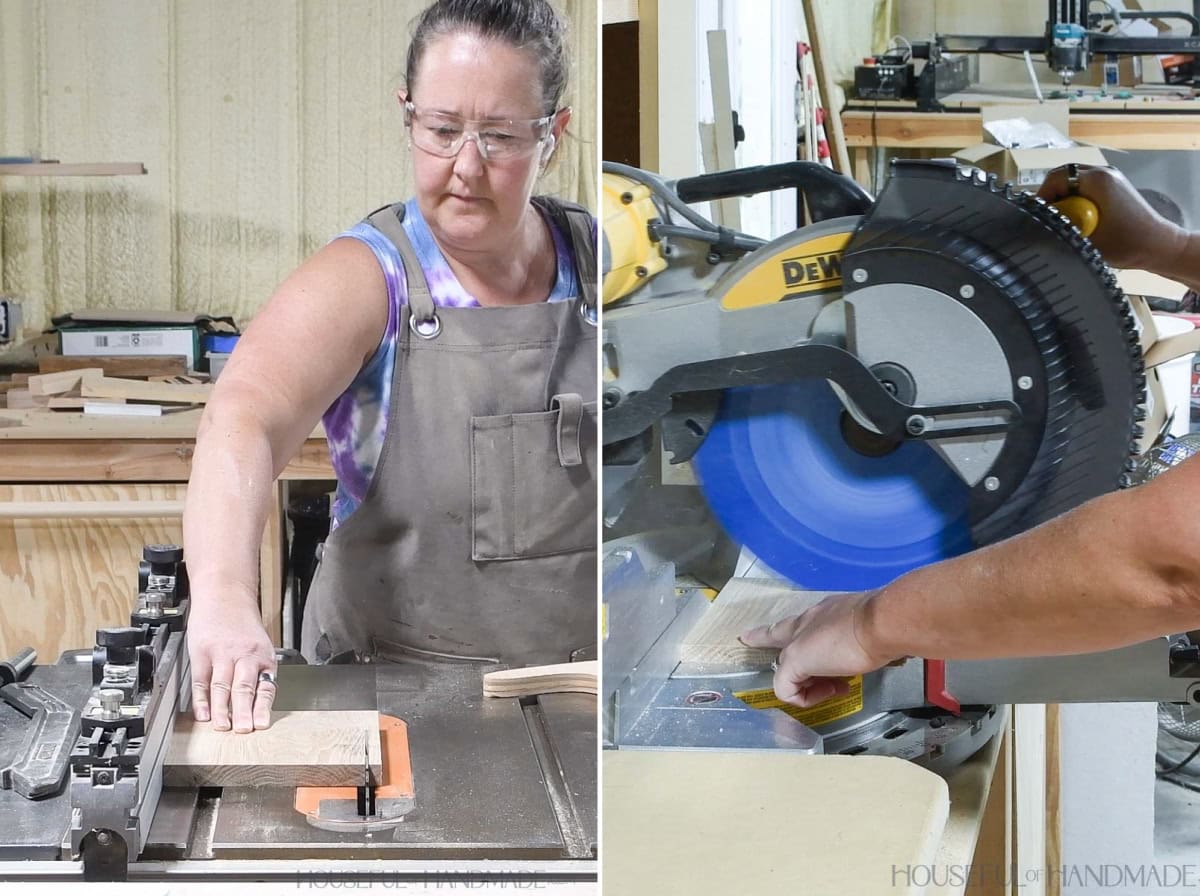
The 1×8 board (actual width 7 1/4”) will need to be ripped down to the final width.
STEP 1- Shape sides
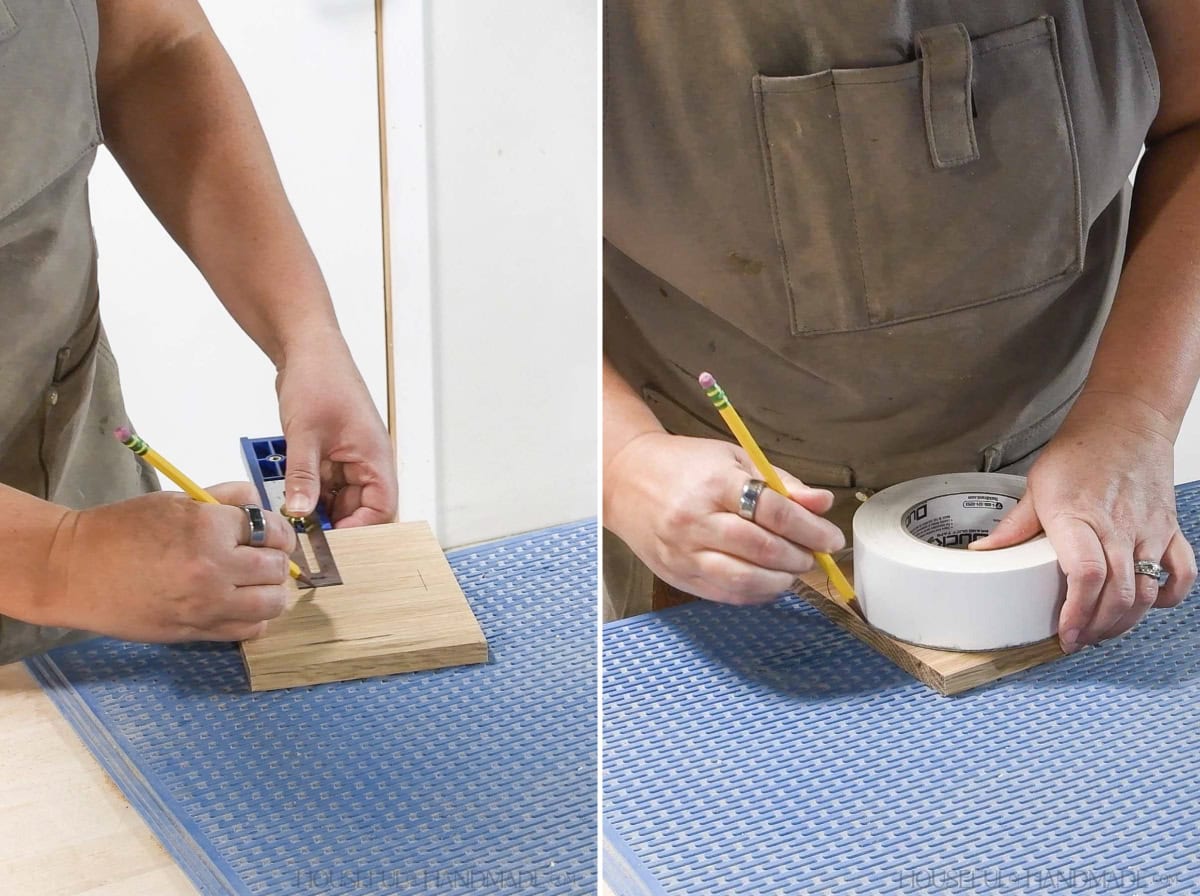
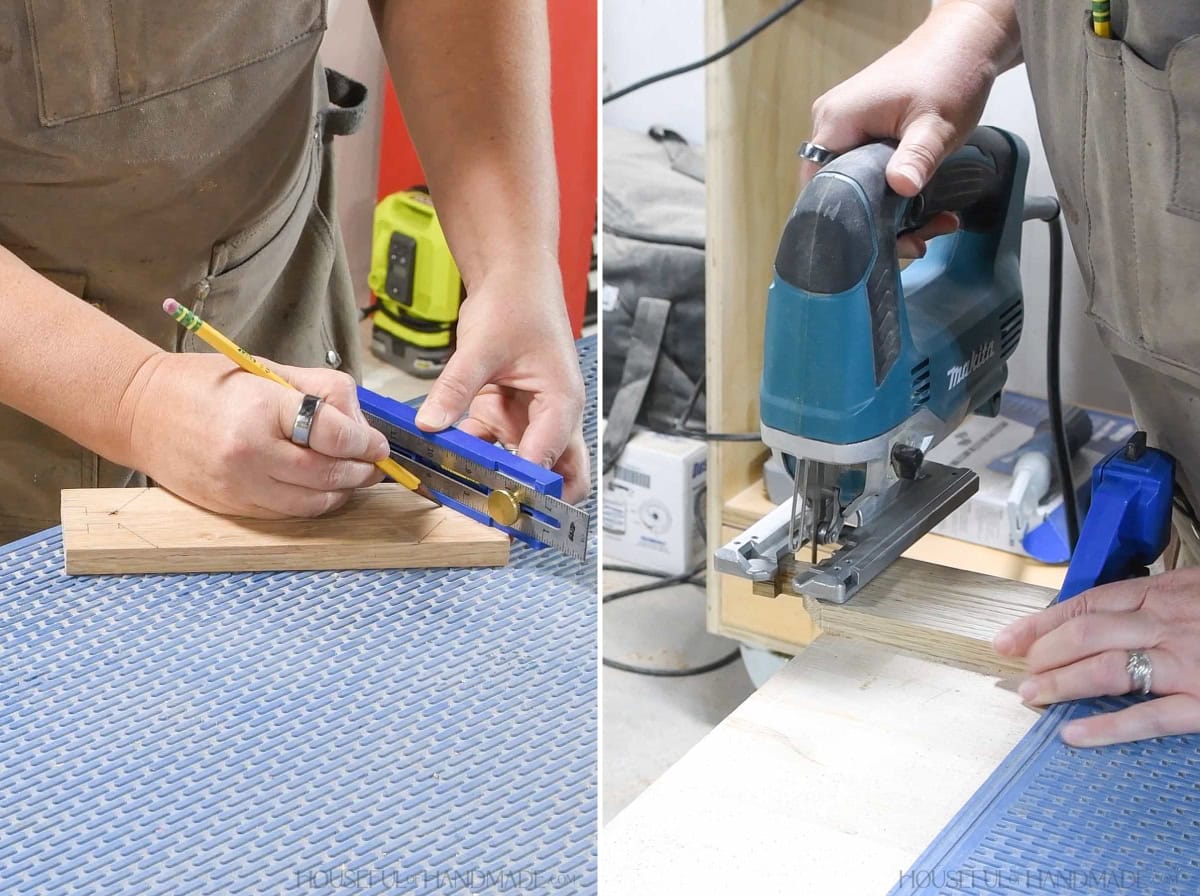
Mark out the center slit and side curves on both side pieces.
To draw the side curves, I marked the edge of the curves and traced a large roll of tape between the marks.
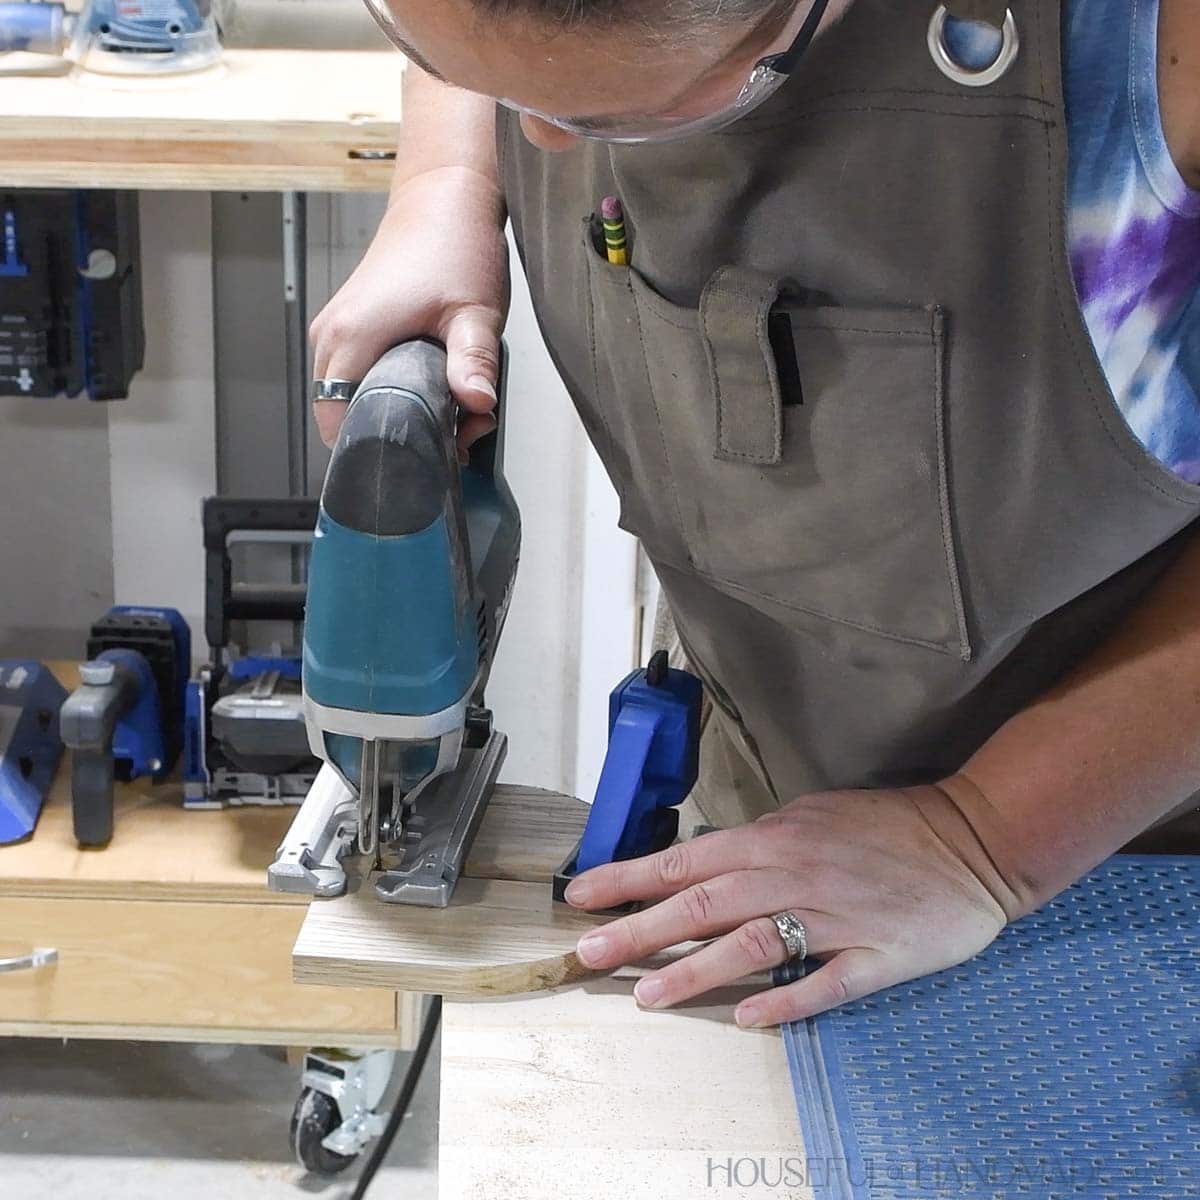
Cut the curves and the center slit out with a jig saw
Use a scroll blade in the jig saw and to get a clean cut into the tight corners.
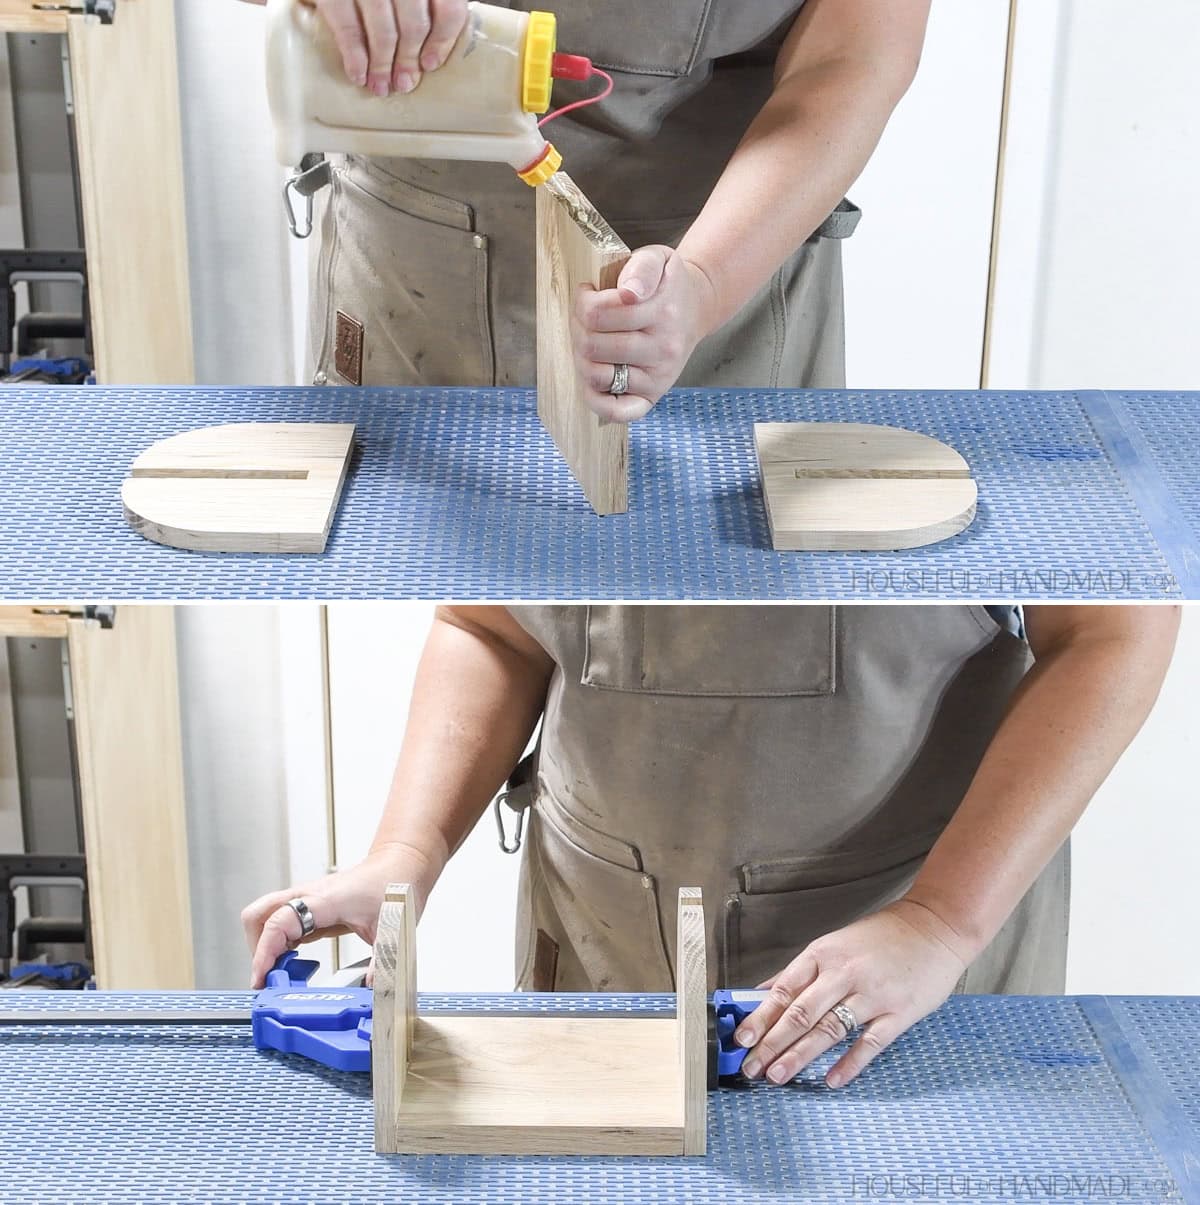
STEP 2- Assemble
Add glue to the ends of the bottom piece. Attach the sides to the bottom so they are flush at the front/back and bottom.
Clamp till the glue dries.
STEP 3-
Mark out the design on the top weight board according the diagram in the plans.
Cut out the design with a jig saw. To get into the small corners, use a scroll bit in the saw and take lots of little cuts toward the corners.
Test that the weight slides easily into the slot on the sides. Adjust as needed.
STEP 4- Sand and finish
Sand and finish the two pieces. Then slide the top weight into the slits.
To add napkins to the holder, remove the weight, place the napkins on the bottom and place the weight on top to hold them in place.
Premium plans include:
- Recommended Tools
- Shopping list
- Easy to read cut list table
- Cut diagrams
- Step-by-step instructions with 3D renderings
- Helpful resources
- BONUS: 3D SketchUp file
You did it!
Now you can place your new napkin holder on your table and always have napkins at the ready.
More Scrap Wood Projects
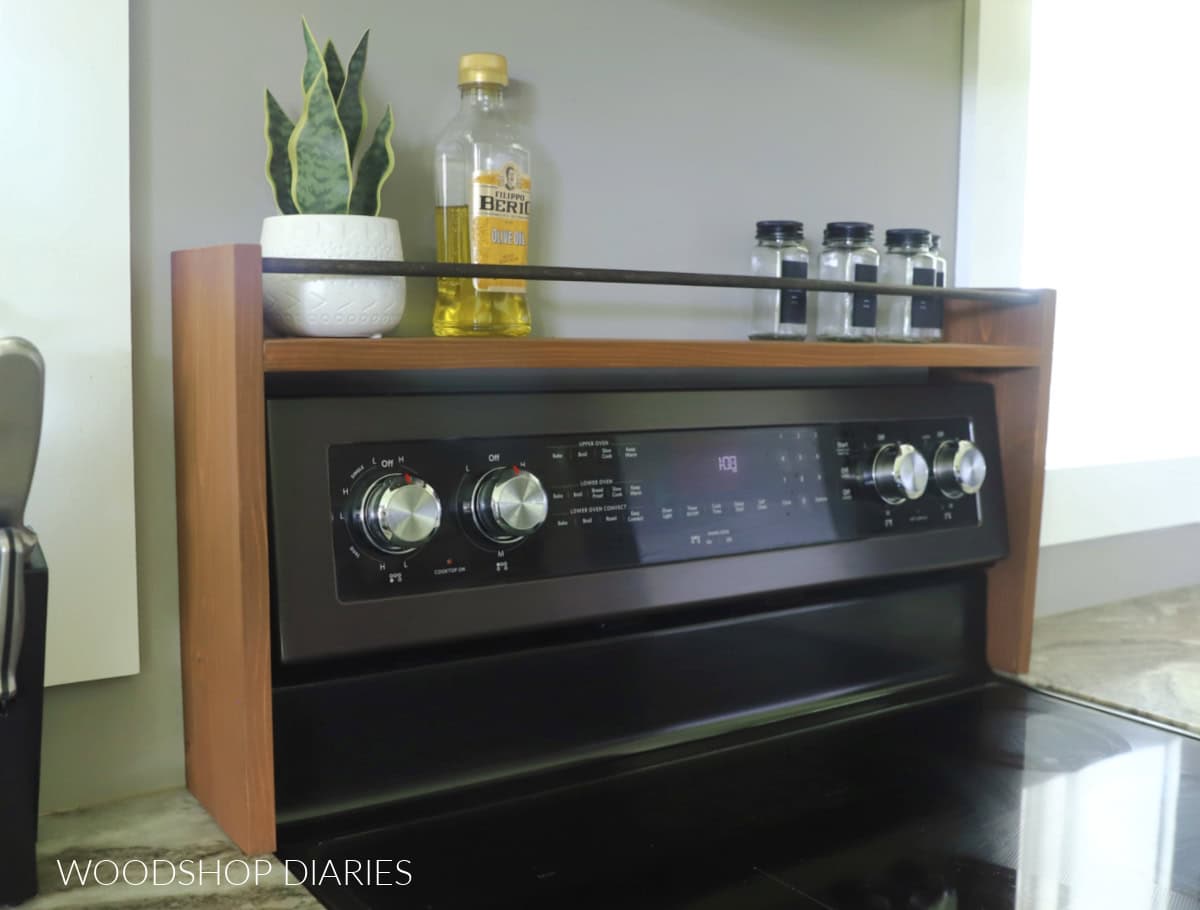
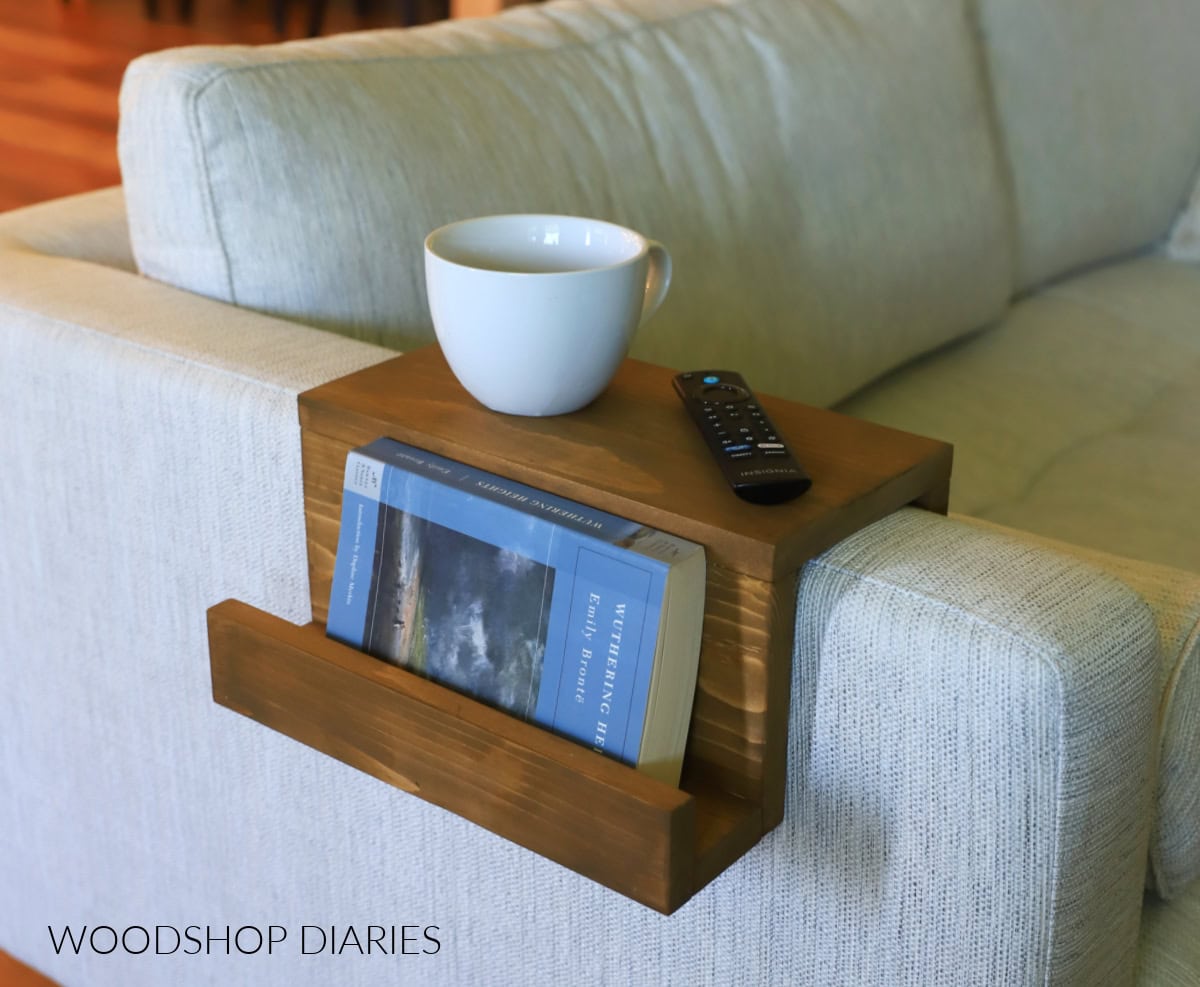
It’s week 3 of Scrap Wood Summer where every Tuesday I join with my friend Shara from Woodshop Diaries to share a new build made completely from scraps!
We are having fun clearing out our cut offs and have made some great projects so far.
I’ll share each week’s new projects below so you can use up your scraps too!

Happy building!