
It’s October and I am finally decorating for fall. To be fair, it has been over 100 degrees for most of September so I wasn’t in the fall spirit till now.
But I have been wanting to build some more fun fall decor. Not that I don’t like the decor I have, but because making pumpkin decor just makes me happy!
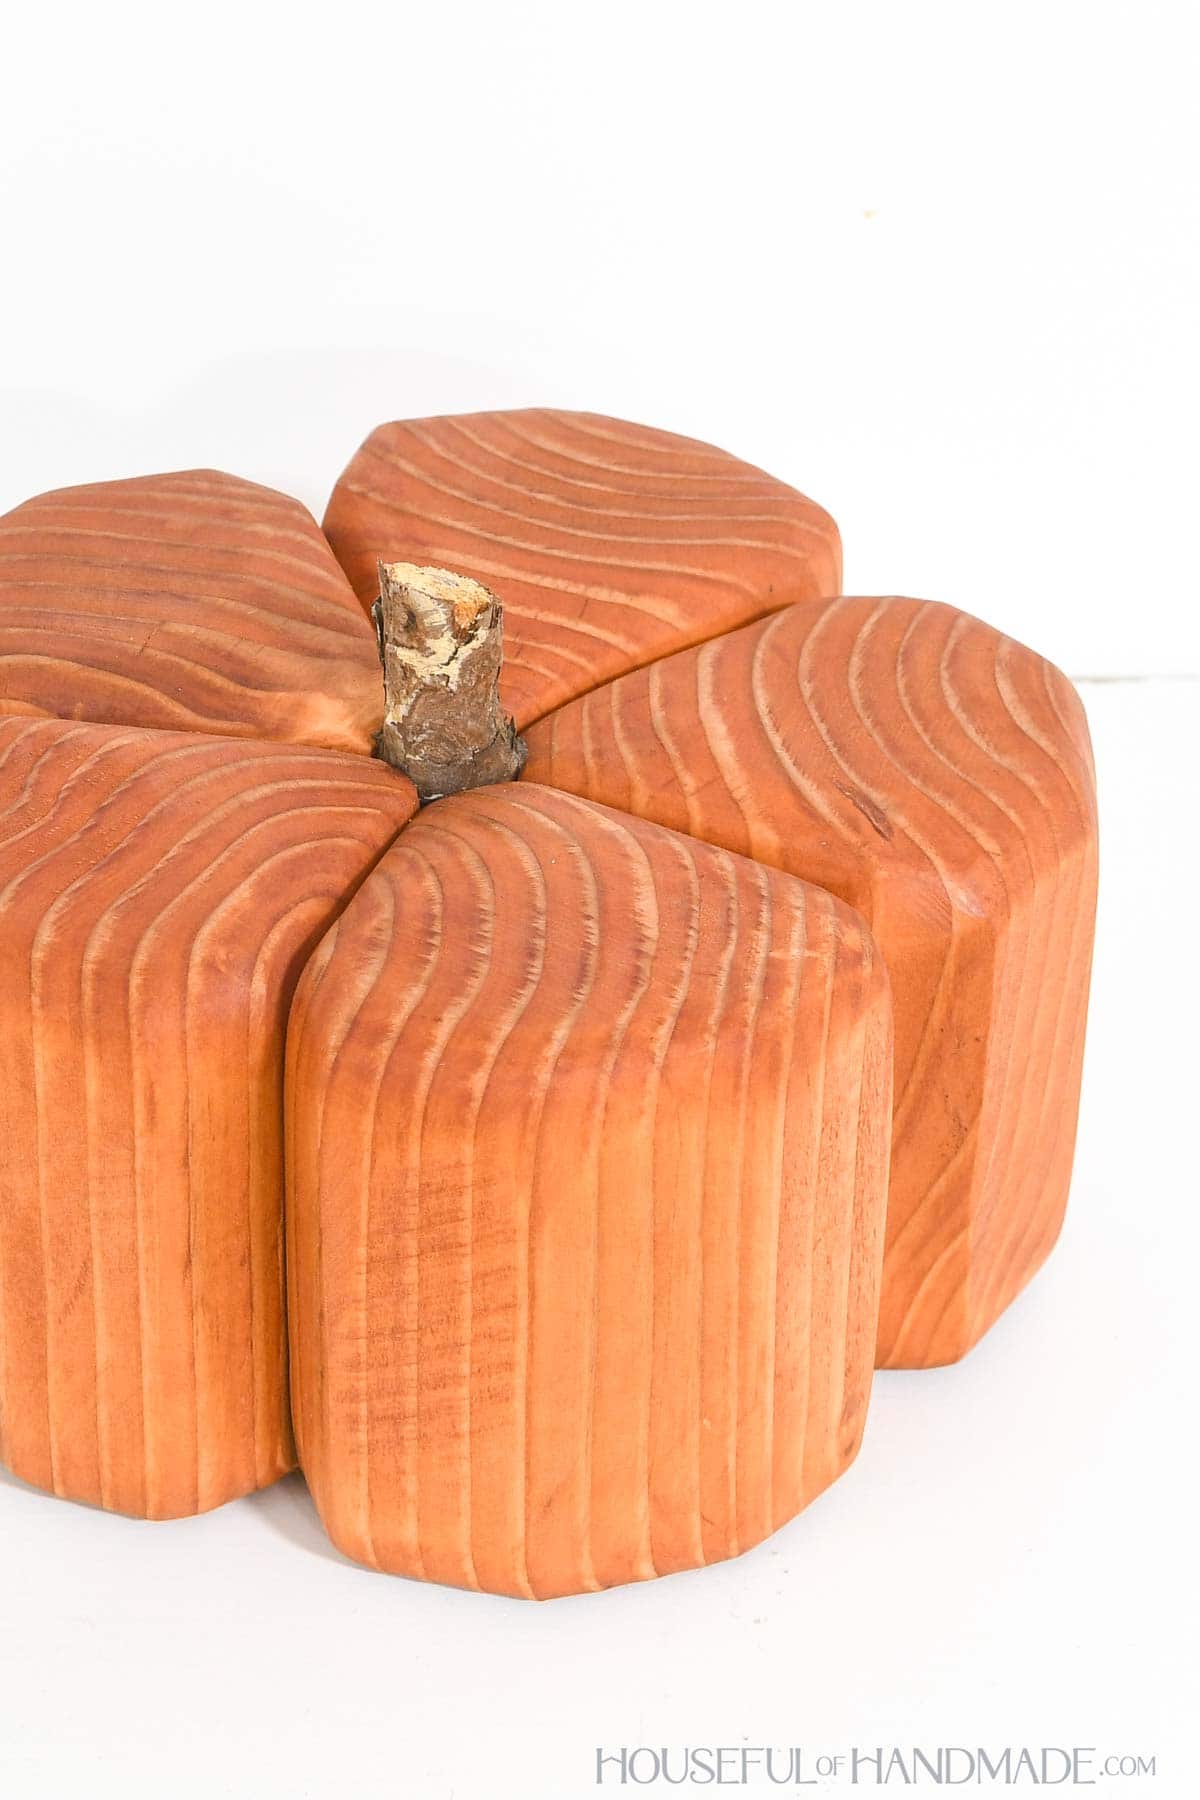
And it was time to create a simple wood pumpkin. I have done more dainty 3D pumpkins already… this time I grabbed a scrap of 4×4 and set out to design a pumpkin with it.
This post may contain affiliate links. As an Amazon Associate I earn from qualifying purchases. Click here to read my full disclosure policy.
Pumpkins with a Jig
The design of the pumpkins was easy, the execution, not so much.
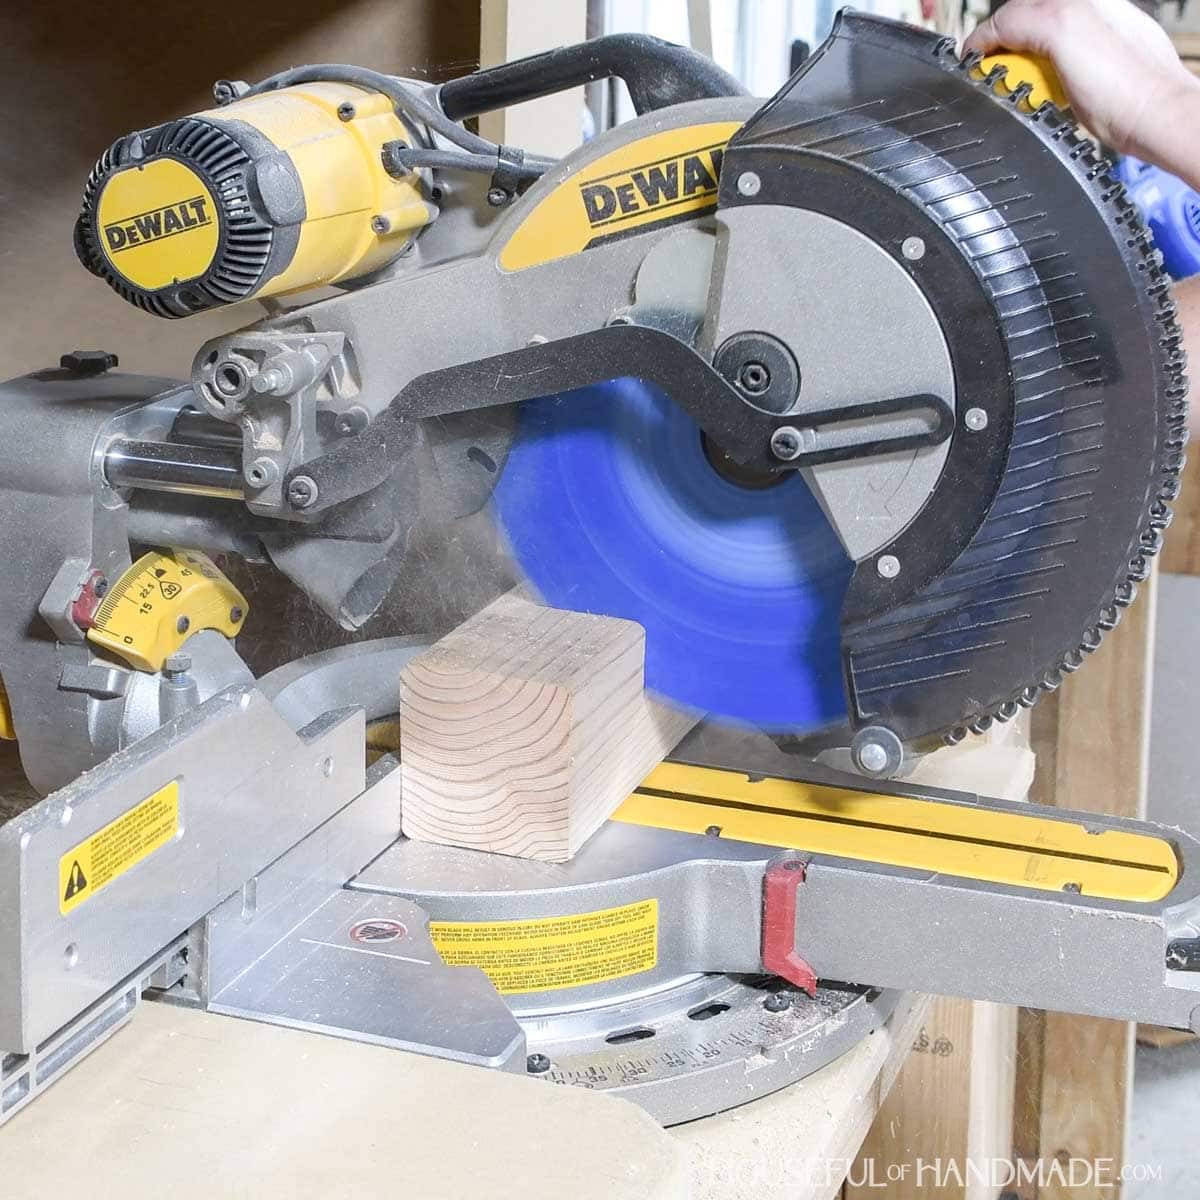
I wanted to shape small blocks into diamonds with basic tools and fast (no time to hand saw anything at my house). But on a miter saw, making cuts that close to the blade is a big no.
So I decide the easiest option was to create a jig to cut all the wood pumpkin pieces.
The jig not only make is safe to cut all the corners of the small block at an angle, but it also makes cutting 5 identically blocks super fast.
Plus, I reused a clamp from my tapered leg jig and can put it back when I am done decorating for fall!
More DIY Pumpkin Projects
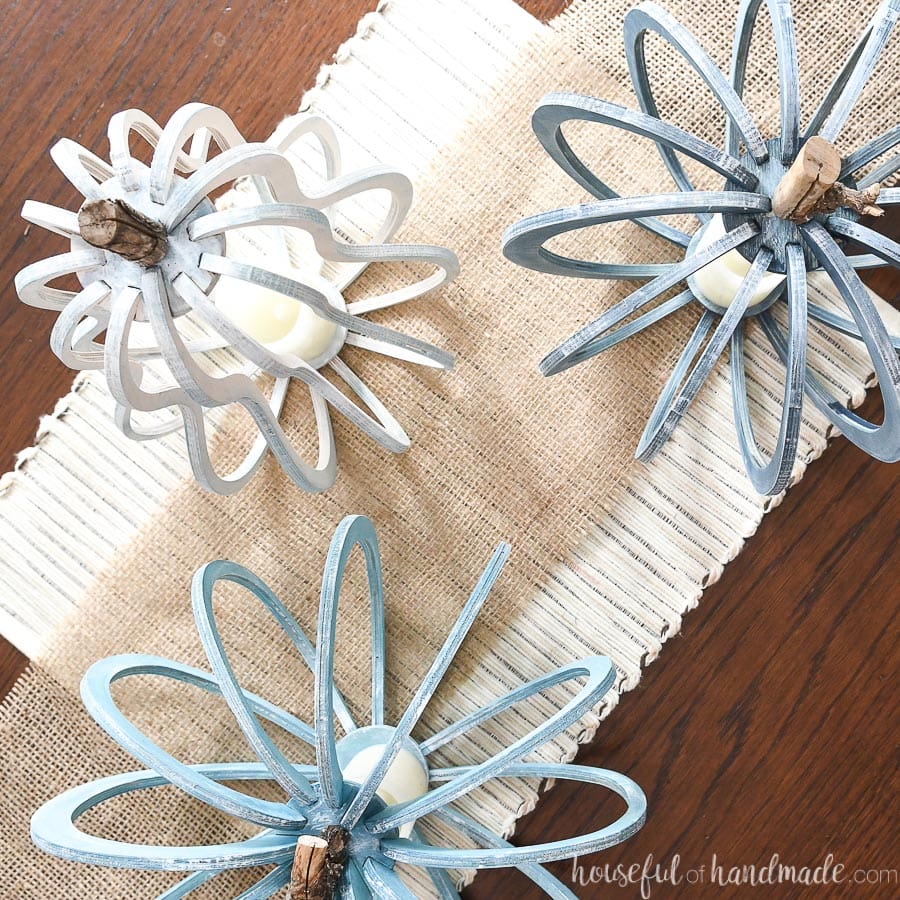
You can never have too many pumpkins to decorate for fall! Check out these other pumpkin themed DIYs to build.
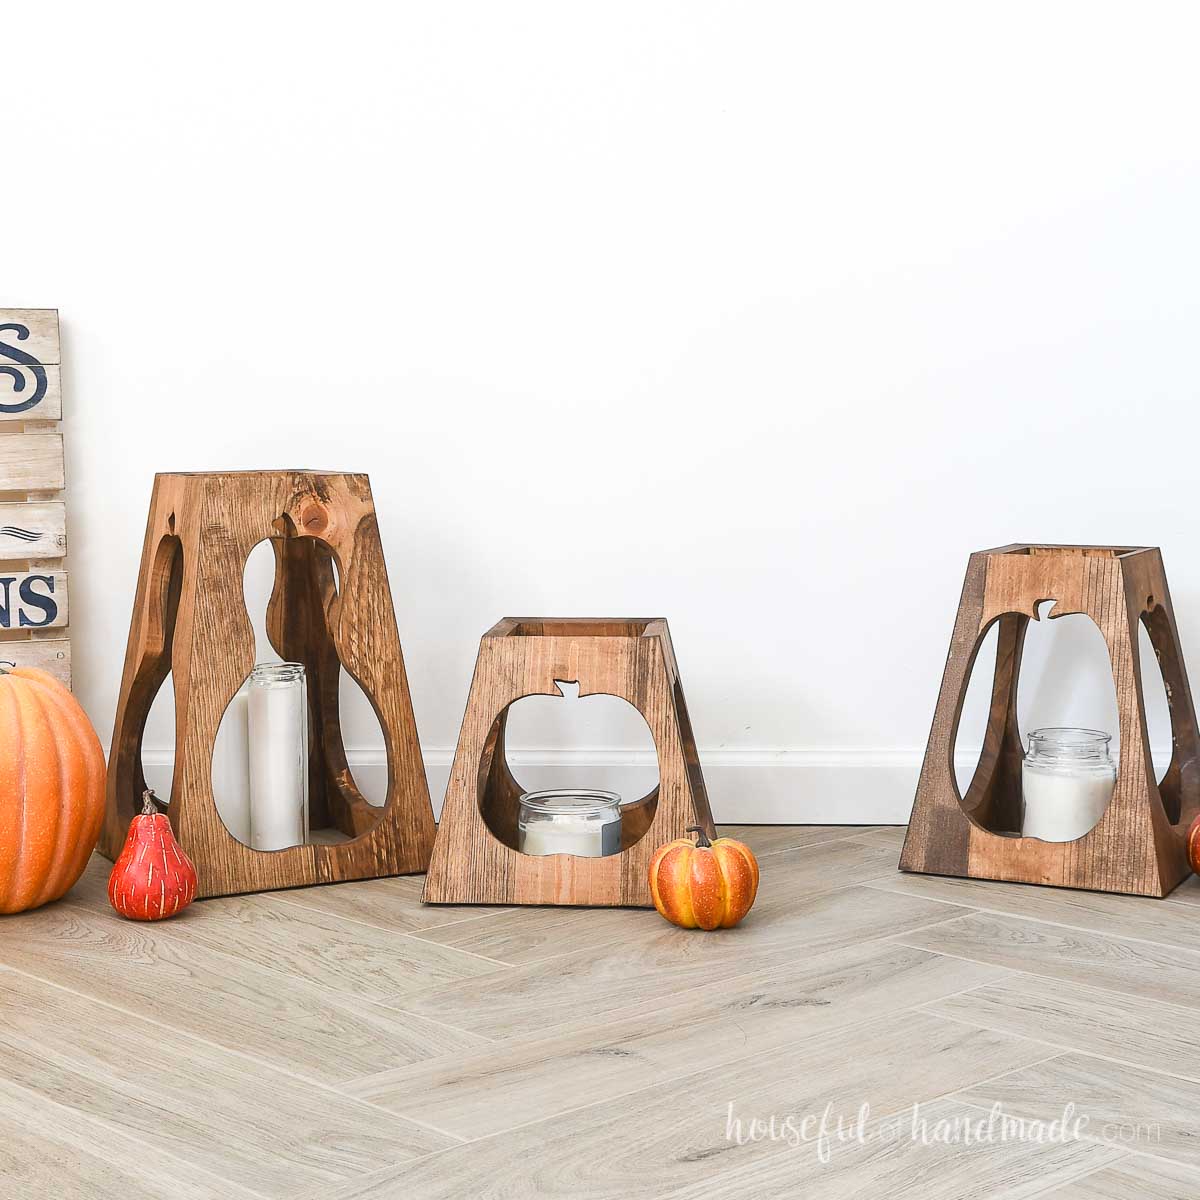
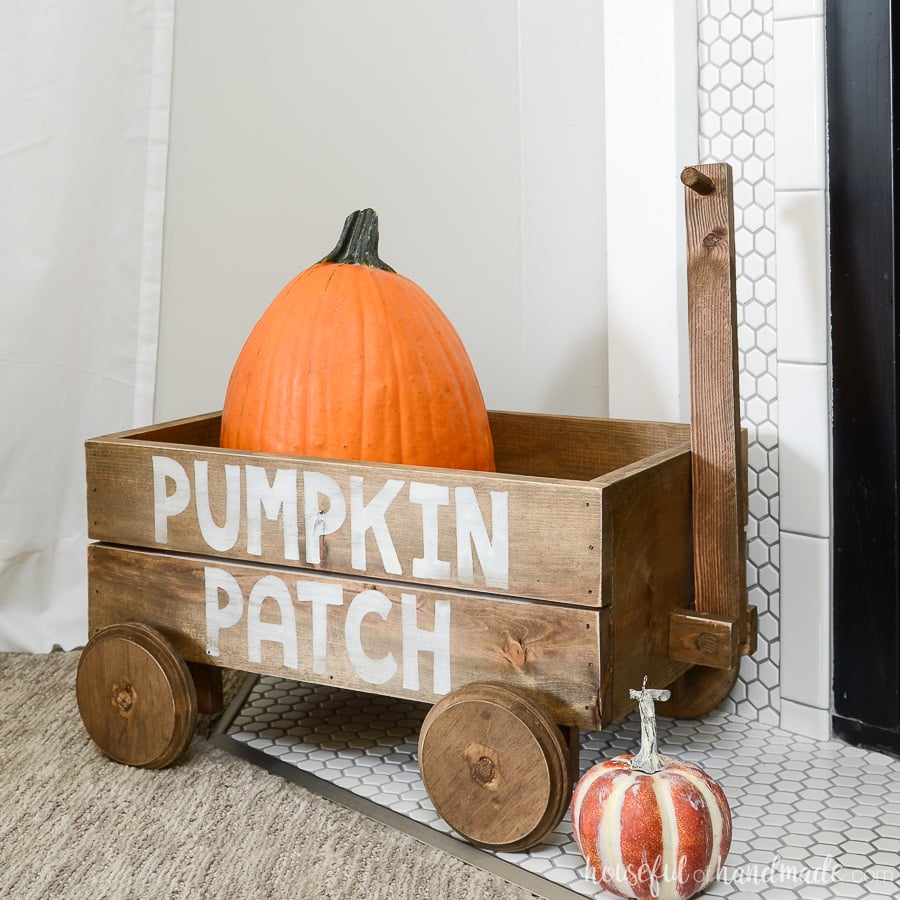
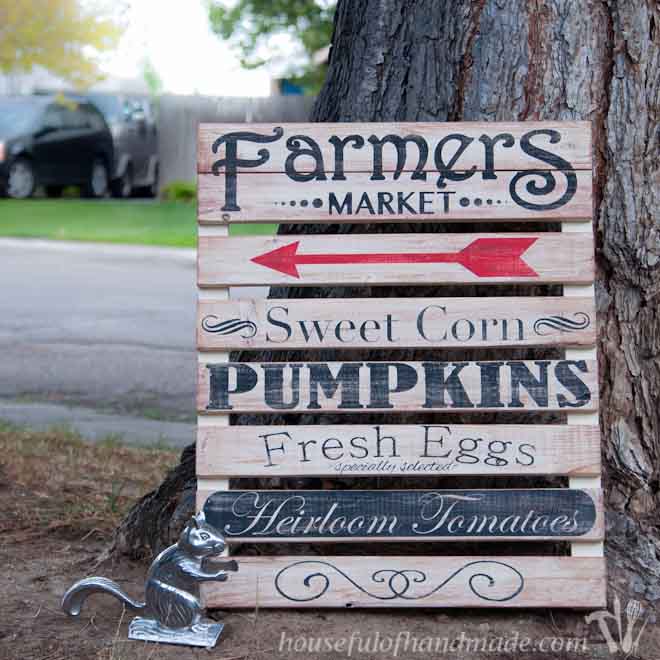
How to Build a Pumpkin from 4×4 Blocks
Tools & Materials
Recommended Tools:
- Miter saw
- I recently upgraded to this sliding miter saw (watch for it to go on sale), but previously used this inexpensive miter saw that I love.
- Speed square
- Multi-mark measuring tool
- Sander
Supplies:
- Wood products
- (1) 4×4 boards, 2′ long
- (1) 1/2″ plywood scrap, ~6″ x 18″
- 2×4 scraps
- Self-adjusting toggle clamp
- Wood glue
- Wood stain
- For the rustic orange, I used the color Gunstock by Minwax
- Stick
STEP 1- Cut blocks
Cut five 4″ long pieces from the 4×4 board.
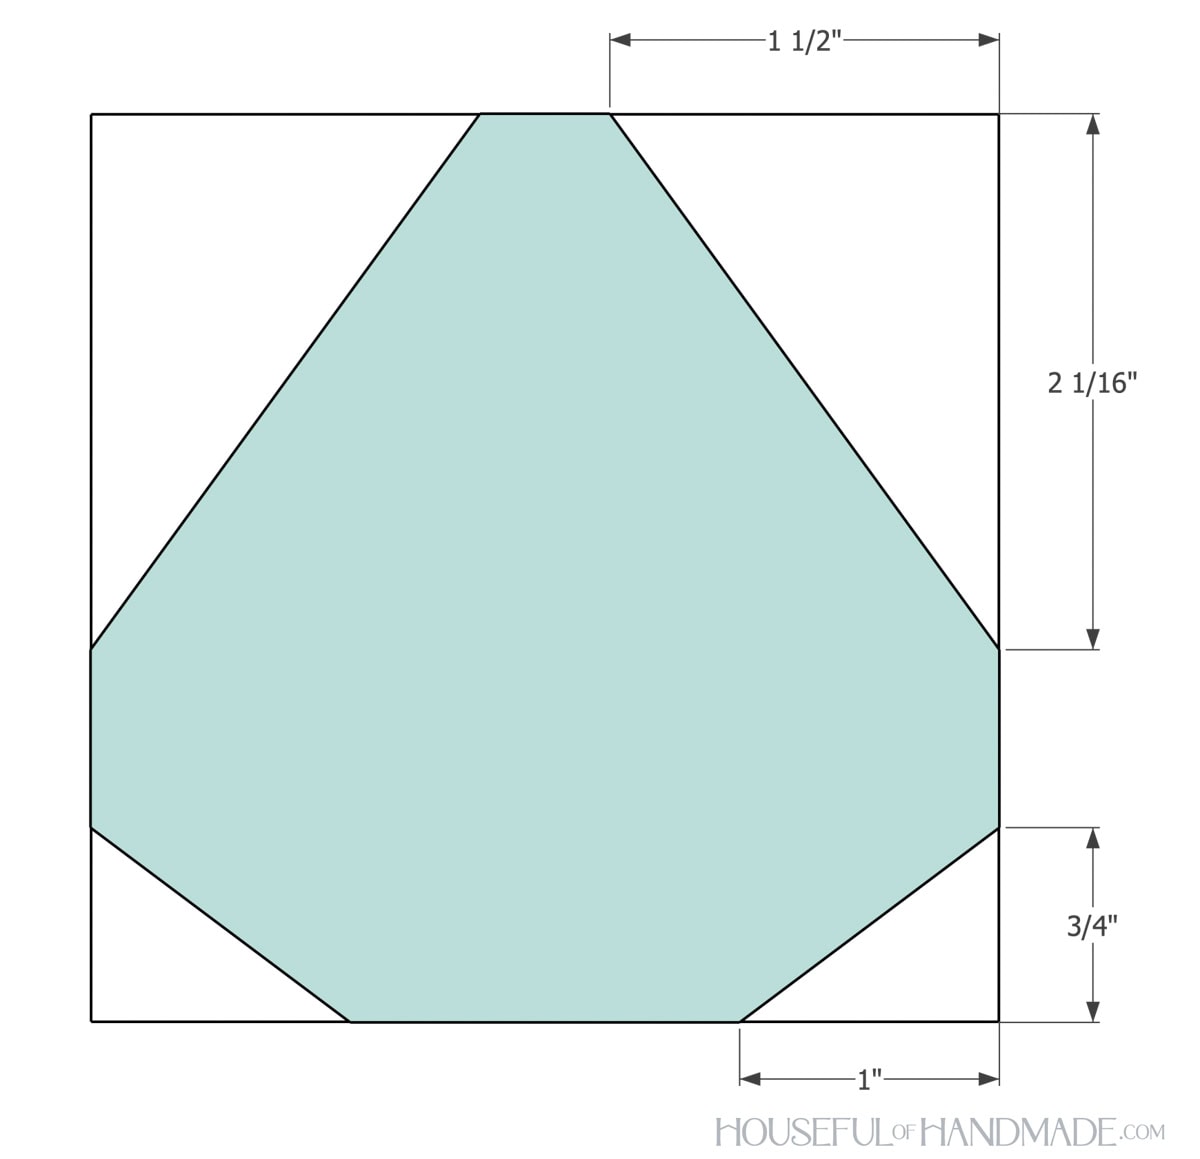
Measure and mark the angled cuts on the top corners of one of the blocks.
EXPERT TIP:
4×4 refers to the rough cut dimension of the board, the actual board should be 3 1/2″ x 3 1/2″. Learn more about dimensional lumber sizes here.
STEP 2- Build a jig
Cut a couple scraps of 2×4 to create a cradle around one of the 4×4 blocks on the edge of the scrap of plywood.
You want the edges of the block to be flush with the edges of the plywood.
Use wood screws to attach the boards together.
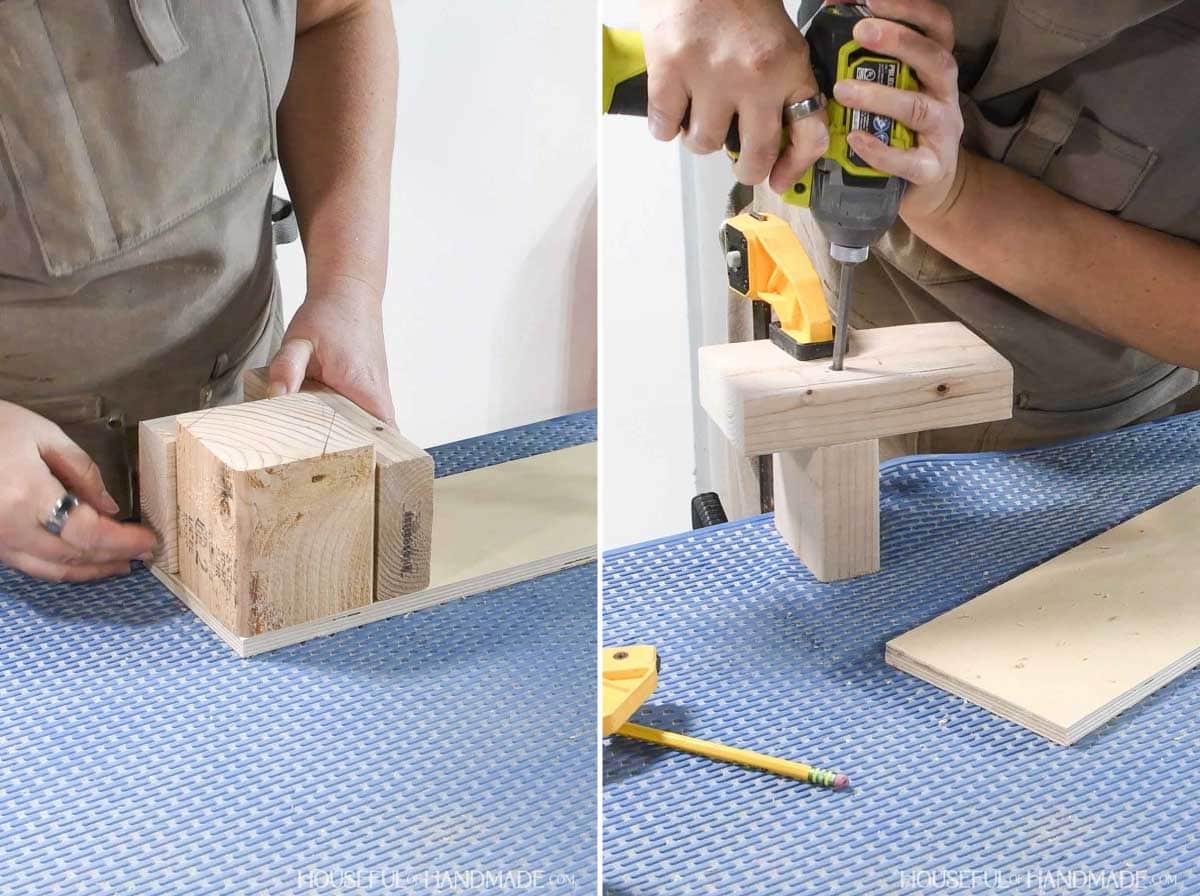
Then flip the plywood over and secure the blocks from the underside. Make sure to countersink the head of the screws.
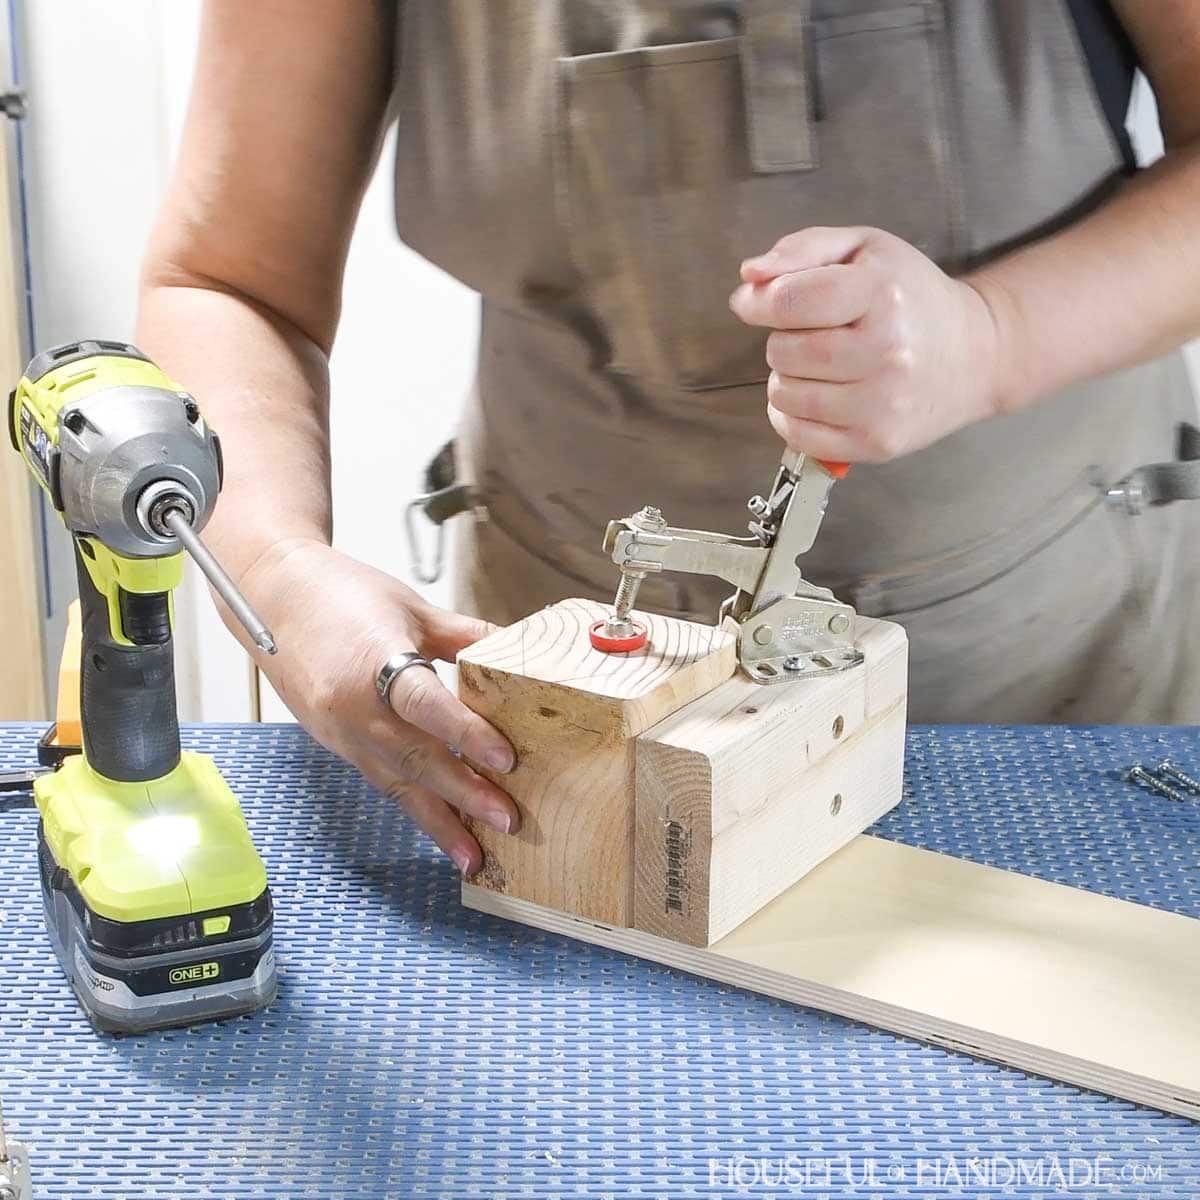
Then attach the toggle clamp in the corner so it can firmly clamp the block into the cradle.
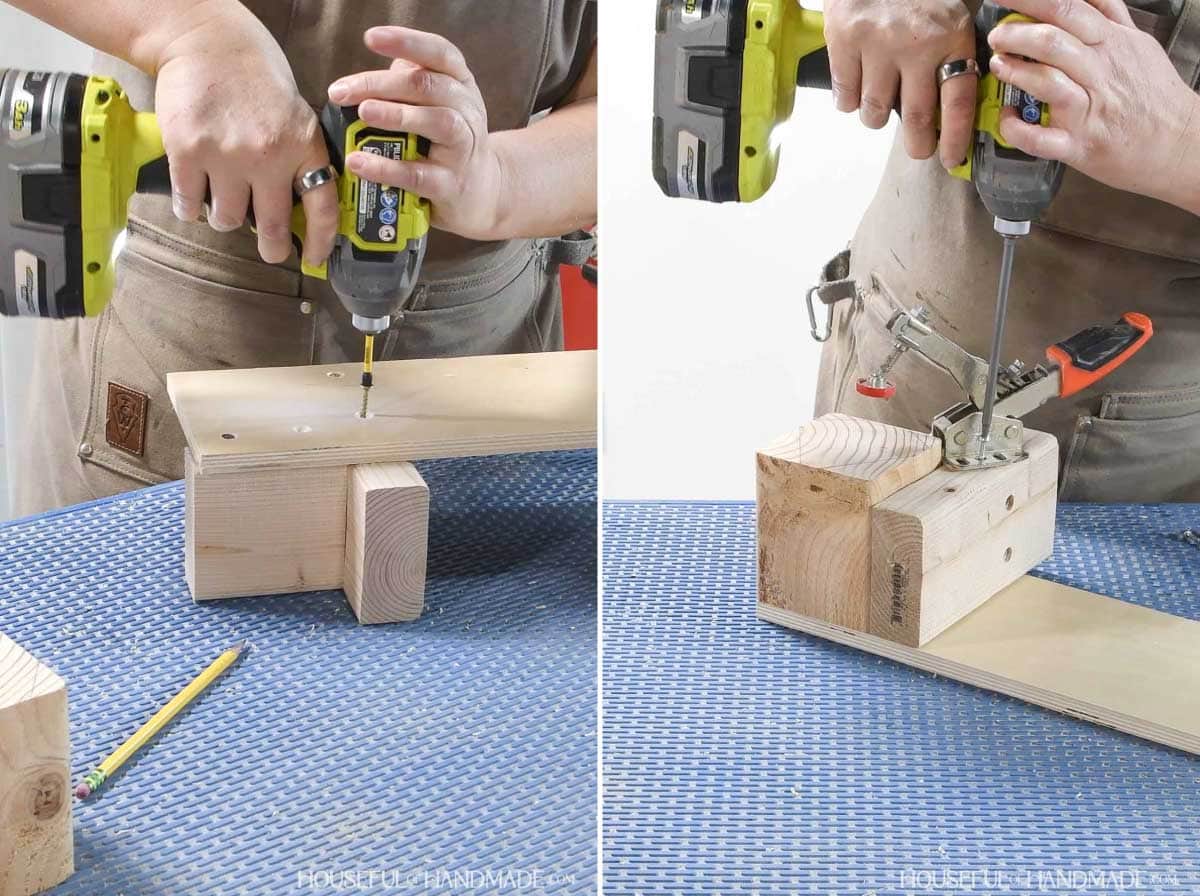
Adjust the toggle clamp so it is securely holds the block in the cradle.
The jig will make it safe to cut the angles on the small blocks because your fingers will be out of dangers.
It also makes it fast to make repeatable cuts so you can make as many wood pumpkins as your heart desires.
STEP 3- Shaping blocks
Clamp the block with the markings on top into the jig. To start make sure the block is angled so the larger cuts are toward the fence.
Place the jig on the miter saw and line up the blade with the cut line.
I set my miter saw to a 35 1/2 degree angle, but my block was slightly smaller than the standard 3 1/2″ x 3 1/2″.
Add a stop block to the back of the jig so you can make repeatable cuts easily.
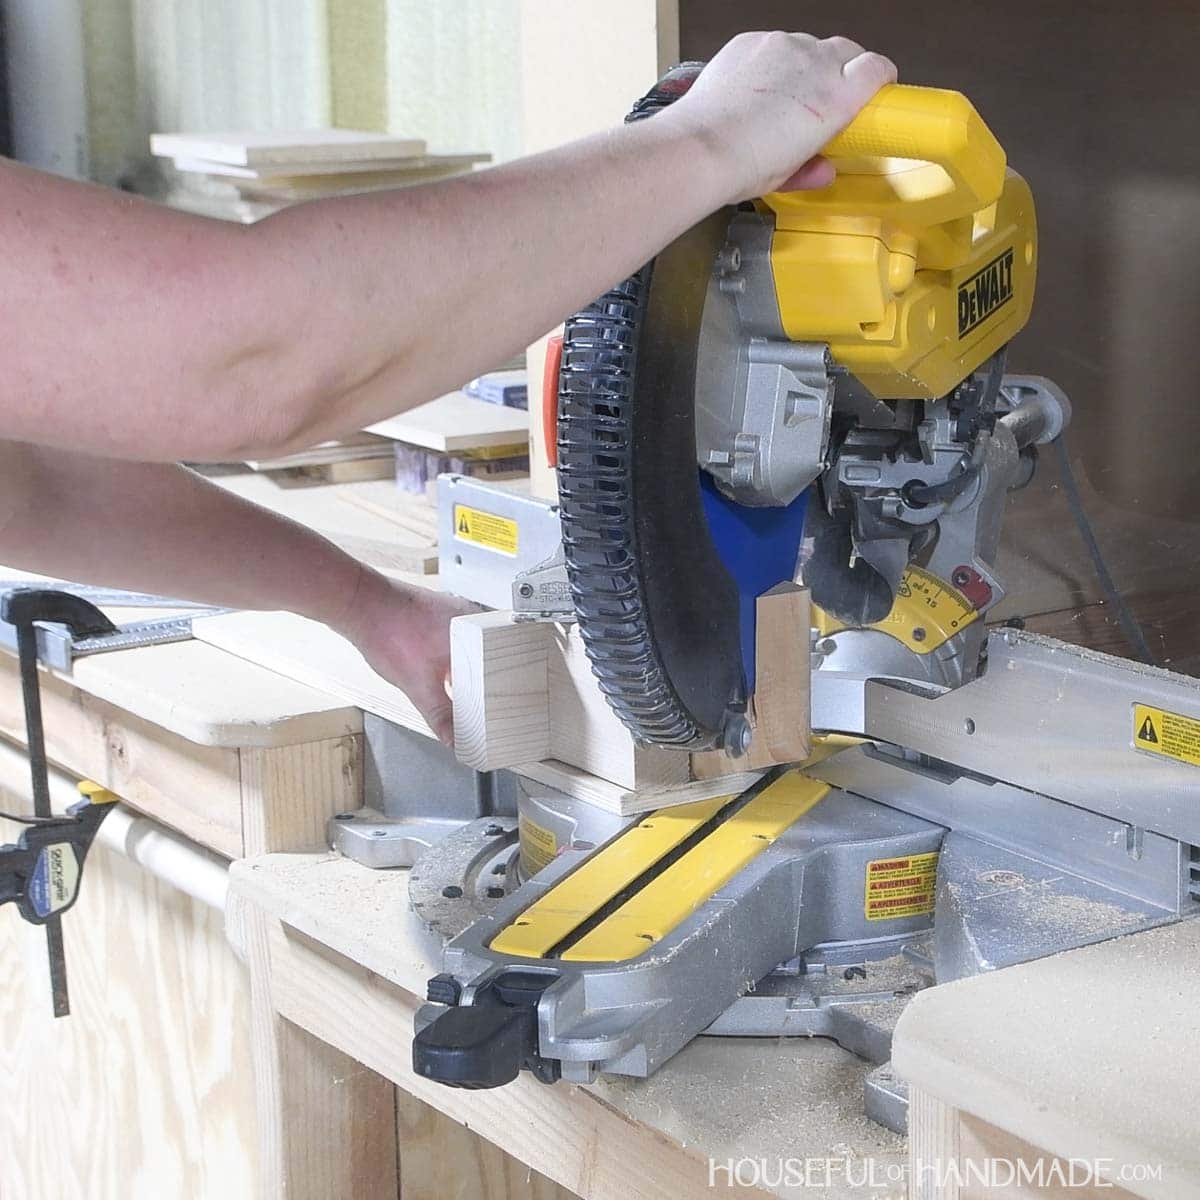
Make the cut on the first side of the block. You may have to slide the blade slightly forward to move the blade guard out of the way of the jig when cutting.
Then unclamp the block and flip it horizontally. Now the cut side will be toward the left side of the jig and up against the fence.
Make the second cut to create a house shaped block.
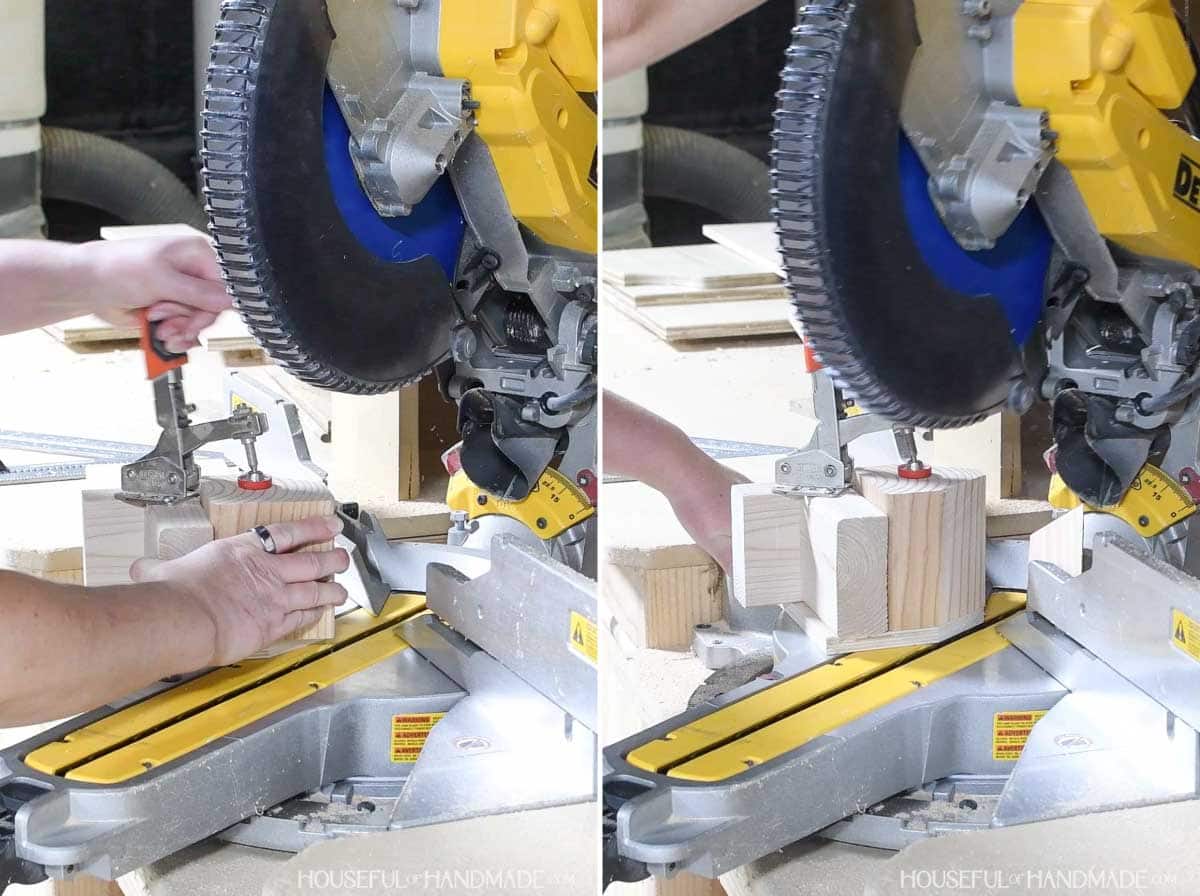
Repeat for all 5 blocks.
Place the blocks together in a circle to check that everything fits.
My circle had a slight gap in it when all the blocks were cut so I adjusted the blade angle about 1/2 a degree and recut the blocks.
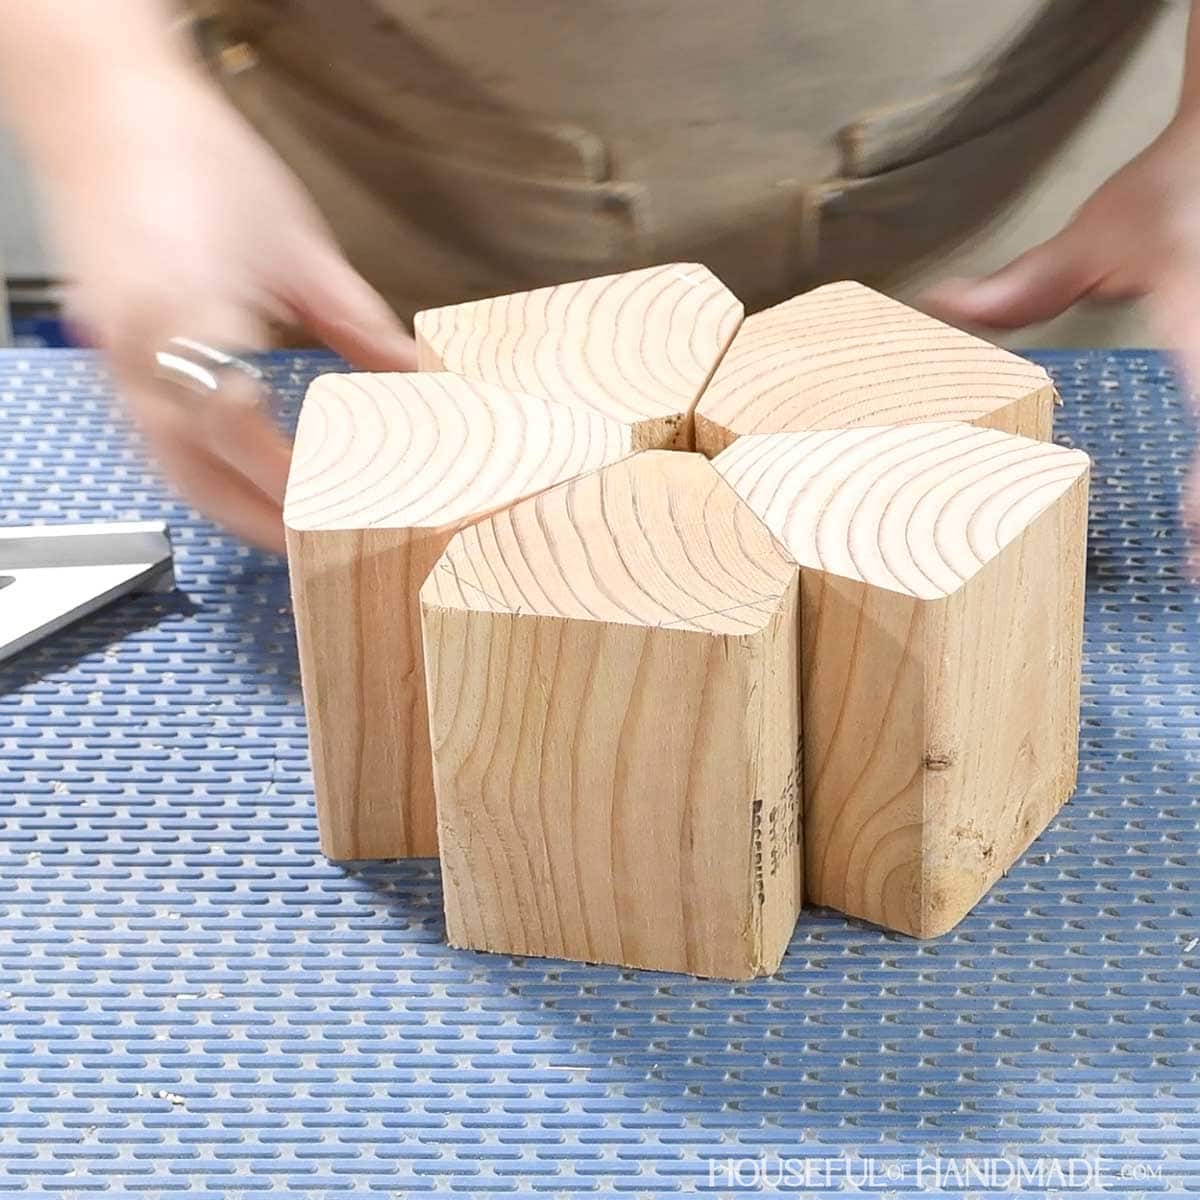
Once I was happy with the inside cuts, it was time to do the outside ones.
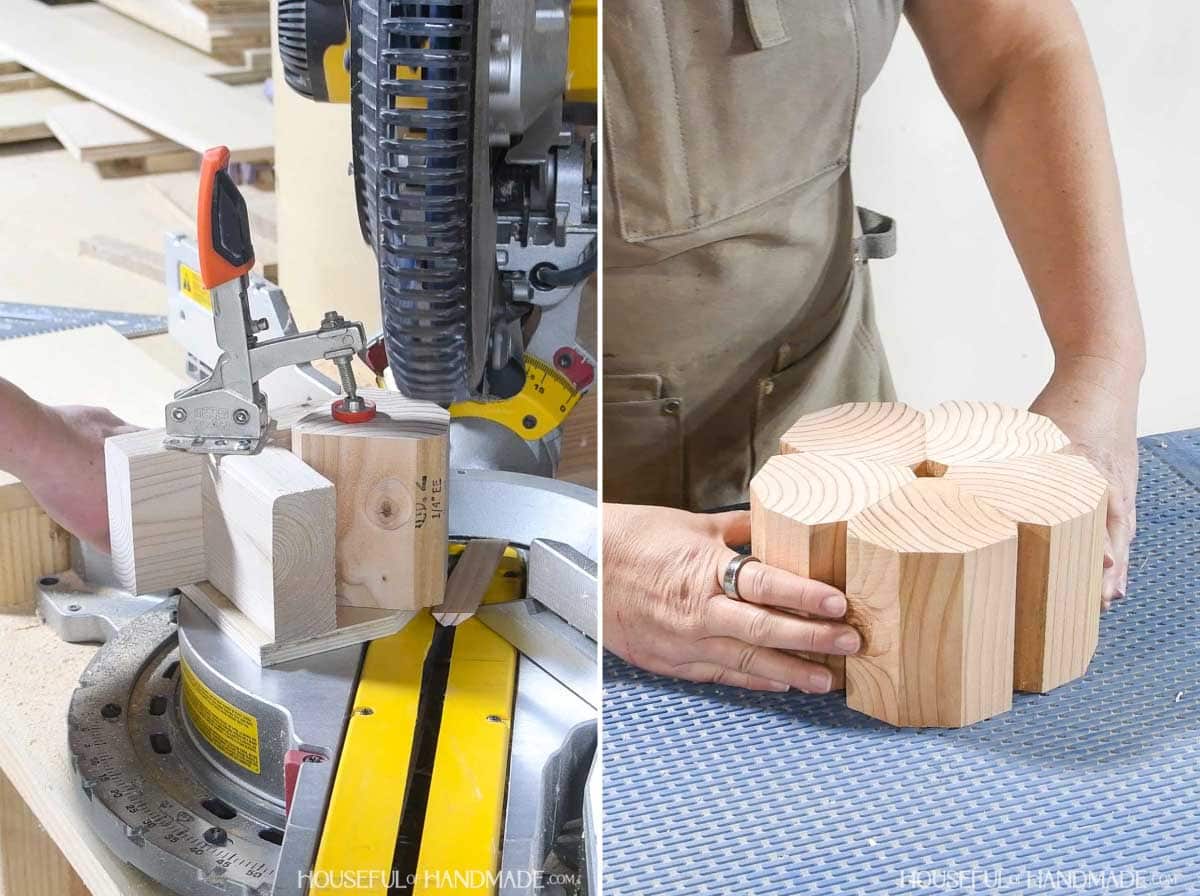
I used the same jig, just clamped the boards inside it so the uncut corners were closest to the fence.
Make sure the inside point is flush with the bottom of the cradle. But don’t be too worried because the second set of cuts are totally decorative.
Change the angle of the saw and realign the jig with the blade with a new stop-block. My blade angle was 55 degrees for this cut.
Cut the back two corners off each block to create a diamond shape.
STEP 4- Sanding and glueing
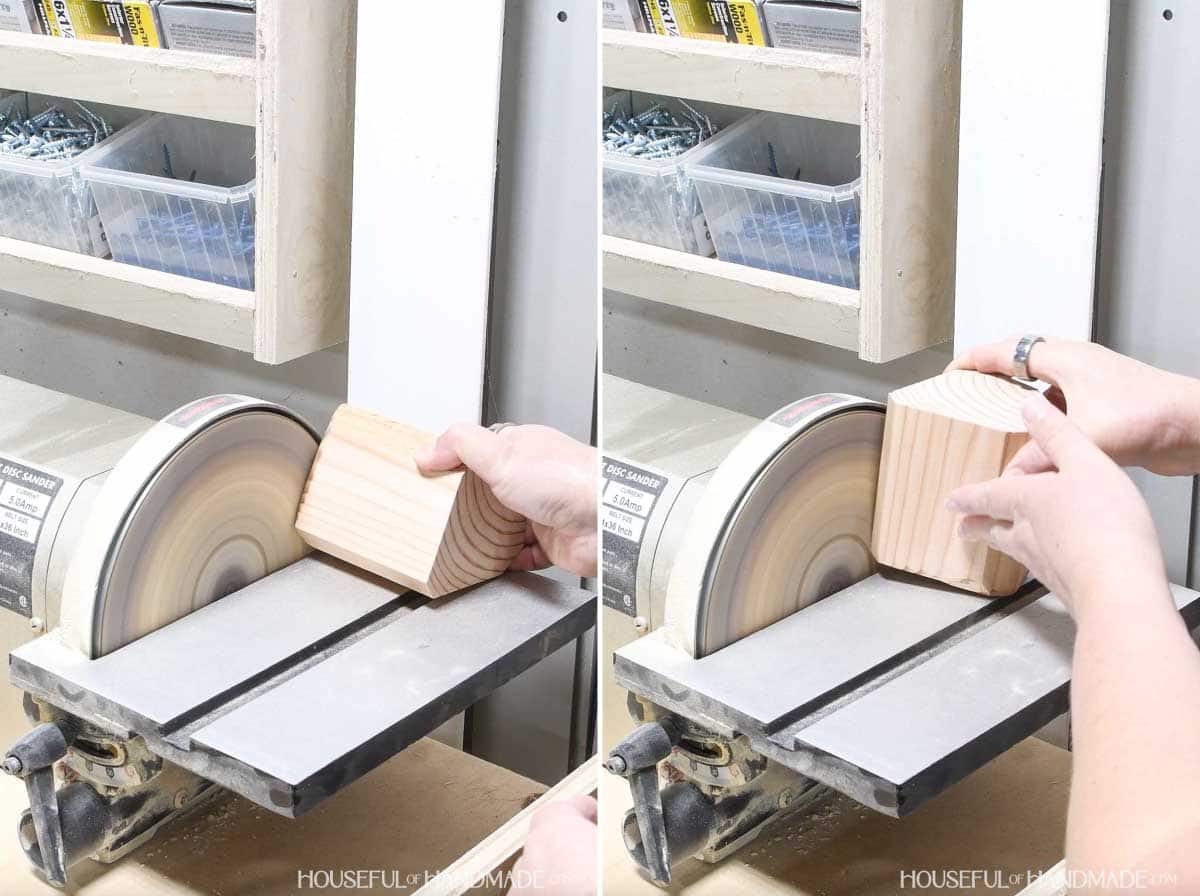
Now it is time to use the sander to curve over the top and bottom of the blocks.
There is no right or wrong way to do this. Use a lower grit sandpaper to remove more material faster (80-100).
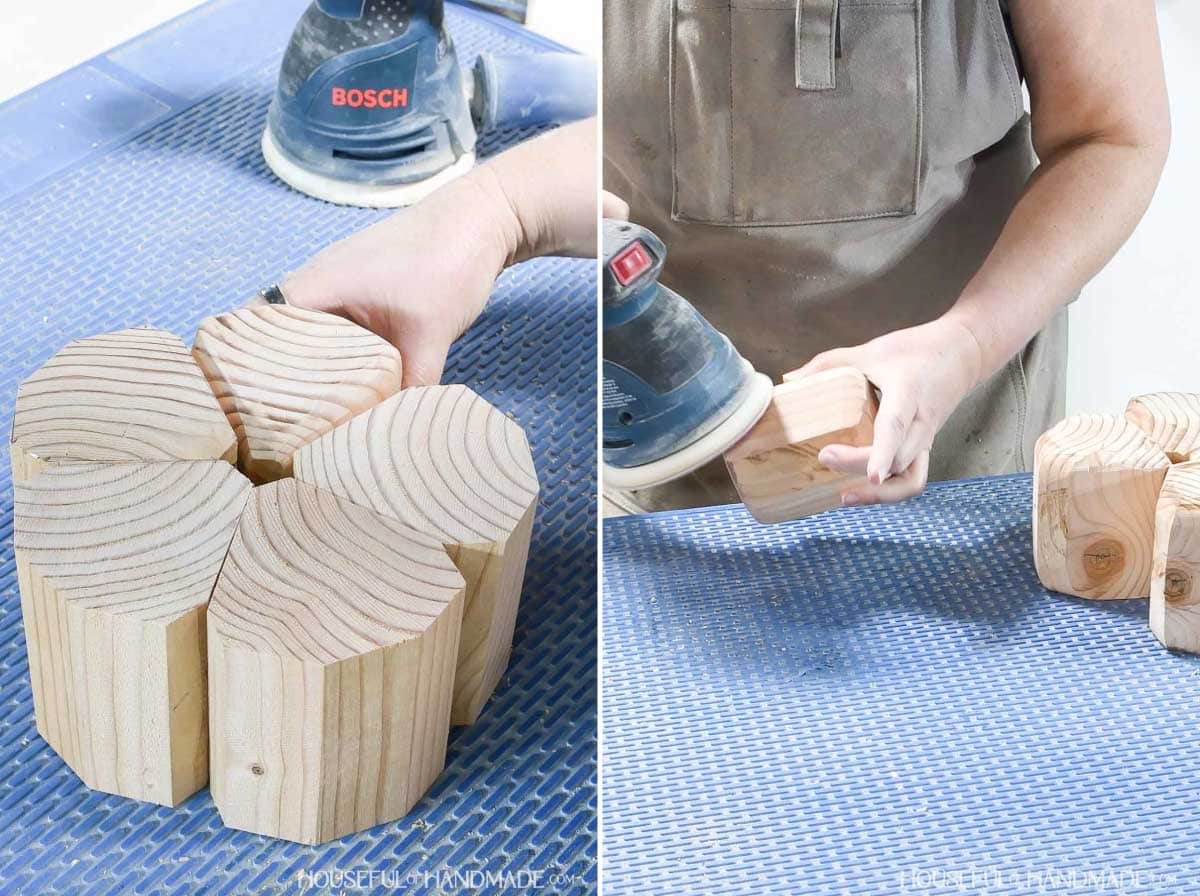
I didn’t smooth the cuts on the back, just added a curver to the top edges and slightly sloped the top towards the inside.
Once the major shaping was done, I used an orbital sander with 150 grit to clean things up.
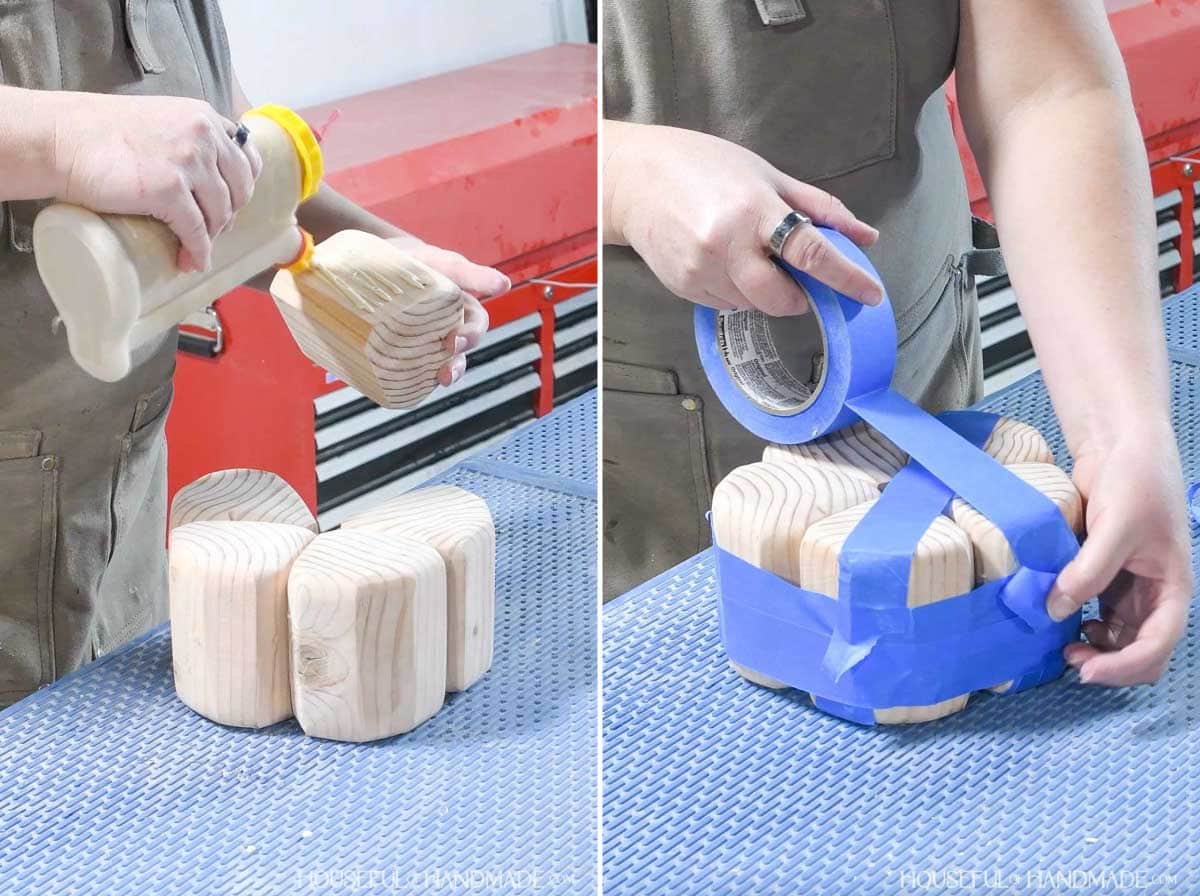
To glue the pieces together, add a good amount of glue to the inside edges of the boards.
Work quickly in a circle to get the glue between all the seams without dripping too much.
Since I do not have a clamp for round objects, I used a bunch of painters tape to hold all the pieces tight together while the glue dried.
STEP 5- Finish
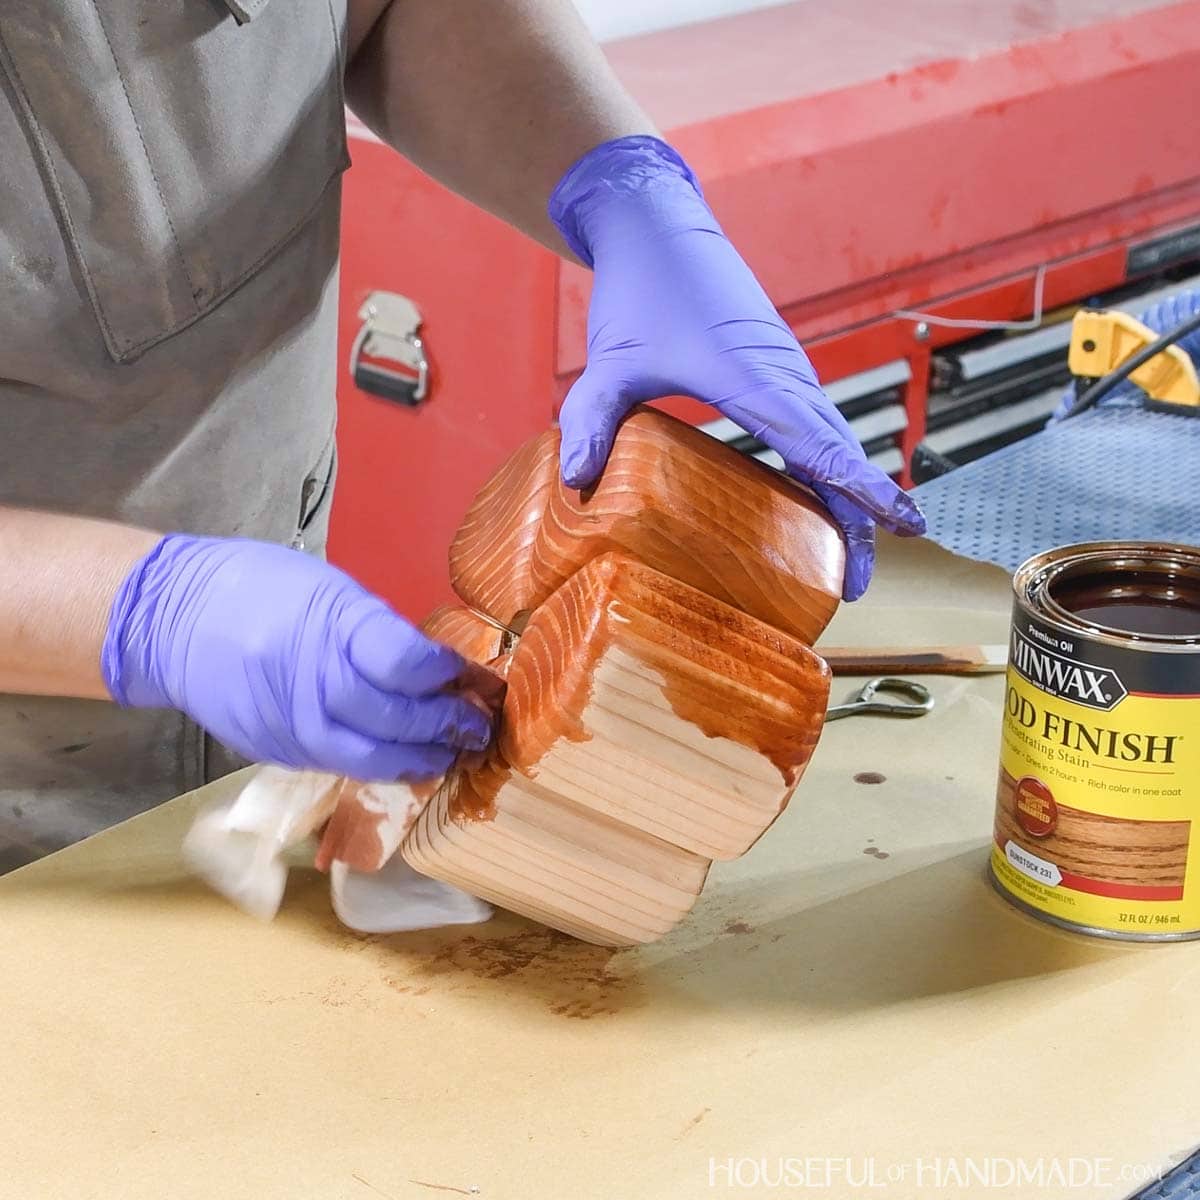
Finally it was time to stain my new wood pumpkin!
I chose a rustic orange to give it a traditional pumpkin look. Gunstock by Minwax was the perfect orange color my boards.
To really make it look like a pumpkin I went outside and found a few sticks. Then I cut it to fit inside the center hole.
I secured it with a little glue, but not sure how much it will hold since I left the bark on the stick.
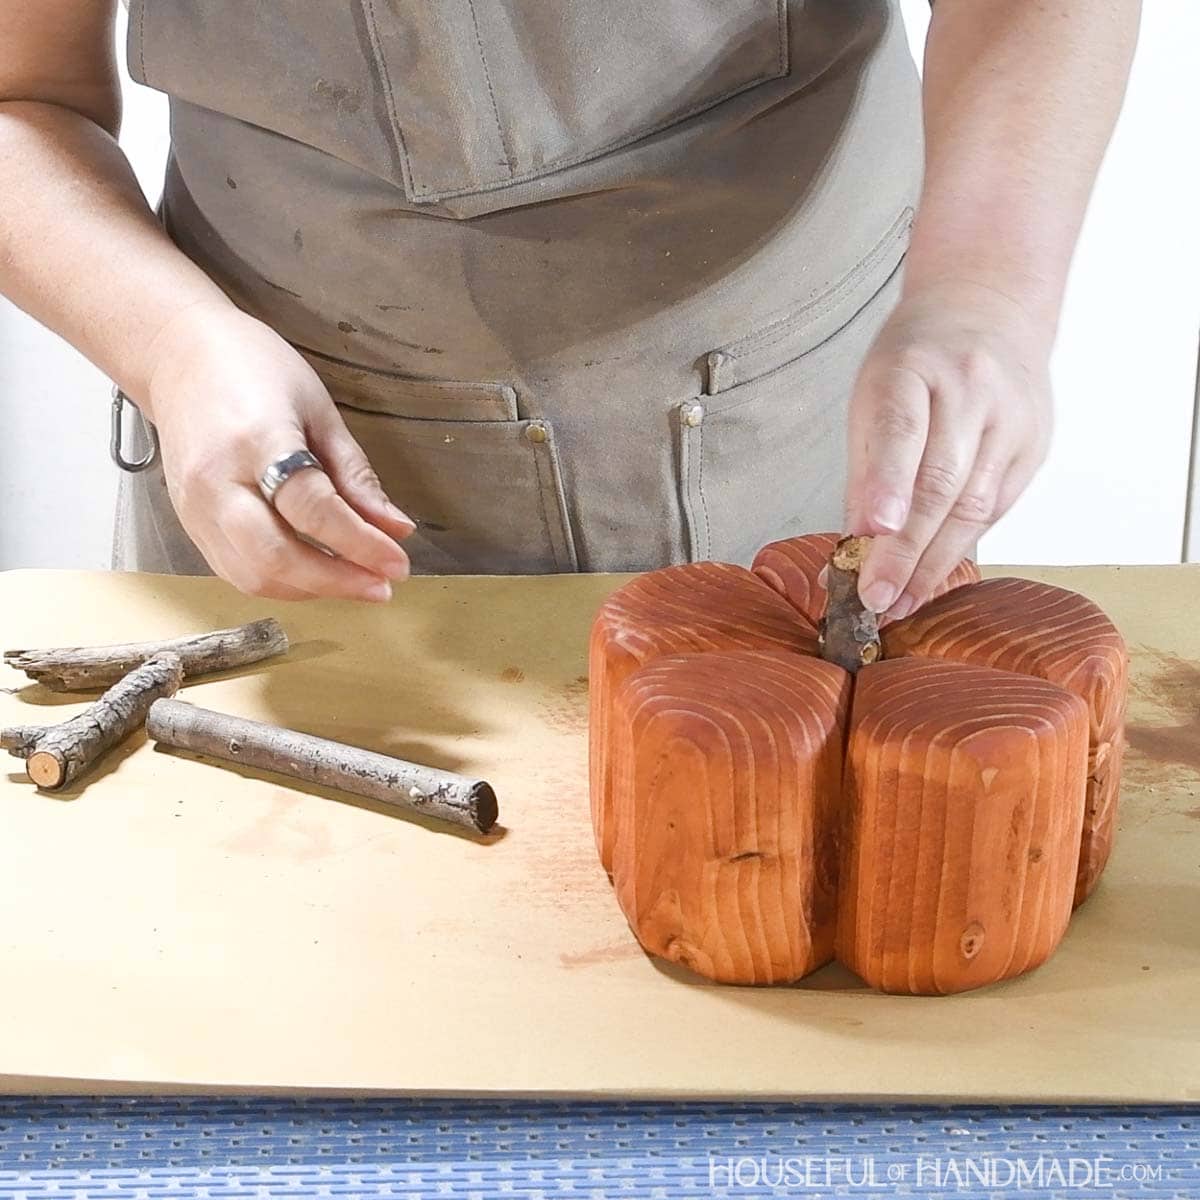
And it was all done!
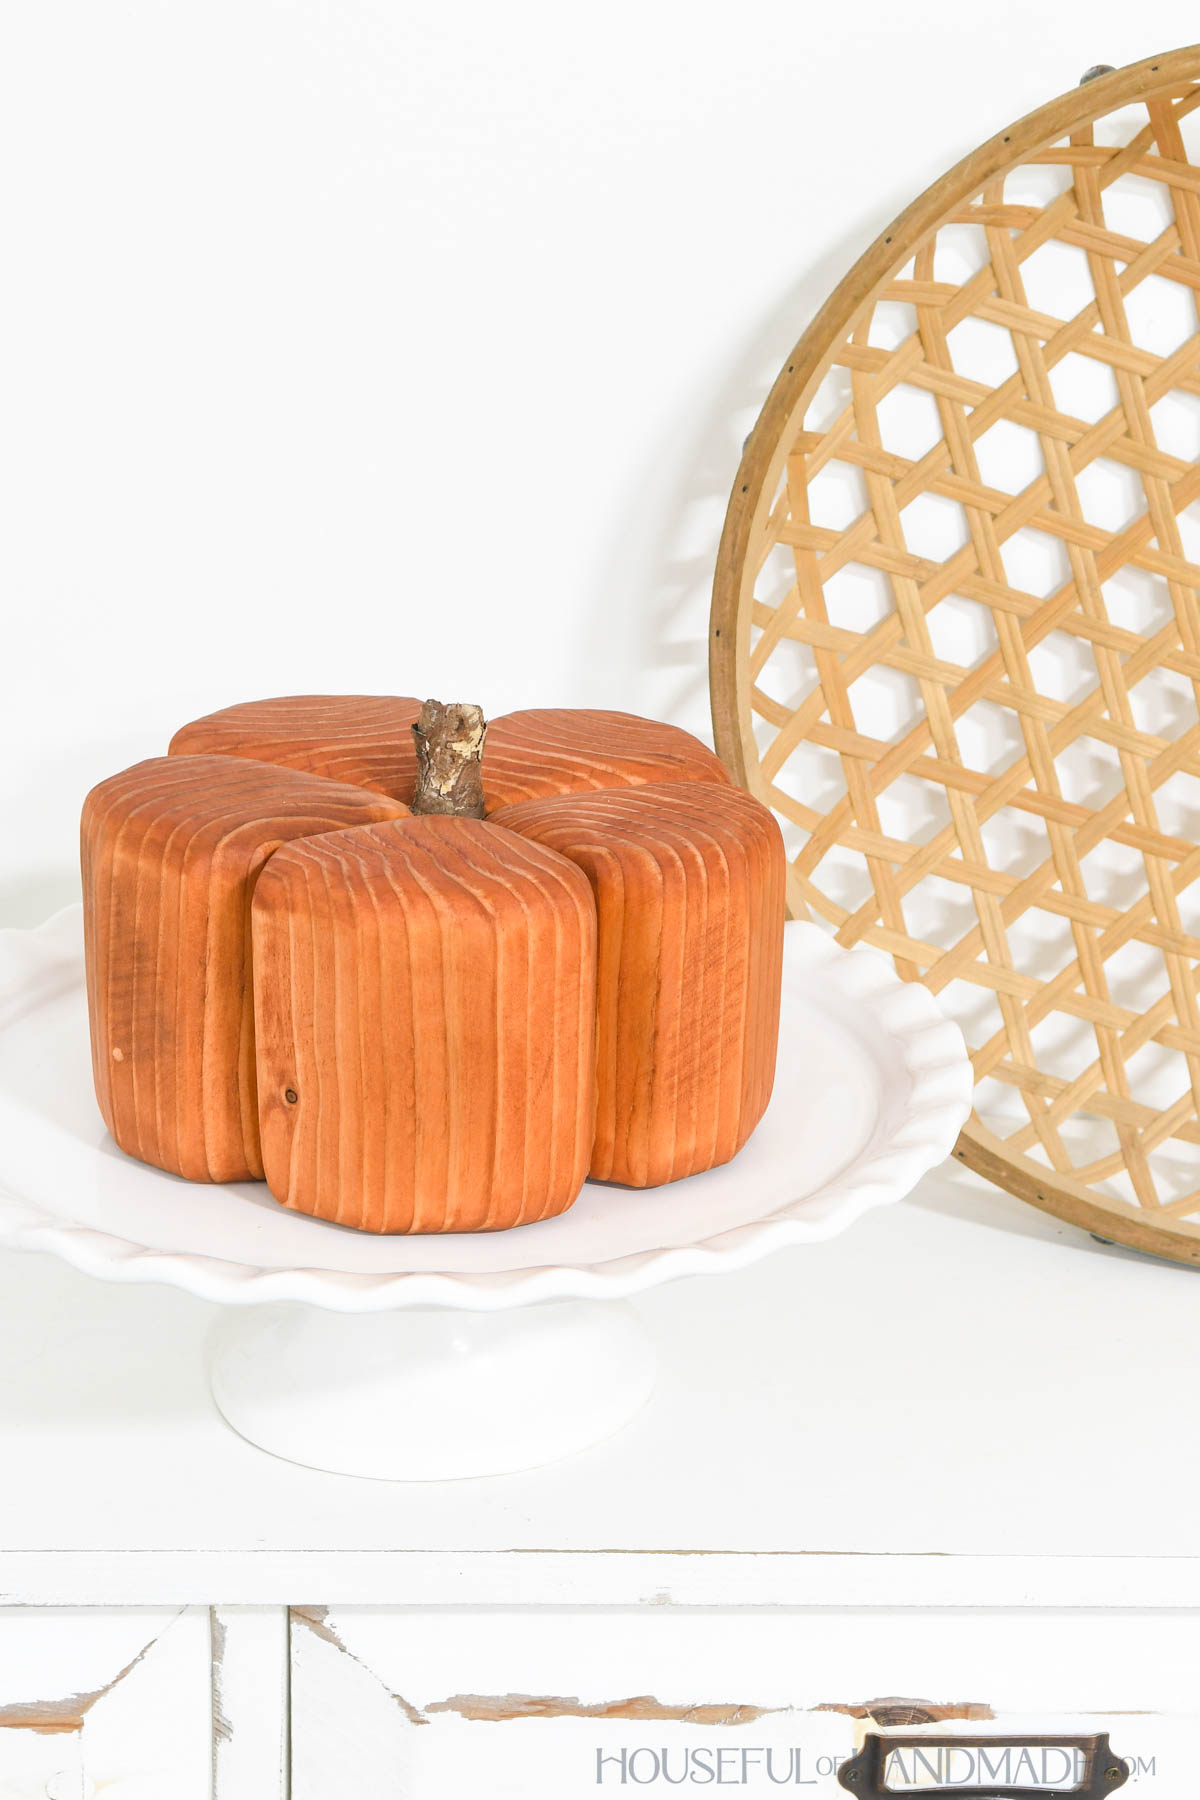
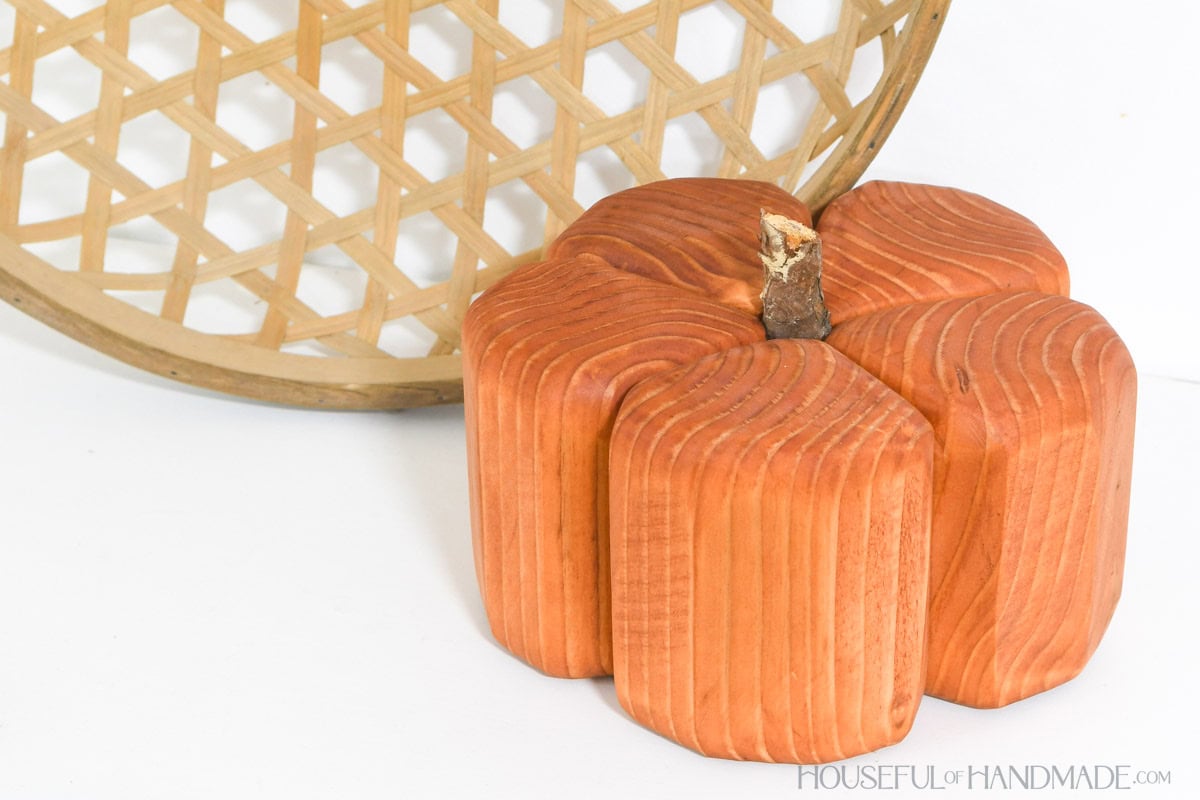
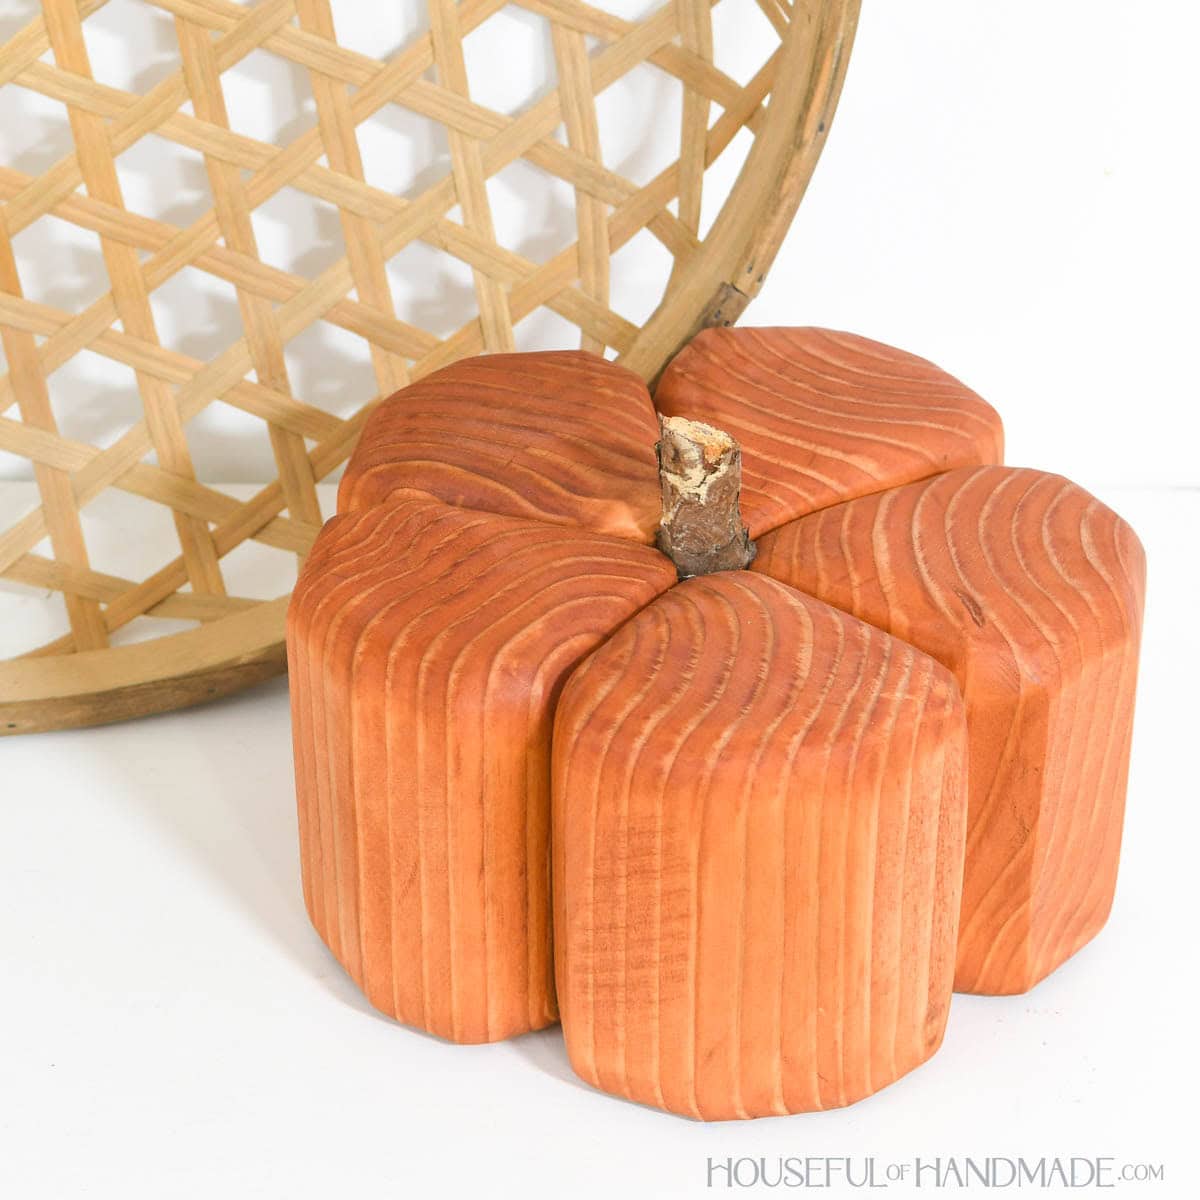
This chunky little pumpkin turned out so cute.
It will be the perfect addition to the collection of pumpkins I like to sprinkle around the house in the fall.
Happy building!