Make this quick and easy DIY umbrella stand that can be used as a fun patio side table.
If you are wondering how do you make an umbrella stand, be prepared to be shocked. It is so easy, and can be incredibly inexpensive too!
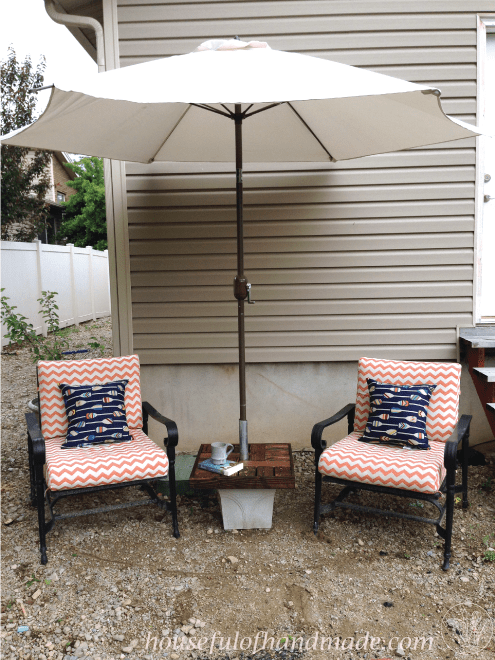
I like umbrellas for outdoor seating areas a lot. It gets really hot in the summers in Utah and the shade is necessary for enjoying the outdoors.
But they are kinda expensive. So when I found one at Target that had great reviews and was on sale (and free shipping with my Red Card) for only $25.00, I hurried and bought it before it was gone.
This post may contain affiliate links. As an Amazon Associate I earn from qualifying purchases. Click here to read my full disclosure policy.
This umbrella on Amazon is almost as cheap with prime shipping!
It is a basic beige color, and is really nice. I was so excited when it came in the mail, and pulled it out of the package ready to set it up. One Problem though,
How do I keep my patio umbrella from falling over?
You need an umbrella stand that is heavy enough on the bottom to prevent the umbrella from tipping over when its windy. A stand that secures the umbrella higher up, like this side table, gives your umbrella even more stability in the wind.
Our umbrella didn’t come with a stand. I jumped online and quickly realized that they are even more expensive then the actual umbrellas. And the less expensive ones had horrible reviews and weren’t very pretty.
So I decided to make my own, and I’m so glad I did!
This umbrella stand is heavy and sturdy. We have had lots of wind, and it hasn’t once fallen over or flown away.
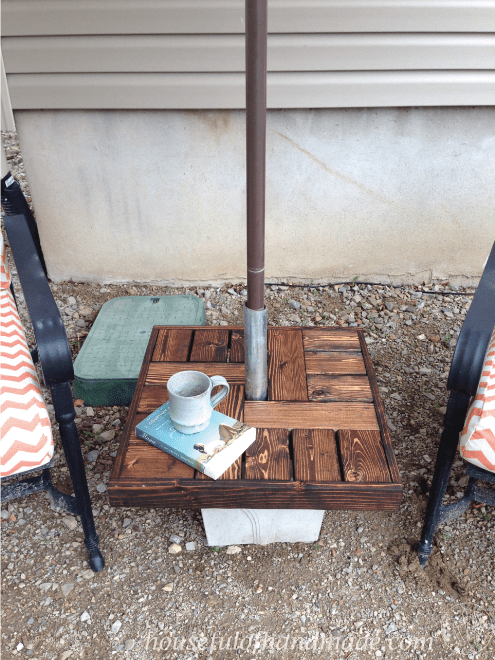
Can a Patio Umbrella Stand Without a Table?
There are basically two options for securing an umbrella. The classic patio table with a hole in the middle. Or you have the heavy weighted bases the umbrella sits in.
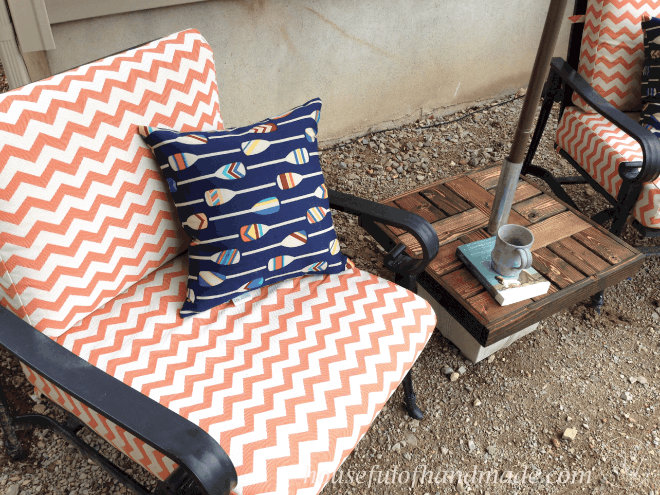
I don’t have space for a big table but I wanted more function than just a base, so I created a small DIY umbrella stand table.
This umbrella stand cost me $0 because I already had everything (which is why it is the way it is) but if you don’t happen to have all this stuff lying around, you can still make it for pretty cheap.
How to Build a DIY Umbrella Stand
Tools Needed:
Supplies:
- (2) 2x4s 8′ long (you will only use 1/2 of the second one but you can’t buy 1/2)
- (1) 1×3 8′ long
- (32)- 2 1/2″ Kreg Jig screws
- 3/4″ Finishing Nails
- Minwax Dark Walnut
- Large Planter
- Bag of Cement
- 2″ Galvanized Pipe
You will need a large planter (the top needs to be less than 20″ wide), about $8 in wood, some screws, a 2″ piece of pipe and a bag of cement. The one expense that I cannot estimate is the planter.
They can be pretty expensive, but I found this planter on Amazon, or I would recommend going to the thrift store to see what you could find there. You do want the planter to be plastic or something really light weight.
Make the Concrete Base
So last year I started the project. The first part was pretty easy, but back breaking! I learned that it is a good idea to mix the concrete in small batches and to put your pot where you want it to go (or at least close). I assembled mine in the front yard in my driveway, then we had to carry it all the way to the backyard. Needless to say, my husband wasn’t very happy with me :).
Because my planter has feet, I added some wood in the middle the same size as the feet to support the center of it. Then I placed a scrap piece of 1 3/4″ metal pipe in the middle and held it in place with some masking tape.
Then add the concrete till you get the pot mostly full. Again, mix small batches or you will exhaust yourself trying to stir it up! Then let it set up.
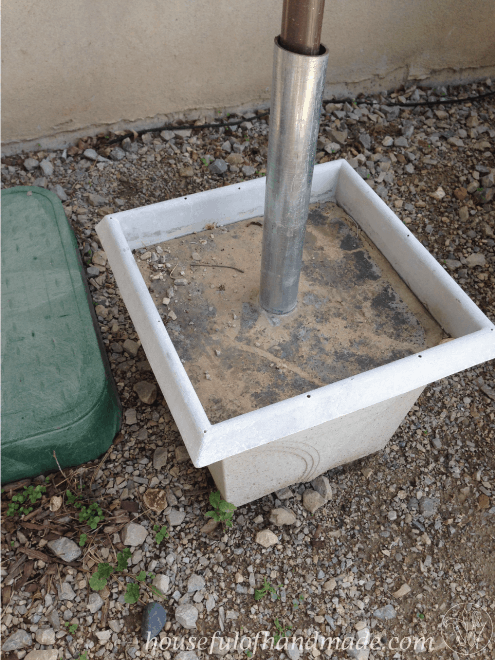
Now you can use it just like that, which I did all last year, but I really wanted to create a little table top to rest on the top of the planter so I had a place to put my beverage while sitting outside watching the kids play.
So I thought good and hard about what I wanted, then it was winter… then it was spring… and then I needed a table top, so I finally got around to making it!
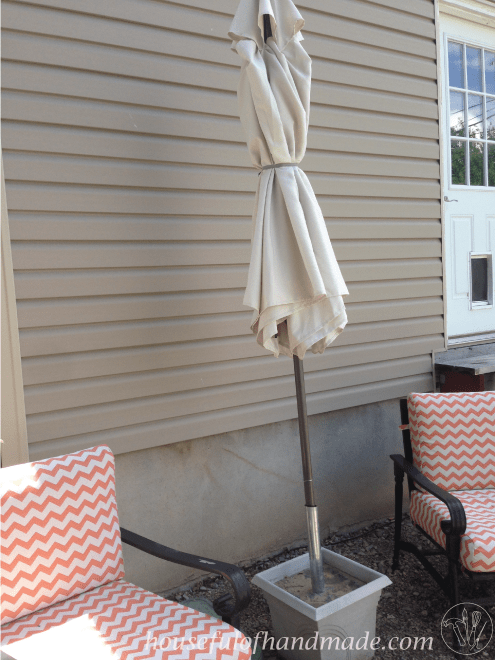
And it was super easy. I used my trusty Kreg Jig and my new nail gun and it was ready in no time. And with about $8 in wood you can too.
Cut the Wood for the Table Top
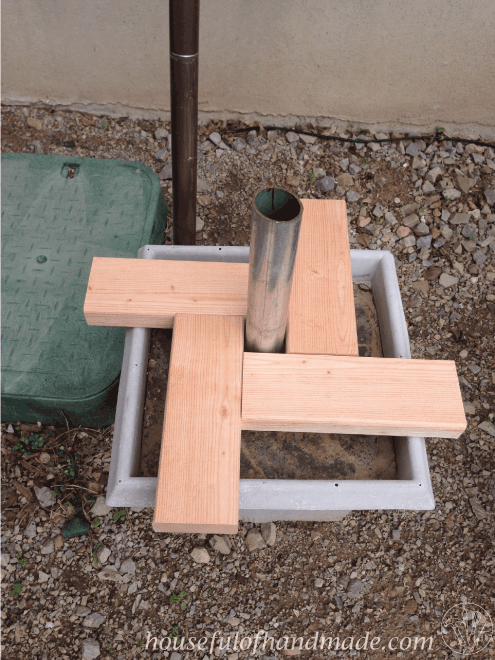
Cut (4) 11″ pieces of 2×4 and put two jig holes on one end of each. Measure 2″ down from the end with the jig holes.
Then arrange them like in the picture below, leaving a 2″ box in the middle, and secure with screws (you can also use glue for extra hold, but I forgot).
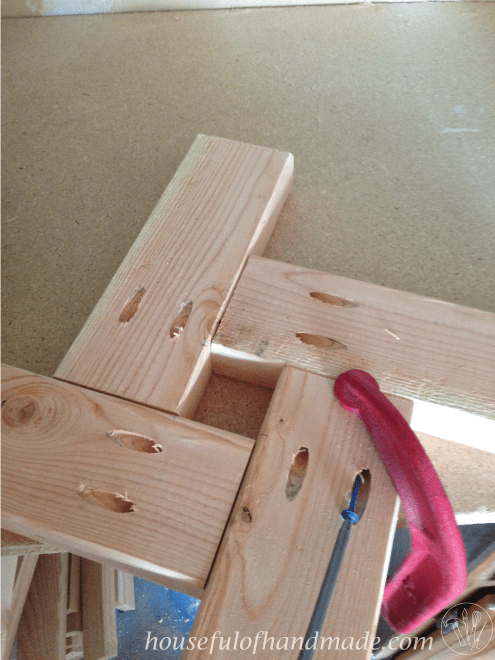
Before going any further, I double checked that it fit over my pipe. And it did 🙂
Now I went back to my work bench and cut 12 pieces of 2×4 to 5 1/2″ long and added jig holes on one end of each.
Assemble the Table Top
Then attach the boards with a little gap between them. I just eyeballed it.
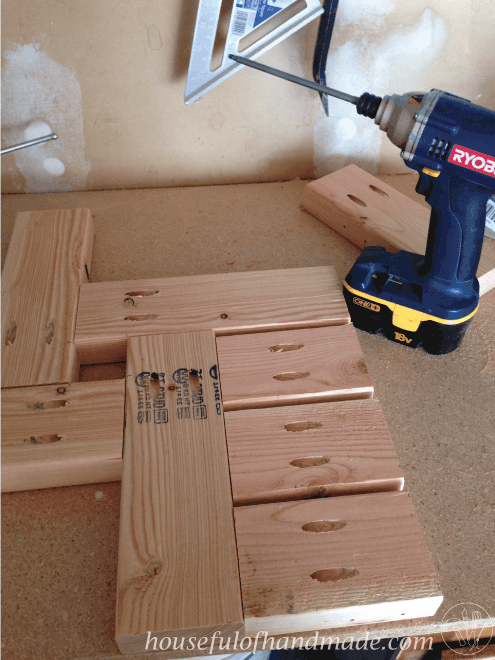
Go around the whole table top and attach 3 of the 5 1/2″ boards to each side.
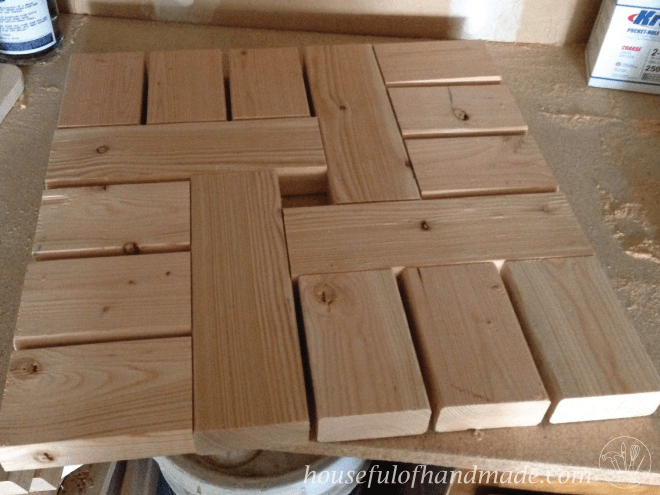
For the edges I used the 1×3, you will want to measure each side and cut to fit, the first two sides will be about 20″.
I turned the table top over and used the flat work bench to keep it flush to the top. Attach with nails.
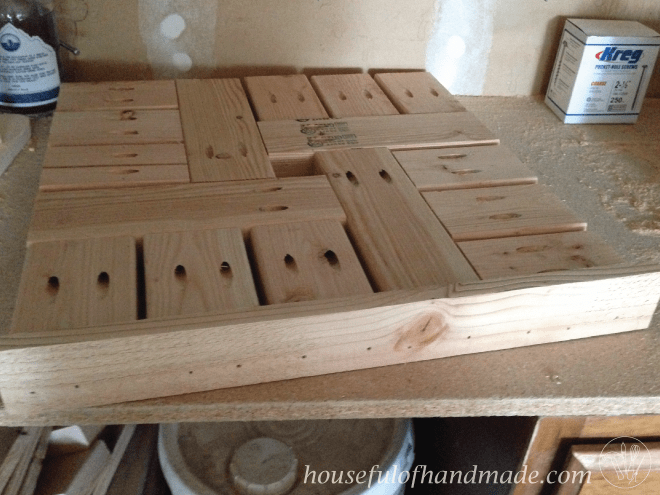
Flip the table top and do the same to the opposite side.
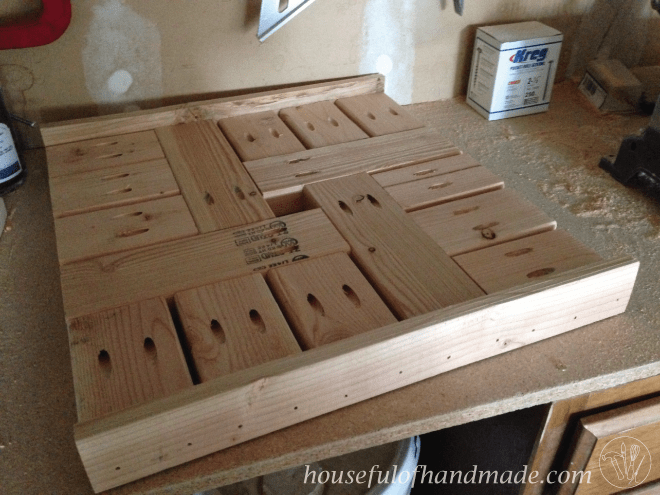
For the two remaining sides, they should be about 21 1/2″. Attach with nails.
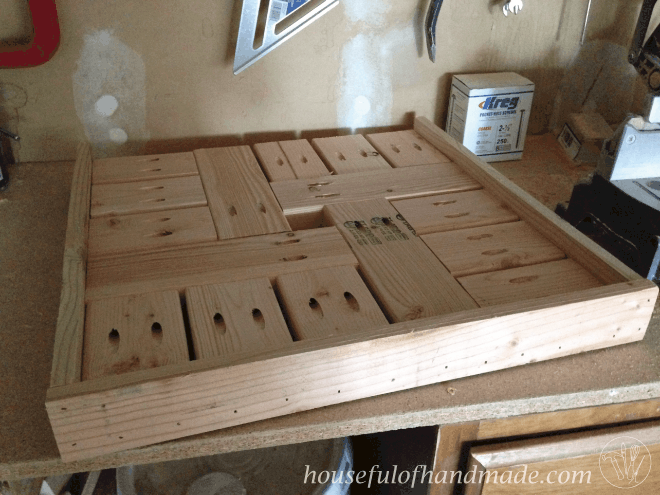
Now it is ready for sanding!
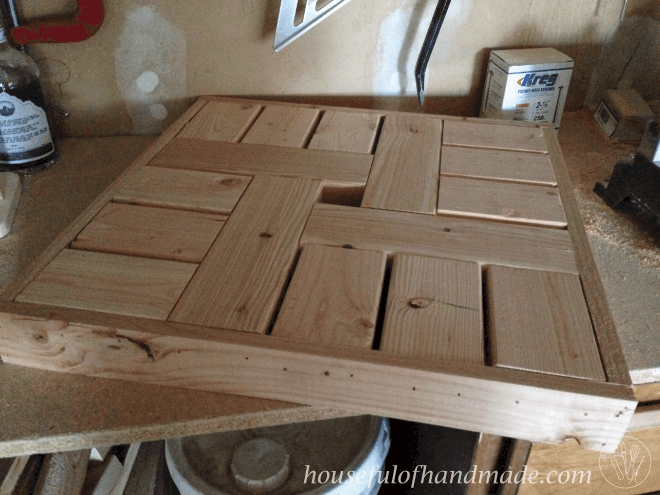
Sand and Finish the Table Top
I sanded it a lot! I wanted to get the top supper smooth. Then I stained it with Minwax Dark Walnut and finished with an outdoor deck sealer.
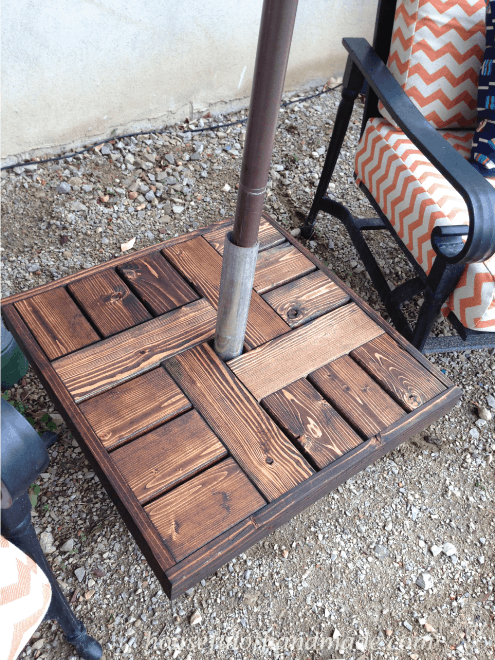
Isn’t it pretty?? I love how the grain jumps out with the stain. Look at those pretty knots.
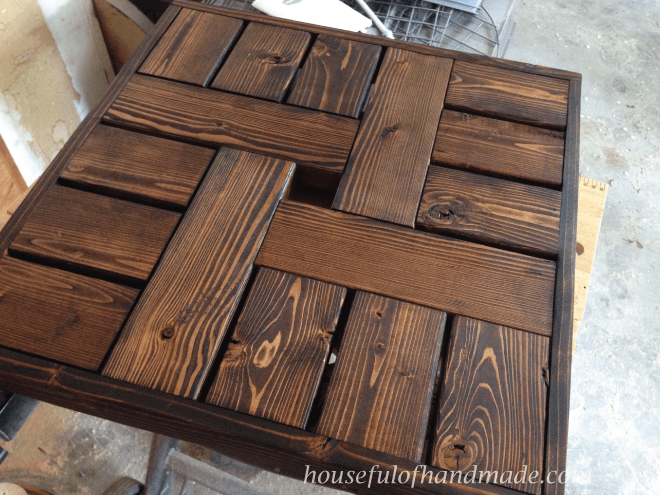
I had to wait 24 hours before putting the table top on the umbrella stand outside because it wouldn’t stop raining! Seriously, do we still live in Utah? I thought it was a desert here… Oh well, at least my garden is happy.
And now I can sit down, read a book, sip my coffee and watch the kids play.
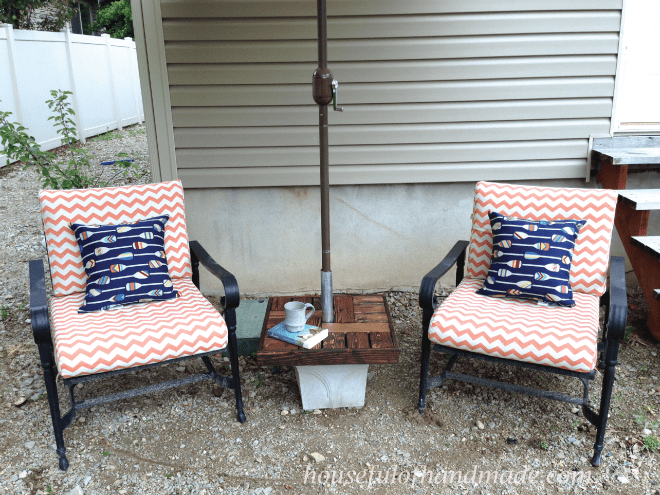
Then I can also work on that patio, but that’s gonna be a big project for another weekend.
UPDATE: We found a few small changes for drainage. When it rains and the umbrella is down water will fill up the top lip. I just drilled a couple of holes on each side, just above the concrete, to let the water run out.
Our nephew also found out a flaw when he filled the pipe the umbrella goes in with sand and rocks….. I would recommend that once the concrete cures, drill a hole in the bottom of the planter so you can get any debris and water out with out having to flip the whole thing over.
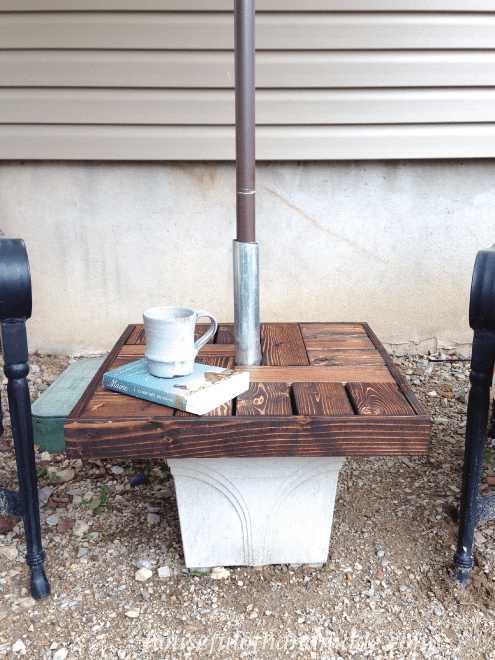
For now, I’m gonna sit down and enjoy getting my umbrella stand finished 🙂

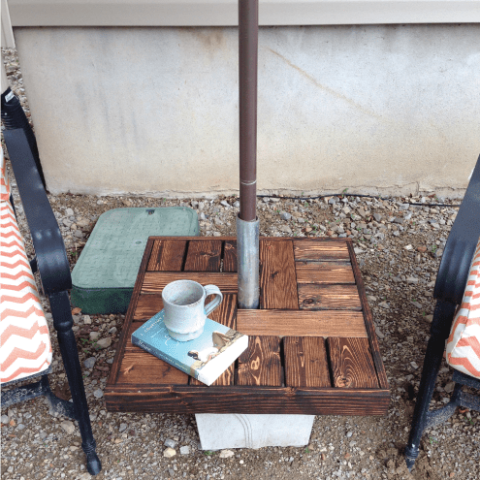
Make Your Own Umbrella Stand Side Table
Materials
- 2- 2x4s 8′ long
- 1- 1×3 8′ long
- 32- 2 1/2″ Kreg Jig screws
- 3/4″ finishing nails
Tools
- Saw (I use a miter saw)
- Kreg Jig
- Clamps
- Drill
- Screw driver
- Nail gun
- Sander
Instructions
- Cut 4 11″ pieces of 2×4 and put two jig holes on one end of each. Measure 2″ down from the end with the jig holes.
- Then arrange them like in the included picture, leaving a 2″ box in the middle, and secure with screws.
- Cut 12 pieces of 2×4 to 5 1/2″ long and added jig holes on one end of each. Then attach the boards with a little gap between them. I just eyeballed it.
- Go around the whole table top and attach 3 of the 5 1/2″ boards to each side.
- For the edges I used the 1×3, you will want to measure each side and cut to fit, the first two side will be about 20″. I turned the table top over and used the flat work bench to keep ti flush to the top. Attach with nails. Do the same to the opposite side.
- Measure the other sides, they should be about 21 1/2″. Attach with nails.
- Now it's ready for sanding. I sanded it a lot! I wanted to get the top supper smooth. Then I stained it with Minwax Dark Walnut and finished with an outdoor deck sealer.
Recommended Products
As an Amazon Associate and member of other affiliate programs, I earn from qualifying purchases.
-
 Ryobi P252 18V Lithium Ion Battery Powered Brushless 1,800 RPM 1/2 Inch Drill Driver w/ MagTray and Adjustable Clutch (Battery Not Included / Power Tool Only)
 -
 Kreg KMA2900 Multi-Mark Multi-Purpose Marking and Measuring Tool
 -
 Kreg SML-C250-125 Pocket Screws, 2-1/2" #8 Coarse-Thread, Washer-Head (125 Count)
 -
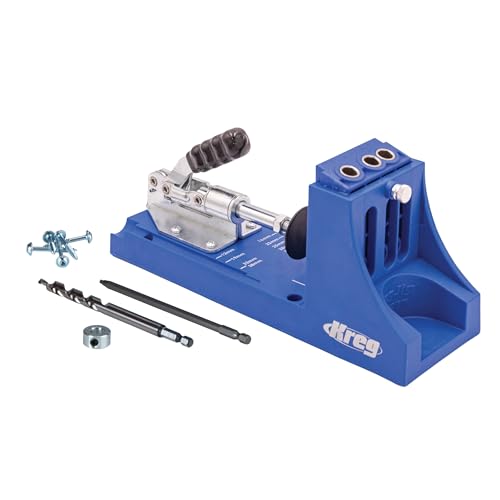
 Kreg K4 Pocket HoleJig System (K4 Jig)


