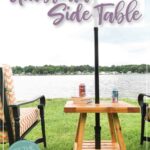
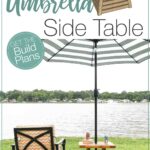
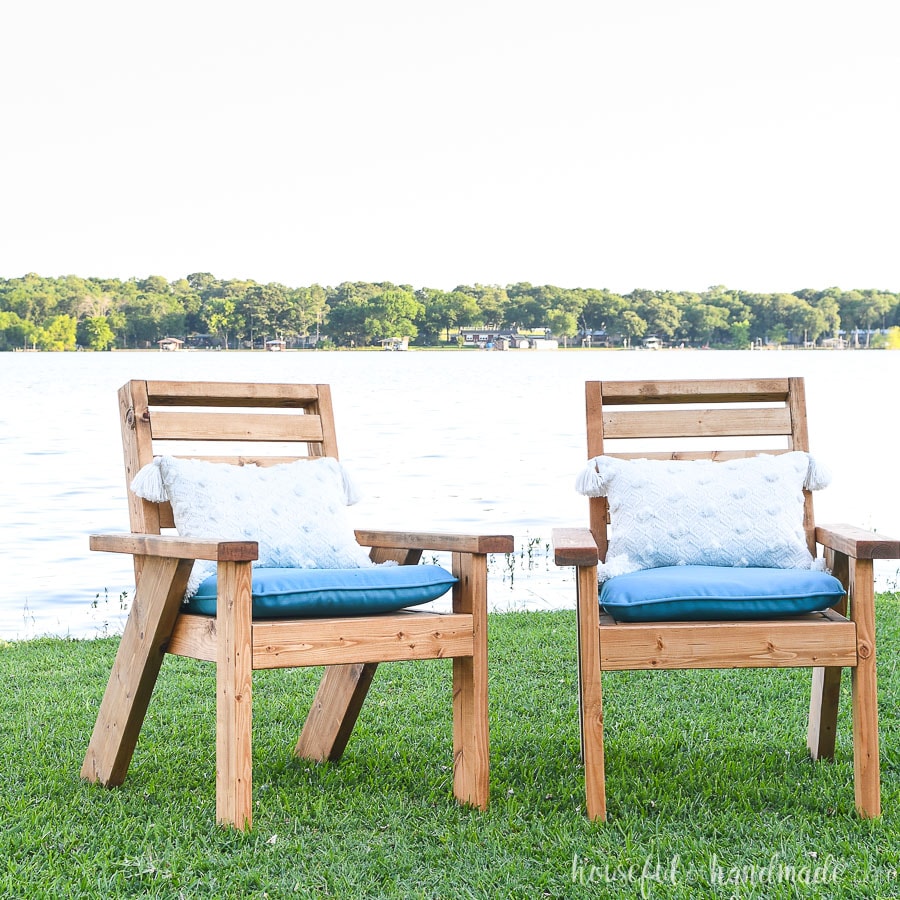
It’s getting hot outside! But instead of giving up enjoying the outdoors, I decided it was time to make some shade.
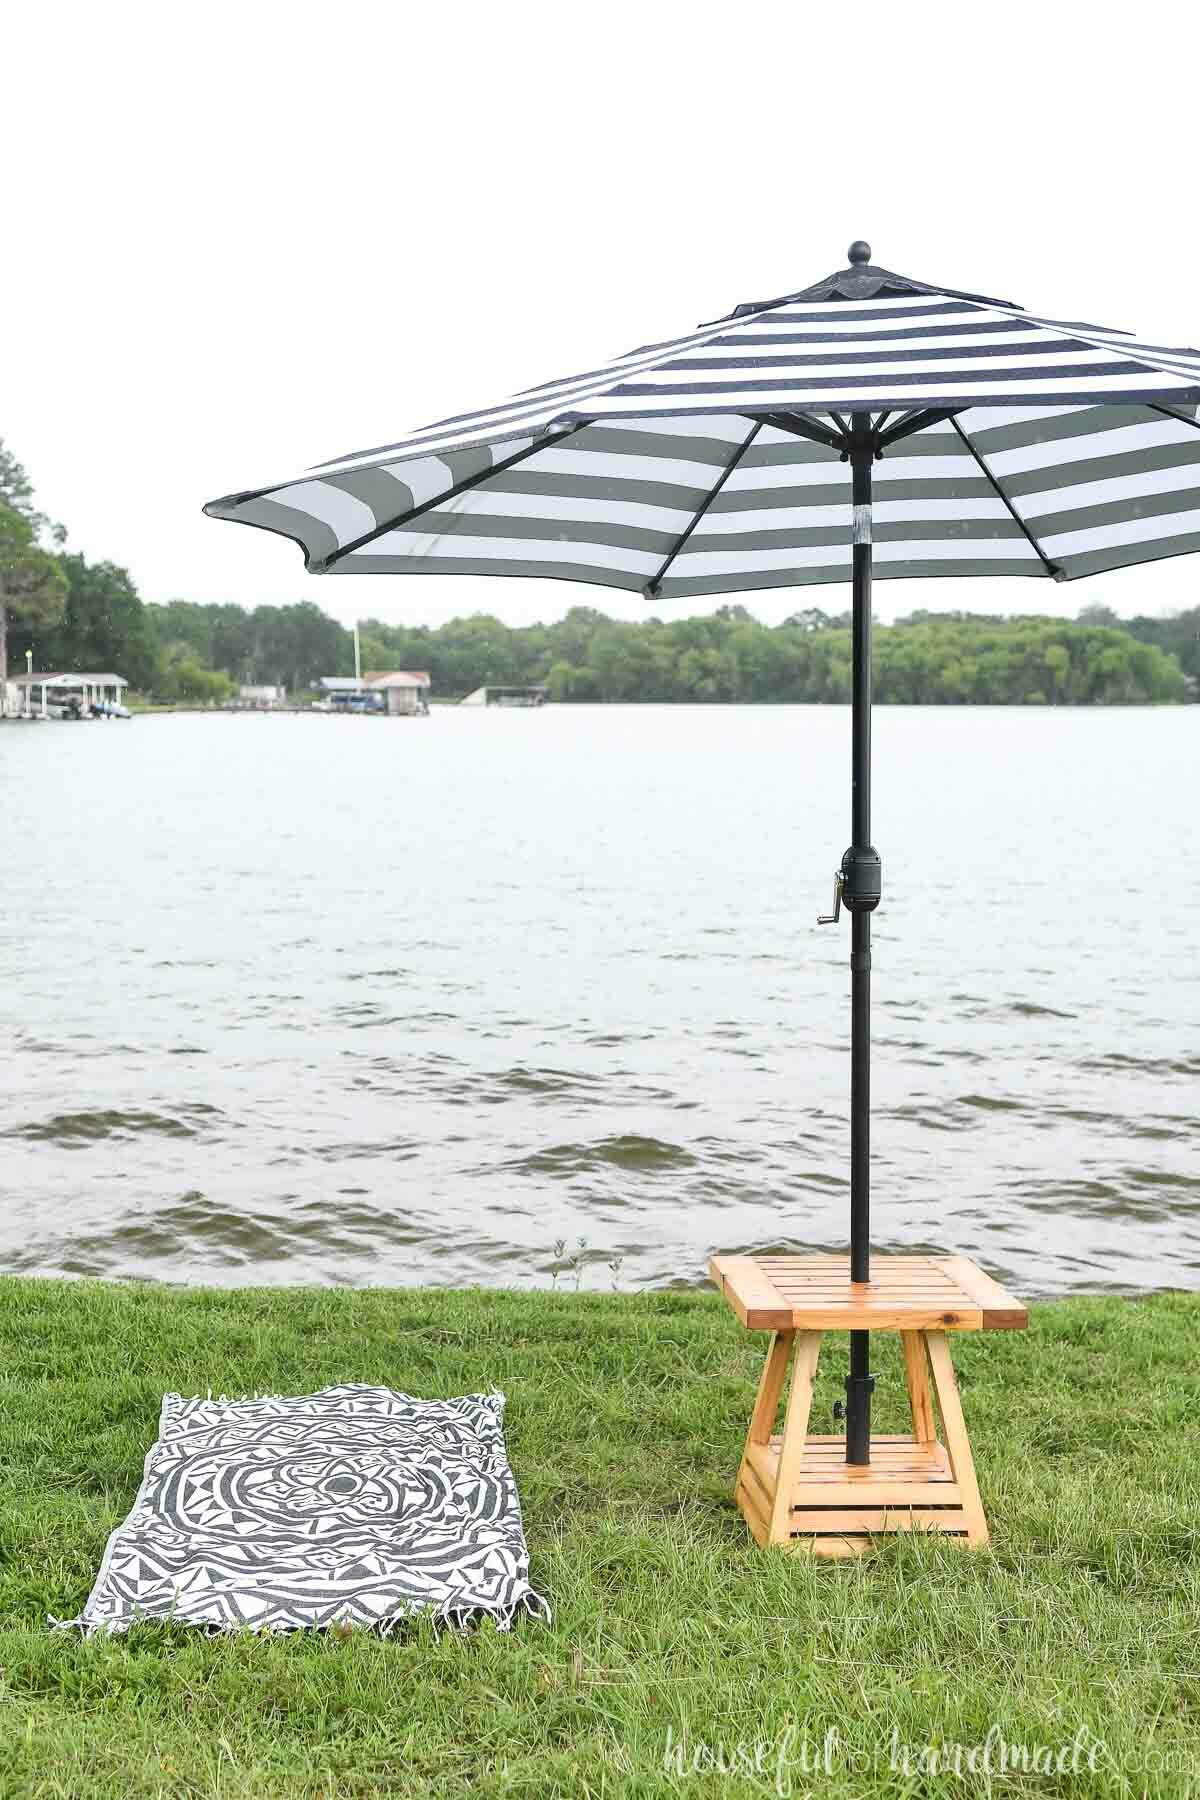
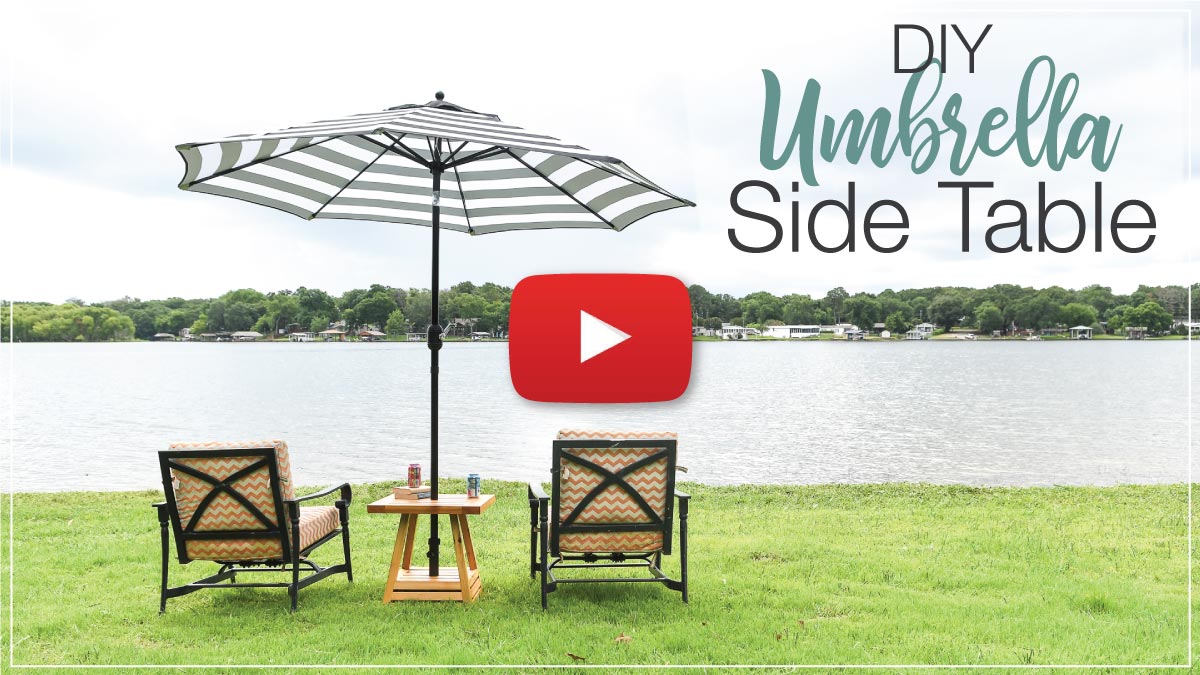
I built some beautiful outdoor side tables. But these aren’t just any side tables, they are designed to hold an umbrella to help you stay cool outside.
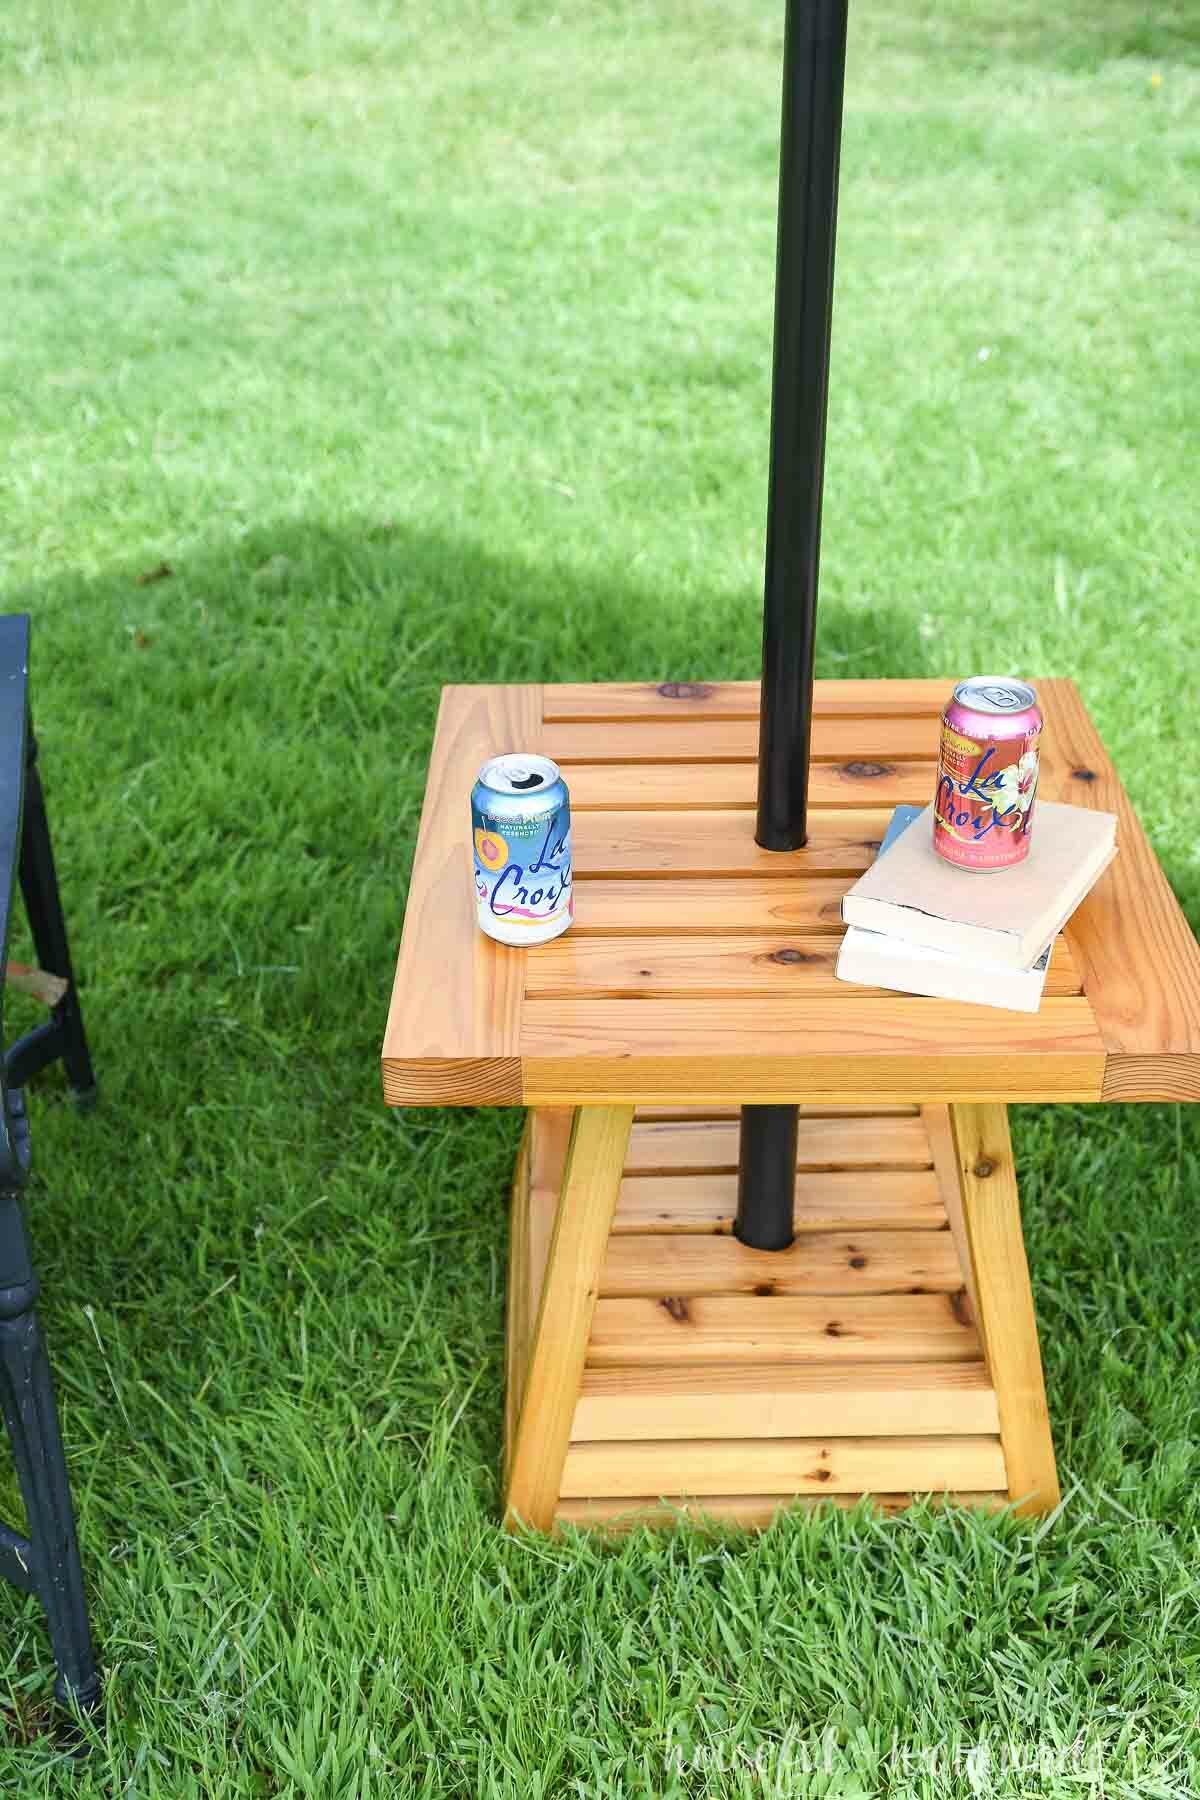
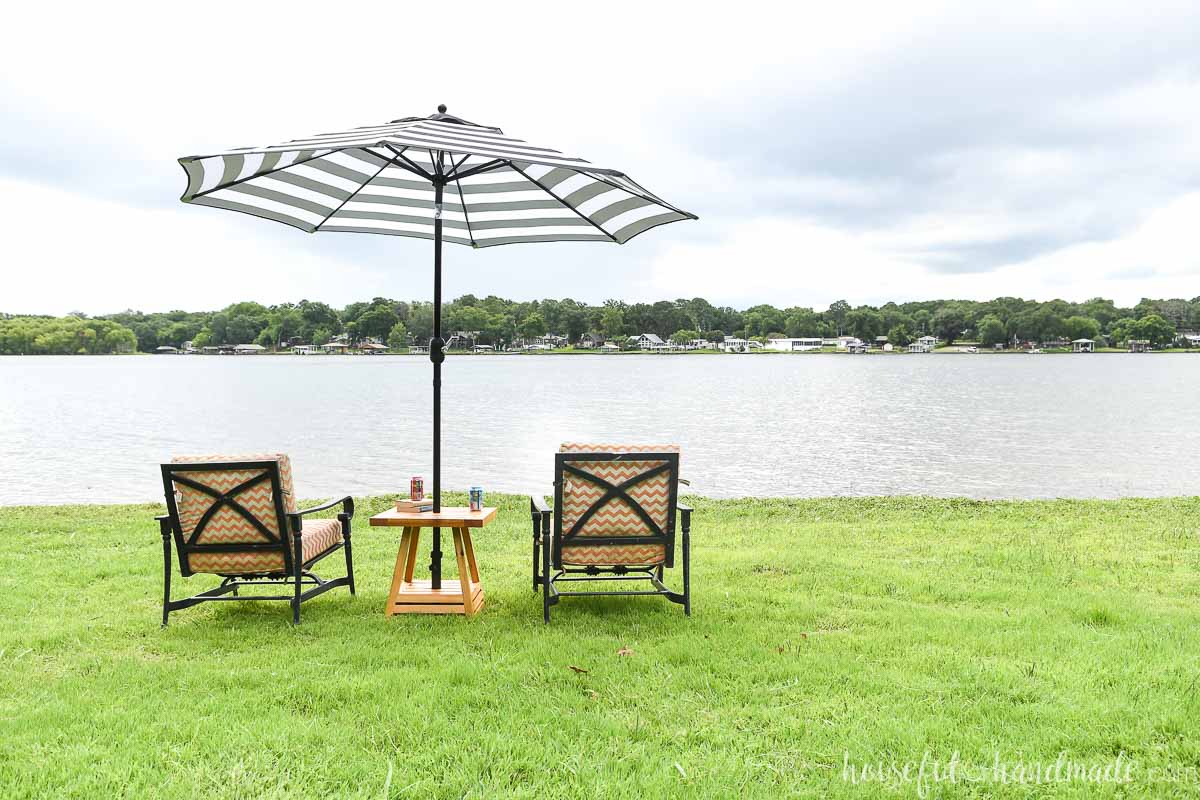
Plus these DIY umbrella side tables have 2 shelves to hold your summer read, cool beverage, beach tunes and more! Are you ready to get back outside?
This post may contain affiliate links. As an Amazon Associate I earn from qualifying purchases. Click here to read my full disclosure policy.
Outdoor Side Table Design
This project all started when my husband found some reasonably priced outdoor umbrellas online. Since our last umbrella stand with side table did not make the move to Texas, we needed new ones.
I wanted a unique design on the side tables. Something that would hide the base of the umbrella stand, but look amazing.
After many, many, many different ideas, it finally happened…
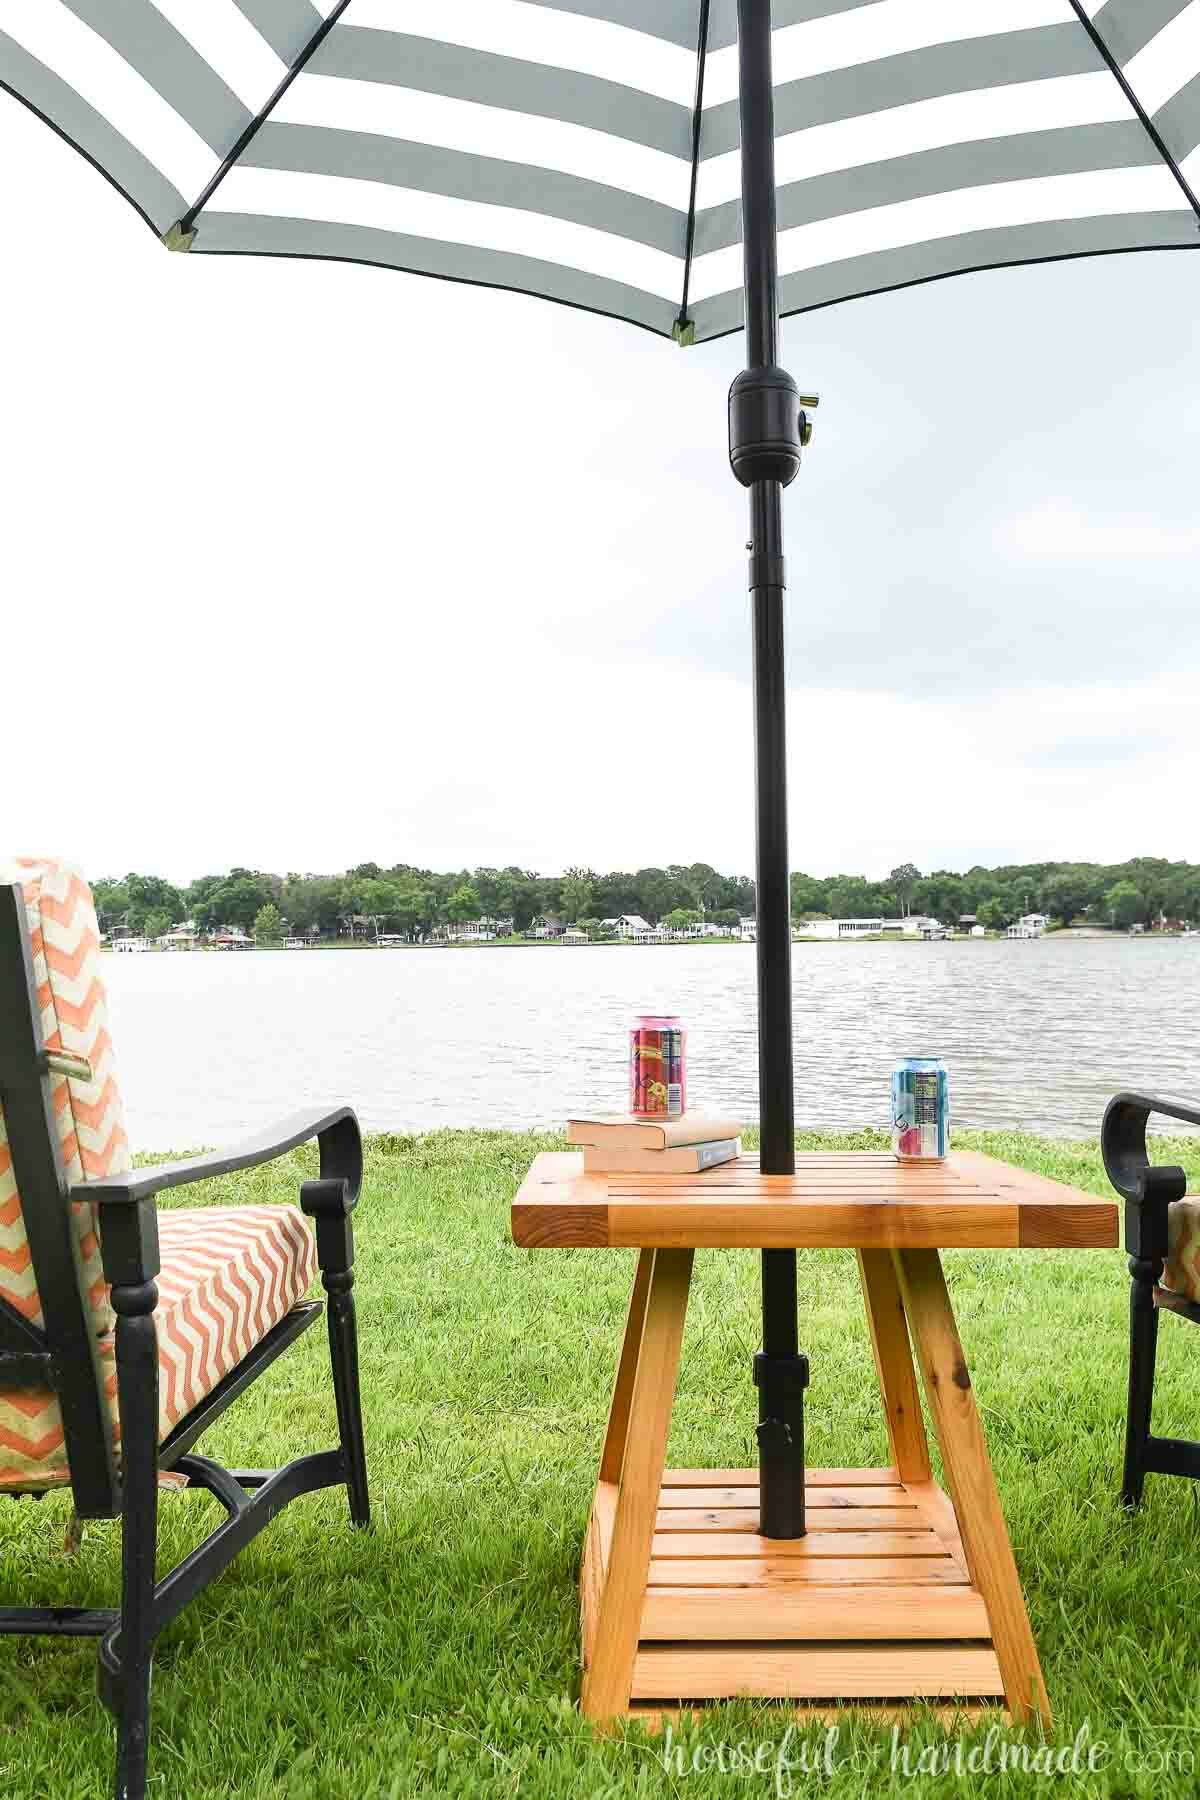
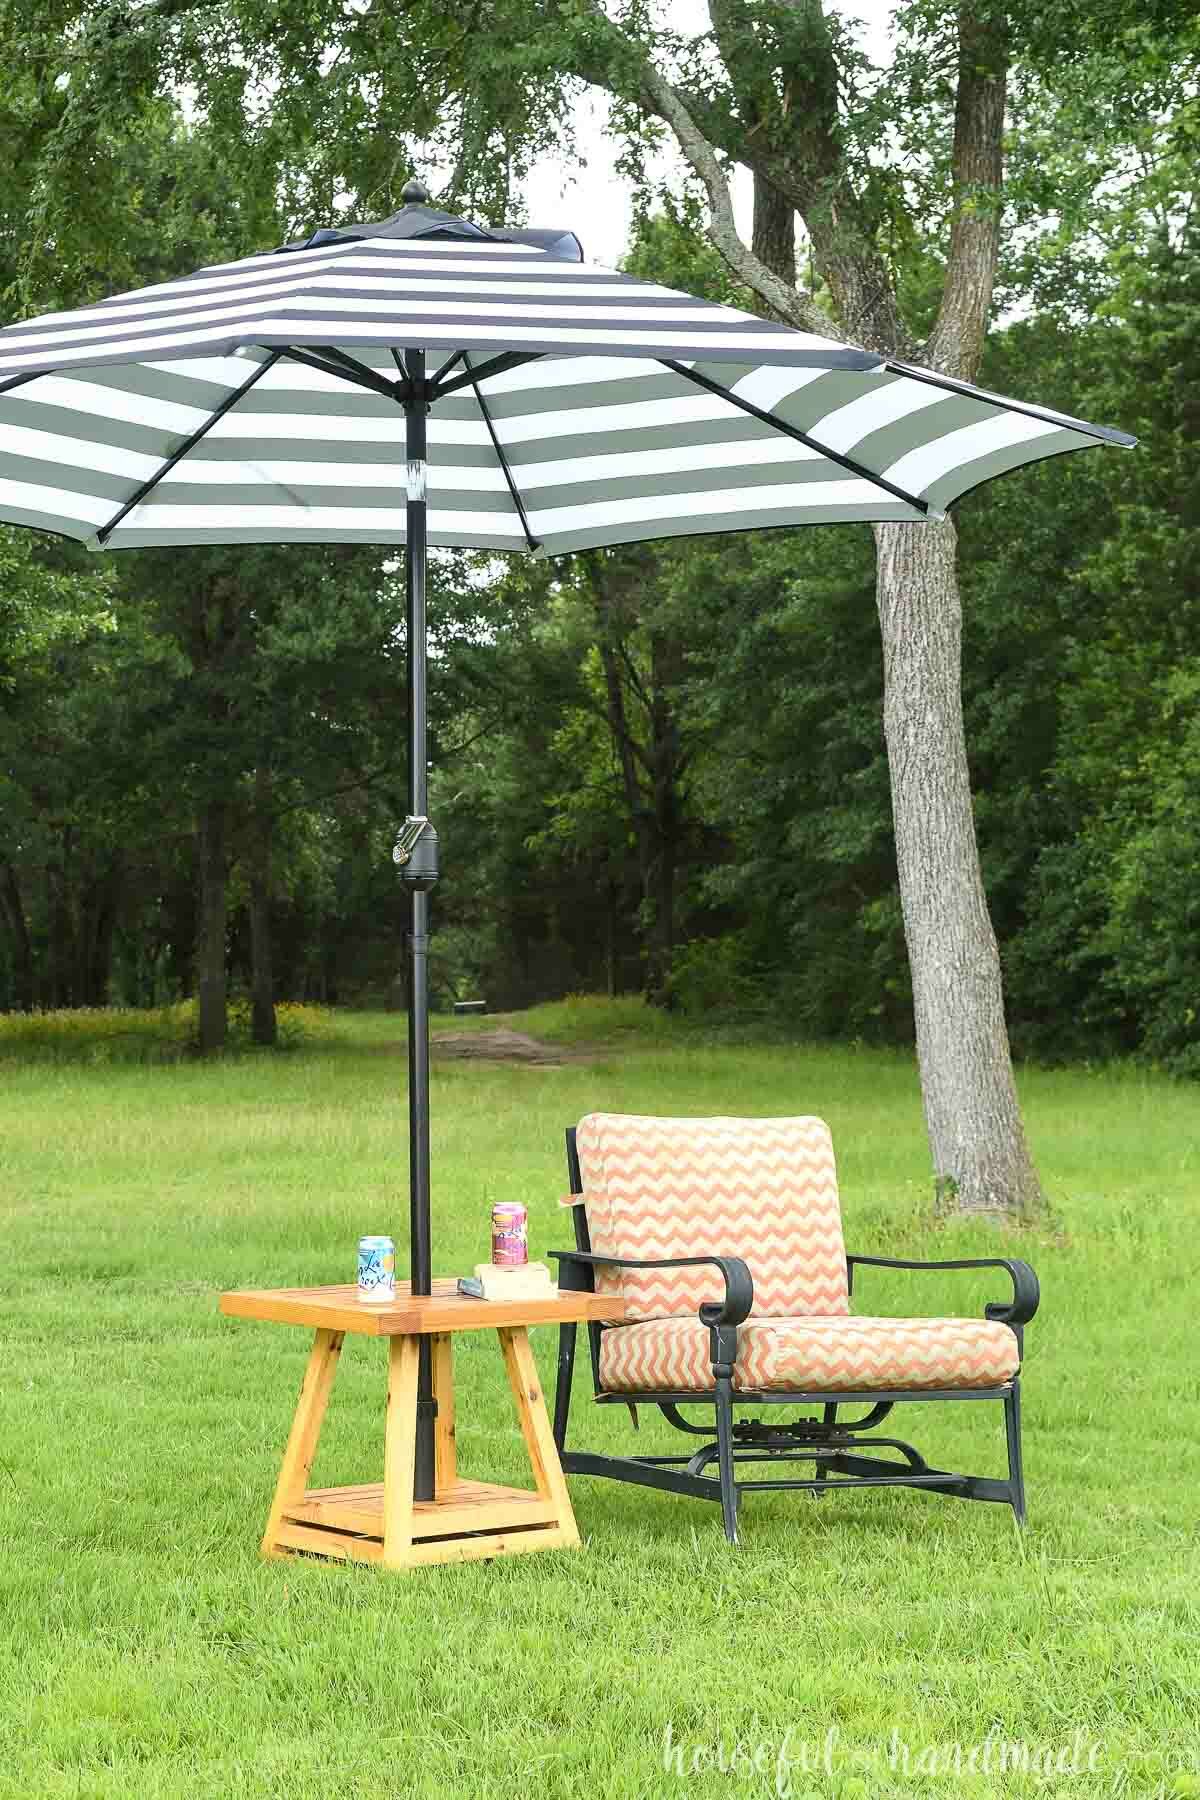
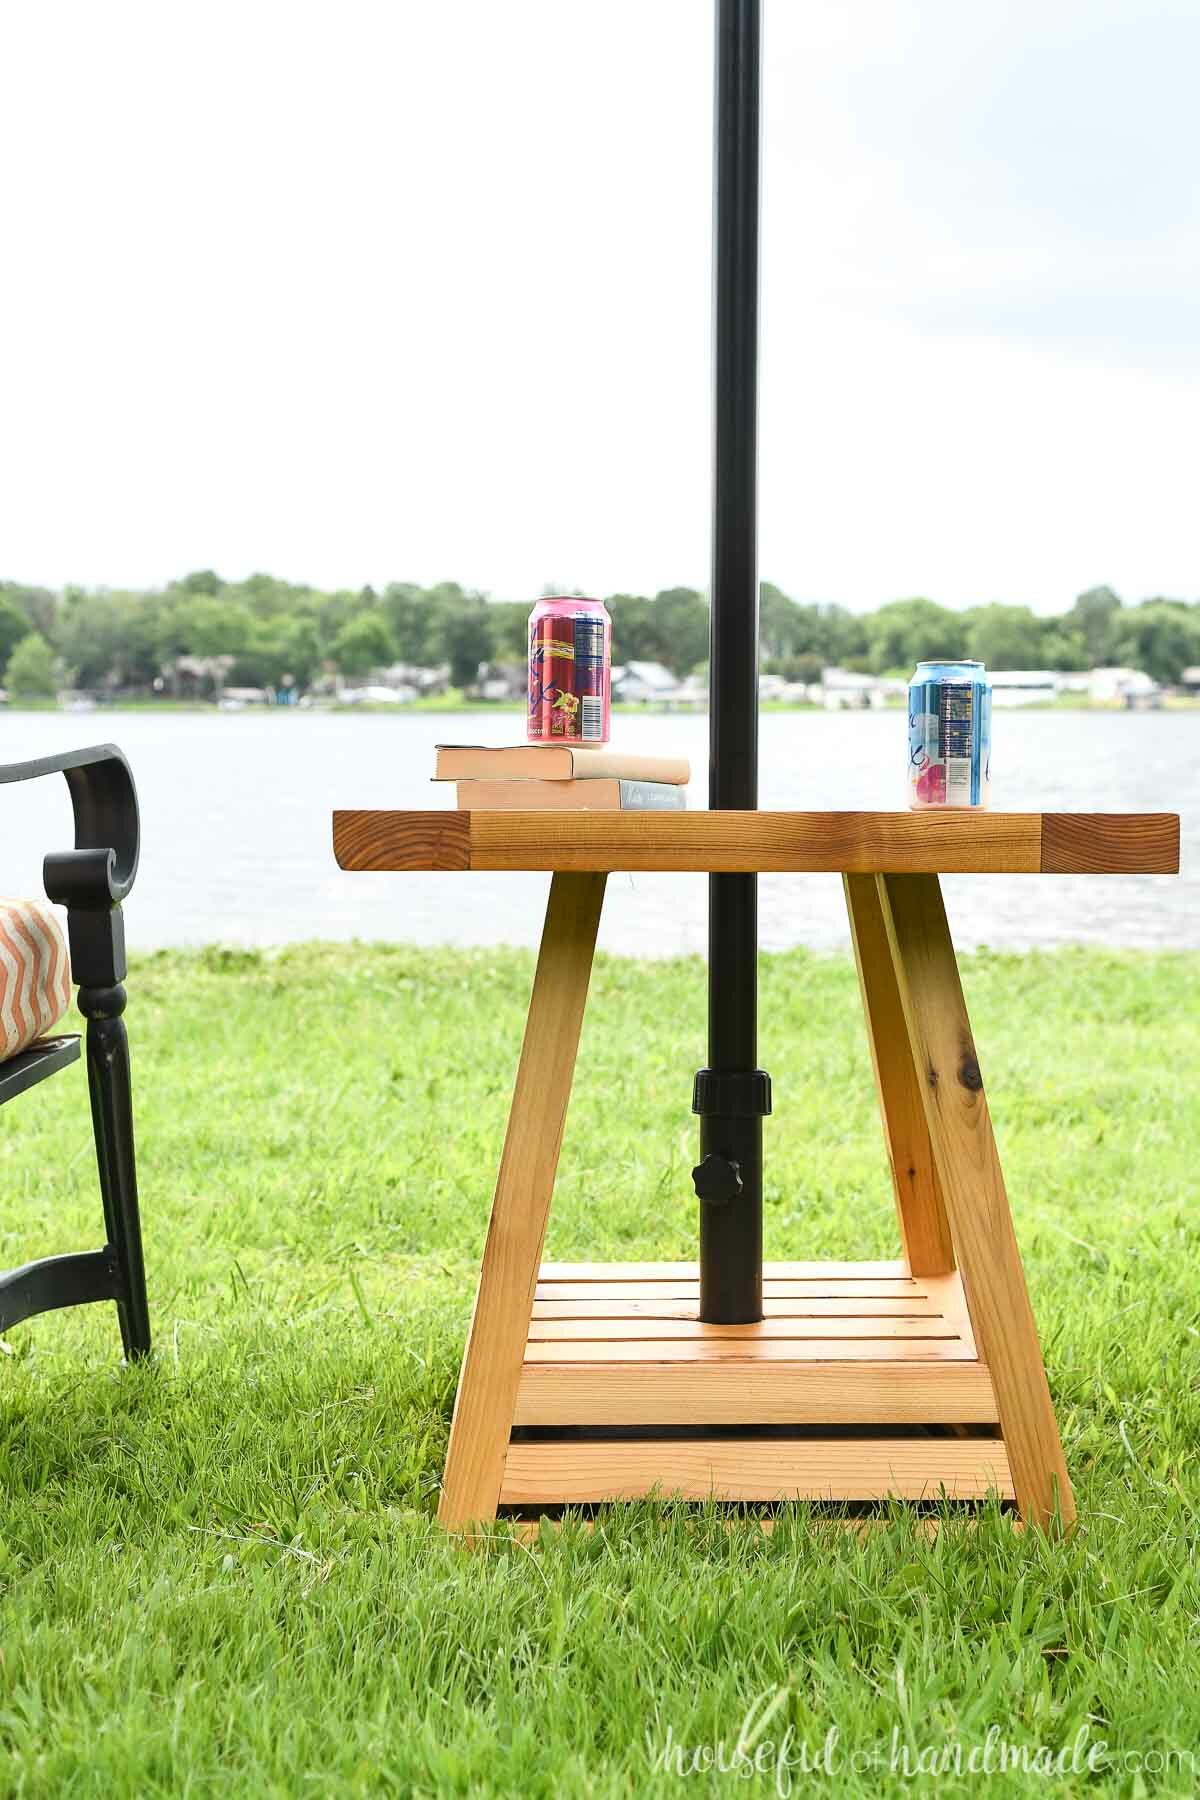
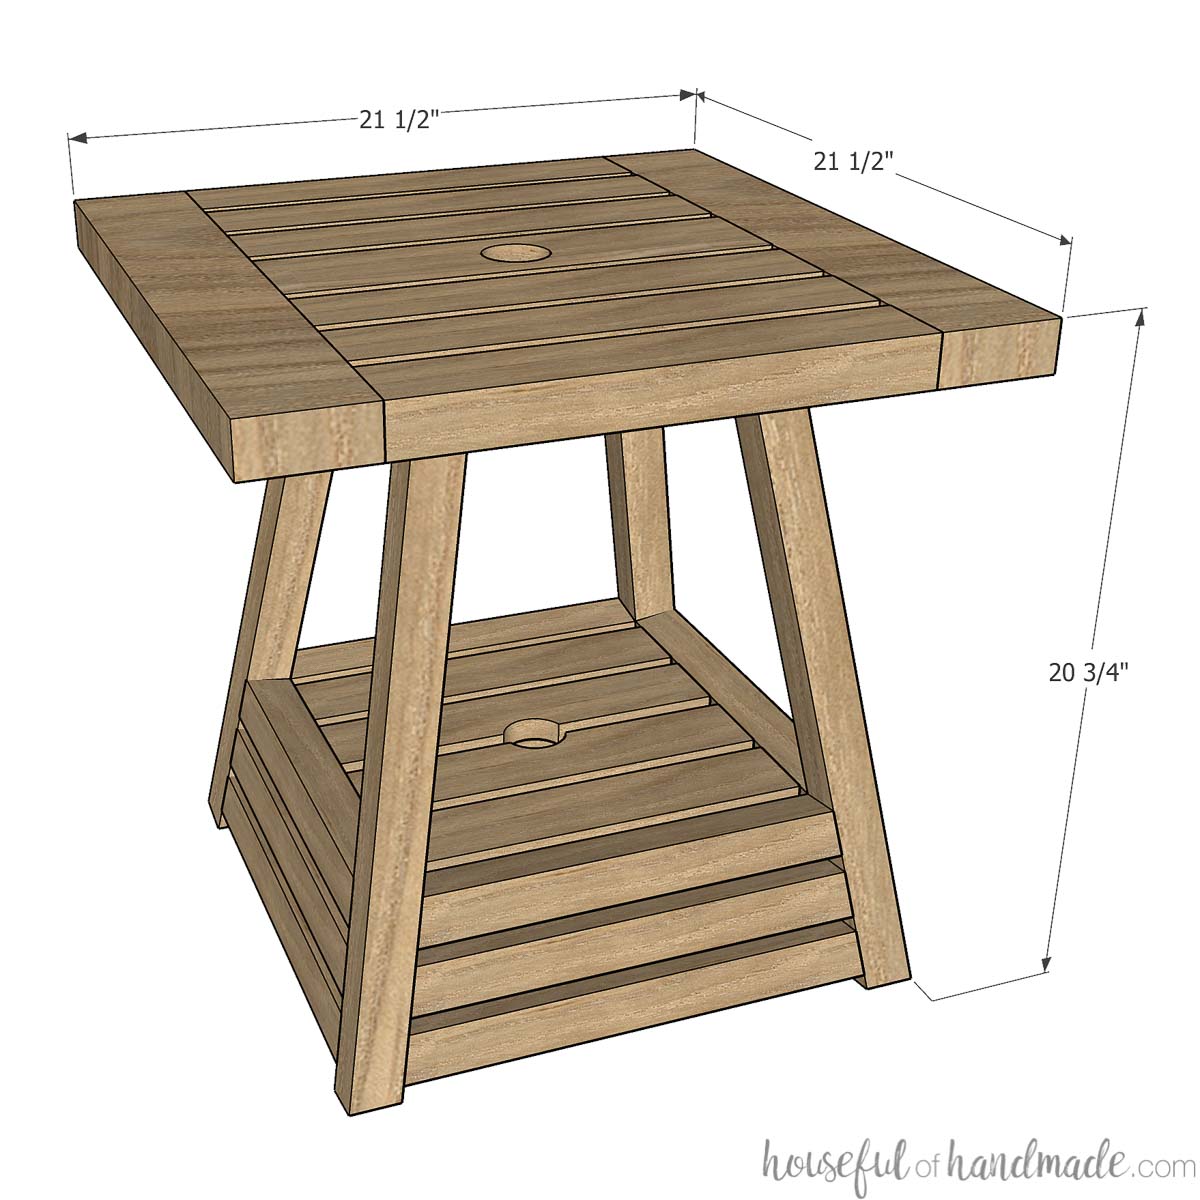
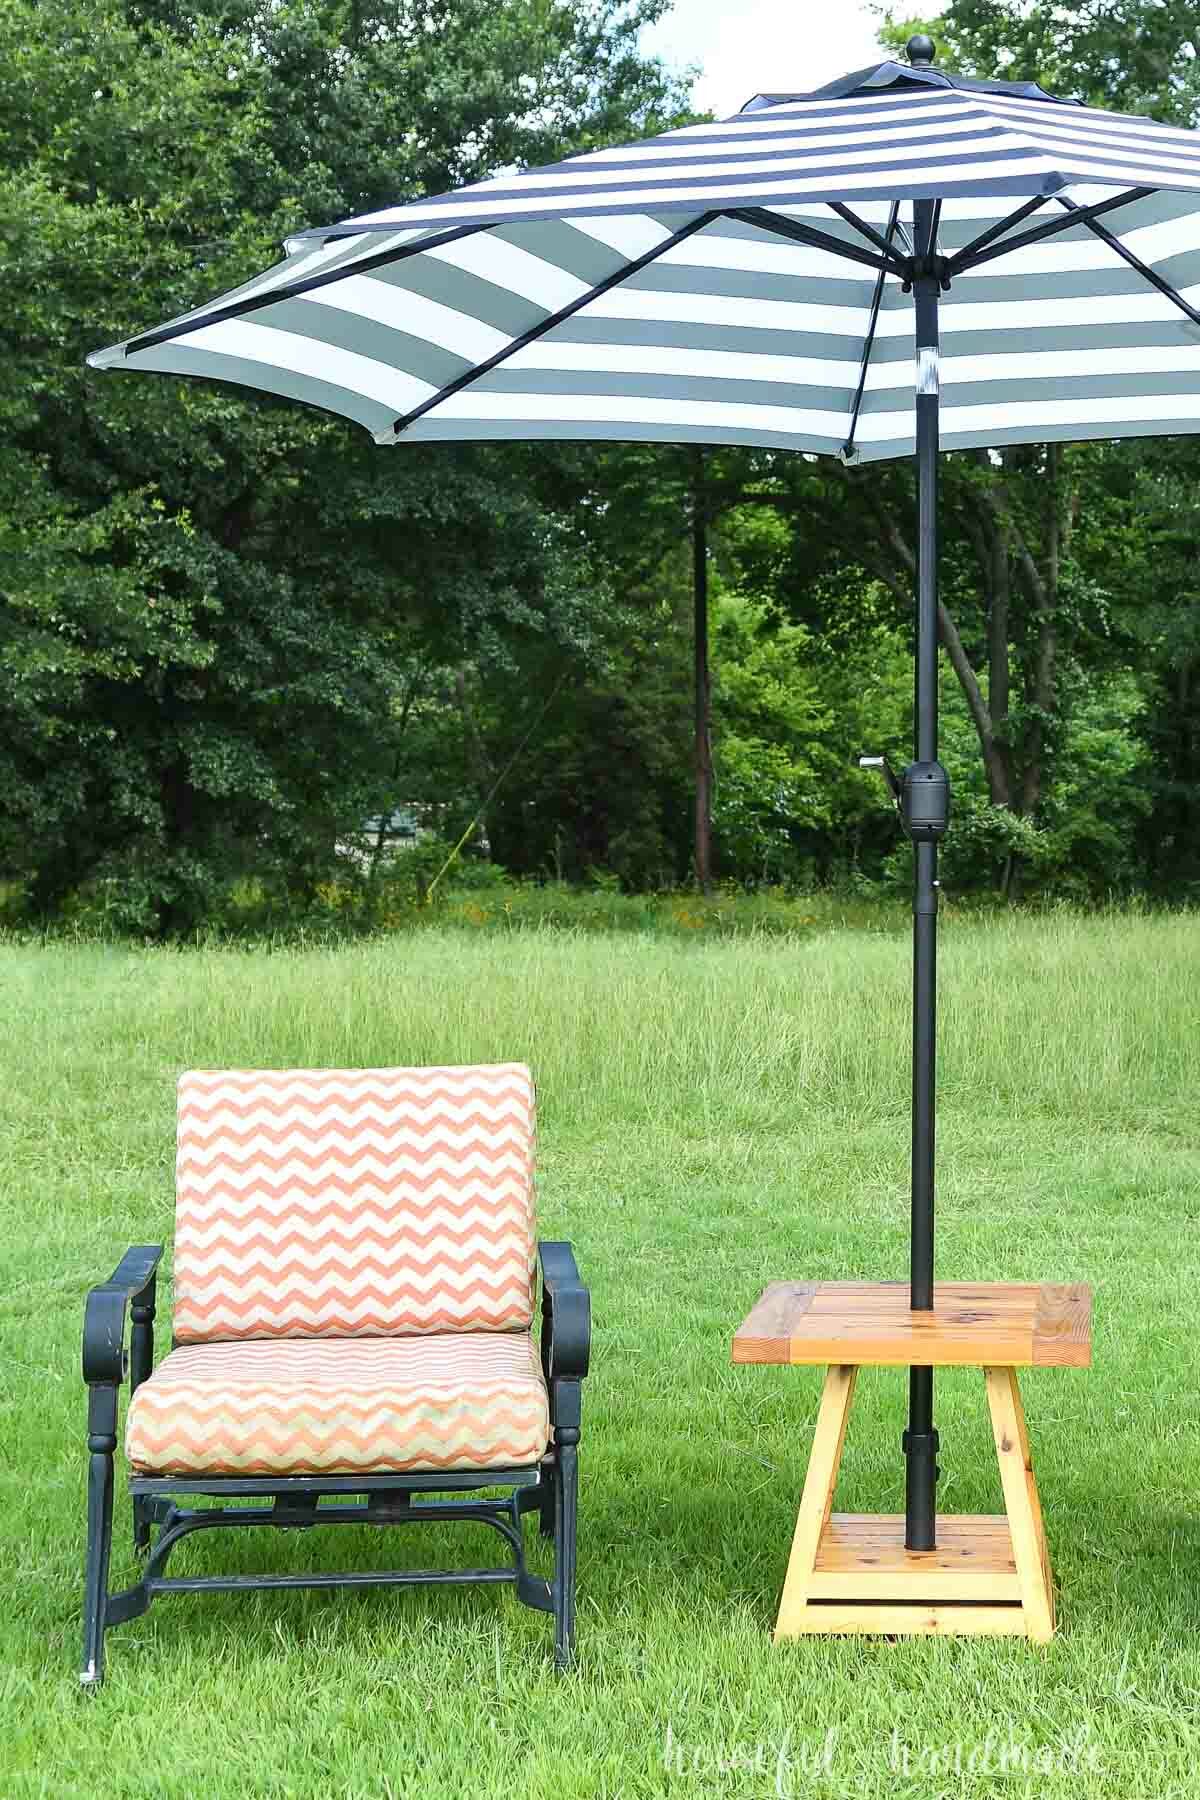
The base of the umbrella table is a pyramid shape. The design allows for a second shelf and hides the umbrella base. It also adds the unique and interesting design element I was looking for.
But don’t worry that the pyramid design is complicated to build. Even a beginner can tackle this outdoor side table.
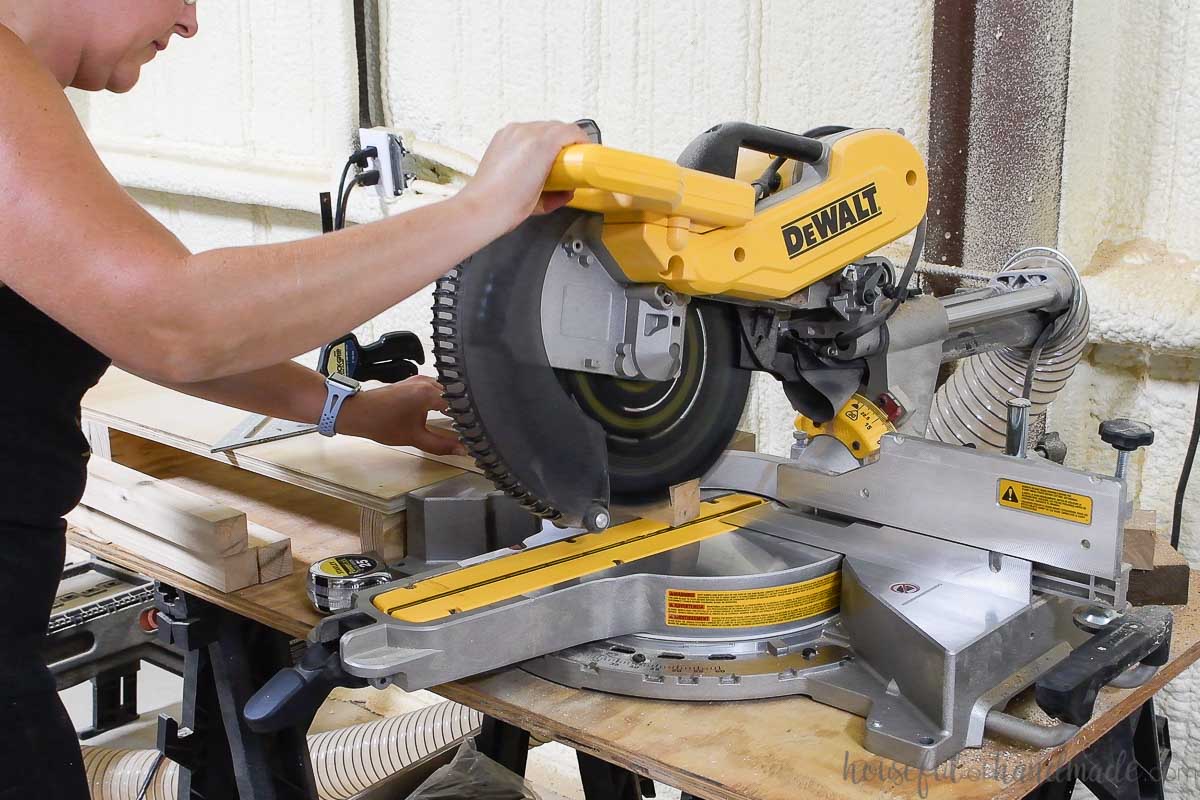
The secret of the pyramid design is a compound angle cut on the miter saw.
Typically when you cut a board with an angle you just angle the base of your miter saw or the top.
But with a compound angle, you change the angle on both places at the same time. That way when you make 1 cut, you get a complicated looking cut, but it is very easy to do!
And only the legs requires this compound angle. That creates the pyramid shape.
The rest of the boards are all simple cuts to make this build easy for anyone.
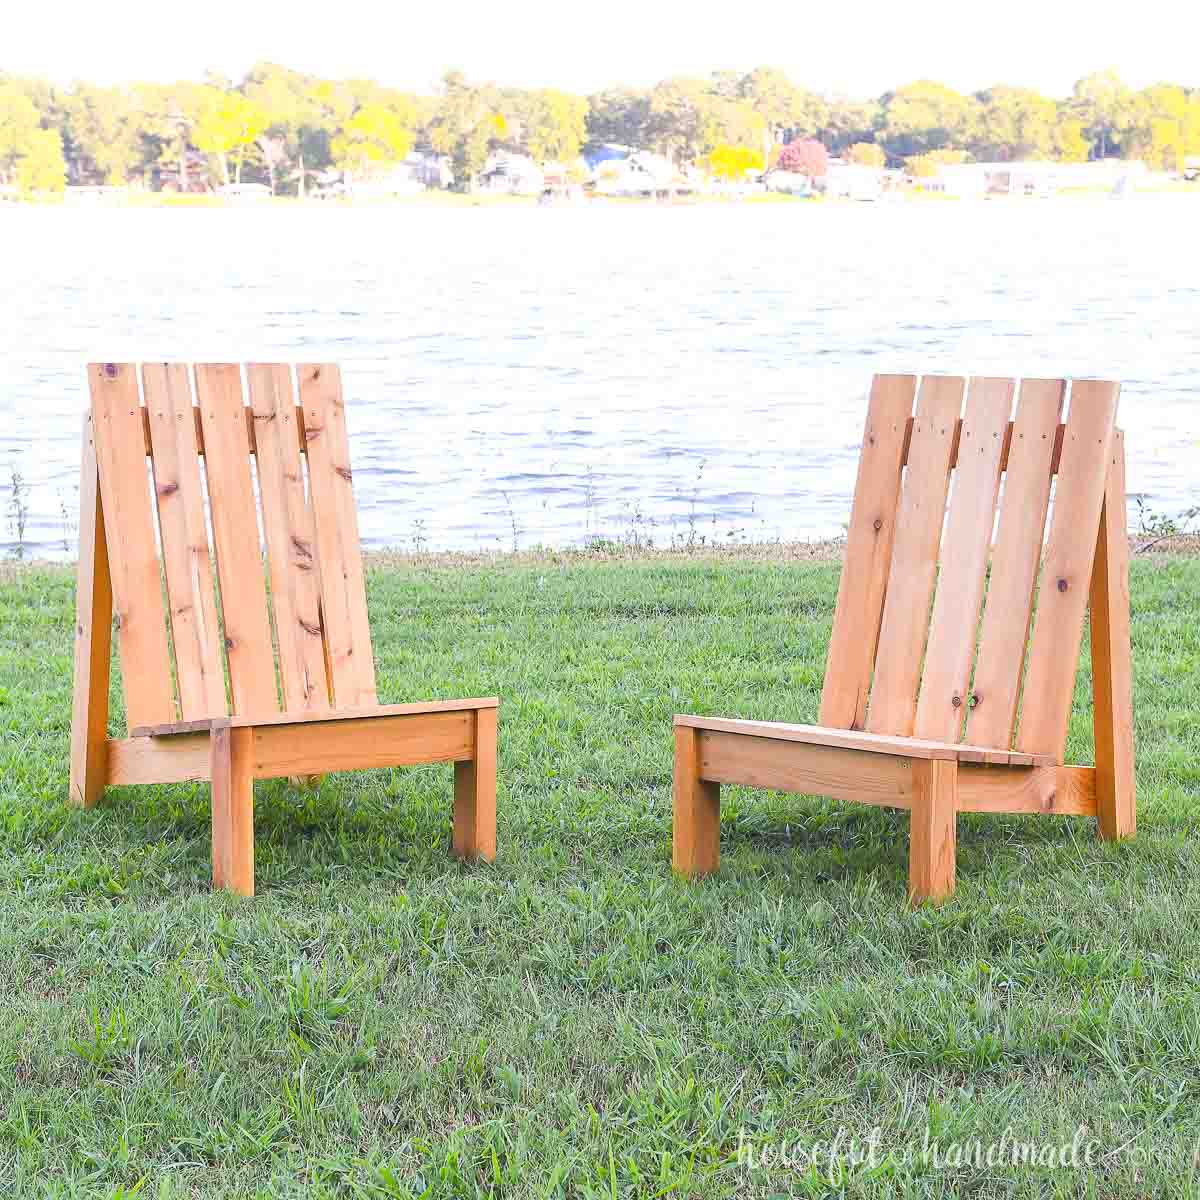
More Patio Furniture DIYs
Create the perfect place to enjoy summer with these other amazing outdoor builds.


How to Build an Umbrella Side Table
Tools & Materials
Recommended Tools:
- Compound miter saw
- I started building with this budget friendly Hitachi and recently upgraded to this sliding Dewalt miter saw.
- Drill
- Impact driver (optional, but I love not having to switch bits with the drill)
- Pocket hole jig
- Measuring tape
- Forstner bits
- Drill guide
- Sander
Supplies:
- Wood products:
- (3) 2×2 boards, 8′ long
- (1) 2×3 boards, 8′ long
- (1) 2×4 boards, 5′ long
- (1) 1×3 boards, 5′ long
- 2 1/2″ pocket hole screws
- 1 1/4″ pocket hole screws
- Figure 8 fasteners
- 3/4″ wood screws
- Outdoor wood glue
- Umbrella
- Umbrella base
- The umbrella base needs to be less than 14″ wide to fit in the side table. I found these inexpensive one and they work great.
Overall Dimensions
The finished side table is 21 1/2″ wide by 21 1/2″ deep and ~20 3/4″ tall.
The base of the table hides a basic umbrella base. The base must be less than 14″ wide to fit inside the side table.
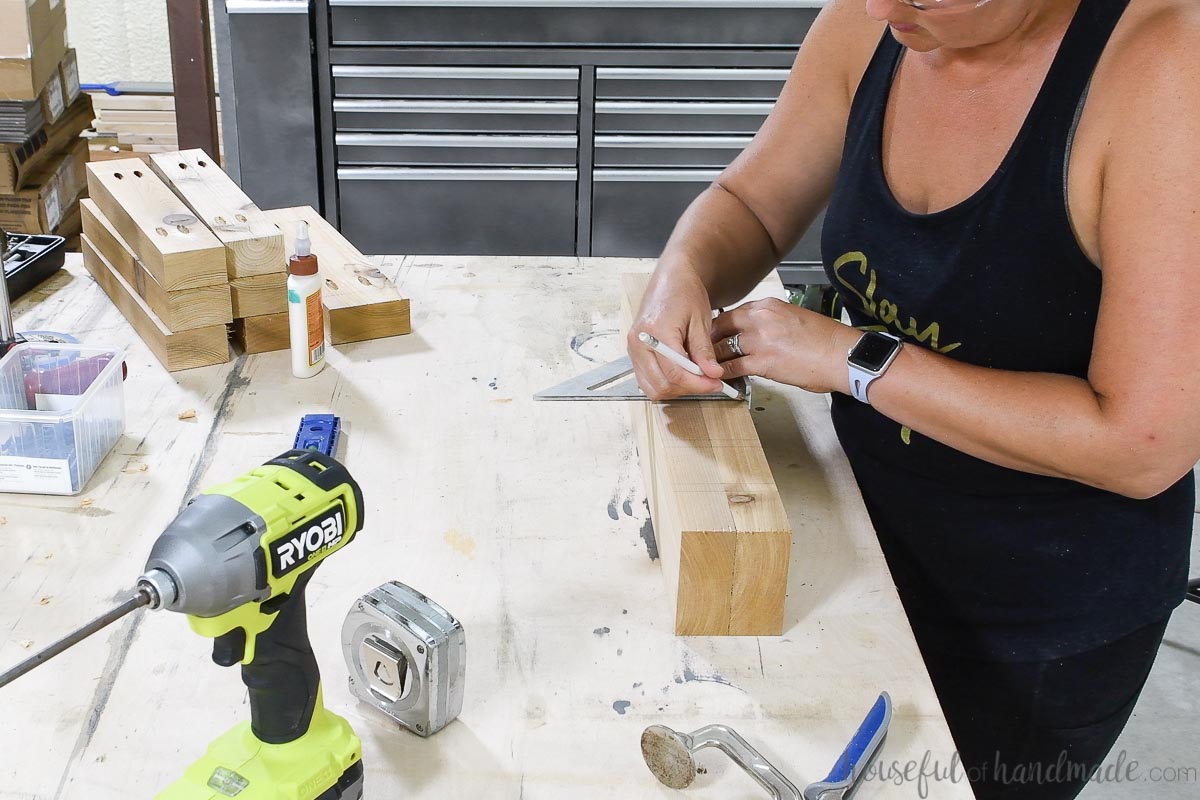
Cut List
Cut out the pieces according to the easy-to-read table in the PDF plans.

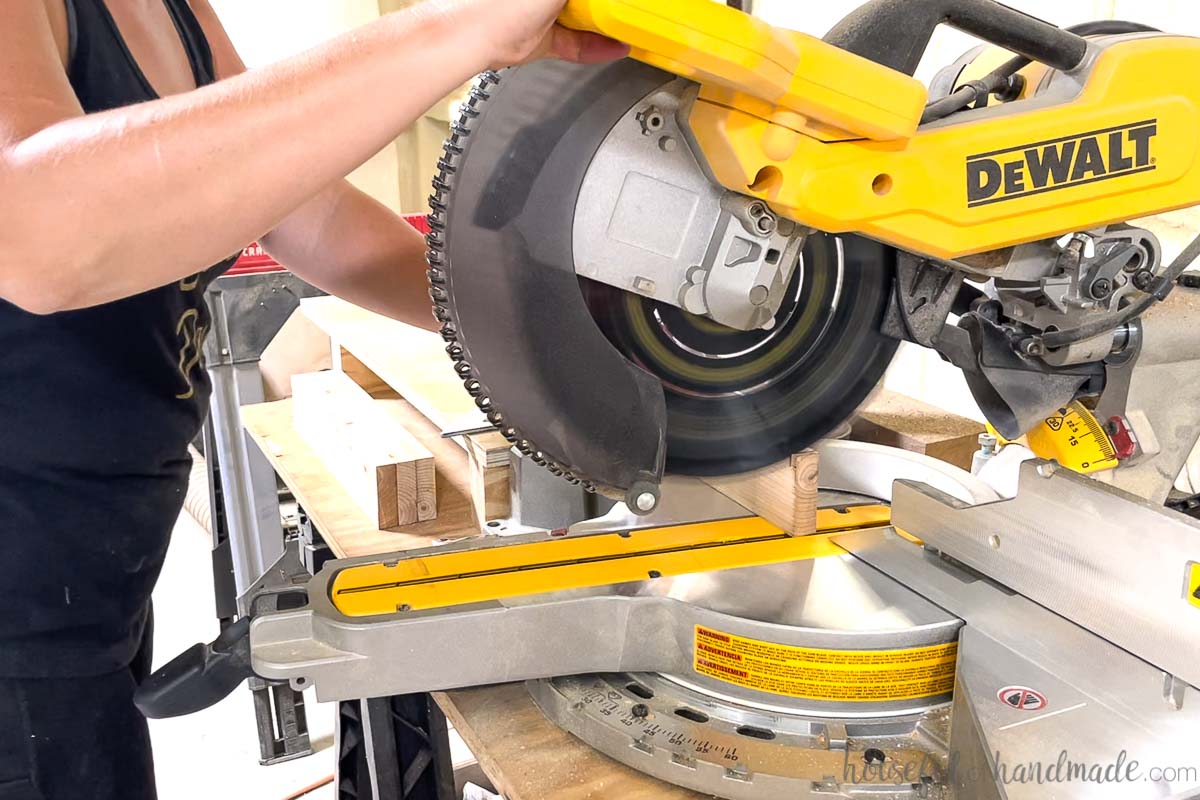
The leg boards need both ends cut at a compound 10 degree angle.
To cut a compound angle, turn the base of your miter saw to 10 degrees and tilt the top of your saw to 10 degrees, then cut.
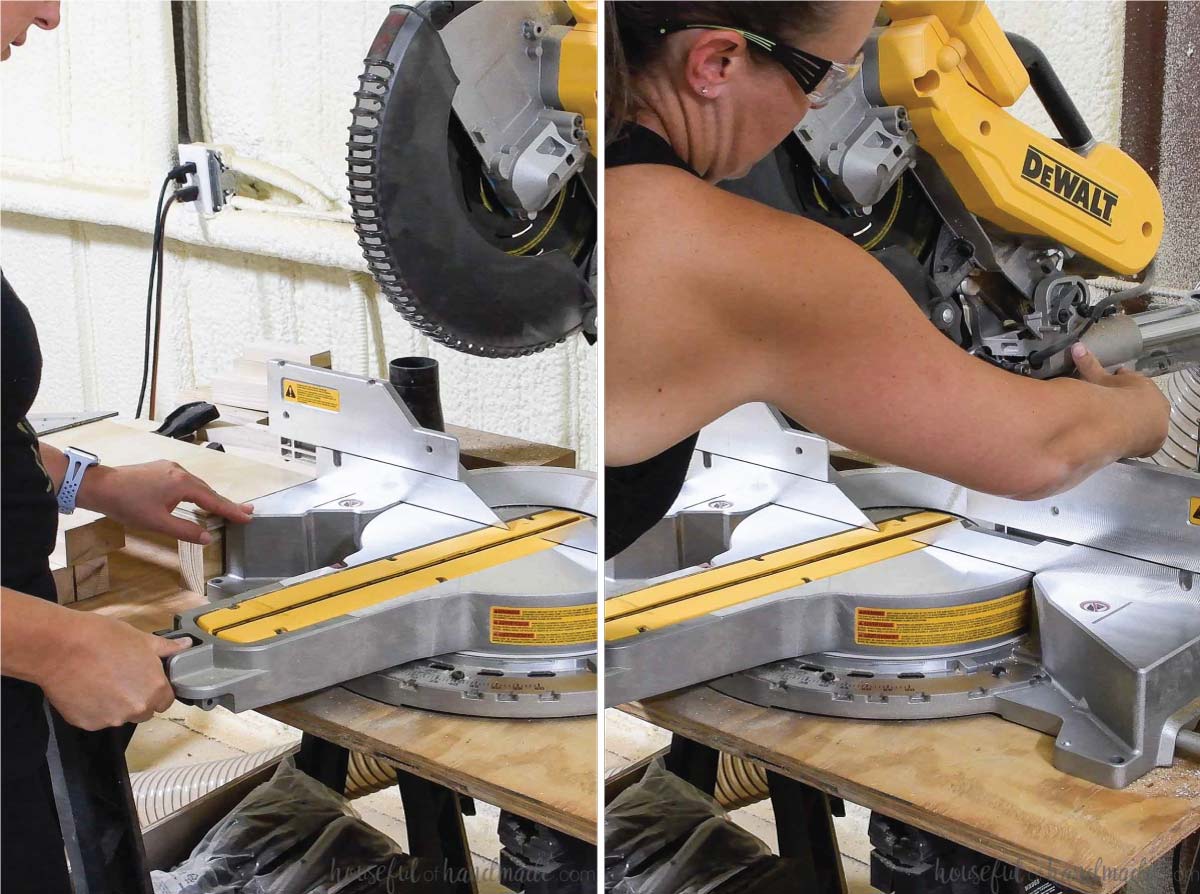
This double angled cut will give the base the pyramid shape.
Both ends of the legs need to be cut with this double 10 degree angle so the ends are parallel.
The side slats between the legs are cut at a standard 10 degree angle on each side (not compound).
Cut the angles on these boards so they angle towards each other.
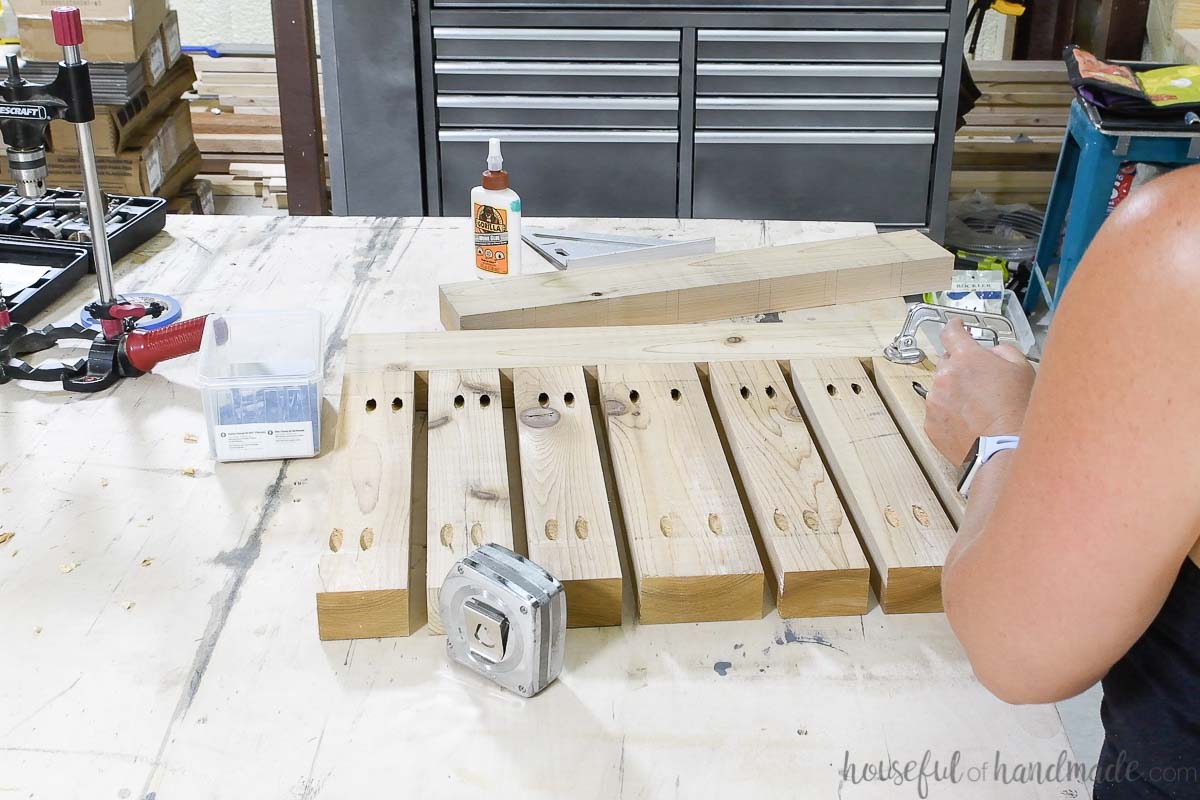
STEP 1- Build the Base Sides
Drill 1 pocket hole set for 1 1/2″ thick material in each end of the angled side slat boards.
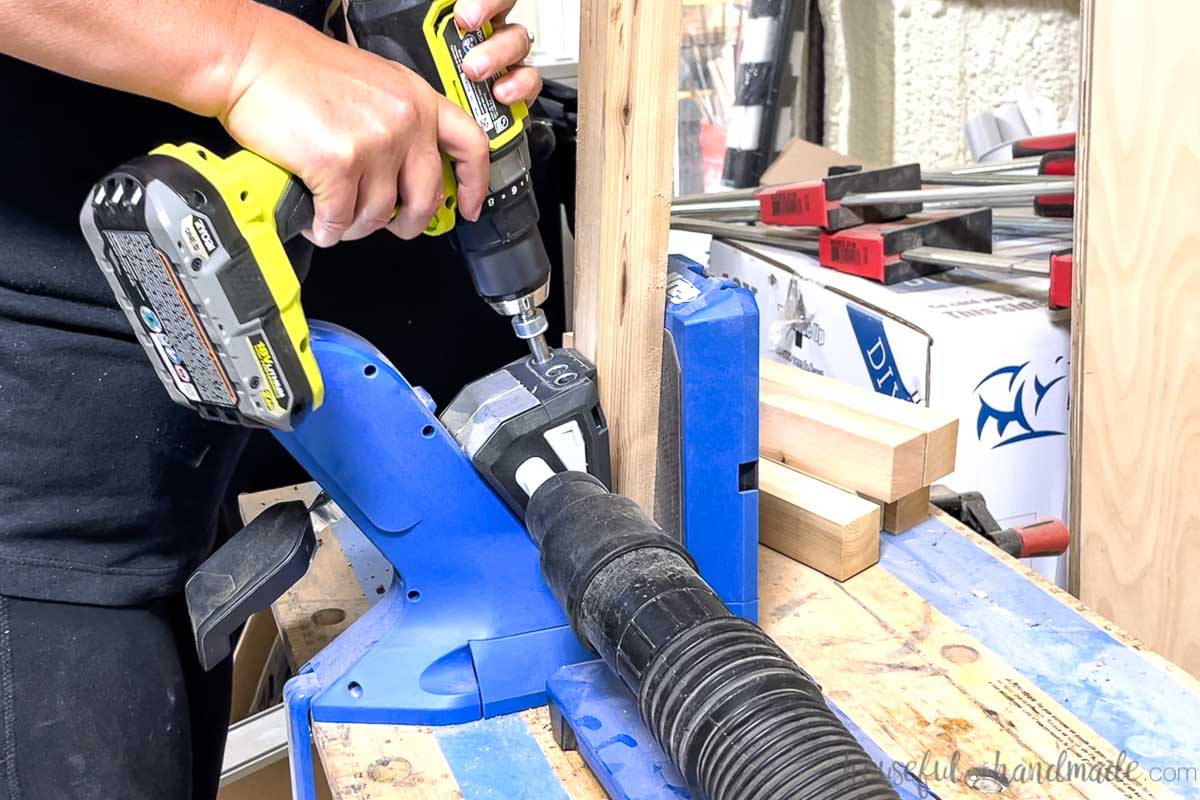
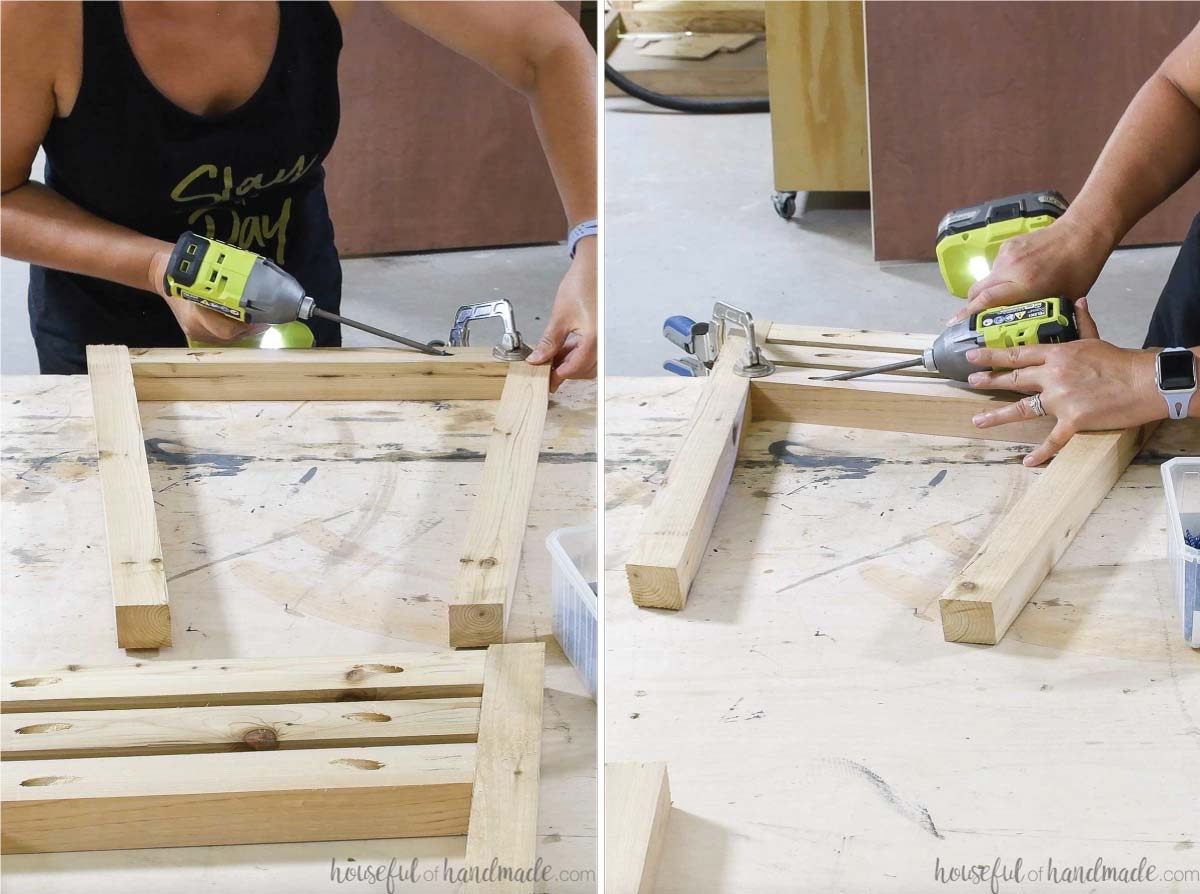
Assemble the sides by attaching one of each size of side slats between two leg pieces.
Start with the longest piece on the bottom 1/2″ up from the bottom of the leg. Then leave a 1/2″ gap between the other side boards.
Secure with wood glue and 2 1/2″ pocket hole screws.
When attaching to the leg pieces, pay attention to the angle on the leg. The longest point of the leg (made by the compound angle) needs to be on the outside corner of the assembled side.
Repeat so you have two assembled sides.
STEP 2- Finish the Base
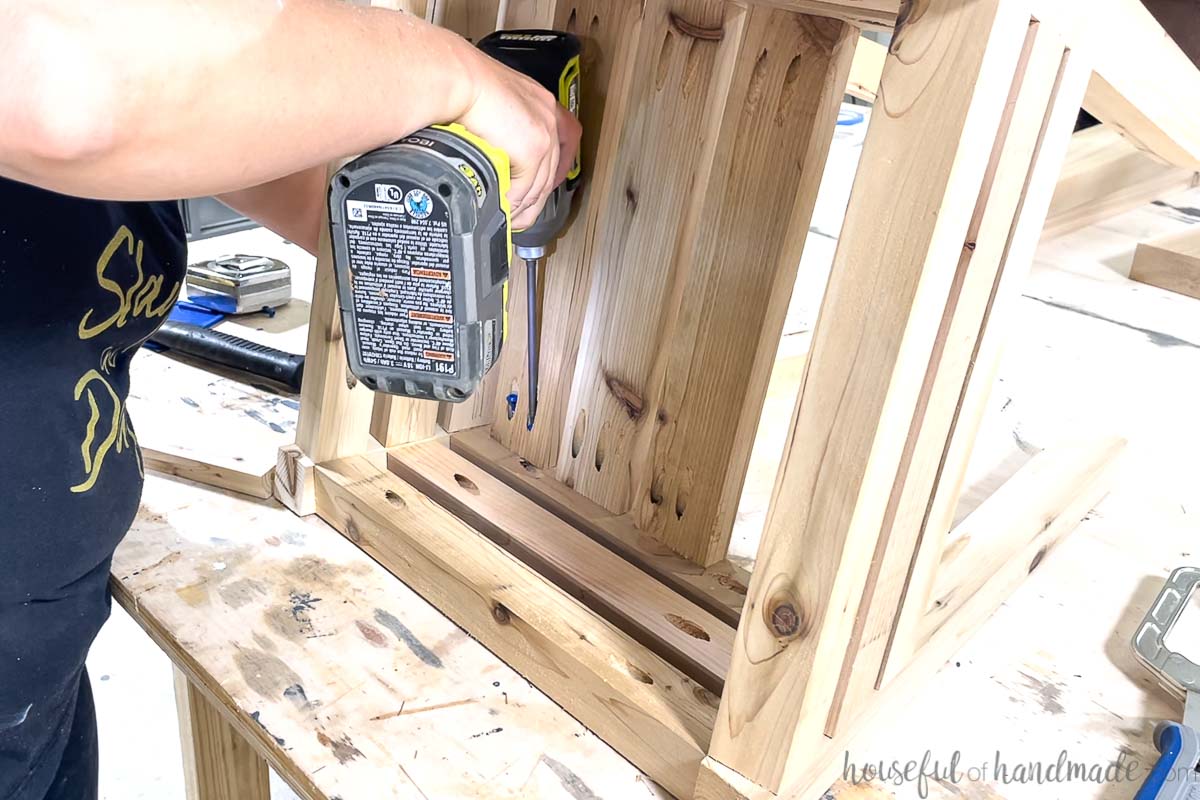
Attach the two assembled sides together by attaching the remaining side bottom, middle and top slats between the legs.
Line the slats up the same as the others. Secure with glue and 2 1/2” pocket hole screws.
Again pay attention to the angle of the leg boards. And make sure all pocket holes are hidden on the inside of the pyramid.

Measure the opening between the top side boards.
Cut the lower shelf slats to fit into this opening with a 10 degree angle on both ends (angled toward each other).
Drill 2 pocket holes set for 3/4″ thick material in the back of each of these boards. Then attach them to the top side boards so they are evenly spaced.
Secure with 1 1/4″ pocket hole screws and wood glue.
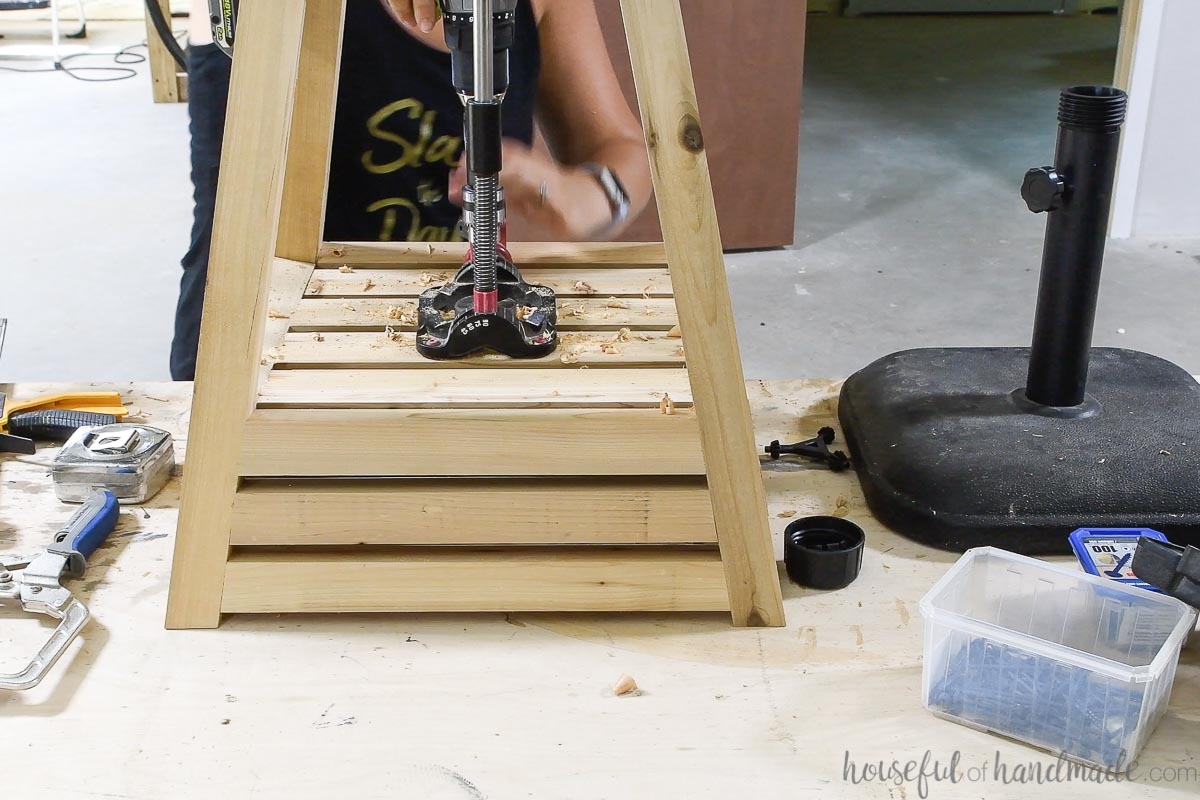
Measure the exact center of the base on these shelf boards. Use a drill guide to drill a hole large enough for your umbrella base to fit through in the center.
I drilled the hole just large enough for the base pole. I have to either unattach the pole and reattach it inside the umbrella table or remove the tightening screw and threaded on top part to fit it over the table.
This makes it so there is very little gap around the umbrella base pole.
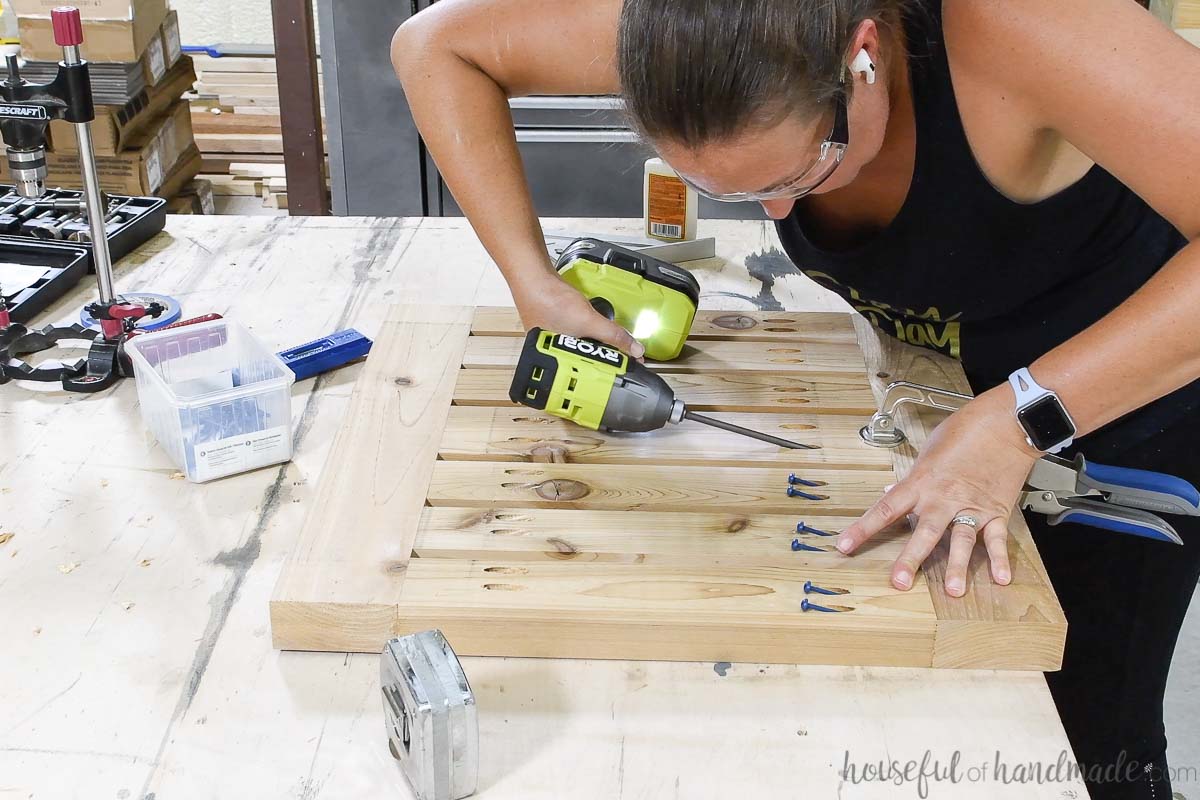
STEP 3- Build the Table Top
Drill pocket holes set for 1 1/2″ thick material in both ends of all the top center boards.
Mark the top sideboards where you will attach the other boards. Center the 2×4 board then put the 2x3s on either side of it.
Leave a 1/2″ space between all the boards. The end 2×3 boards will be flush with the ends of the 21 1/2″ boards.
Attach the boards with 2 1/2″ pocket holes and wood glue. Use a face clamp to keep the boards nice and flush while you secure them.
First attach all boards to one of the side boards.
Then attach the second side board making sure to line them up with your markings.
Measure the diameter of your umbrella pole. Drill a hole big enough for it in the center of the table top.
Use a drill guide to make sure the hole stays straight.
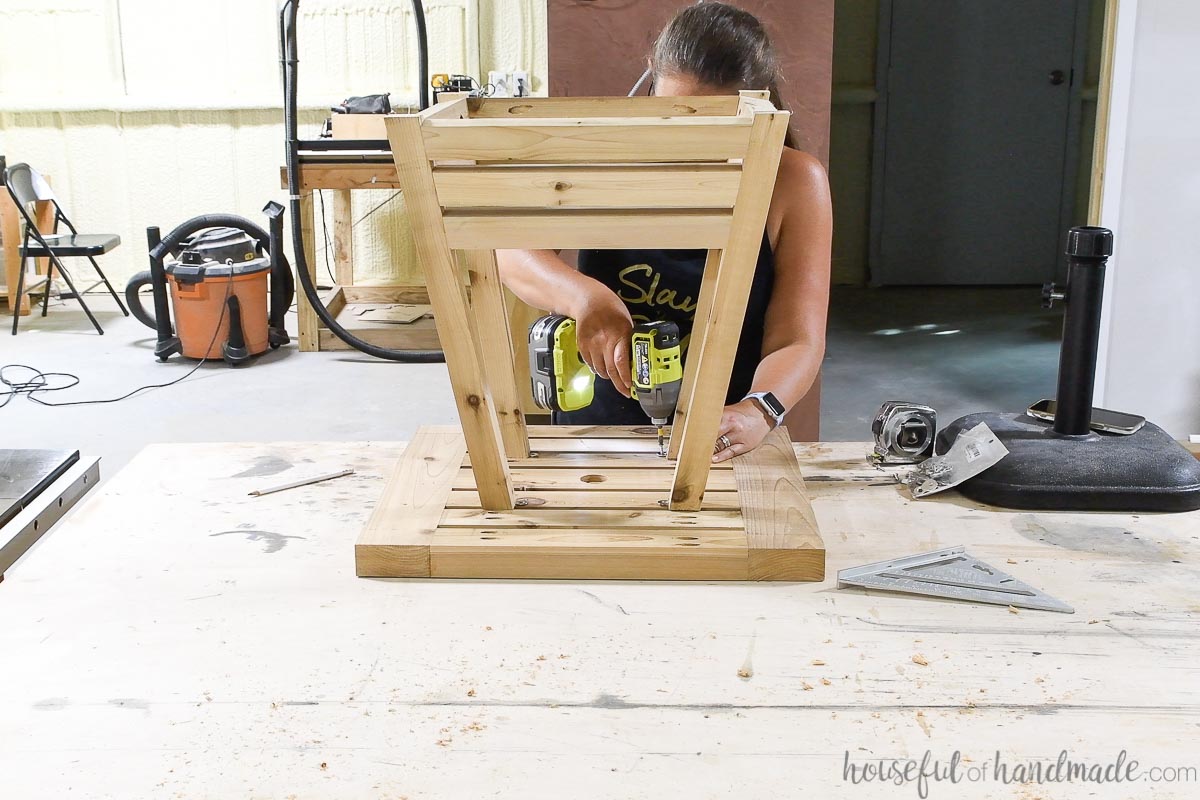
STEP 4- Attach the Table Top
Drill a hole the size and depth of your figure 8 fastener on the top of each leg.
Half of the figure 8 fastener will need to hang over the edge of the leg. Pay attention to which side of the leg it hangs over so it lines up with one of the boards on the table top.
Attach the fastener to the top of the leg inside the hole with a 3/4″ wood screw.
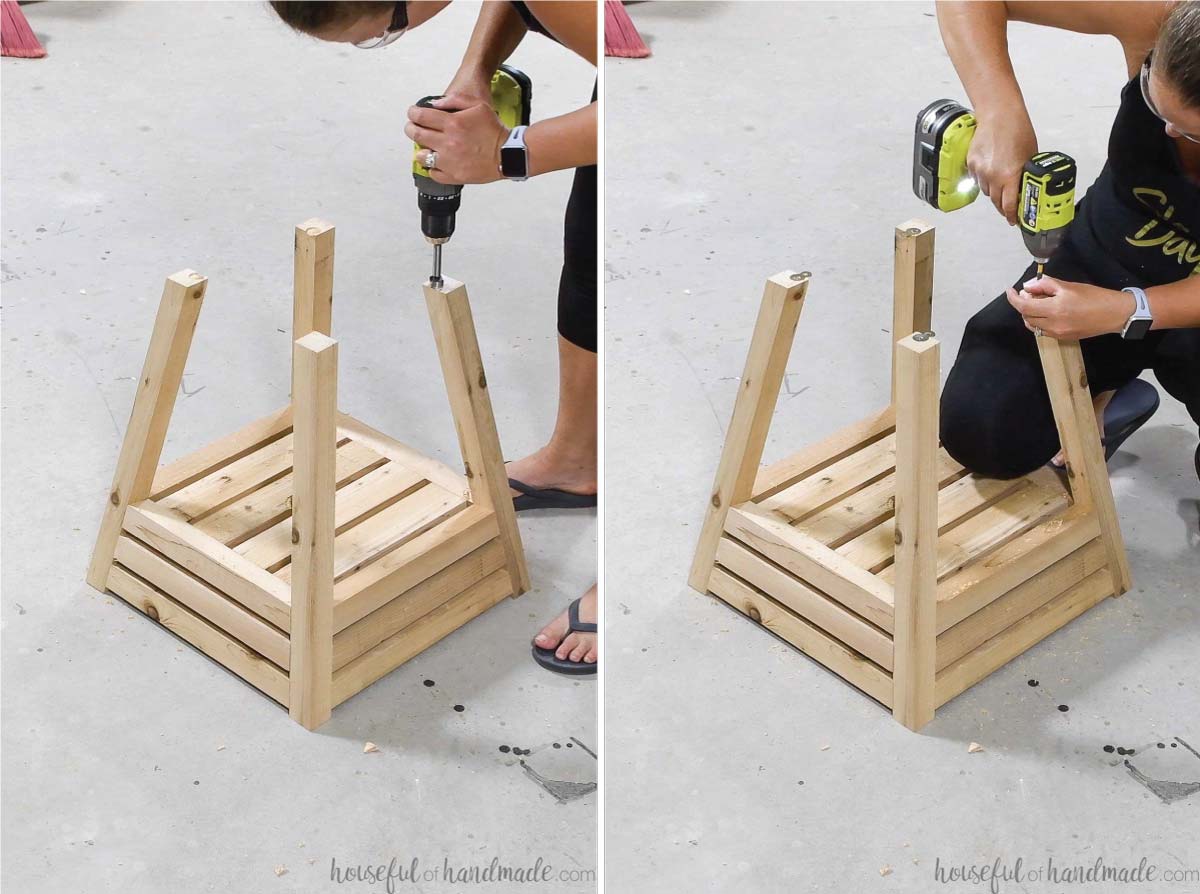
Then tip the base of the table onto the table top.
Center the base and then attach the to the table top with 3/4″ wood screws through the other side of the figure 8 fastener.
Sand your finished umbrella side table.
I finished my tables with Waterlox Marine Finish to keep it looking amazing year after year. To use this finish, sand down to 100 grit sandpaper.
Now your outdoor side tables are all done. Place the umbrella stand in the bottom and secure your umbrella.
I can’t wait to use them for lots of shade to get us through the hot summer.
Prefer to Watch? Check out the Video Below
If you need me, you can find me at the lake!
Happy building!
