I love building cabinets and shelves to add storage to every room in my house. And to make sure the storage is super useful, I include adjustable shelves.
Adjustable shelves makes it easy to change the height of the storage space or add more shelves. Without them my storage builds would not be adaptable to every stage of life.
There are multiple ways to add adjustable shelves to your next project, but I will show you my favorite super simple way.
This post may contain affiliate links. As an Amazon Associate I earn from qualifying purchases. Click here to read my full disclosure policy.
And this method is easy to use for new builds as well as adding adjustable shelves to older cabinets or bookshelves.
Adjustable Shelf Hardware
To add adjustable shelves you need a mechanism in the sides of your cabinet or shelf to hold the shelf. The two most common ways are:
- Shelf pins in holes
- Clips in metal shelf standards
Shelf standards (sometimes called pilaster strips) are a track installed into a routed groove on the side of your cabinet or shelf. This is labor intensive and very visible.
My preferred method is using shelf pins. All you need to do is drill holes in the side of the cabinet to place the shelf pins in. This is easy to do and harder to see.
Shelf Pin Jig
You can use any drill to add holes for shelf pins, but that would require a lot of measuring and marking. And if any of your holes are off, you will have shelves that rock or tip.
So I use an inexpensive shelf-pin jig to quickly and easily add perfectly spaced holes up both sides of my cabinet.
This jig has features that ensure the holes are straight and evenly spaced. It also makes it easy to stack the lines of holes for a tall cabinet or bookshelf.
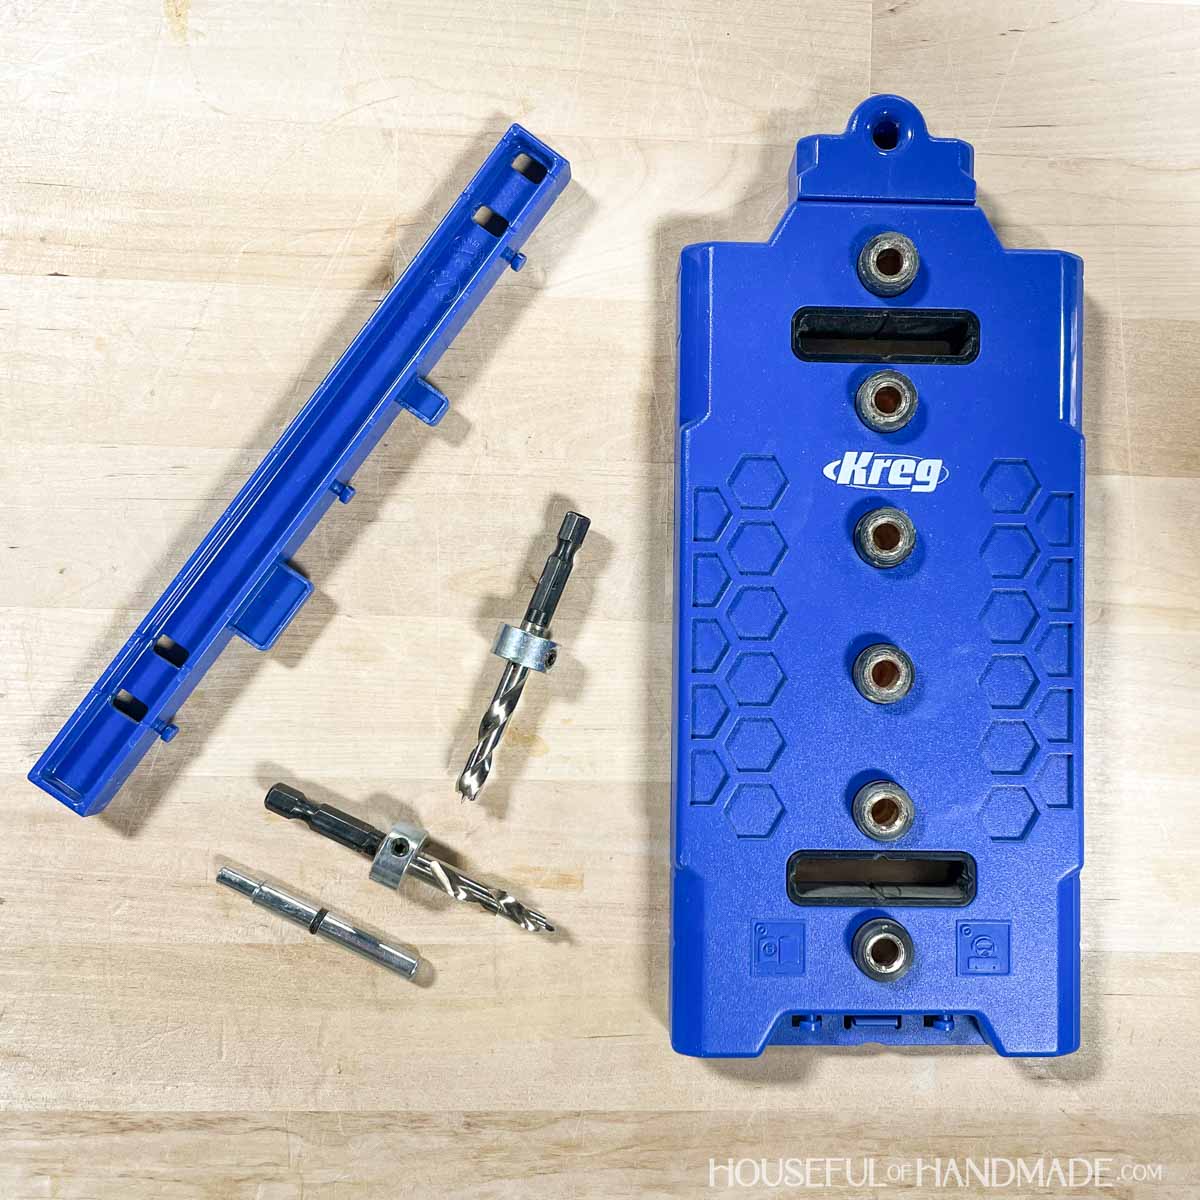
The jig also comes with a drill bit for either 5mm or 1/4″ shelf pin holes.
Neither size is better or worse than the other. You just need to make sure you buy the pins the same size as the holes you drill.
But the jig will work with either size drill bit. So you can purchase a second drill bit in the other size in case you end up with the different sized pins.
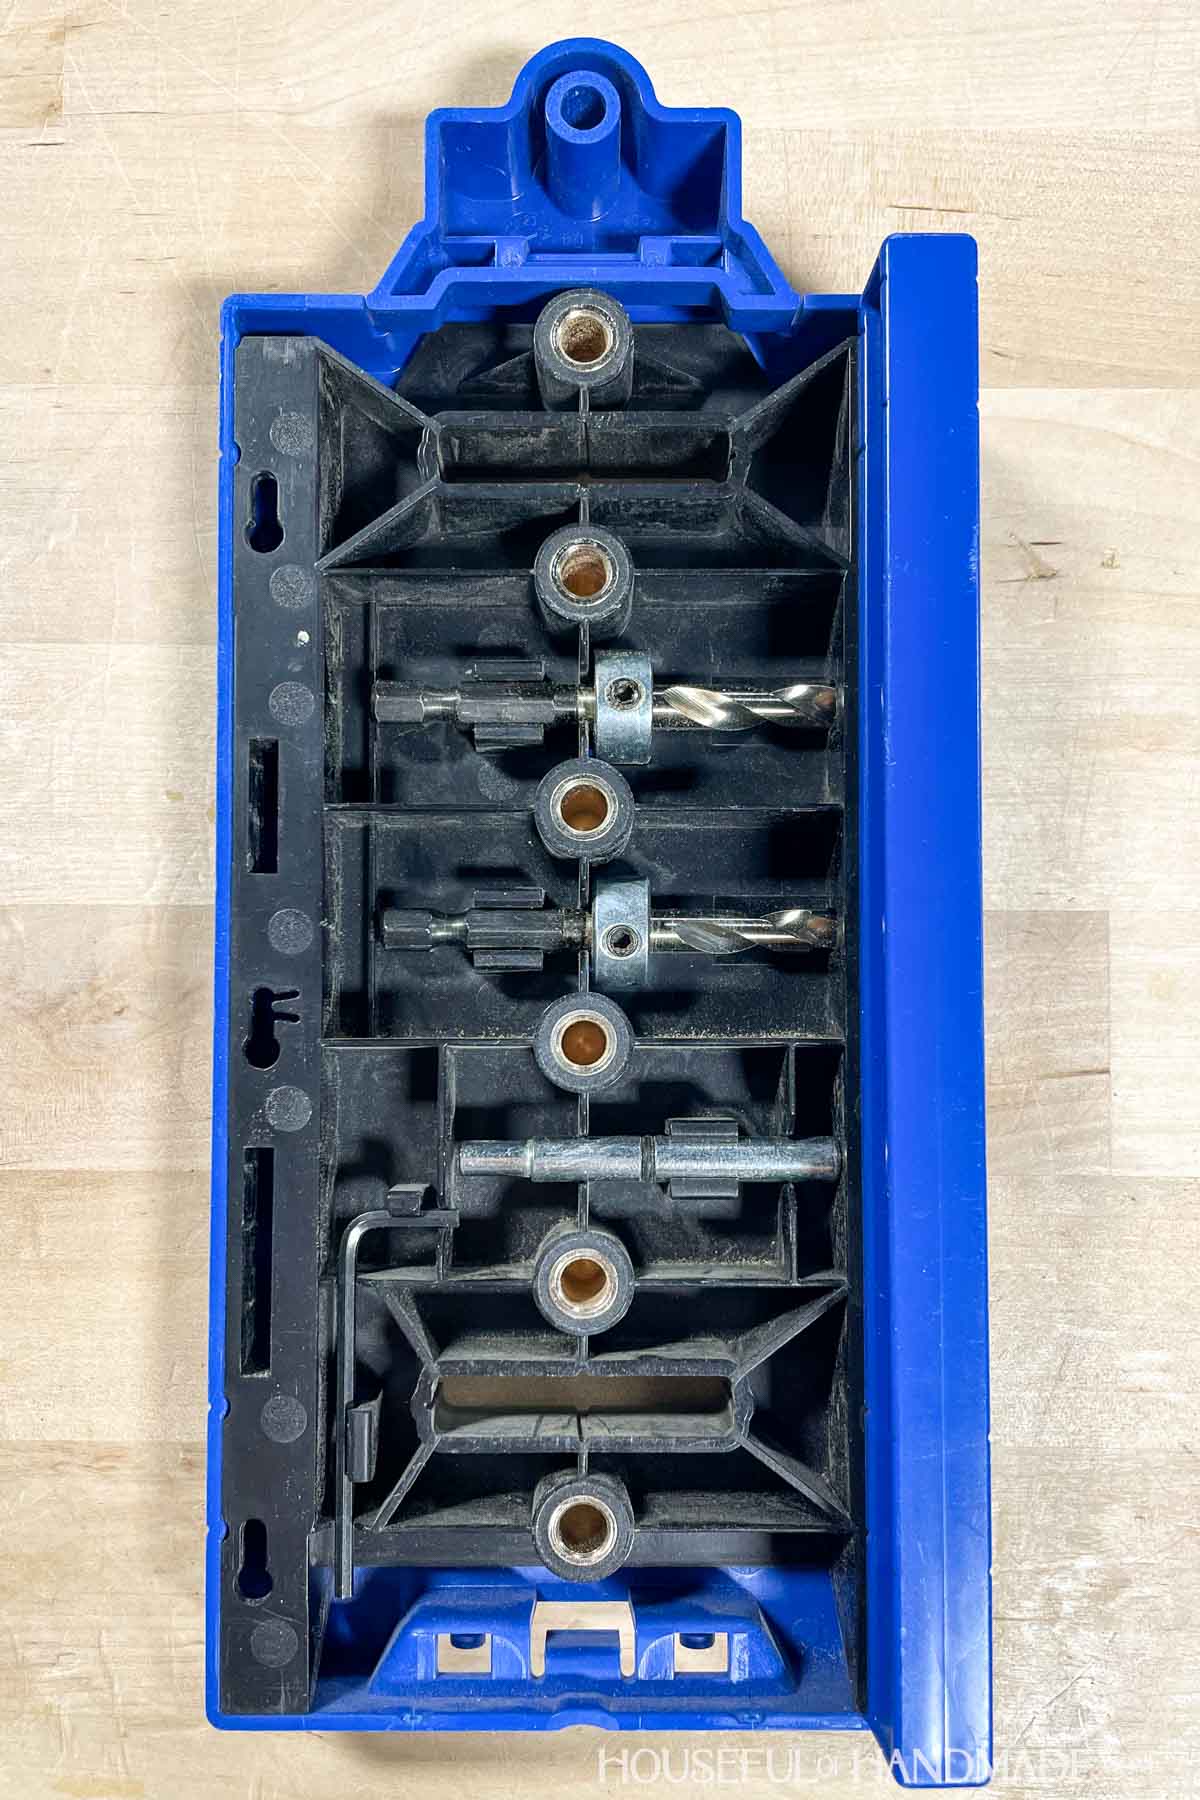
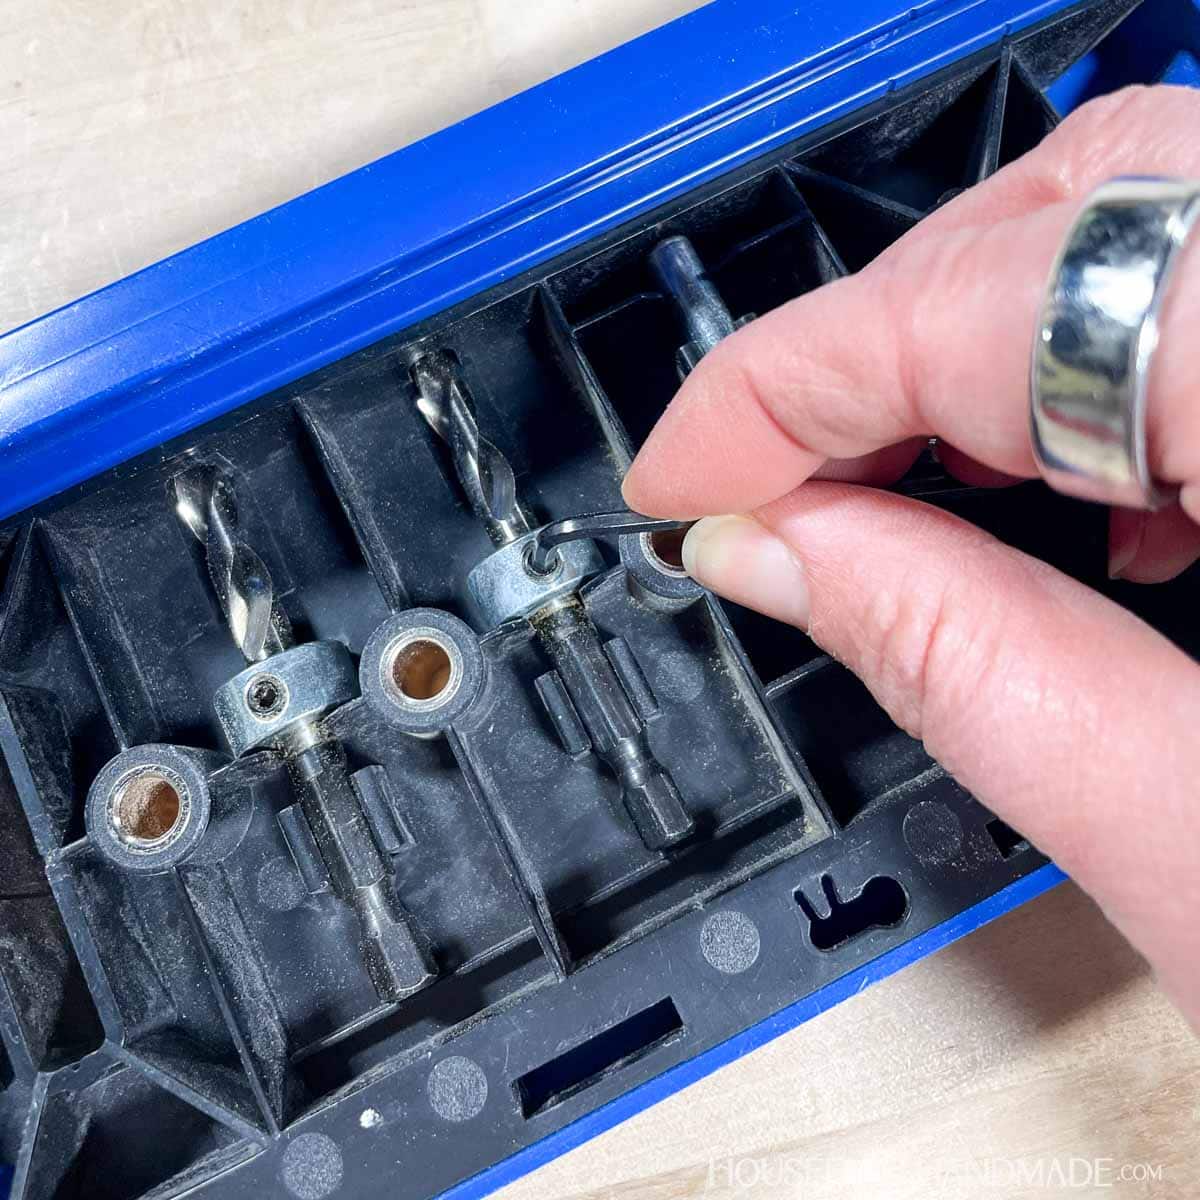
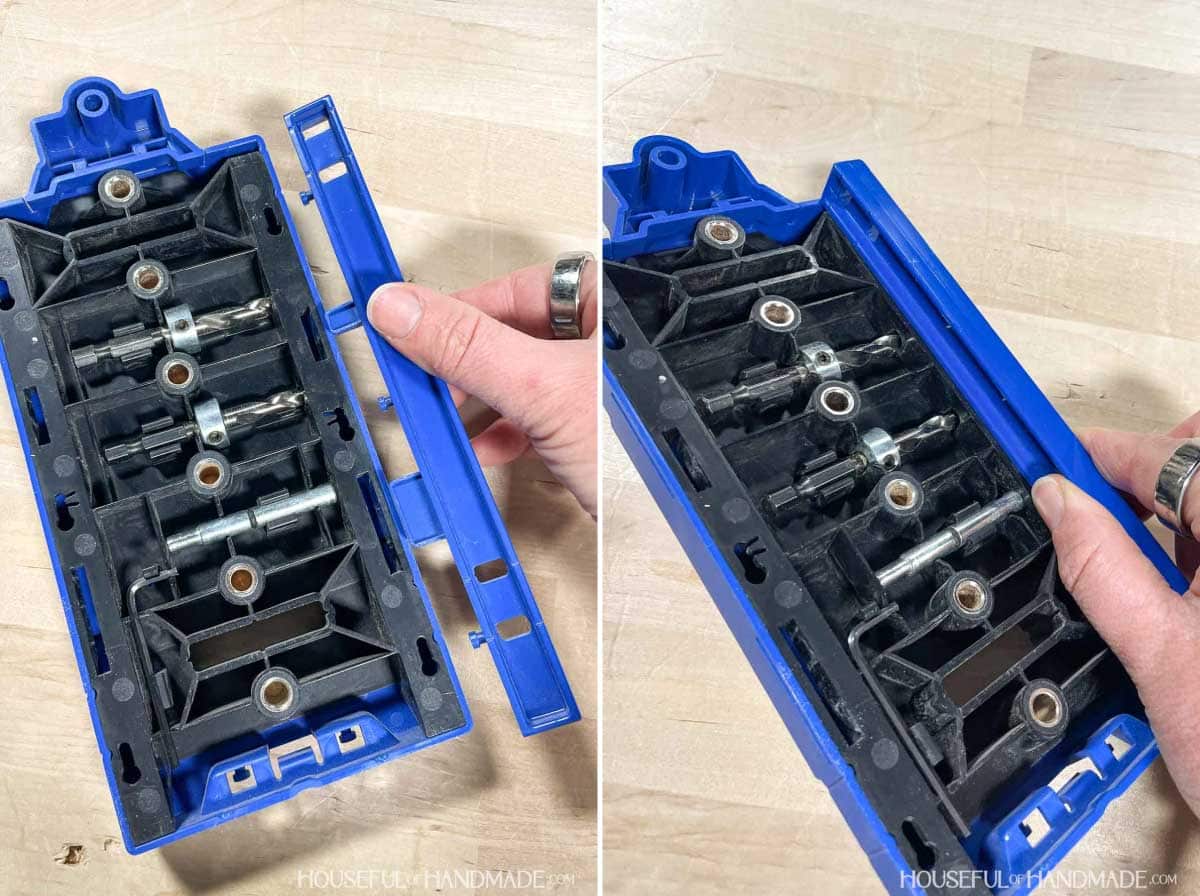
And the back of the jig has storage for all the accessories, including 2 drill bits. I love having both size options just in case.
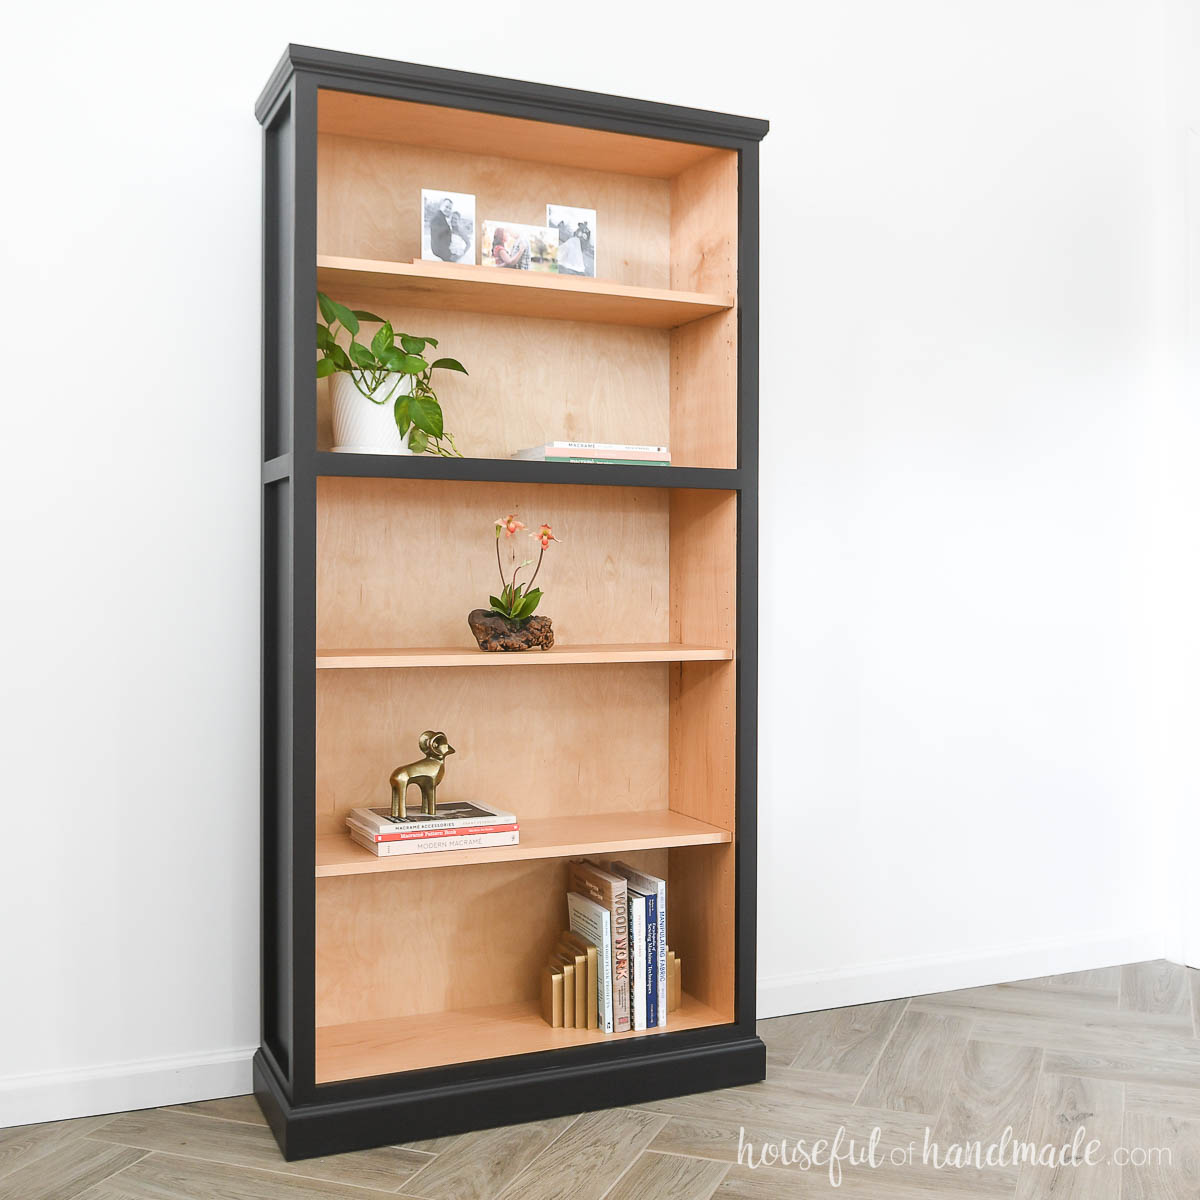
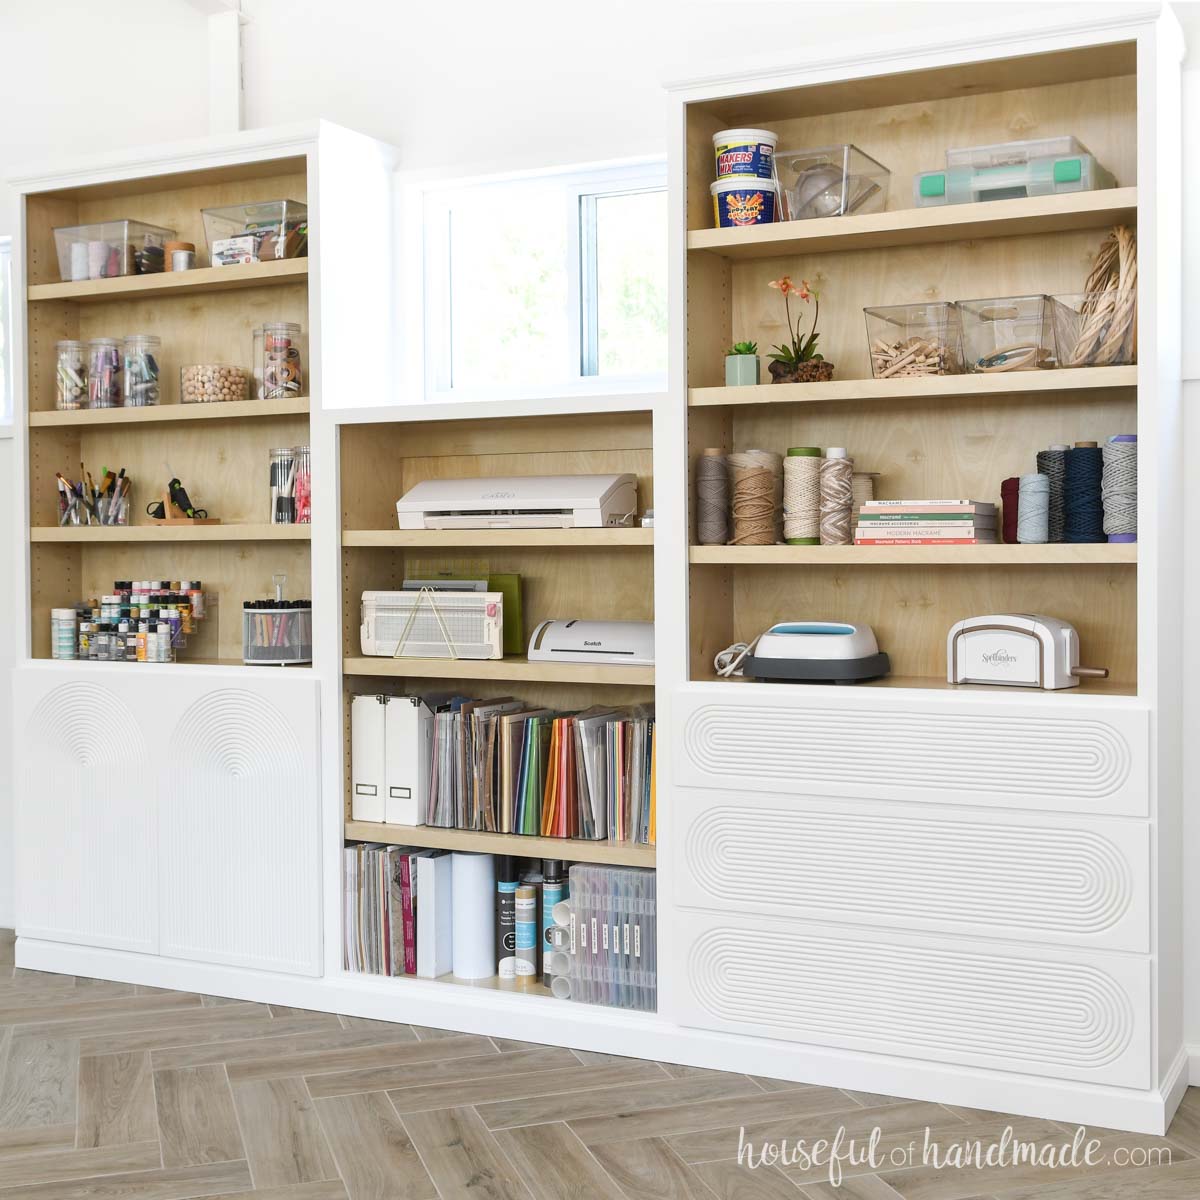
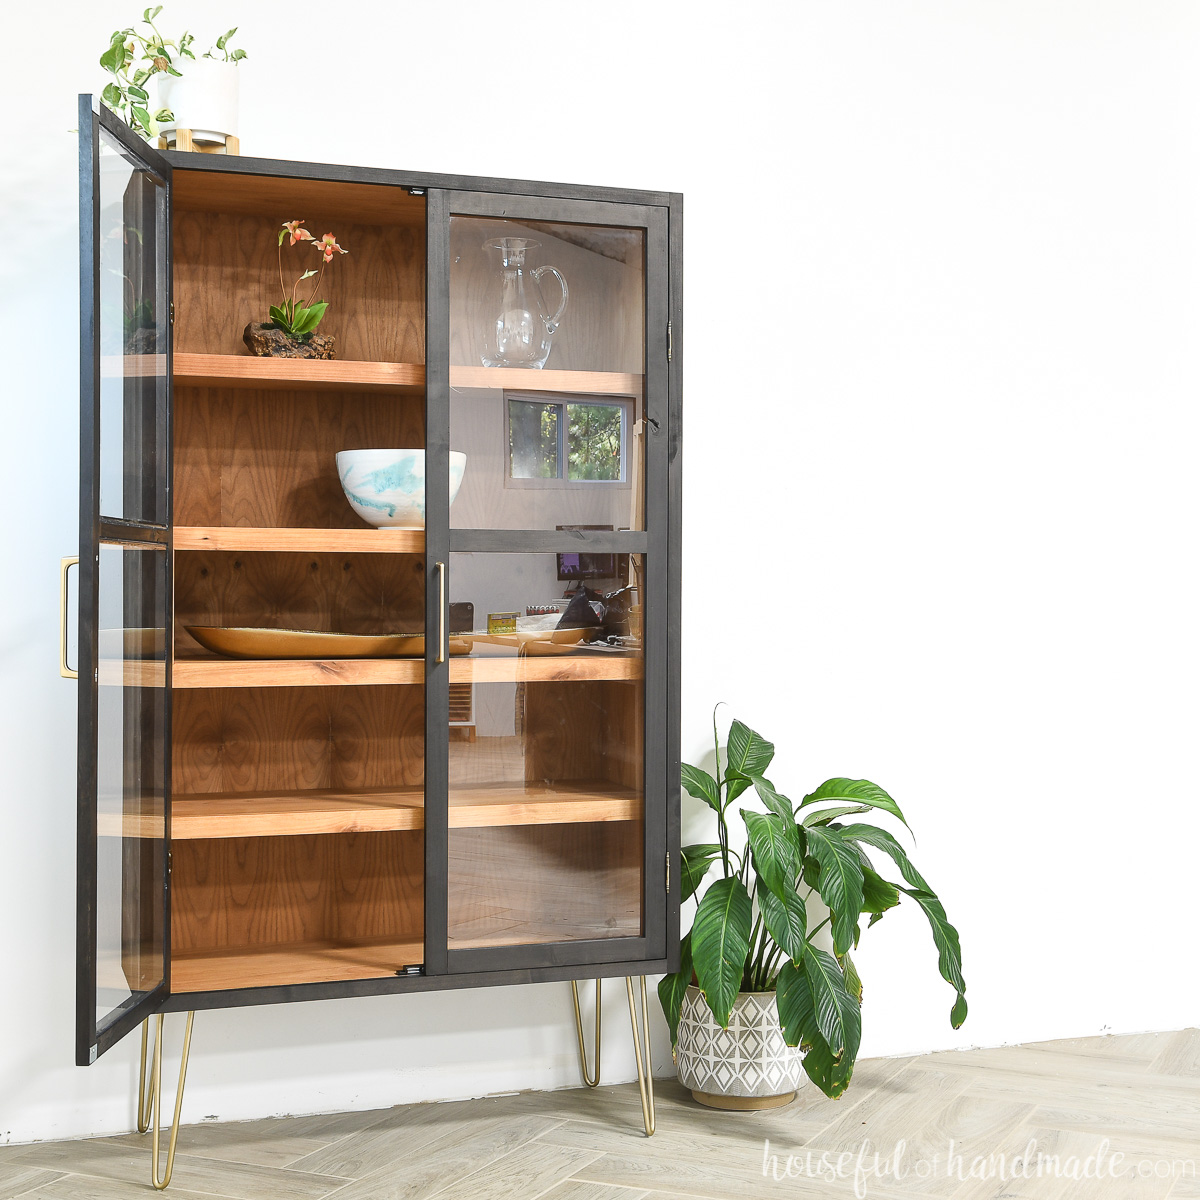
Builds Perfect for Adjustable Shelves
Put your new adjustable shelf knowledge to use and build one of these amazing storage cabinets.

How to Install Adjustable Shelves
Tools & Materials
Recommended Tools:
- Shelf pin jig
- Drill
- Clamp
Supplies:
- Shelf pins
- Wood shelves
STEP 1- Set up the drill bit
When I received my jig, the drill bit already had the stop collar installed.
However, if it is not, place the collar on the drill bit. Then put it inside the storage area on the back so the tip is pressed in as far as it can go.
Line the collar up with the edge in the center and use the allen wrench to secure it in place.
STEP 2- Set up the jig
The jig has a fence that can be added to either side.
The fence needs to be removed when drilling shelf pin holes on the front of a cabinet with a face frame or the back of a cabinet with a back attached.
When I am adding shelf pin holes to a new build, I like to add them before attaching a face frame or back so that I can use the fence because I love how easy it is to line up .
You will need to add the fence on the left side of the jig for drilling holes in the front left and back right sides. Then swap the jig to the right side for the front right and back left holes.
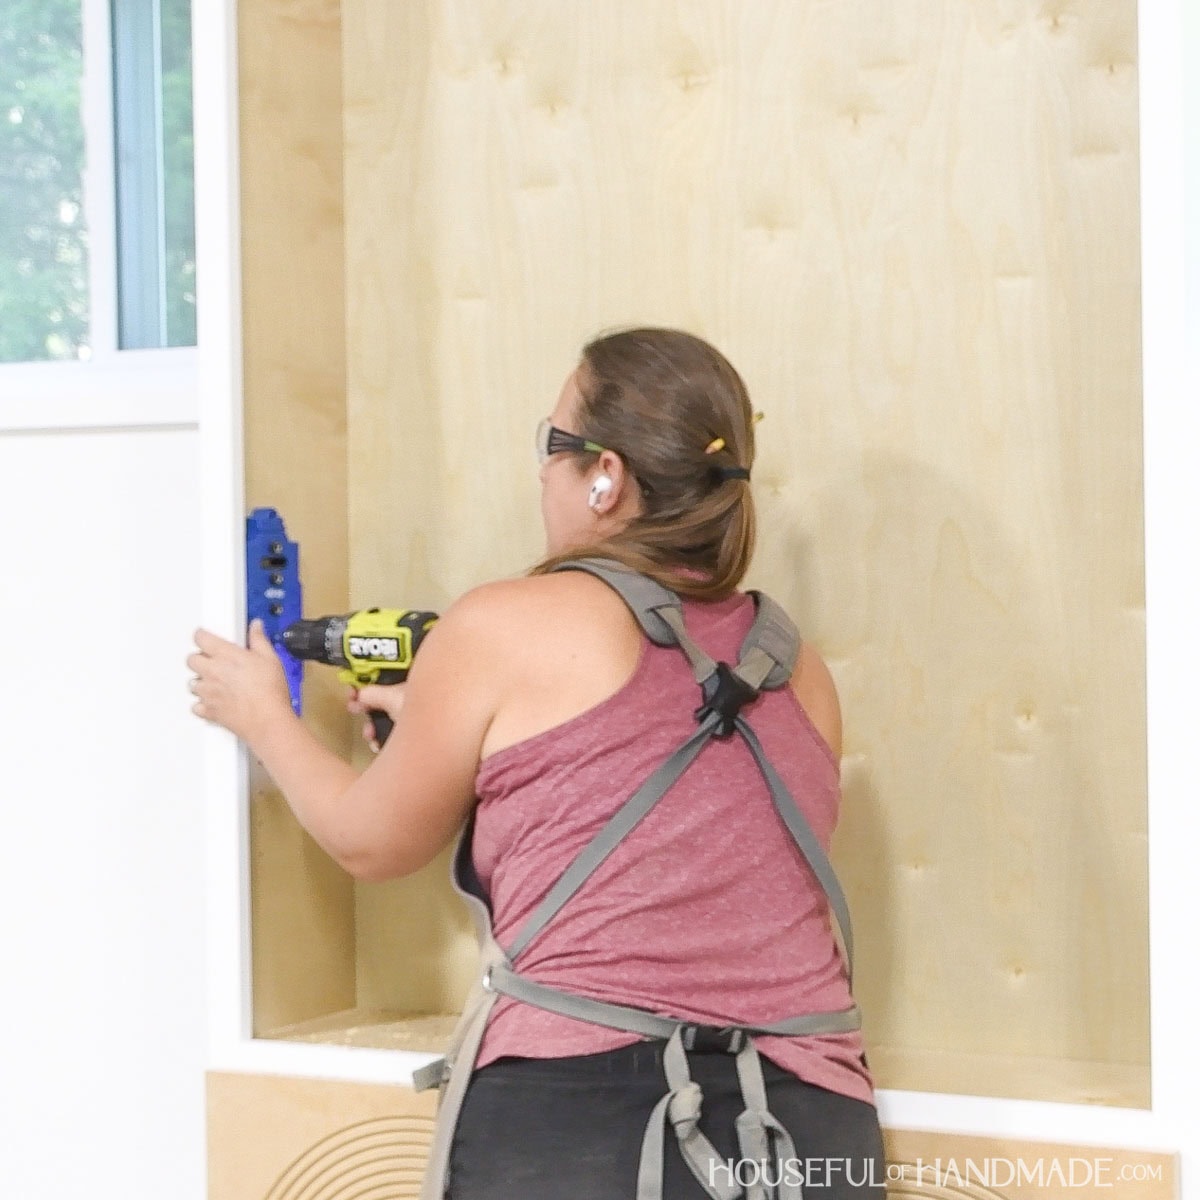
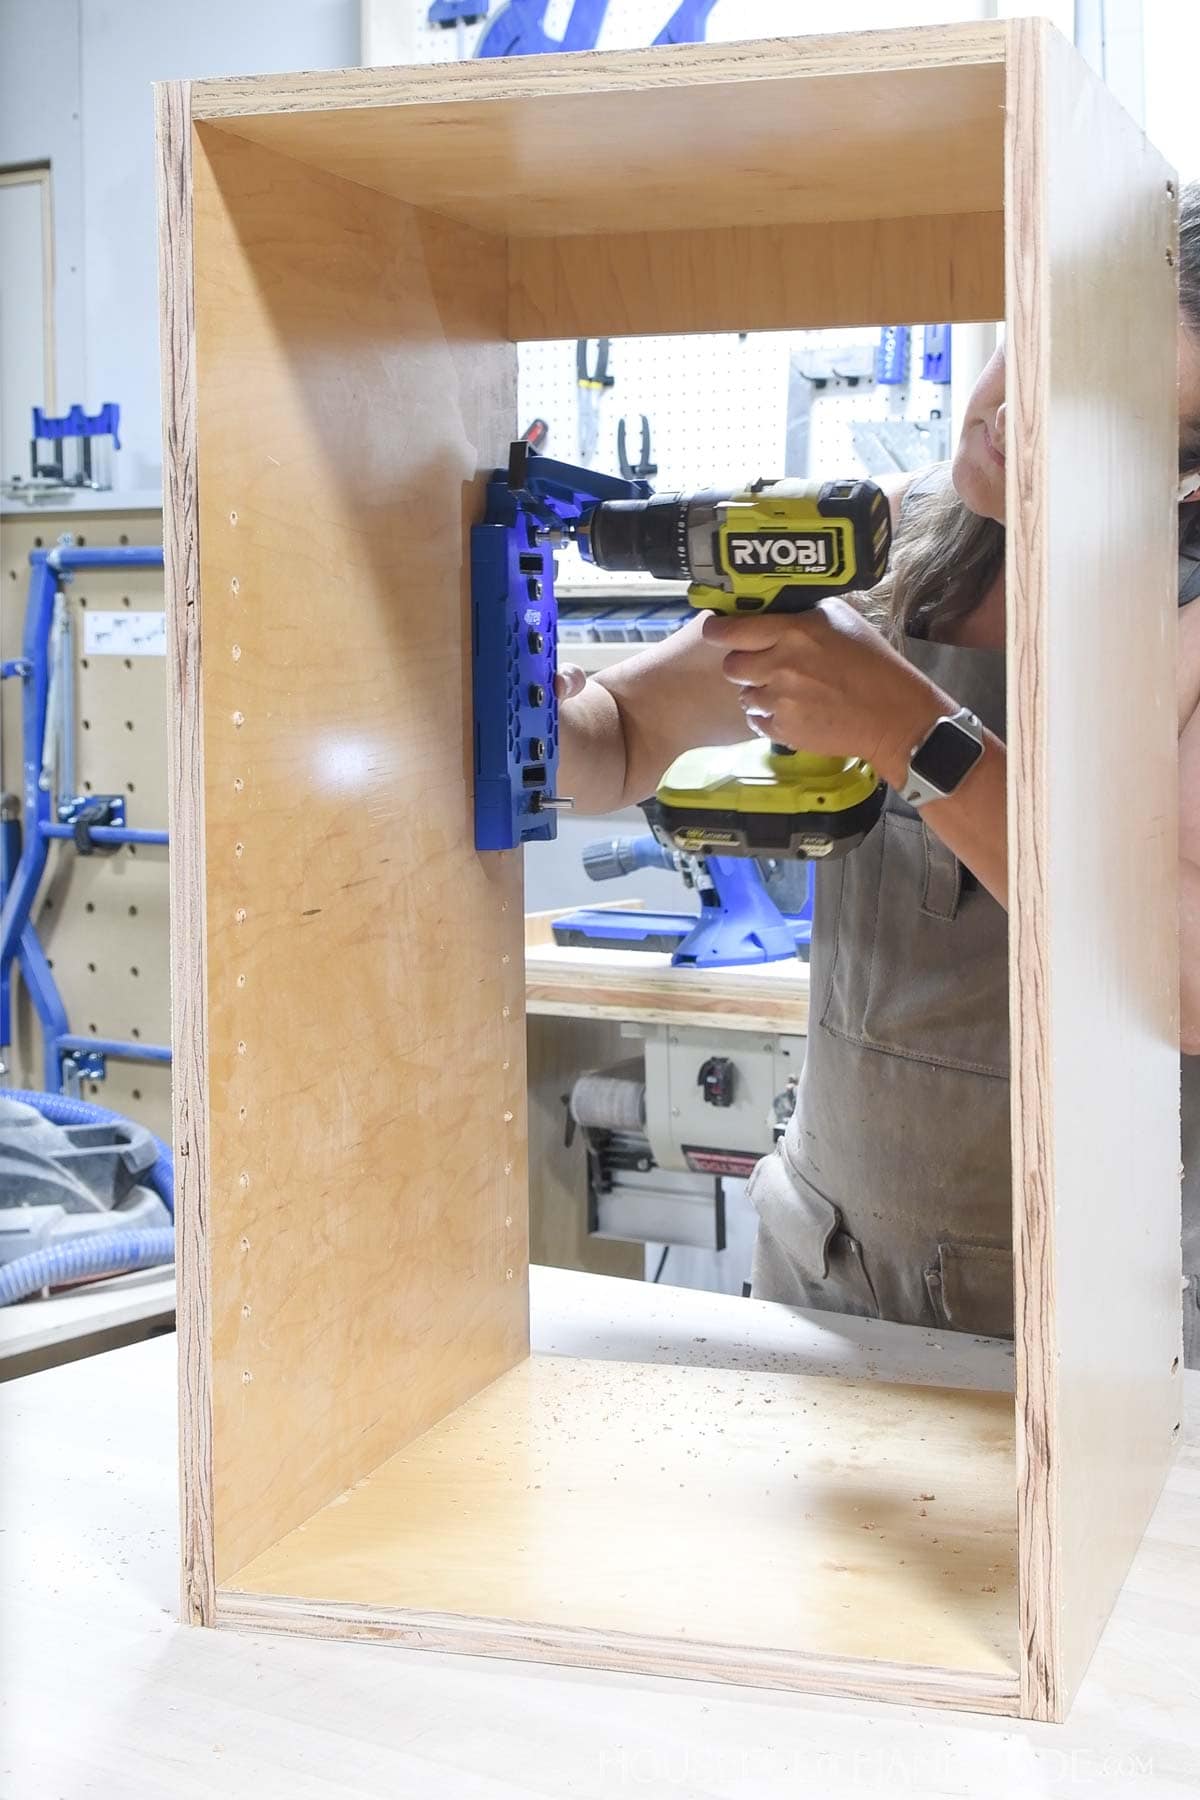
If the face frame or back is already attached, remove the fence and then align the jig so it is flush to the inside of the face frame or back panel.
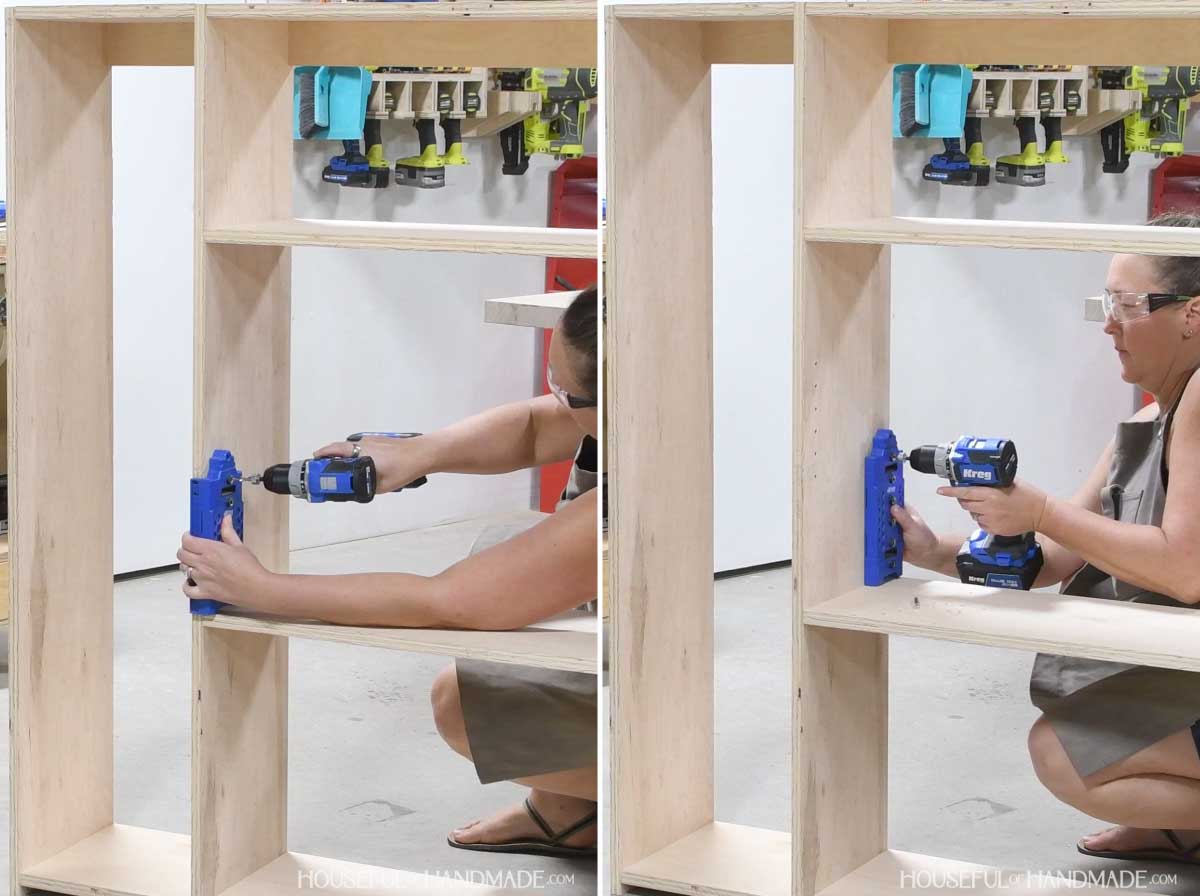
STEP 3- Drill shelf pin holes
I like to start at the bottom of the cabinet. However, you do not need to add holes from the very bottom all the way to the top.
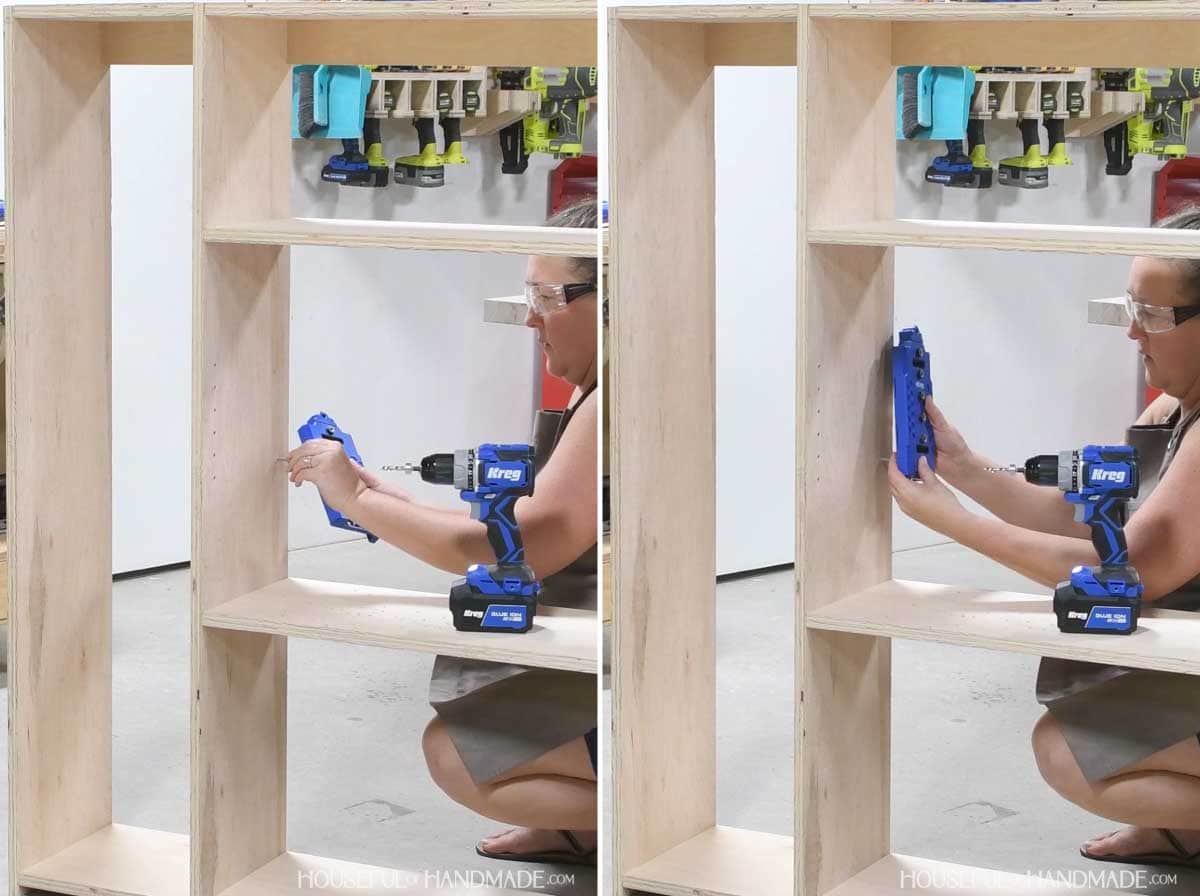
So I will line the jig up with the bottom front of the cabinet and drill just the top 1 or 2 holes.
If I need to start the holes further away, I like to cut a scrap of wood to place under the jig as a spacer. I find a spacer more accurate that measuring
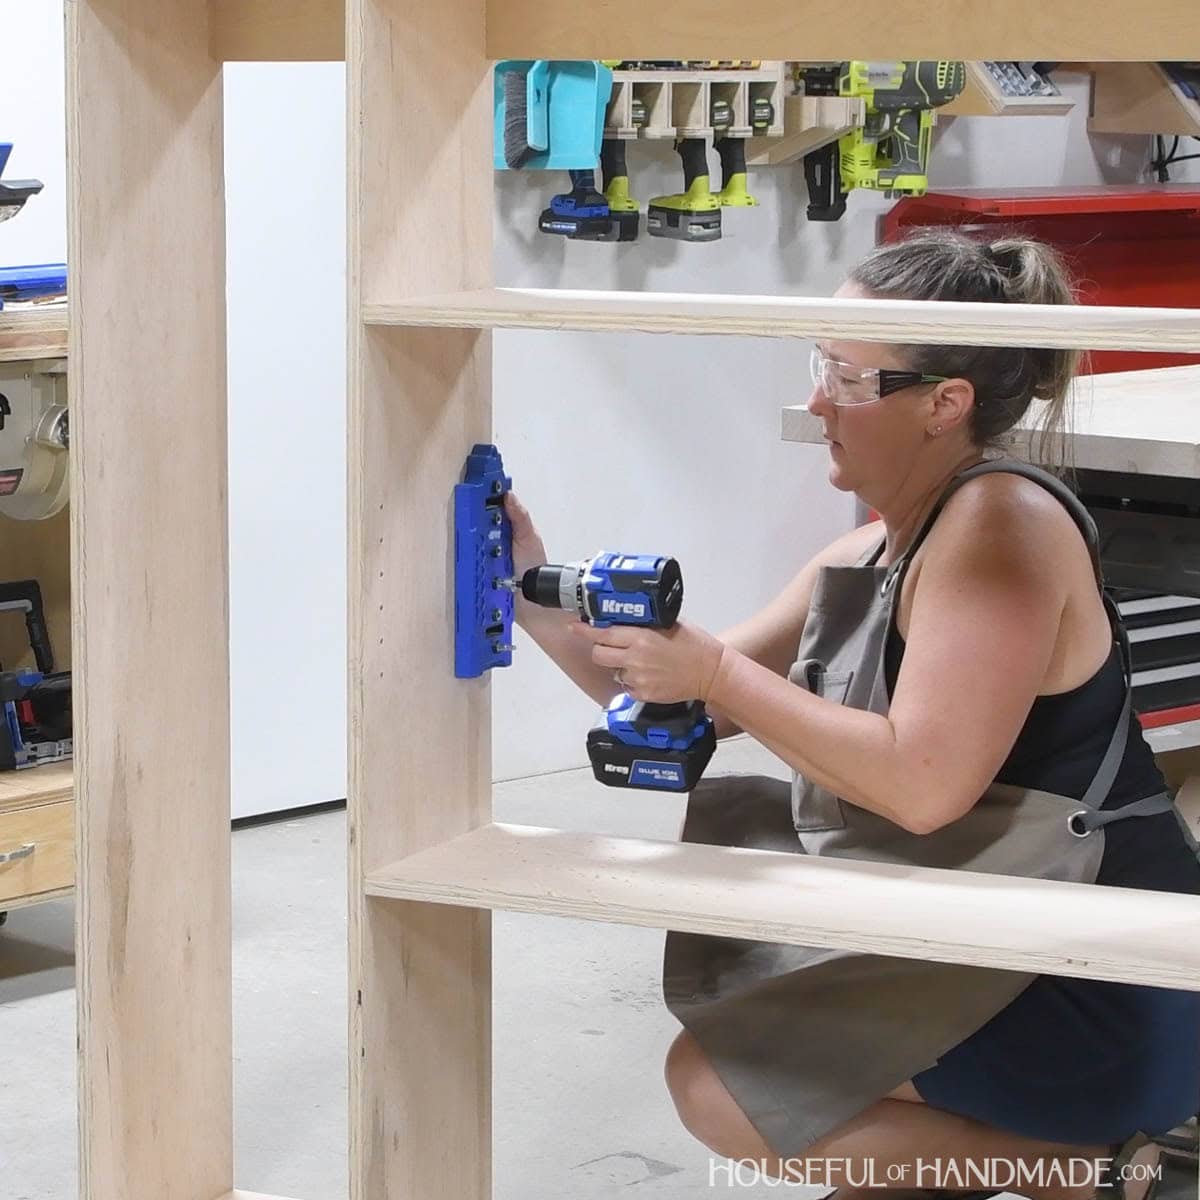
Then I remove the jig and place the indexing pin into the top hole. Slide the jig over the pin and line it up with the front of the cabinet.
The indexing pin will keep the new set of holes perfectly aligned to the first set. Now I can drill holes all the way up the jig.
If I have a tall cabinet and need more holes, I place the indexing pin in the new top hole and realign the jig. Then drill more holes.
Repeat as needed. You do not need the holes to go all the way to the top.
I usually stop them about a jig’s distance from the top unless I have plans to store really short items on a shelf.
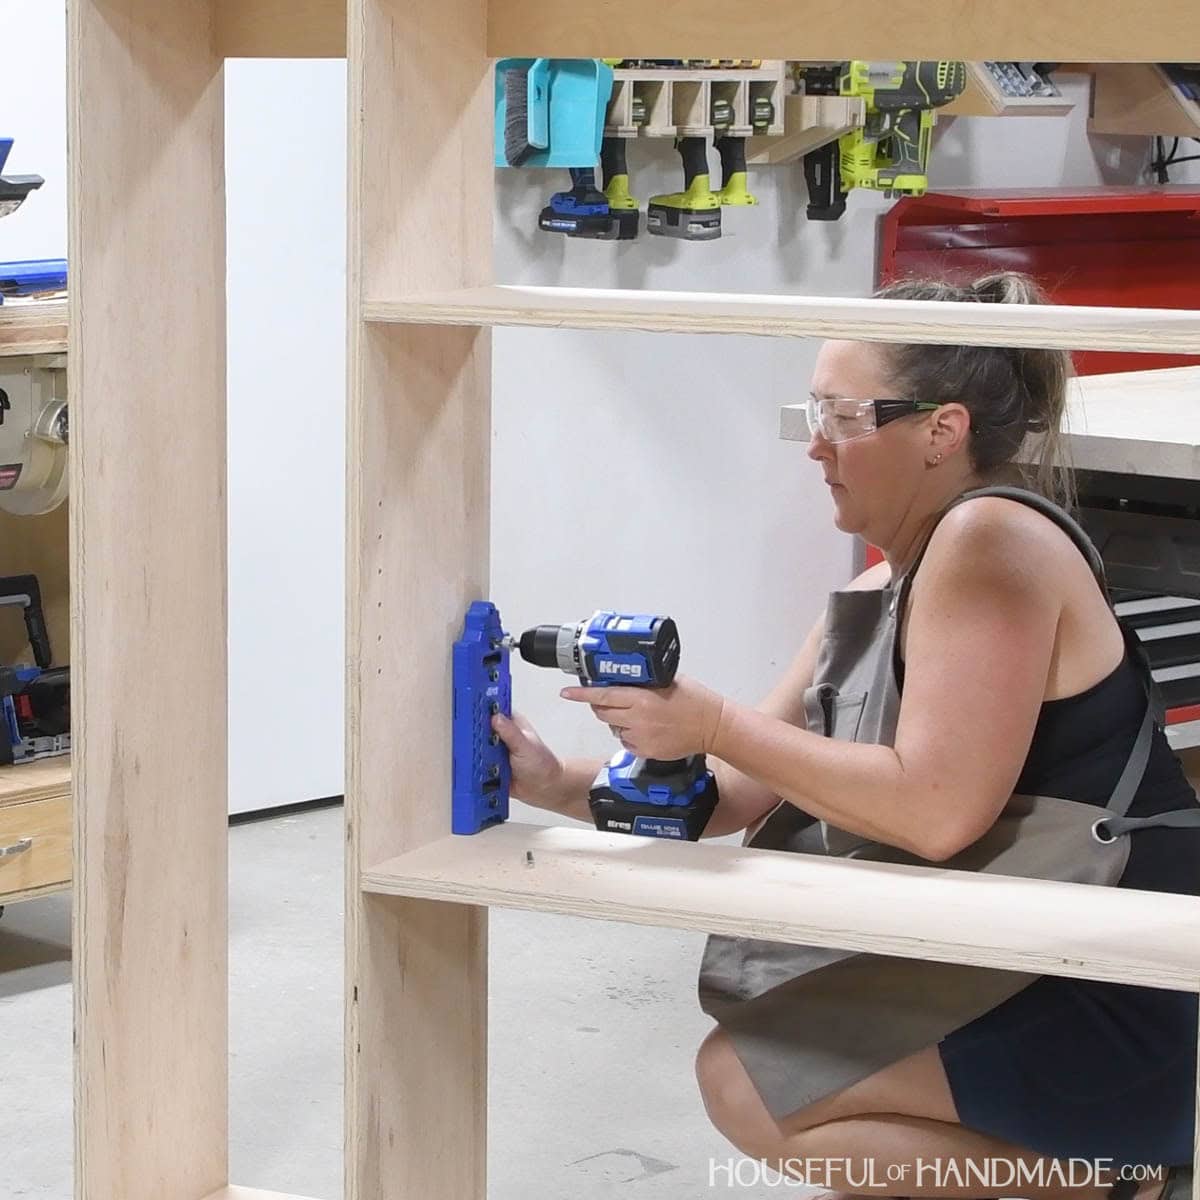
Once you have drilled holes all the way up one section, repeat for the other section on that side.
Then move to the other side and add two rows of shelf pins holes on it.
You have to have 4 shelf pins to fully support a shelf. You need one on the front and back of each side.
STEP 4- Finish and add shelves
Sand and finish your project as desired.
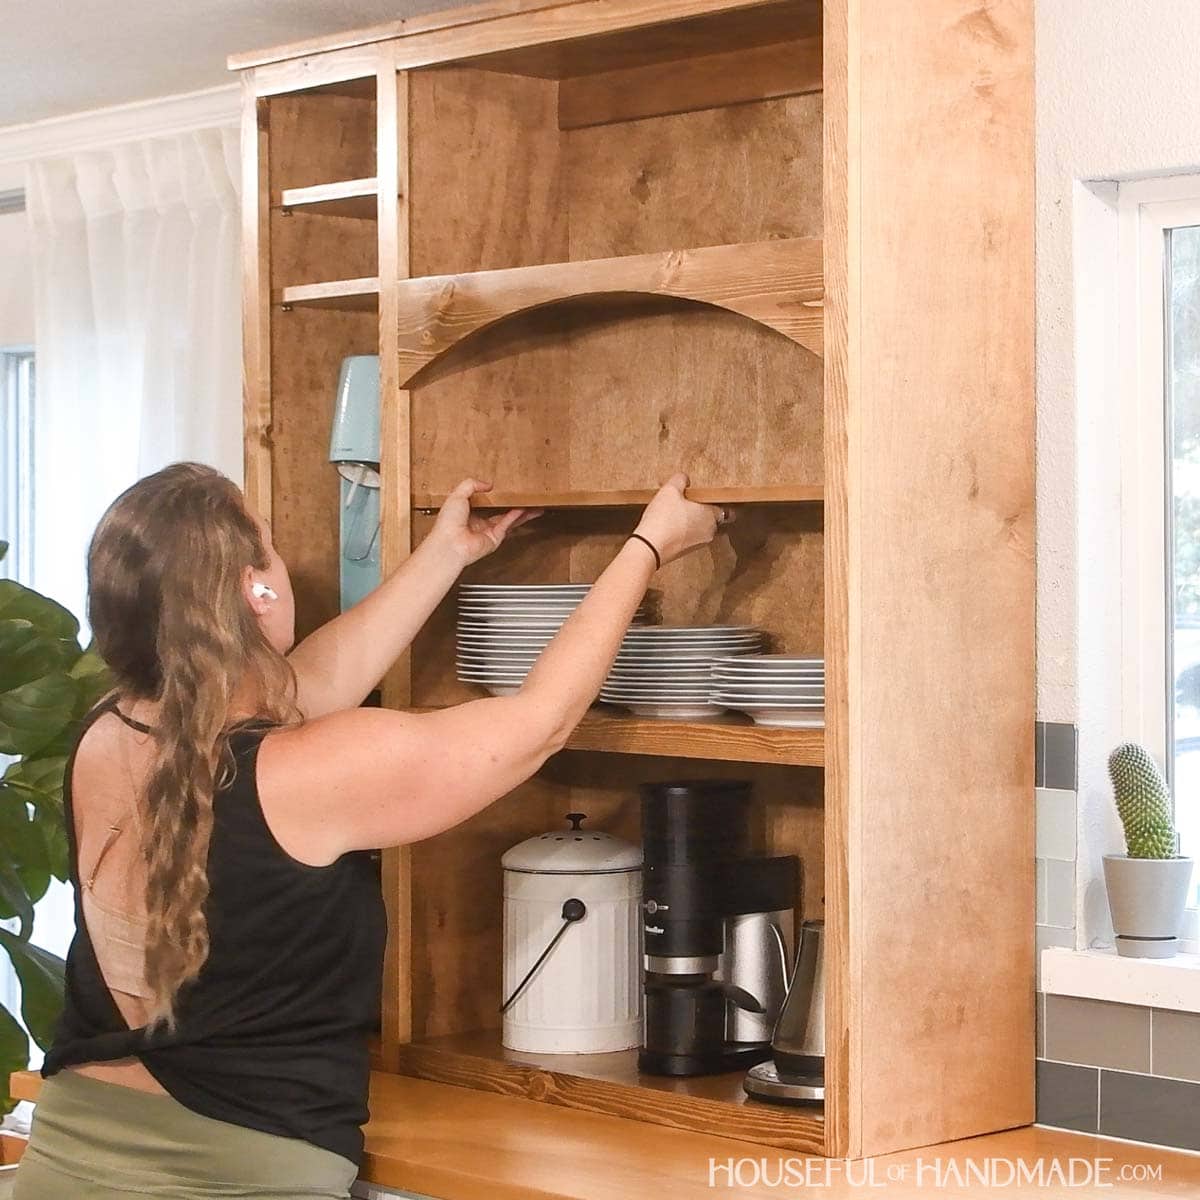
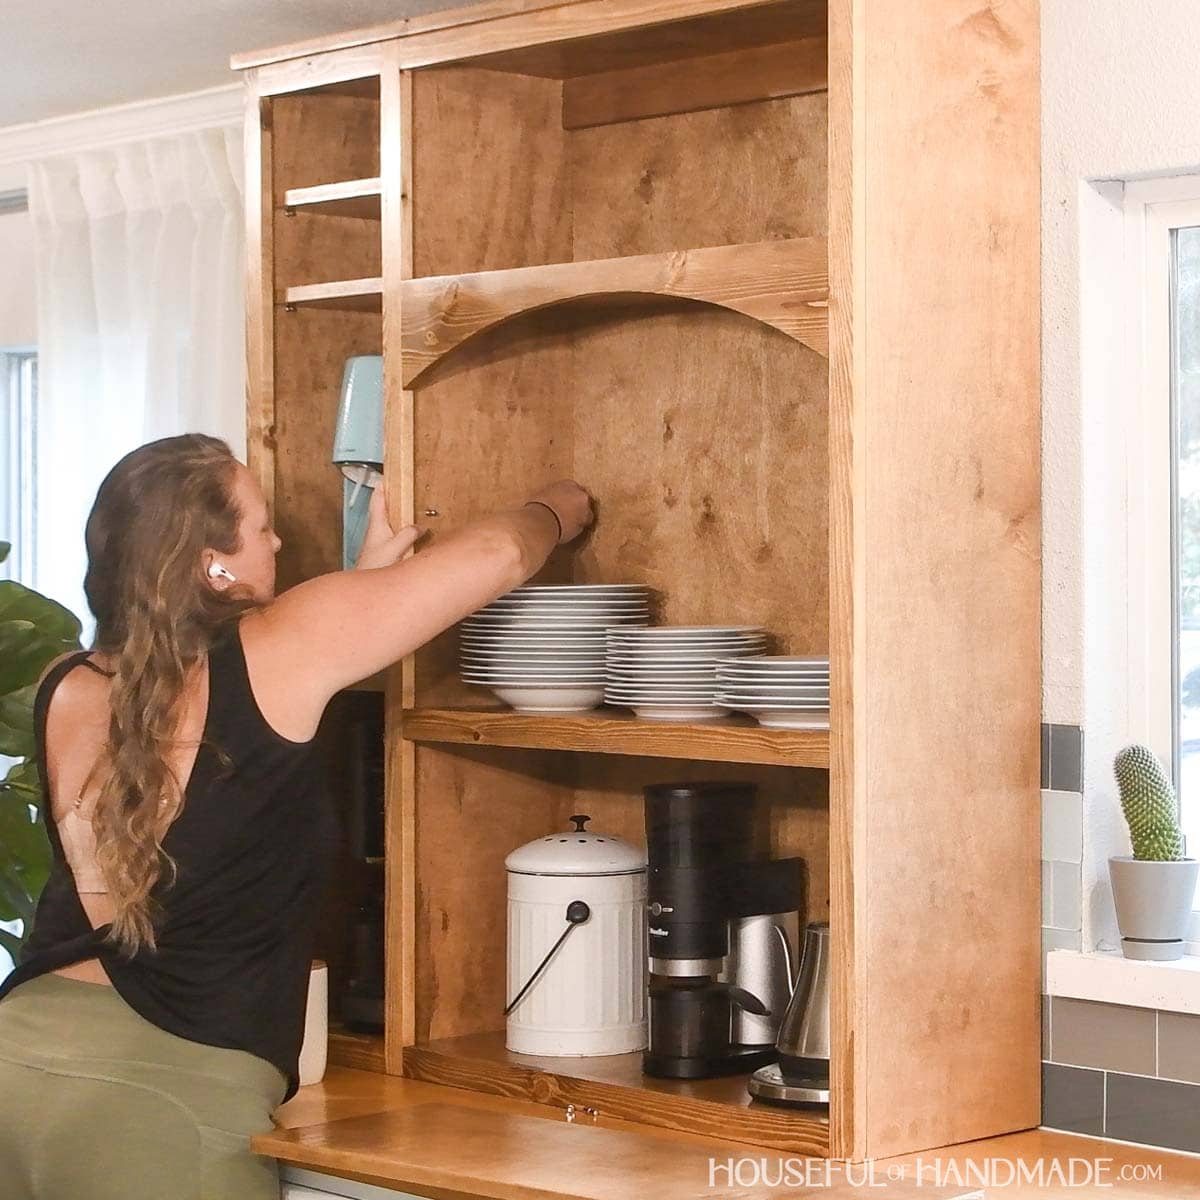
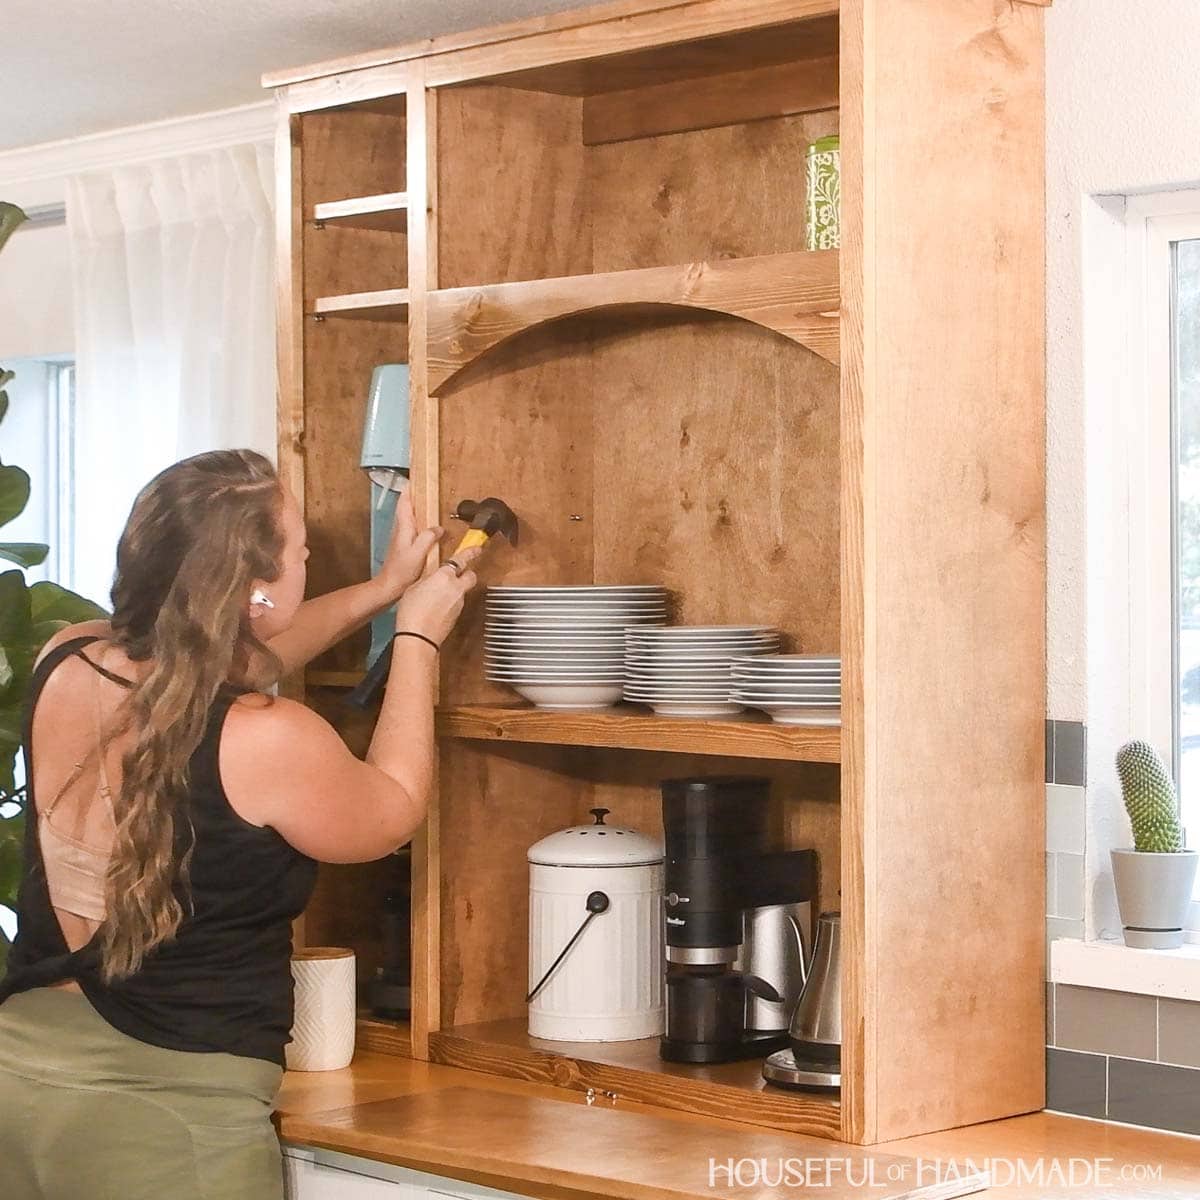
Then to add your shelves, place (4) shelf pins in the holes so they are all level.
I use the count method and count how many holes are above or below the holes I want to put the pins in to ensure the shelf will be level.
Sometimes I have to tap them in place with a hammer to fully seat the pins.
You did it!
Now you can place your shelf on the pins and load them up with whatever you want.
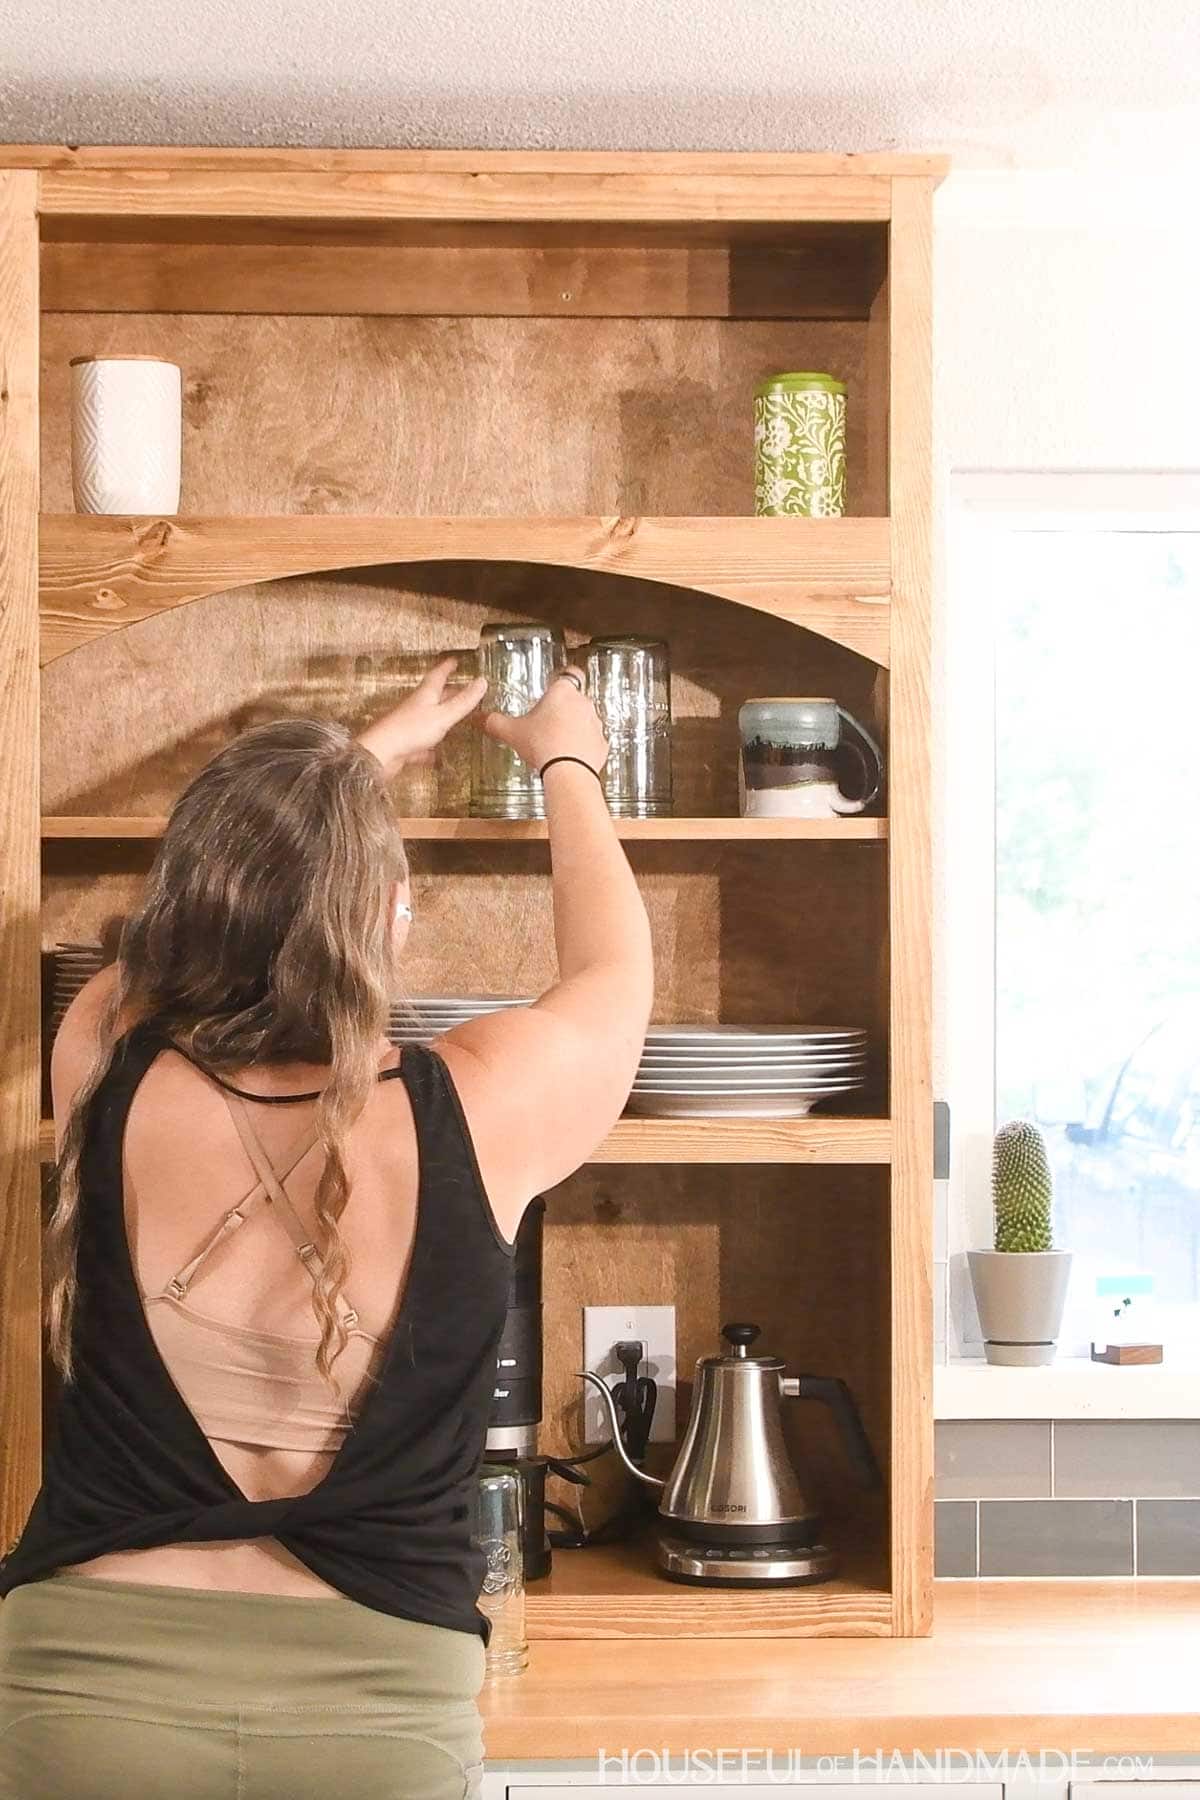
Happy building!
