Bookcases are the best! You can store books in them, or add baskets for other storage, or use them to display decor, or all three.
And while you can buy a bookshelf for quite cheap, they will feel very cheap too.
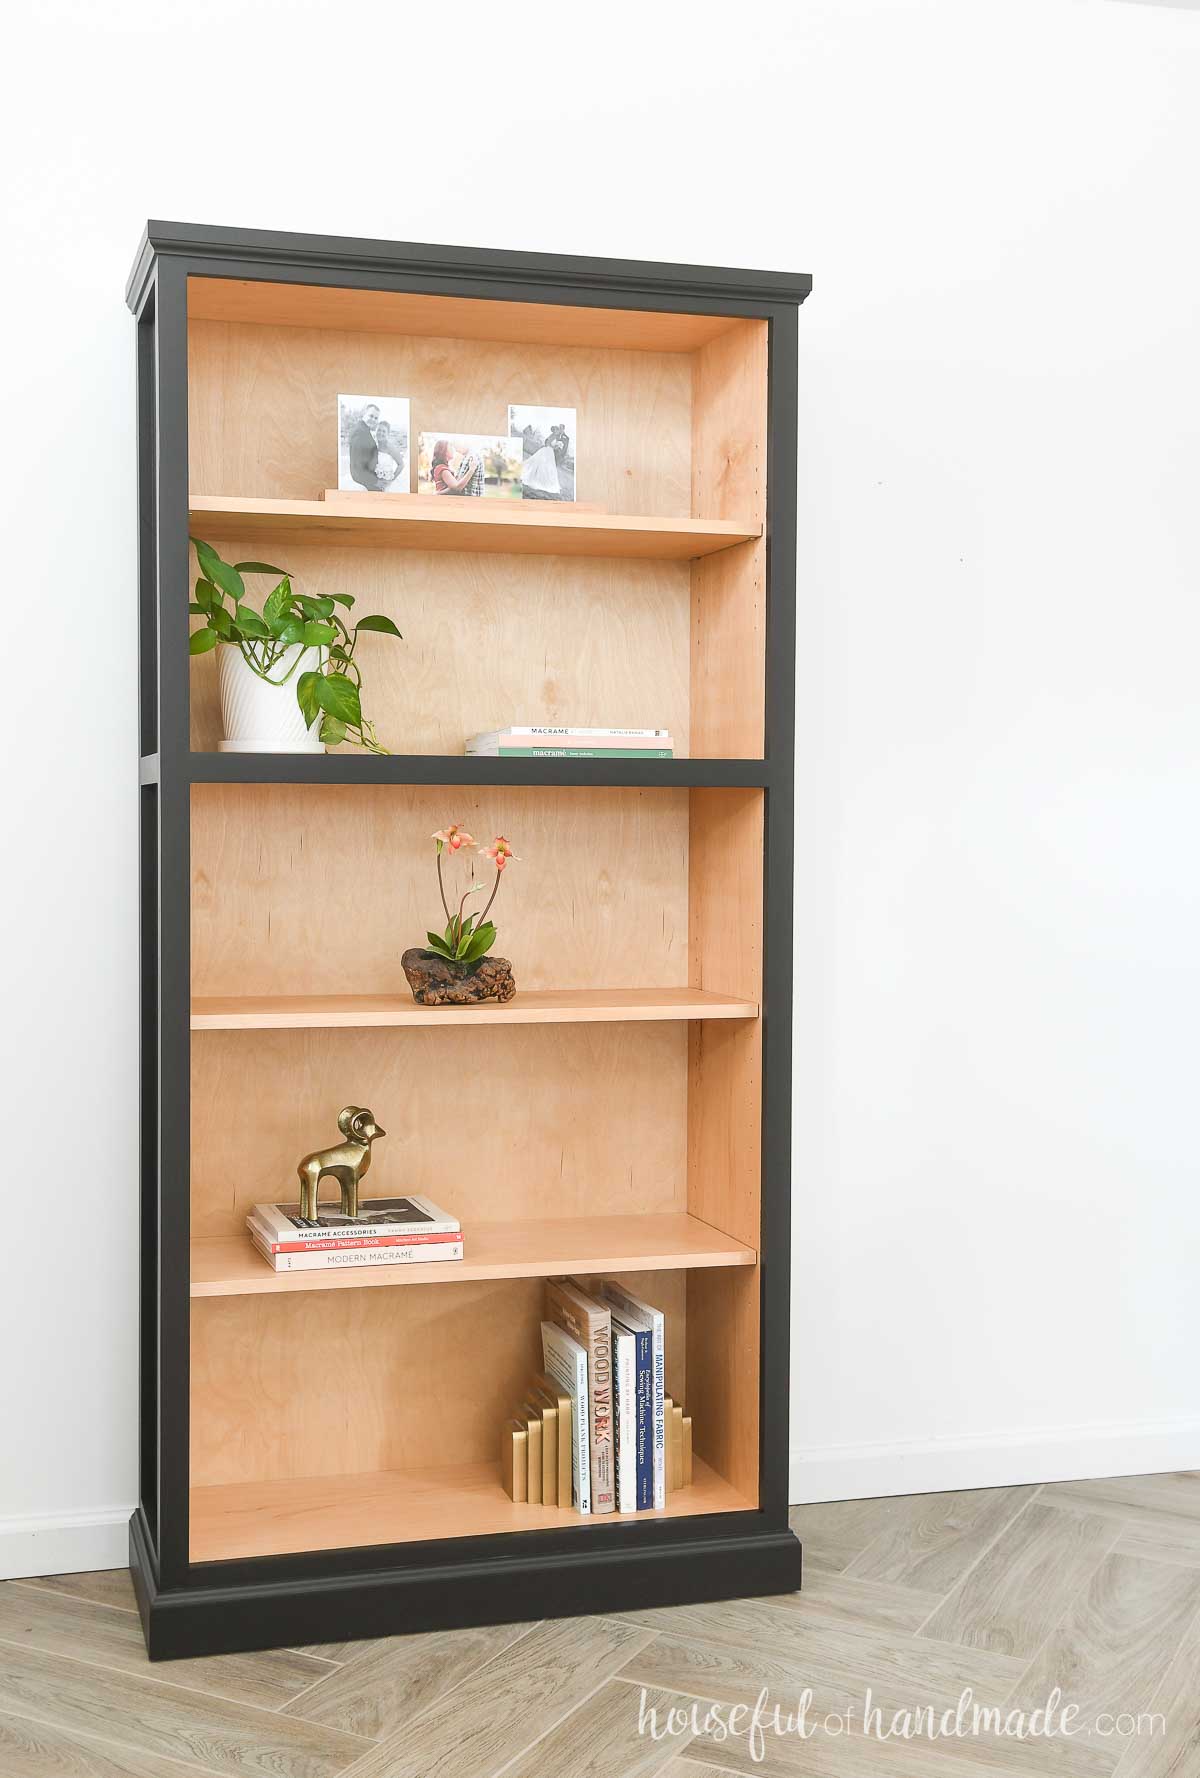
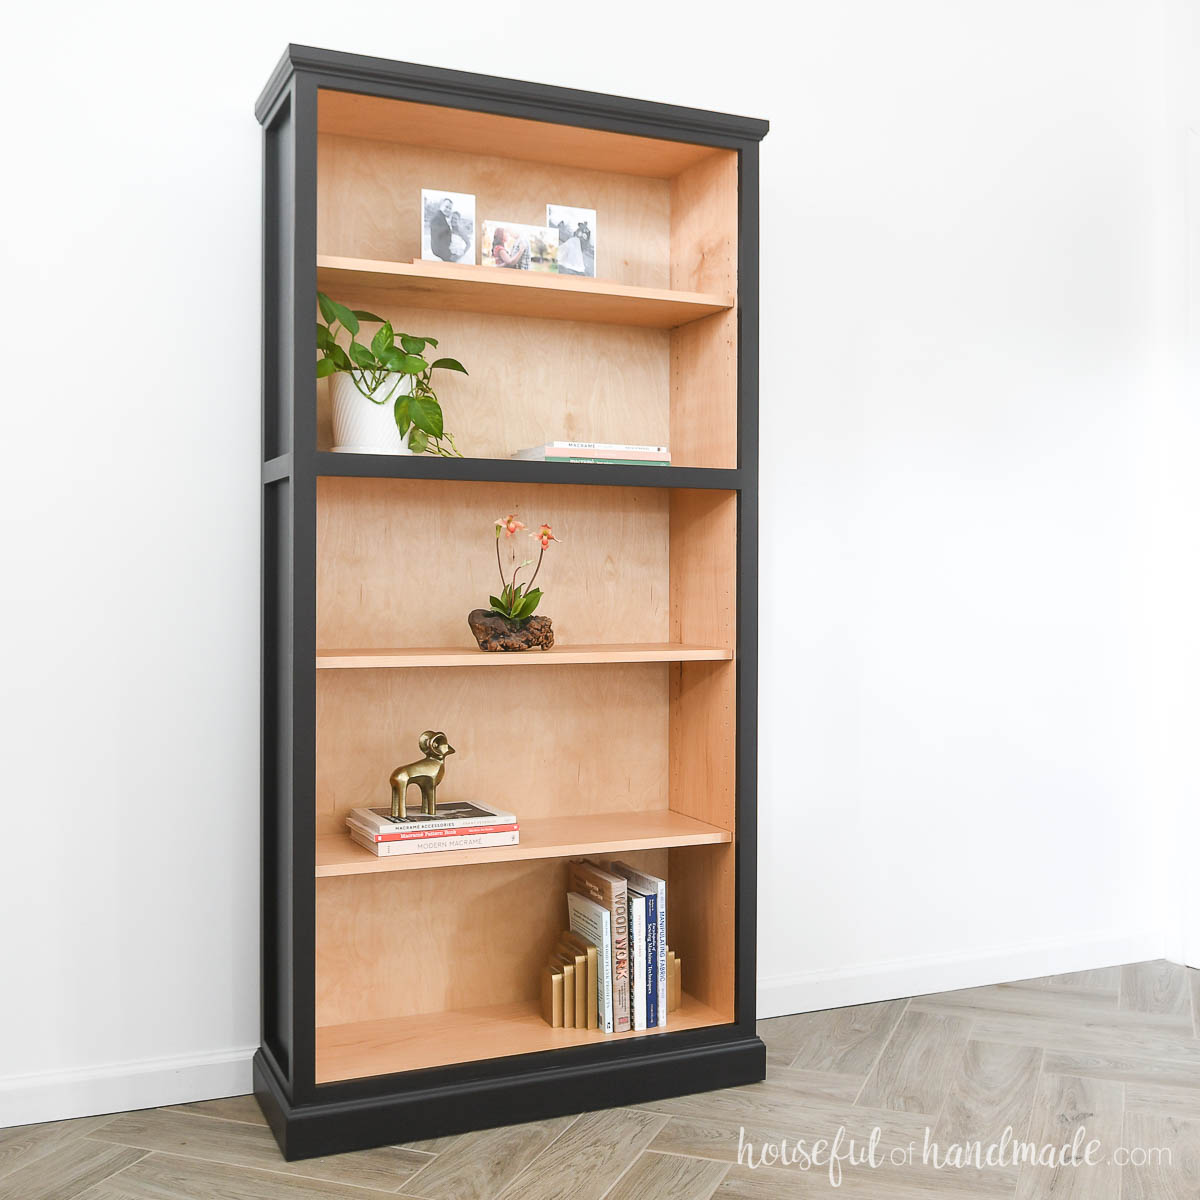
Instead, you should build your own DIY bookcase. This beautiful tall bookcase with 5 shelves, was built from 1 sheet of 3/4″ plywood, 1 sheet of 1/4″ plywood, and some trim.
This post may contain affiliate links. As an Amazon Associate I earn from qualifying purchases. Click here to read my full disclosure policy.
It is not much more expensive then the cheap veneer bookcases you can buy, but looks so much better! Plus it is so sturdy, it will last forever.
Easy DIY Bookcase from Plywood
When designing this tall bookcase, I wanted to keep the supply list short. So I made all the frame pieces fit on one sheet of 3/4″ plywood.
If you want more shelves in your bookshelf, you can easily add them from plywood scraps or with a second sheet of plywood.
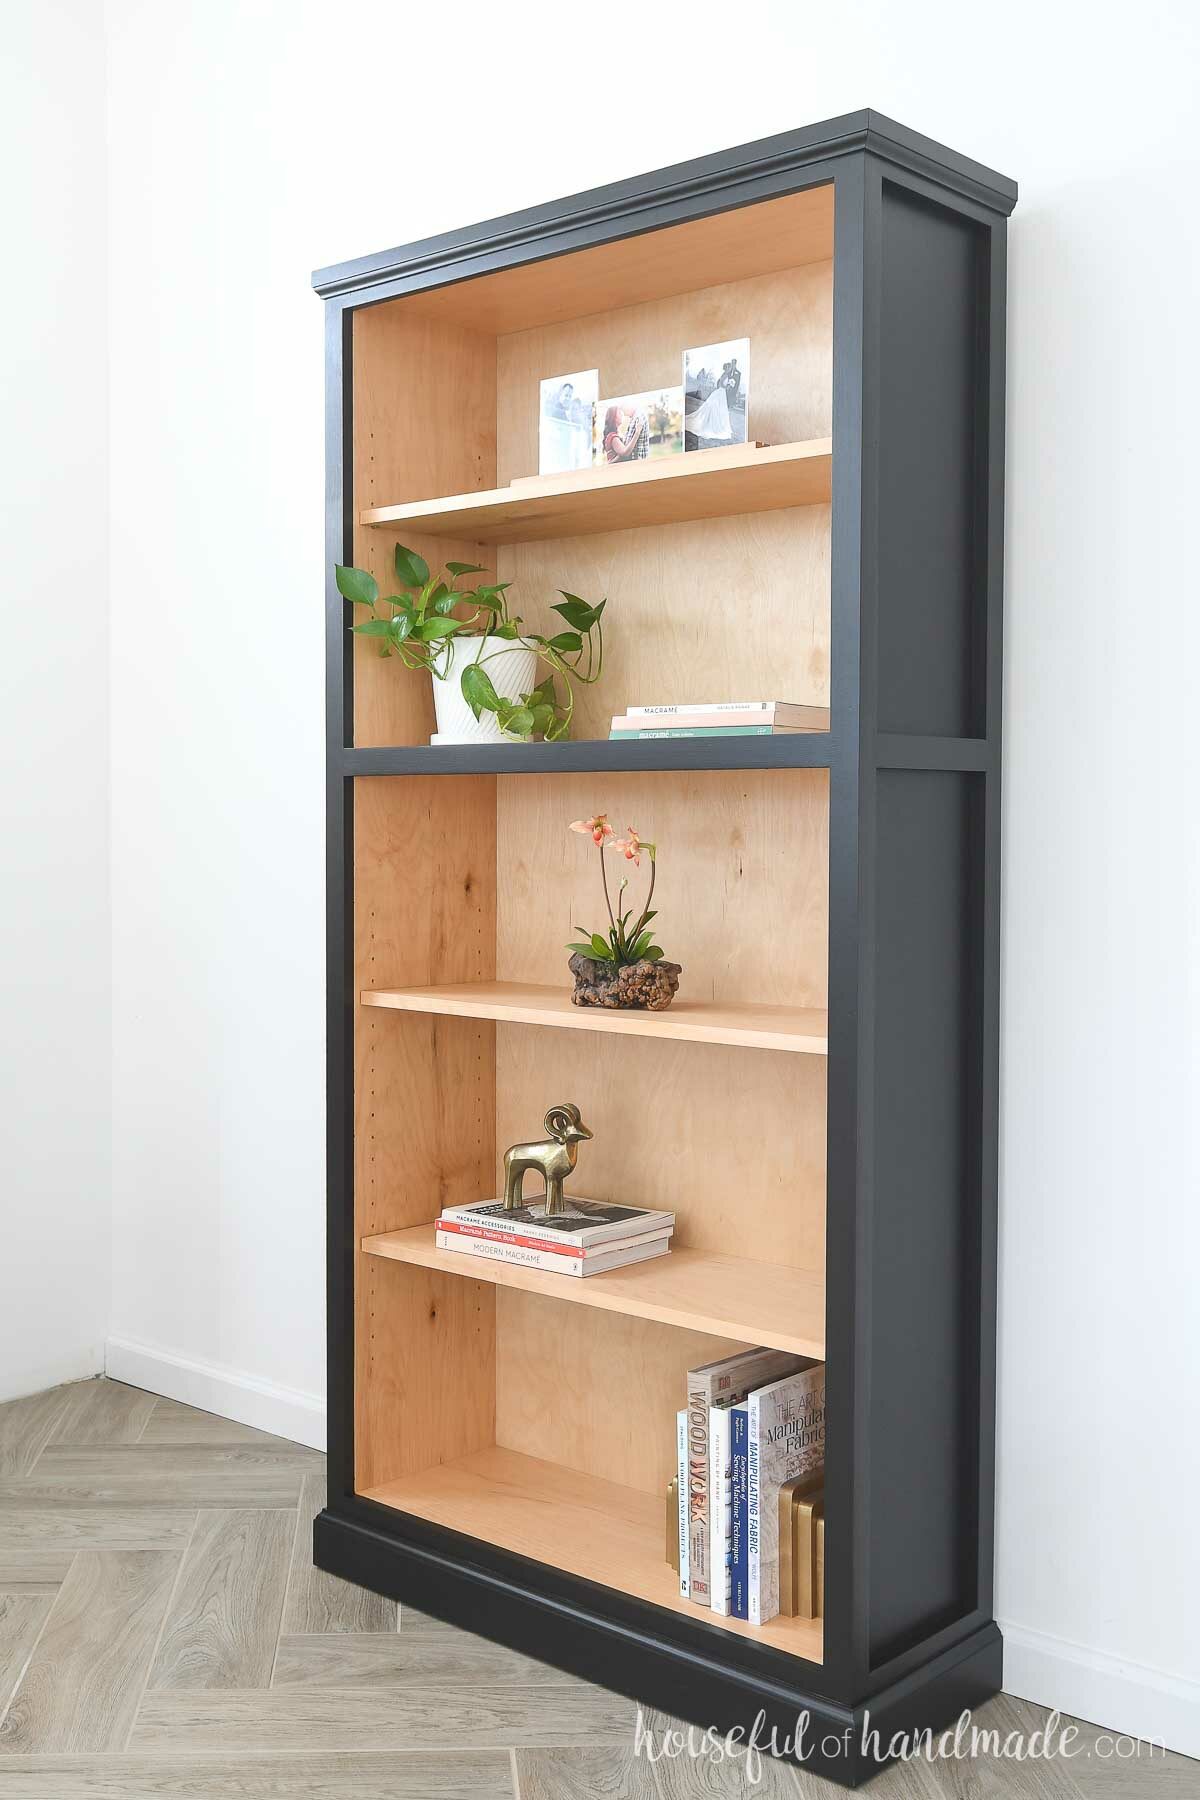
The trim on the sides and front completely cover the screws used to build the frame. And add a ton of style.
The result is a stunning bookcase you will be excited to show off.
But the best part of this bookcase build, it is very easy!
It took me longer to finish the bookshelf because I chose a two-toned look then it did to build it.
And all you need is a circular saw with a guide to get straight cuts, a drill, brad nailer, and a sander.
I also used a pocket hole jig, miter saw and trim router but these tools are totally optional (as described in the tutorial below).
So dust off your work table and let’s get to building!
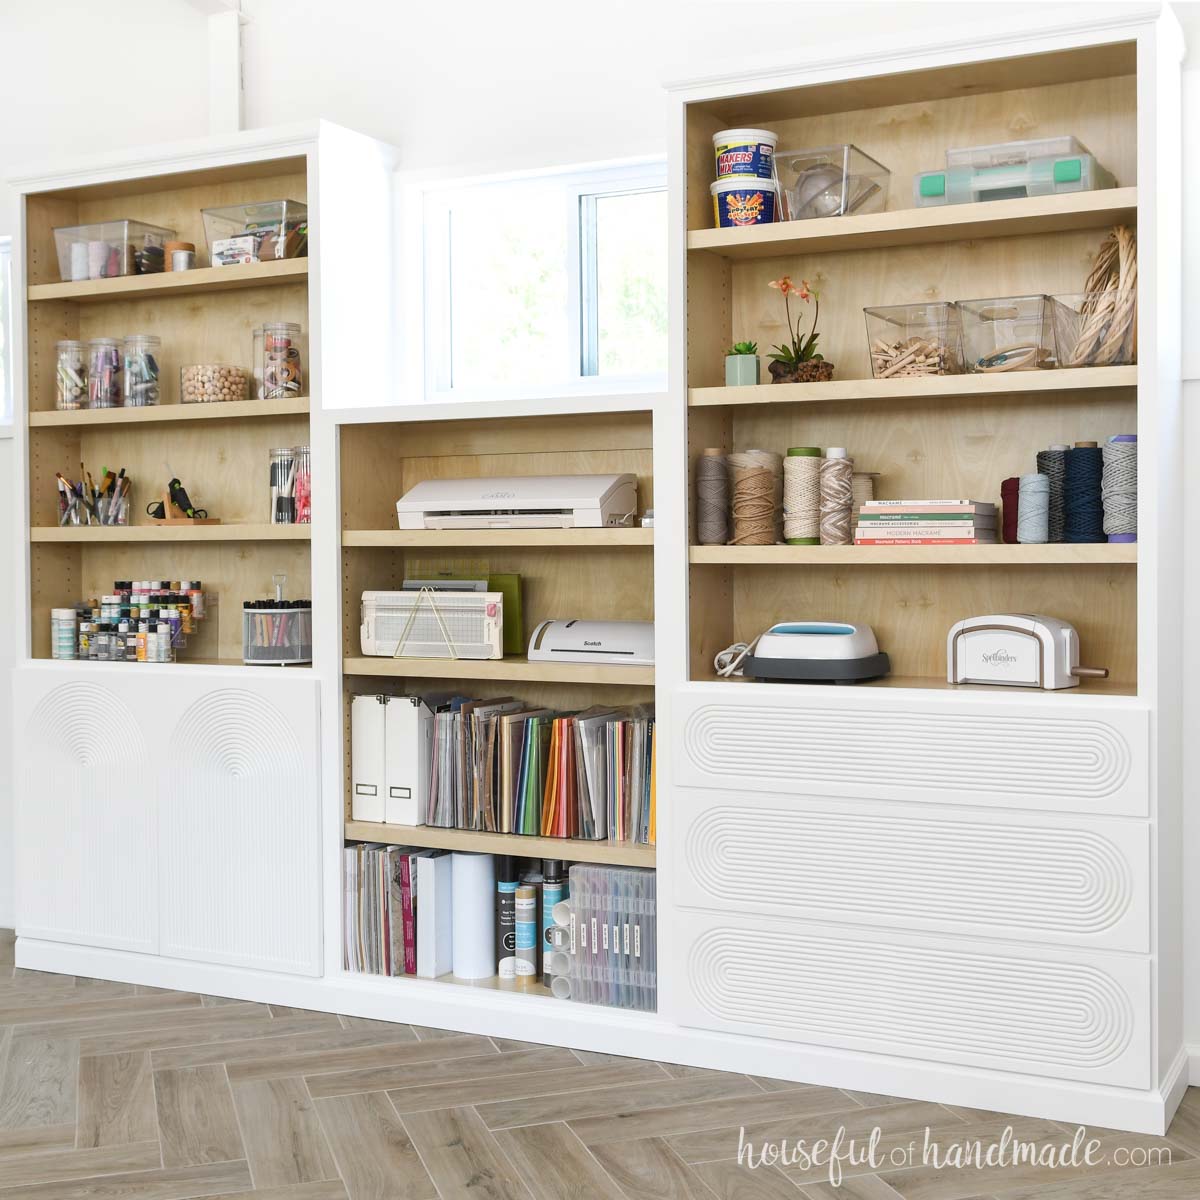
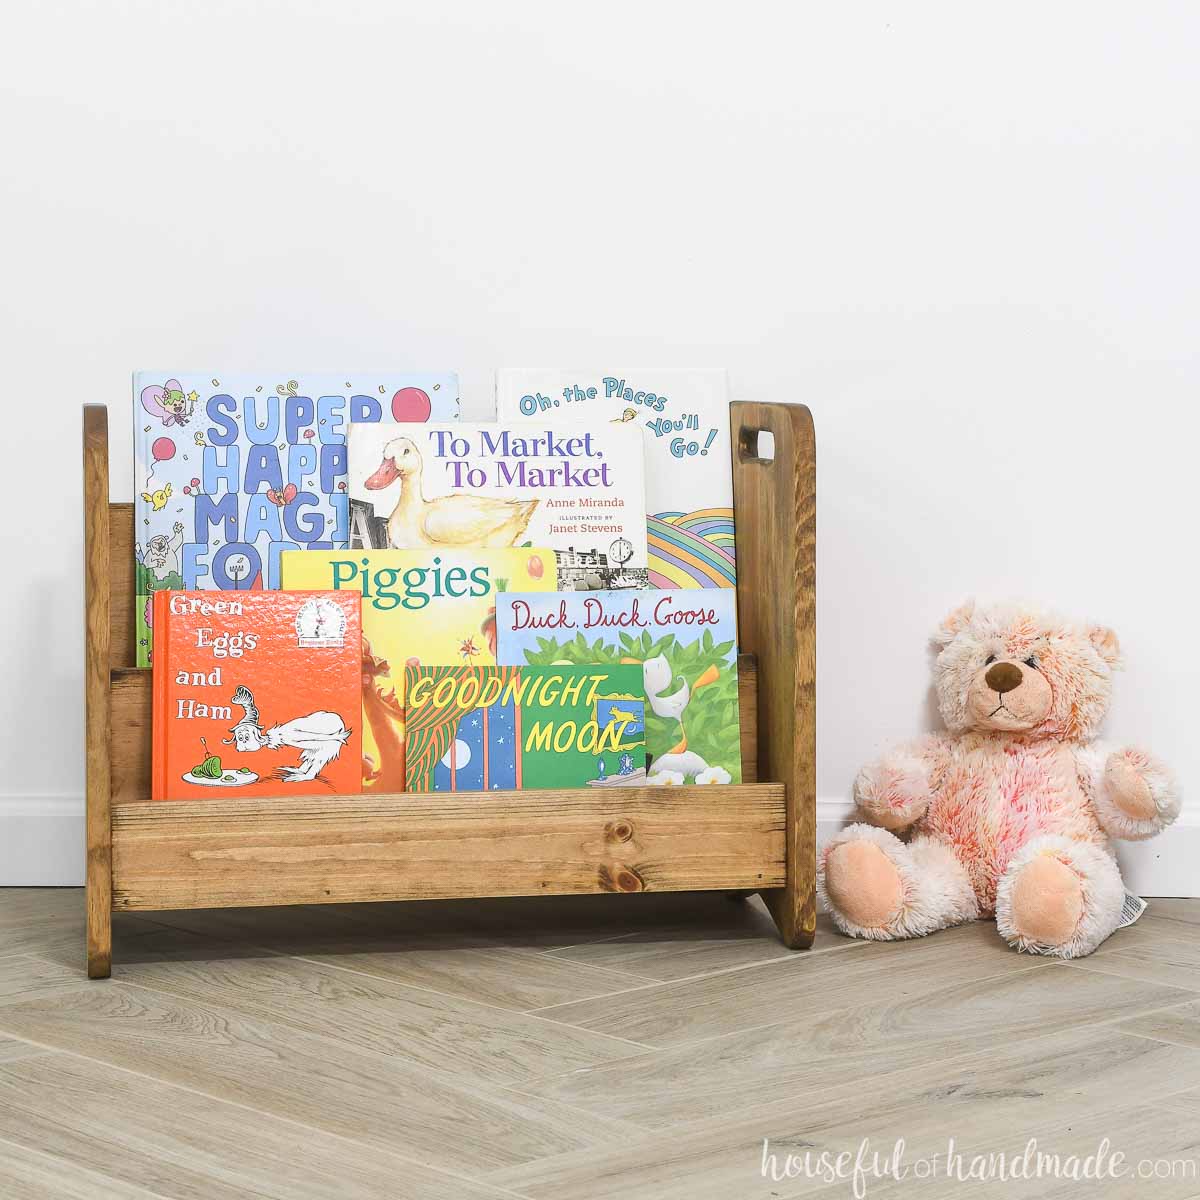
More DIY Bookcases
You can never have too many bookshelves! They keep your home organized and can be beautiful.
How to Build a Large Bookcase
Tools & Materials
Recommended Tools:
- Circular saw with rip cut guide
- Drill
- Impact driver (optional, but I love not having to switch bits with the drill)
- Speed square
- Brad nailer
- Face clamps
- Shelf pin jig
- Iron
- Sander
- Miter saw (optional)
- Trim router (optional)
- Pocket hole jig (optional)
Supplies:
- Wood products
- (1) 3/4″ plywood, 4×8 sheet
- (1) 1/4″ plywood, 4×8 sheet
- (5) 1×2 boards, 8′ long
- (2) 1×1 boards, 8′ long
- (1) 3 1/2″ base moulding, 6′ long
- (1) 1 1/2″ moulding, 6′ long
- (8′) 3/4″ iron-on edge banding
- 1 1/4″ brad nails
- 1″ brad nails
- 1 1/4″ pan head screws
- 1 1/4″ pocket hole screws
- Wood glue
- (12) shelf pins
- (4) furniture glides/feet (optional)
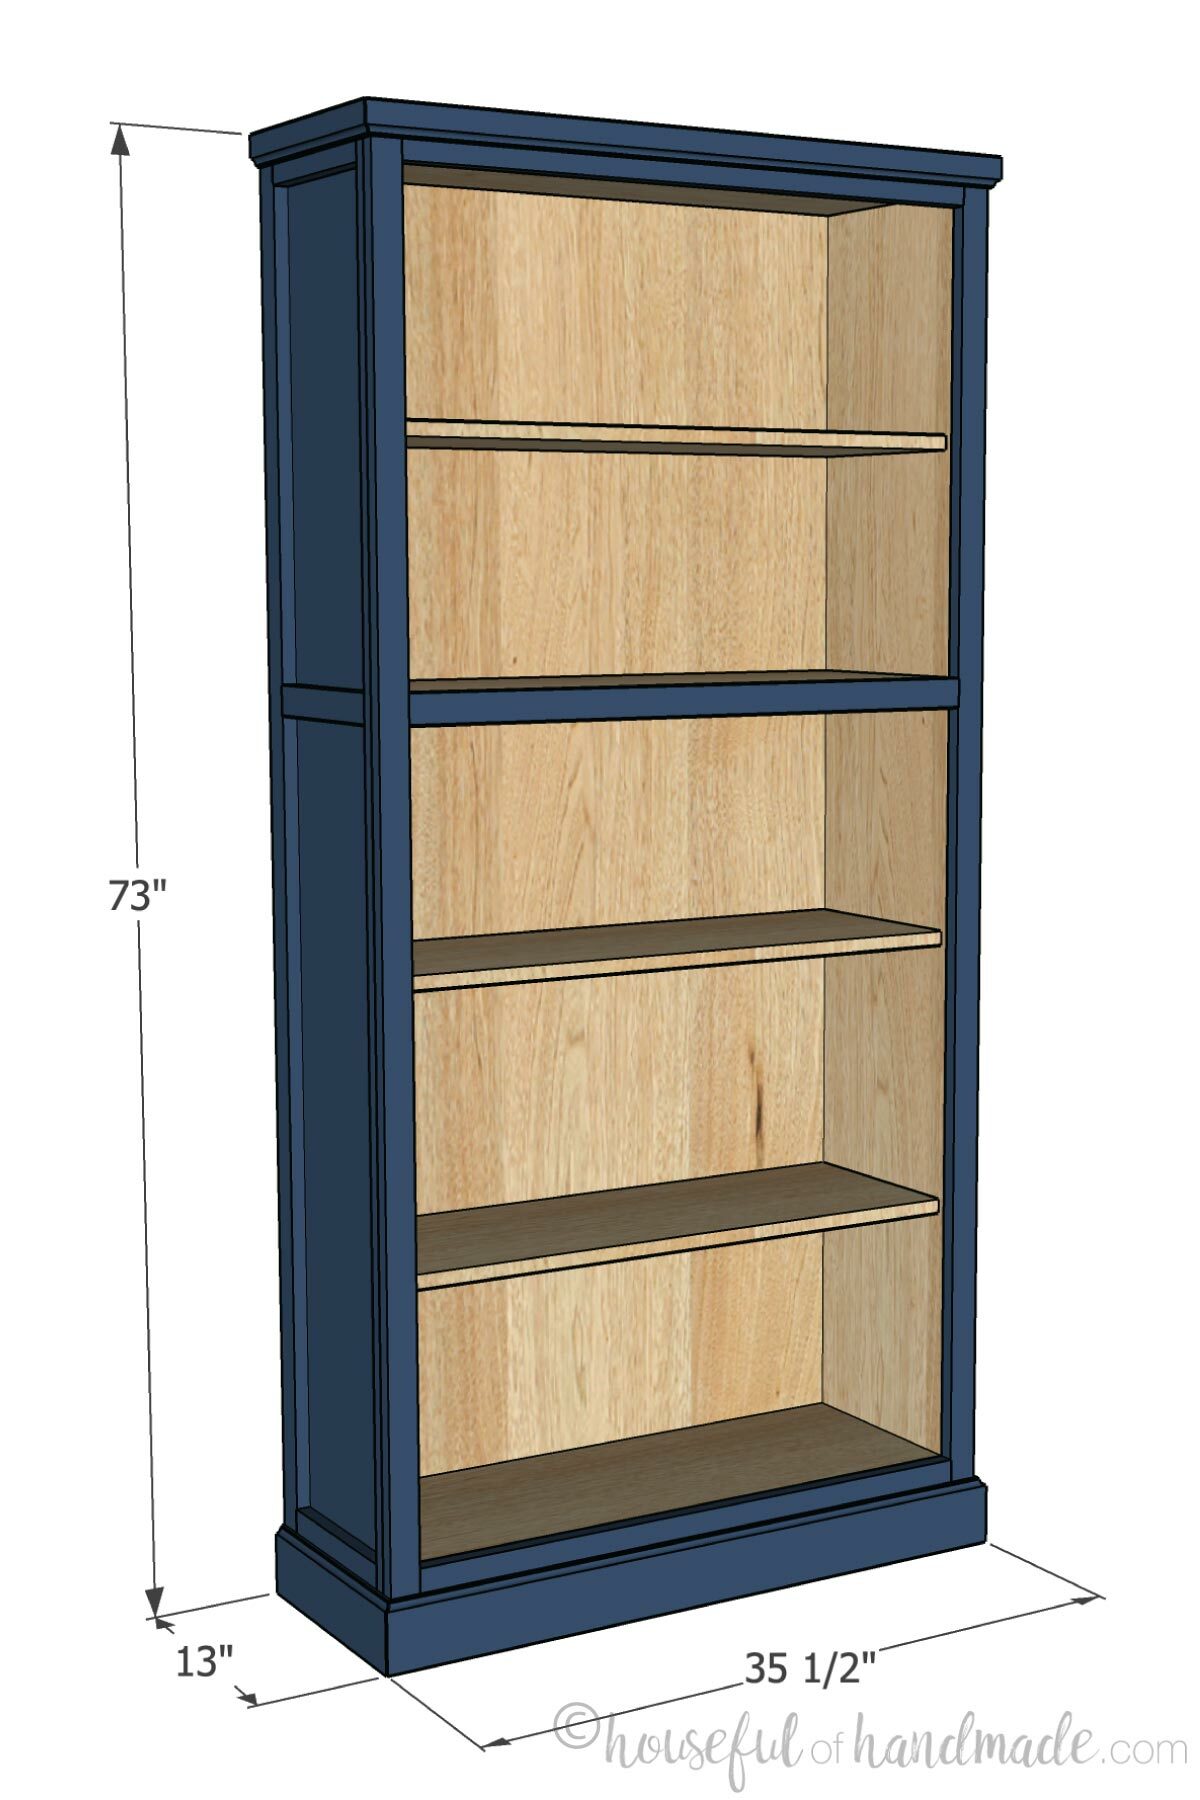
Overall Dimensions
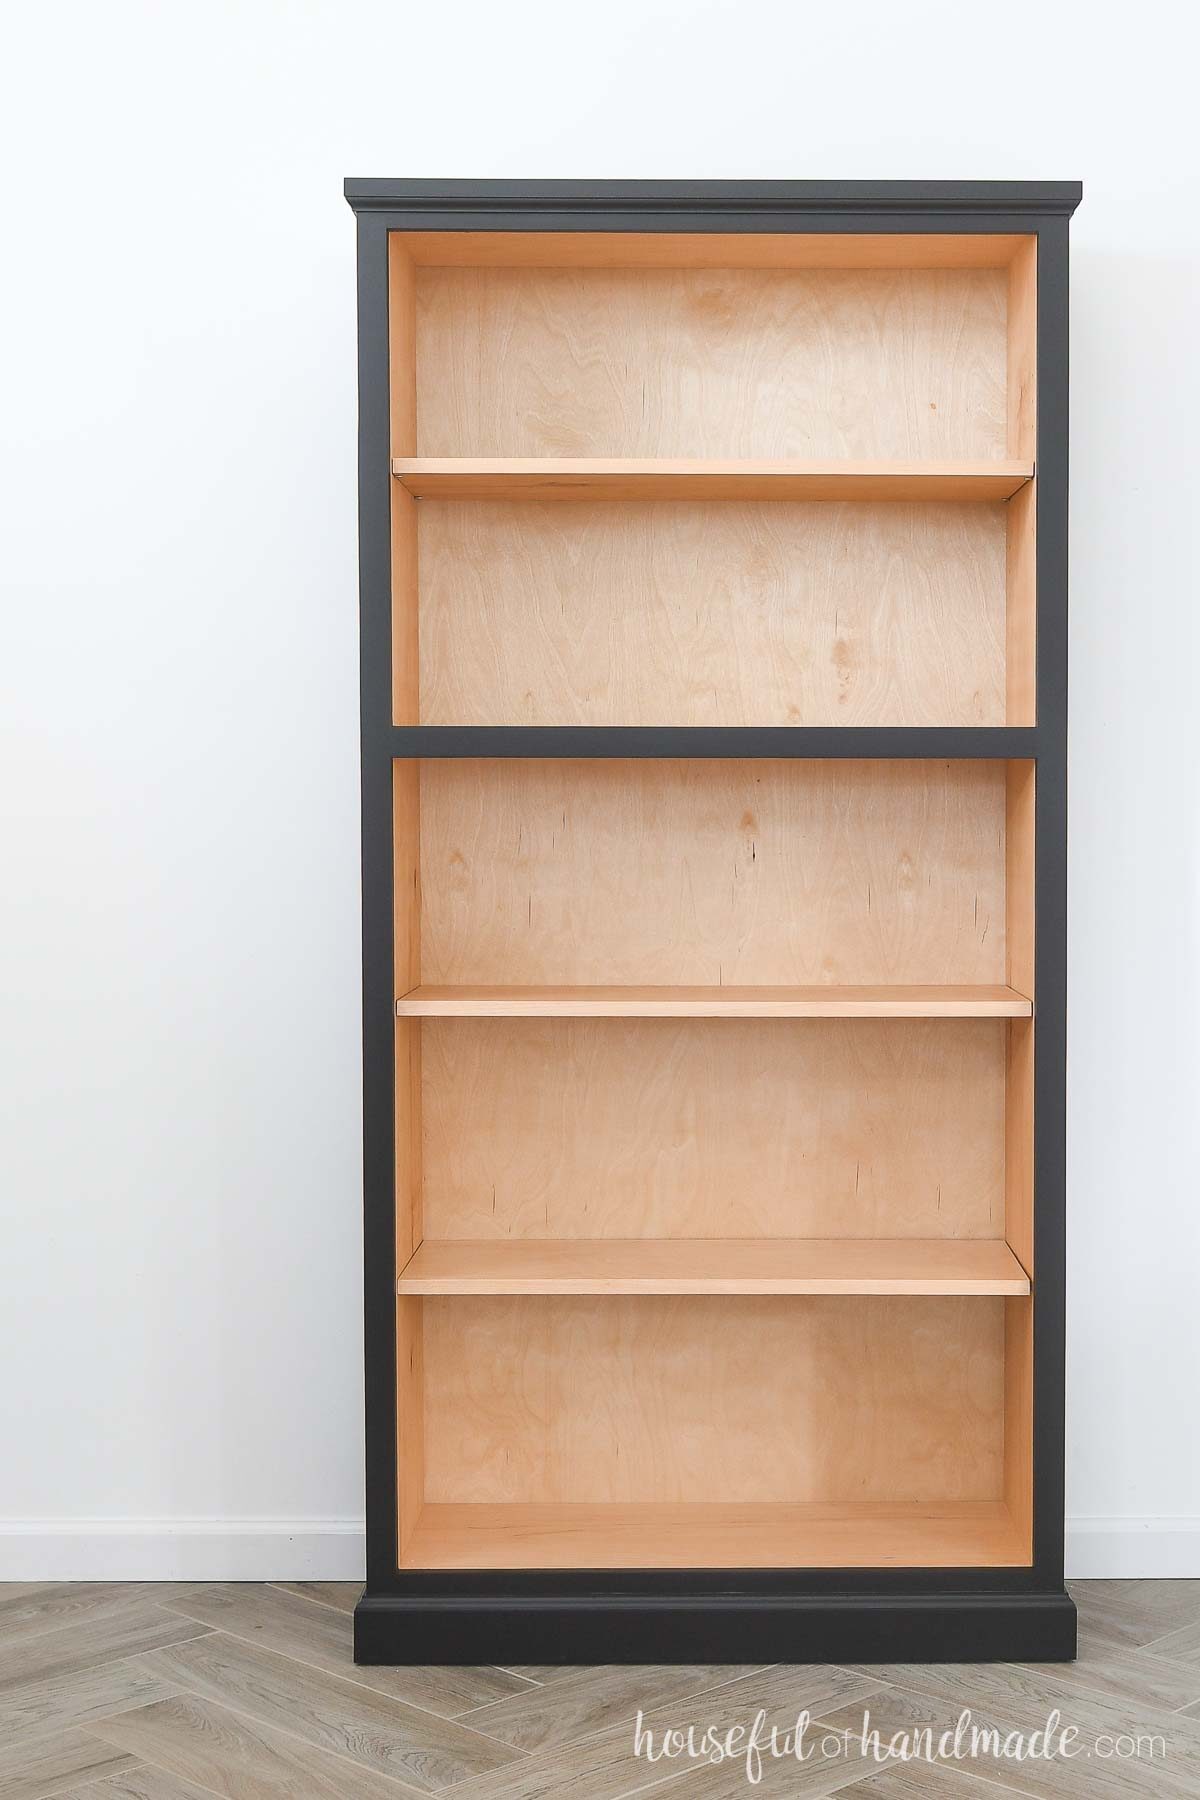
The finished bookshelf is 35 1/2″ wide by 73″ tall and 13″ deep. It has 1 stationary shelf and 3 adjustable shelves.
Cut List
Cut out the pieces according to the easy-to-read table in the PDF plans.

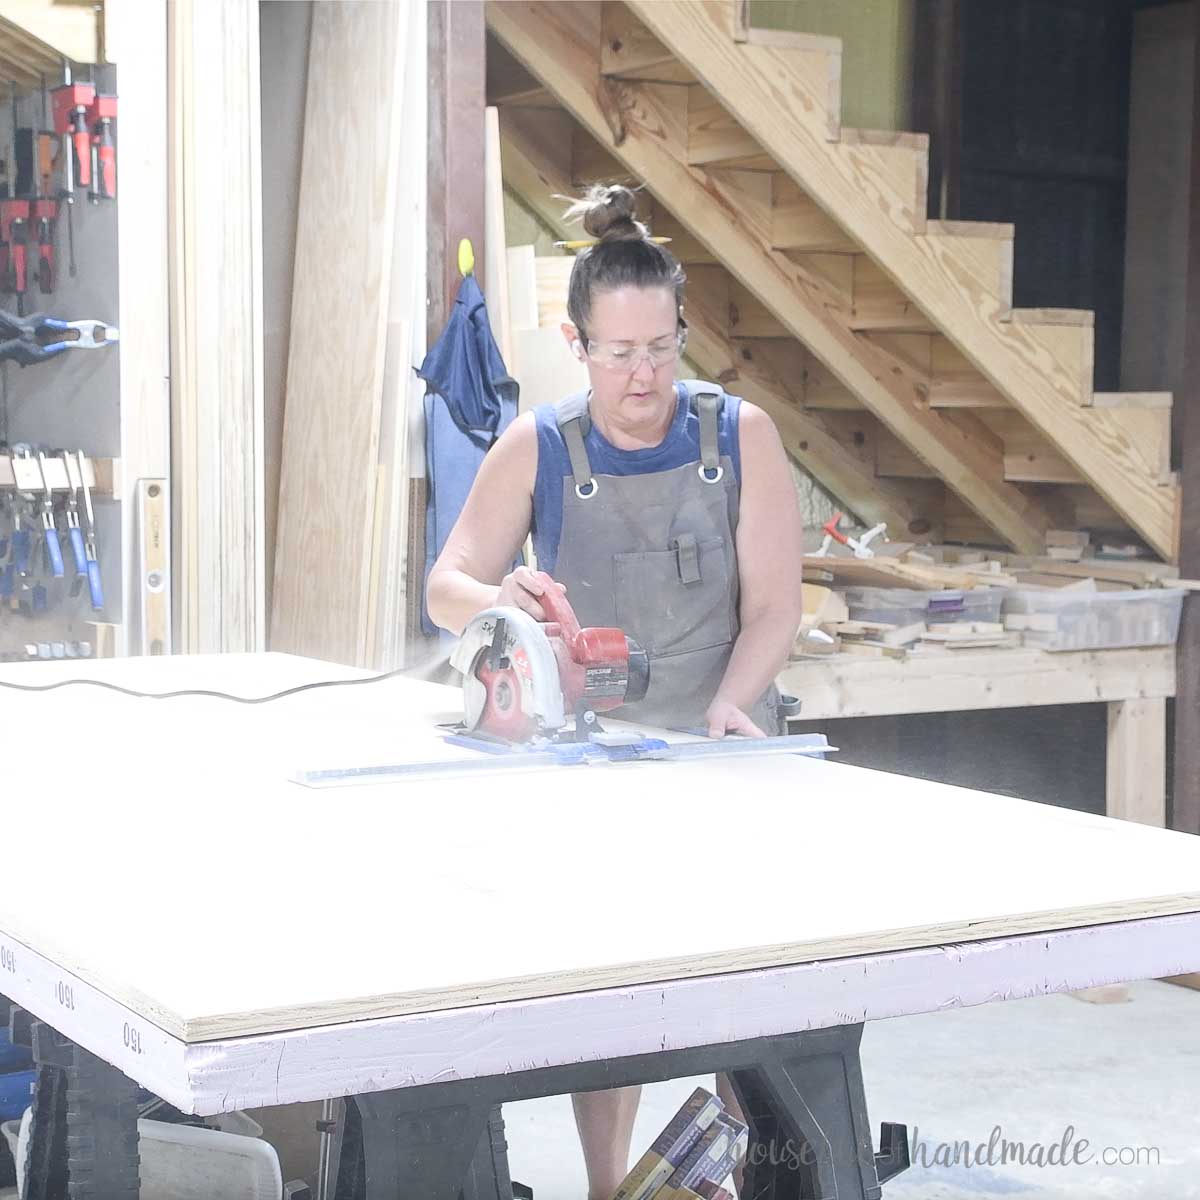
Using a rip cut guide, cut down the plywood into 4 strips. I like to cut my plywood on a piece of rigid foam insulation to keep it fully supported.
Learn all my tips for cutting plywood with a circular saw here.
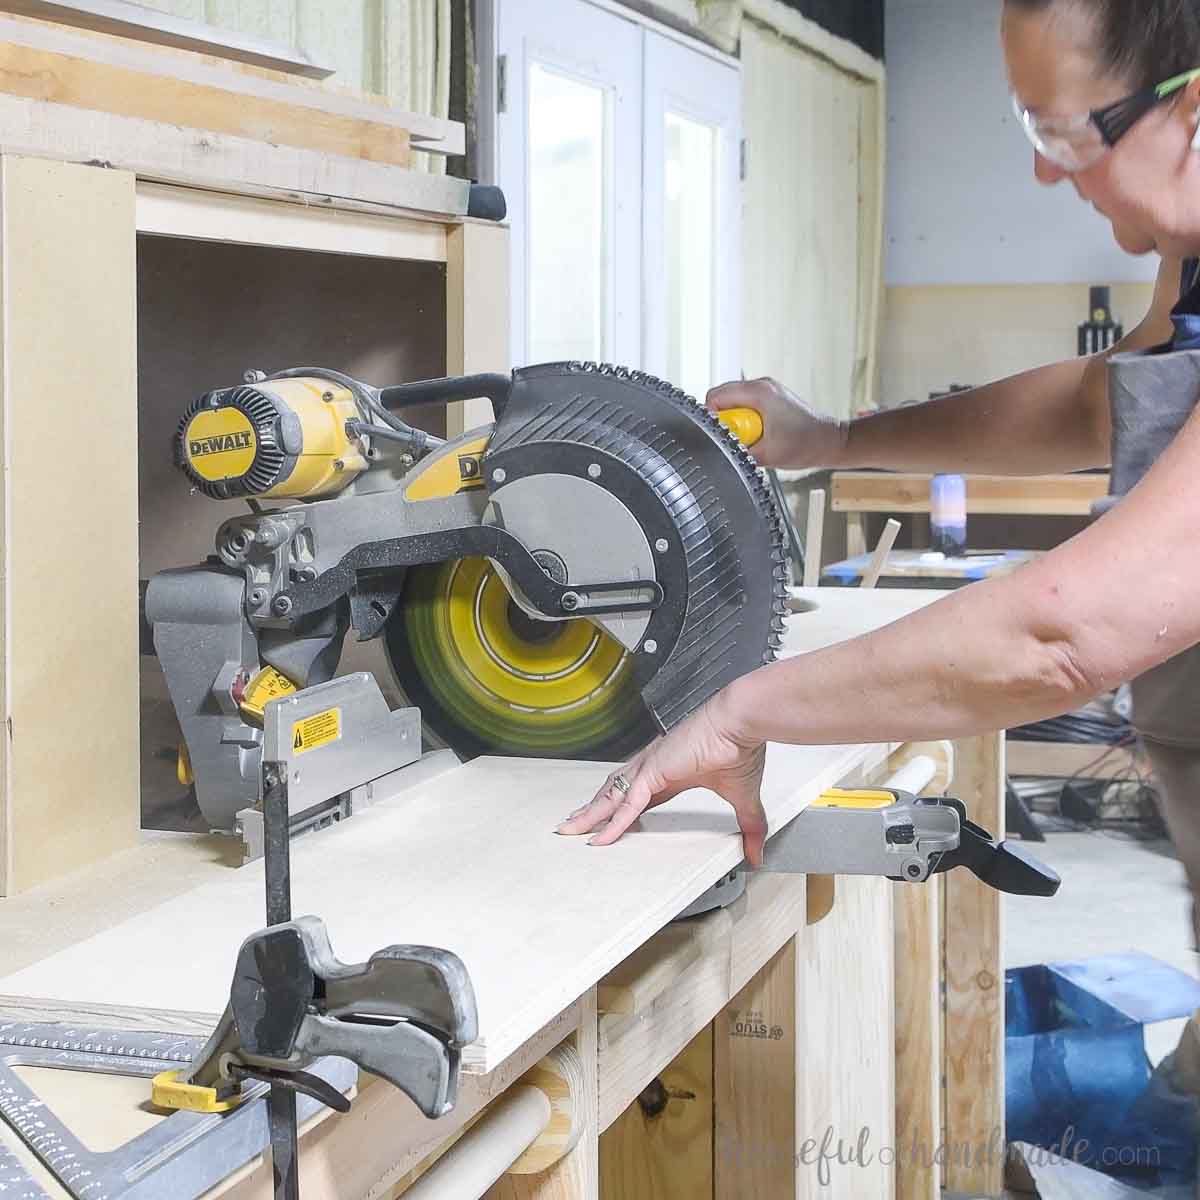
I then used my sliding miter saw to cross-cut the pieces.
If you do not have a sliding miter saw, you can cross-cut with your circular saw. Use a straight edge as a guide so your cuts are straight.
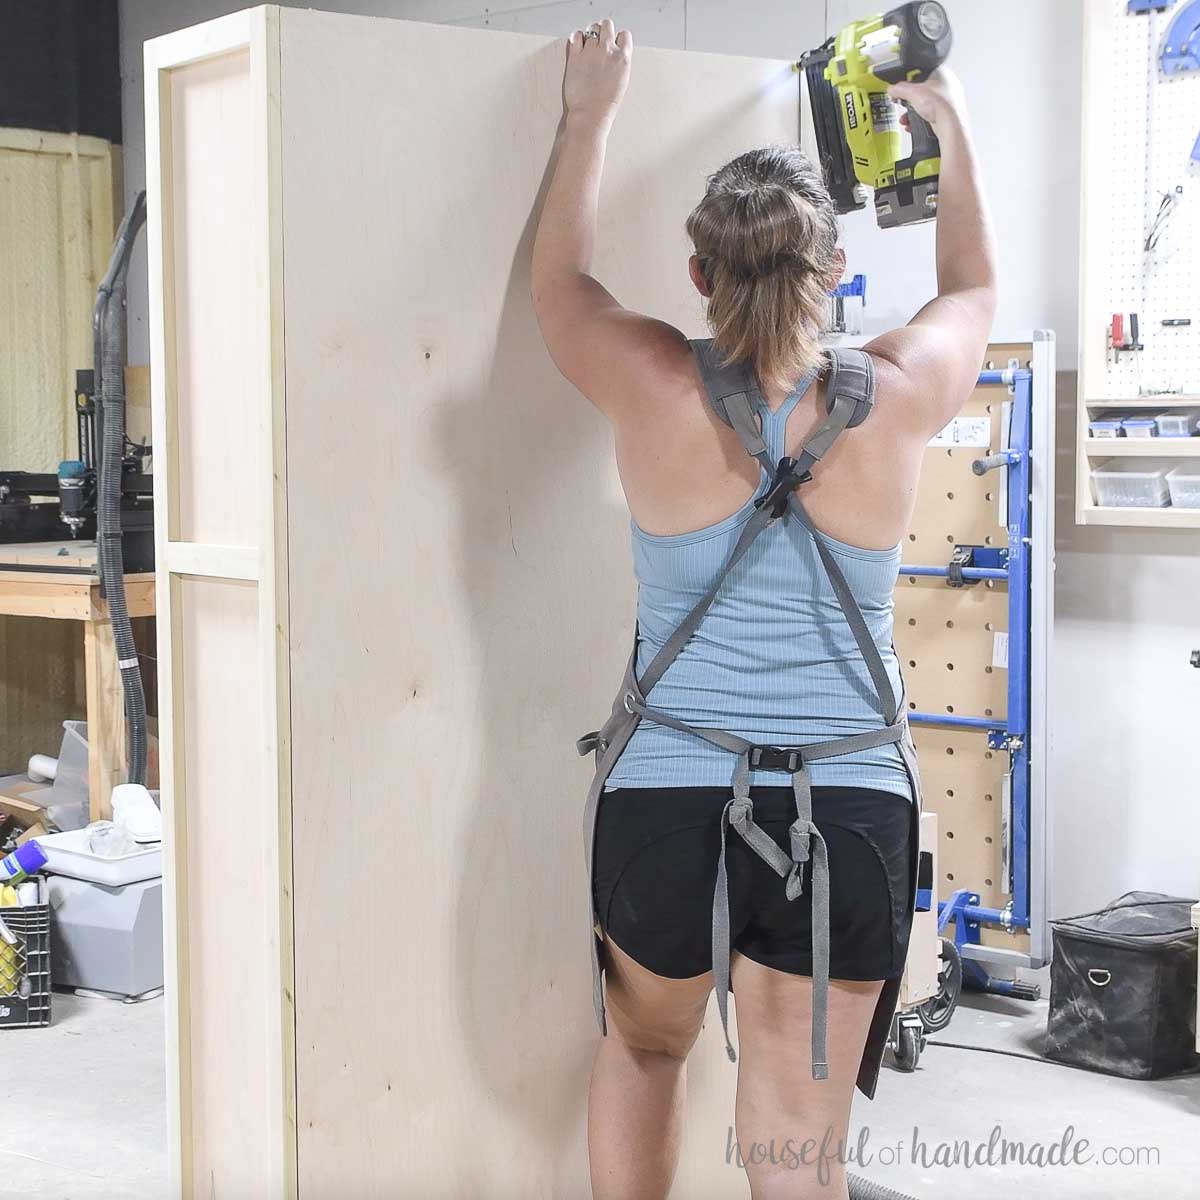
STEP 1- Assemble bookcase box
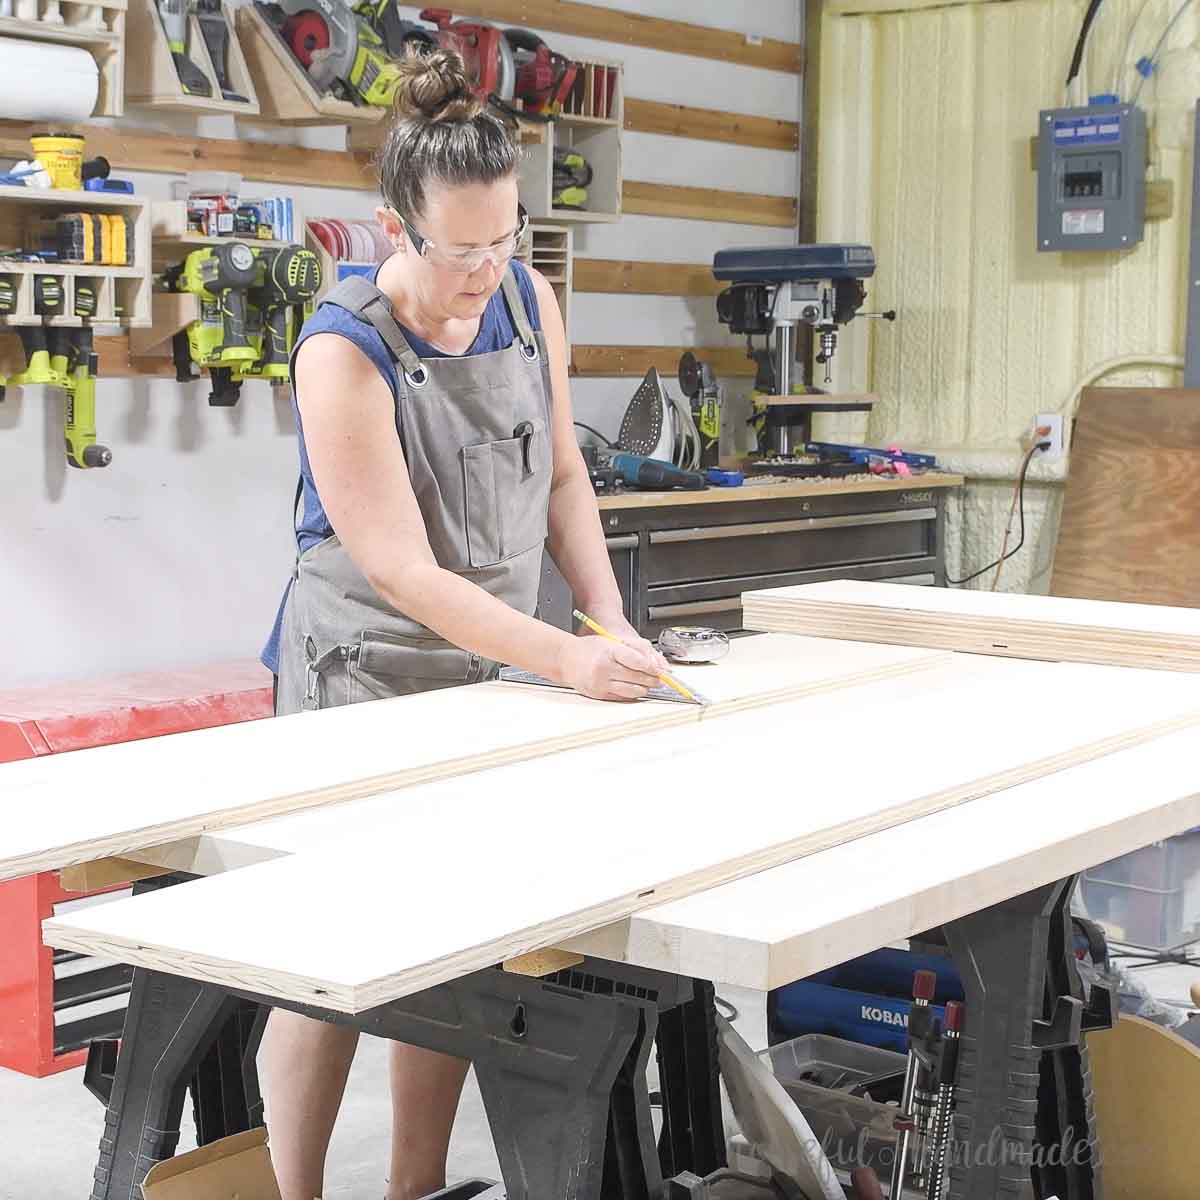
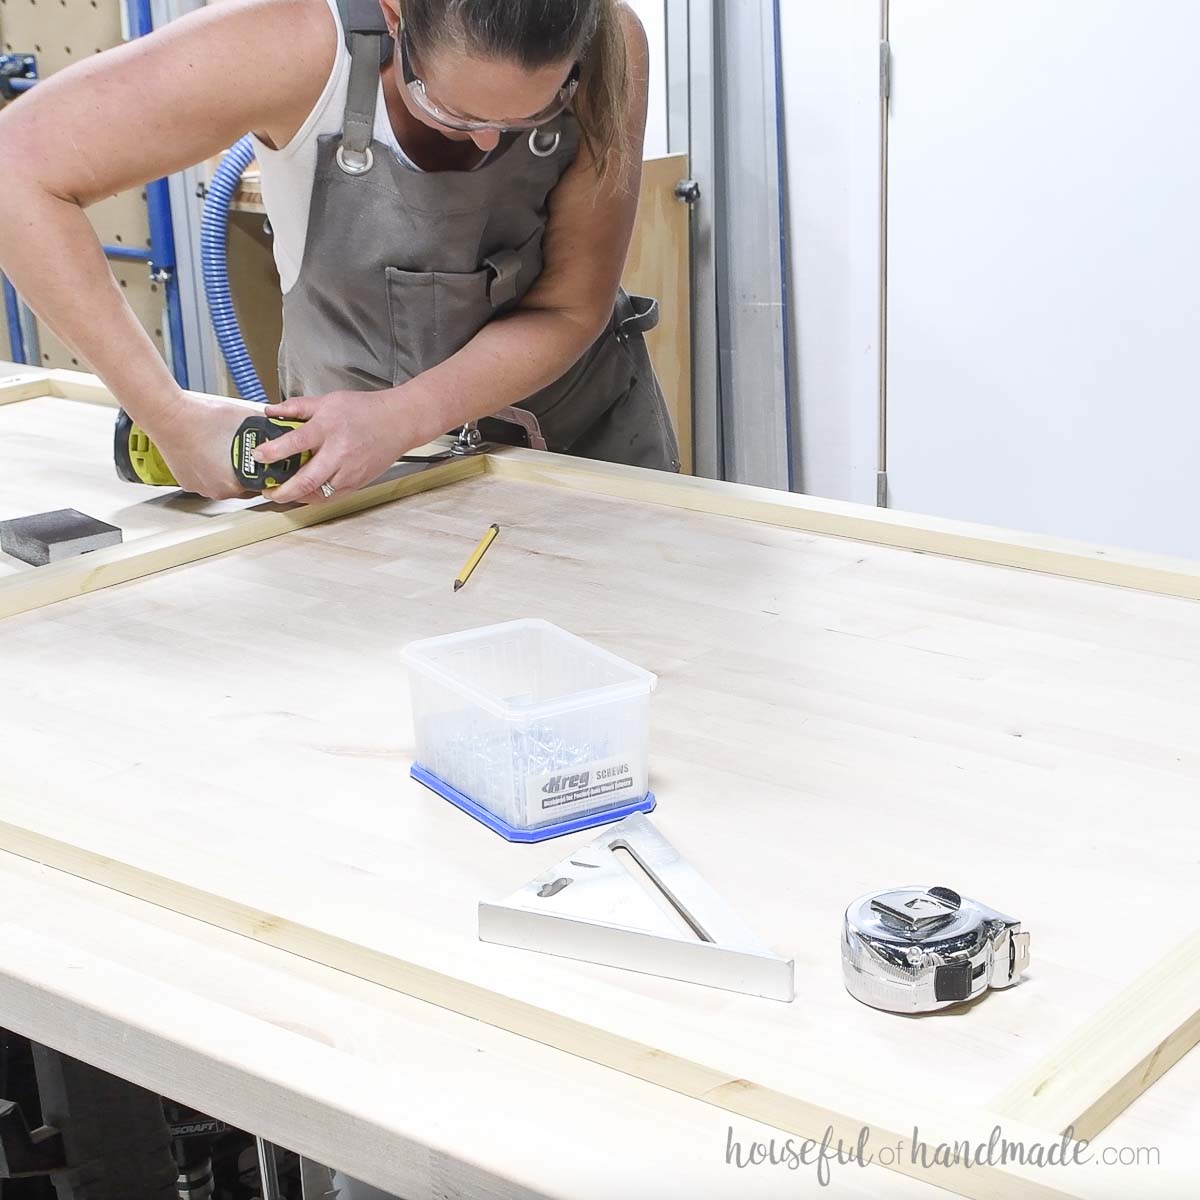
On the inside of both side boards, draw lines to mark the top of the stationary shelf and bottom of the bottom piece according to the diagram in the plans.
Then on the outside of the sides, draw lines where the center of the boards will be as guides.
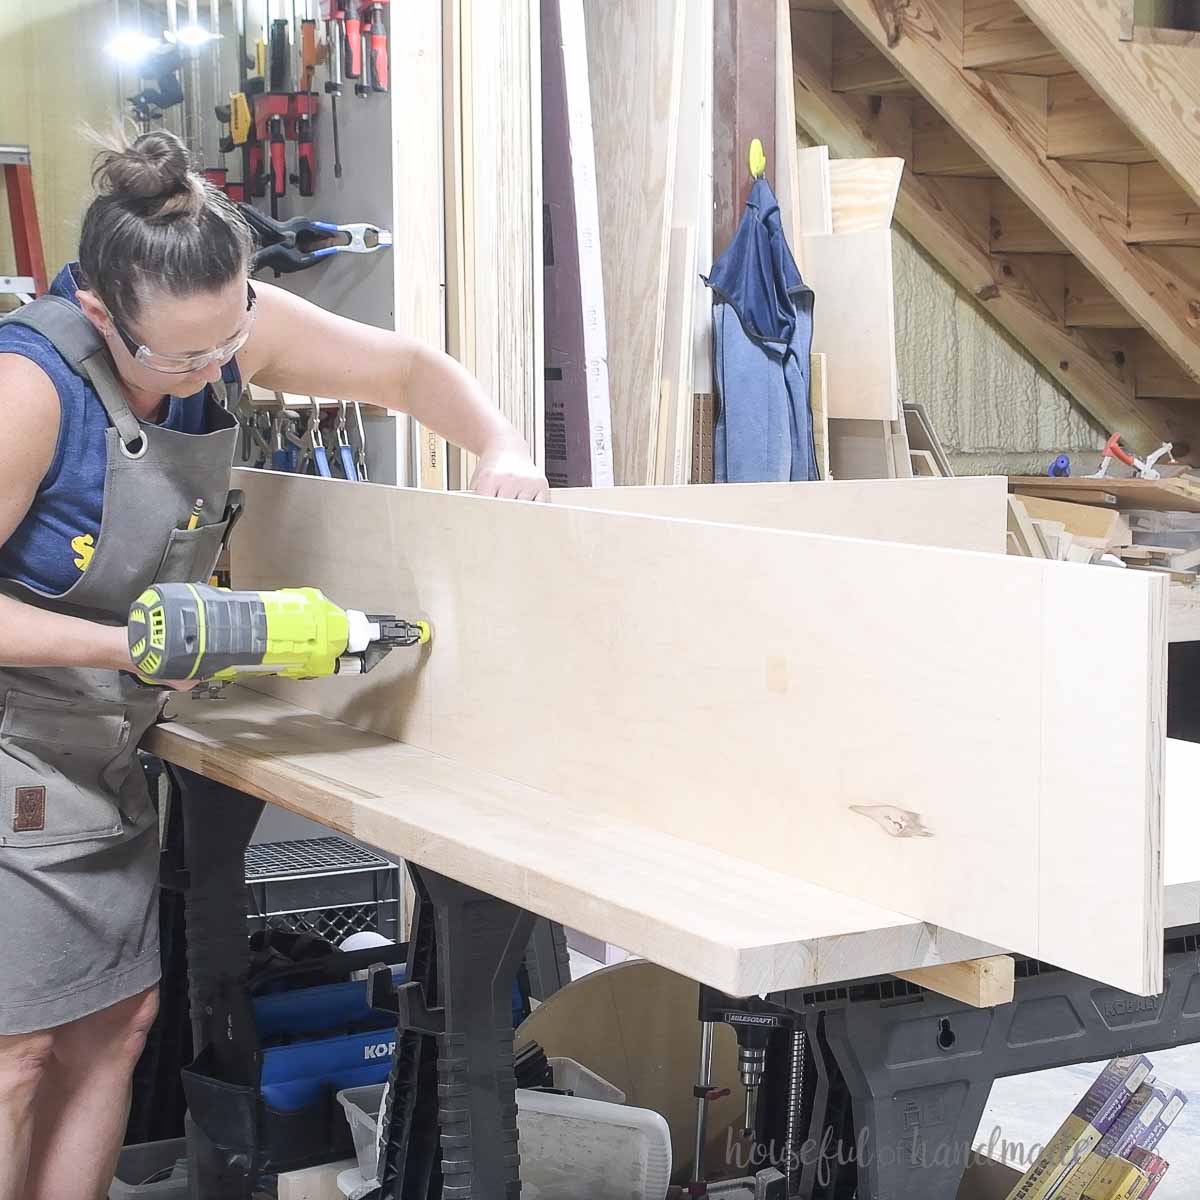
Add wood glue to the side of the boards. Line the top, bottom and shelf boards up on the inside of the side.
Temporarily secure with 1 1/4” brad nails using the line as a guide.
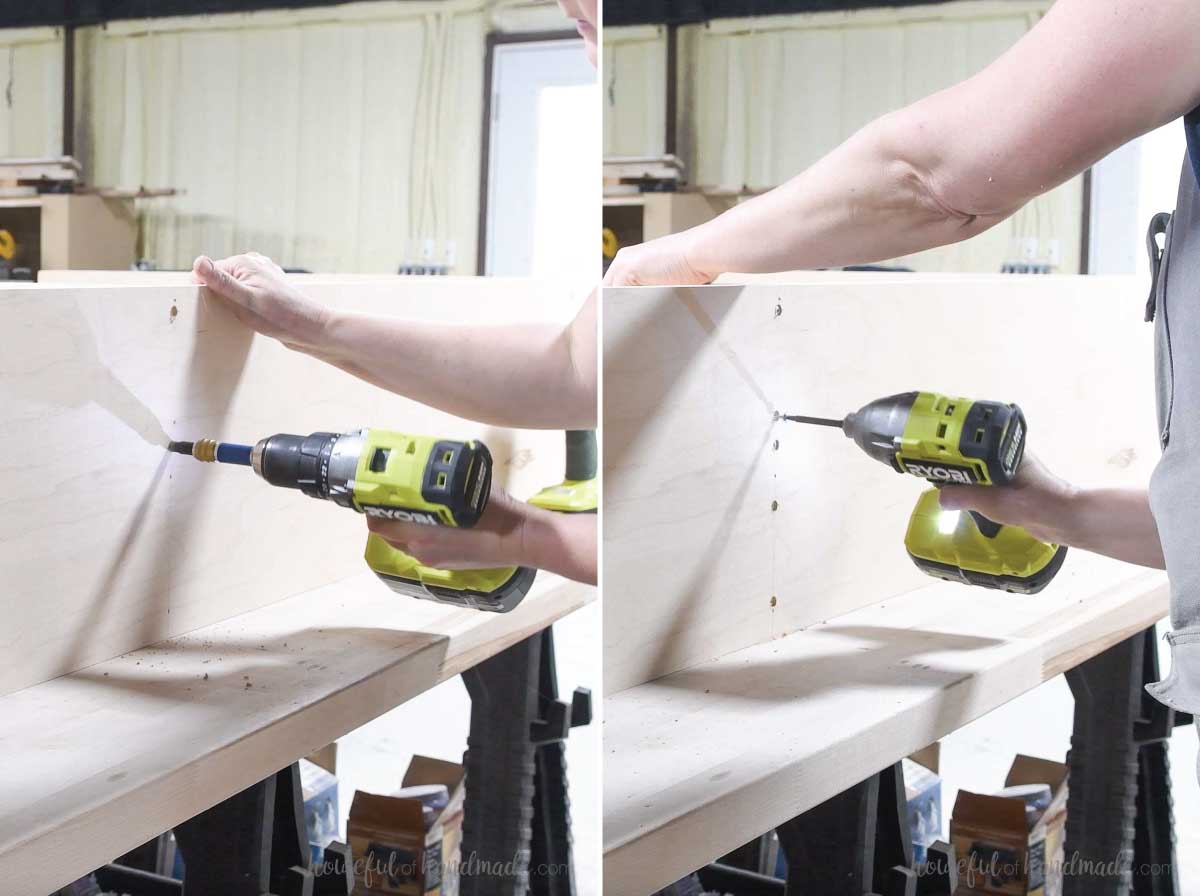
Drill countersunk holes for screws in the side on the line.
Then permanently secure the pieces with 1 1/4” pan head screws.
Make sure the heads of the screws are flat or slightly recessed into the sides.
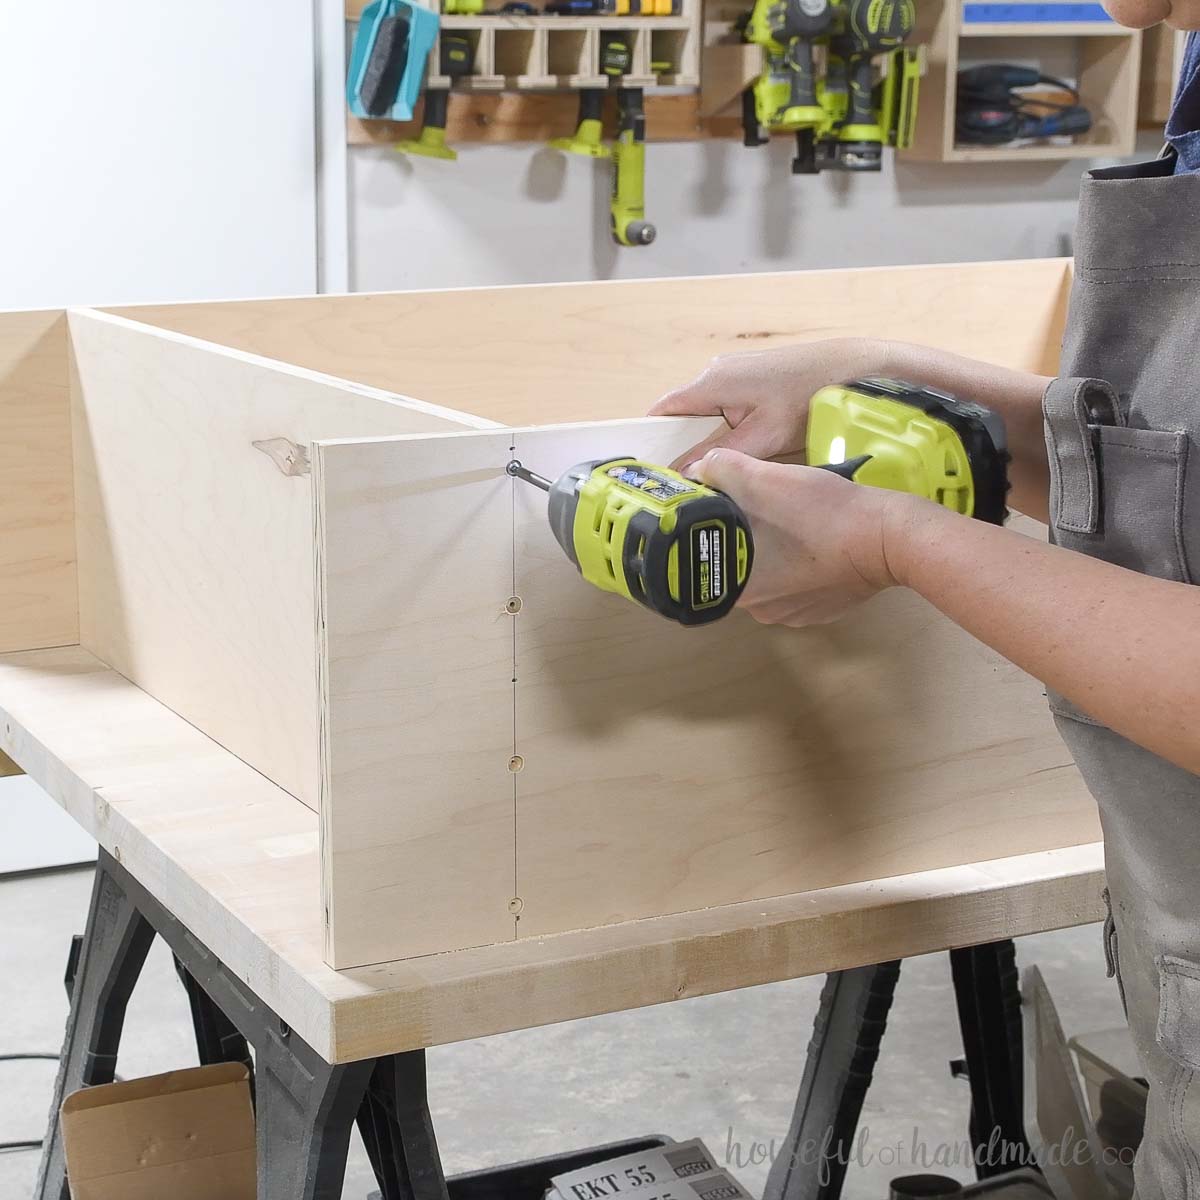
Add wood glue to the other side of the top, bottom and shelf pieces.
Then line the second side up on the inside lines.
Secure the side the same as you did before: first with brad nails, then with countersunk 1 1/4” screws.
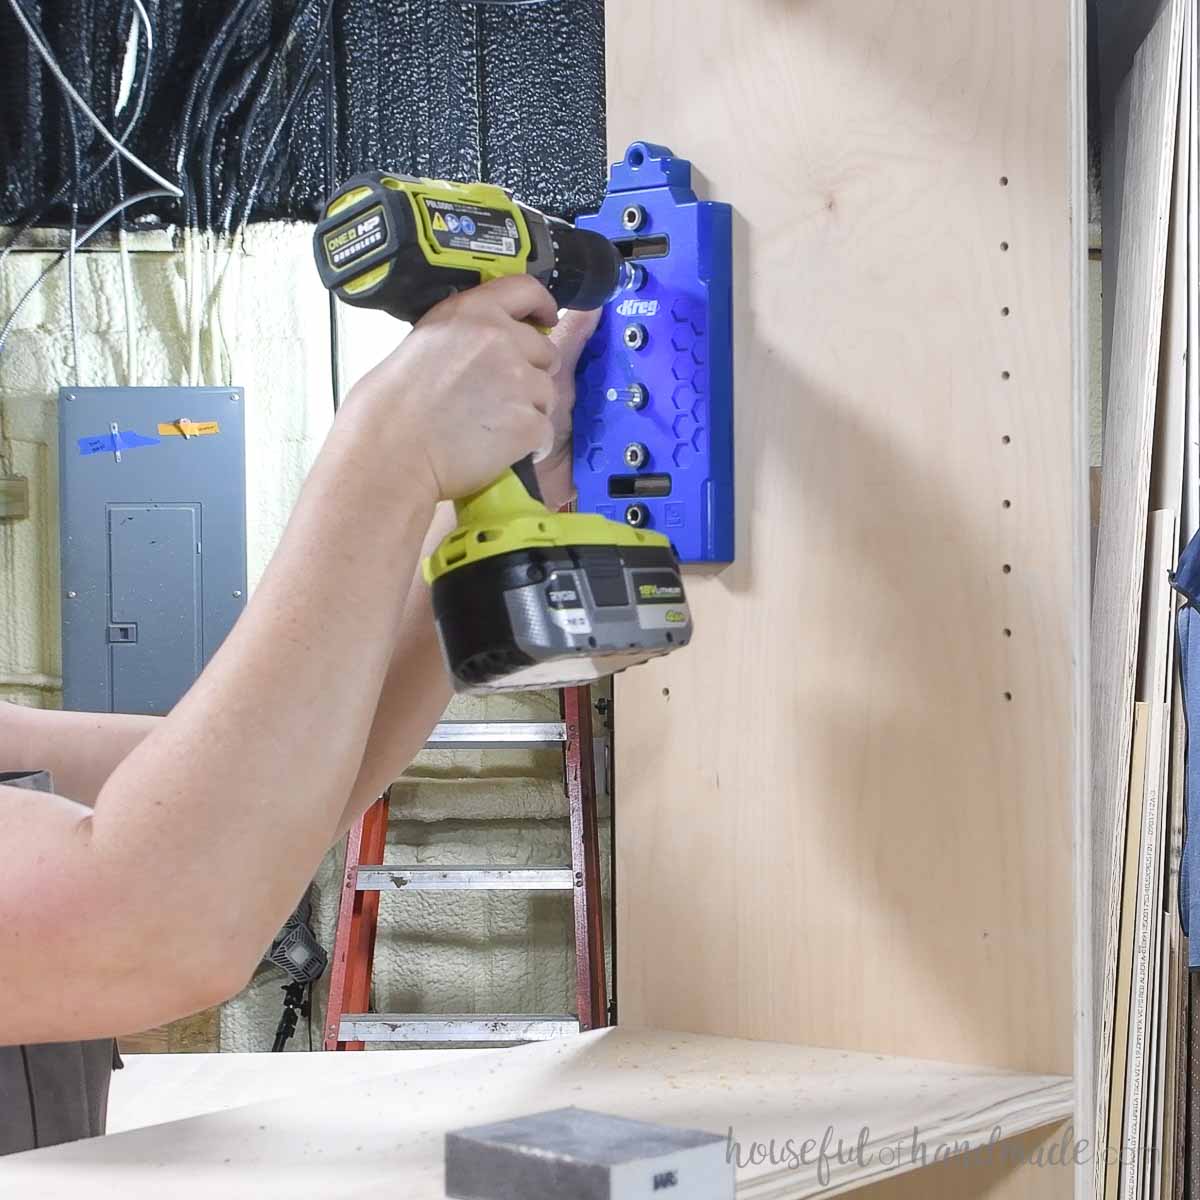
To add the adjustable shelves, use a shelf pin jig to drill holes toward the front and back of the sides.
Add shelf pin holes in the upper and lower compartment. But don’t worry about going all the way to the top and bottom since you will likely not want shelves that close together.
STEP 2- Build trim frames
I like to assemble the trim like a face frame. This helps to hold the joints together so I don’t have to worry about cracks forming.
It also allows me to attach the frame with less nails, meaning less holes to fill. You can skip it and just attach the trim pieces with the nails if you prefer.
To build the side trim frame, drill one pocket hole set for 3/4” thick material in each end of the side trim rails.
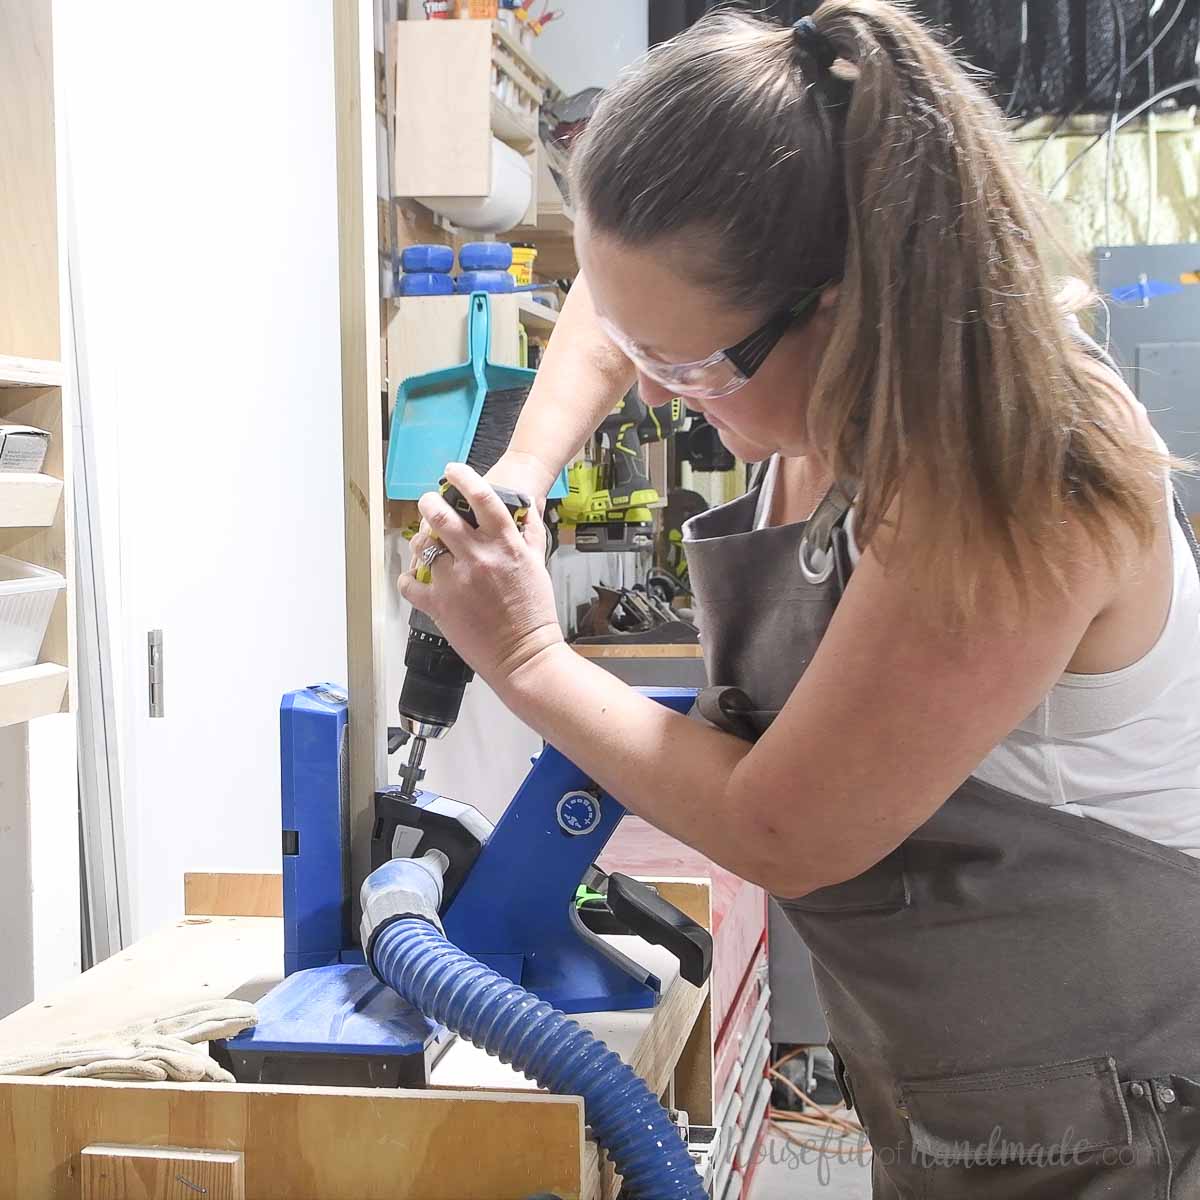
Then attach them between a large stile and a small stile according to the diagram in the PDF plans.
This placement puts the trim directly over the holes in the sides of the bookcase to cover them up.
Repeat for the other side, but make sure to mirror it.

Again, the face frame can be nailed directly to the bookcase, but I prefer to attach the boards together first.
To build the face frame, drill a pocket hole set for 3/4” thick material in each end of the face frame rails. Then attach them between the remaining large stiles according the same as the side trim.
This placement puts the rails so they are flush with the top of the top, bottom and shelf boards.
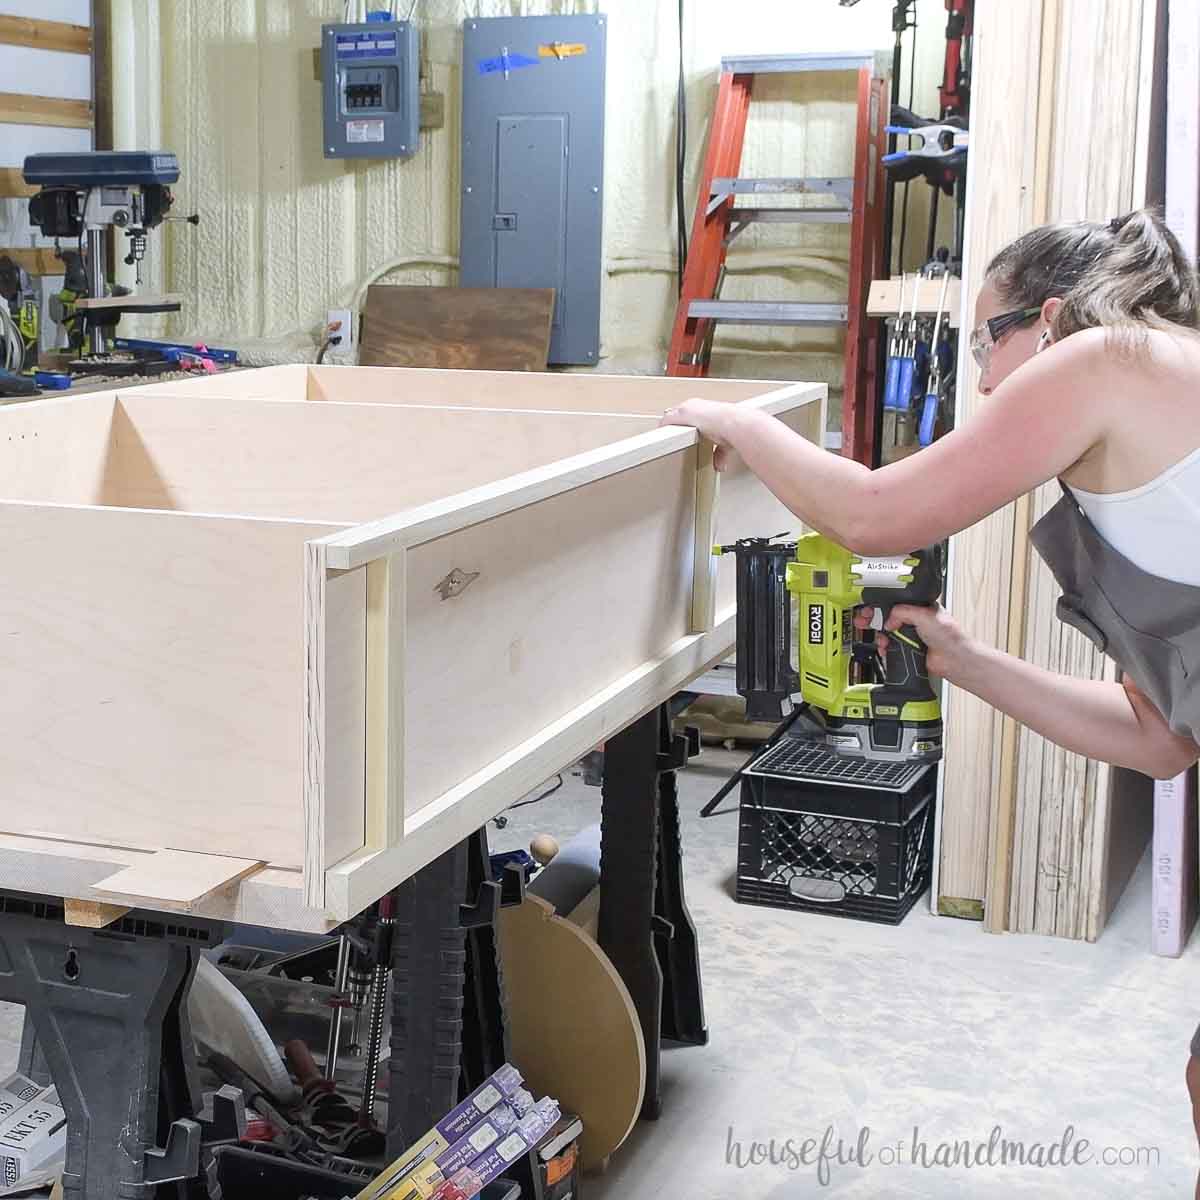
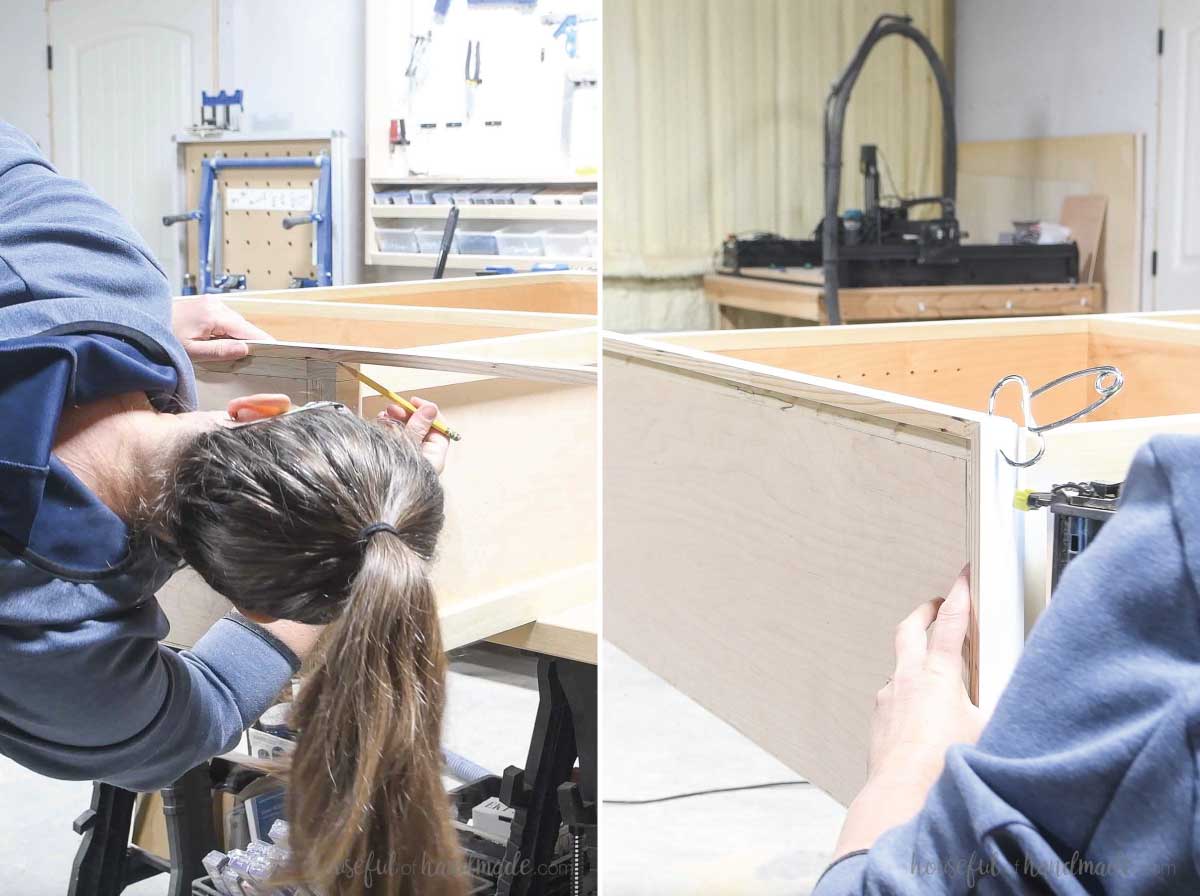
STEP 3- Attach trim
Attach the frames to the assembled bookcase. Start with the sides.
Attach the side trim panels so the small stile is flush with the front of the bookcase. The large stile will hang over the back 1/4”.
Attach with wood glue and 1 1/4” brad nails. Then repeat for the other side.
Last, attach the face frame. Line it up so the inside is flush with the inside of the bookcase and the top of the rails are flush with the tops of the shelves.
Secure with wood glue and 1 1/4” brad nails.
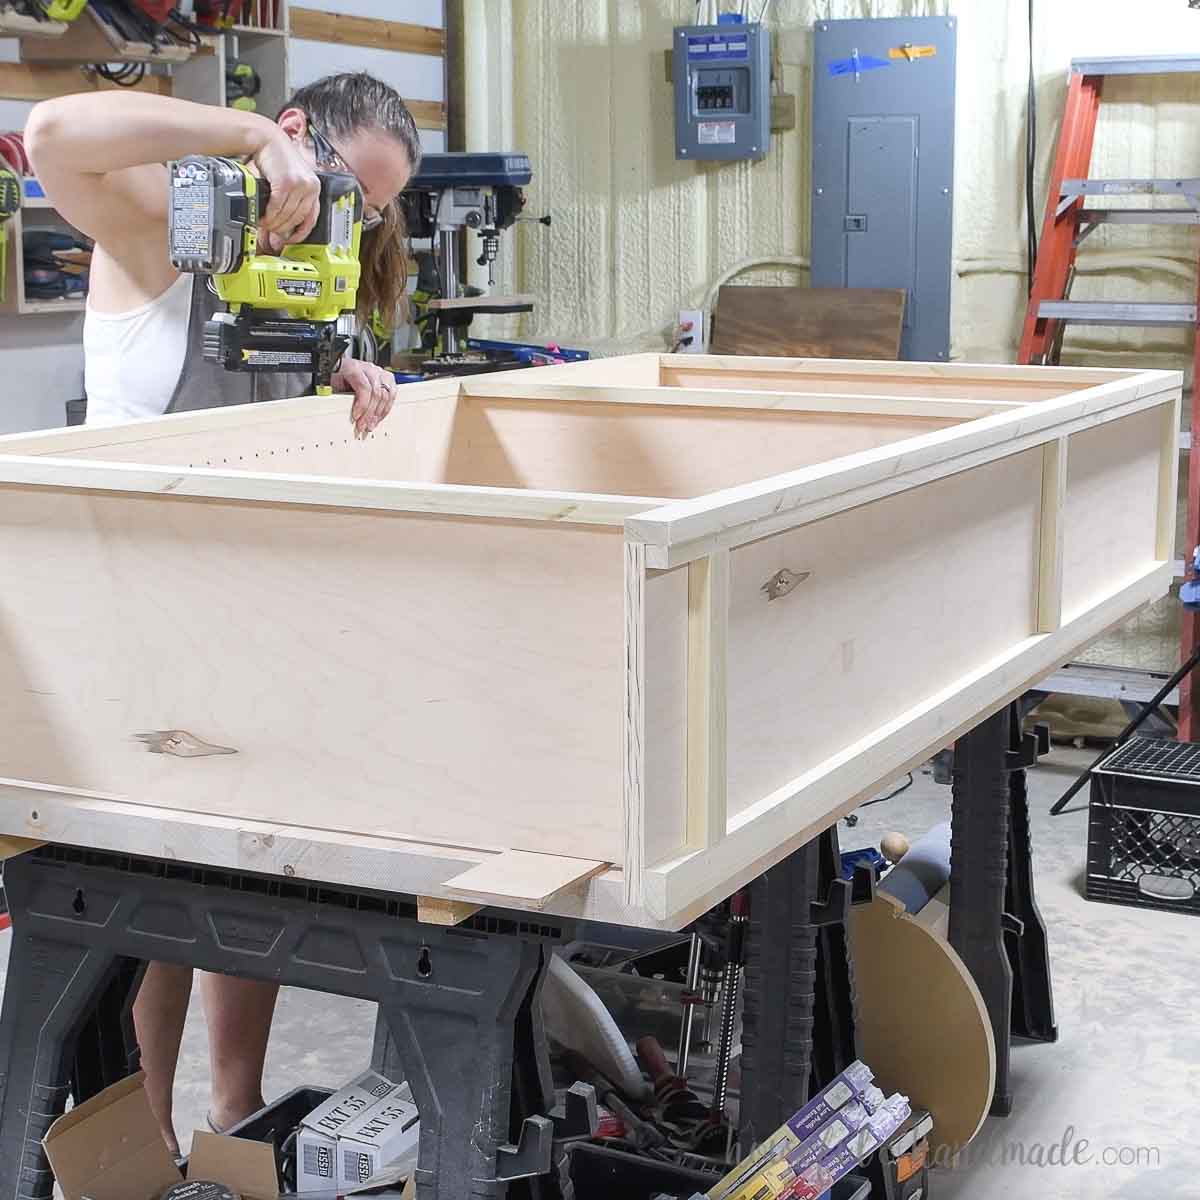
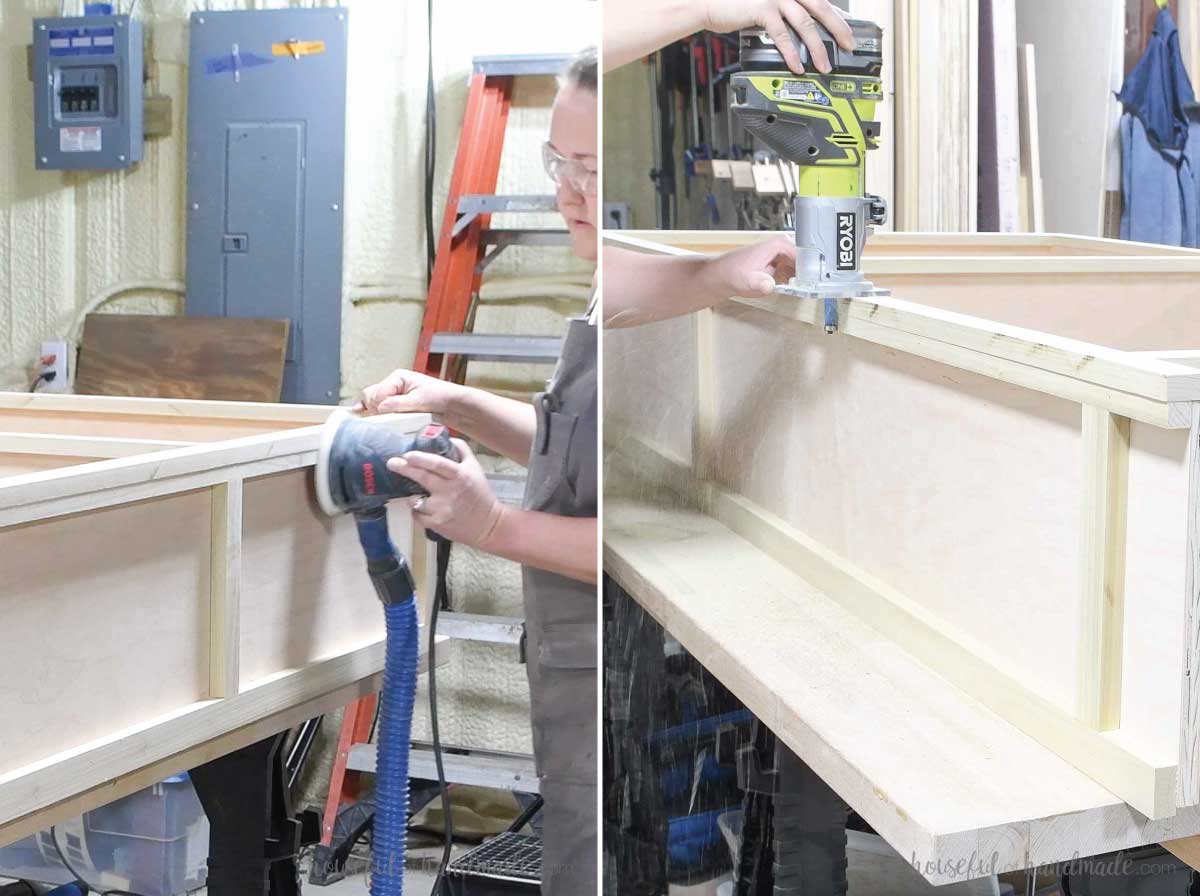
If the front face frame is slightly larger than your bookcase (likely because plywood is not actually 3/4″ thick), line it up so the inside of the frame up so the sides overhang a little.
Then flush up the sides to the side trim with either a sander or trim router with a flush cut bit.
STEP 4- Attach back
Cut the back to fit in between the side trim.
Attach to the back of the sides and top/bottom/shelf with 1” brad nails.
STEP 5- Attach moulding
Cut the moulding for the top and bottom with mitered corners to fit around the bookcase.
I found these miter spring clamps that were very helpful in holding the mitered corners tight while attaching to the bookcase.
Secure with wood glue and 1” brad nails to the front and sides.
Fill all the nail holes with wood filler.
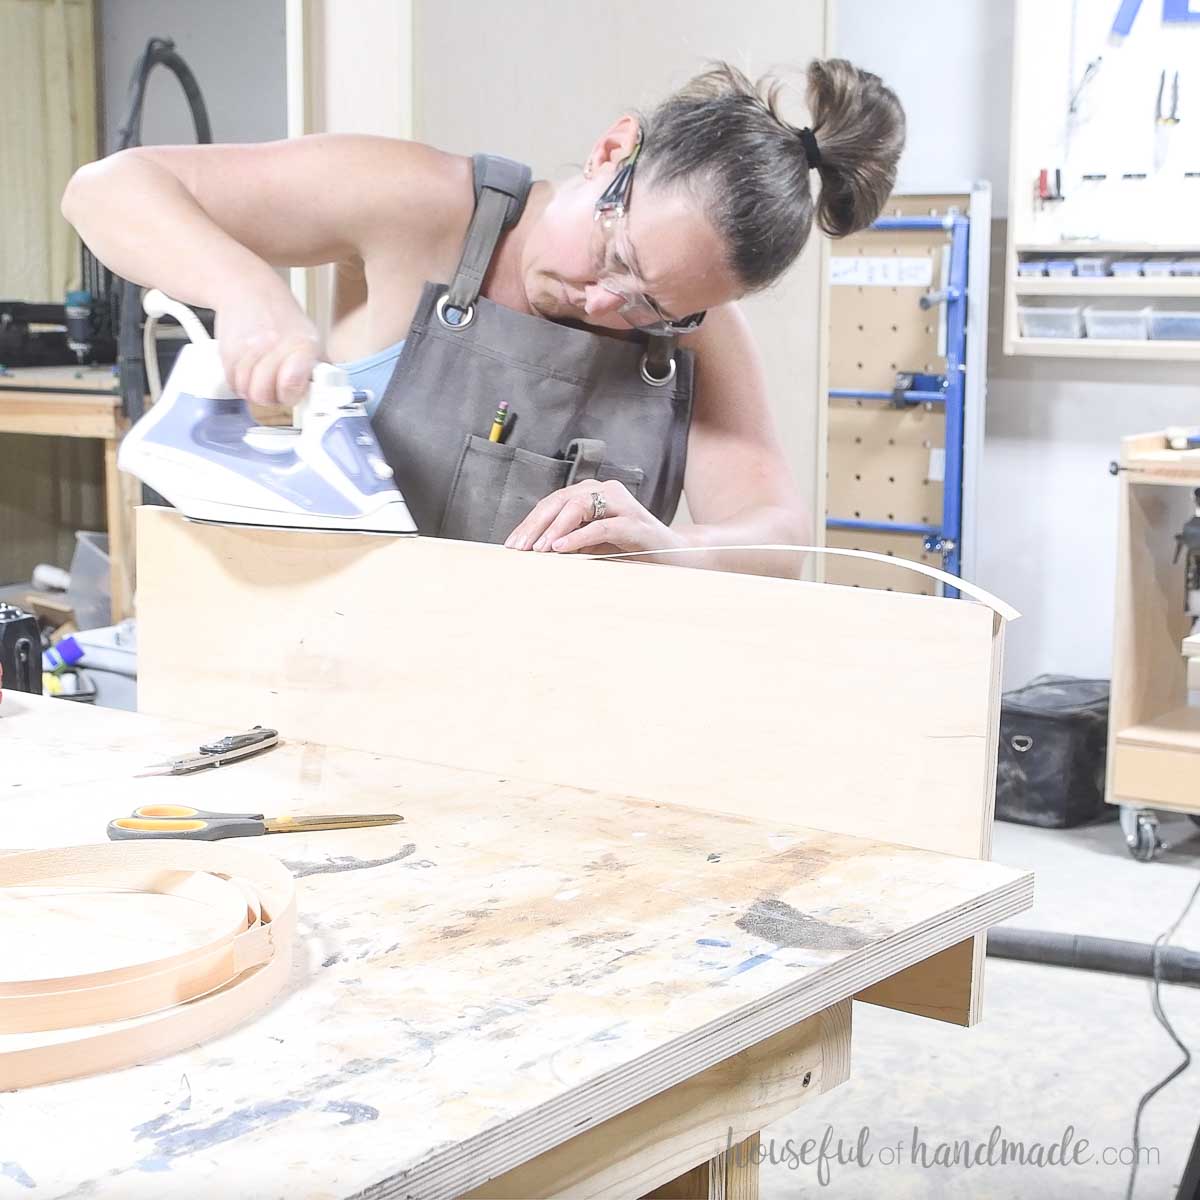
STEP 6- Finish
Iron edge banding onto the front of the adjustable shelf boards. Then trim to fit the board.
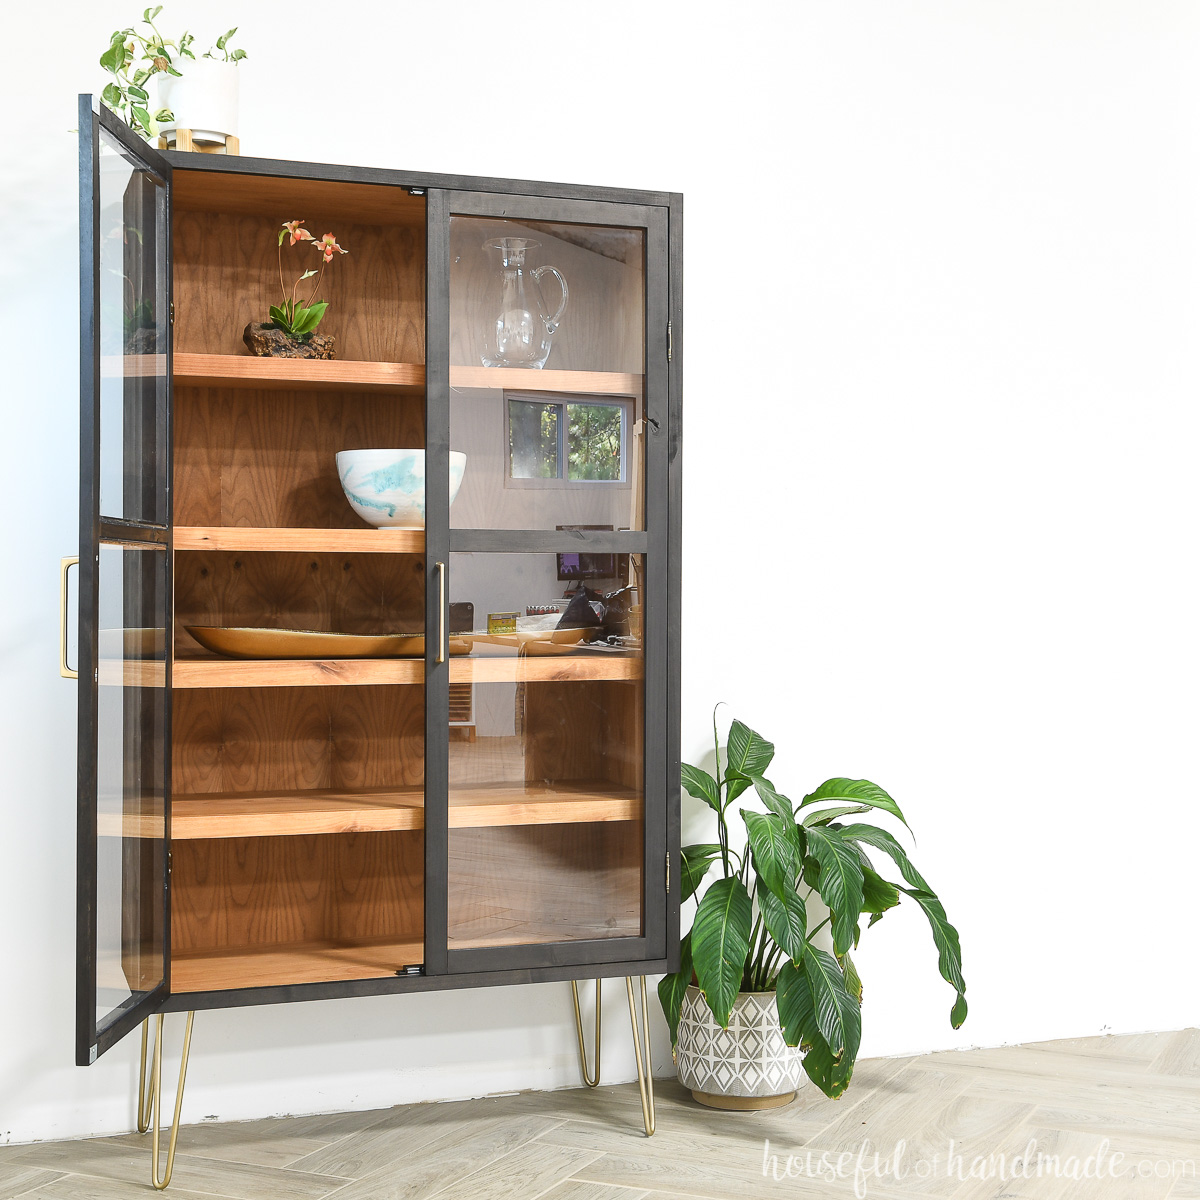
Want to add doors to your bookcase? Learn 3 ways to build DIY doors here and then how to install doors with concealed hinges here.
Sand and stain/seal/paint your new bookcase and shelves.
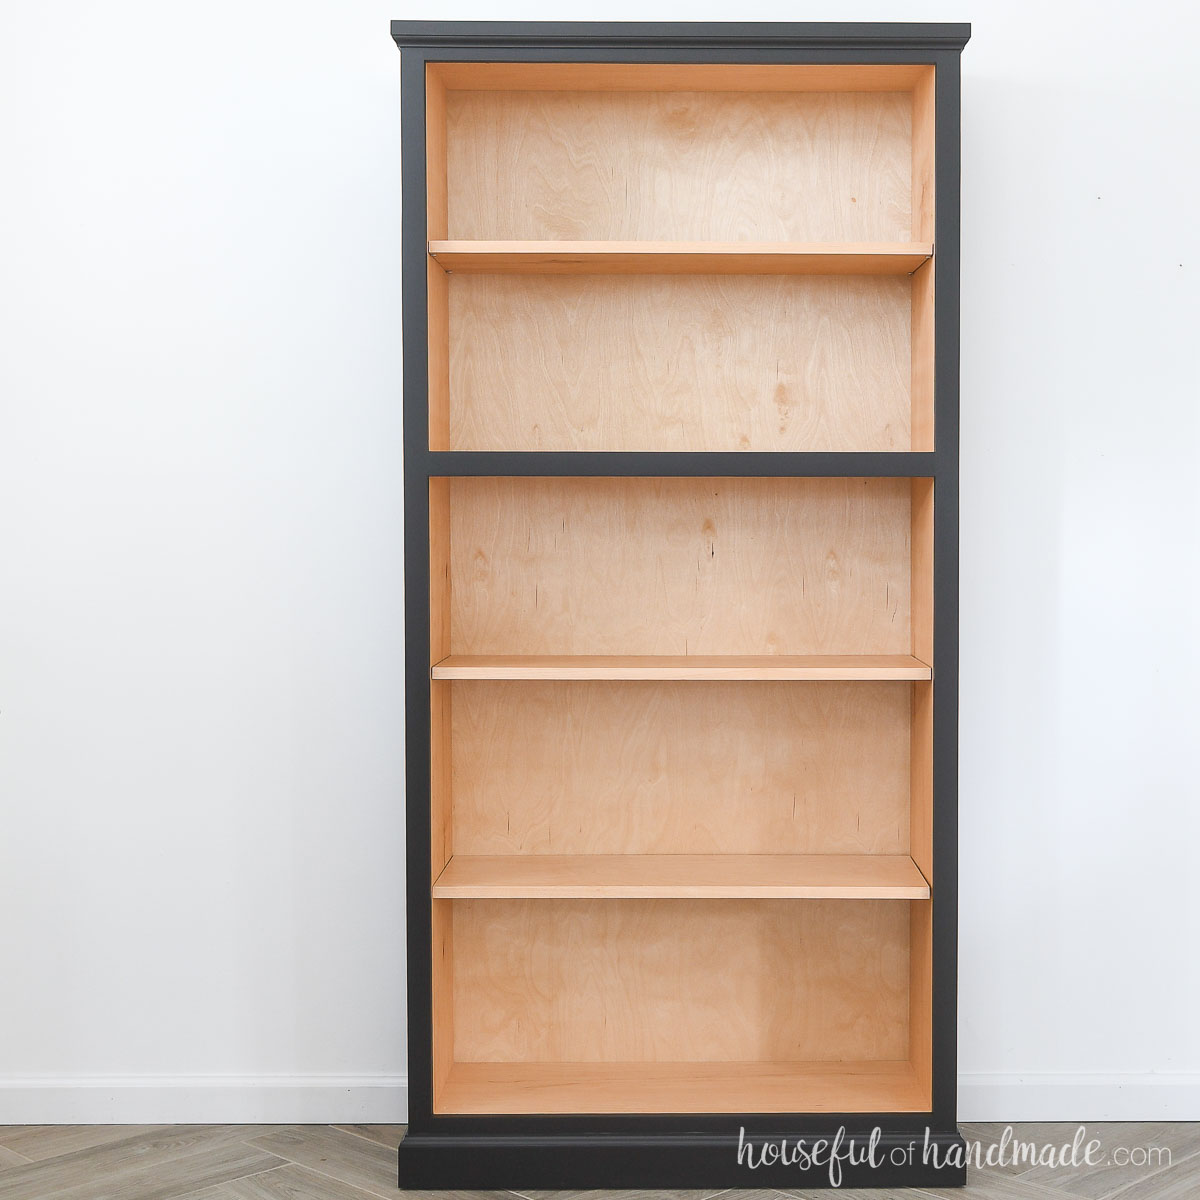
I sealed the inside of my bookcase with wipe-on polyurethane and painted the outside Blackout by Behr.
Premium plans include:
- Recommended Tools
- Shopping list
- Easy to read cut list table
- Cut diagrams
- Step-by-step instructions with 3D renderings
- Helpful resources
- BONUS: 3D SketchUp file
You did it!
Add your adjustable shelves with the shelf pins. Now you can load up your new bookcase with books and decor.
Happy building!
