
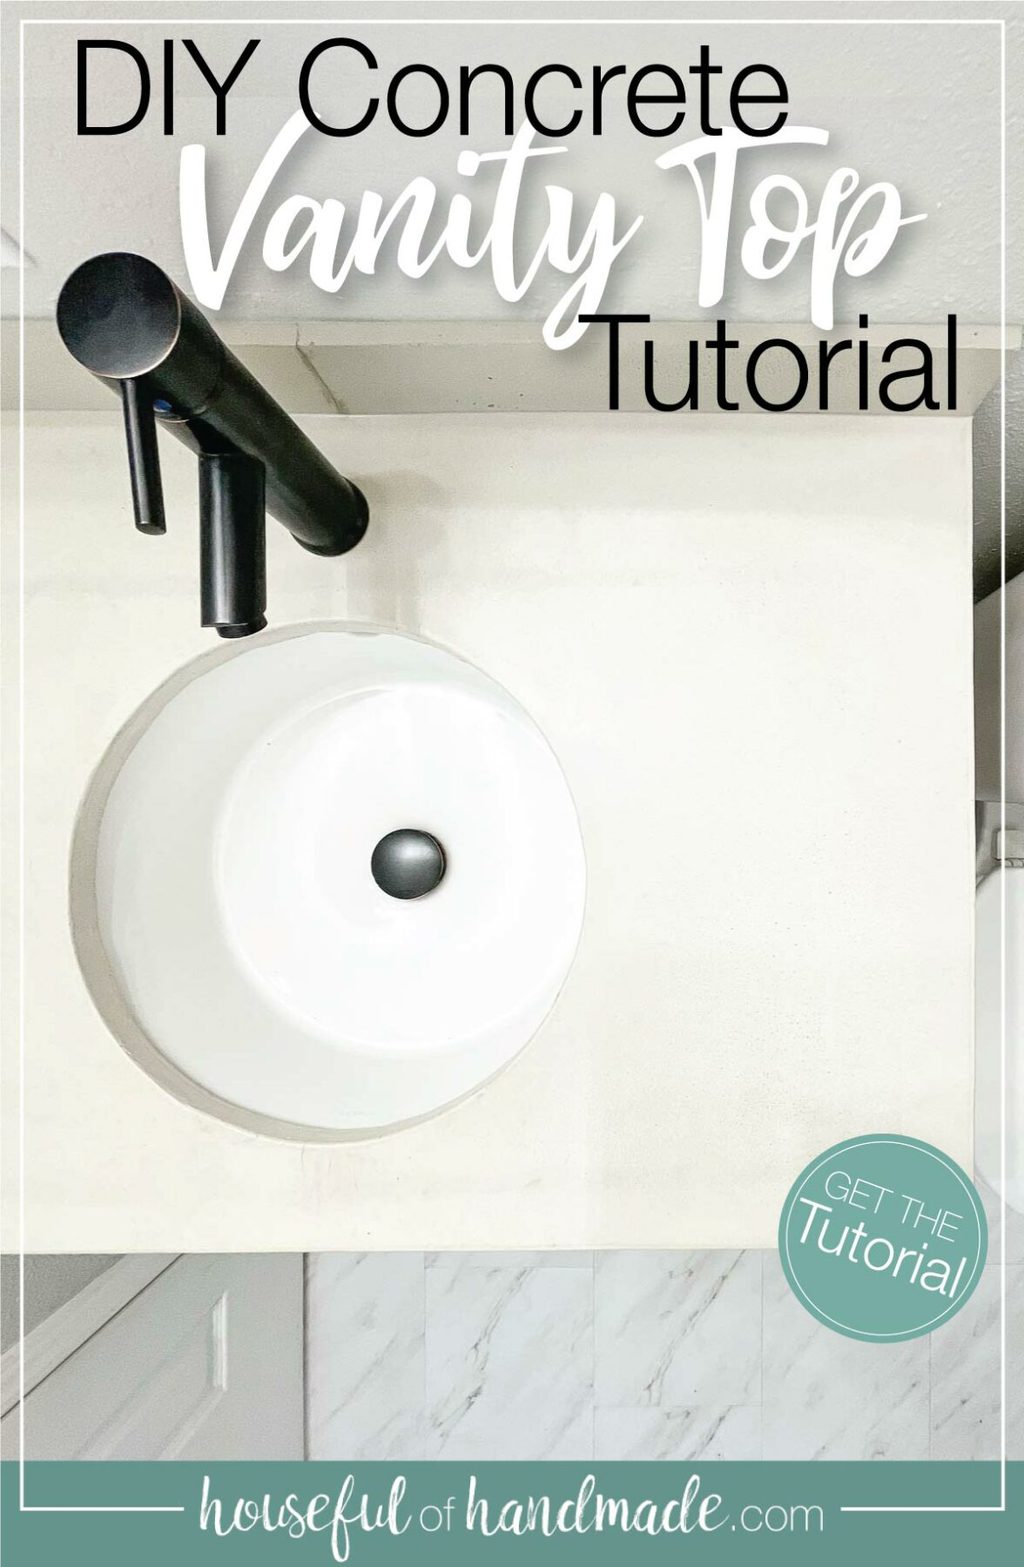
Replace your vanity with a new concrete vanity on a budget!
Bathroom remodels can be very expensive. But it doesn’t mean you can’t do it on a budget too!
Last month I worked on remodeling our kids bathroom for only $100. I didn’t quite hit the $100 goal because we had to replace the vanity, including vanity top & sink, and floor. But I still managed to create an amazing bathroom on a budget.
One of the things we desperately needed was a new vanity top. And since we recently added a DIY concrete countertop in our kitchen, I decided to do it again for a concrete vanity top too!
This post may contain affiliate links. As an Amazon Associate I earn from qualifying purchases. Click here to read my full disclosure policy.
Benefits of a DIY Concrete Vanity Top
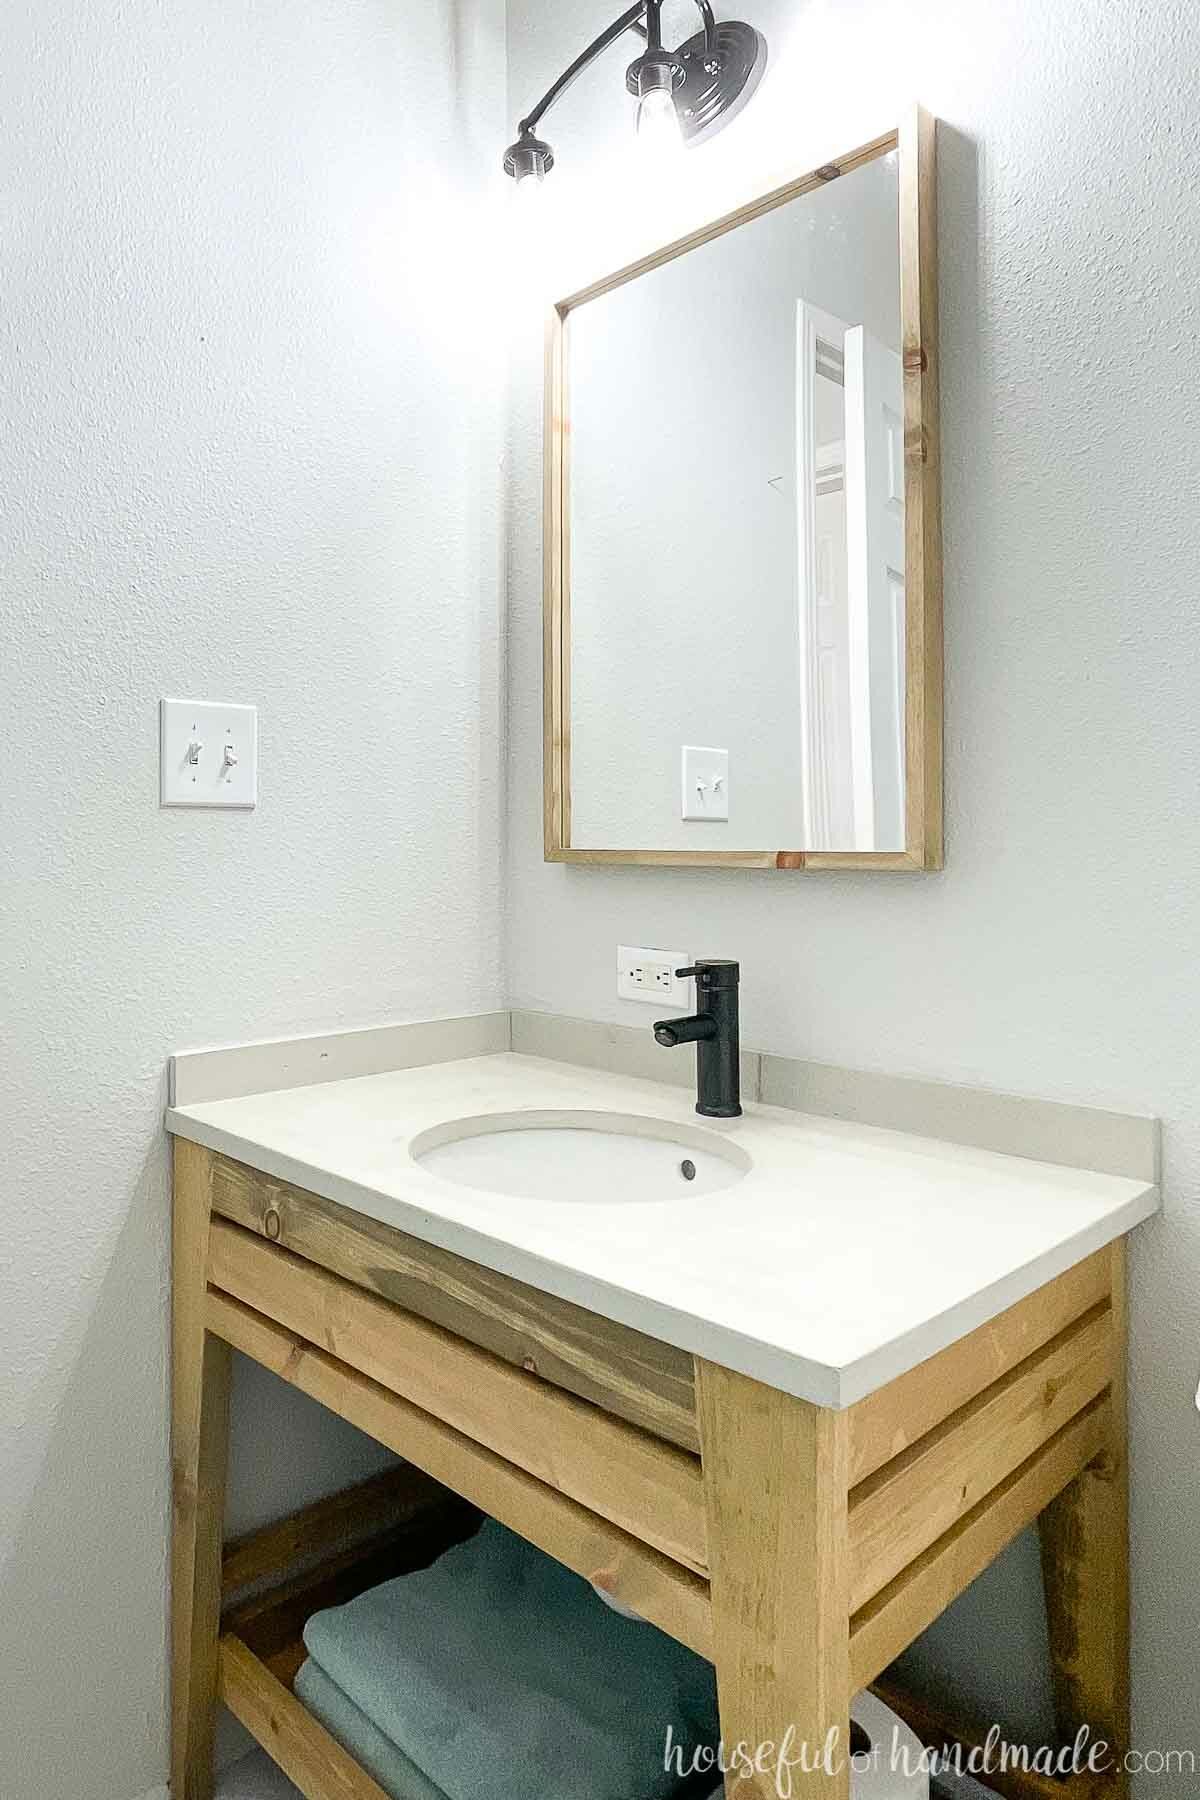
Making your own concrete vanity is a great budget friendly vanity idea. Our 32″ vanity top was made for just $50!
That does not include the cost for foam for the sink form since I used a scrap that I already had, but you can buy a small sheet for around $6. So that is still a very cheap vanity top.
Here is a quick breakdown of the cost for our 32″ concrete vanity:
- Concrete $23
- I used a left over 55 lb bag of RapidSet Cement All because I love that it sets up in about an hour and I can remove the form and get on with my project. You could use a less expensive cement if you want but it will need longer to set in the forms.
- Flow Control – $3
- This is used with the RapidSet Cement All to make it flow without adding more water and therefore reducing the strength.
- Melamine shelf – $16
- Caulk – $4
- Rebar – $4
Of course you will also want to seal your concrete vanity to protect it from all the water and stuff in a bathroom, but we will get to that in a minute.
Another benefit of concrete, it can be made to fit any shape. Some people even make molded in sinks with concrete.
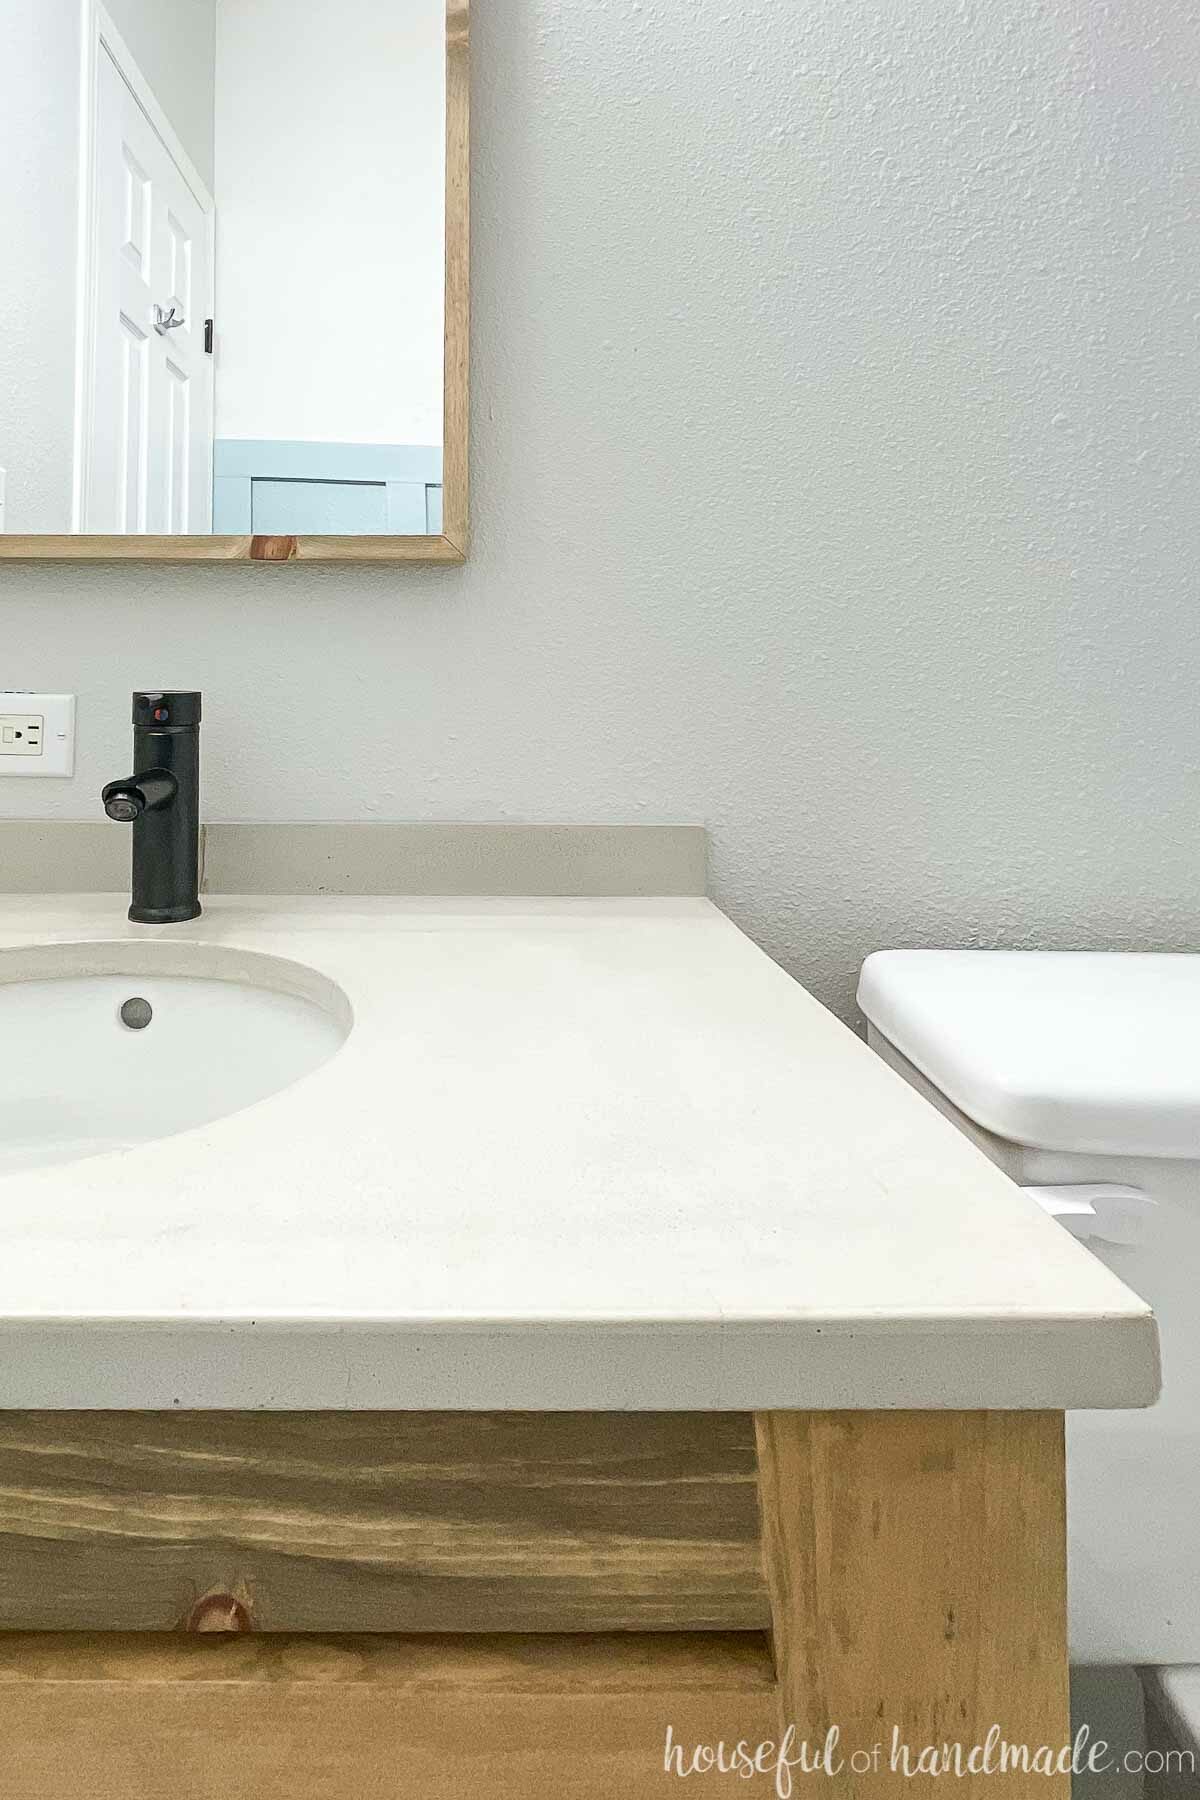
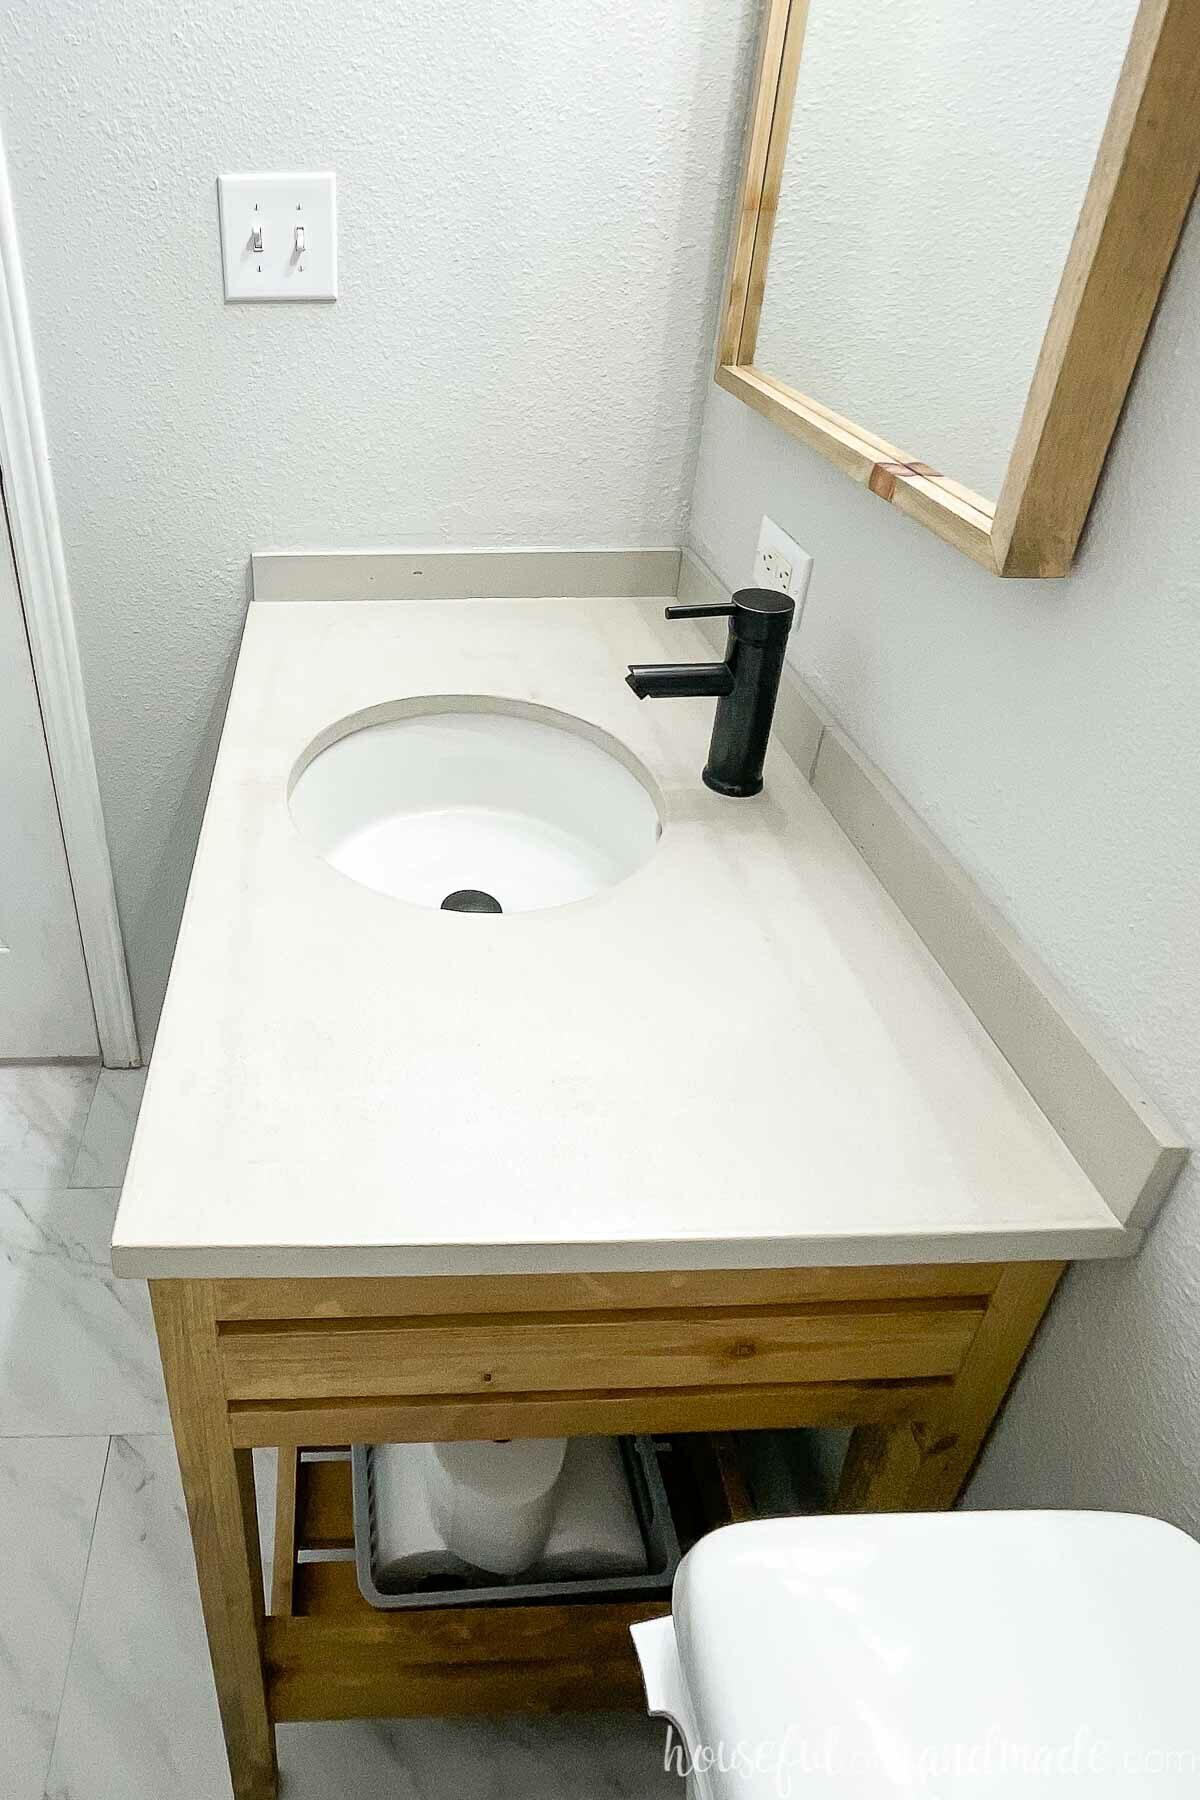
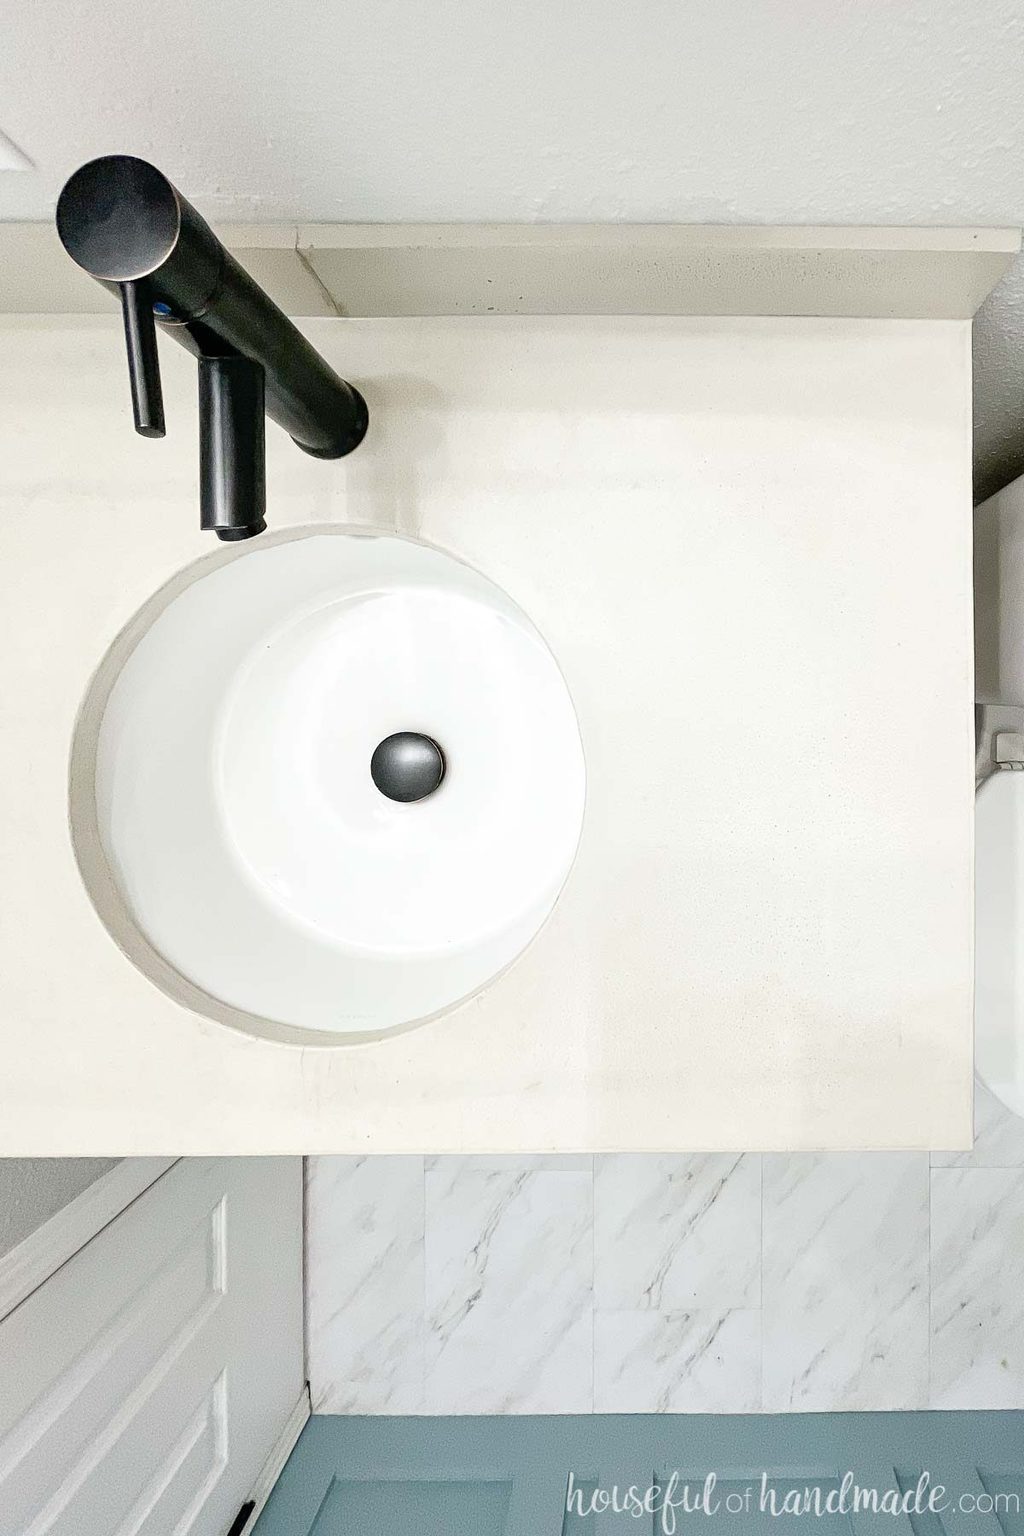
I chose to use an undermount sink. I originally thought I could try to use a stainless steel bowl as a sink, but it was a failed attempt. But I found a beautiful undermount sink that worked for the hole I created in the vanity top and looks great!
How thick should a concrete vanity top be?
The standard thickness for countertops (vanities included) is 1 1/2″. But you can find vanity tops ranging from 1″ to 2″.
And you can make yours as thick or thin as you want. That is the beauty of DIY!
Our DIY concrete vanity is 1″ thick. It is thick enough to feel substantial, but thin enough to be filled with just 1 bag of concrete.
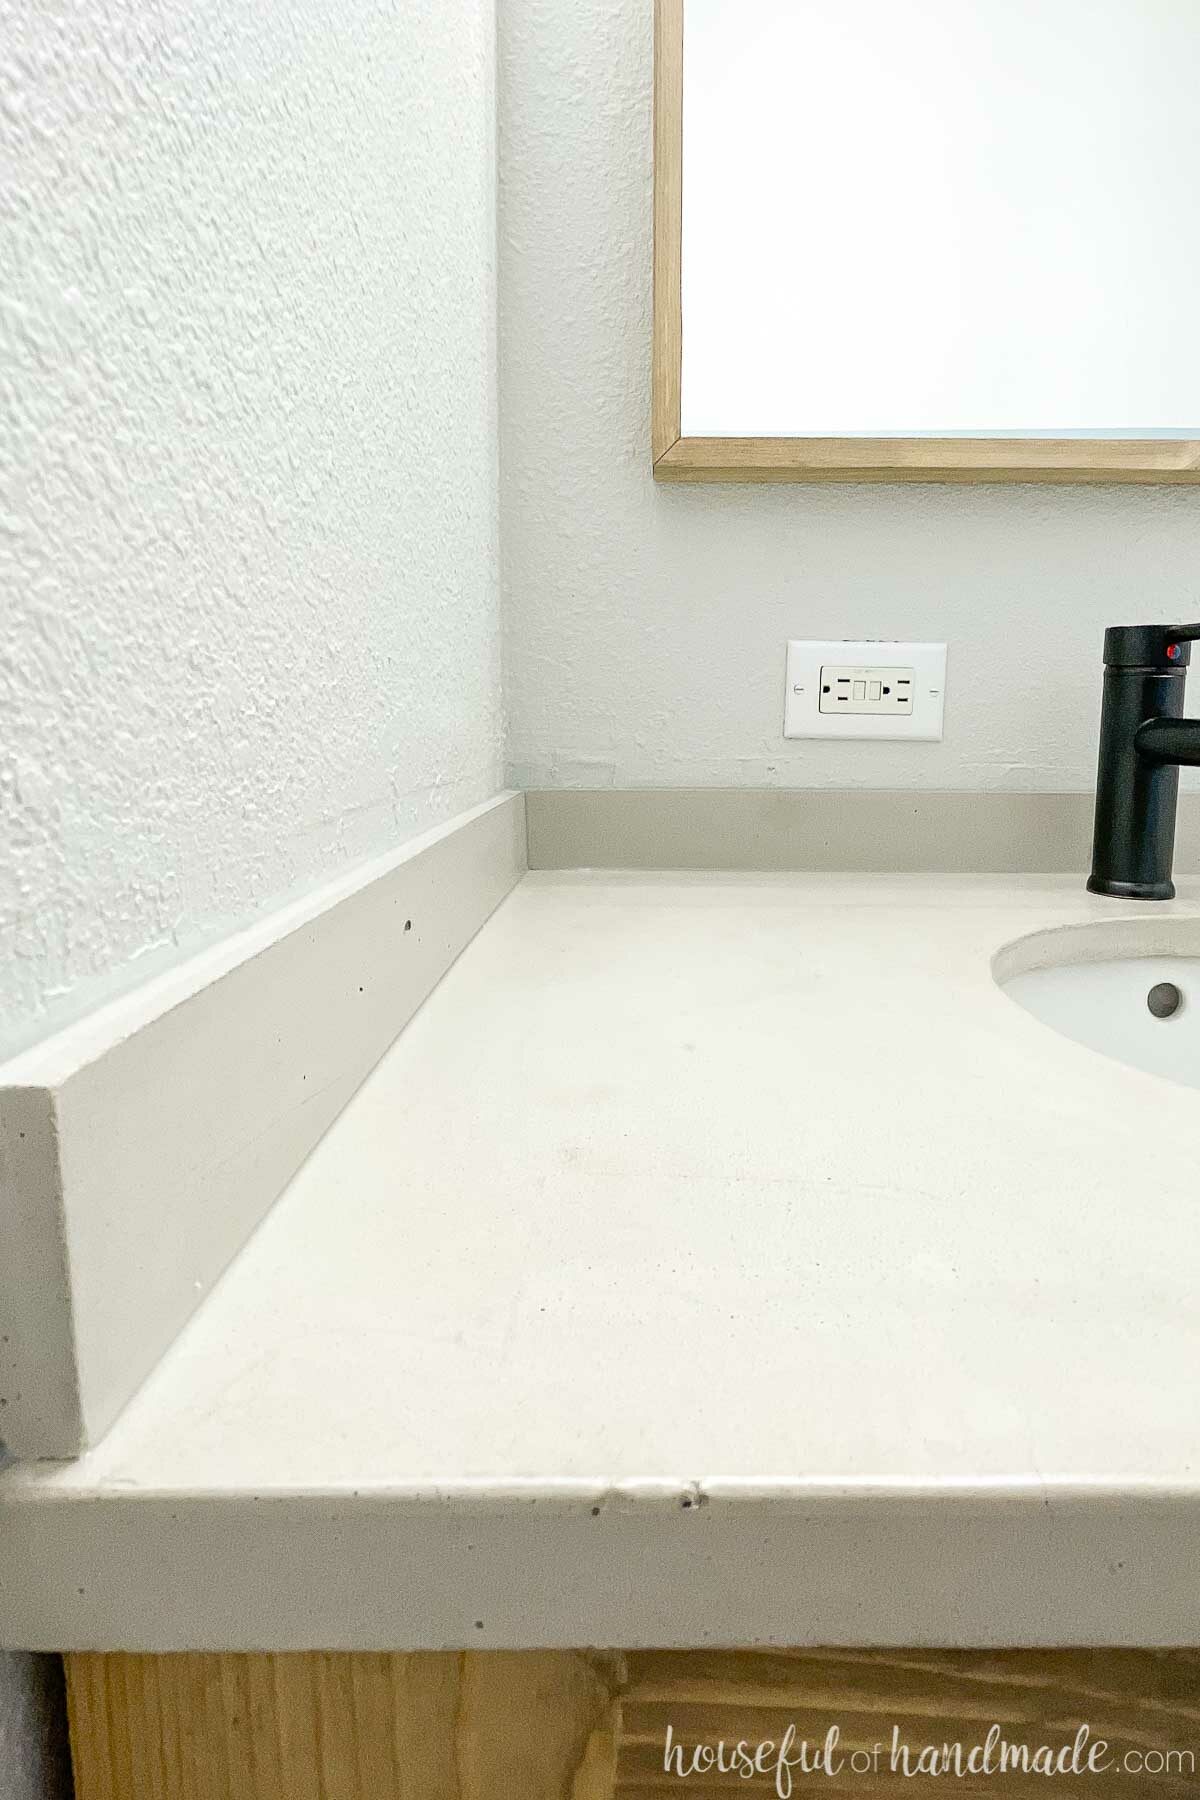
The concrete backsplashes were also made with that 1 bag of concrete. They are only 1/2″ thick, and I like the thinner backsplash. However, the longer one broken when removing it from the mold so I would suggest making it thicker or adding some wire to support the thin piece.
Do you need rebar in a concrete countertop?
When we made the DIY concrete countertop on our kitchen island, we did not need to use any rebar or reinforcement. The large slab was fully supported by the cabinets underneath and there were no narrow sections.
A vanity top has narrow sections because there is an opening for the sink and a hole for the faucet (or holes depending on your preferred faucet). Because of that, rebar is needed to reinforce these narrow areas.
For the concrete vanity top, one pieces of rebar is placed parallel to the front of the vanity between the edge and the opening for the sink. A second piece is placed between the back of the sink opening and the front of the hole for the faucet. And a third piece is placed between the faucet hole and the rear of the vanity top.
This gives all narrow sections the support they need.
Sealing a Concrete Vanity Top
You DIY concrete vanity will need to be sealed to protect it from water and all the bathroom sprays, lotions, creams, and more.
For our kitchen island, I used a sealer that has to be reapplied frequently. But I knew I wanted something more hands off for the kids bathroom. Also, I did not mind if the bathroom vanity was a bit shinier than the natural concrete.
So to seal it, I used a water based polycrylic. The water-based sealer will not yellow like a normal polyurethane. It is milky when applied, but dried clear.
I thinned the first coat with 10% water to help it to soak into the vanity and it absorbed very well. Then I followed it up with 2 more coats. The concrete has a slight smooth feel, but it still looks like concrete.
Also, you can choose the sheen you prefer when using a polycrylic. I used an ultra-flat sheen so that it looked more like the natural concrete. I really like the way it turned out with this sealer.
How to Make a Concrete Vanity
TOOLS NEEDED:
- Saw to cut forms
- I use a combination of this miter saw and my table saw, but you can also use a circular saw.
- Drill
- Impact driver (optional, but I love not having to switch bits with the drill)
- Jigsaw
- Measuring tape
- Caulk gun
- Water sprayer
- Steel mixing bit
- Concrete trowel
- 5 gallon buckets
SUPPLIES NEEDED:
- Rapid Set Cement All
- Use the concrete calculator on the CTS website to help figure out how much you will need.
- Rapid Set Flow Control
- Melamine covered board
- Rigid foam
- 100% silicone caulk
- WD40
- Cold water
- Rebar
Build the Form
Measure the top of your bathroom vanity and decide on what size you want your vanity top.
Decide how much of an overhang you want around your vanity, I typically do a 3/4″ overhang. If one (or two) sides of your vanity is up against the wall, you do not need to plan an overhang on those side. Instead just measure from the wall.
Cut one piece of melamine the exact size you want your finished vanity top.
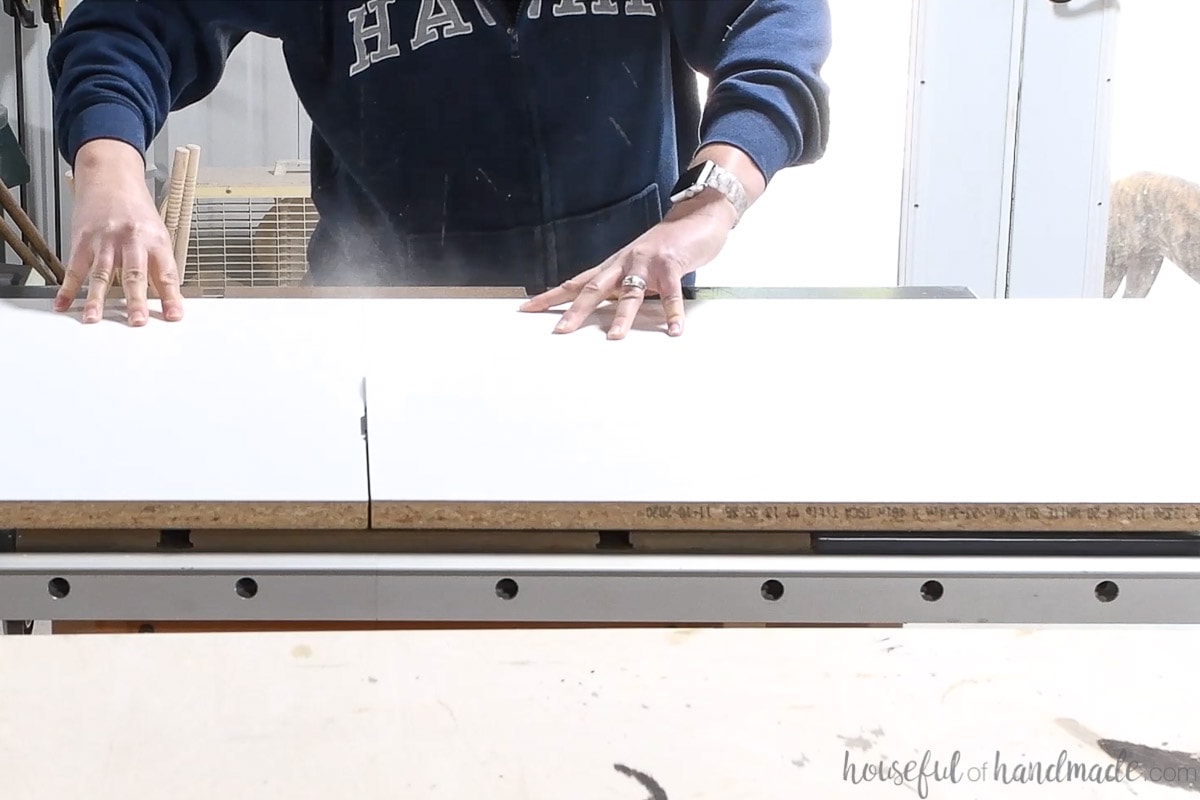
EXPERT TIP: Use a fine toothed saw blade to minimize chipping of the melamine (look for ones labeled for cutting plywood). And to further reduce chipping, you can also apply a piece of painters tape to the cut line before cutting.
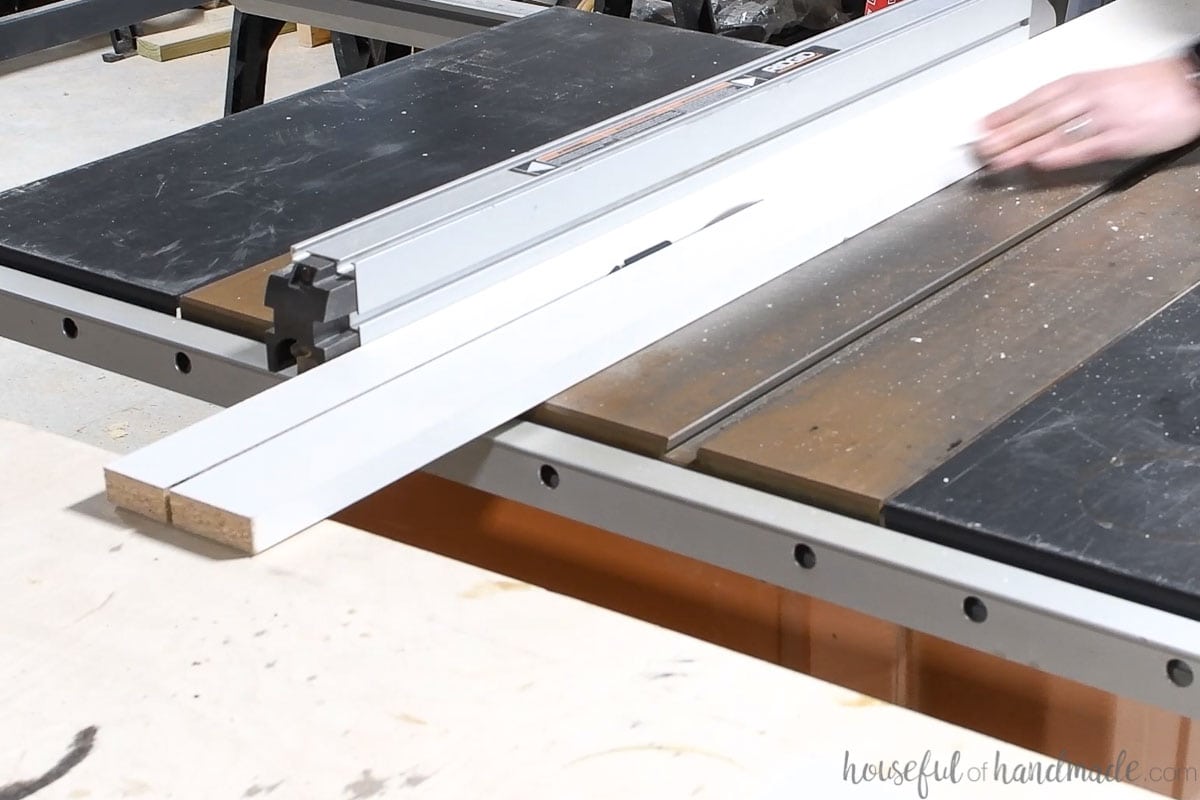
Next rip the thin strips of melamine covered boards to create the sides of the form. The size of your strips needs to be the thickness of your board + the desired thickness of your vanity top.
For our 1″ thick vanity, I was using a 3/4″ thick melamine covered board so I ripped the boards to 1 3/4″ thick.
EXPERT TIP: For a smaller vanity, purchase a melamine covered shelf to build the form instead of a 4×8 melamine covered sheet to save money and reduce excess supplies.
Cut two of the thin boards to the same width as the vanity top bottom board.
To assemble the form, start by predrilling holes for the screws to hold the sides of the form to the bottom. If you do not predrill, the thin boards will split. Make sure the screws are positioned so they will be centered to the bottom board.
Attach the two boards to the bottom boards sides with 1 1/4″ wood screws through the predrilled holes.
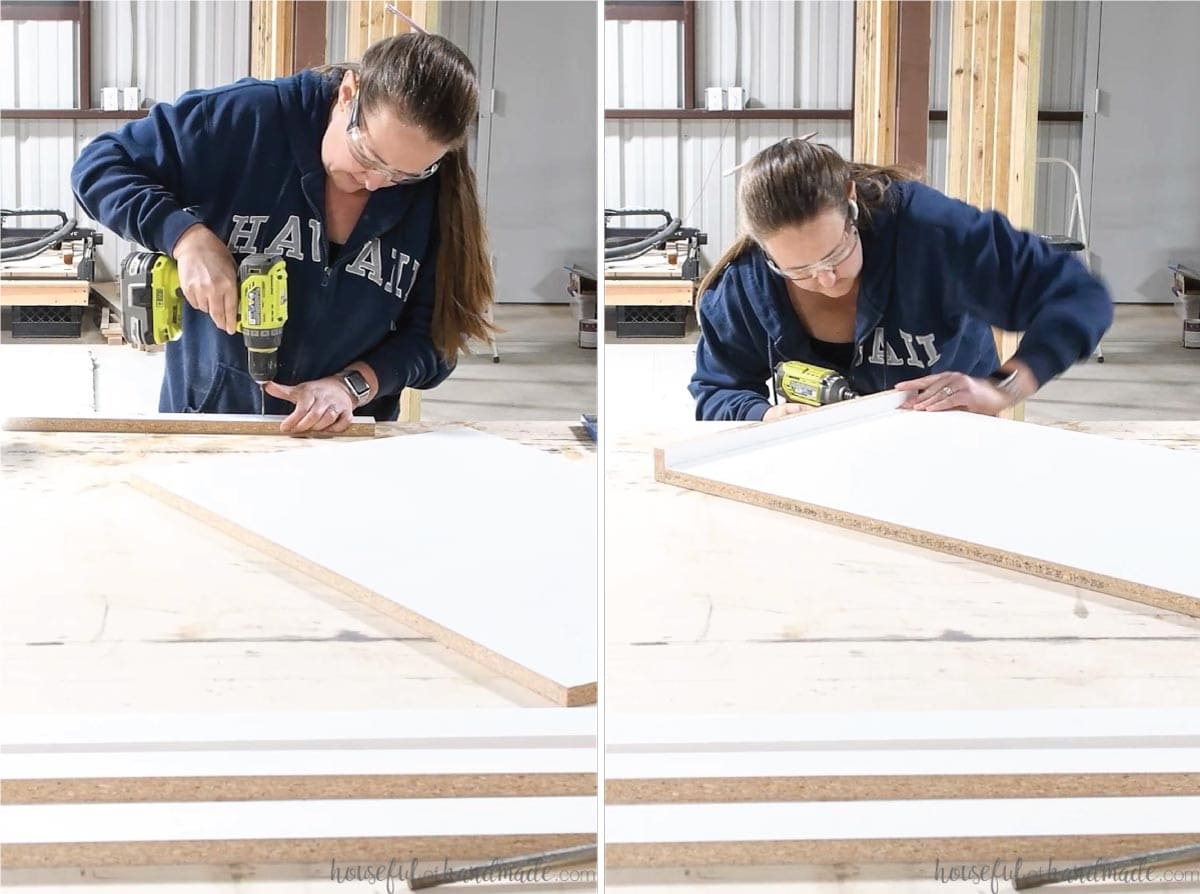
Next measure the front/back of the form with the side boards attached and cut 2 thin boards to that measurement. Predrill and attach them to the front/back of the bottom board the same as above.
Also attach them to the form sides with a 1 1/4″ screw through a predrilled hole.
Do not use any glue when assembling the form so you can easily unassemble it when your concrete is cured.
Also, if you want to make matching concrete backsplashes for your vanity top, build the forms the same way. My backsplashes were built only 1/2″ thick and 2″ tall, but you can make them any size you want.
Create a Hole for the Sink & Faucet
To block out an opening for the sink and faucet, use a piece of rigid foam. Use the template from your sink to determine the size needed.
Preferably, get the foam the same thickness as you want your countertops. I was using a scrap I had on hand so I had to cut it in half (more on that later).
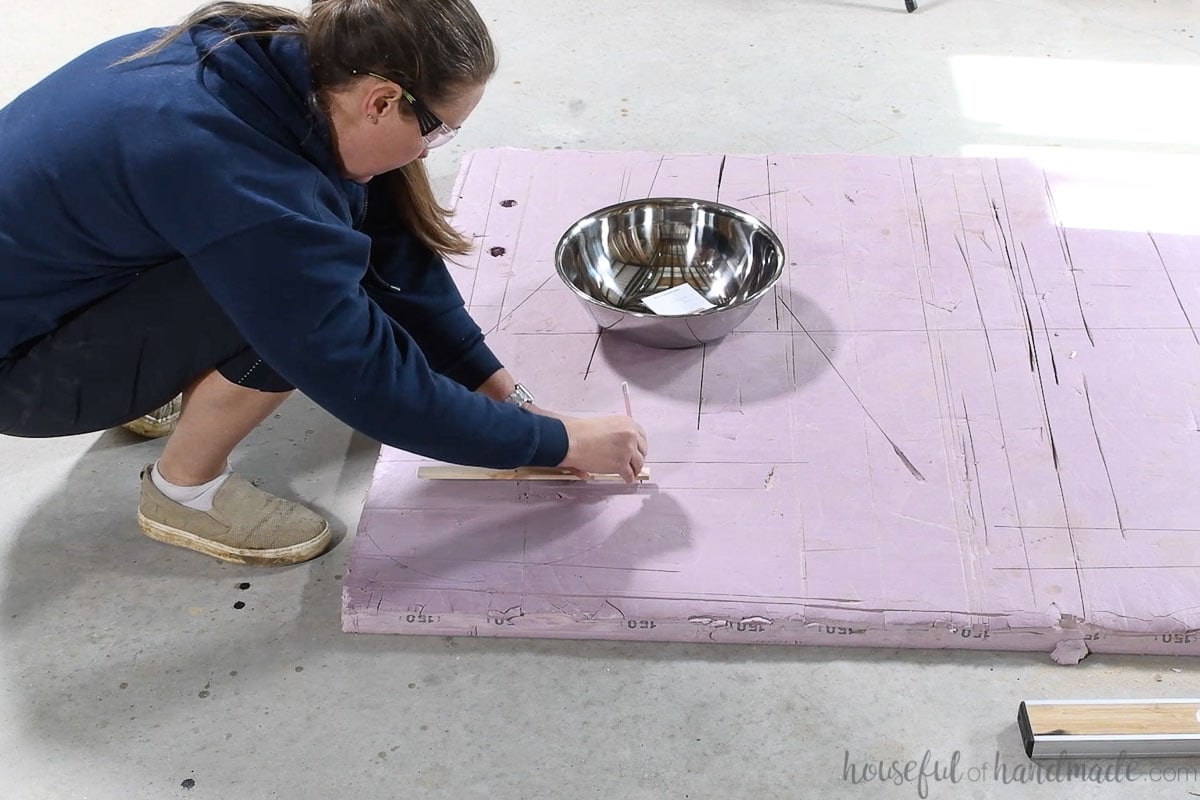
To draw a circle, cut a scrap of wood longer than the radius of your circle. Drill a hole close to the edge of the board, then hammer a finishing nail through the board the exact distance from the hole as the radius of your circle (radius is 1/2 of the diameter).
Tap the hammer in the foam (no need to worry about the hole) and place the tip of the pencil in the hole. Spin the board around the nail to draw a perfect circle.
Cut out the circle with a jigsaw.
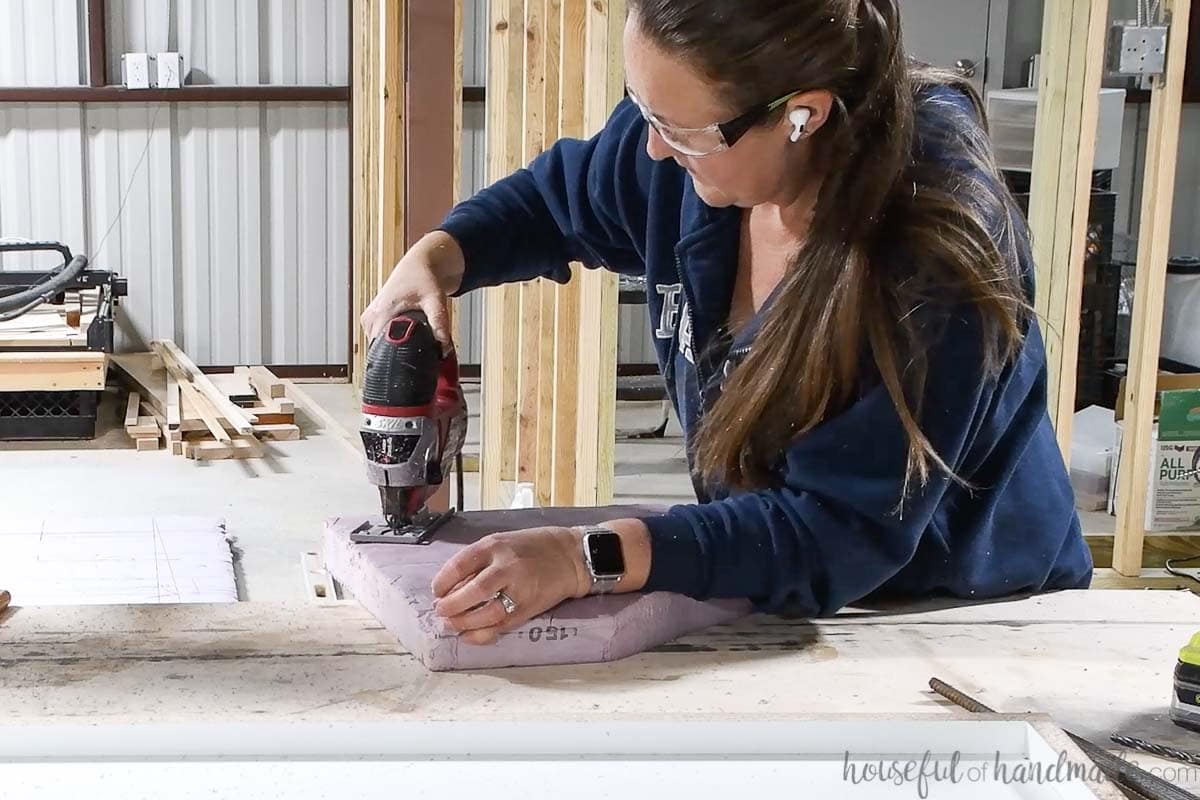
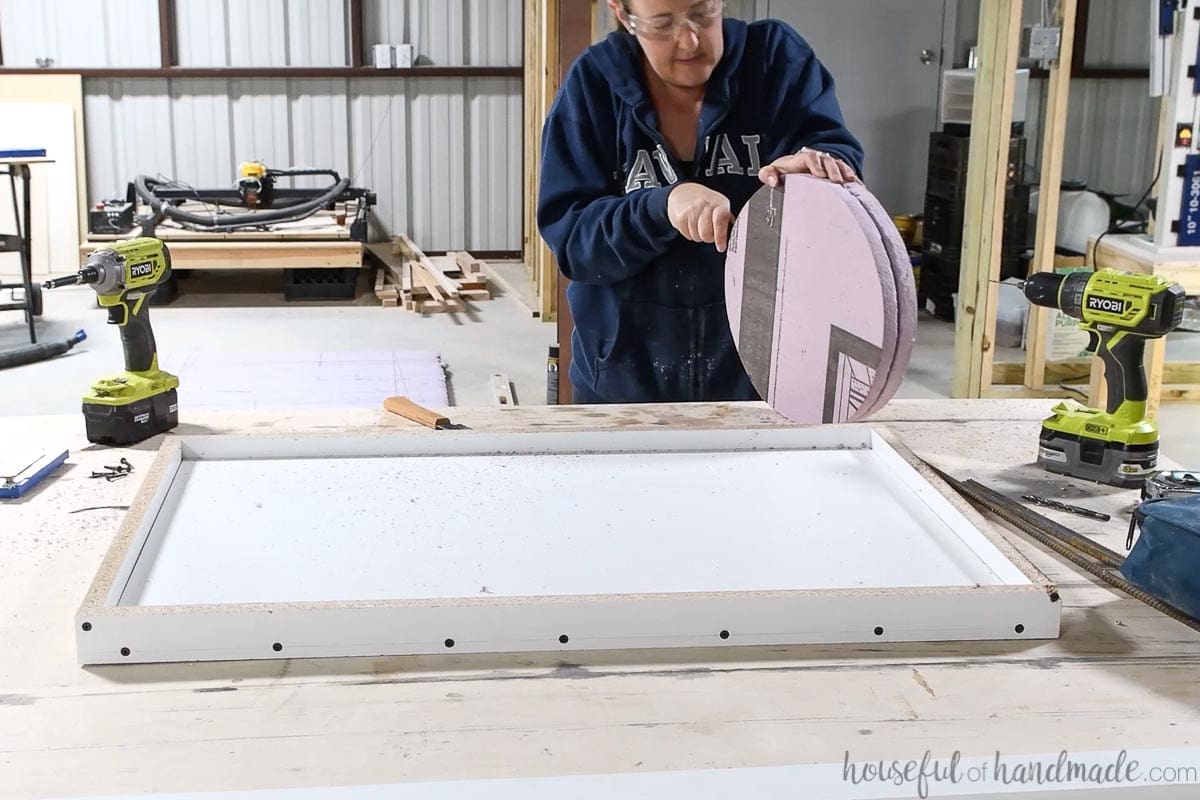
If you foam is too thick like mine, saw it in half so it is the same thickness as your vanity top will be. I used a combination of a serrated bread knife and my flush cut trim saw to cut the foam in half.
Also, place the foam circle in the countertop form and use the height of the sides to help guide the cutting so it is the correct thickness.
Use a hole saw the size needed for your desired faucet to cut a small circular piece of foam for the faucet hole.
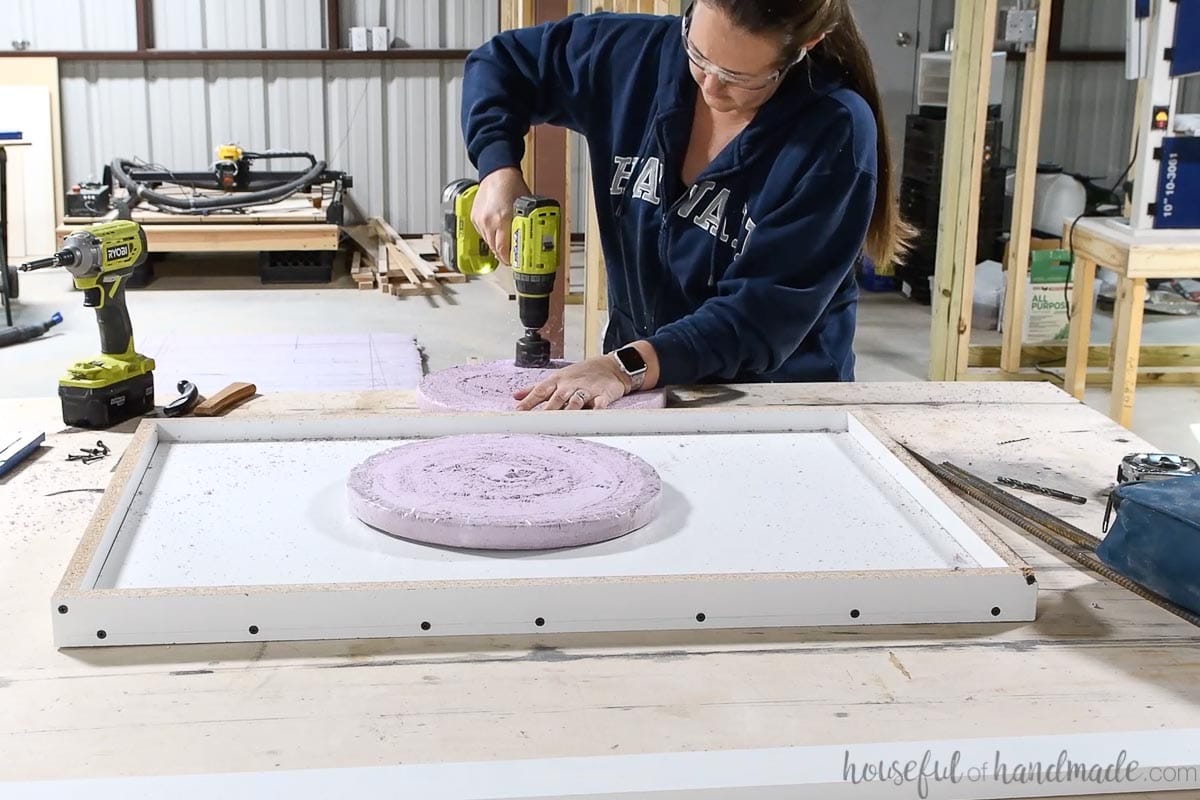
Cover the outside edges of the foam with packing tape to ensure the concrete does not stick to it.
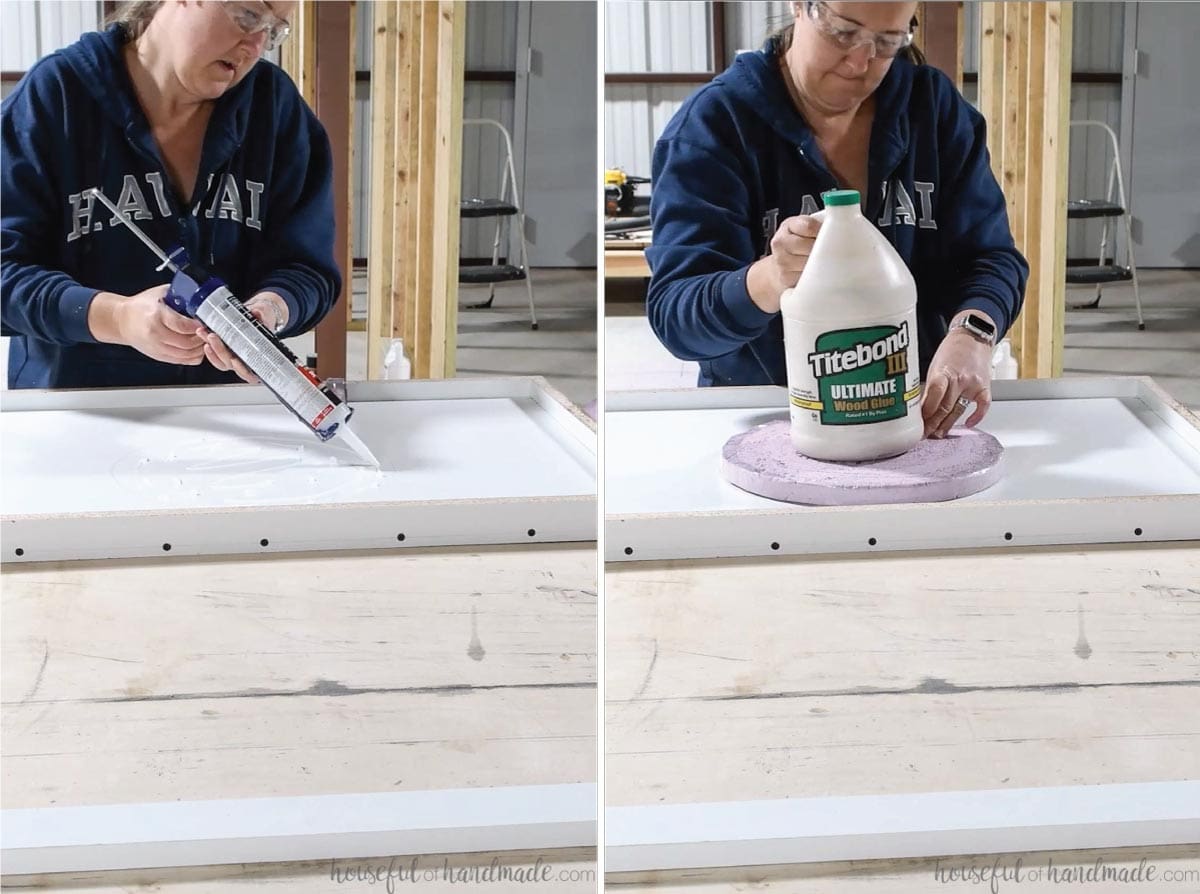
Measure the placement for the sink and faucet holes and attach the foam templates to the melamine with 100% silicone caulk. Place something heavy on top to secure it.
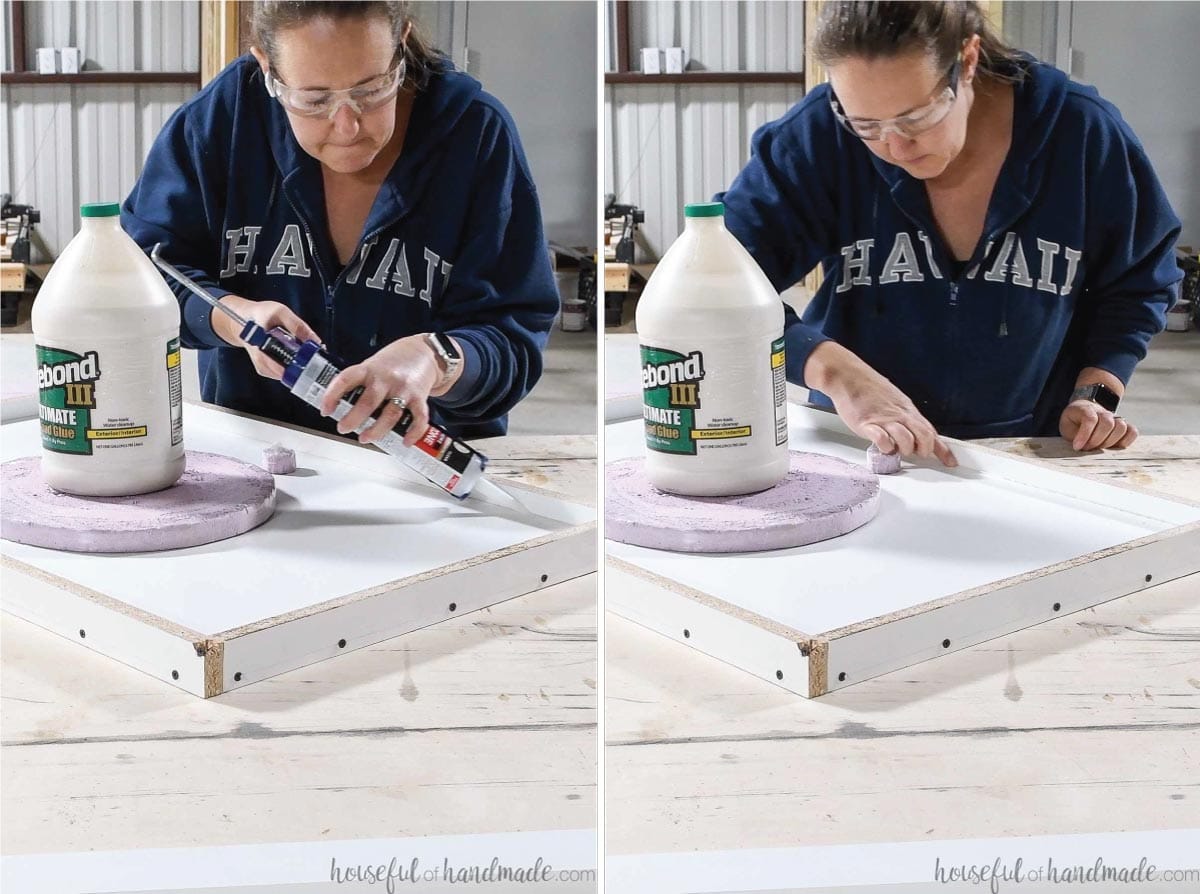
To finish the form, caulk around the edges with the 100% silicone caulk and around the circle templates. Smooth the silicone with a finger.
This prevents the concrete from leaking into the spaces and gives you a nice smaller round-over on all the edges.
Lastly, spray the inside of the form with a light coating of WD40 then wipe away the excess this will ensure the concrete releases cleanly from the form.
Mix & Pour the Concrete
I go into detail about mixing concrete in the DIY concrete countertops in a day post.
For the vanity top, we used 1 bag of Cement All and mixed it with 5 quarts of water in a 5 gallon bucket. We also used 1 packet of Flow Control to help it flow into the forms nicely.
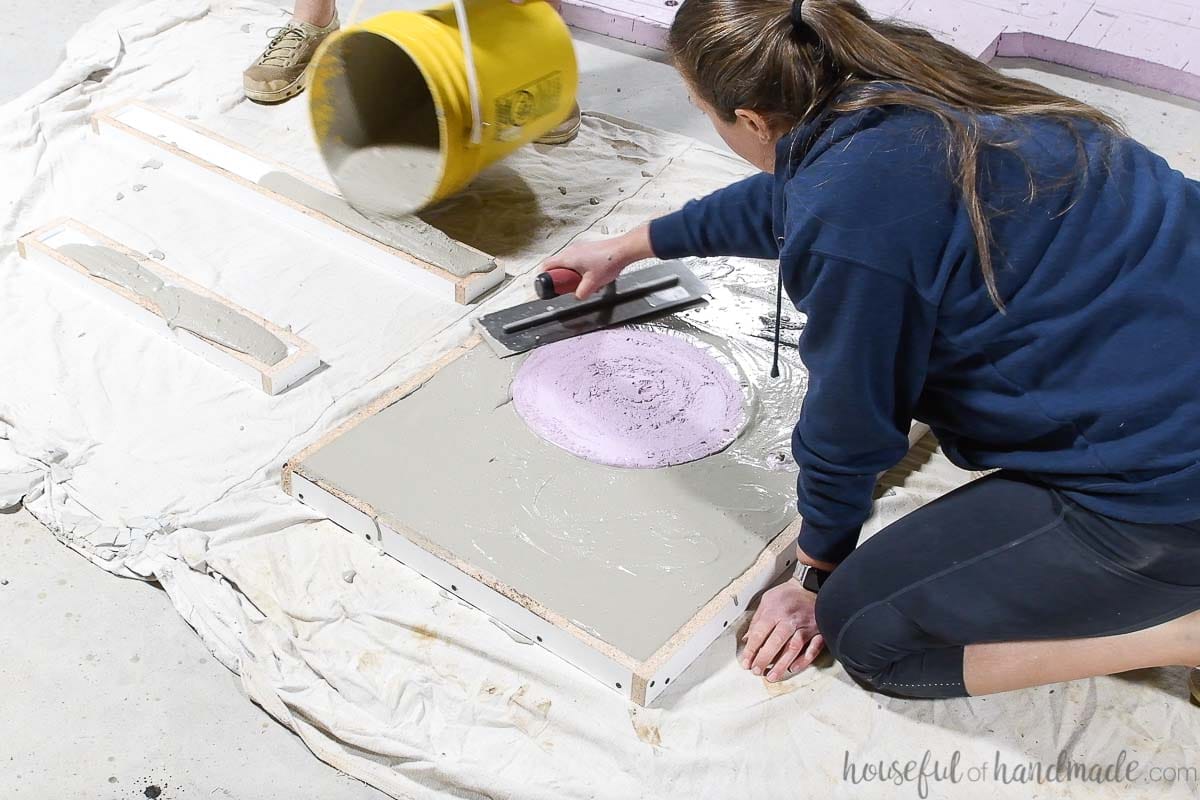
Pouring the RapidSet concrete is nicer with a second set of hands since things move quickly. One person can pour while the other moves the concrete into the form and smooths the top.
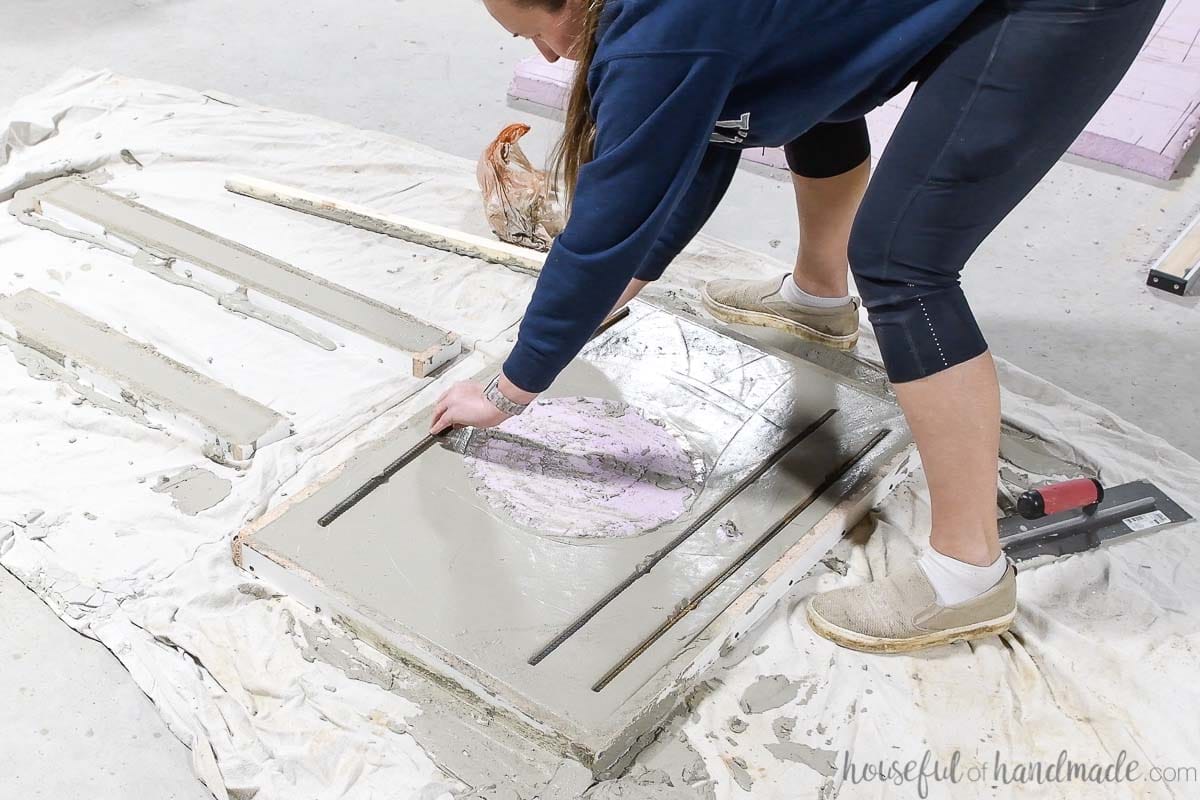
Quickly place your rebar into the concrete in the narrow parts. This includes around the sink opening and faucet.
I almost forgot to add the rebar so the concrete was a little more set-up than it should have been.
Use a trowel to smooth the top of the concrete.
EXPERT TIP: No need to worry too much about creating a perfectly smooth top on your concrete. The exposed edge is is actually the underside of the vanity top. The melamine on the inside of the form will create a perfectly smooth top to your vanity once removed from the form.

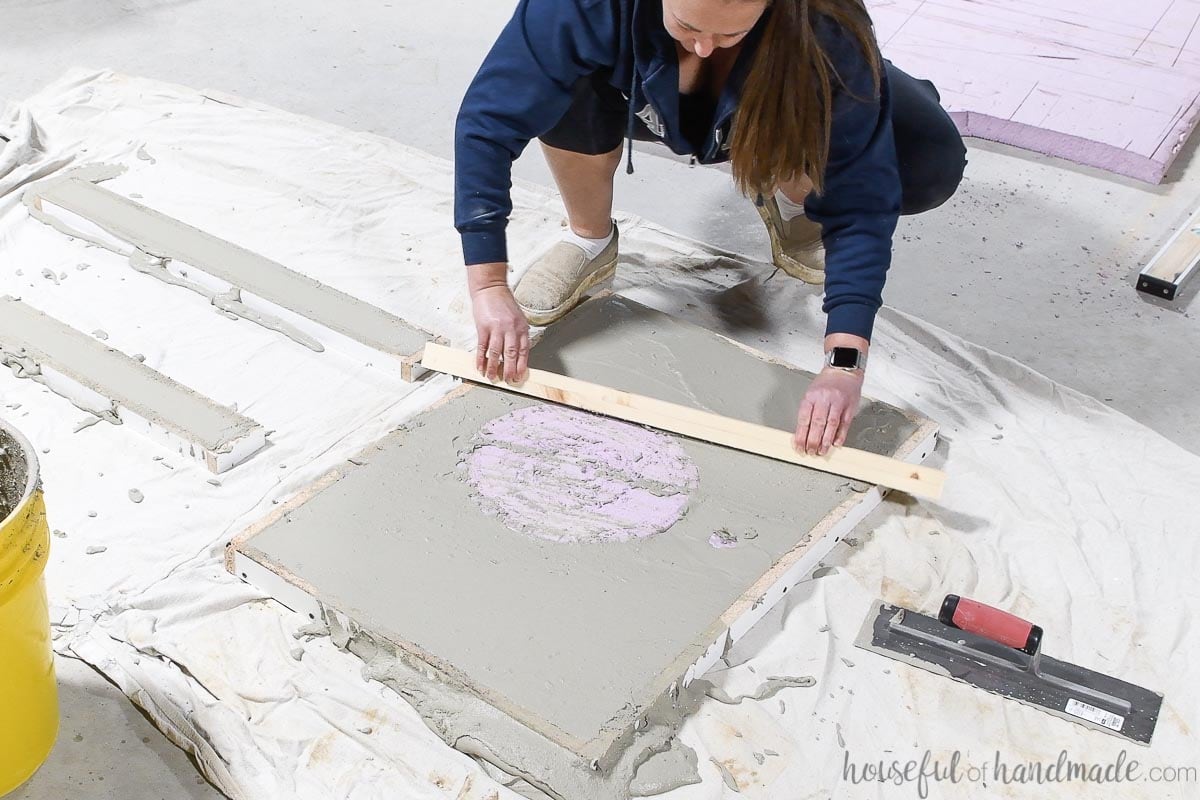
Also, you can use a flat piece of scrap wood to scree the top of the concrete. With a smaller vanity top it was not as necessary, but ensured the concrete was a uniform thickness which will make the installed vanity level.
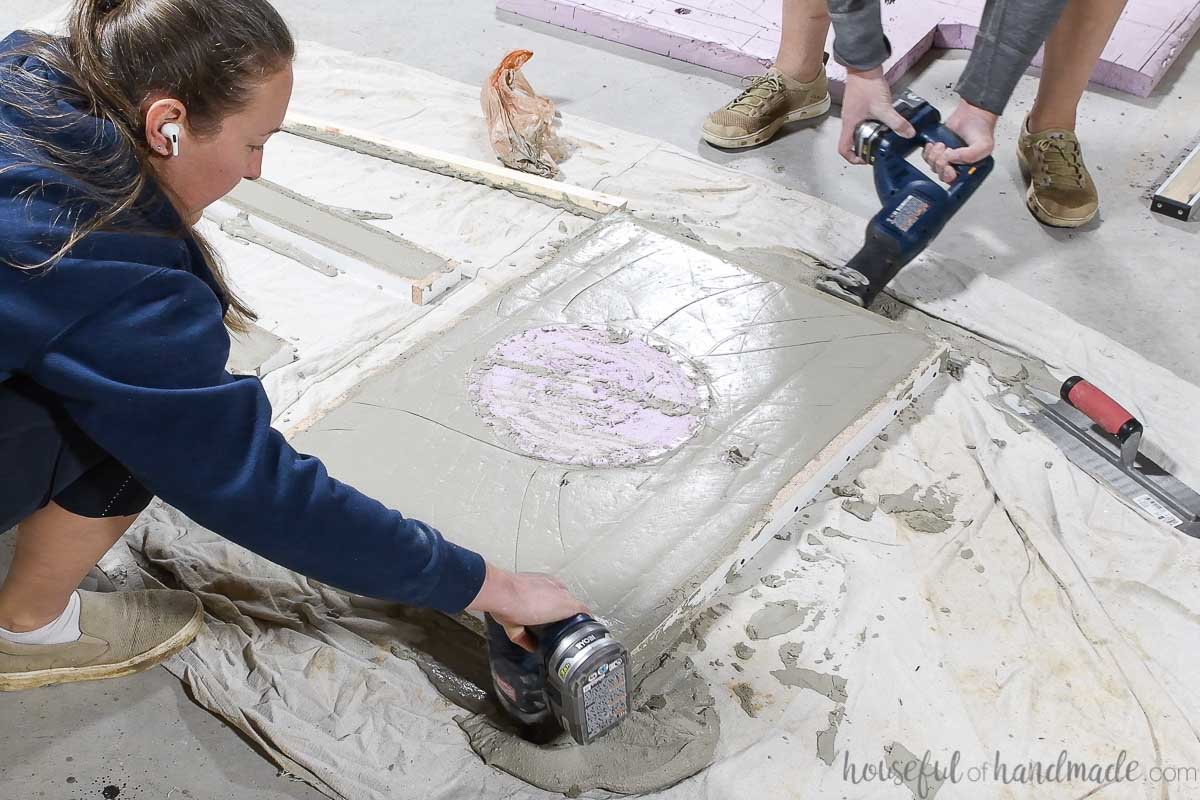
To remove the bubbles from the concrete and ensure a smooth surface, you will need to vibrate the concrete. We used an electric sander and sawsall without the blade to vibrate the vanity top and backsplash pieces.
Now you just need to keep the RapidSet cement moist as it starts to cure over the next hour. Use a sprayer to lightly mist the surface of the cement as it starts to look dry.
Install the Vanity Top
After the hour is up, you can remove the vanity top from the form.
Place the vanity top form side up on a solid surface. Unscrew the screws and carefully pry the sides off. Then lift the bottom board with the foam circles off it.
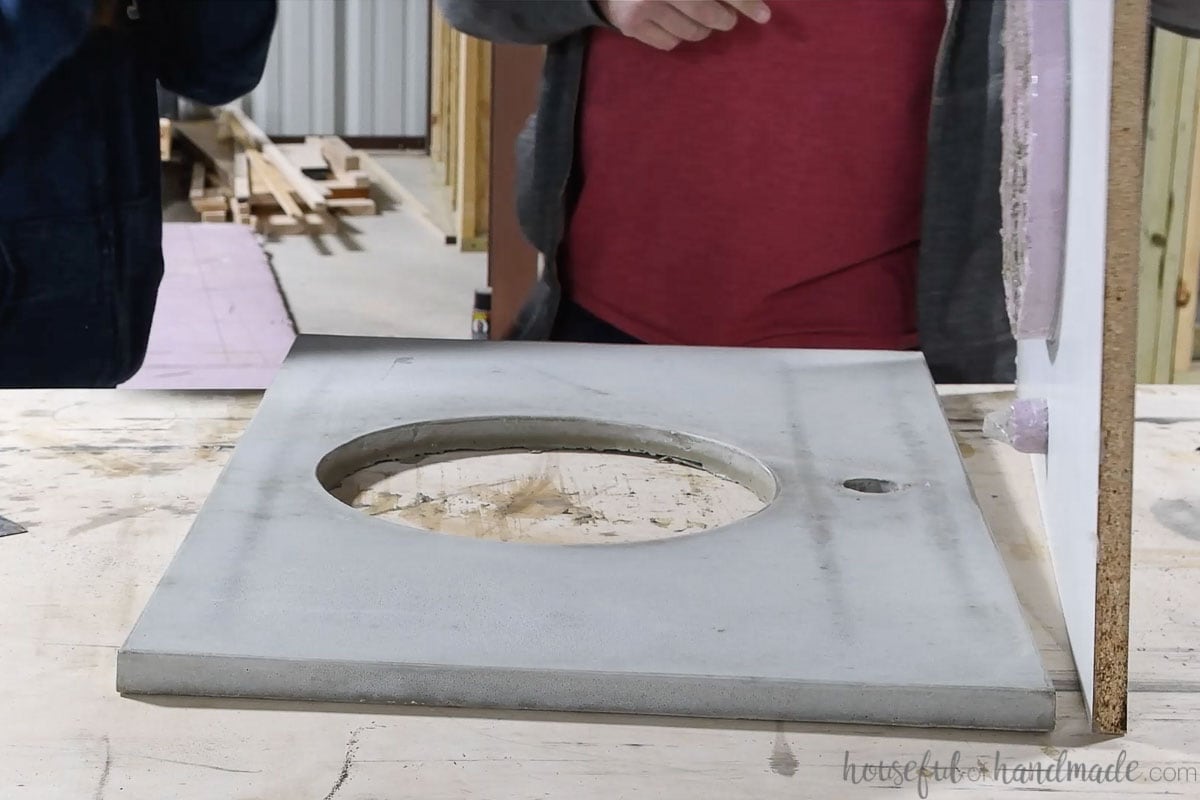
The vanity will need to continue to cure for another 16-24 hours before you can seal it. And I would recommend not installing it until you can seal it because anything can stain the countertop.
To install the solid surface vanity top, apply 100% silicone to the top of your vanity and place the vanity top on it. Make sure to double check the overhangs before letting the silicone cure.
Then you can install your sink and faucet according to the manufacturers directions.
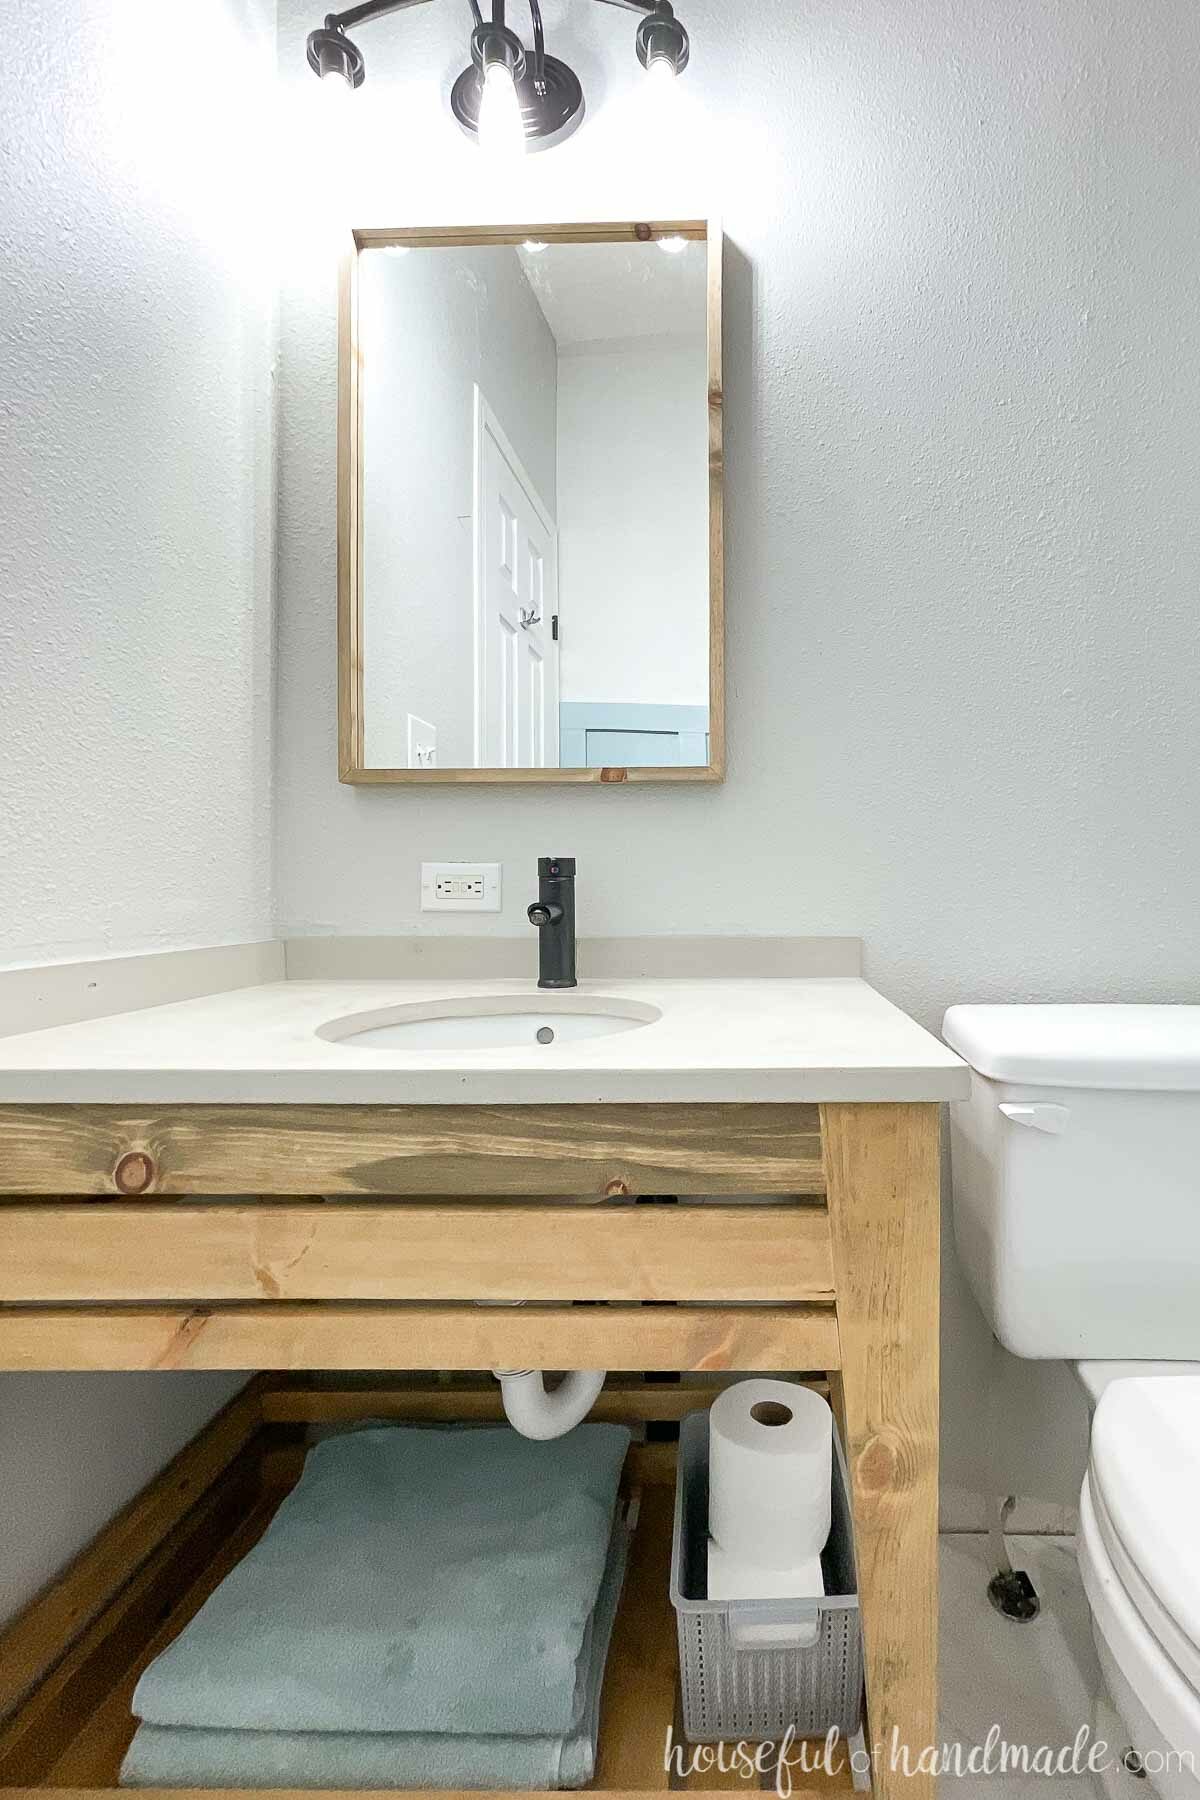
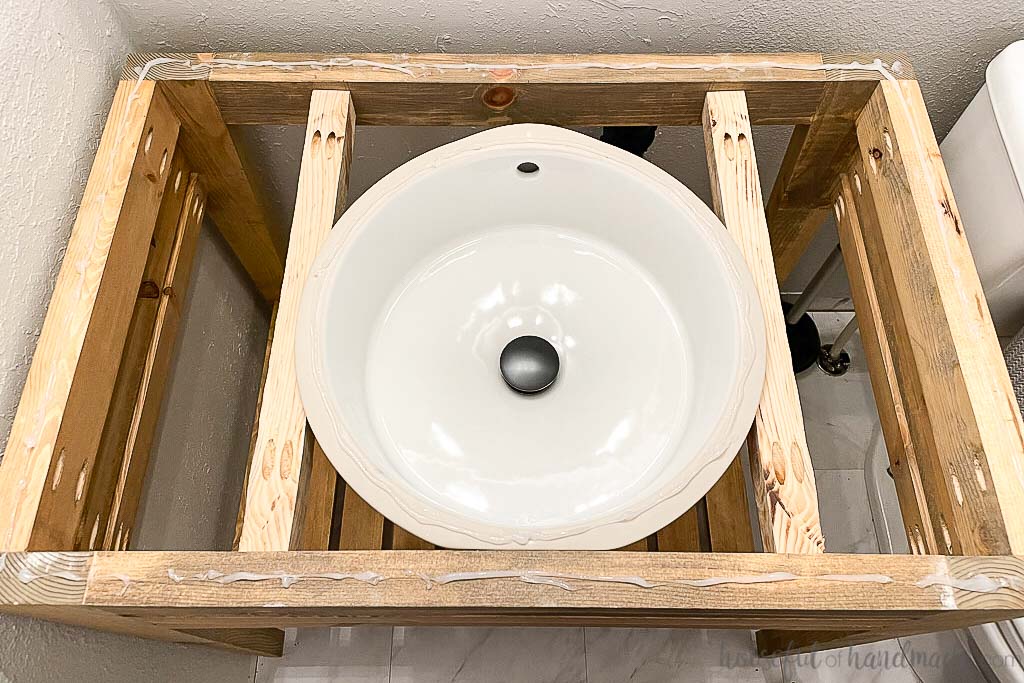
For our undermount sink, I did not want to use the sink clips and drill into the concrete. Instead I used 2×2 scraps to create a cradle around the sink holding it flush with the top of the vanity. Then applied silicone around the top of the sink as well before placing the vanity top on the DIY vanity.
To attach the concrete backsplashes. Attach them to the wall with the silicone as well.
Seal your DIY concrete vanity with your sealer of choice.
Then finish off the install by caulking the corners and edges of the vanity top and backsplashes with the clear silicone caulk.
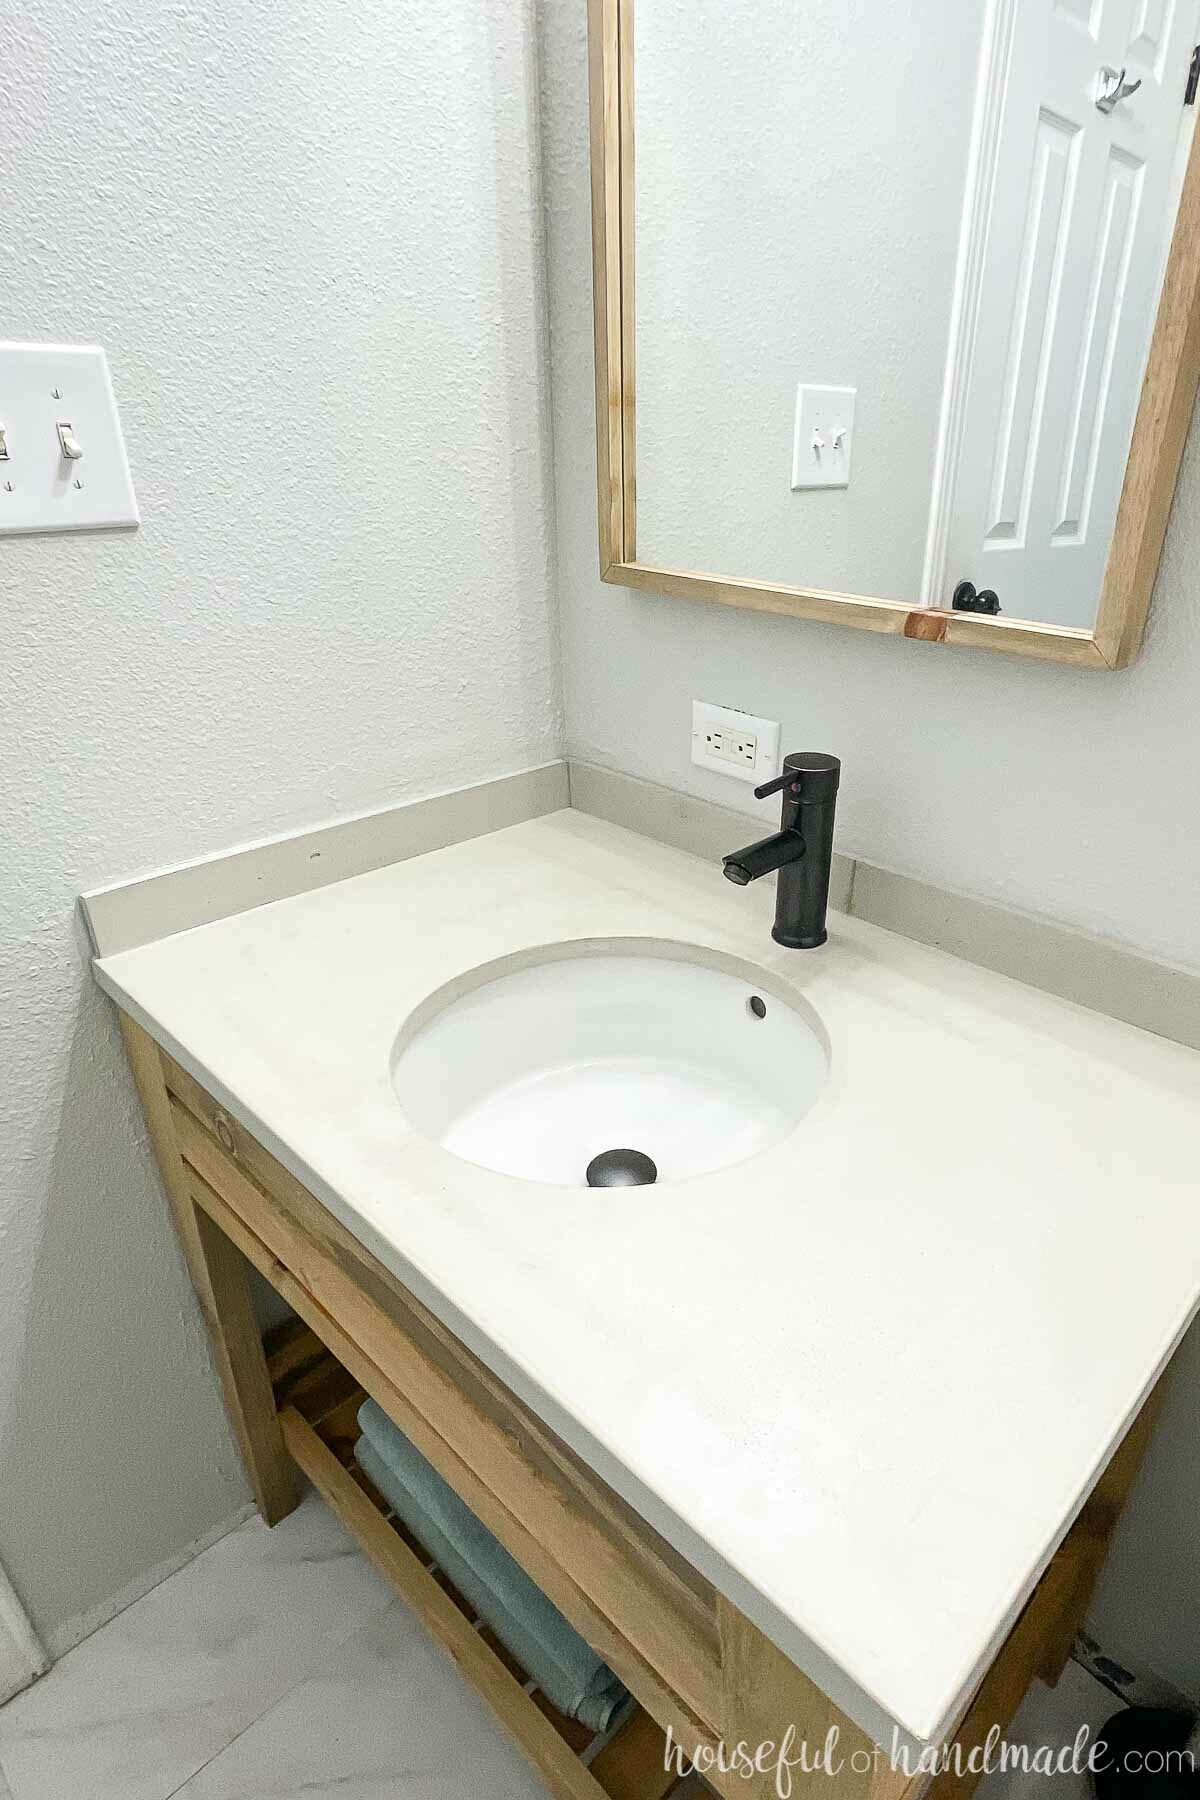
Now you can enjoy your new bathroom! I know my kids are super happy to have their bathroom back to 100% working order.
And for more information on our budget bathroom remodel, check out the bathroom reveal post here.
Happy DIYing!
