This vintage inspired Christmas tree farm sign is an easy to build.
Build the perfect farmhouse Christmas decor with budget fence pickets. It’s an inexpensive way to add farmhouse Christmas charm to your home.
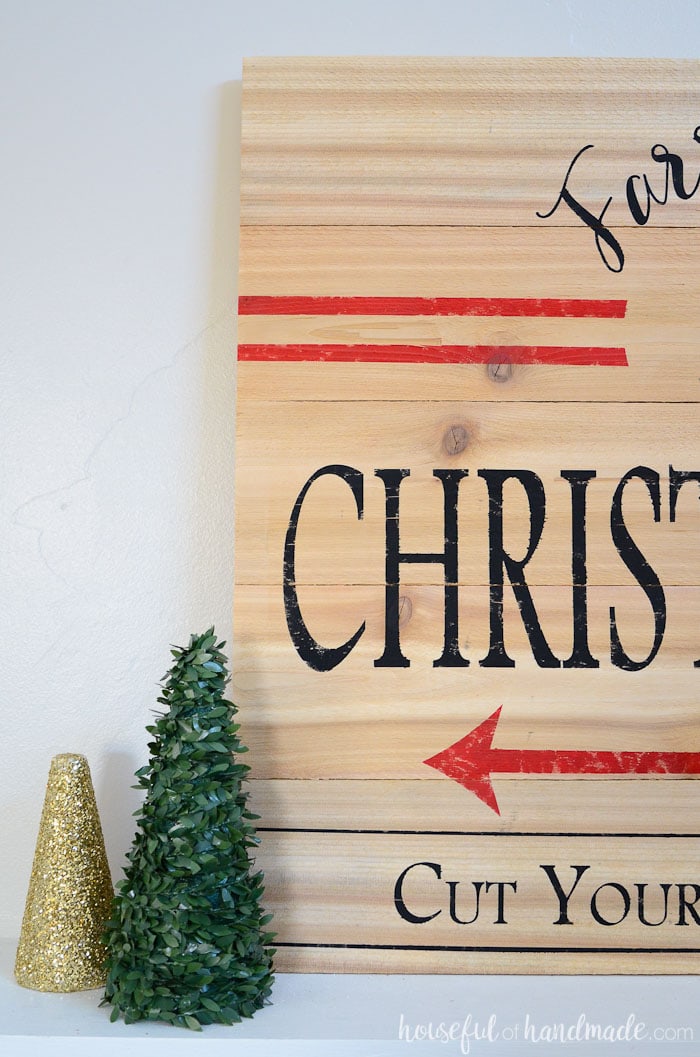
A Christmas tree farm sign is the perfect festive decor for the season. Nothing says holiday spirit like twinkling lights and the smell of pine.
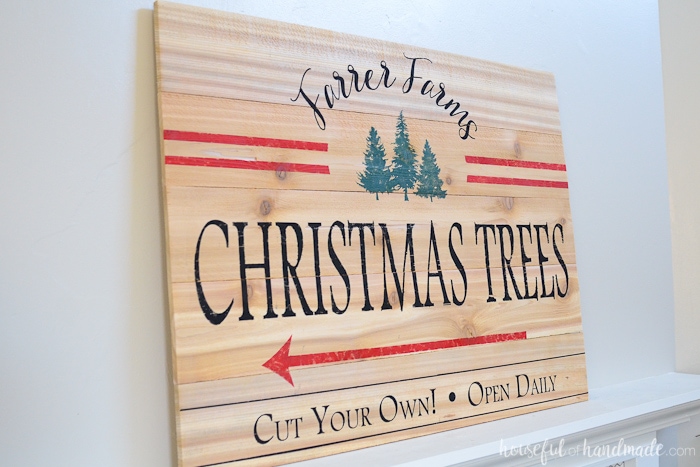
A large farmhouse Christmas tree sign is beautiful over the mantel or anywhere you need to add a bit more Christmas. The sign is easy to build with just a few basic tools and for less than $15 in wood.
This post may contain affiliate links. As an Amazon Associate I earn from qualifying purchases. Click here to read my full disclosure policy.
Growing up we always cut down our own Christmas tree. Early in the morning the day after Thanksgiving, while everyone else was out shopping, we would bundle up in our snow suits and stand in line to get a tree tag.
The whole town would be there. It was a Christmas tree tag party! There were large thermoses full of hot cocoa to share, fires to huddle around, and lots of friends.
After lunch, the whole family would bundle up again and we would drive up our mountains to pick out the perfect tree. There is nothing better than crunching through snow with the entire family to pick out the perfect Christmas tree.
It was one of my favorite Christmas traditions.
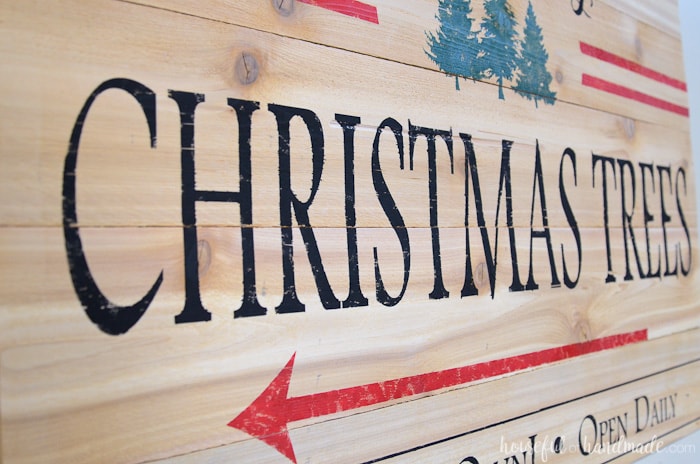
Now that I am grown, and living in the city, I do miss our Christmas tree tradition. As much as I love my pre-lit, easy to assemble, no needles falling on the ground, fake Christmas tree, I do miss the real thing too.
The smell of pine needles makes me think of those wonderful Christmases as a kids. So I decided to create the perfect memory of those Christmas tree adventures with a Christmas tree themed mantel.
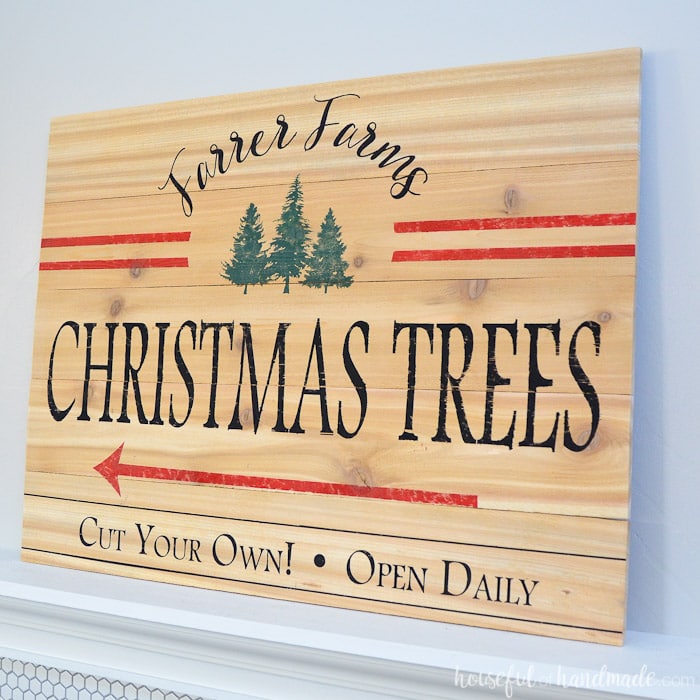
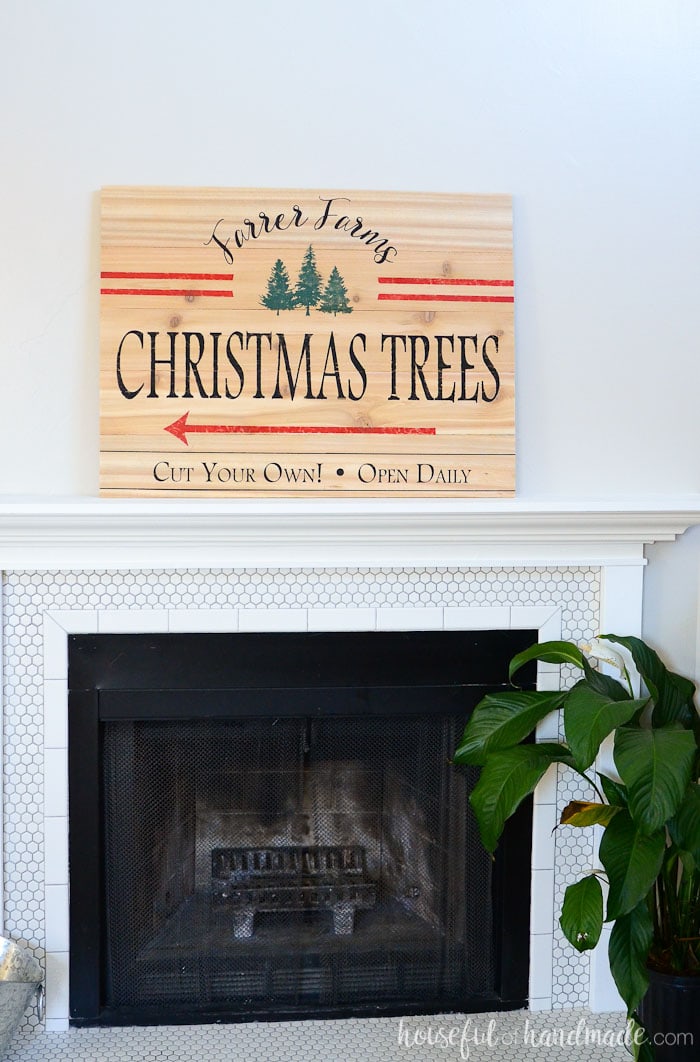
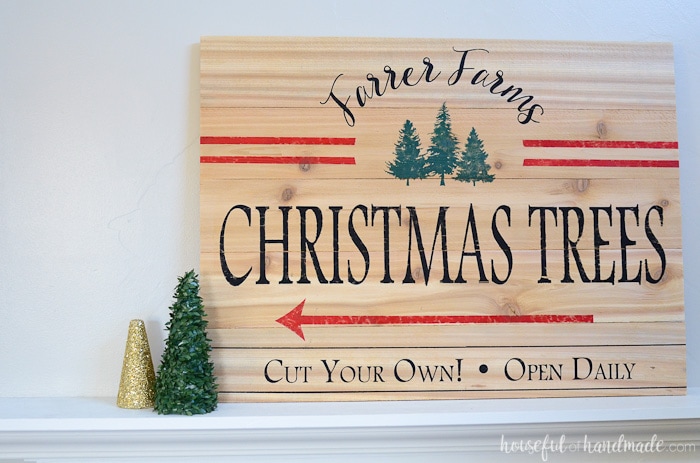
I created this beautiful Christmas tree farm sign for the center of our mantel. My plan is to make lots of mini Christmas trees to fill the top of the mantel. It will be our own little Christmas tree farm.
Reminiscent of cutting down our own Christmas tree as a child.
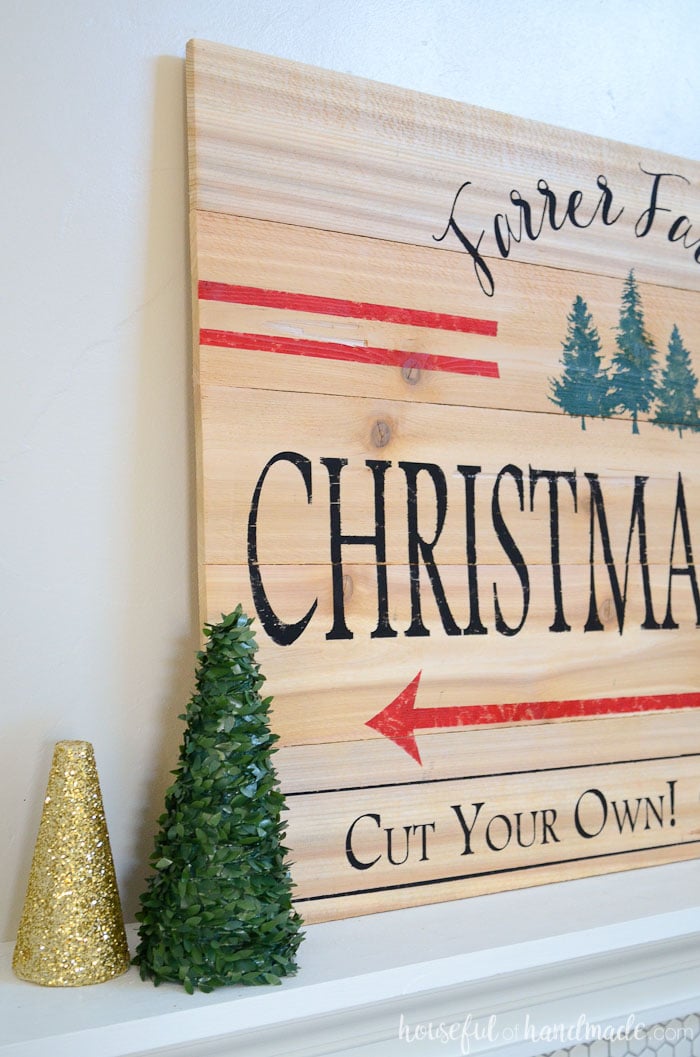
The best part of making your own Christmas tree farm sign is you can customize it however you want. I decided to make ours a family farm! How fun is it to personalize the Christmas decorations?
The kids think it’s pretty special that we have our own Christmas tree farm. I think it’s pretty special that we have a beautiful new sign for our Christmas mantel.
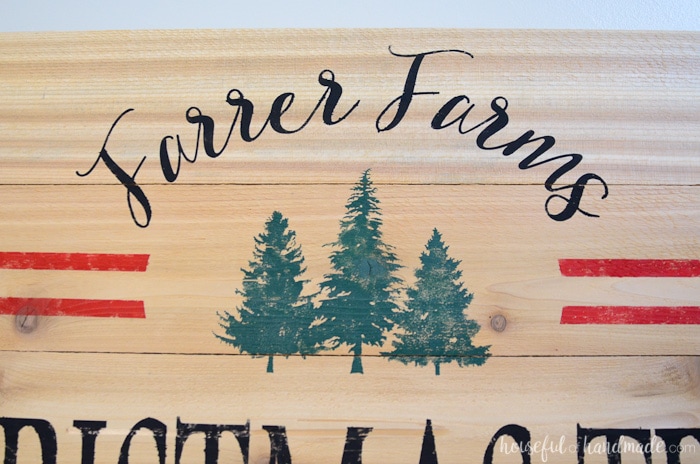
This festive farmhouse sign was so easy to make, with just a few inexpensive cedar fence pickets and an afternoon, you can make your own Christmas tree farm sign.
And to finish off our Christmas mantel, I also added some paper Christmas trees and scrap wood Christmas trees. It’s the perfect Christmas tree farm!
How to Make a Christmas Tree Farm Sign
Supplies:
- (3) 5 1/2″ wide cedar fence pickets
- (1) 3 1/2″ wide cedar fence picket
- Wood glue
- 3/4″ wood screws
- Christmas tree farm sign cut files
- I am sharing the cut files for the tree farm sign in my subscriber library. Click here to subscribe to my weekly newsletter and gain access to all the freebies. If you already have your password, click here to download them.
- Vinyl
- Transfer paper
- Red, green and black paint
- Pouncers
Tools:
- Saw
- Orbital sander
- Drill
- Silhouette Cameo (or other electronic cutting machine)
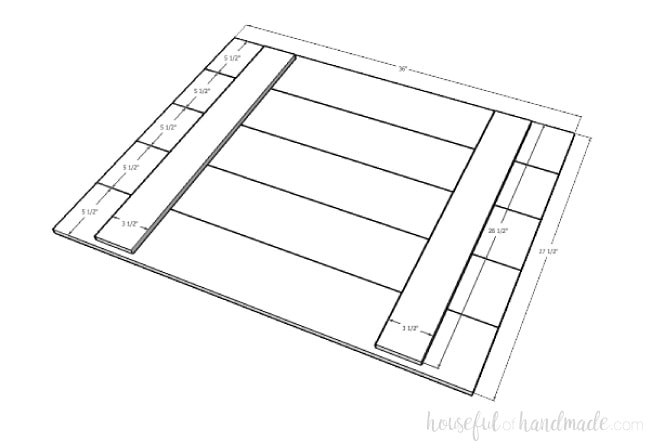
Build the sign by cutting the 5 1/2″ fence pickets into (5) 36″ pieces. Lay them down on the table (make sure the side you want to be the front is face down). Cut the 3 1/2″ fence picket into (2) 26 1/2″ pieces. Using wood glue and the wood screws, secure the smaller pieces to the back of the sign. Use 2 screws per board on each fence picket for a strong hold.
Sand the front of the sign. I left mine a little rough so it looks more rustic, but it needs to be smooth enough for the vinyl to adhere smoothly so the paint doesn’t bleed.
There is no farm name on the cut file I am sharing in my Subscriber Library. To add your own customized farm name, you will want to open the cut file in Silhouette Design studio.
Using the Ellipse tool, create an oval around the Christmas trees on the sign.
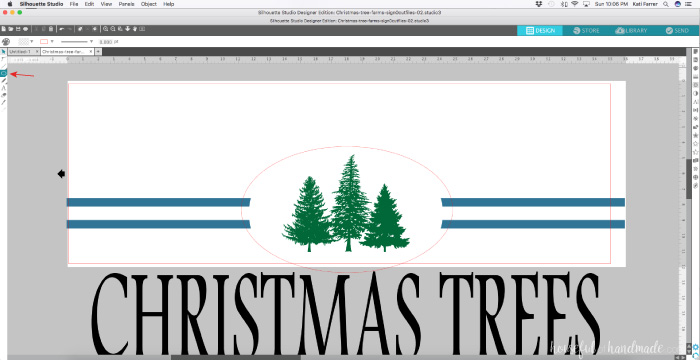
Select the Text tool and type out the name you want for your Christmas tree farm sign. Pick the font you want (I used Fontbox Boathouse Filled) and size it to fill the area.
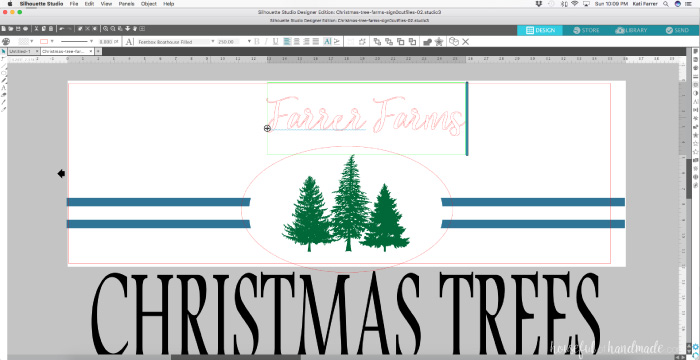
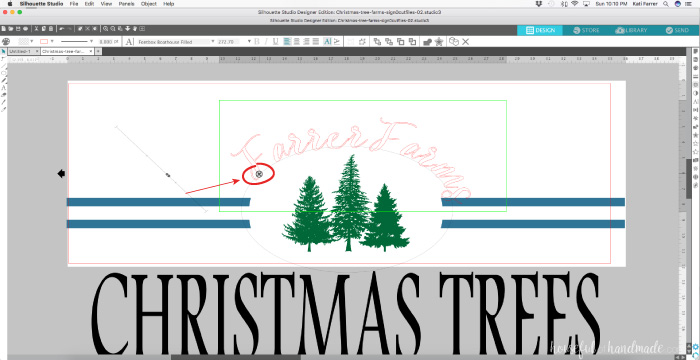
Grab the circle with the arrows in the corner of your text box and drag it to the line of the oval. Drag it along the line until the text is centered. If you are using a cursive font, you will want to merge the font before cutting so each letter is not cut separately.
Cut the design out of the vinyl. You will need to break it up into 3 sections. Weed out the inside of the design.
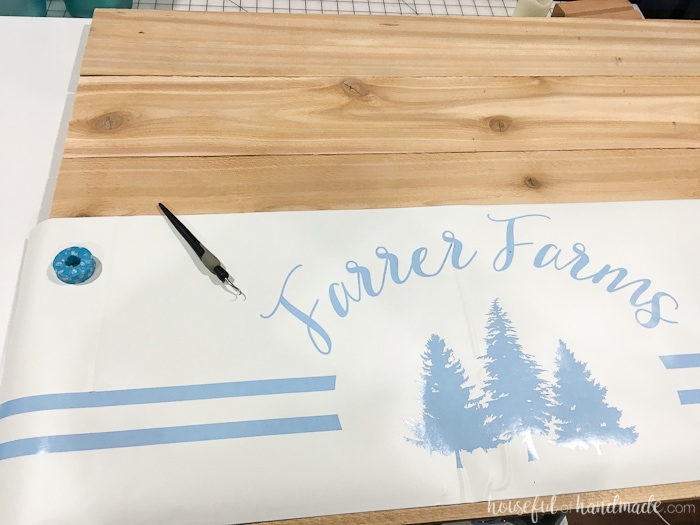
Using the transfer tape, transfer the vinyl to the front of the sign. Use the pouncers to paint the sign onto the stencil. The pouncers help keep the paint from bleeding under the stencils.
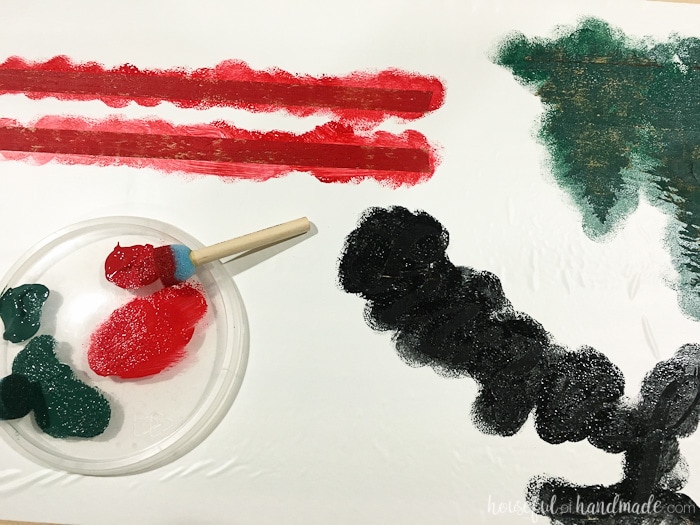
Remove the vinyl soon after you paint the design so that the vinyl doesn’t pull it up too.
Now all you need to do is hang your beautiful new Christmas tree farm sign! I love how it looks on my mantel, but now I need to finish all those little Christmas trees to really fill up the tree farm.
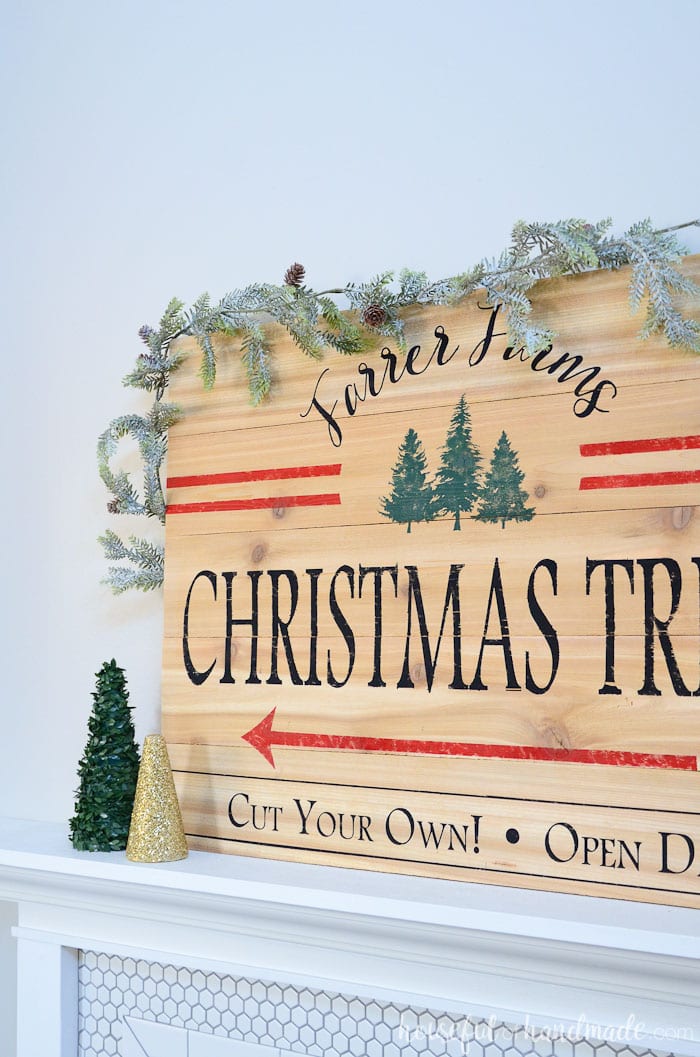
And I am playing around with adding garland to the sign. I am not sure how I feel about it yet? Maybe I’ll have to wait until the mantel is filled up with all the trees, then I can make a decision.

Christmas Tree Farm Sign
Materials
- (3) 5 1/2″ wide cedar fence pickets
- (1) 3 1/2″ wide cedar fence picket
- Wood glue
- 3/4″ wood screws
- Christmas tree farm sign cut files
- Vinyl
- Transfer paper
- Red, green and black paint
- Pouncers
Tools
- Saw
- Orbital sander
- Drill
- Silhouette Cameo (or other electronic cutting machine)
Instructions
- Build the sign by cutting the 5 1/2″ fence pickets into (5) 36″ pieces. Lay them down on the table (make sure the side you want to be the front is face down).
- Cut the 3 1/2″ fence picket into (2) 26 1/2″ pieces. Using wood glue and the wood screws, secure the smaller pieces to the back of the sign. Use 2 screws per board on each fence picket for a strong hold.
- Sand the front of the sign. I left mine a little rough so it looks more rustic, but it needs to be smooth enough for the vinyl to adhere smoothly so the paint doesn’t bleed.
- To add your own customized farm name, you will want to open the cut file in Silhouette Design studio. Using the Ellipse tool, create an oval around the Christmas trees on the sign.
- Select the Text tool and type out the name you want for your Christmas tree farm sign. Pick the font you want (I used Fontbox Boathouse Filled) and size it to fill the area.
- Grab the circle with the arrows in the corner of your text box and drag it to the line of the oval. Drag it along the line until the text is centered. If you are using a cursive font, you will want to merge the font before cutting so each letter is not cut separately.
- Cut the design out of the vinyl. You will need to break it up into 3 sections. Weed out the inside of the design.
- Using the transfer tape, transfer the vinyl to the front of the sign. Use the pouncers to paint the sign onto the stencil. The pouncers help keep the paint from bleeding under the stencils.
- Remove the vinyl soon after you paint the design so that the vinyl doesn’t pull it up too.
- Now all you need to do is hang your beautiful new Christmas tree farm sign! I love how it looks on my mantel, but now I need to finish all those little Christmas trees to really fill up the tree farm.
Don’t forget to check out the rest of the Christmas Decor tutorials to get your home ready for the season in no time!


