I am sooooooo excited to cross this project off my list, finally! I started building the console in June 2015. I got the console built and in the house pretty quickly (all except the drawers). Set up our Keurig and started using it.
Sadly, I was content with a 90% finished console and none of the other fantastic coffee accessories I had planned. I started working on lots of other fun projects. But the New Year lit a fire in me to finally finish everything. And I couldn’t be happier. Our coffee station is fantastic!
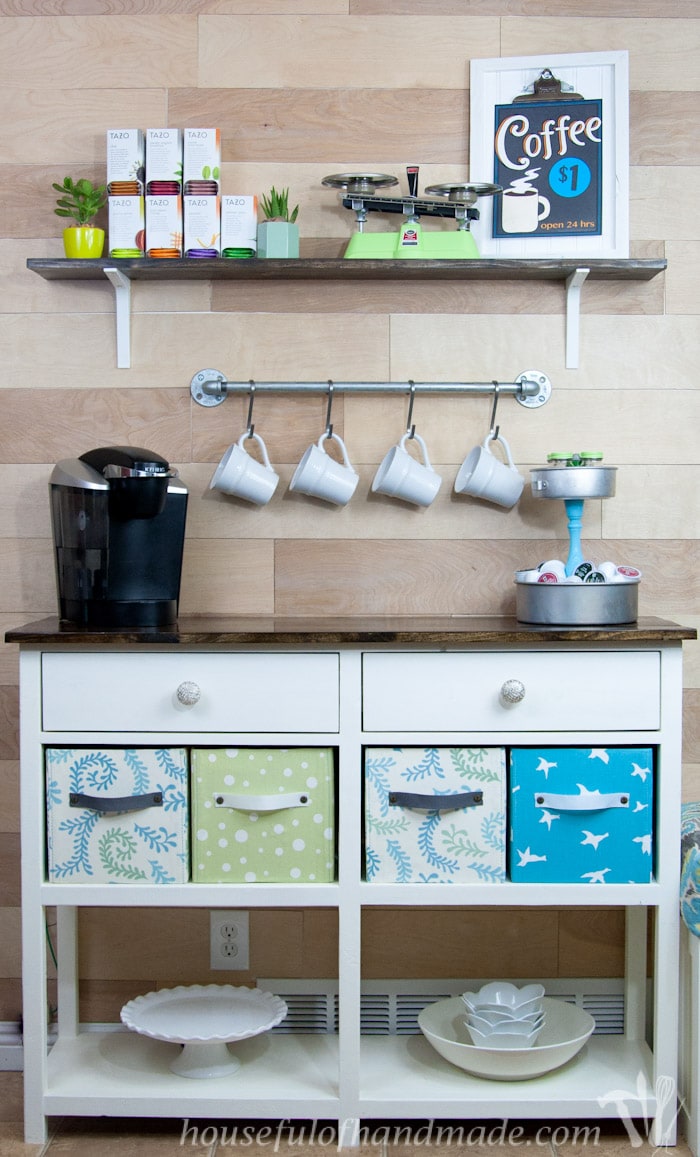
I’ve always wanted a cute little coffee station or coffee bar, whatever you want to call it. I love having my happy little place to brew the perfect cup of coffee. Being home with the kids all day, I need my cup of coffee to get me going in the morning and for a break in the afternoon.
This post may contain affiliate links. As an Amazon Associate I earn from qualifying purchases. Click here to read my full disclosure policy.
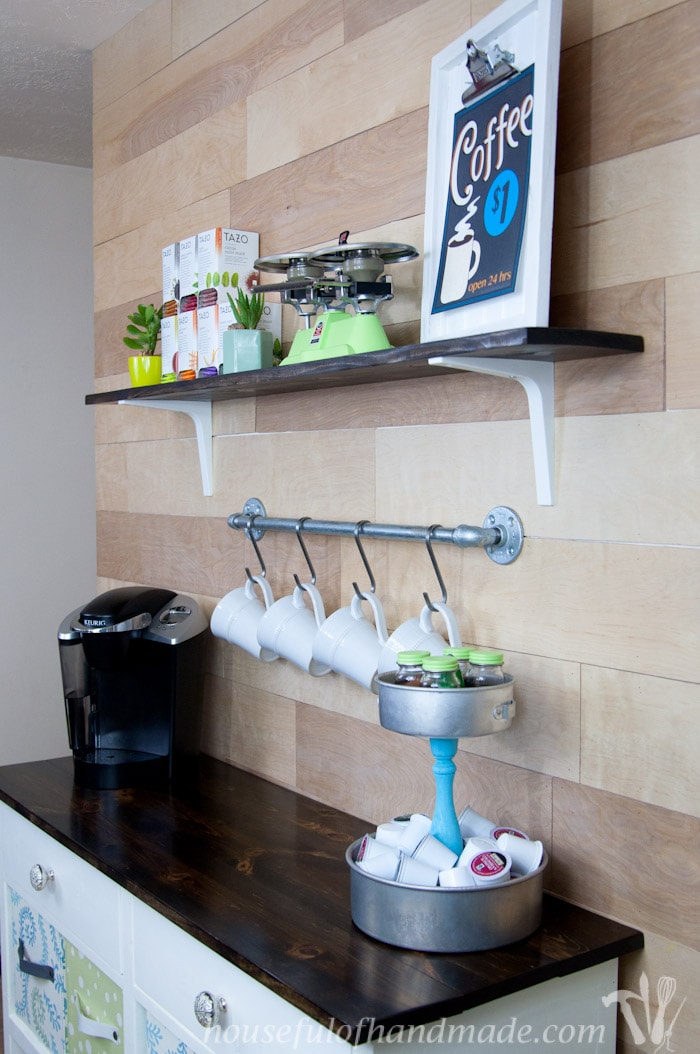
To design our perfect coffee station, I started with the console. I had a huge 14′ wall in our dining room with nothing on it! I added some style to the huge wall first by adding strips of birch plywood. You can see all the details here.
Then I added an 8′ built in bench with upholstered cushions for seating and secret storage. That left me with the perfect space for a 4′ console. I needed to fit a lot of storage into this 4′ space. So the console was designed to help with that!
I was super inspired by this console from Ana White and Jamie from That’s My Letter. Her console is beautiful, and full of storage. However, I needed to adjust it a bit for my space. I needed to have the bottom of my console open because I have an air return for our furnace that cannot be covered up.
I also prefer two larger drawers over 3 smaller drawers. So I took their idea and made it fit my space. And it fits my space perfectly! I will have the plans for my console ready to share with you next week.
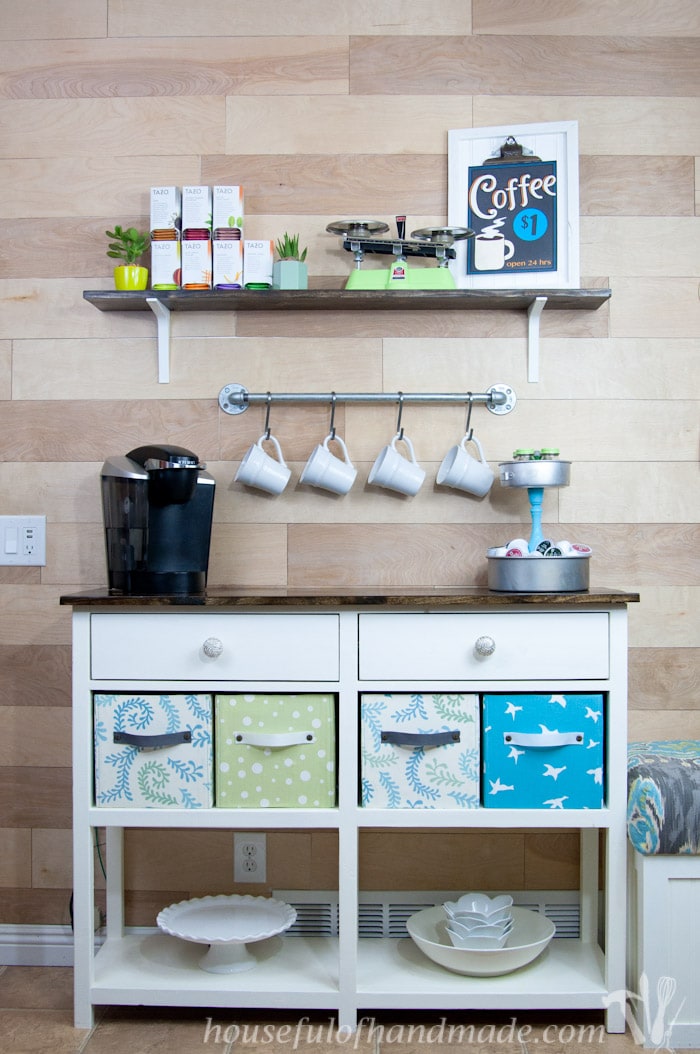
Because I needed an open bottom for my air return, I use the bottom shelf to store some of my pretty entertaining dishes. I love that I have a place to display them instead of just putting them in my cupboard.
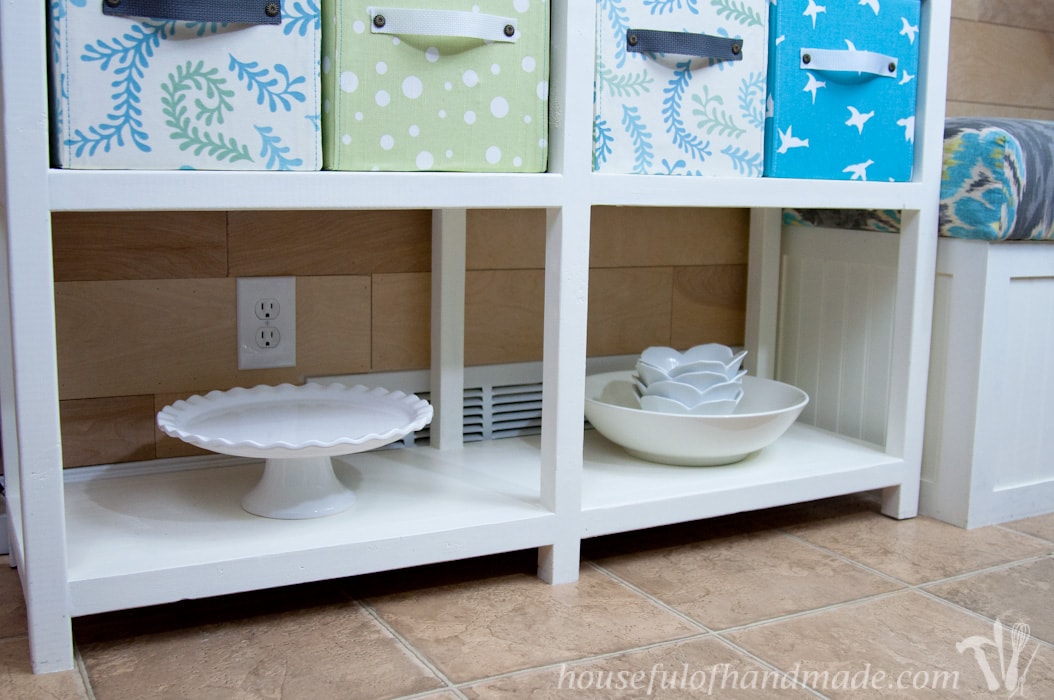
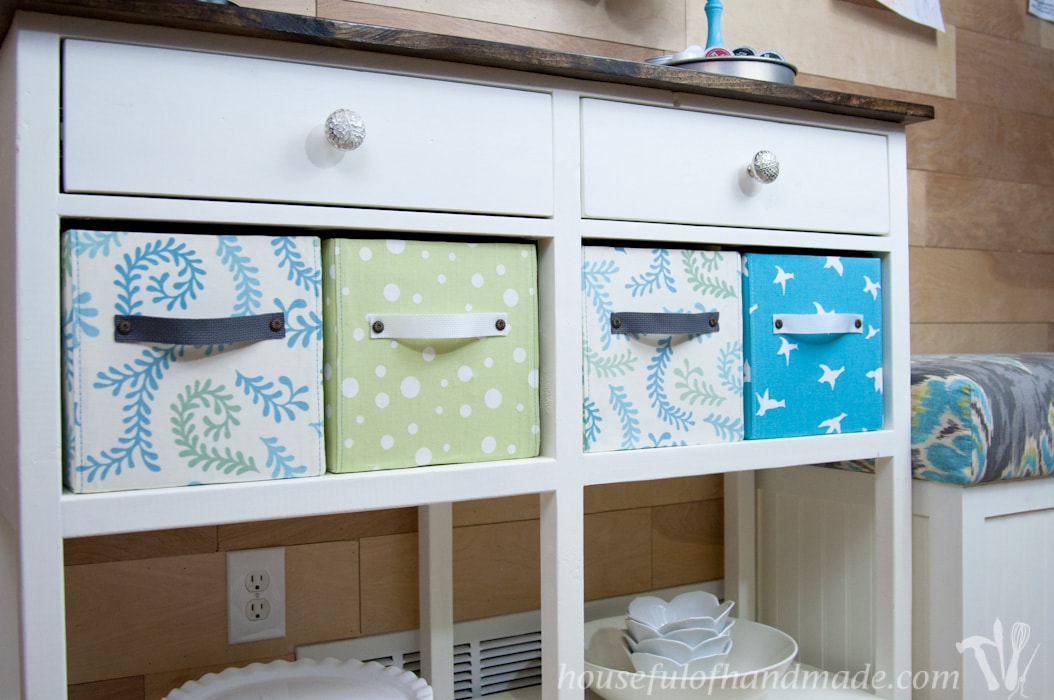
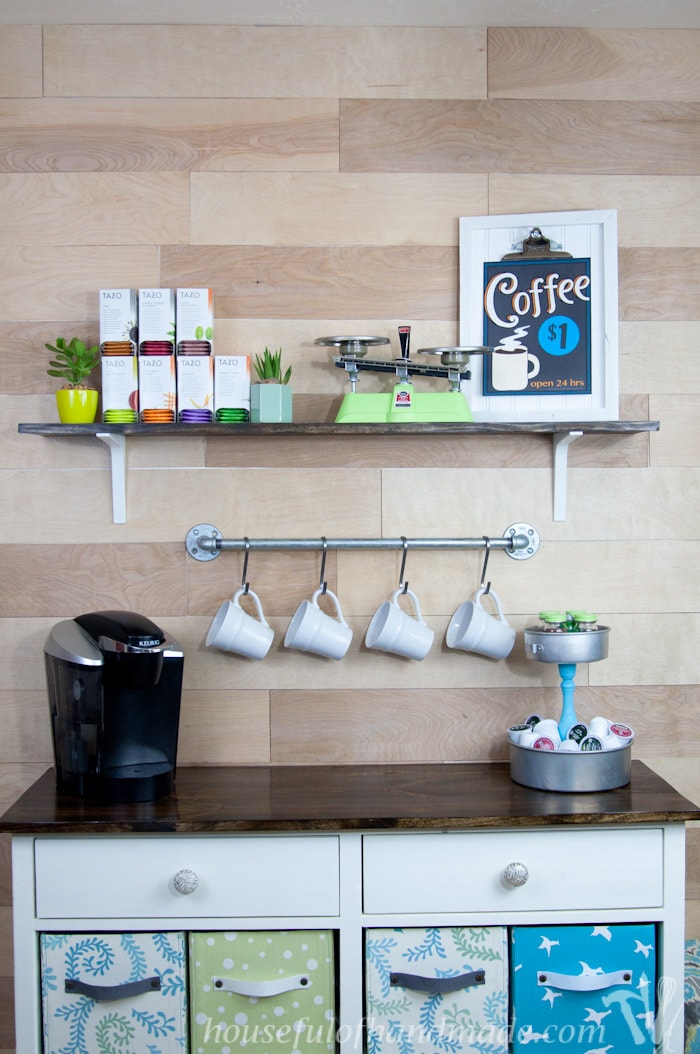
Then I added four fabric covered storage boxes. I wanted to add storage boxes instead of drawers to add some texture and color to the console. And these boxes are made out of cardboard boxes.
You’d never know unless you looked inside, they look so good and hold so much! We use one to hold our wireless router, one for extra K-cups (we buy in bulk), one for coffee syrups and cocoa packets, and the last one for hiding things when people come over (I like to fake a clean house). These boxes were easy to make, check out all the details here.
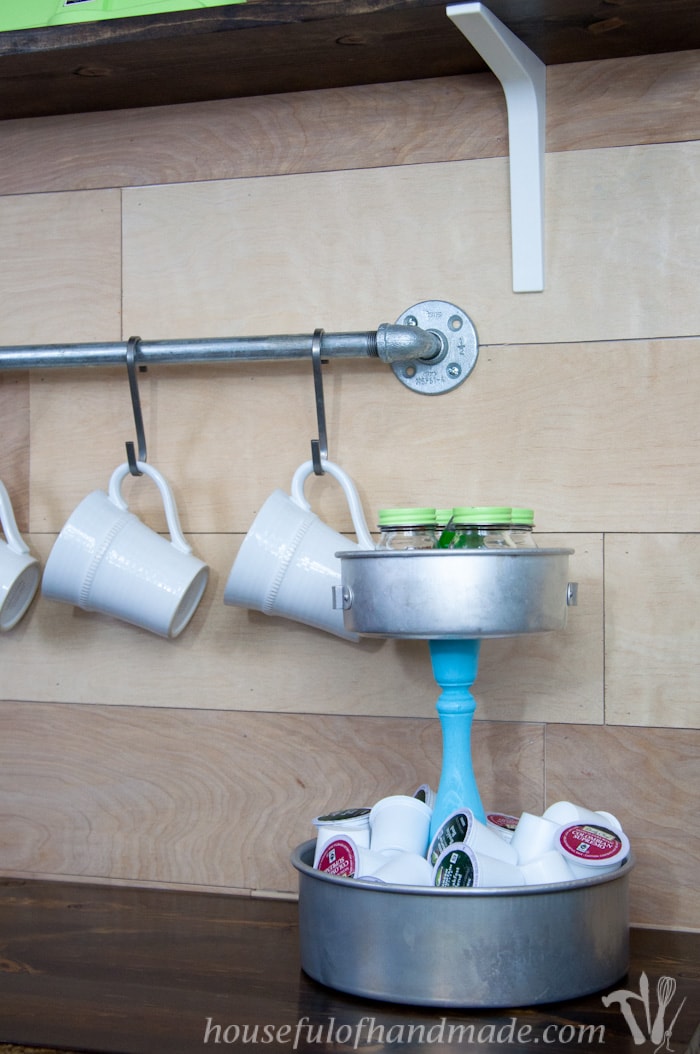
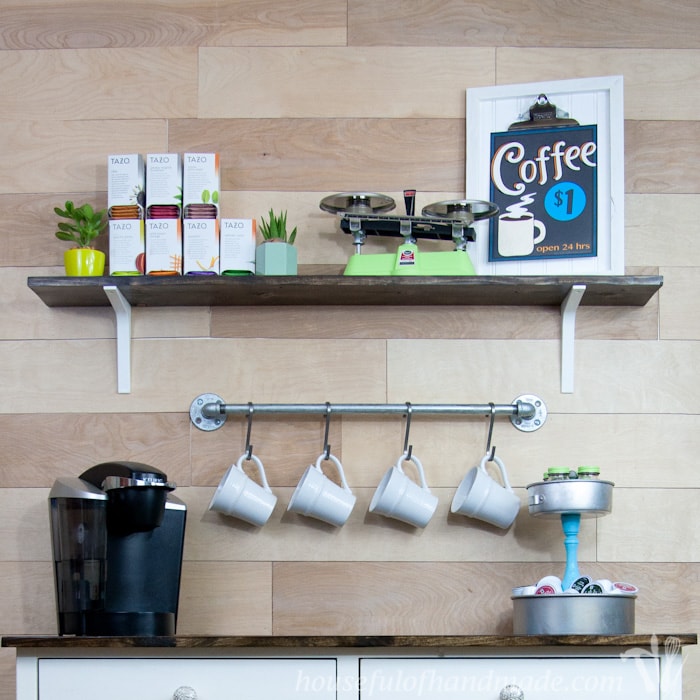
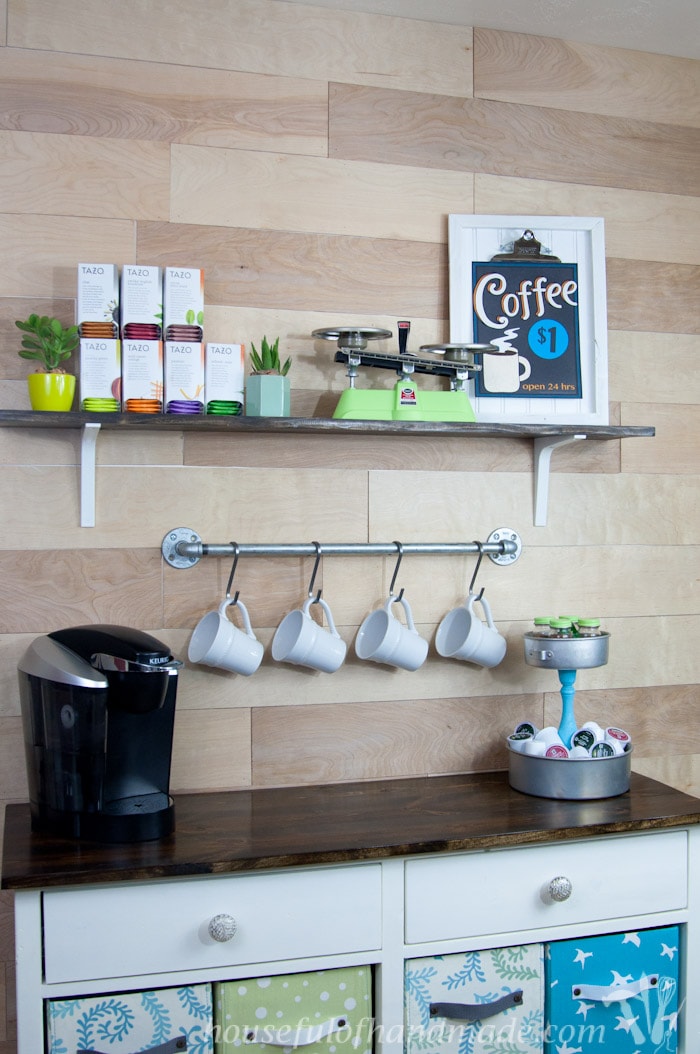
To top off the console, I needed ways to keep my coffee accessories displayed and organized. I started with this rustic K-cup holder made from thrifted cake pans. And the top is perfect to hold our spice shakers filled with cocoa, cinnamon, nutmeg, and sugar. Perfect for a gourmet cup.
I wanted a way to keep my coffee mugs close by. I initially thought about using some wood, but the whole wall was wood and the console is wood. None of my ideas looked right, too much wood. I was stumped, but one night it came to me (night time is always best for thinking).
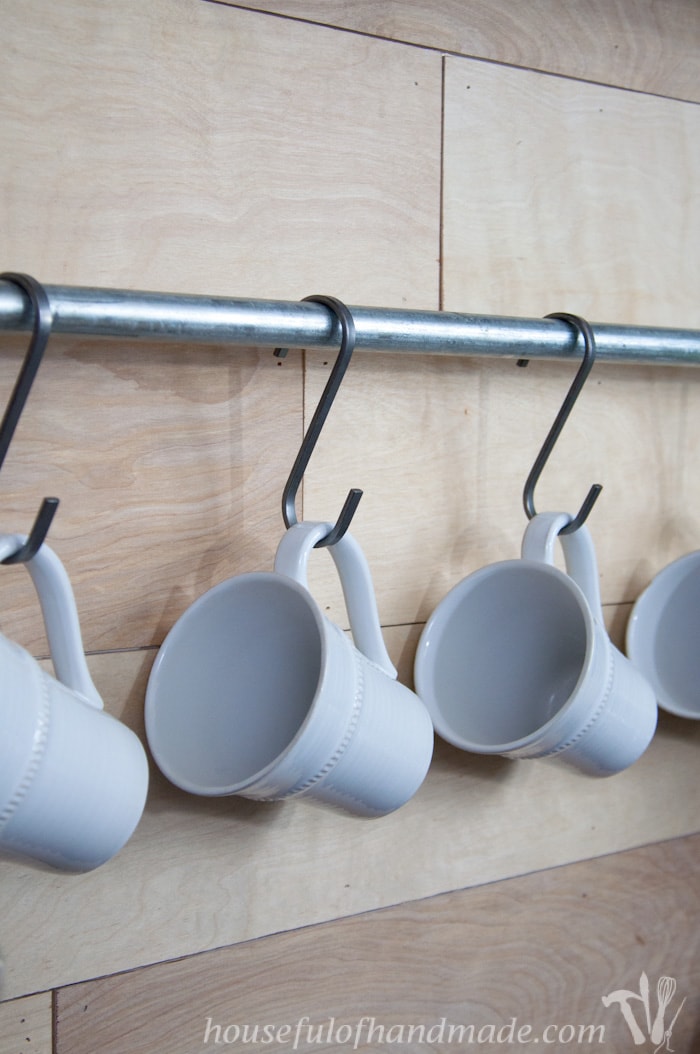
I used the same plumbing pipe I used to make the curtain rods in the dining room and made a smaller industrial-style rod and hang our cups on it with S-hooks.
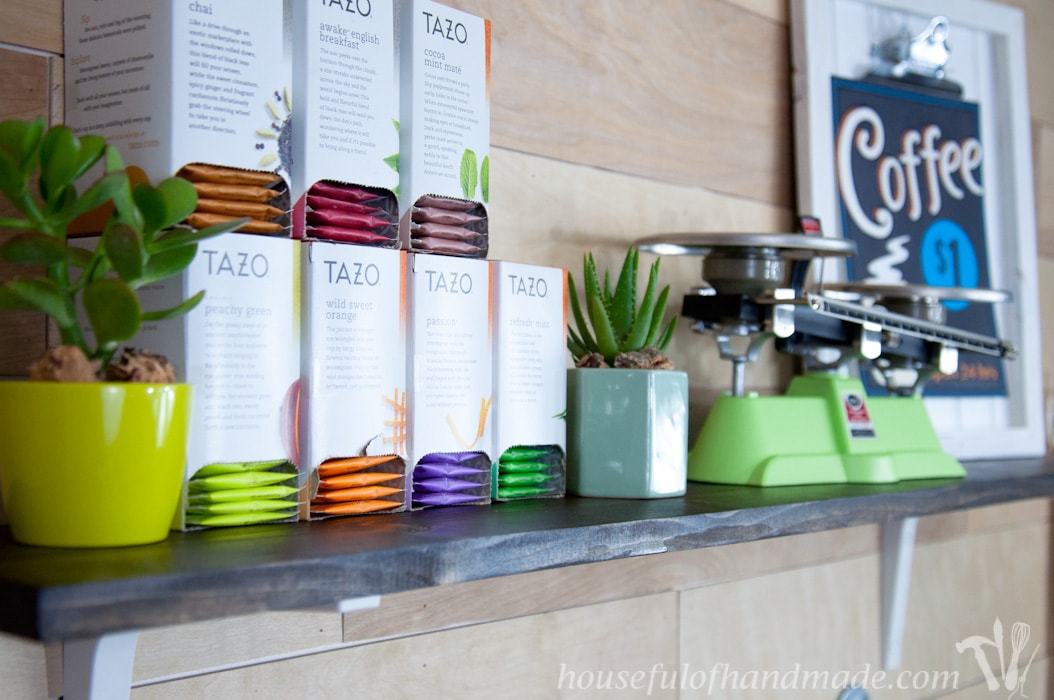
Lastly, I added a shelf above the consoles for some decor and a little more storage. The shelf is a great place to decorate for the season, or I can use it to store tea and cocoa.
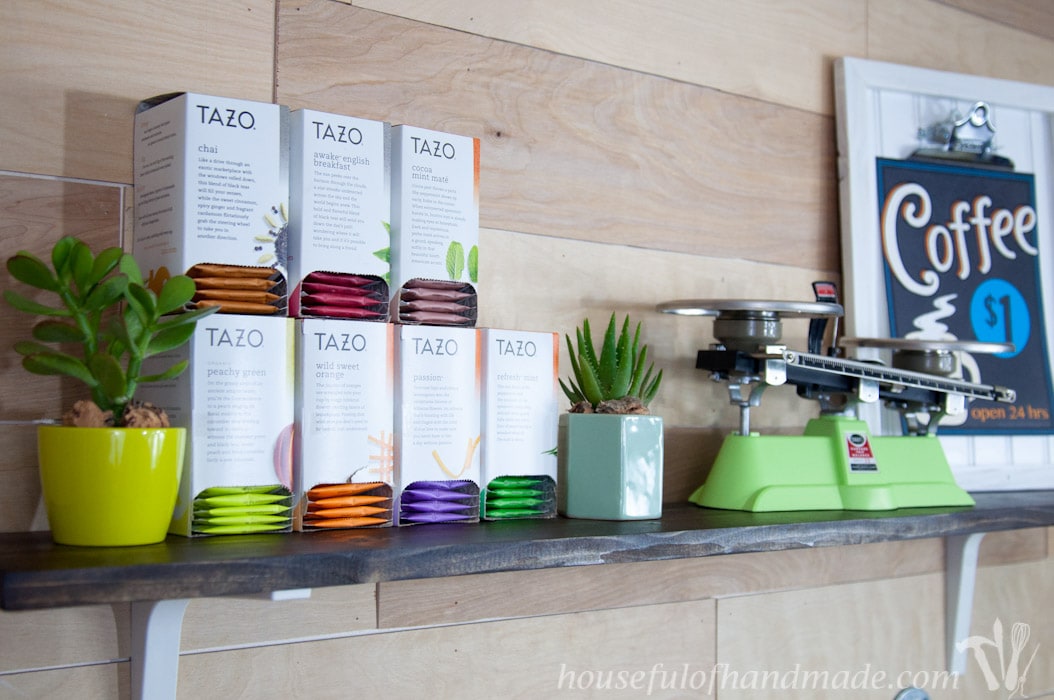
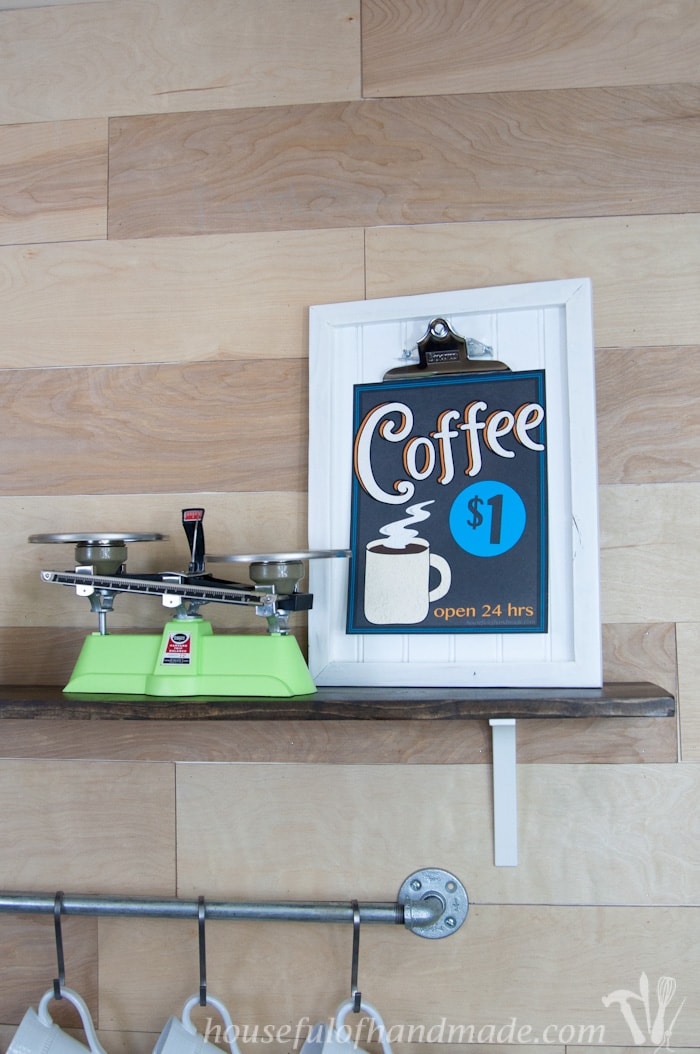
To decorate the shelf, I made this fun, vintage inspired coffee sign. I shared it as a free download here. And it works perfectly displayed in my clipboard picture frame.
I found this fun school scale a while back, then gave it a little update by painting the base with a bright green. It’s crazy how a little paint can change something so much!
Now I have my happy little space. The first place I go in the morning to get me going for the day.
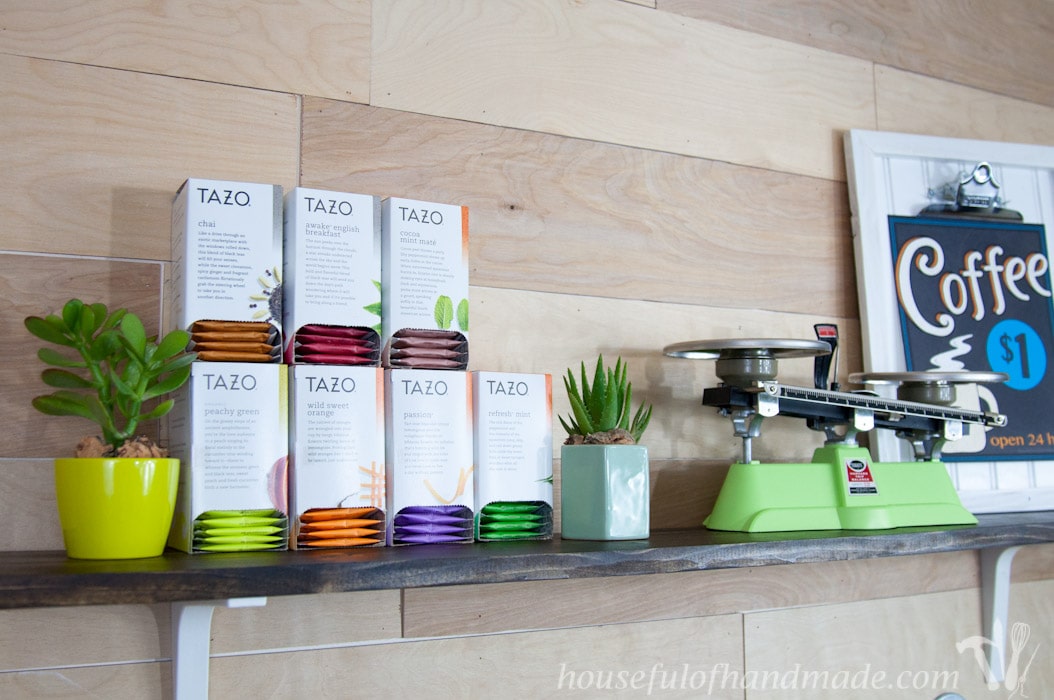
** UPDATE: I have the plans for the console table available now. Check them out here!**
Welcome to my happy place 🙂

