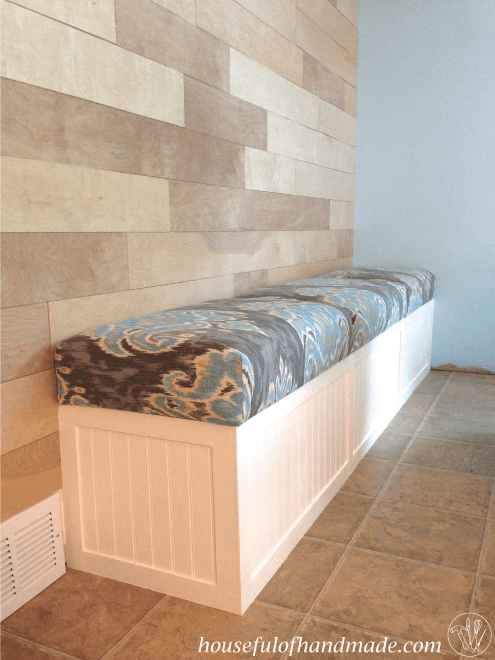
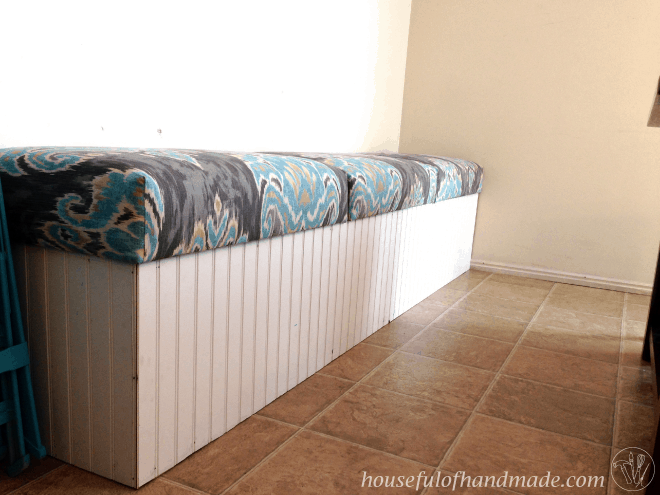
The dining room built in bench with storage is finally done!!! I started this project in January, before I started blogging, and it has taken too long to finish… but it is done now.
I actually started blogging about all my projects so that I would have to finish them. Before I started documenting things here, my pattern was: get excited about a new project, work really hard to get a lot of work done, get it almost done, then get tired and stop.
This resulted in a lot of mostly done projects around the house. They are all in a usable state (for example the fire place mantel is up but no tile or paint), but not actually finished.
This post may contain affiliate links. As an Amazon Associate I earn from qualifying purchases. Click here to read my full disclosure policy.
So the blog is doing exactly what I needed, getting me to bite the bullet and FINISH! My husband should be proud 🙂
Benefits of Built in Benches in the Dining Room
You might be wondering, are dining benches practical? For our family, that’s a HUGE yes! It makes it so easy to add extra people to the table when we are entertaining.
And the storage, all that storage for items you want close but don’t use all the time. So yes dining room benches can be very practical. I obviously think so!
Our built in bench is 8 feet long, 22 inches tall with the cushion, and 18 1/2 inches deep.
Plus, I had almost all the supplies I needed in my stash of stuff I was to afraid to get rid of. So making the large built bench was super budget friendly too.
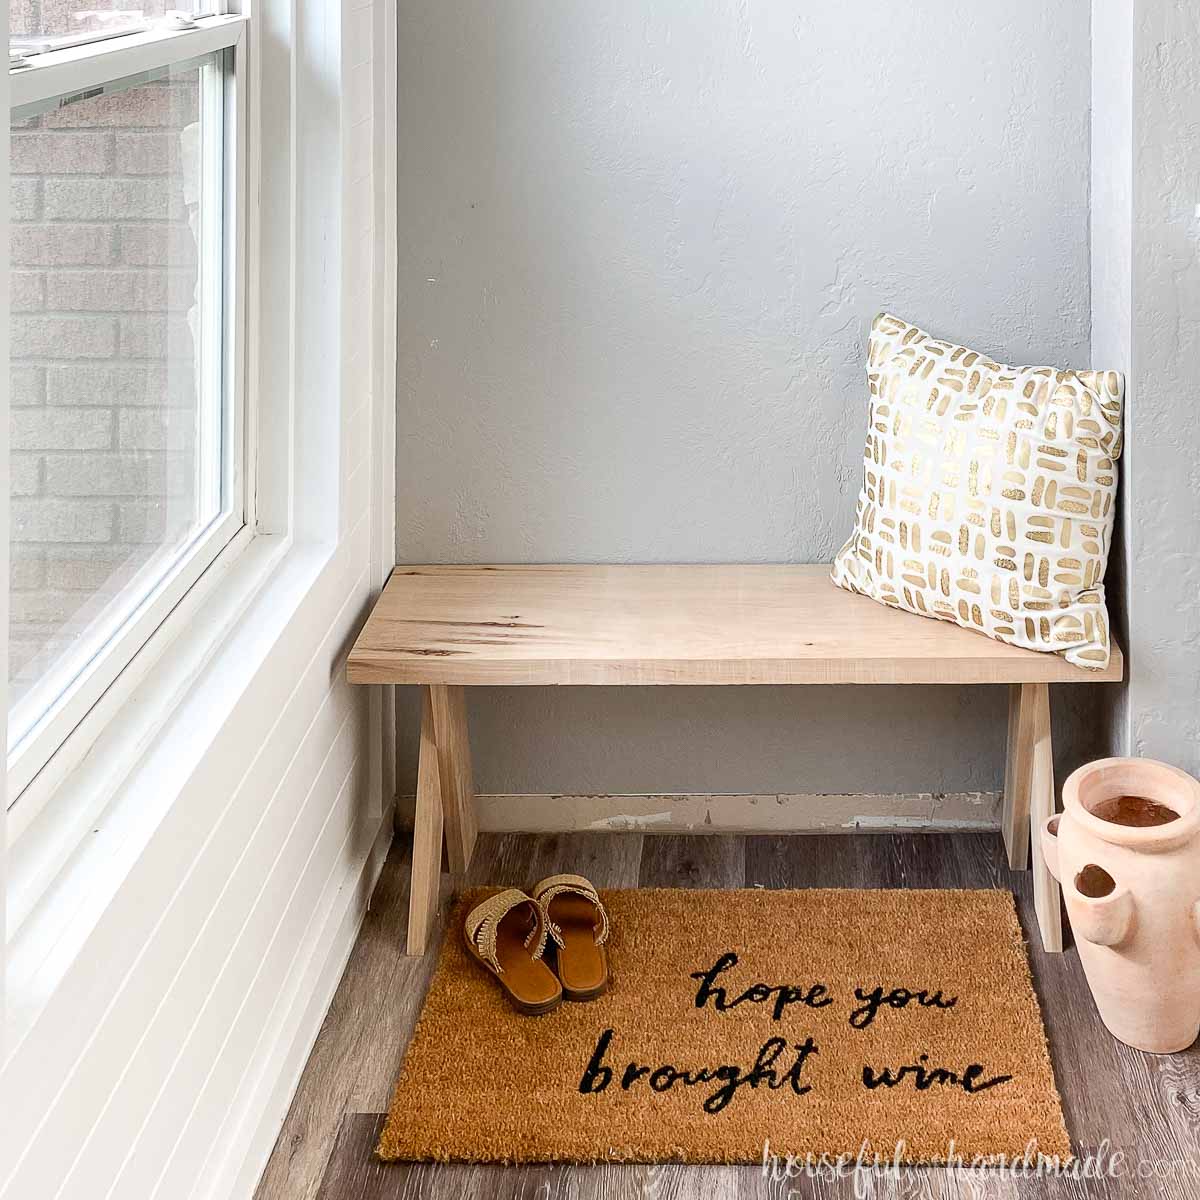
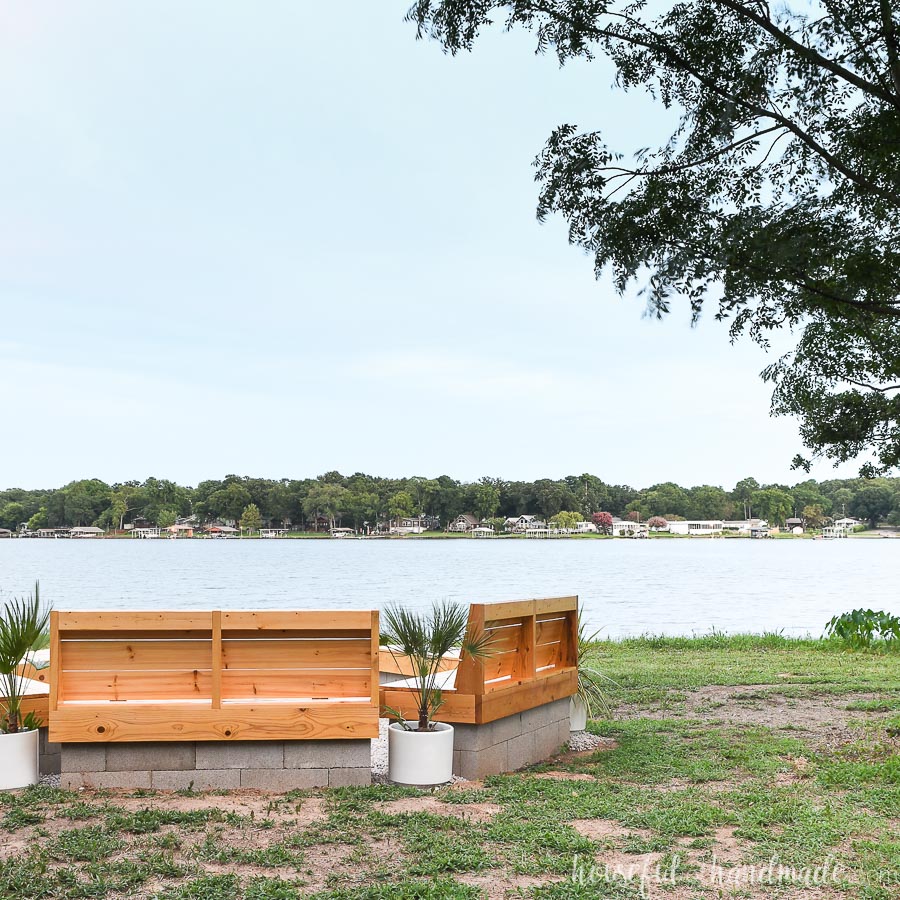
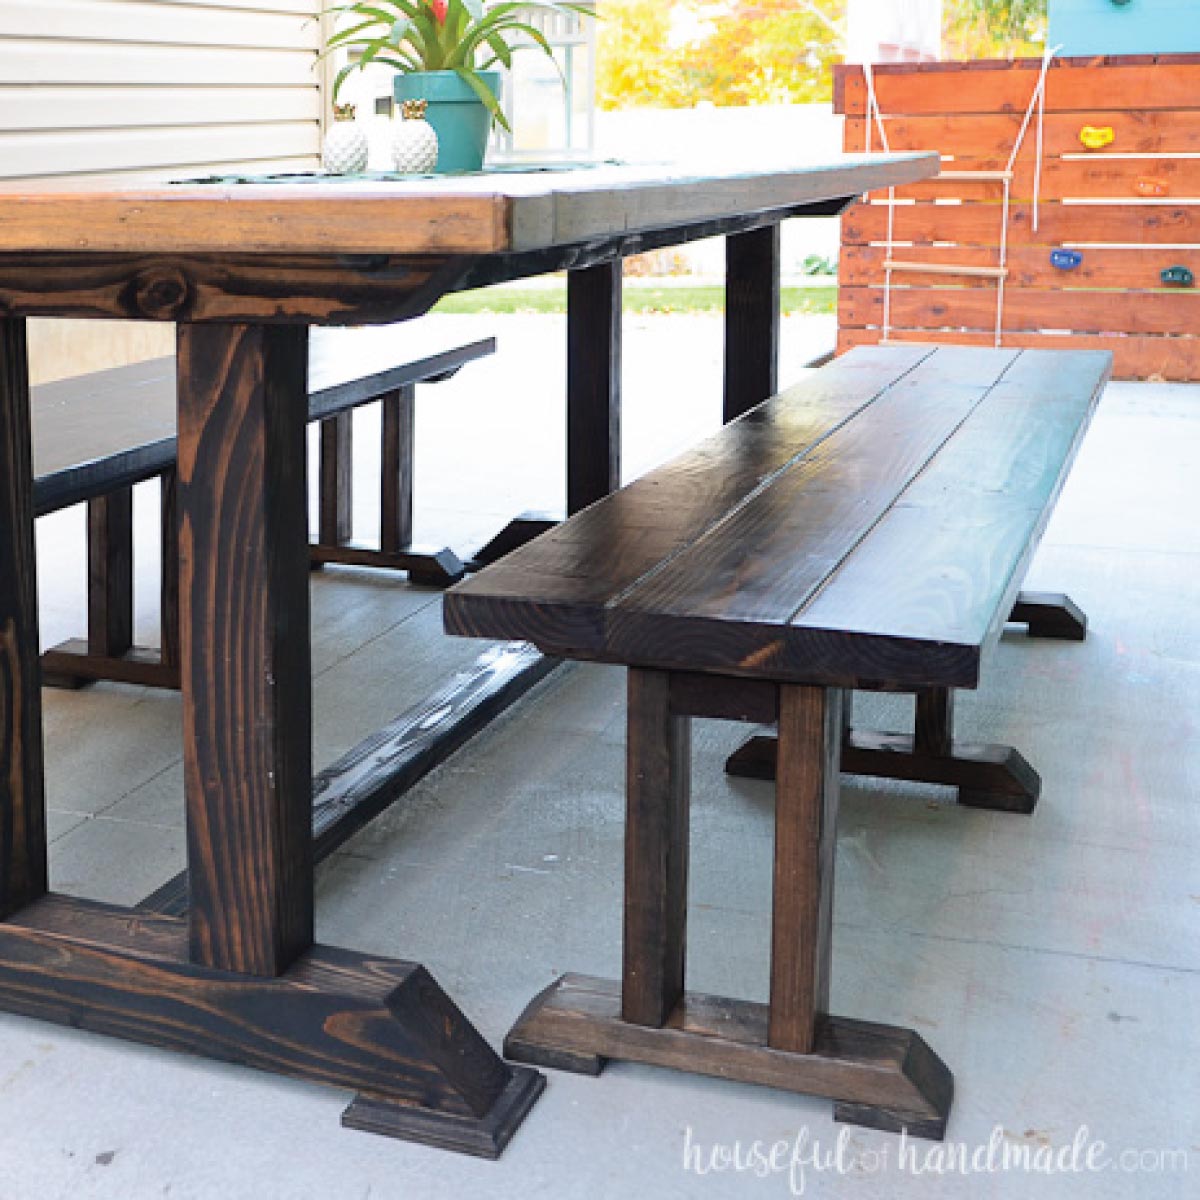
Or if you just want a beautiful bench without the extra storage, this simple X-leg bench is my favorite. Or build these dining table benches to easily add tons of seating for your large dining table.
More DIY Benches
Need more benches to build? Check out these other beautiful DIY projects for every room.

How to Build a Built in Bench
Tools & Materials
Recommended Tools:
- Miter saw
- I recently upgraded to this larger sliding miter saw (watch for it to go on sale), but all my projects before were built with this inexpensive miter saw that I loved.
- Table saw or Circular saw with guide track
- Pocket hole jig
- Kreg Adaptive Cutting System (ACS)
- Drill
- Impact driver (optional, but I love not having to switch bits with the drill)
- Speed square
- Brad nailer
- Level
- Sander
- Stapler
Supplies:
- PDF Build Plans
- Wood products:
- (7) 2×4 boards, 8′ long
- (3) 2×2 boards, 8′ long
- (1) 1/4″ beadboard, 4×4 sheet
- (1) 1/4″ MDF, 2×4 sheet
- (1) 3/4″ plywood, 2×8 sheet
- 2 1/2″ pocket hole screws
- 5/8″ brad nails
- 1 1/2″ wood screws
- Light duty staples
- 8′ of 18″ wide 4″ deep upholstery foam
- 3 yards of upholstery fabric
- 3 yards of batting (use what you have, I used an inexpensive medium loft polyester batting)
I have updated the plans for this bench and created a printable PDF for sale. The bench plans include step-by-step 3D drawings of each step.
The design is improved on to create more storage and use less material, but still have a very sturdy and functional bench! It also includes instructions for if you bench is centered in a room and not up against a wall.
STEP 1- Attach 2x4s to Wall
Since I started this project before I started blogging about our adventures, I don’t have pictures for everything. But I will try to explain what I did for you.
Start by finding the studs in the wall and mark where they are. Anything that is built in needs to be secured to the studs.
Cut four 2x4s to 95 1/2″ long. This will make the final dimension 8′ after the 1/4″ bead board and 1/4″ trim.
Measure 16″ up from the ground and using a level, draw a line.
Secure one of the 2x4s to the wall at the studs so the top of the board was level with the line. Use 2 1/2″ long wood screws so they are long enough to go through the 2×4 (1 1/2″ thick) and sheet rock and be secured into the stud.
Next secure one of the 2x4s to the wall along the floor line. I didn’t have baseboards in the dining room yet because I ripped those out to update a long time ago. If you have baseboards, you will have to remove those first.
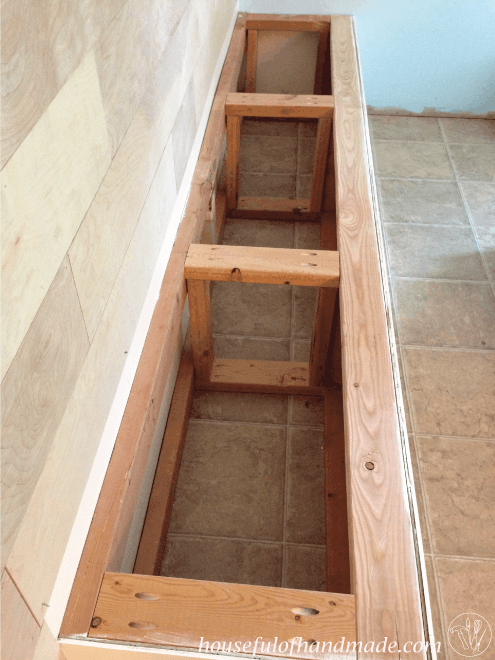
STEP 2- Build the Bench Frame
Mark the 2x4s that are attached to the wall in the middle every 32″. This will create 3 equal sections.
Then cut twenty 13″ pieces out of the other 2x4s. Using a Kreg jig, drill 2 pocket holes set for 1 1/2″ thick material in each end of the 20 boards.
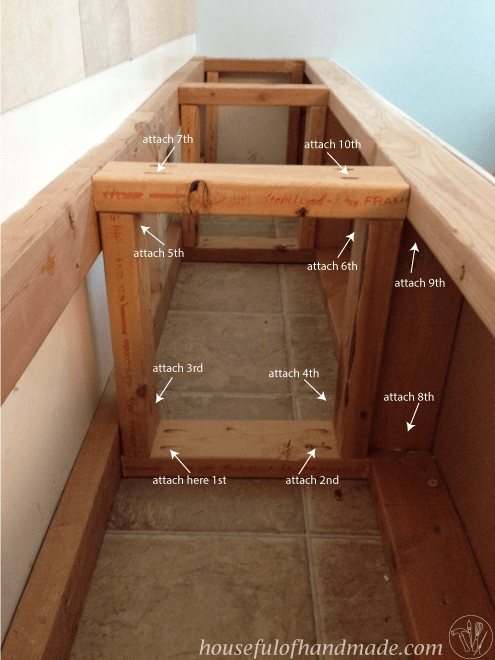
Use 2 1/2″ long pocket hole screws to attach the 13″ 2x4s into a square frame in the order below, attaching the other 96 1/2″ boards when needed.
The other 95 1/2″ boards are not secured to the floor or wall at all, but they are very secure with the 2×4 frame and the pocket holes.
The middle frames were attached centered at the 32″ marks. The openings in the storage will not be the same size, but the cushions and frame will all line up at exactly even so that was more important to me.
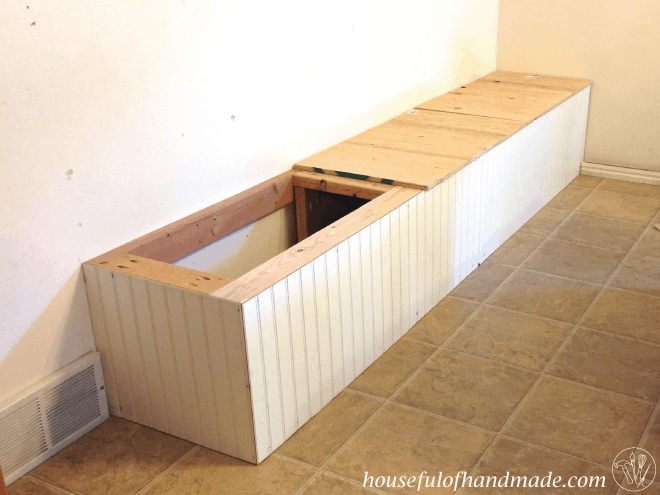
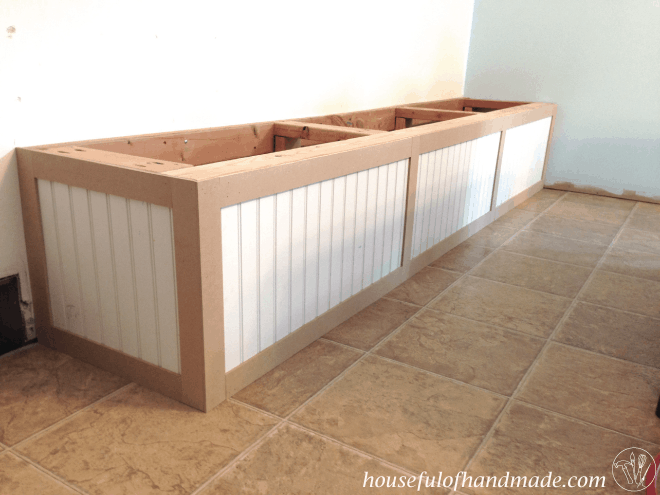
STEP 3- Finish the Outside of the Bench
Once the frame is done, wrapped the outside of the frame with the beadboard.
Cut two 4′ x 16″ pieces for the front and one 18″ x 16″ piece for the exposed side. Secure it with nails into the 2×4 frame.
I didn’t have a nail gun, so I used finishing nails to hammer it in a couple places, I didn’t worry about it being too secure since I would be adding trim around it and those nails would secure it better for me.
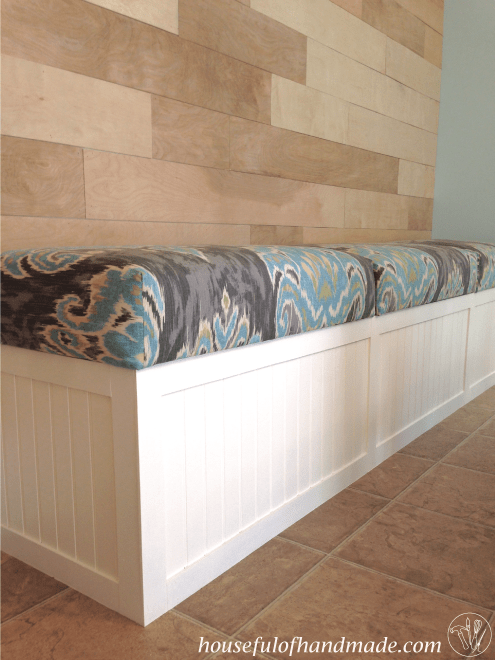
STEP 4- Make the Cushion Seats
Cut 3 pieces of 3/4″ plywood for the storage bench top. Each piece should be 18 1/4″ x 32″.
I chose to just upholster the bench tops instead of making cushions that were removable. My kids LOVE to remove cushions and throw them around and I am sick of putting them back all day. And it was easier to upholster the bench top instead of sewing cushions 🙂
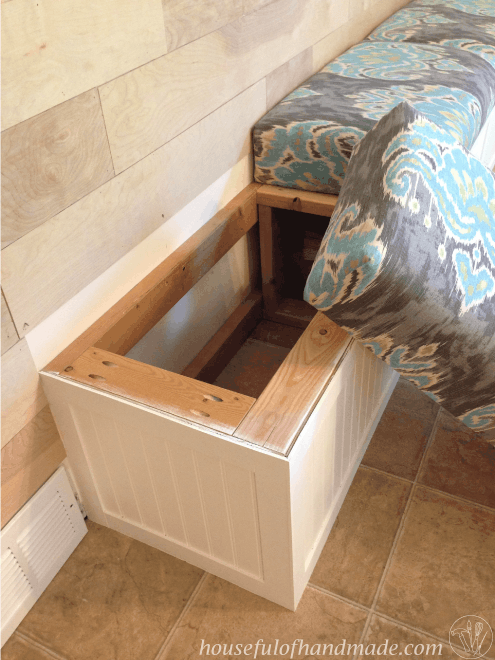
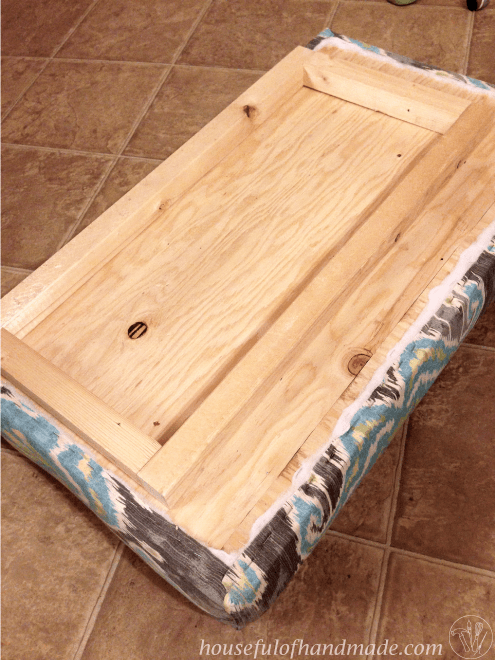
Because I wanted to upholster the bench top, I was not able to hinge the top of the bench so I built a simple square frame to keep the bench top secure and stable.
For the frame, measure each opening exactly, then subtract 1/4″ off each side.
Use 2x boards to make the frame, then secured it to the bench top with 1 1/2″ wood screws. Attach the screws from the top of the plywood into frame before upholstering. This way the screws are hidden under the cushion.
Also, since upholstery foam is very expensive, I have found a great way to save money is to use old couch cushions.
You can save the cushions from couches people are throwing out or buy an old one for cheap. Just pull the foam out and throw the rest away.
That is how I got the foam for these. I have been storing these cushions from my sisters old couch that was thrown out for a couple years. Now they are a new place to sit instead of a pile of crafting junk in the corner of the basement!
I did sew the corners of the cushions so that they fit nice and tight.
For each cushion, cut a piece of fabric 46″ x 32″. Then fold the corners at a 45 degree angle and sew down the line to create a bow.
Place a 32″ x 18″ piece of foam on top of the bench plywood. Cover it in a layer of batting, then wrangled the top on it.
I purposely made it fit tightly, no extra space for batting, so that it would look nice and clean, but it does require a little work to get it on.
Once the cushion is all arranged, pull tightly and use the staple gun to secure it. Start in the middle on the front, add a few staples. Then pull tight to the middle back and secure with a few staples..
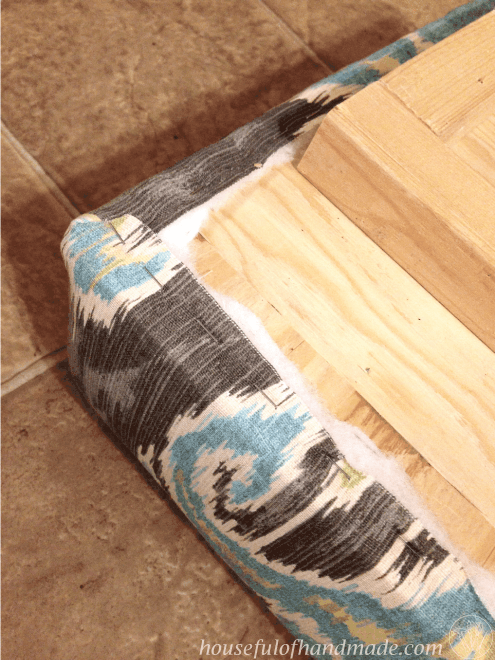
Do the same side to side and then keep working around the outside keeping the cushion pulled tight and even as you staple. Trim off the extra fabric and batting.
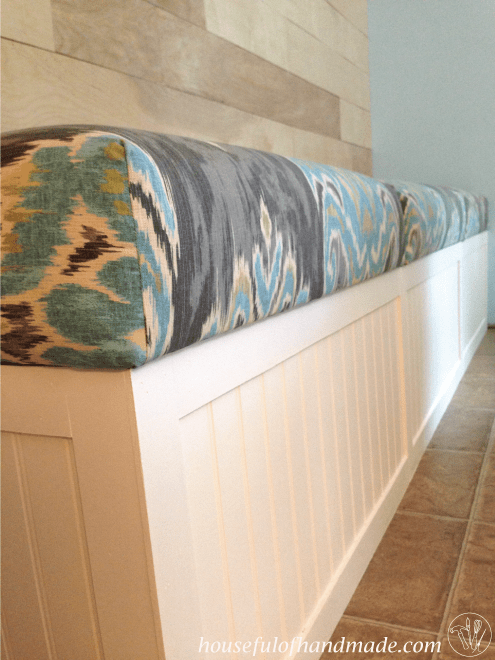
You can place the cushion on top of the built in bench now, and take a break. That’s what I did.
I wanted to paint and put up the feature plank wall before I trimmed out the bench and painted it. So it took 3 months before I could finally say it was done! But it was worth the wait.
STEP 5- Trim Out the Bench
Rip down the 1/4″ MDF into 2″ strips. I used my table saw to do this but you could also use a circular saw with a rip fence.
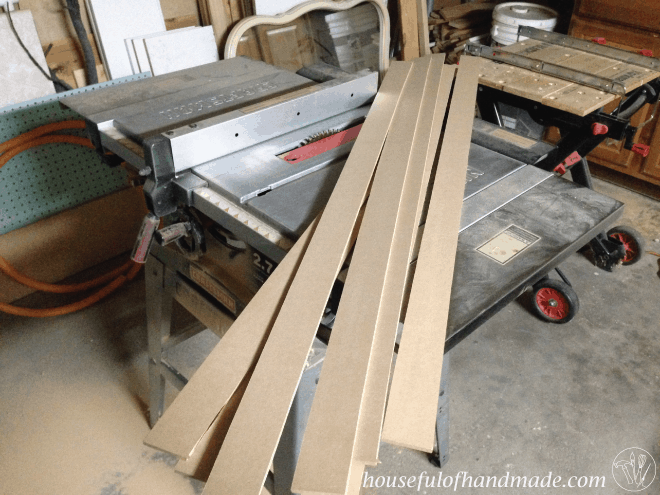
You could trim it out with anything. If you don’t have a way to rip down boards, feel free to use 1×2 or 1×3 boards (they are 3/4″ thick and 1 1/2″ or 2 1/2″ wide).
But I wanted a very small depth to the trim and the MDF was easy to cut, had no splintering or splitting, and painted beautifully.
Start by scribing the pieces that needed to go up against the wall so they will fit perfectly (except at the bottom because that will be covered by the new baseboards. I talk about scribing in the feature plank wall post if you need some guidance.
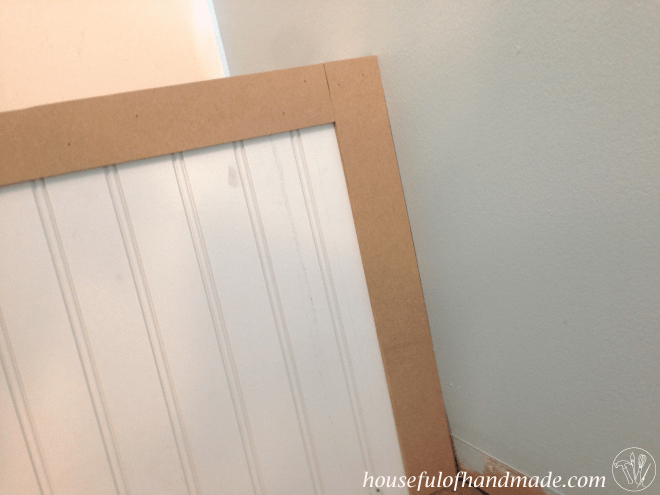
Attach the trim pieces with a brad nail gun and 1″ brad nails.
Then add the rest of the vertical trim pieces, taking care at the corner to line it up beautifully.
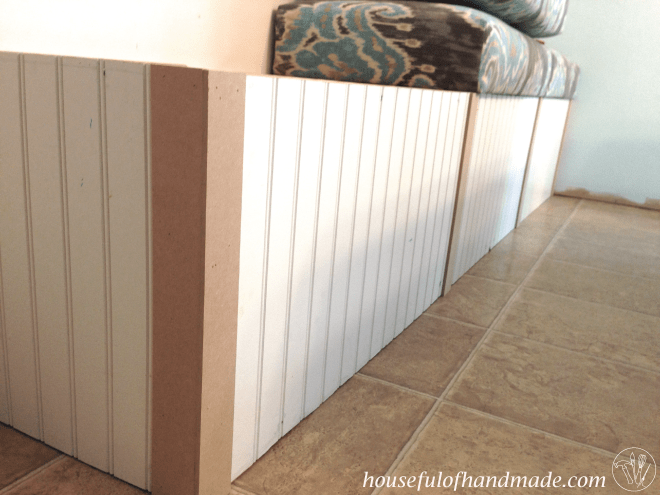
To add in the horizontal trim pieces, measure carefully and cut each piece to that measurement. It doesn’t matter how careful you are, you will never have the pieces all be the same size.
Fill in any nail holes with wood putty and then sand the surface smooth.
STEP 6- Paint the Built in Bench
Now it is time for paint!
I love to build but I am not the biggest fan of finishing. But a girl’s gotta do what a girl’s gotta do, so I toughened up and grabbed the paint brush.
Learn how to paint wood furniture and get a smooth finish on wood with all my best tricks for getting a professional paint finish.
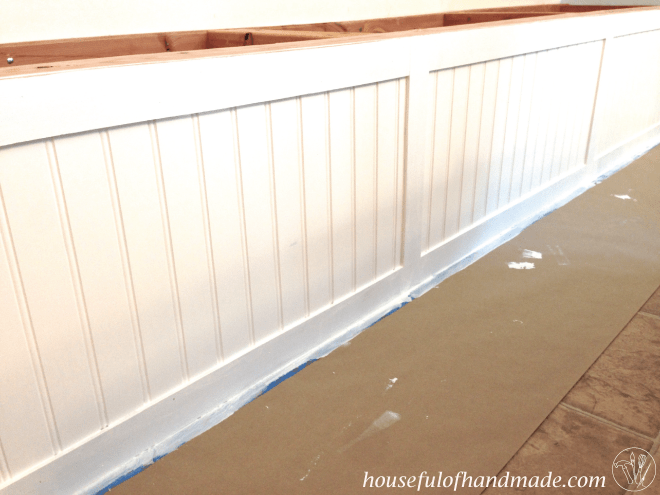
Use painters tape and brown paper to protect the walls and floor around the built in bench.
You will need a paint brush to get into all the grooves of the beadboard and trim. Then I love using a small foam roller to get a smooth finish on the top after cutting in around all the details.
It took 2 coats, but the final project is perfection!
Premium plans include:
- Recommended Tools
- Shopping list
- Easy to read cut list table
- Cut diagrams
- Step-by-step instructions with 3D renderings
- Helpful resources
- BONUS: 3D SketchUp file
I love all the built in storage I have inside for items I don't need to access regularly. It really holds a lot.
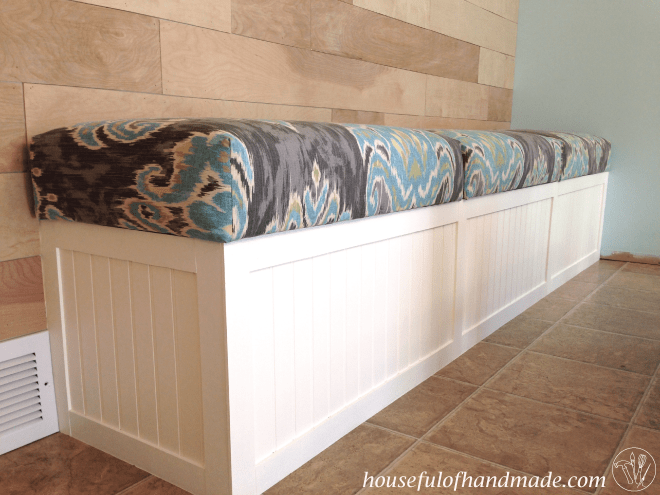
And when we have lots of people over, we have extra seating while mingling and cooking. And the table can be pushed closer to it so we have extra seating at the table for big dinner parties, too.
We've got the perfect dining room for entertaining, and that is very important for our family. We love to have people over to eat and this built in bench makes it so much easier!
And I can load up the storage with all my entertaining supplies!
One step at a time and I will finally have the finished dining room I dream about!
