Store you iron and ironing board away in style with this easy to build iron holder.
I am excited to share another DIY that I made for my office & craft room remodel. When you make over an entire room for only $100, you have to creatively DIY pretty much everything in the space!
Luckily, I made a couple quick DIYs that have a huge impact on the room. This DIY Iron Holder with Ironing Board Storage is one of those super quick DIYs but I love it so much.
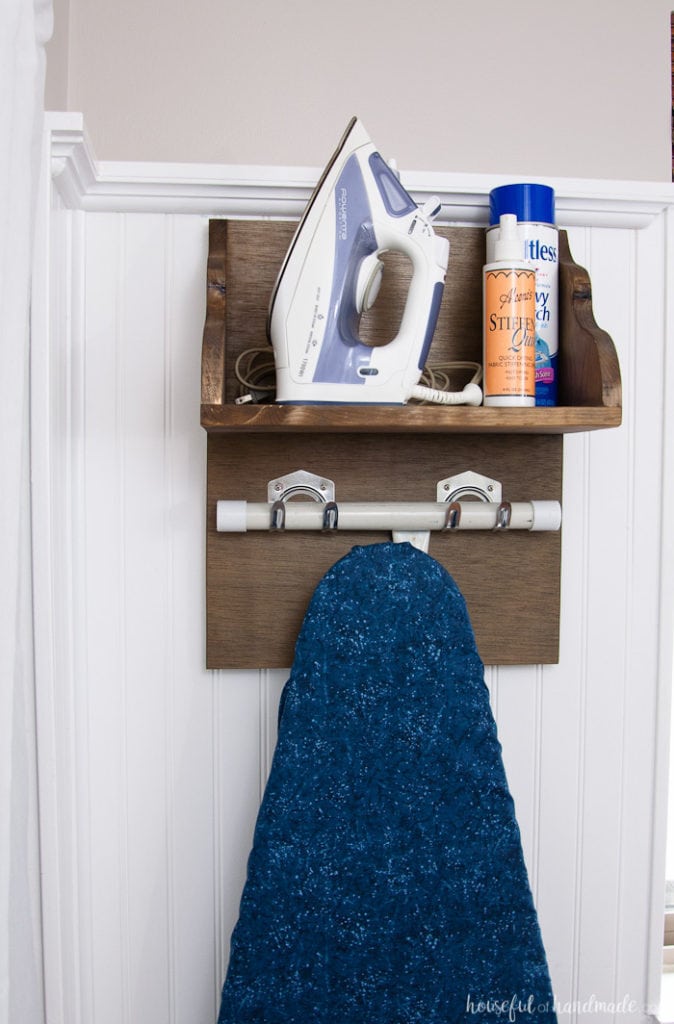
I keep my iron and ironing board in my craft room because I use it most when I sew. But I wanted a place for it to live.
This post may contain affiliate links. As an Amazon Associate I earn from qualifying purchases. Click here to read my full disclosure policy.
Before, the ironing board was just slid to the side of something, or leaned agains the wall. And sadly my iron was passed around from surface to surface depending on where it wasn’t in the way. If I needed to iron something, it was a treasure hunt to find things first!
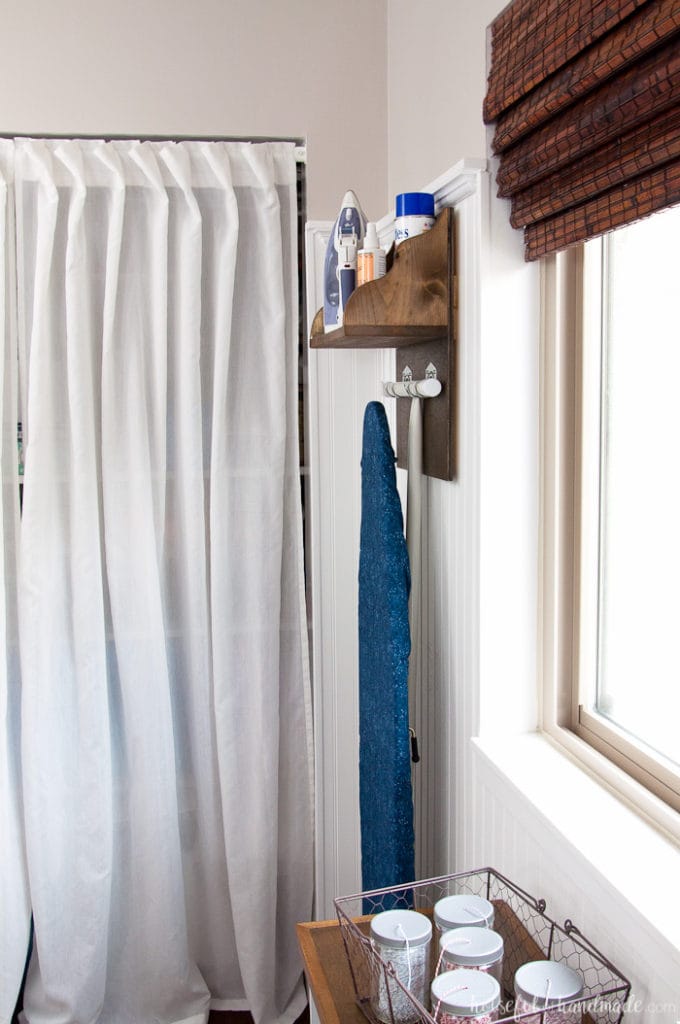
Part of my plan for redoing the office & craft room was to make things more efficient. So making this DIY iron holder means I can actually find my iron and ironing board when needed. How’s that for efficiency?
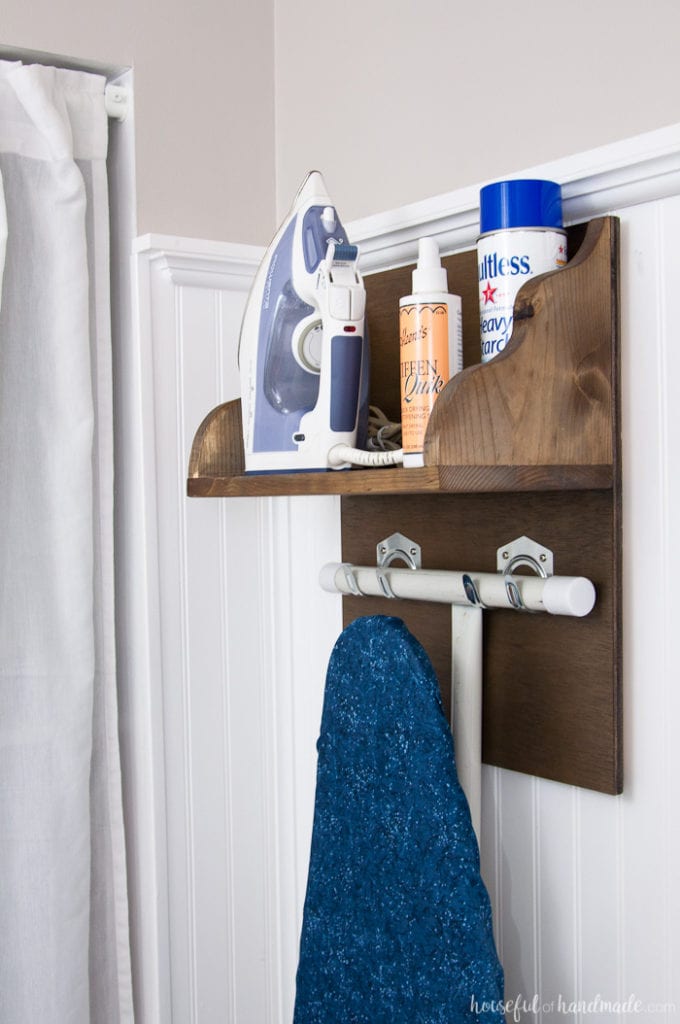
And this is such a simple DIY. It does require some basic woodworking skills, but is great for a beginner.
Also, you can buy 2’x4′ pieces of plywood at your home improvement store and have them cut it down to the size you need. Even better, you can get a couple pieces the size you need out of one board and split the cost with a friend.
Then with a couple other basic tools, and about an hour, you can build this easy DIY iron holder with ironing board storage. Have a party and build them together!
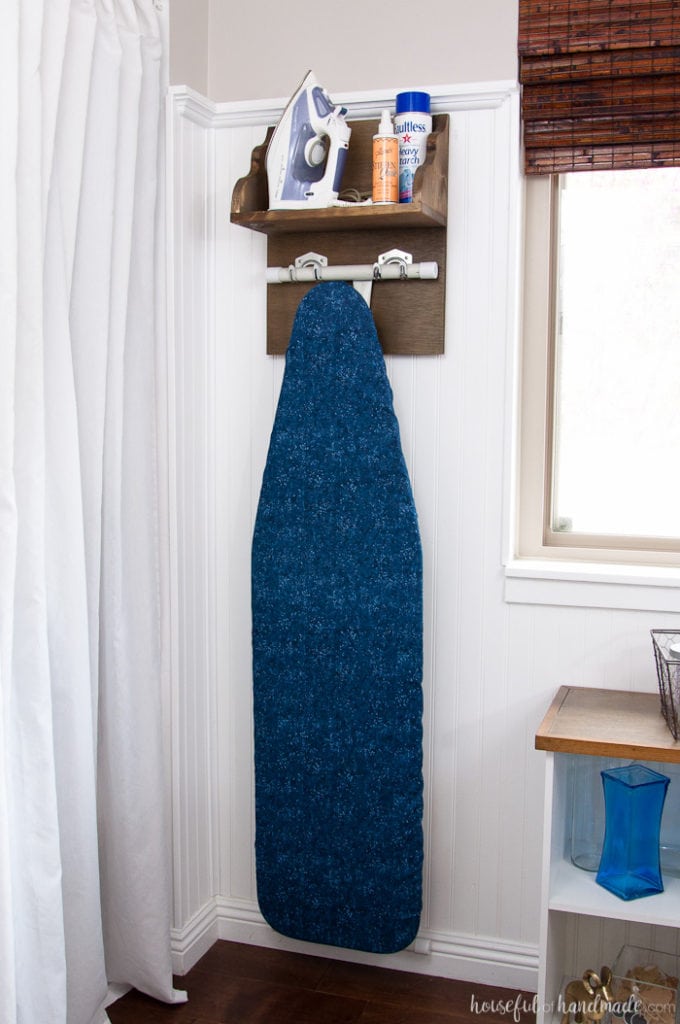
I was able to DIY my iron holder with ironing board storage out of scrap wood (because I am a holder of all things I might be able to someday use). So for our $100 room makeover it didn’t cost me anything!
But even if you have to buy a few things, it is still a great budget friendly DIY. Go ahead and make your own iron holder, you won’t be sorry you did!
How to Make an Iron Holder with Ironing Board Storage
Supplies:
- 15″ x 18″ piece of 1/2″ plywood
- I also used a 4″ x 12″ piece of plywood scrap to hang my DIY iron holder with a french cleat.
- 24″ of 1×8 board
- Miter saw
- Jig saw
- Nail gun and 1 1/4″ finishing nails
- Wood glue
- Stain
- Satin clear coat
- I used a spray on clear coat for quick application and drying.
- Utility hooks
Cut a 15″ piece from your 1×8 board. Line it on the board perpendicular to the plywood 81/2″ from the top. Secure with wood glue and finishing nails through the back of the plywood.
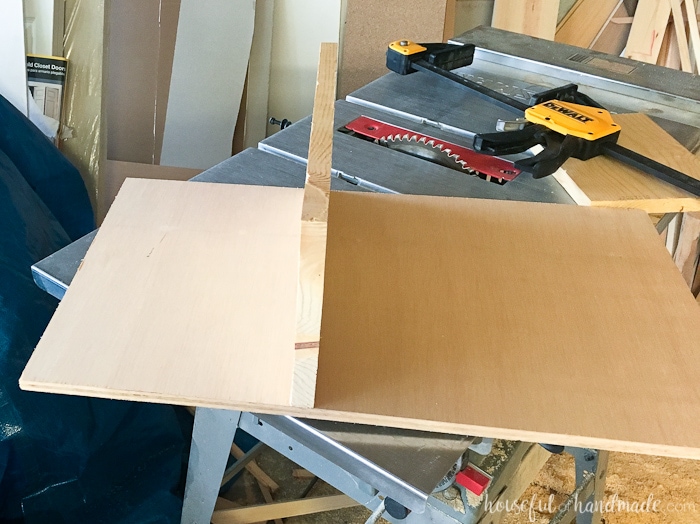
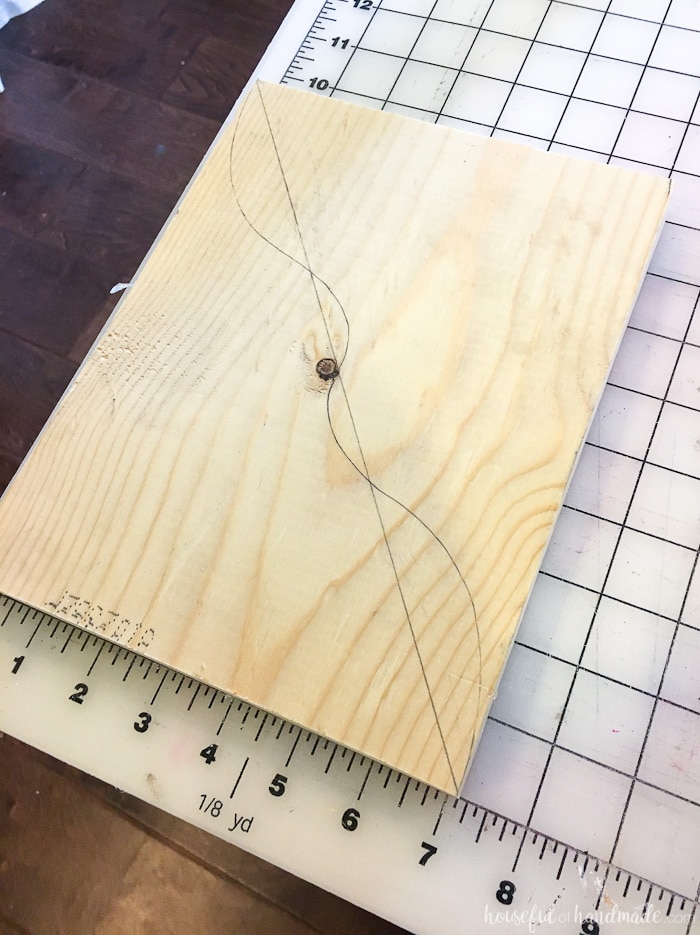
Trace the shelf sides template on the other piece of 1×8 board.
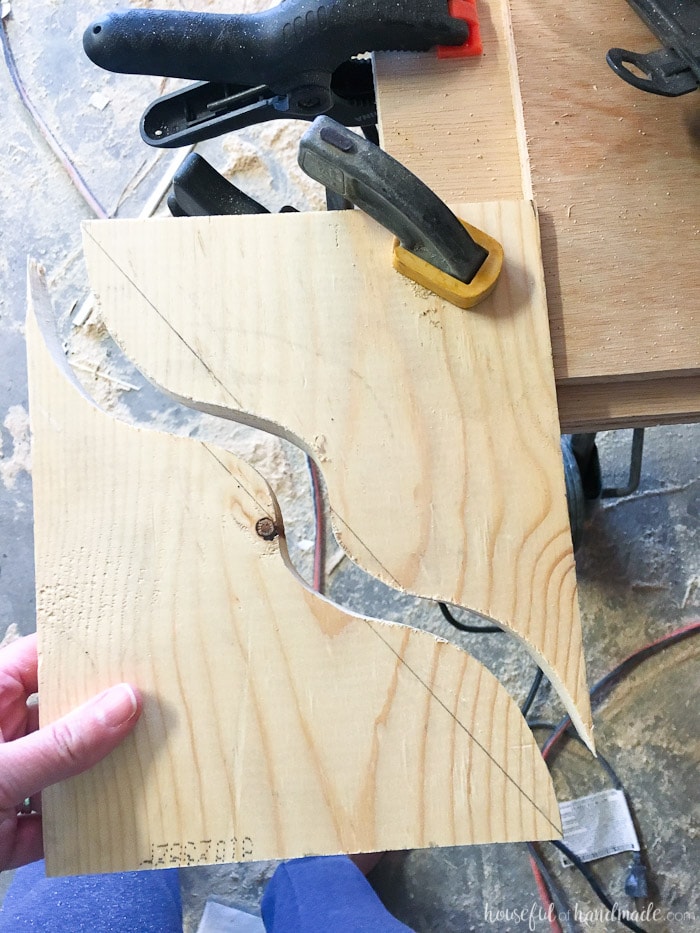
The template makes it so the one piece is cut in half to make two identical pieces for the decorative sides of the iron holder.
Cut it apart with a jig saw. I like to use a thin scroll cutting blade for my jig saw to get smooth clean cuts. Make sure to center the blade on the line so the two pieces are the same size.
Carefully sand the edges.
Those little tips on the edge are fragile and not so pretty. I laid the two pieces on top of each other and cut them cleanly with my miter saw.
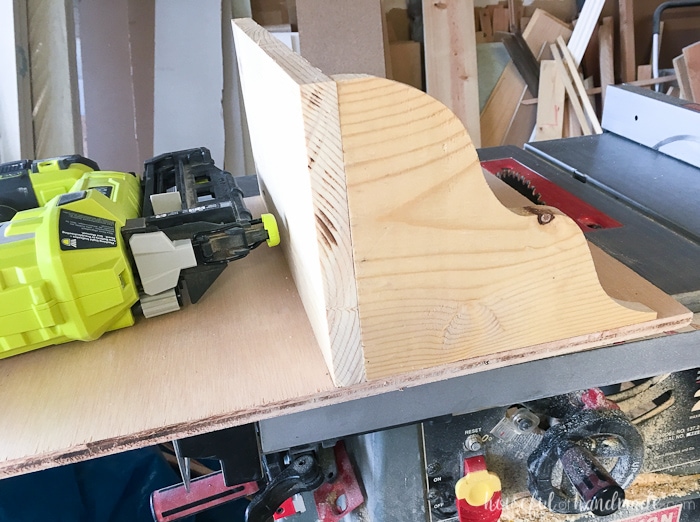
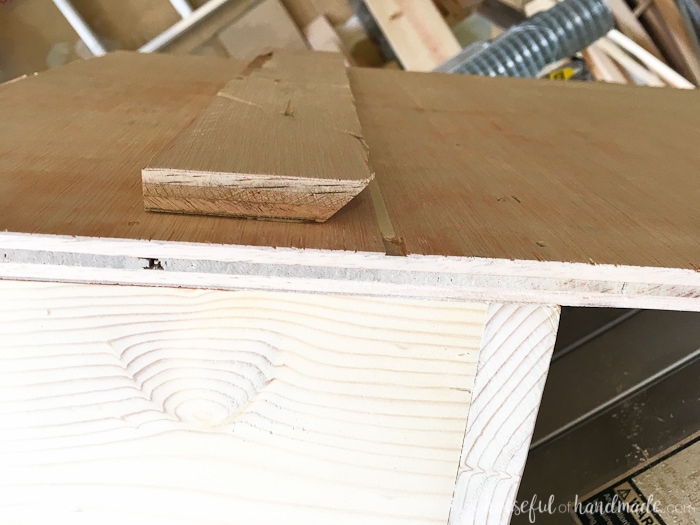
Place the shelf sides on top of the shelf, flush with the outside edge of the plywood. Secure with wood glue and finishing nails through the back and bottom.
Sand and stain the entire. piece. I used the same natural stain I stained my desk, pegboard, and farmhouse console with. Protect the wood with a clear finish.
To hang the shelf, I used a french cleat like I did for my DIY idea board and craft room pegboard. You can see how easy they are to make and hang here.
Because the shelf is tall, I also added a scrap piece of plywood to the bottom to keep it level off the wall. Hang your shelf high enough that you have room to hang the ironing board on it.
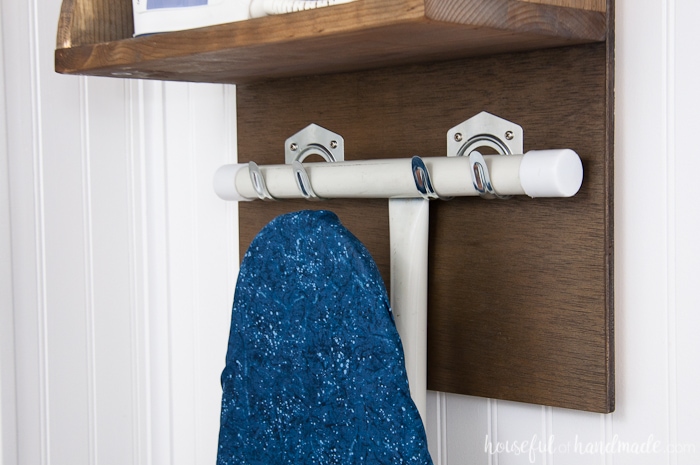
Mark where you want to add the utility hooks. Secure two utility hooks on the plywood below the shelf.
I found these ones at the Dollar Store in a pack of 5. Now I have 3 more to use somewhere else!
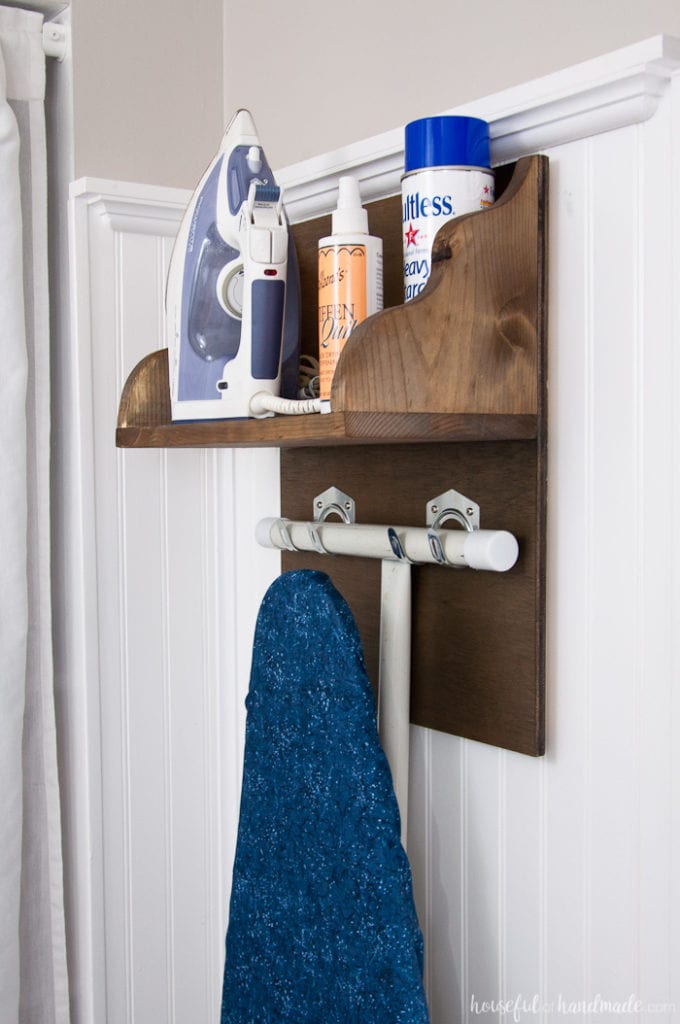
I love that the iron is carefully stored above the ironing board, along with any ironing supplies. And look how perfect it sits in the corner of my office & craft room. I know it is weird that I store my iron in my office, but I use it way more when sewing (I prefer clothes that do not need ironing).
Now that I can be so much more efficient, I need to do a couple more sewing projects! My house is in need of lots more throw pillows 😉

Until next time… happy crafting!


Great! Now the ironing board is looking attractive.
Thanks Natalia! Who would have thought you could make an ironing board attractive?
great idea ,and i dont think its at all weird to have your ironing board in your craft office/workroom .
Thanks Noele. I am glad you dont think I am too weird 🙂