We just finished redoing my daughter’s closet for the $100 Room Challenge. It was a fun project and now she is much more organized! See the closet reveal here.
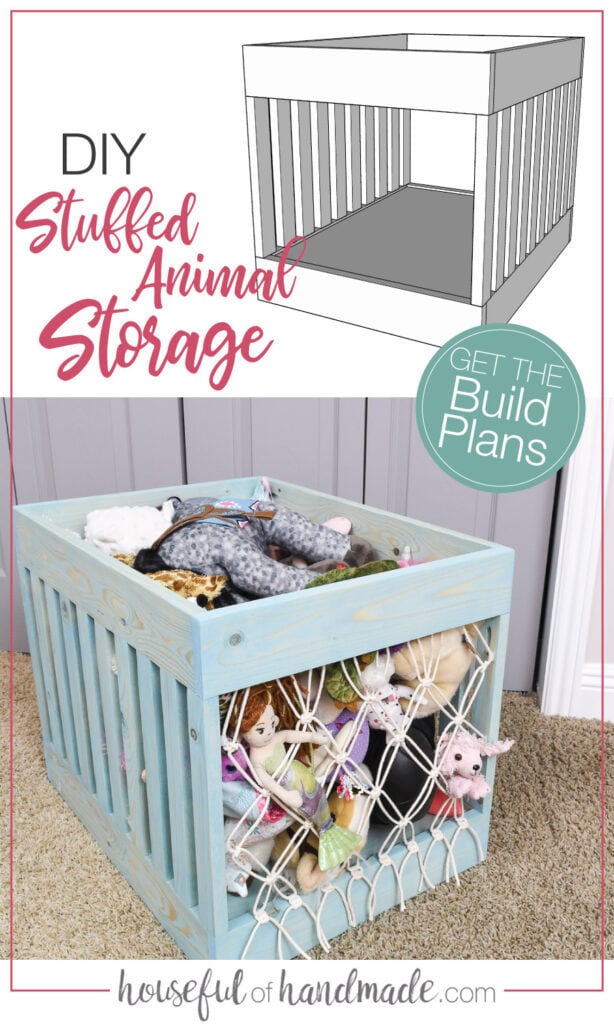
As part of the makeover, we needed to create storage solutions for all her toys. And since she loves her stuffed animals, a DIY stuffed animal storage bin was definitely on the list.
Since my daughter is the definition of all things girly, I wanted to create a beautiful feminine toy storage bin.
This post may contain affiliate links. As an Amazon Associate I earn from qualifying purchases. Click here to read my full disclosure policy.
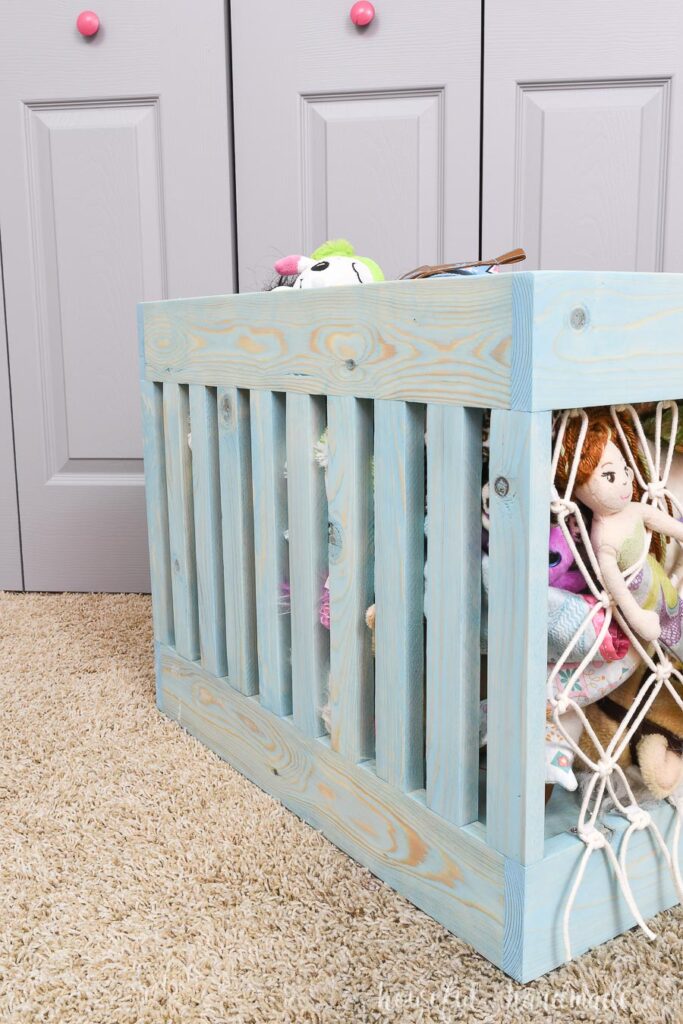
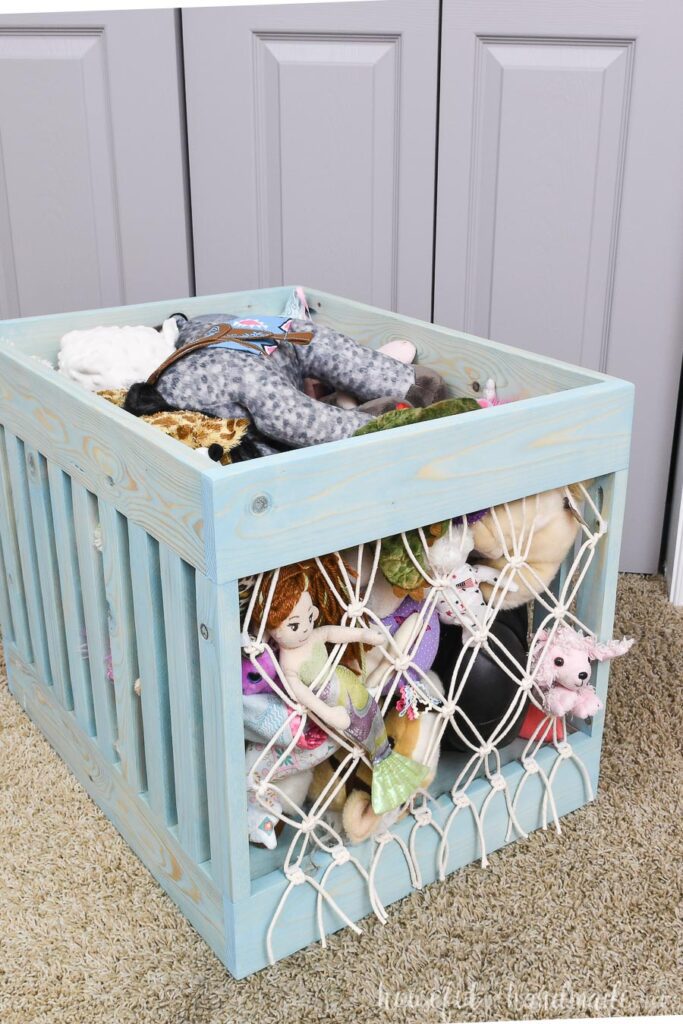
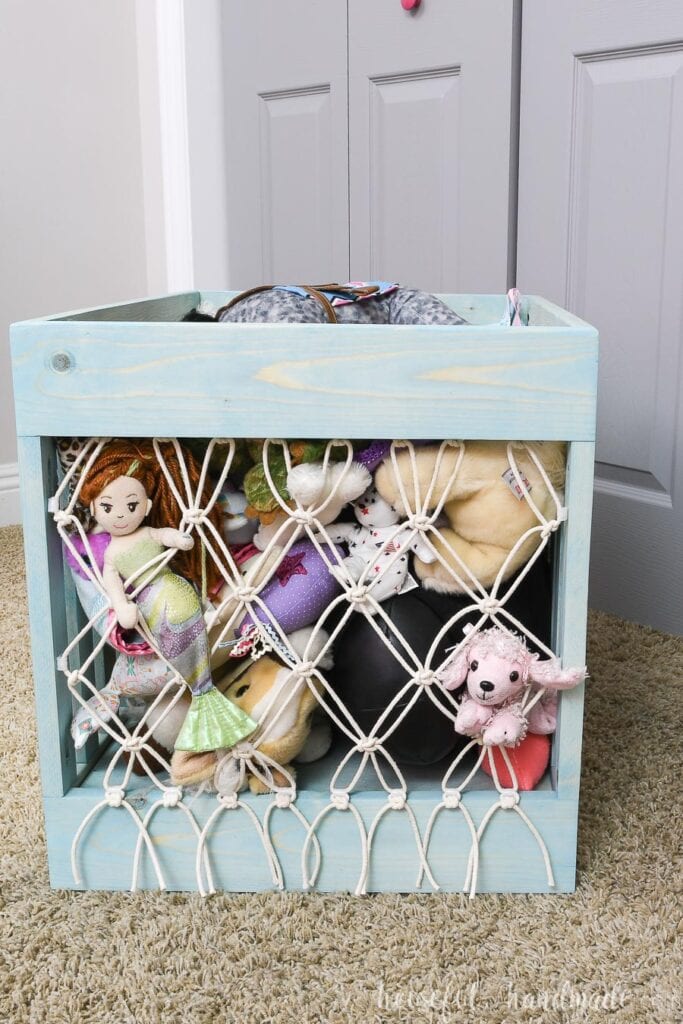
I was inspired by the bungee cord Zoo bins I have seen. But made it perfect for her space by using simple macrame to create a net to keep her stuffed animals contained.
The result was a beautiful stuffed animal bin that I would be happy to use anywhere in the house.
Maybe I need to make a mom version….
What else do I need to create more storage bins for???
Budget Friendly Toy Storage
Since I made this stuffed animal storage as part of the $100 Room Challenge, we had to keep it cheap!
To keep the costs down, I used inexpensive furring strips for the wood of the bin. This is a great option for building budget friendly items.
But be aware that furring strips are usually more rough (meaning lots more sanding).
And you really need to take your time to pick through all the boards to get straight ones. Check out my beginners guide to buying lumber to help.
The total cost for our DIY stuffed animal storage was $24.75. We had to buy everything except a 2×2, plywood, screws, and stain.
And I love how it looks so nice, even though we used cheap lumber and a little bit of elbow grease. It’s one of my favorite DIYs!

Our Secret to Toy Storage
I feel like toy storage is a struggle every mom can relate to. There are so many toys, pieces, bits, and more that it always seems like a fight.
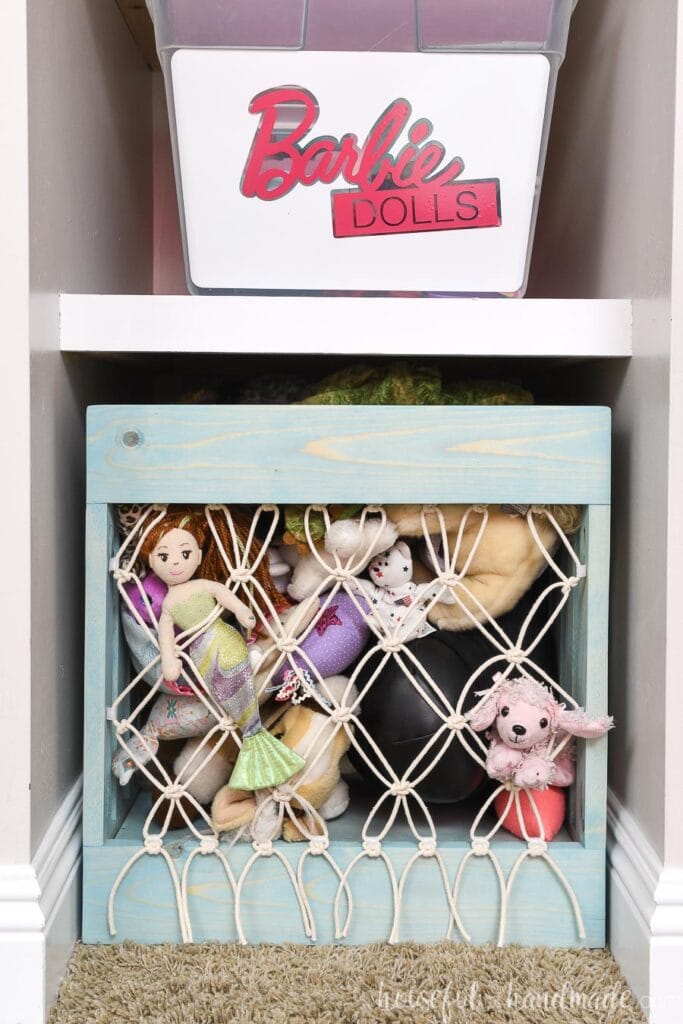
Well I have found a way to help minimize that fight with my daughter. We designate a storage bin for each type of toy (stuffed animals, Barbie’s, dolls, art work, etc.). And she can keep anything that fits in the bin!
If she gets something new and things no longer fit, then she has to get rid of something. If the new item fits, I let her keep everything.
Now she knows when the expectation of getting rid of older toys is coming. And there are no (or sometimes just less) tears!
It’s a win-win for managing the toys in our home.
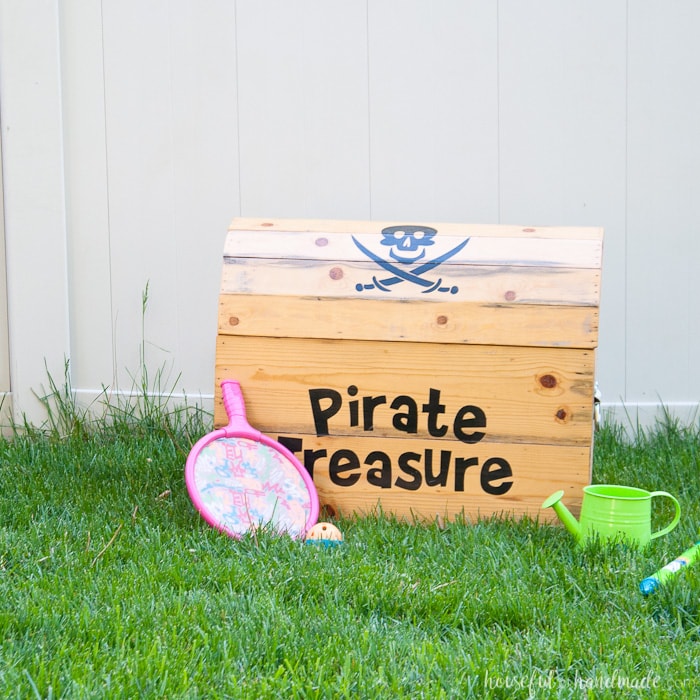
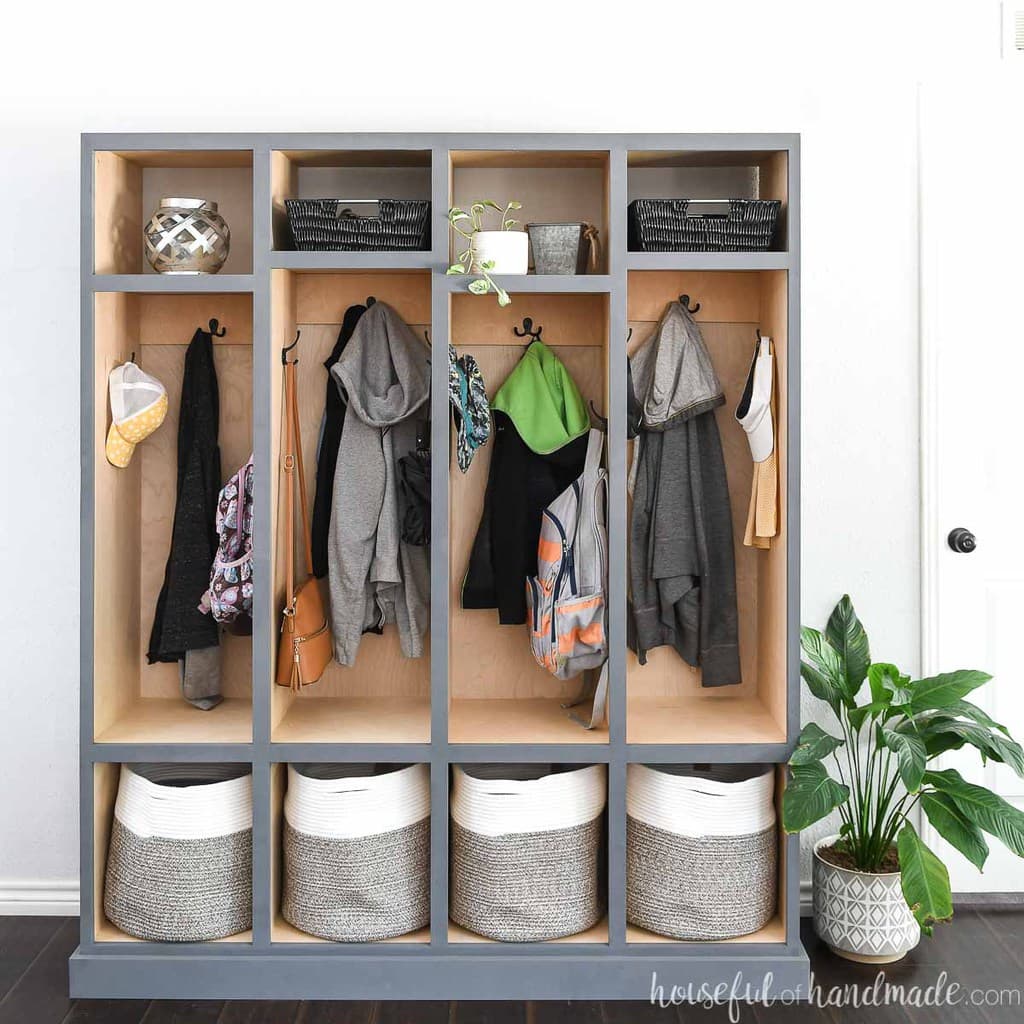
More DIY Storage Ideas
Keep all the kid stuff clean with these amazing storage solutions you can build.


How to Make a Macrame Stuffed Animal Storage Bin
Tools & Materials
Recommended Tools:
- Miter saw
- Kreg pocket hole jig
- I have the K5 master system, but the Kreg 310 is a great beginner jig that is inexpensive! I even have a post on how to use the Kreg 300 series here.
- Table saw or circular saw with guide tracks
- Drill
- Clamps
- I love the Kreg face clamp and corner clamp for this (and many more) projects.
- Measuring tape
- Hammer
- Sander
Supplies:
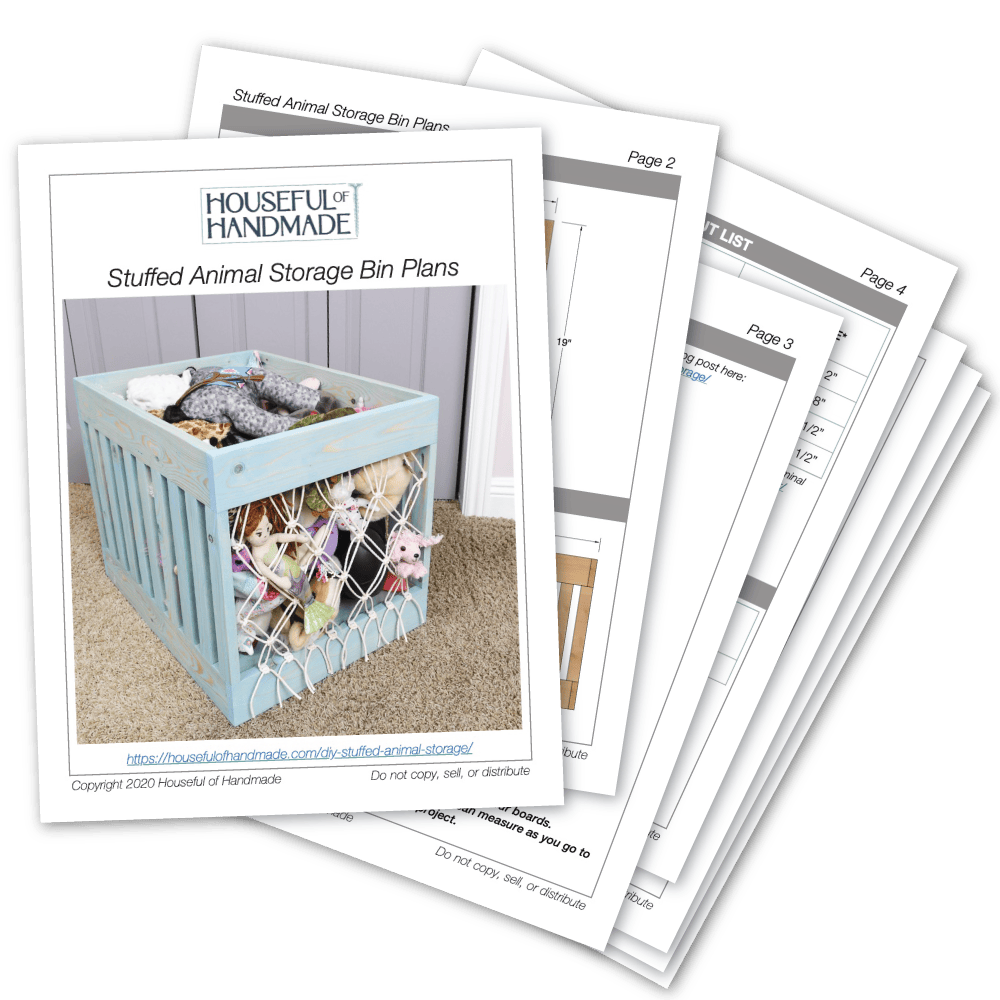
- Printable PDF plans
- Lumber
- (3) 1×2 boards, 8’ long
(2) 1×4 boards, 8’ long
(1) 2×2 board, 8’ long
(1) 1/4” plywood, 2×4 sheet
- (3) 1×2 boards, 8’ long
- 1 1/4″ pocket hole screws
- 1 1/2″ pocket hole screws
- 5/8″ finishing nails
- Wood glue
- Sandpaper
- Stain or paint
- I used this turquoise blue wood stain.
- 3mm cotton macrame cording
- 1/4″ cable clamps
- 5/8″ wood screws
- Castors
Build Storage Bin
Cut the wood according to the cut list in the build plans.
Make sure your wood is straight and your cuts are at a 90 degree angle.
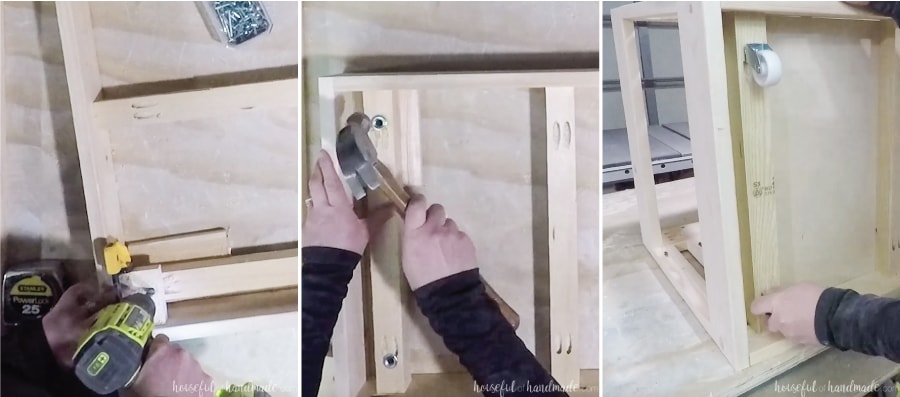
STEP 1- Build Top & Bottom
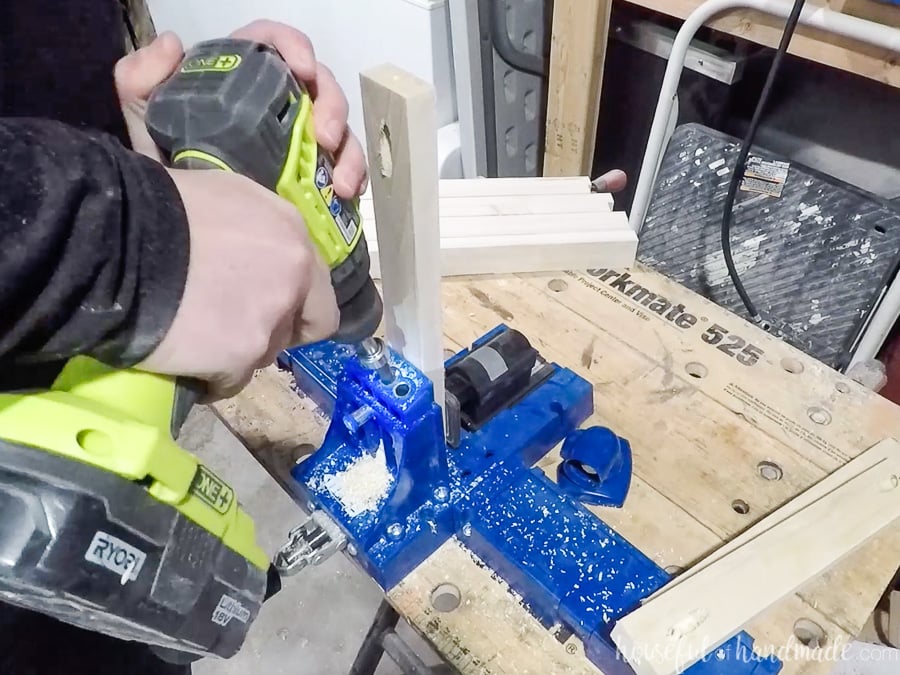
Drill pocket holes in the sides of the side frame boards. Attach them to the front & back boards with pocket hole screws and wood glue to create a rectangle.
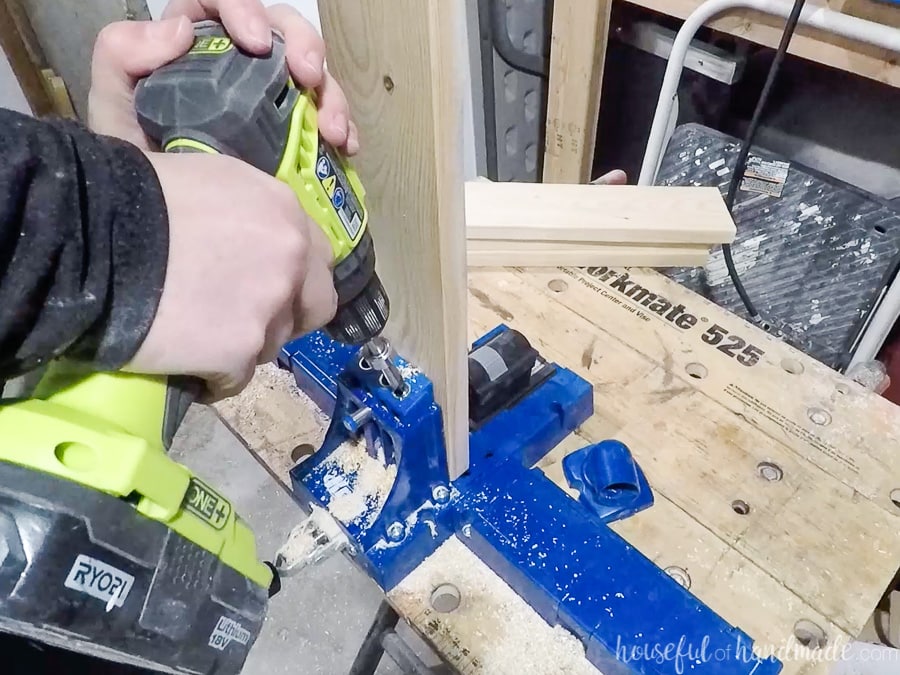
Use clamps to ensure your rectangle is square.
Check square by measuring corner to corner. If the measurements match, your box is square. If not, adjust as needed.
Repeat so you have 2 rectangles.
For the bottom piece, drill pocket holes in the ends of the 2×2 boards. Line them up inside the frame so one is centered and the other two are 1″ in front the edge to allow room for the castors to swivel.
Make them high enough so the castors are just visible under the bottom frame. You need to have at leave 1/2″ clearance on the top for the plywood bottom.
Secure with wood glue and 1 1/2″ long pocket hole screws.
STEP 2- Attach Sides
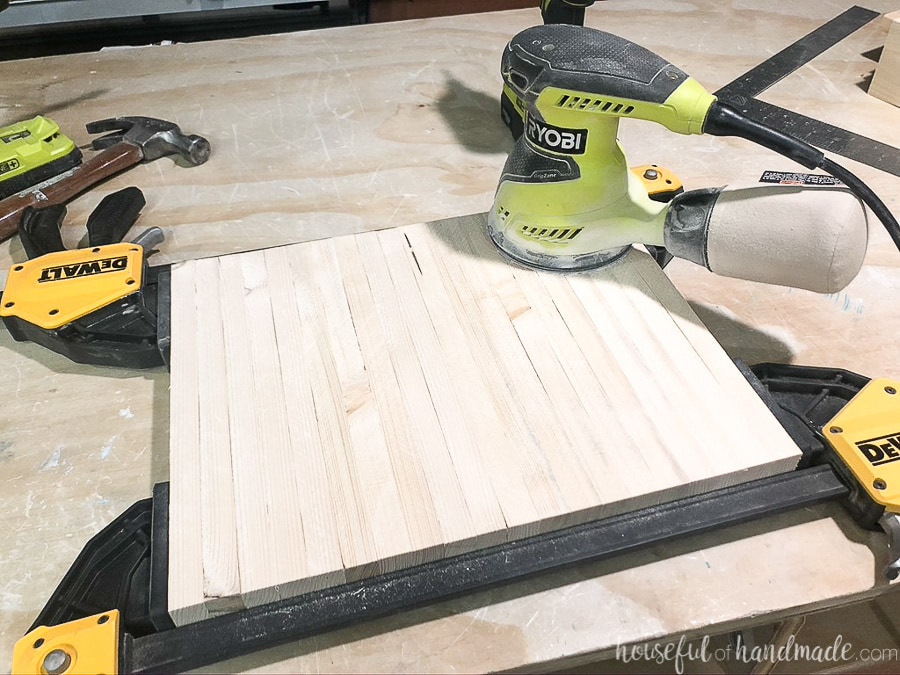
It is recommended that you sand the sides of the boards before attaching them because it will be harder to sand in between the narrow slats.
To do this I clamped the boards together with the sides showing and sanded them all at once. Then flipped over the clamped boards and sanded the other side.
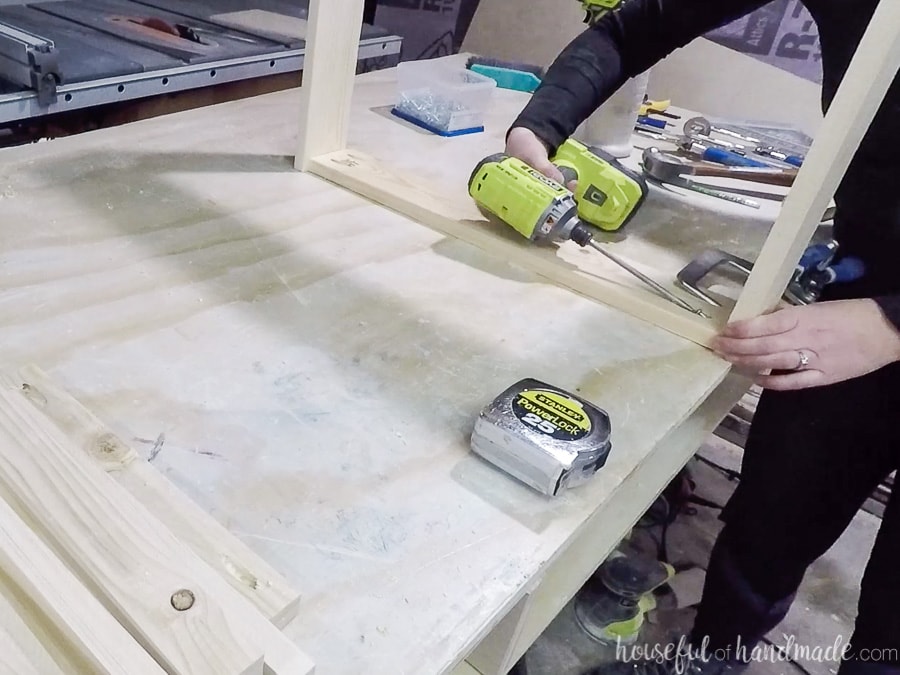
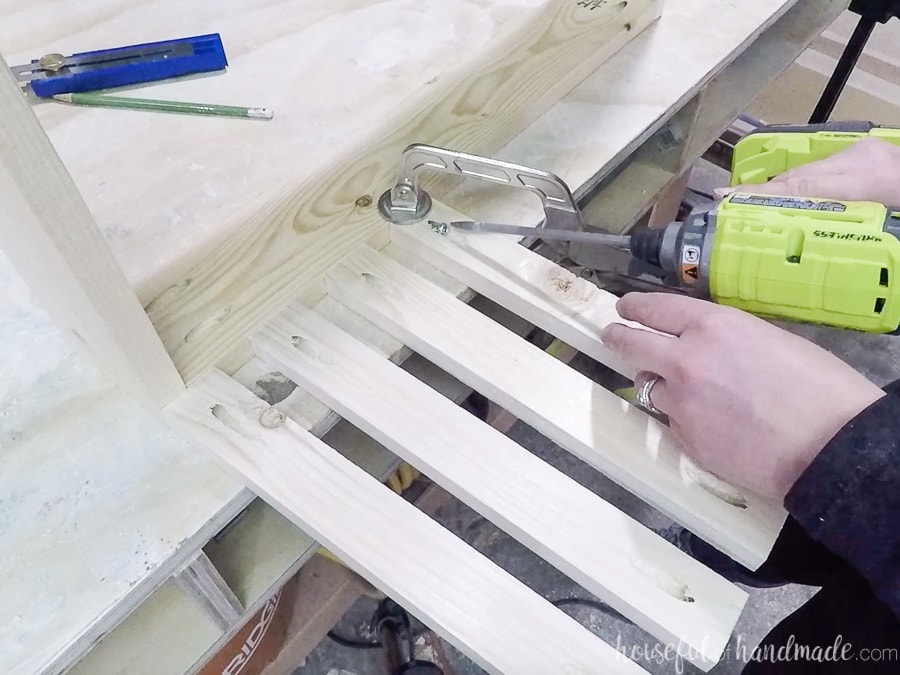
Drill pocket holes in each side of the 1×2 side boards. Line them up along the top of the bottom side board.
The front and back one will be flush with the front & back of the entire rectangle frame.
Space them so there is 1″ between all the boards and secure with 1 1/4″ pocket hole screws and wood glue.
This is where the face frame clamp come in handy to keep the boards flush as you attach.
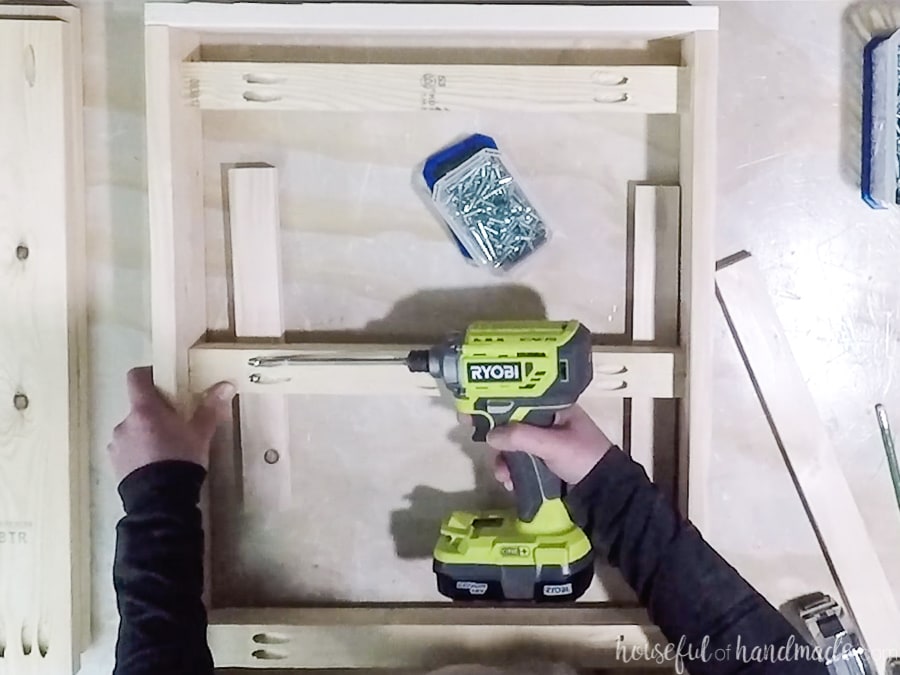
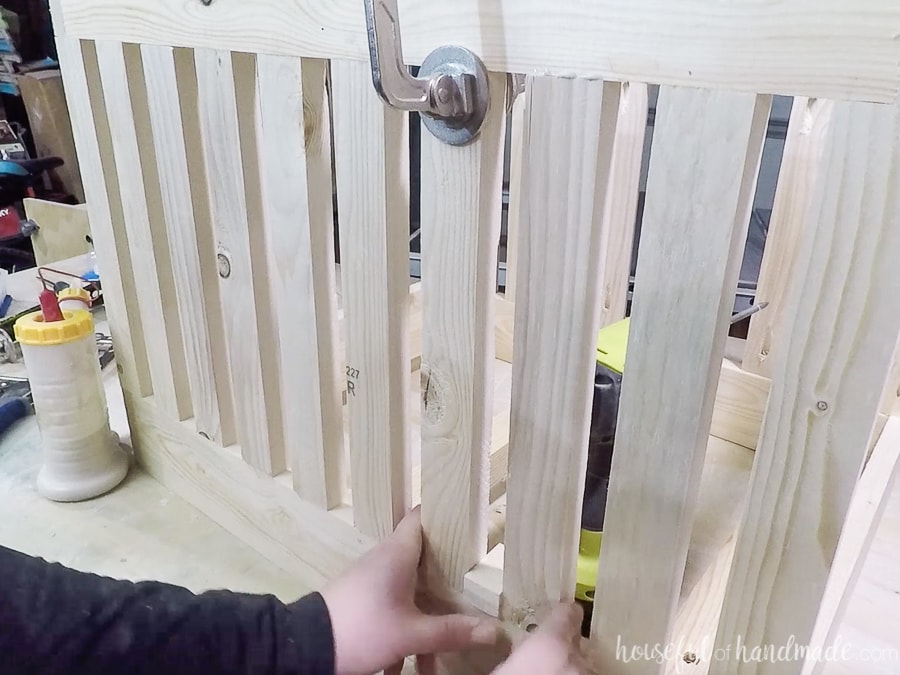
Repeat attaching the other side pieces to the other side of the bottom. I did not do this, I attached the top next and it was trickier to get the other side pieces attached so I would no recommend it.
Once all the side pieces are attached to the bottom frame. Place the top frame on top, and attach the top of the side boards to it. Keeping the same spacing as you did on the bottom.
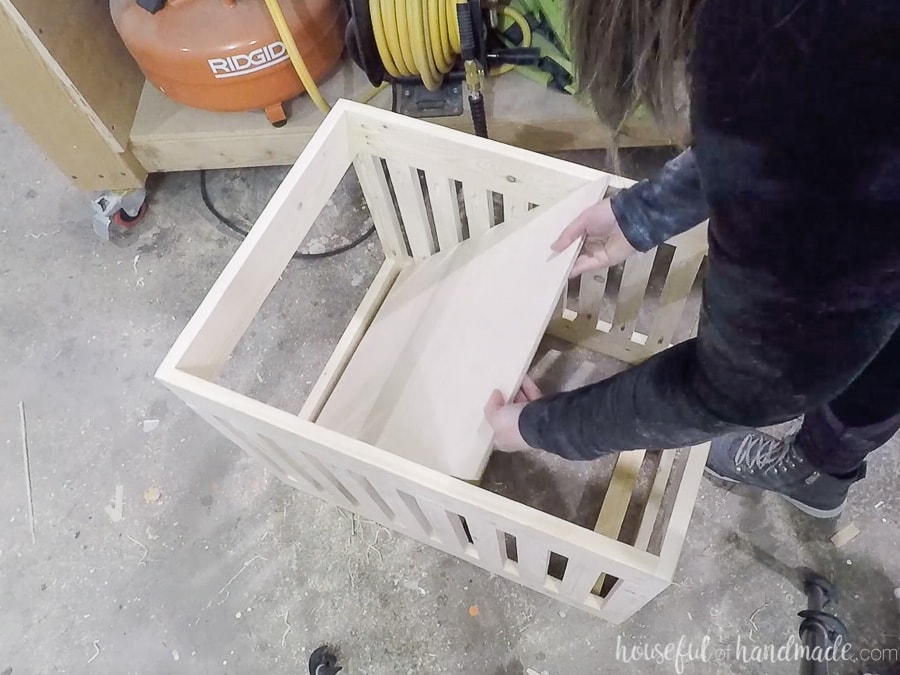
STEP 3- Finish the Bin
Place the plywood piece into the bin on top of the bottom supports. Secure with a few finishing nails into the support pieces.
You may want to fill the pocket holes with plugs. Use wood glue and tap the plugs into the holes. The flush cut or sand them smooth.
Sand the entire wooden toy bin down so it is smooth. Since my wood was rougher (part of using inexpensive furring strips), I started with 100 grit and worked my way up to 220 grit.
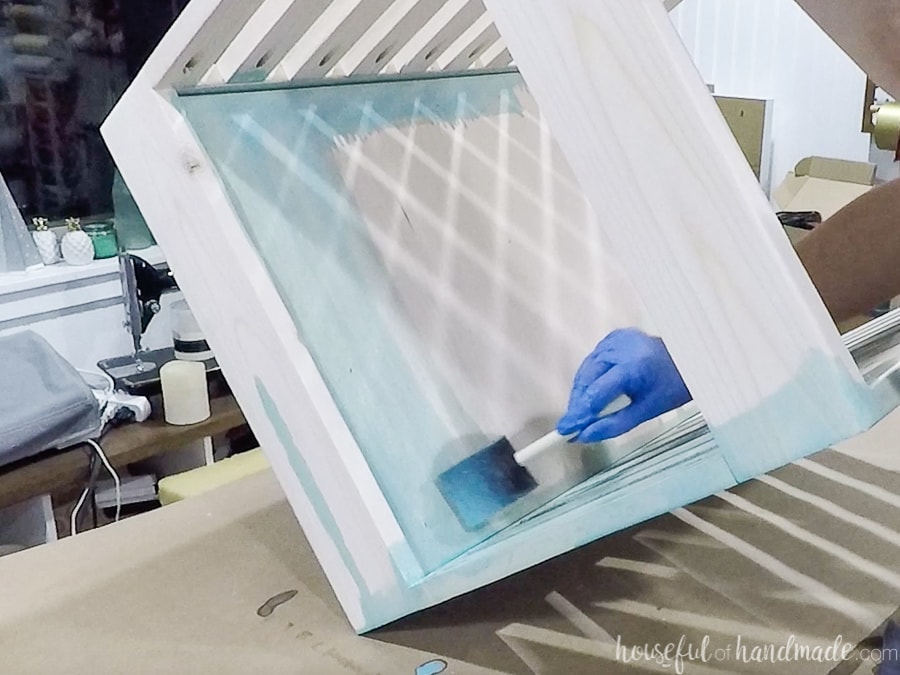
Paint or stain your DIY toy crate.
Install the castors on the bottom of the bin into the 2×2 support pieces. My castors needed a hole drilled in them, then the socket was hammered into the hole. Lastly, press the castors into the socket until they click in.
Add the Macrame Net
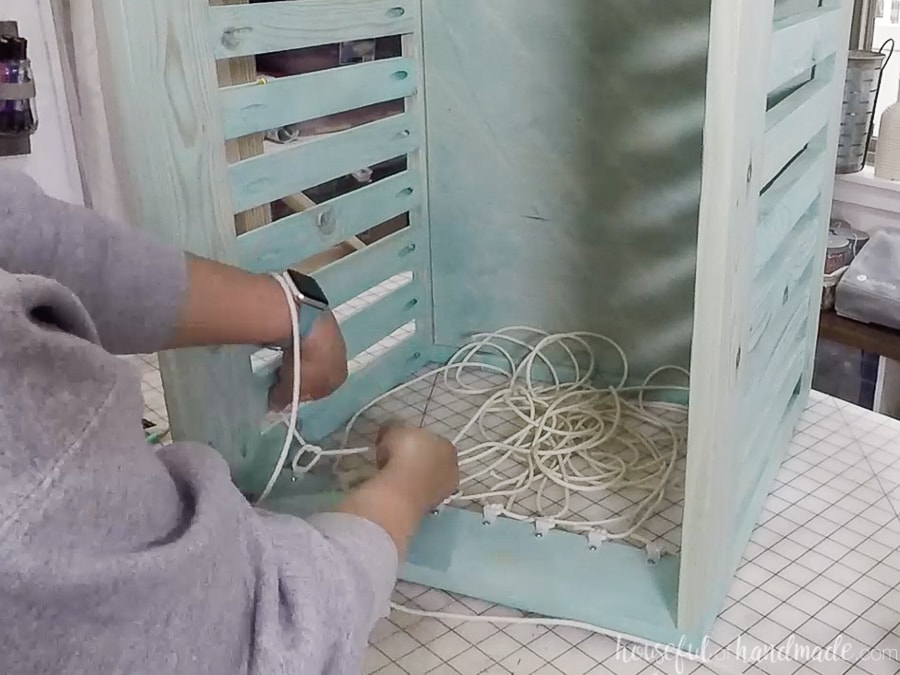
STEP 4- Install Cable Clips
The cable clips are used hold the macrame cords on the wooden bin. I found them in the electrical section of my local home improvement store and they are inexpensive.
Mark out 8 evenly spaced marks on the inside of the top of the bin. Hold a cable clip up to the mark so it is not visible on the front and pre-drill a hole in the screw spot.
Cut 8 long piece of macrame cording per side (at least 3 times longer than the opening you are macrameing).
Place a piece of cording centered in the cable clip and secure it with the screws.
Tie a square knot with each section of cording to keep the cording centered and start the net.
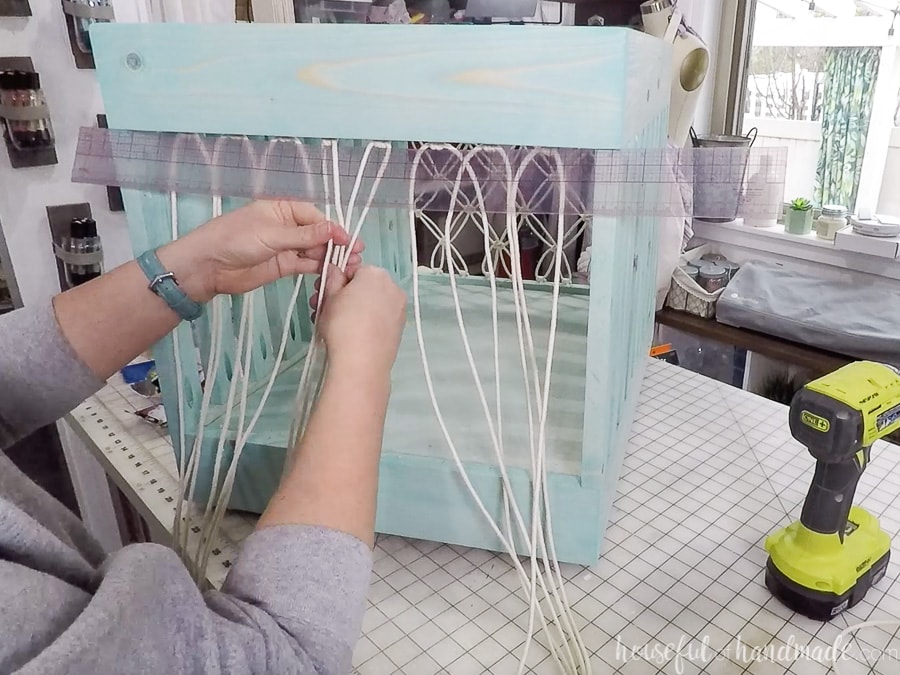
STEP 5- Tie the Macrame Net
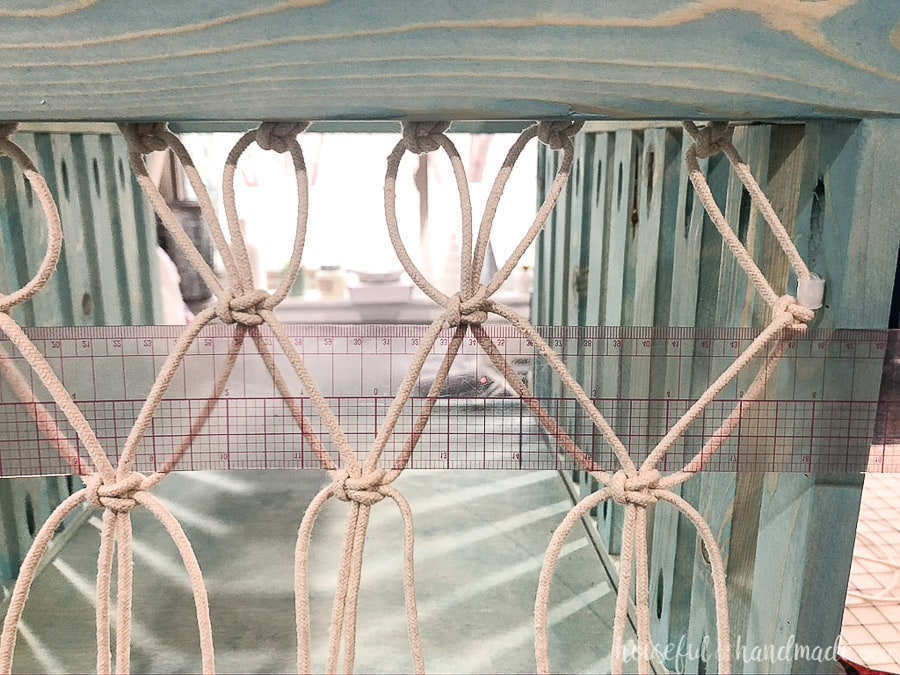
Once all the top knots are finished, you will want to place a 2″ piece of cardboard/cardstock/etc. under the knots to create your net spacing. I am using a 2″ thick plastic ruler.
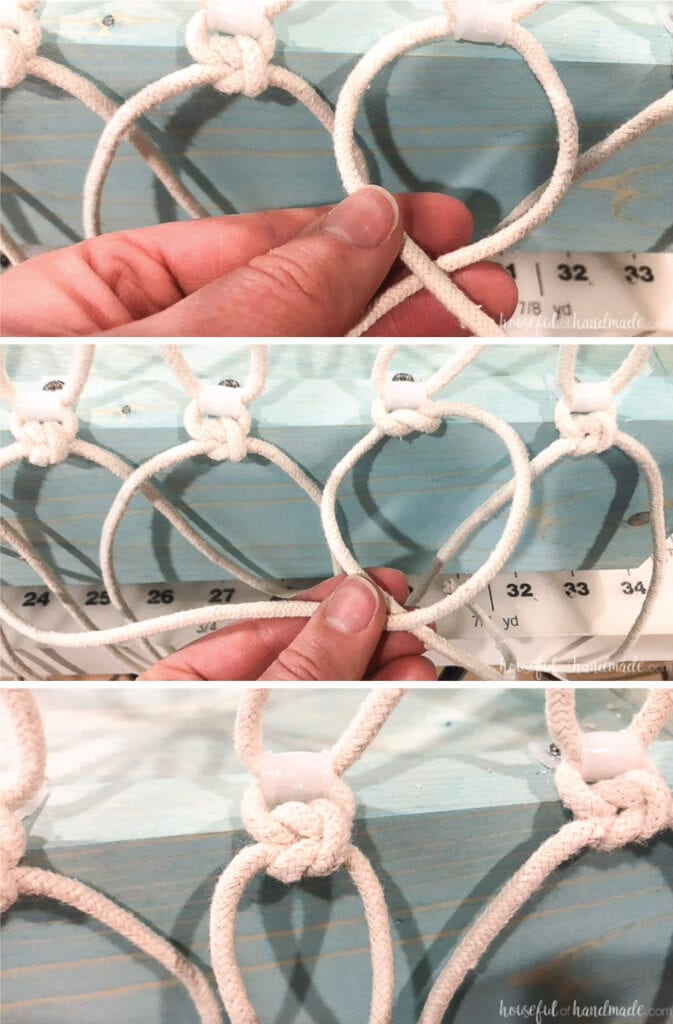
Select the 4 center cords and bring the two center of these over the front of the spacer. Use the outer 2 cords and tie a square knot around the center cords.
Start on the right and lay the cord over the center two cords. Then take the left cord over and behind the two cords. Pull snug.
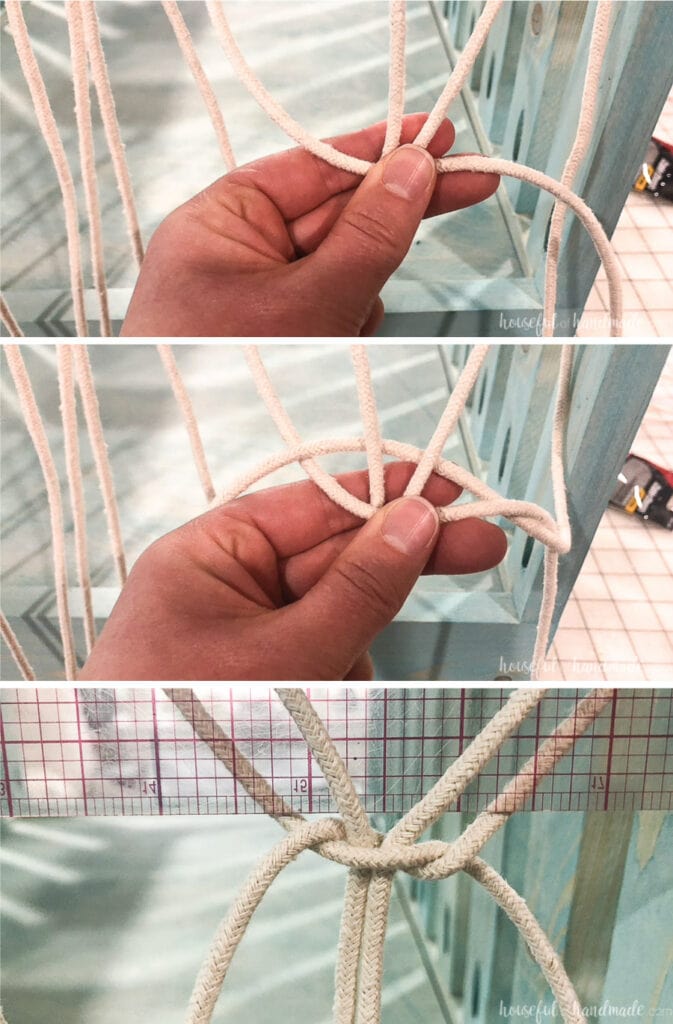
Then repeat but this time start on the left.
Take the left cord over the two center cords. Then take the right cord over and behind.
Pull the cords tight and see the square knot you just created over the 2 cords. Pull snug, adjusting any cords as you go so everything lays smoothly.
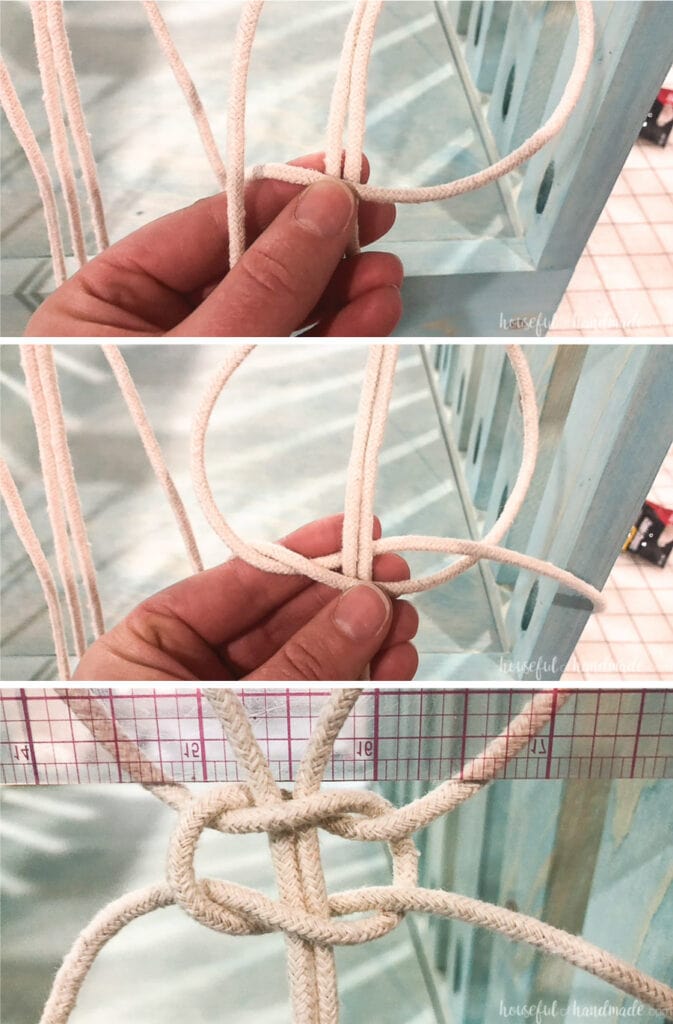
Repeat for the other two sets of knots to either side of the center.
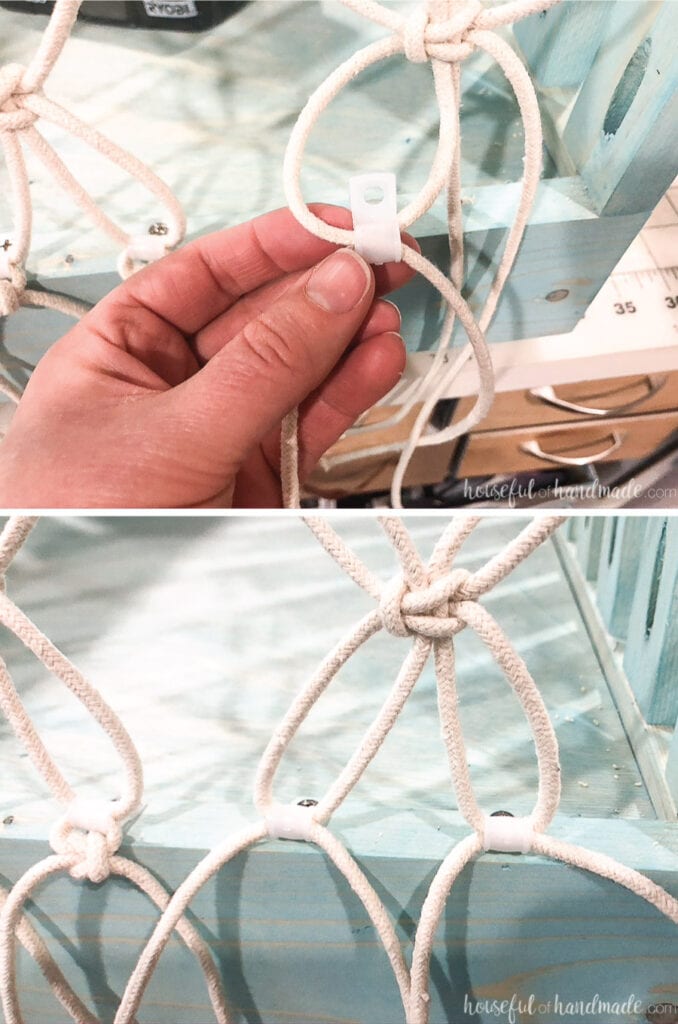
For the outer two cords. Slide the closest cord to the edge in a cable clip and secure it to the side of the bin at the same level as the knots.
Tie a square knot with this cord and the other free cord. Repeat on the other side.
Then create a second layer of knots, using the spacer as well. But this time, take 2 cords from each of the previous knots to create your grouping of 4. This time you will tie knots with all cords.
When that row is done, repeat again but use the same cords as the first row. Secure the two sets of side cords to the side of the bin level with the knots with a cable cord again.
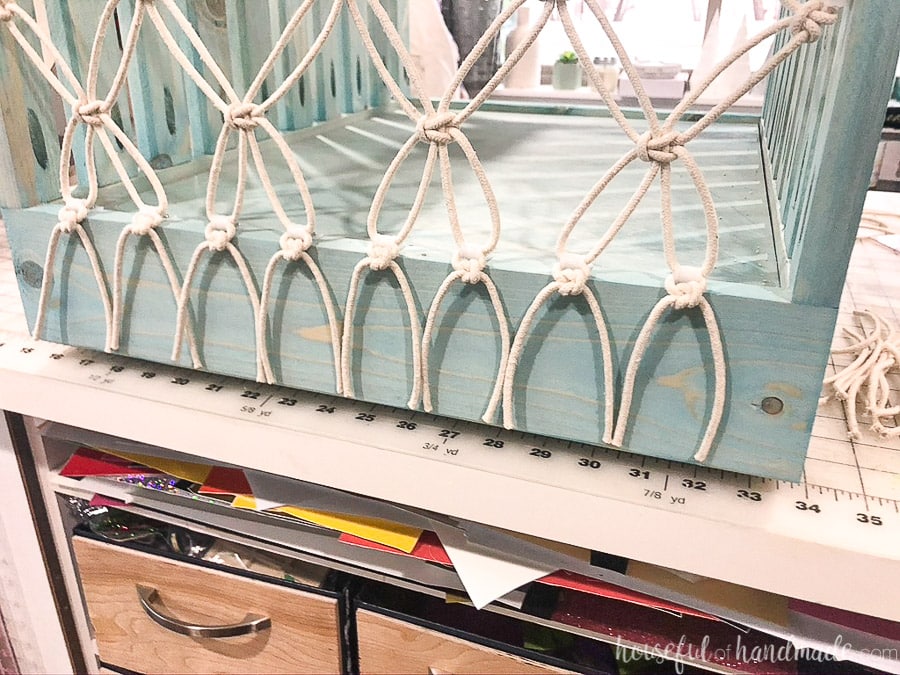
Finish with one more row using all the cords. You should have a total of 4 rows of knots evenly spaced along the opening in the wood crate.
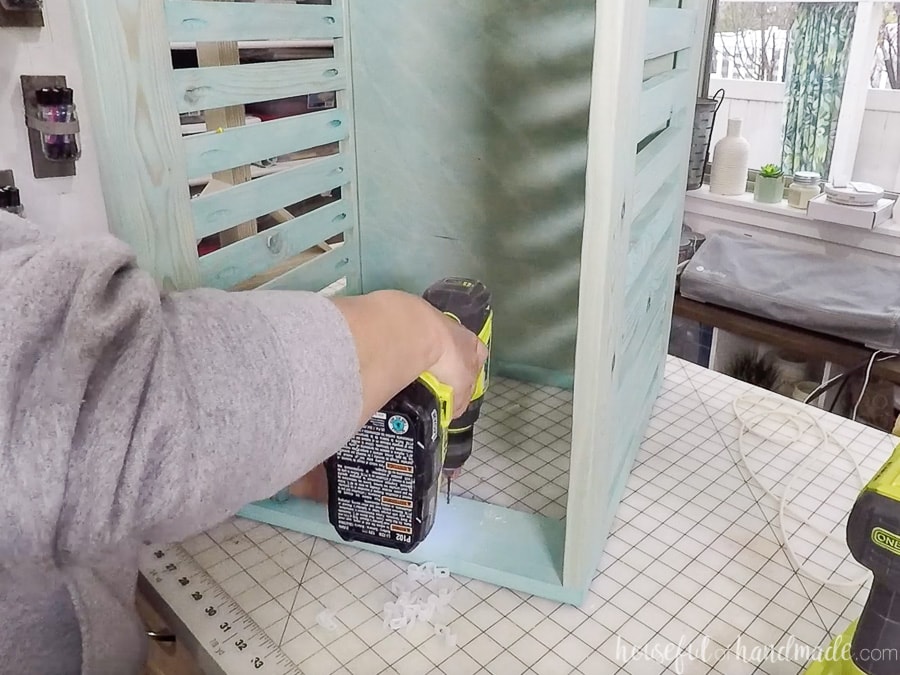
STEP 6- Secure the bottom of the Net
Every mark out 8 marks on the bottom of the bin opening to match the clips on the top.
Take each set of 2 cords and feed them through a cable clip. Then secure the clip to the mark with a screw (make sure to pre-drill to keep the wood from splitting).
Tie a square knot around the cable clip in front of the bottom frame of the toy bin.
Leave the excess cording hanging in front.
Pull the cording straight and trim at the bottom of the box.
You may have to pull the cording to keep it pointing downward until it get’s use to it and stays.
Enjoy your new stuffed animal storage!
Premium plans include:
- Recommended Tools
- Shopping list
- Easy to read cut list table
- Cut diagrams
- Step-by-step instructions with 3D renderings
- Helpful resources
- BONUS: 3D SketchUp file
That seems like a lot, but I just made sure to take lots of pictures! It really is a simple and fun project.
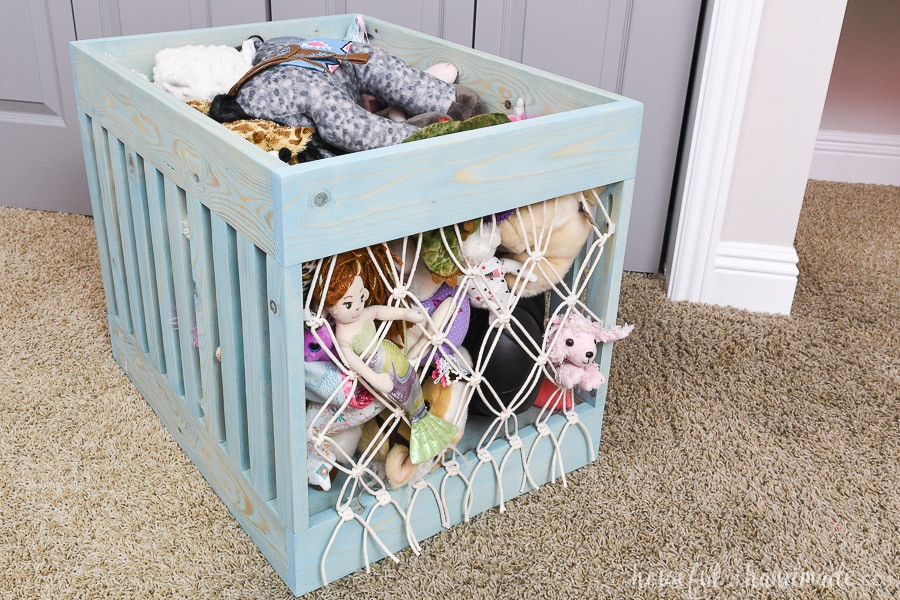
And it holds lots of stuffed animals in a small space.
My daughter loves that she can easily grab the smaller animals through the macrame net. But it is also super easy to pull out because of the castors for getting to the larger toys!
But best of all, she seems to be doing much better at putting her toys away and keeping her room clean.
Mom win for sure!!!