Learn how easy it is to use the new Kreg 300 Series jig.
Pocket holes are great for your woodworking projects. They are easy enough for a DIY beginner to use and give a a strong joint for well crafted projects. I partnered with Kreg Tools to try out their newest pocket hole jig, the 300 series.
The Kreg 300 series pocket hole jig will give you the same amazing pocket holes you can get from one of their other pocket hole jig systems, but the new 300 series is simplified and less expensive than the larger systems.
It’s the perfect jig for someone who wants to get started in woodworking. Or as a second pocket hole jig to make it easier to add pocket holes in certain situations.
This post may contain affiliate links. As an Amazon Associate I earn from qualifying purchases. Click here to read my full disclosure policy.
There are 2 different options in the 300 series: the pocket hole jig 310 and 320.
Both jigs are small and compact, the 320 pocket hole jig comes in an 8″ x 6″ x 2″ box and has everything you need to get started except a clamp and the wood for your project.
Not sure which Kreg Jig to buy? Check out the detailed Kreg pocket hole jig comparison here.
Features of the 300 Series Pocket Hole Jig
- It’s small. If you are working in an apartment or small home, you will still have room to add a pocket hole jig to your projects.
- Easy to use. The new jig is simplified to make getting the right pocket hole depth easier then ever.
- It’s inexpensive. The 300 series pocket hole jigs are full of value and will last for years with the same Kreg engineering you love, but come in at under $40!
But what if you already have a Kreg Pocket hole jig?
This simplified jig is a great second jig. I love that I can leave my K4 system clamped to the worktable and then pull out the 320 for adding pocket holes to larger stock that can be challenging to balance on my workbench.
Or when I forgot to add a pocket hole and getting the half assembled project into the other jig would be comical at best.
So are you ready to see how to use this new pocket hole jig? I shared all the details in the video below, or you can scroll down to read about how to use the Kreg 300 series Pocket Hole Jig.
How to Use the Kreg Pocket Hole 320 Jig
Tools:
- Kreg 320 pocket hole
- Or the 310 pocket hole is a similar but smaller version
- Kreg face clamp
- Drill
- Optional: Impact driver
Prefer to Watch? Check out the Video Below
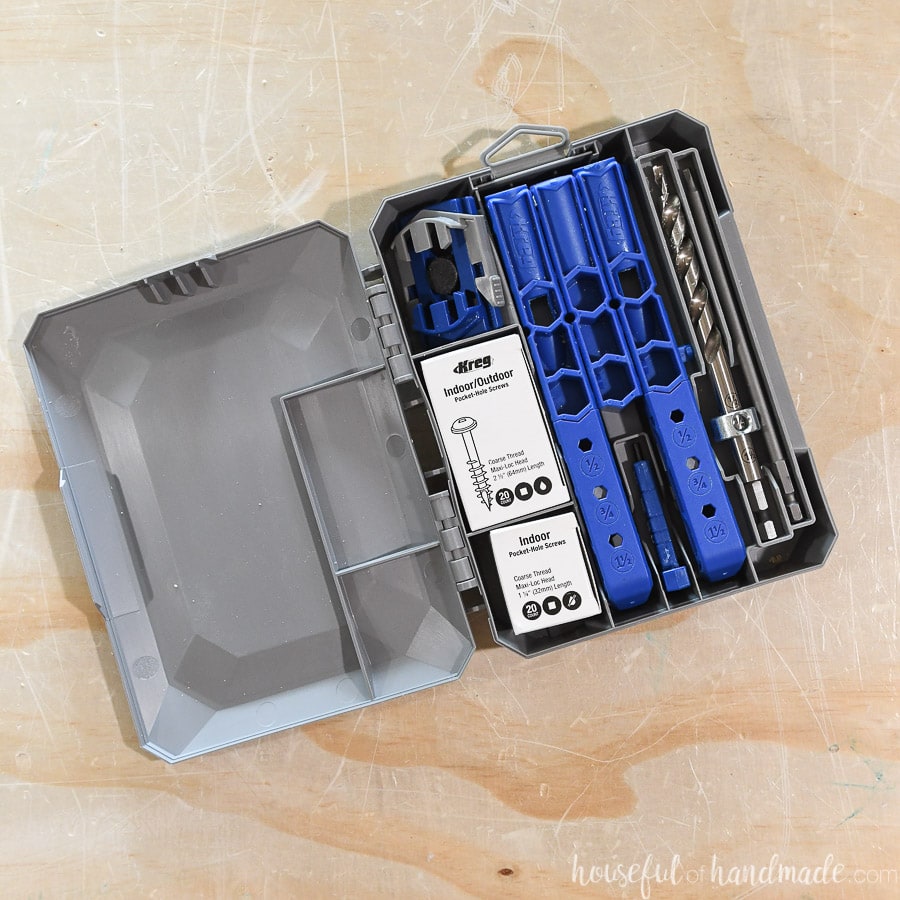
What is in the box?
The 320 jig comes with (2) drill guides, (1) spacer, (1) clamp adapter, (1) drill bit with stop collar, (1) square drive bit, (1) thickness gauge/wrench bit, (20) 1 1/4″ screws and (20) 2 1/2″ blue-kote screws.
The 310 jig does not come in a box, but comes with (1) drill guide, (1) drill bit with stop collar, (1) square drive bit, and (1) thickness gauge/wrench bit.
For this tutorial we will be looking at the 320 pocket hole jig since it offers a few more options.
Setting up the Drill Guides
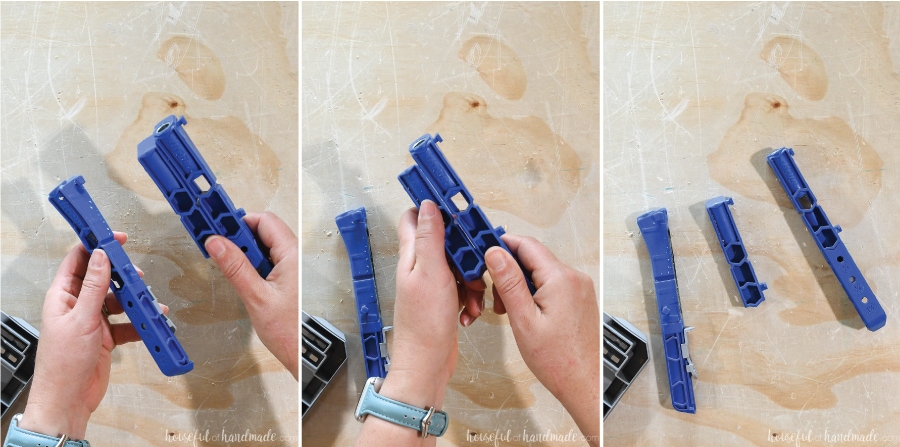
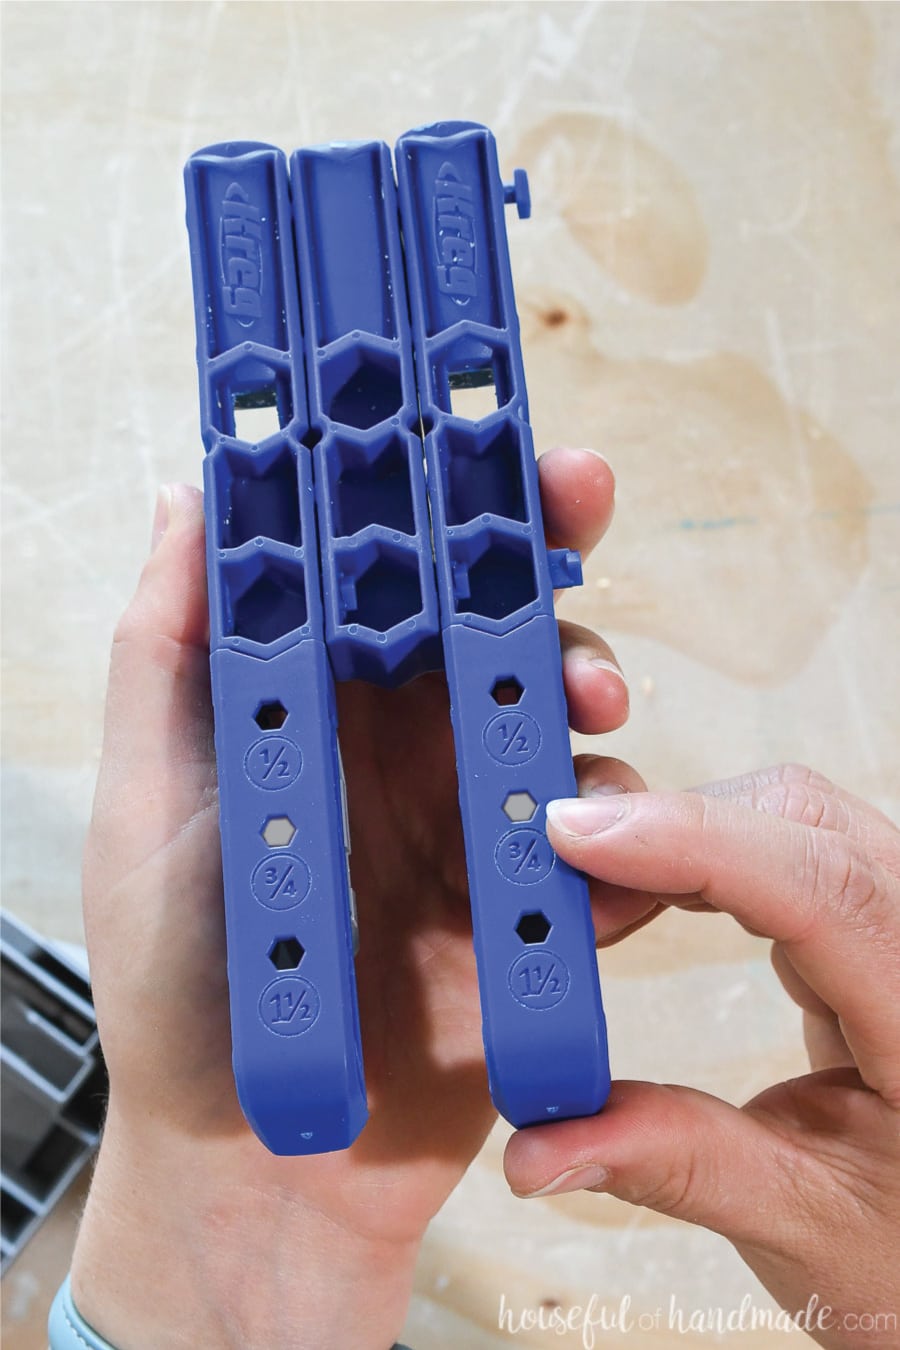
The drill guides are the blue pieces that make up the body of the jig. In the 320 it comes apart into 3 pieces.
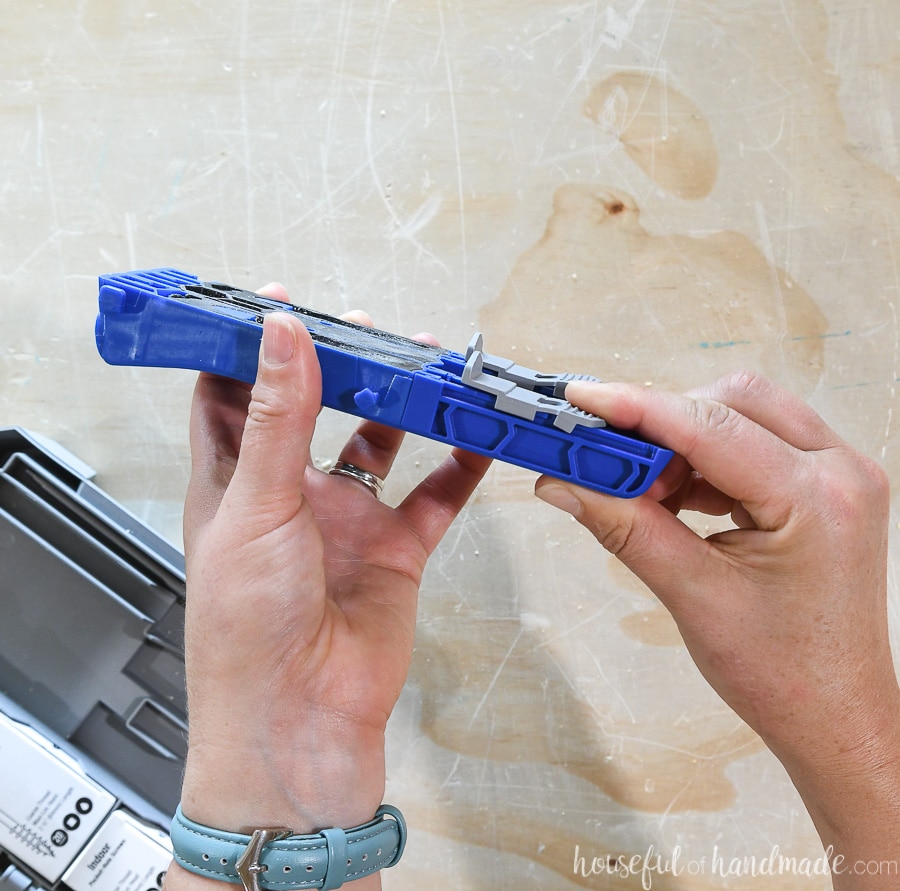
To take the pieces apart, put pressure on the top to snap the pieces loose. Then twist the two pieces away from each other to release them.
Depending on what size your boards are, you will want to use the jig together in different ways or separate.
- For 1×2 or 2×2 boards (1 1/2″ wide): snap the 2 drill guides together without a spacer.
- For 1×3 & 2×3 boards (2 1/2″ wide) or 1×4 & 2×4 boards (3 1/2″ wide): use the two drill guides with the spacer between them.
- For wider boards or plywood: use the drill guides independently (or leave them together but only drill one hole before moving). Pocket holes should be nom ore than 5-6″ apart for strong joints.
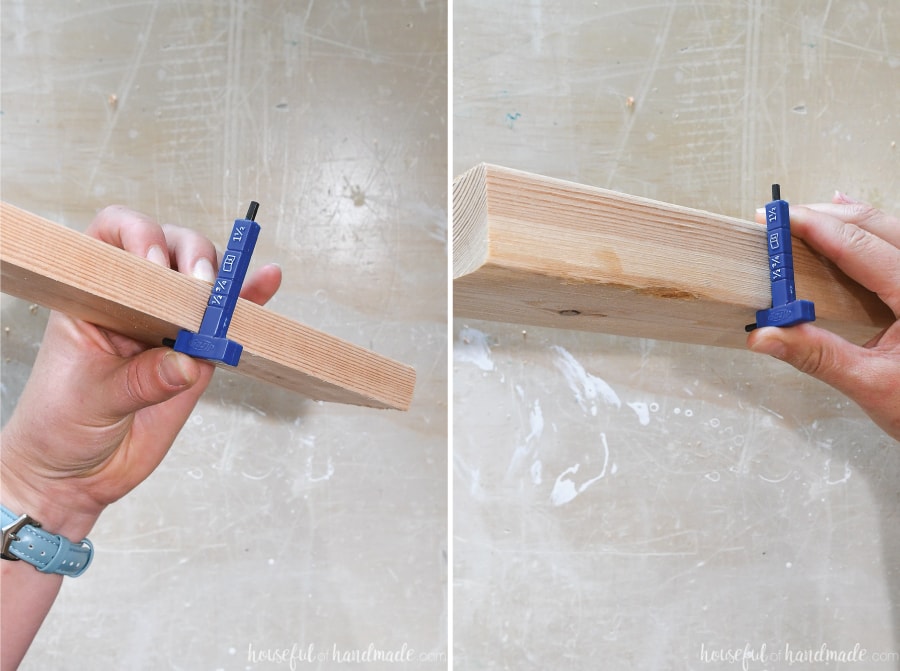
After you have determined which drill guide configuration you will be using, you need to also set up the material thickness stop on the back of the jig.
You can use the material thickness gauge to double check your material thickness. Did you know 1x boards are not 1″ thick, they are actually 3/4″? And 2x boards are only 1 1/2″ thick. Learn all about it and more in the beginners guide to buying lumber.
Always double check your thickness to get the right depth on your pocket holes.
Then to set the material thickness stop on the back of the jig, press the bottom of the light gray button.
Slide the thickness stop forward or backward to click into the appropriate thickness for your material. There are 3 different thickness stops it can click into: 1/2″, 3/4″ or 1 1/2″.
To double check the thickness stop is in the correct spot, look at the front of the drill guide. The light gray of the thickness stop will show through the hole for where it is set to.
If you are using both drill guides together, make sure the thickness gauge on both are set properly.
Setting up the Drill Bit
Before you can start drilling your pocket holes, you need to make sure the drill bit is also set for the proper material thickness. If not, you will drill too shallow or too deep (coming out the edge of your wood) pocket holes.
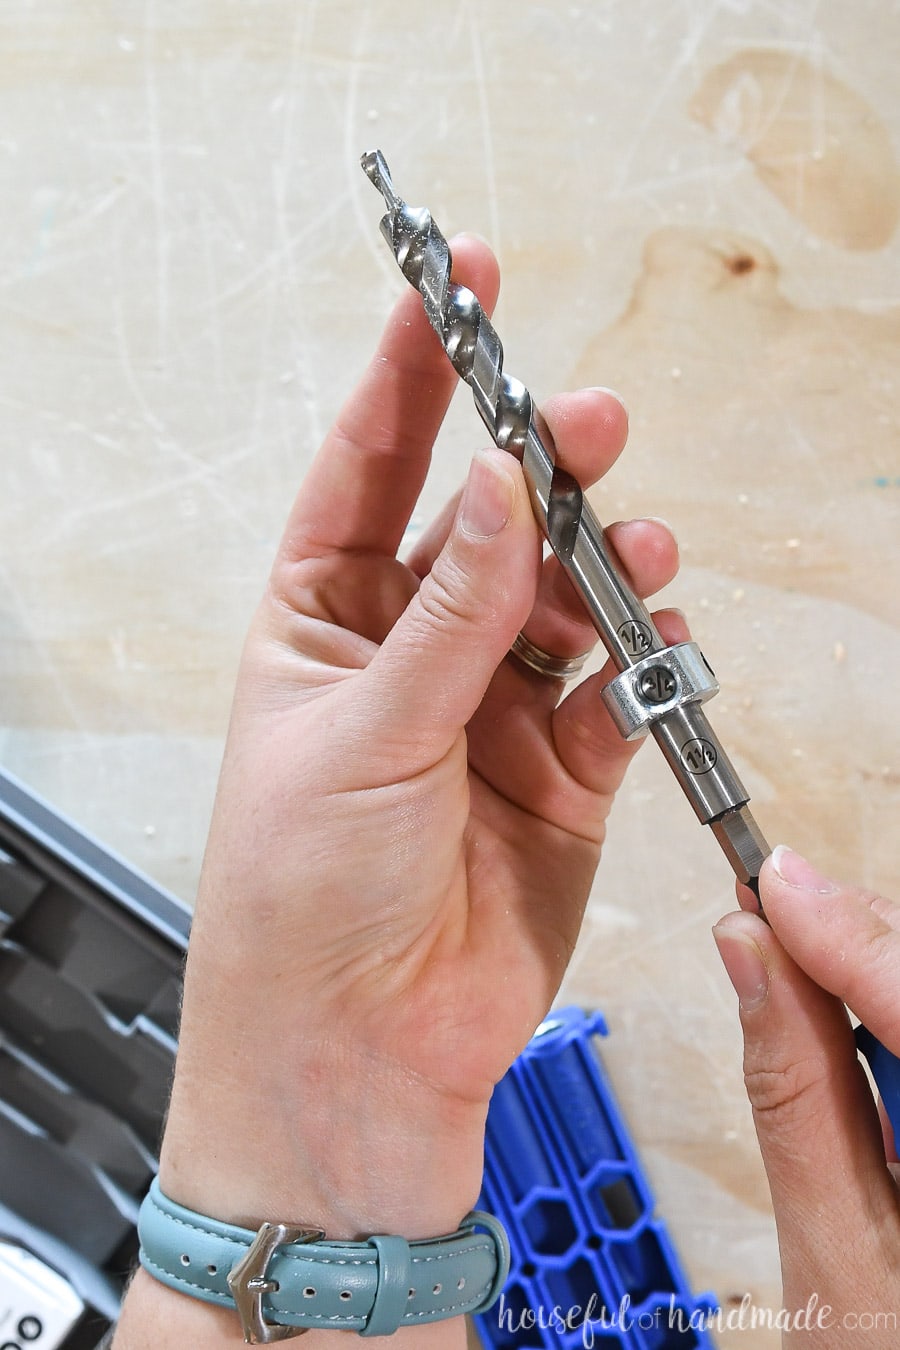
The drill bit that comes with the Kreg 300 series pocket hole jig has the thickness markings directly on the drill bit.
To change the stop collar for a different thickness, use the wrench bit on the side of the material thickness gauge to loose the stop collar. Then slide it up or down until the thickness of your material is visible in the hole on the stop collar. Tighten the screw to secure the stop collar.

Always double check your bit is set to the proper thickness before drilling. Just a quick double check will save you money by reducing mistakes.
And it’s so easy to see what depth it is set to on this new drill bit.
Drilling Pocket Holes
Now that the drill guides are set and the drill bit is set, it’s time to drill some pocket holes!
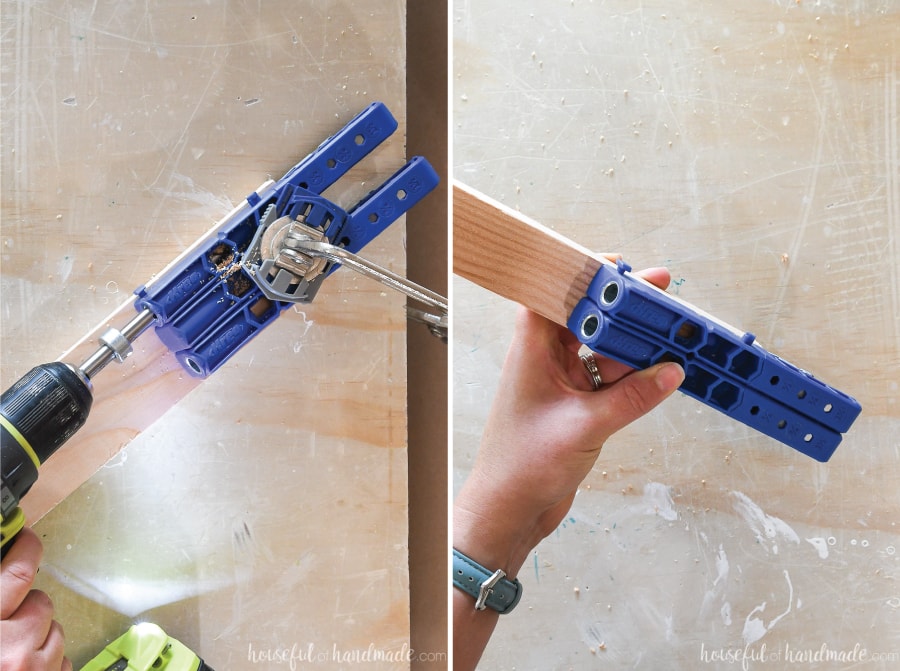
For narrower boards, line the jig up so it is centered on your piece of wood (using the proper configuration as noted above). Press the clamp adapter into one of the hexagon holes on the front of the jig and clamp the jig and workpiece to your work table.
For wider boards or plywood pieces, space the drill guides so your pocket holes will be no more than 5-6″ apart. Clamp them with the clamp adapter or other clamps.
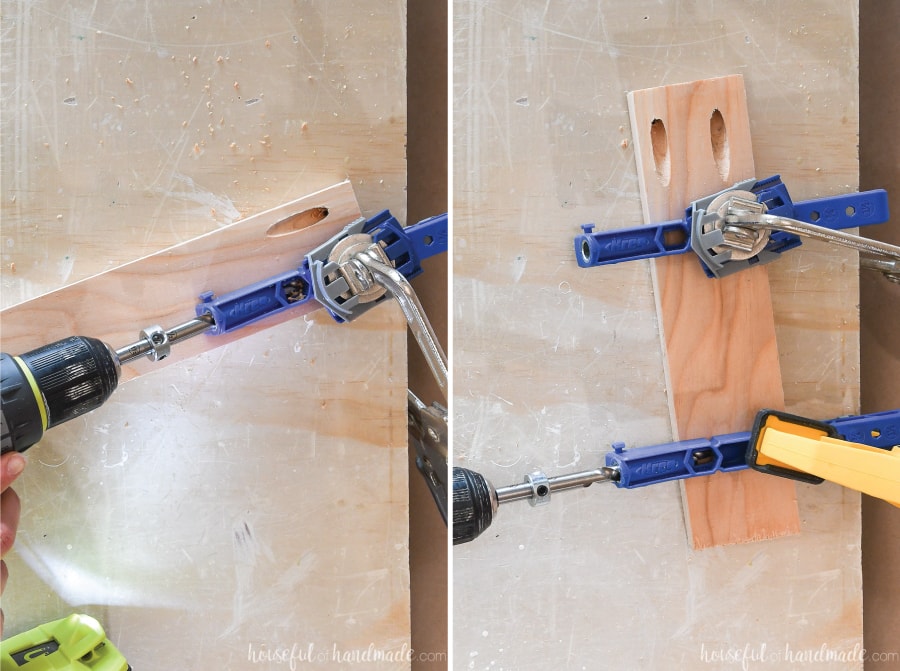
With your drill bit in your drill, drive the bit into the jig until the stop collar hits the jig. Then pull it back out again.
If your wood is hard, try to push in the drill half way, then pull it out, and then push it in until the stop collar hits the jig. This also helps release the sawdust that an make it harder to drill through dense woods.
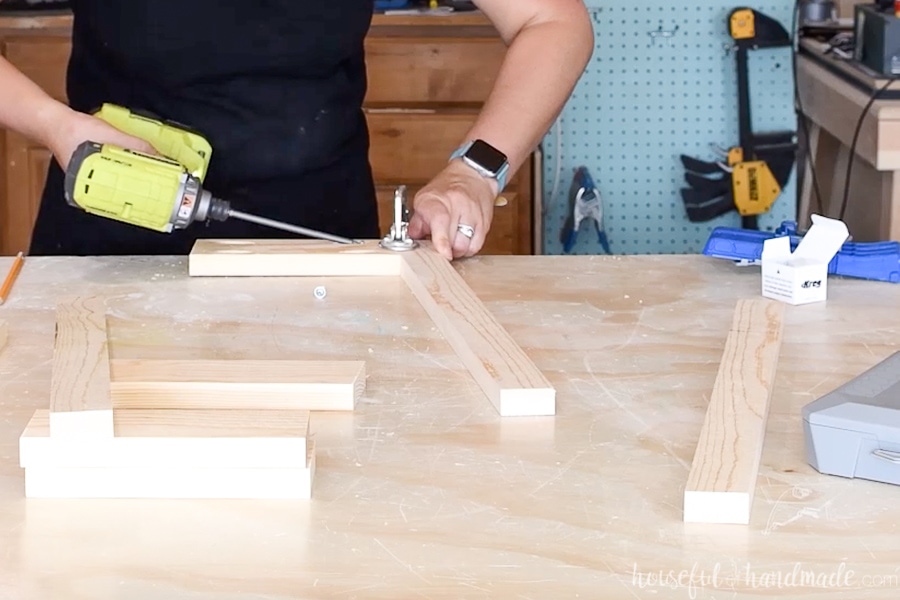
Driving in the Screws
Now you are ready to start attaching the pieces of your project together!
You will need to make sure you pick the right screw for your wood thickness and project.
- For 1/2″ thick wood: use 1″ long pocket hole screws
- For 3/4″ thick wood: use 1 1/4″ long pocket hole screws
- For 1 1/2″ thick wood: use 2 1/2″ long pocket hole screws
- For outdoor projects: make sure to use blue-kote screws
Use clamps to hold your project tight together while you drive the screw into the pocket hole just until resistance is met.
If you overdrive your screws you risk the tip of the screw poking through the wood. Or shortening the amount of wood that is between the screw and the joint making the joint not as strong.
It’s also a good idea to use wood glue to make your joints stronger.
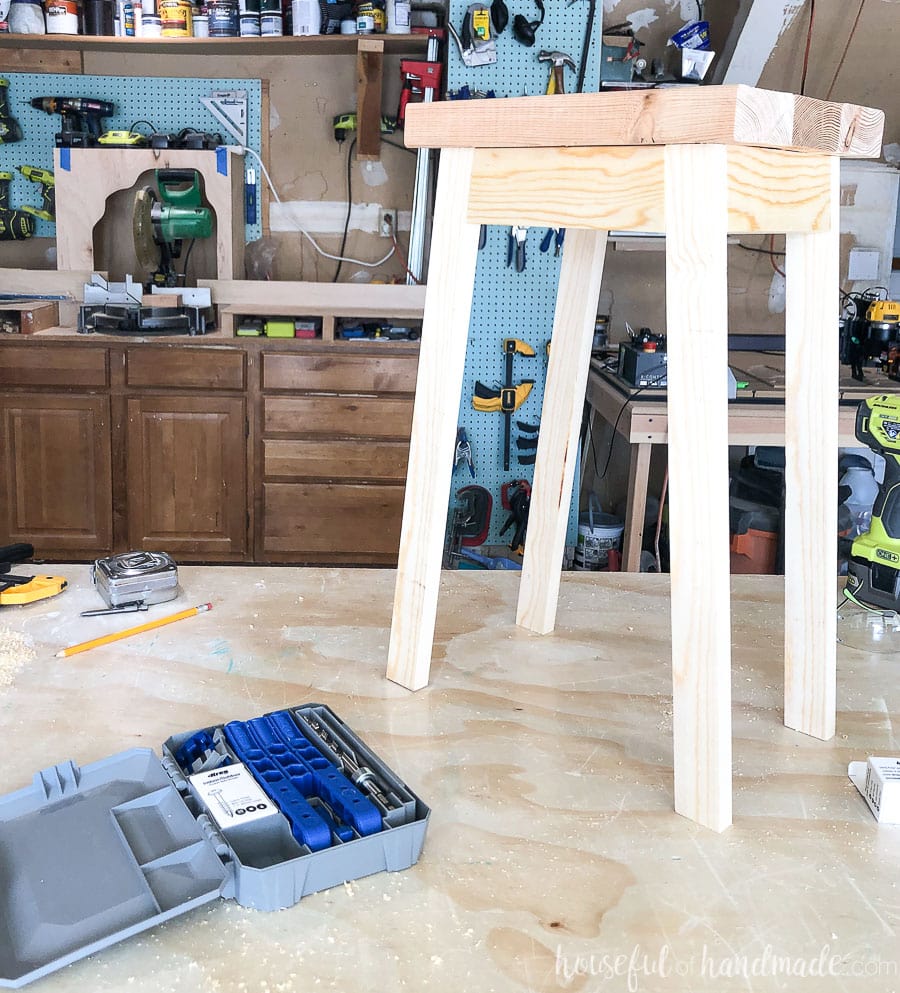
And now you are a pro at using the Kreg 300 series pocket hole jig! You can whip up your next DIY project in no time.
I made this entire plant stand in just an hour with scraps and the 320 Pocket hole jig (make sure to subscribe so you never miss out on awesome projects).
And here are some projects you can make with your new pocket hole skills!
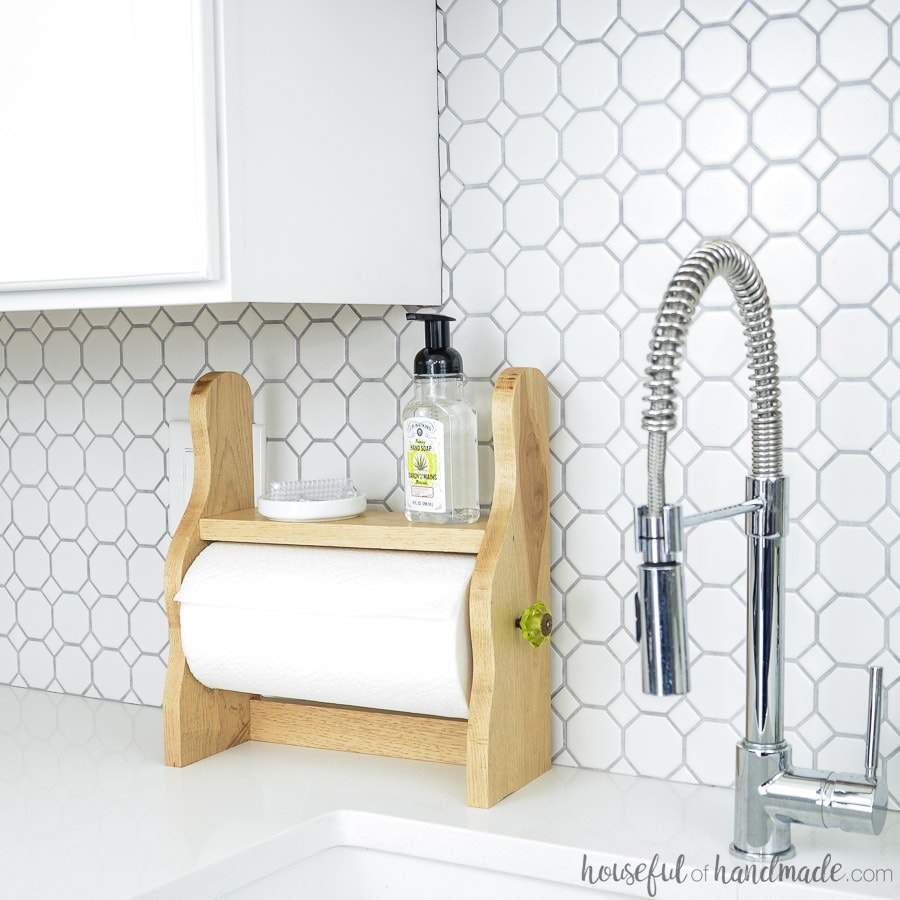
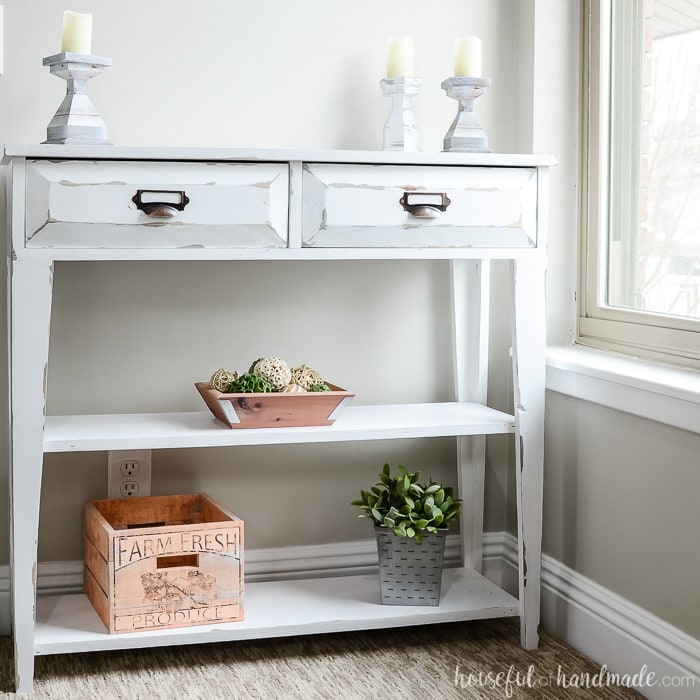
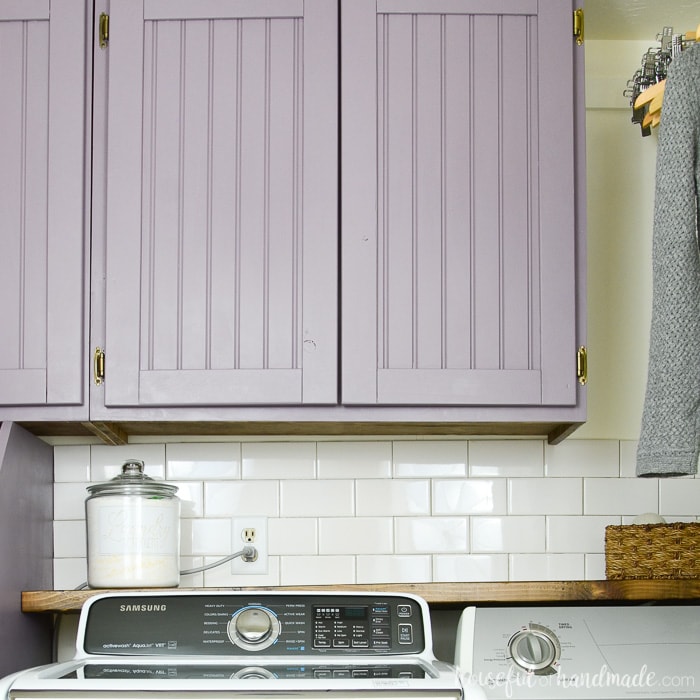
Farmhouse Paper Towel Holder || Small Console Table || How to Build Cabinet Doors Cheap

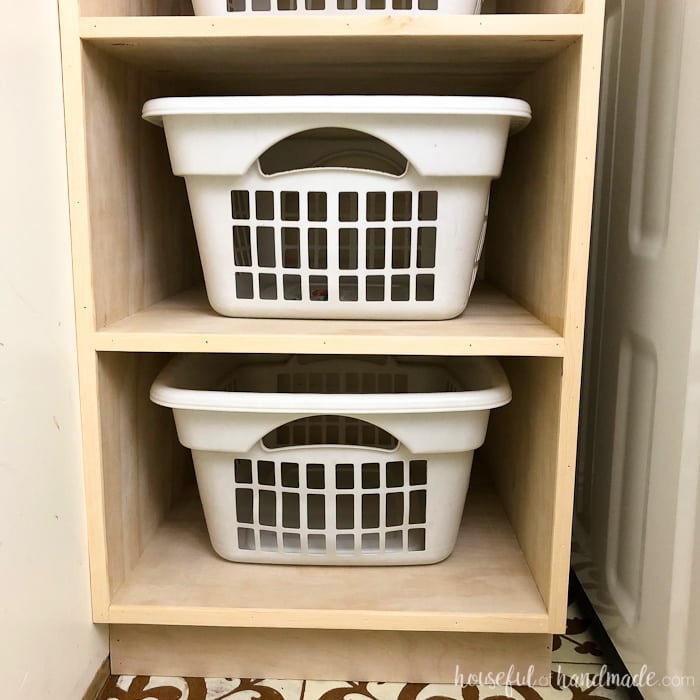
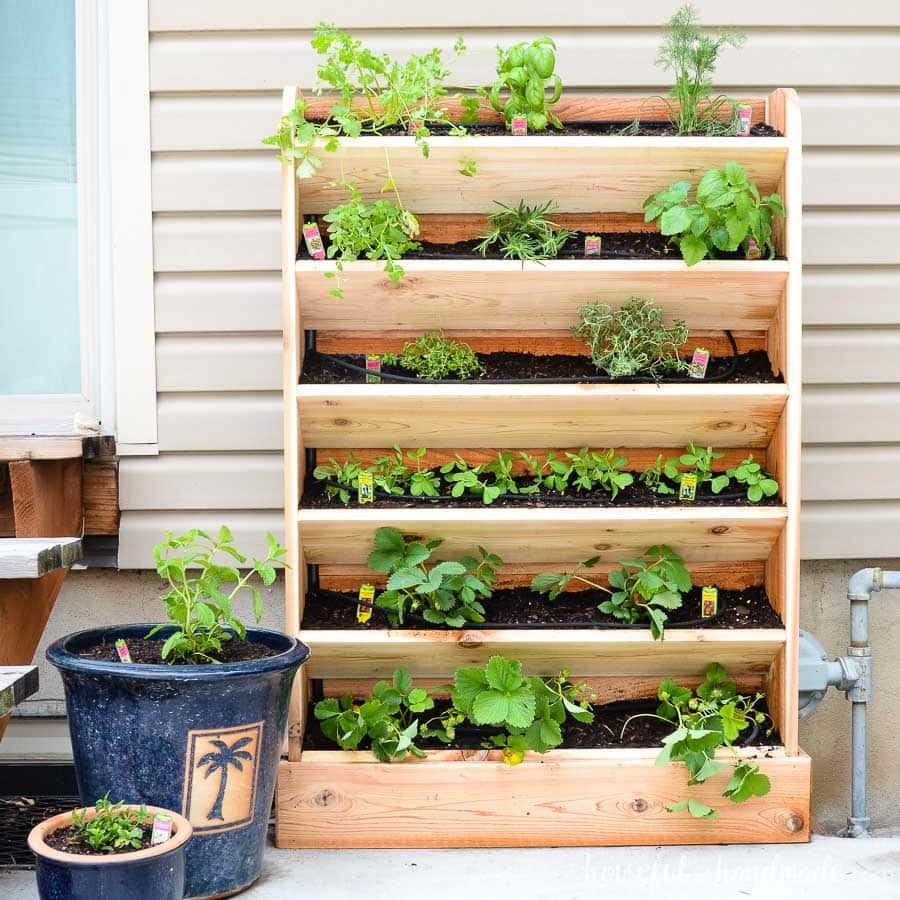
Easy Kids Patio Chairs || Stackable Laundry Basket Storage || DIY Vertical Garden

Thank you to Kreg Tools for sponsoring this post. I only recommend products that I use and love and all opinions are 100% my own. Click here to read my full disclosure policy.