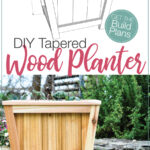
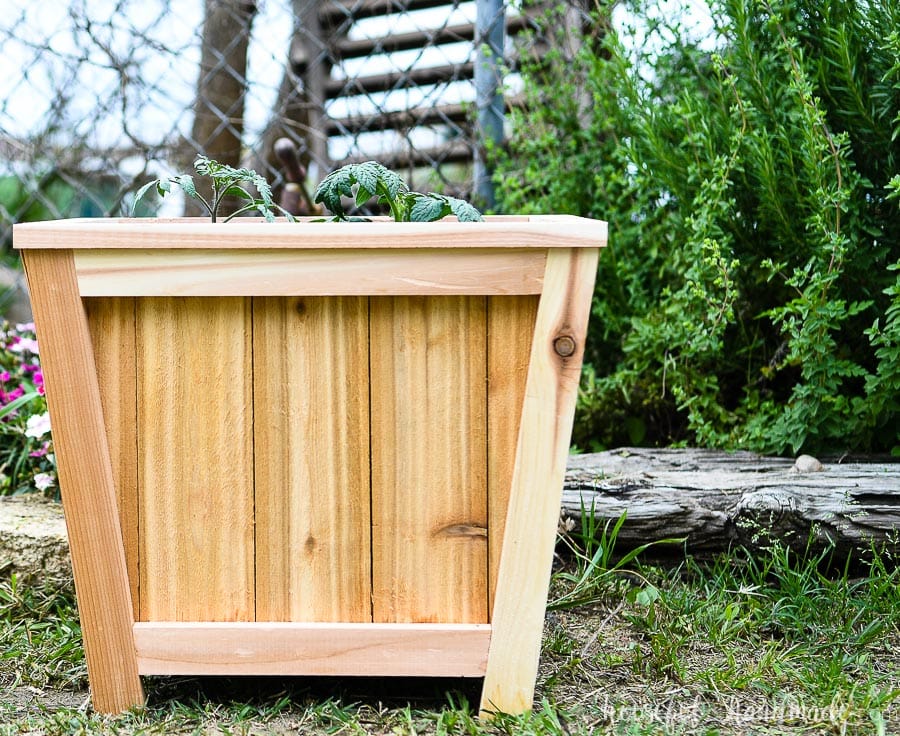
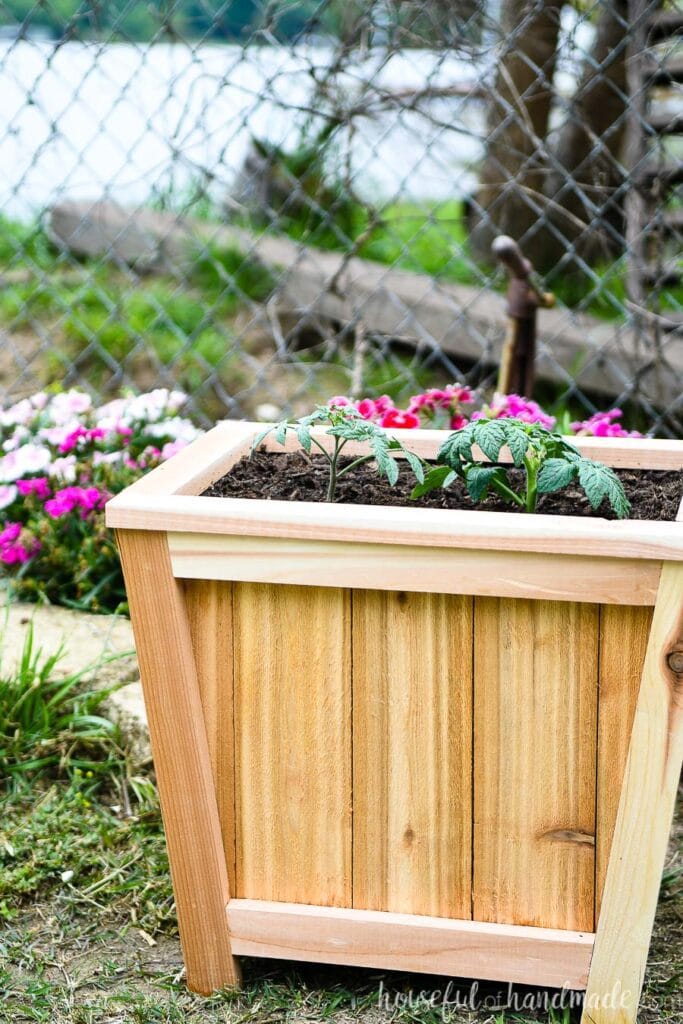
Build a simple DIY planter with a stylish taper for your deck or garden.
The weather is warming up and that means I am eager to start planting! I just love getting dirt under my fingernails and helping things grow.
But since our move to Texas a couple weeks ago, I don’t have a place to plant yet. So I partnered with Kreg Jig to build a beautiful DIY planter.
This planter is easy to assemble with pocket holes and is made from cedar to hold up to the moisture needed to grow your plants.
This post may contain affiliate links. As an Amazon Associate I earn from qualifying purchases. Click here to read my full disclosure policy.
Planters are a great way to garden in limited space.
You can use them for a container vegetable garden, herbs, or flowers. They would even be beautiful with a small tree on your patio area.
And these planters are a simple build. You could easily build a few to give you lots of places to grow your favorite plants!
What Wood to Use for Building Planters
Planters are in contact with dirt and will get wet, a lot. Plus they stay moist (or else your plants won’t be too happy), so you need a wood that can handle that.
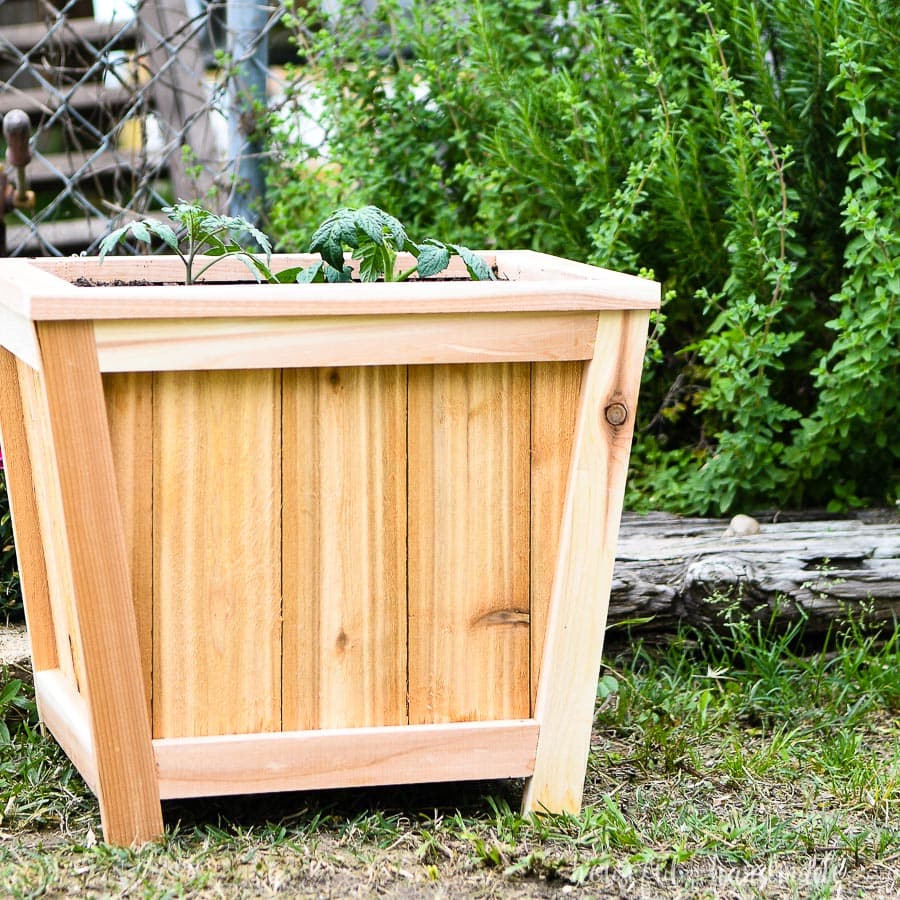
Cedar is a great choice for planters. It is naturally resistant to rot and bugs. And it gets a beautiful gray patina on it overtime.
If you do not like the color of the patina, you can use a waterproofing sealer to prevent it.
But be careful of sealers on your wood if you plan to plant vegetables or herbs. Make sure to use a non-toxic option.
Plus the build plans for this tapered planter were created to use inexpensive cedar fence pickets. The texture of the fence pickets give the inside panels a rustic look to balance the more modern tapered design.
Redwood is also a good choice for outdoor wood projects. It too is naturally resistant to decay and also has little seasonal shrinkage and movement.
If you want to use cheap construction lumber, you will want to seal the wood to prevent decay. And the planters will not last as long as one made with a more appropriate wood.
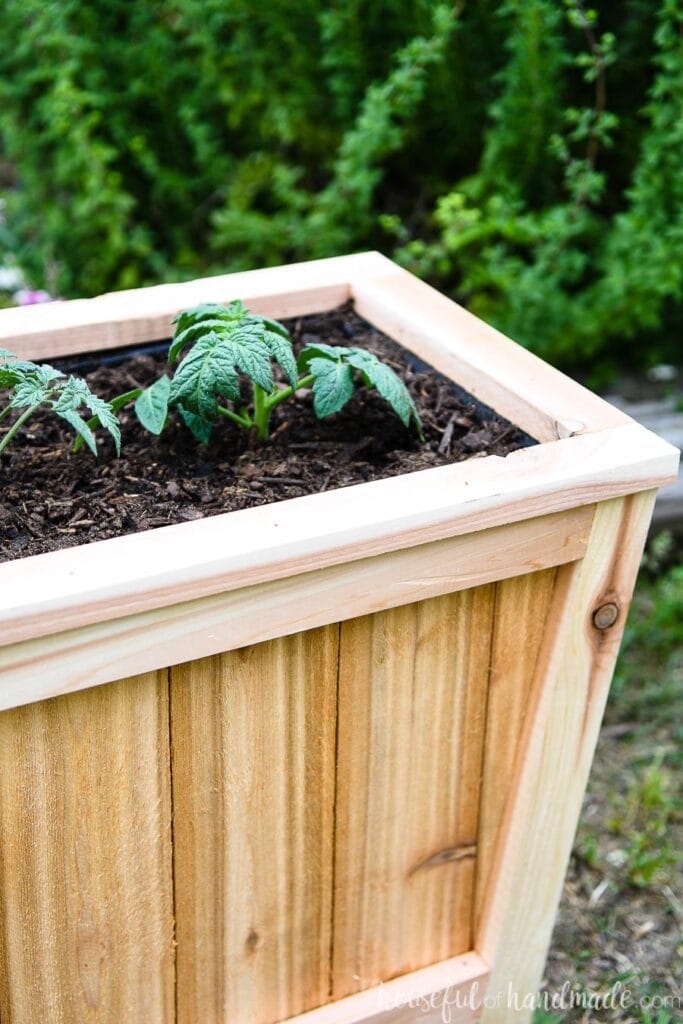
How Big is the Planter
The cedar planter has a planting area of 14 3/4″ x 9 1/2″. The planter is 15 1/2″ tall and is raised off the ground 1 1/2″ to allow for proper drainage.
This DIY planter is large enough to grow:
- 3-4 herbs
- a couple small vegetable plants or 1 larger one
- a tomato plant (I planted 2 and will see what happens)
- a collection of colorful flowers
- a small tree or bush
Build a few of these easy planters and have fun adding new plants all over your yard or patio!

How Much Does it Cost to Build a Planter
The cost of the planter depends on the type of wood you choose. I built my planter out of cedar I purchased at a home improvement store.
Here is the breakdown of what I spent to give you an idea of cost. However costs can change quickly and regionally so use this as a guide.
- Cedar 1×2 boards: 3 @ $4.25
- Cedar fence pickets: 3 @ $1.89
- Kreg pocket hole screws: 1 box @ $4.78 (I should have used Blue-kote screws but couldn’t find them in the store and didn’t have time to wait for shipping, Blue-kote are a little more expensive but are made for outdoor use).
- Landscaping fabric: I used leftover but could get a small roll for under $10
- Staples & nails: already had, they come in packs of 1000 so just needed a few
So for less than $25 I was able to build a beautiful cedar planter. That is much cheaper than other wood planter options I have seen out there.
If you buy landscape fabric it will cost you more, but you can make multiple planters out of one roll.
How to Build a Cedar Planter
Tools & Materials
Recommended Tools:
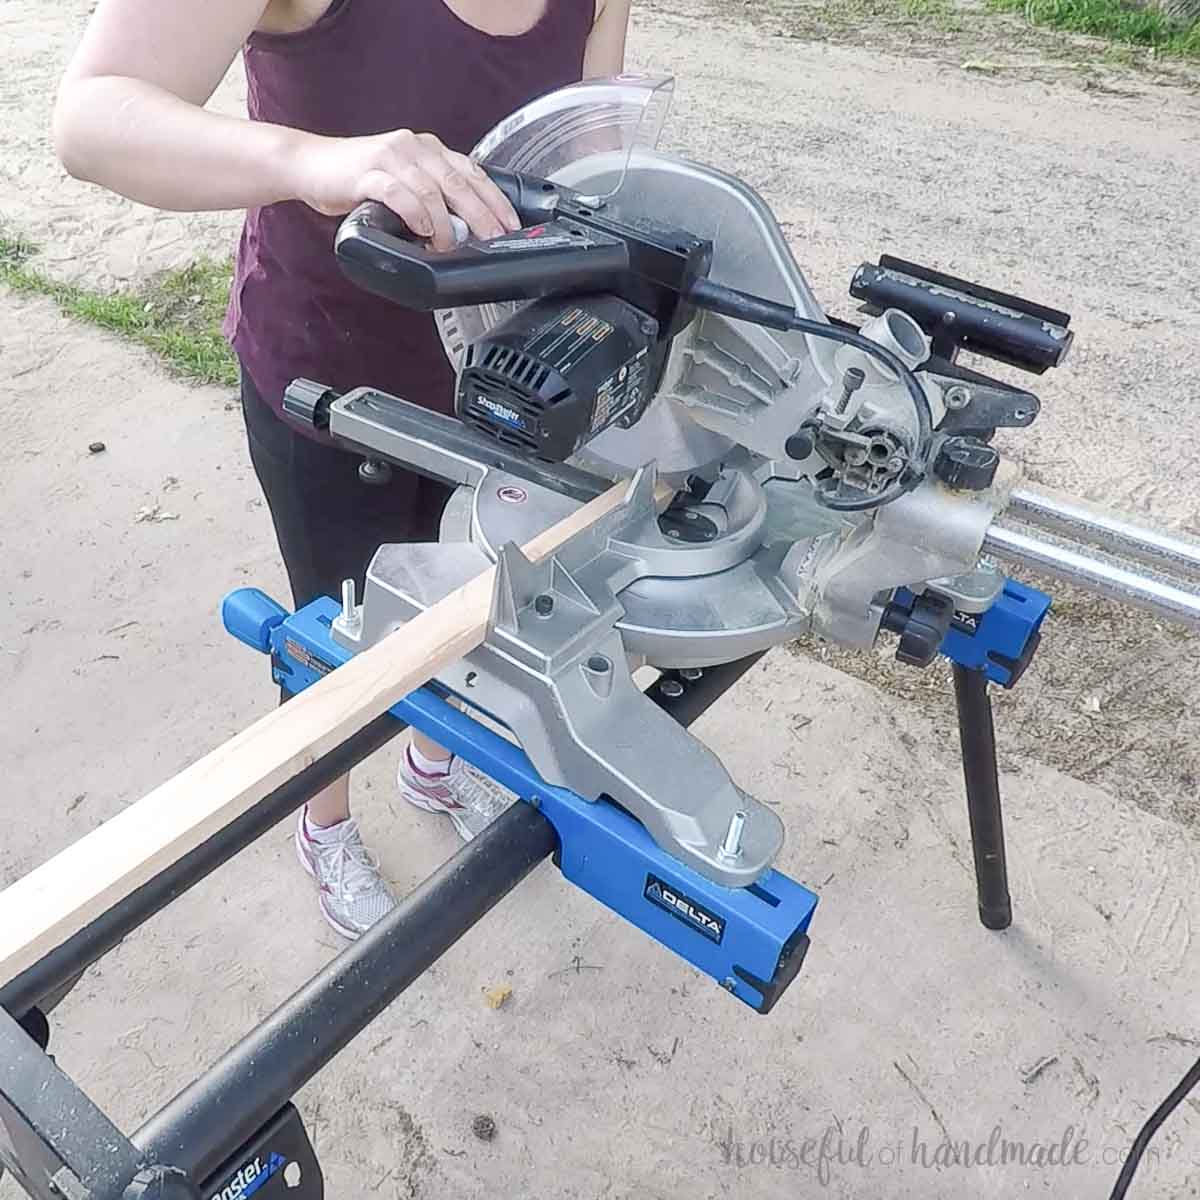
- Miter saw
- I recently upgraded to this larger sliding miter saw (watch for it to go on sale), but all my projects before were built with this inexpensive miter saw that I loved.
- Circular saw or Jig saw
- Pocket hole jig
- Drill
- Impact driver (optional, but I love not having to switch bits with the drill)
- Speed square
- Right angle clamp
- Finish nailer
- Stapler
Supplies:
- Wood products
- (3) 1×2 boards, 8′ long
- (3) 3 1/2″ cedar fence pickets, 6′ long
- (1) 1×4 board, 3′ long
- 1 1/4″ blue-kote pocket hole screws
- 1″ finish nails
- Outdoor wood glue
- Landscape fabric
- Staples
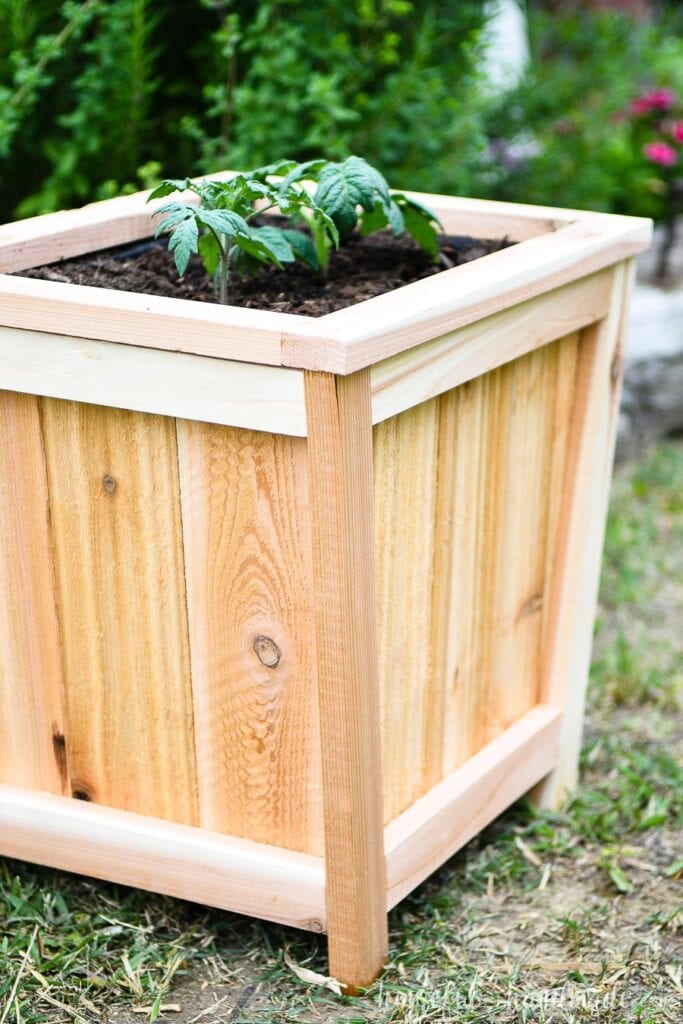
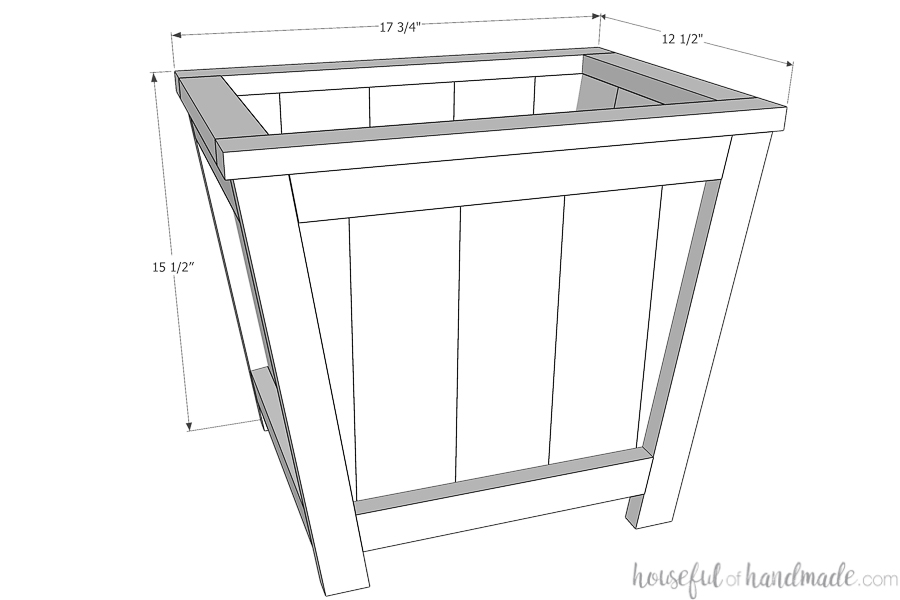
Overall Dimensions
The finished planter is 17 3/4″ wide by 12 1/2″ deep and 15 1/2″ tall.
Cut List
Cut out the pieces according to the plans on KregTool.com.
The legs need to be cut so each edge is at an 8 degree angle with the ends parallel to each other.
The front/back top and bottom rails need to be cut so each angle is cut at an 8 degree angle with the angles opposite each other.
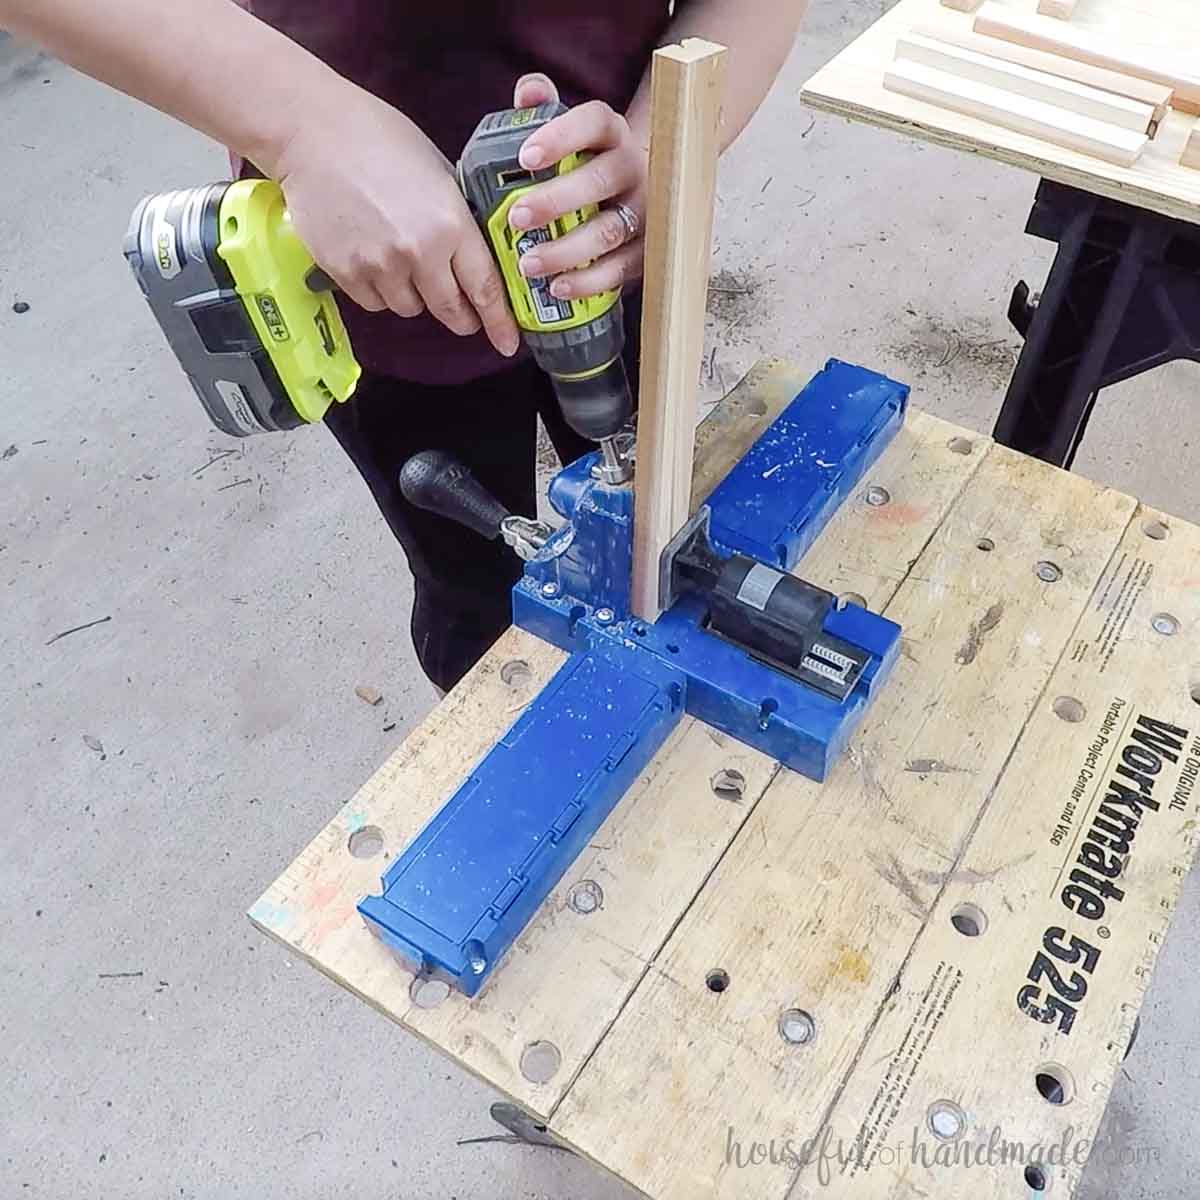
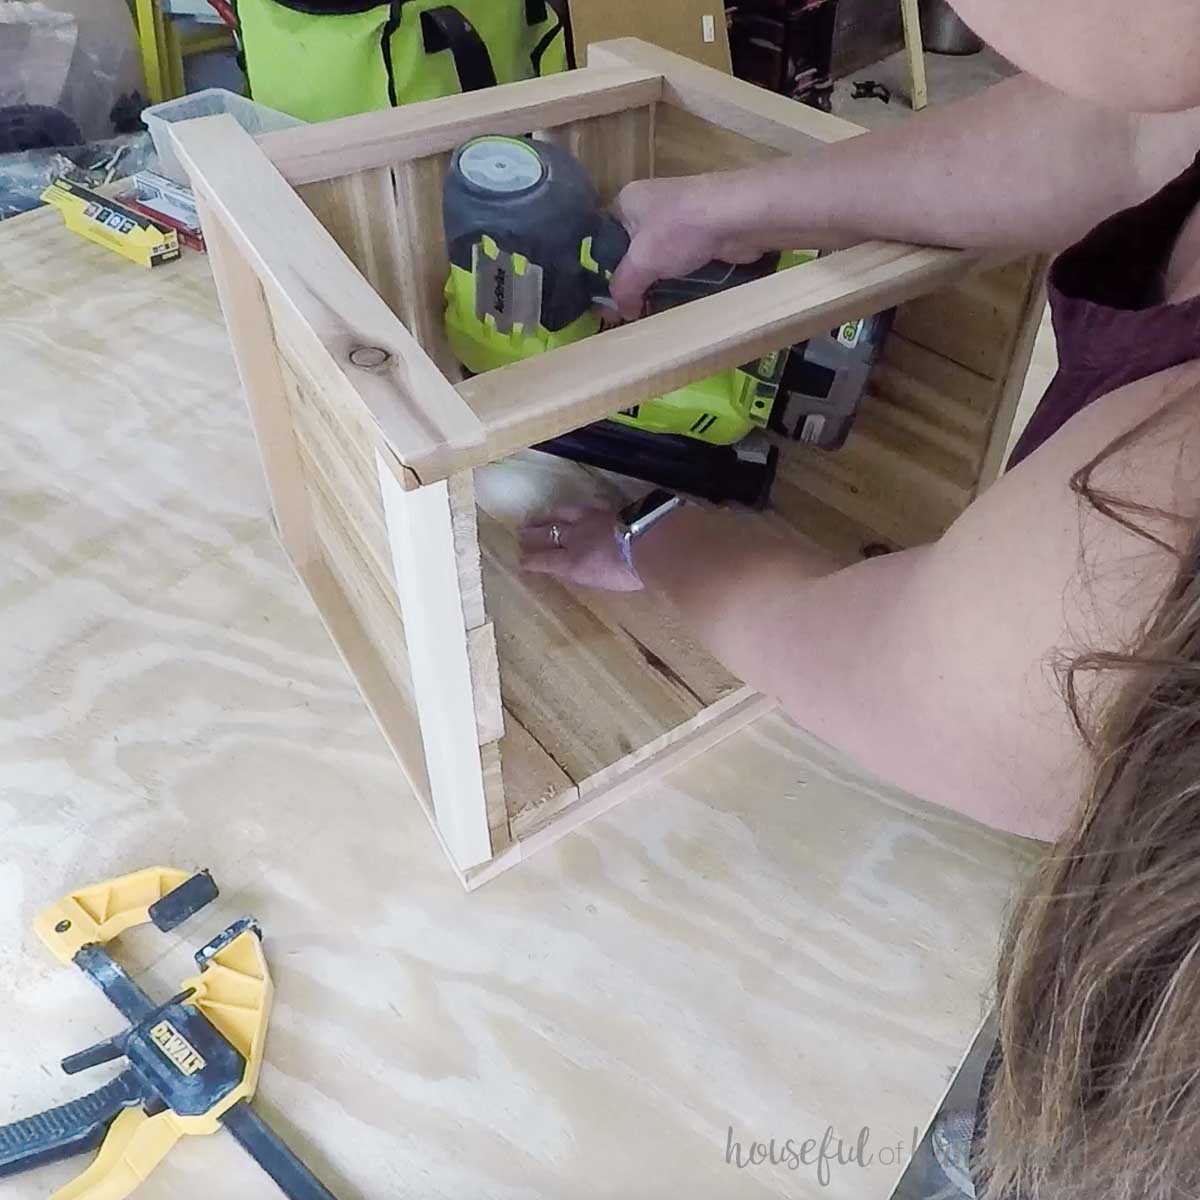
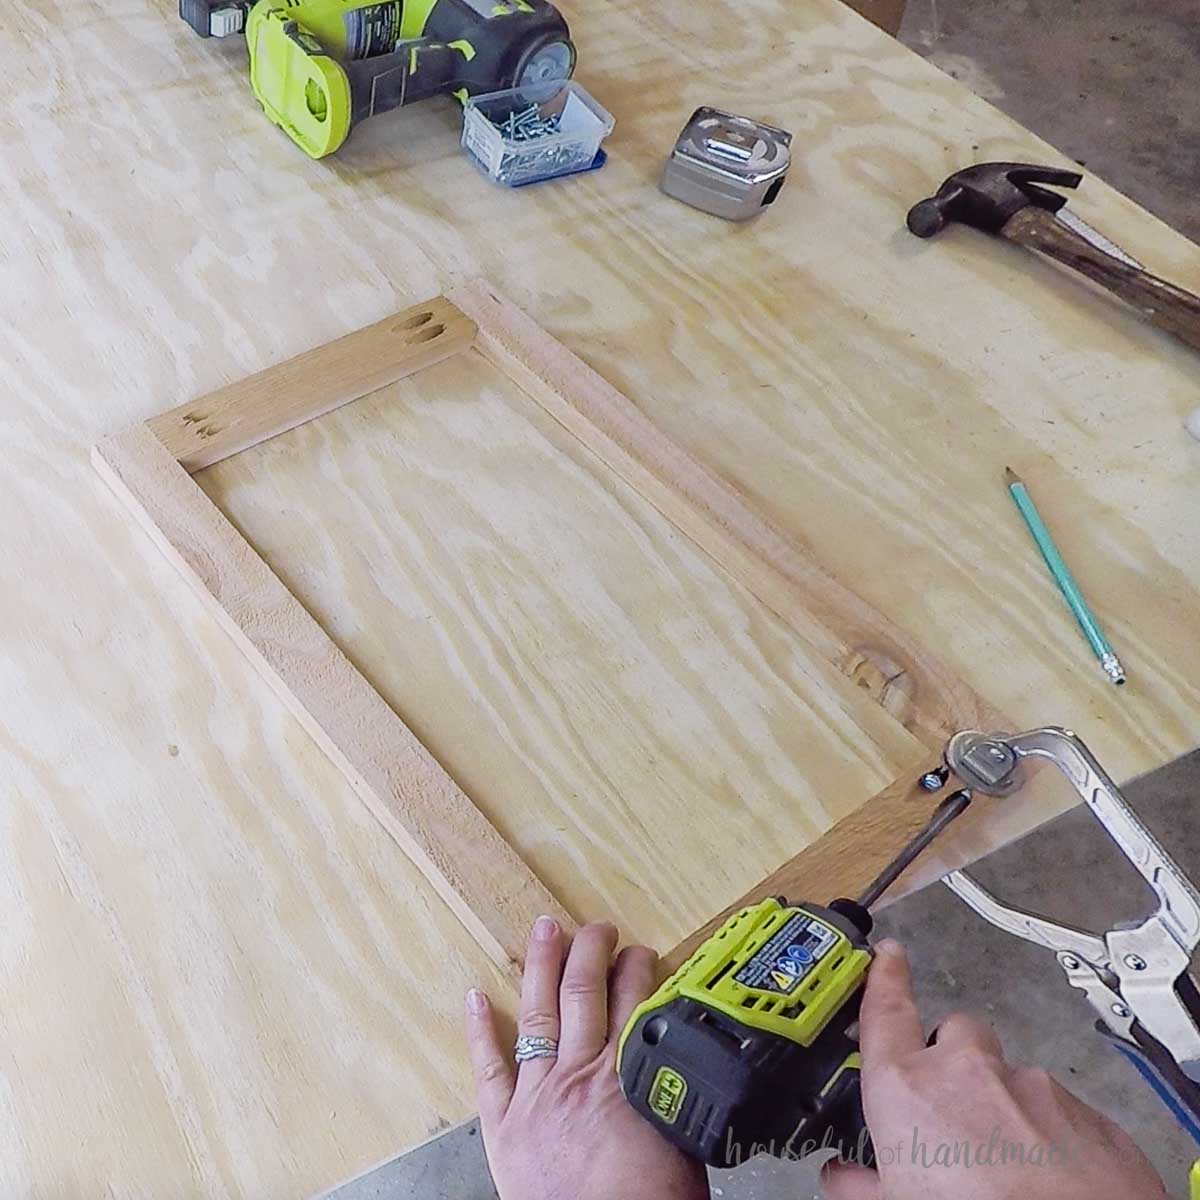
STEP 1- Build the planter frame
Set your Kreg pocket hold jig for 3/4″ material. Drill 2 pocket holes in each end of the front/back top and bottom rails.
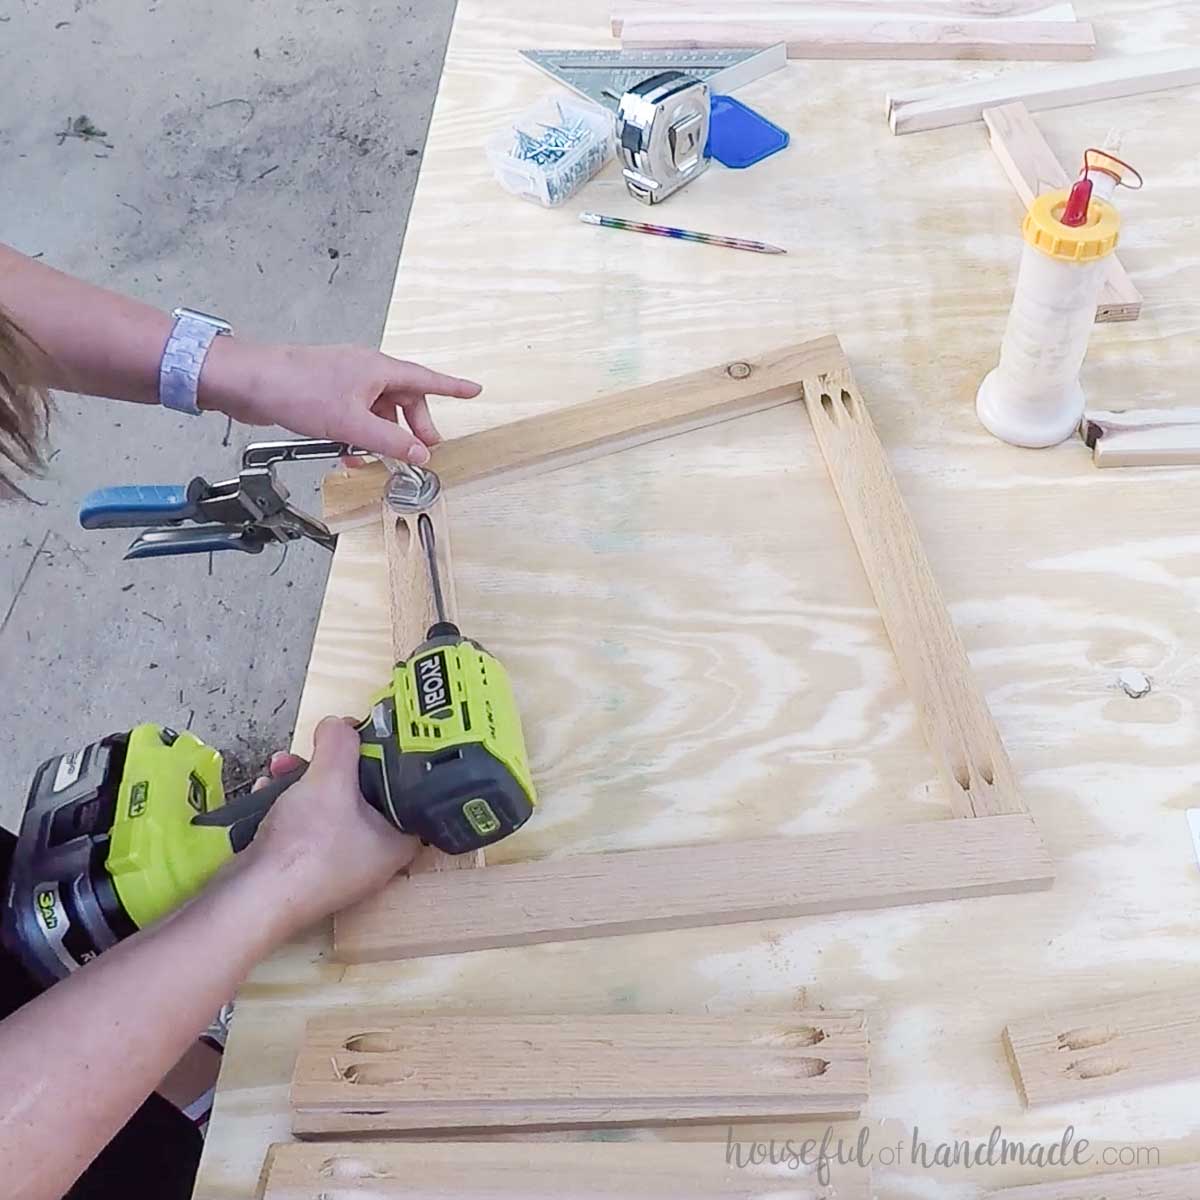
Using wood glue and 1 1/4″ pocket hole screws, attach the bottom rail so it is 1 1/2″ up from the bottom of the legs and the top rail is flush with the top of the legs.
Make sure the legs angle toward each other at the bottom.
Repeat so you have 2 completed pieces.
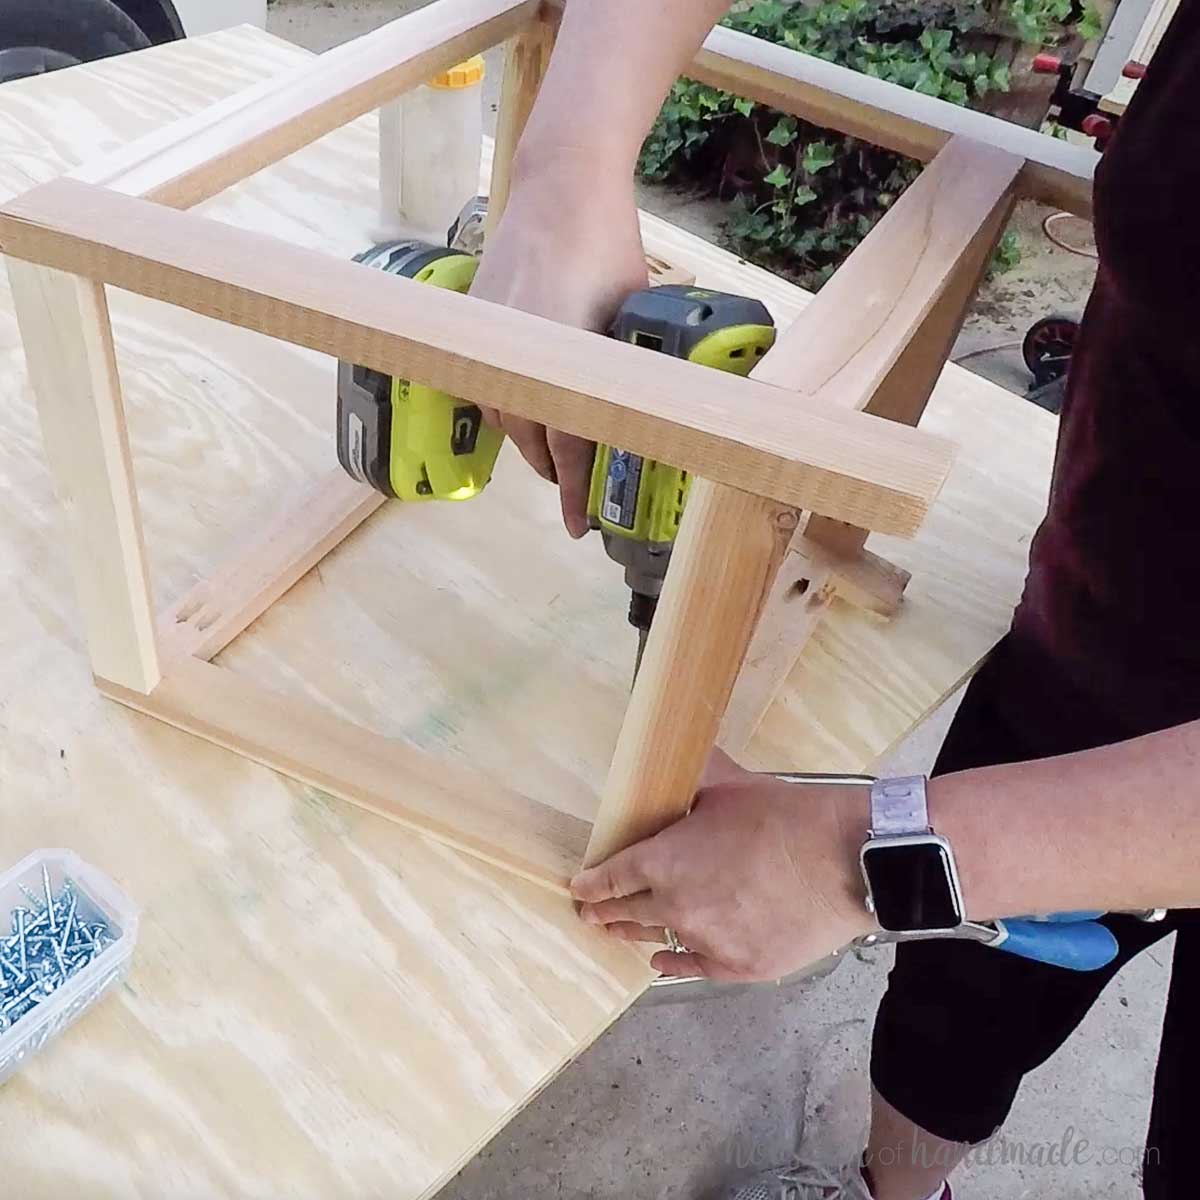
Drill 2 pocket holes in each end of the side rails.
Attach them between the front and back frame so the top rails are flush with the outside of the front and back.
The top rail will not be flush at the top, but this will be hidden later. The bottom rail should be 1 1/2″ up from the bottom.
STEP 2- Build the bottom
Drill 2 pocket holes in each side of the bottom slats.
Attach them between the front/back bottom rails so they are flush with the bottom.
Use 1 1/4″ pocket hole screws and wood glue. Leave a bit of a gap between the boards and the side of the planter for drainage.
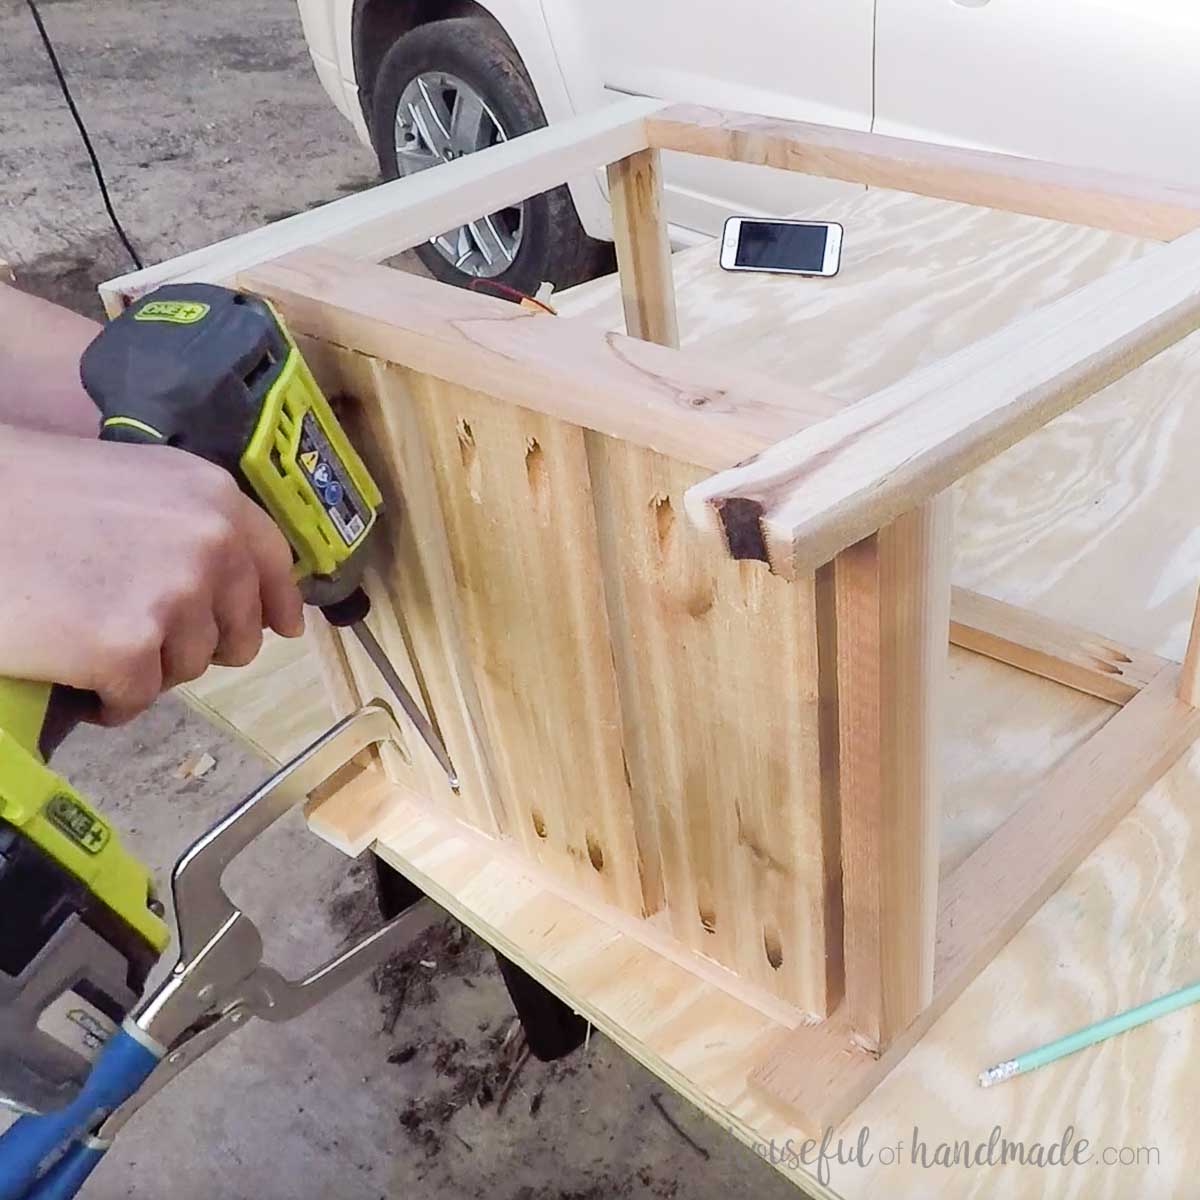
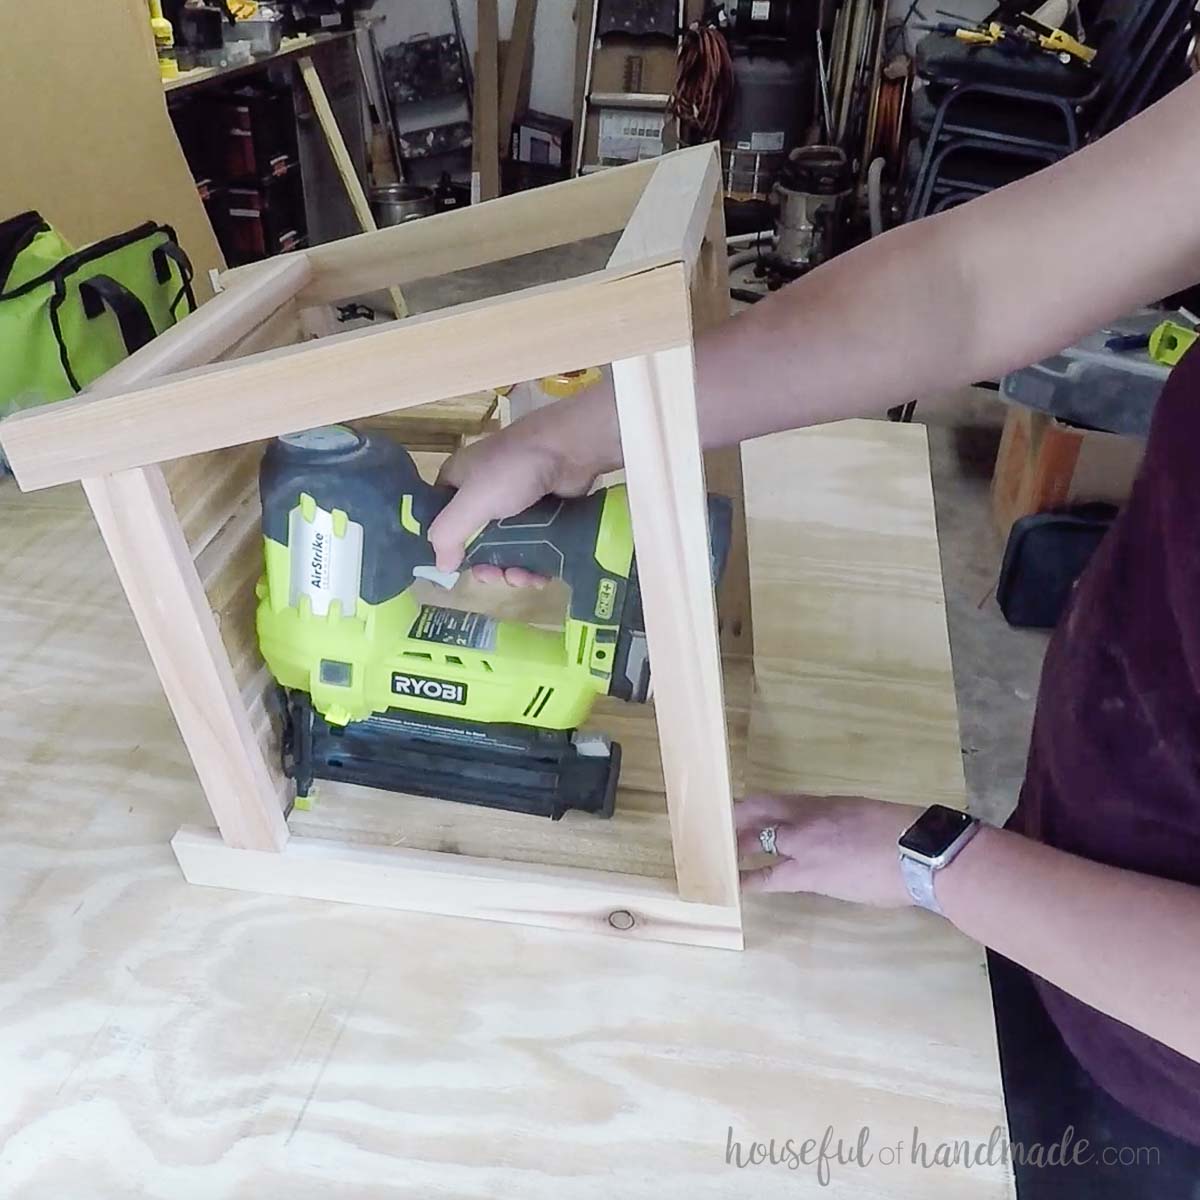
STEP 3- Attach cedar panels
Add the fence picket panels to the sides of the planter first.
Set the panels so they are 1/4″ below the top of the planter.
Use wood glue and finish nails to secure them to the inside of the planter frame.
Center 3 panels inside the front of the planter. Secure as above.
Measure the space remaining and using a circular saw or jig saw, cut the triangle piece off one of the remaining panels to fit.
Use the other side of the cut off panel to cut a piece for the other side of the planter.
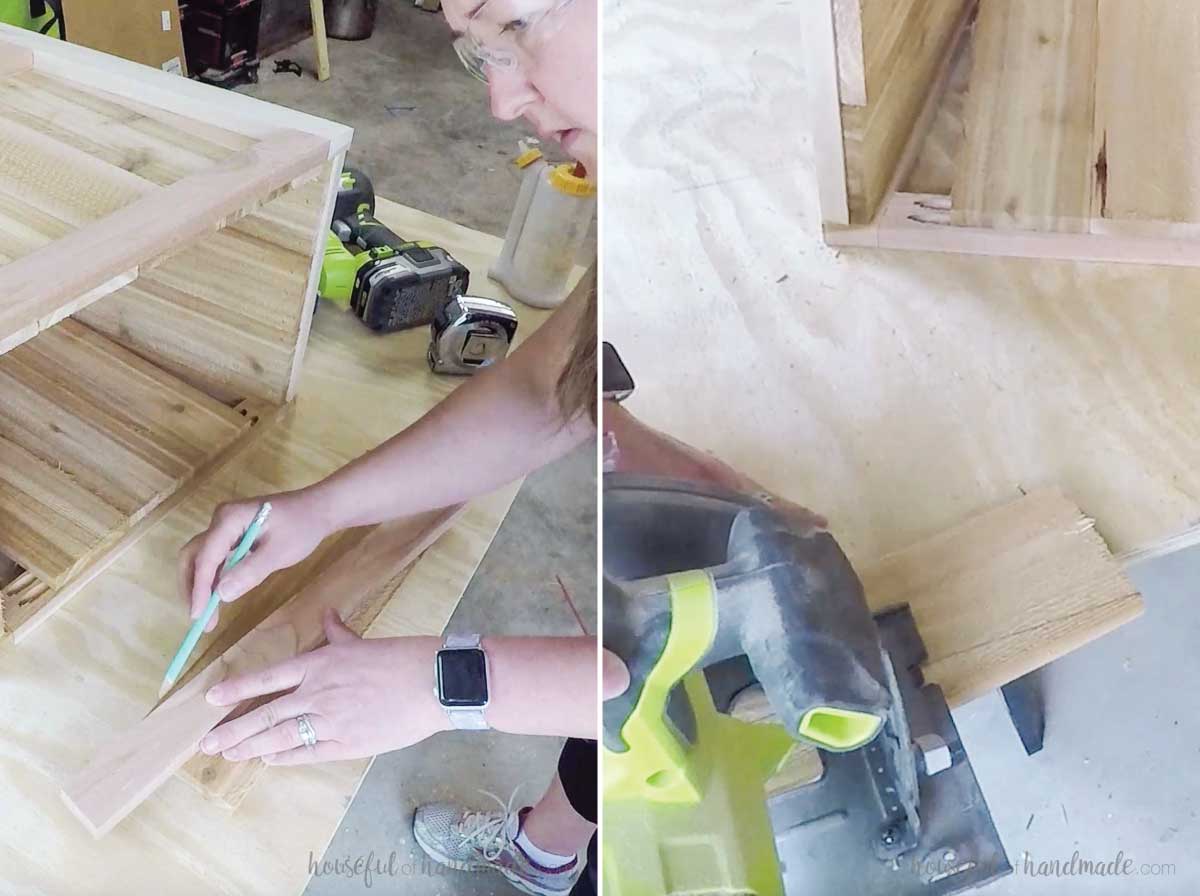
Attach the cut pieces to the inside of the planter.
Repeat for the back.
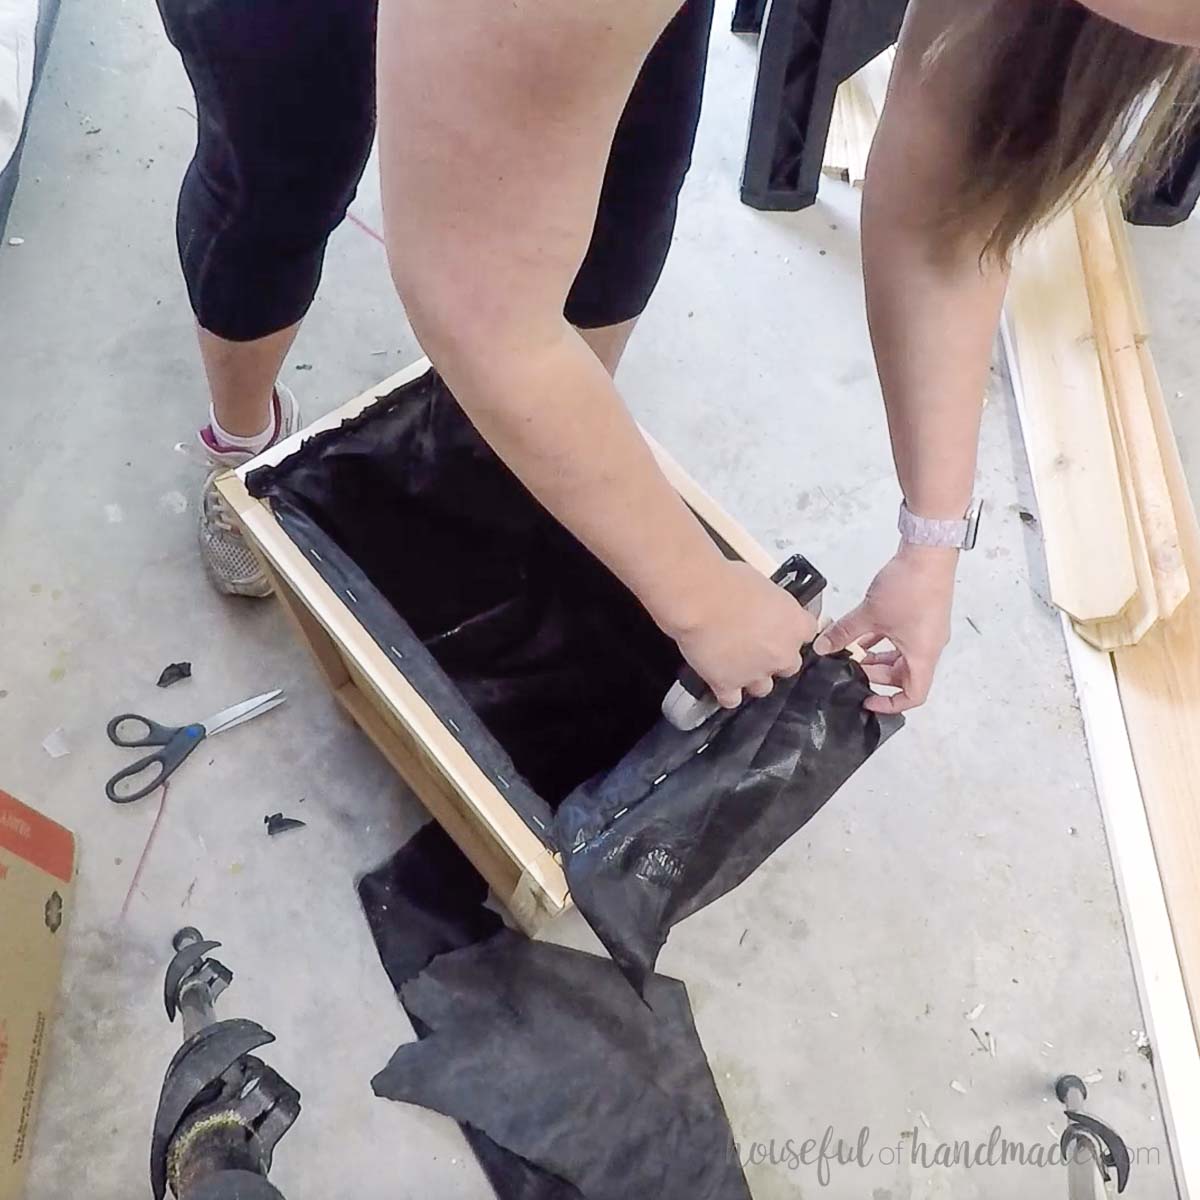
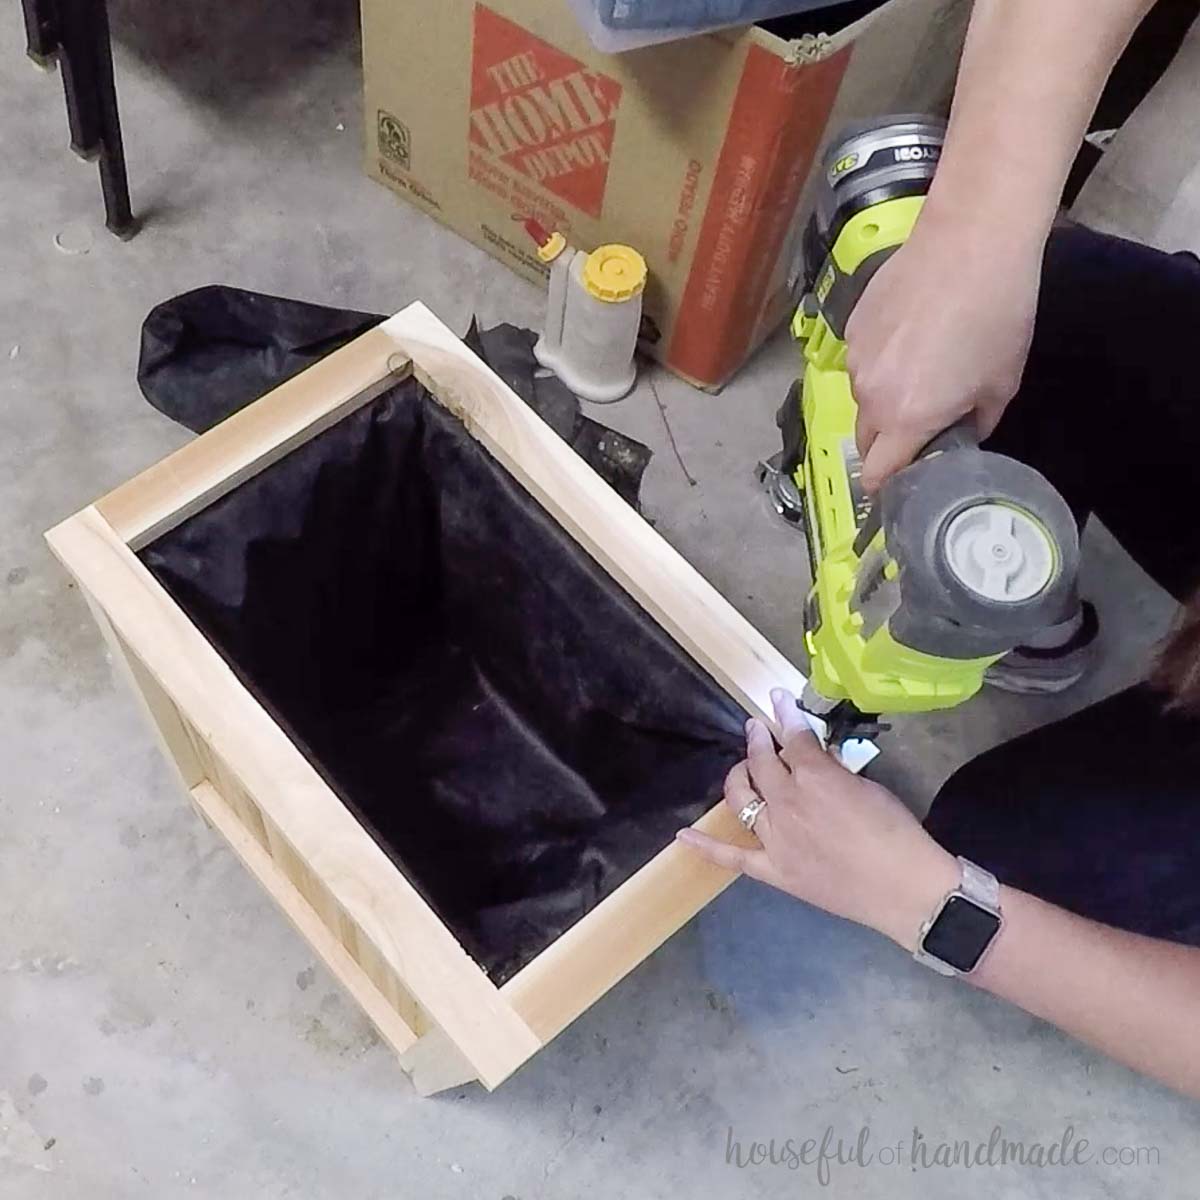
STEP 4- Finish planter
Cut a piece of landscaping fabric to fin inside the planter. It needs to sit flat on the bottom of the planter and against the sides.
You will need to fold the fabric in the corners so it sits flat agains the cedar panels.
Staple the fabric to the top of the slats not the frame. Trim the excess fabric.
Build the top frame by drilling pocket hole screws in both ends of the top side boards.
Attach them between the top front/back boards with 1 1/4″ pocket hole screws and wood glue.
Lay it on top of the planter frame and center.
Attach with wood glue and finish nails making sure to cover the edges of the landscape fabric.
You did it! You can seal your planter to protect the cedar from weathering, or let it age naturally for a gray finish to it.
Fill your planter with soil and have fun growing something this spring.

Thank you to Kreg Jig for sponsoring this post. I only recommend products that I use and love and all opinions are 100% my own. Click here to read my full disclosure policy.
