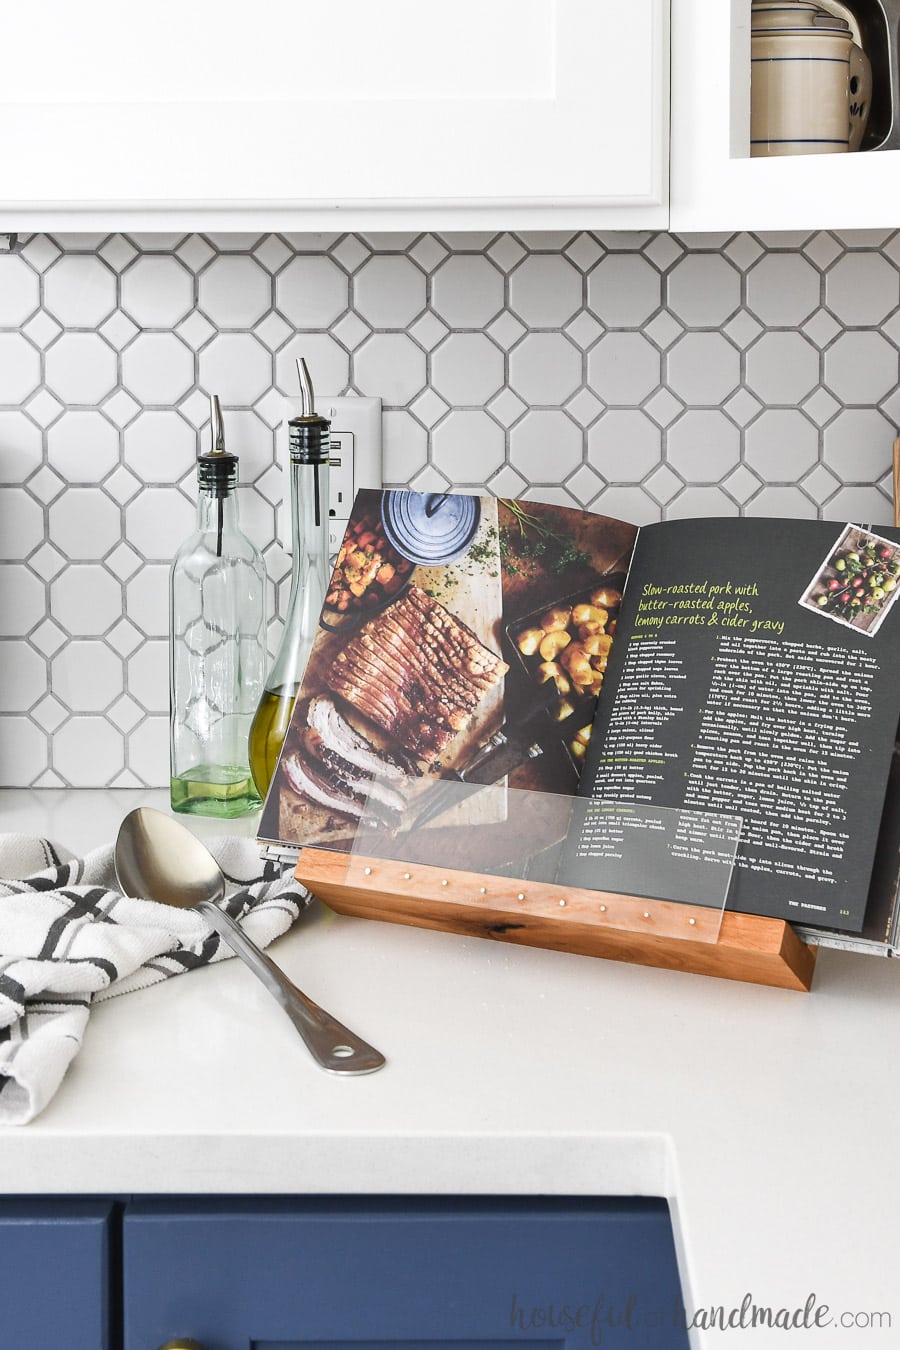
As the weather turns cold, I find myself in the kitchen more. Problem is, I’m always fighting with my cookbook to stay open… not anymore.
Cooking is way easier with this easy to build DIY cookbook stand.
I don’t tend to collect a lot of things (unless you count my ever growing pile of scrap wood as a collection). But I am obsessed with cookbooks!
This post may contain affiliate links. As an Amazon Associate I earn from qualifying purchases. Click here to read my full disclosure policy.
The are just too pretty not to buy and they look so good sprinkled around our kitchen and dining room.

But since cooking from cookbooks can be a big pain, most of my cookbooks remain mostly unused. It’s so sad, I know.
So when I was thinking about ideas for handmade gifts for the holidays, I thought about a DIY cookbook stand.
It’s perfect for anyone who loves to cook! And pair it with your new favorite cookbook, or a book made from your favorite recipes, and they will love the handmade sentiment.
Quick & Easy Build
Even if you are not looking for handmade Christmas gift ideas, this cookbook stand is great!
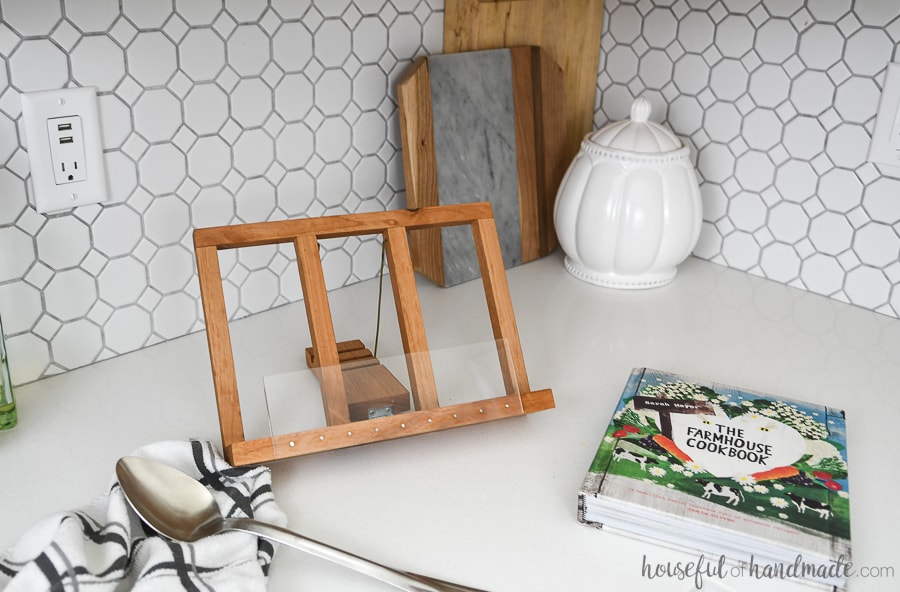
We’ve already used ours twice this week. It holds a cookbook or a tablet, then folds up to store away when not in use.
If you don’t like to work with plexiglass, check out this modern folding cookbook holder idea.
And the best thing about this DIY cookbook holder, it is so easy to build! You could whip up a few of these in no time and cross lots of people off your Christmas list.
Plus, if you have a stash of scrap wood, you probably have almost everything you need to make one or two. So grab your nail gun and let’s get to DIYing!
Need more easy DIY gift ideas?
Check out these other fun simple builds that also make great DIY gifts.
How to Build a Folding Cookbook Stand
Tools & Materials
Recommended Tools:
- Miter saw
- I recently upgraded to this larger sliding miter saw (watch for it to go on sale), but all my projects before were built with this inexpensive miter saw that I loved.
- Router or table saw
- If you don’t have access to either of these, I have a cheat
- Finish nailer
- Drill
- Impact driver (optional, but I love not having to switch bits with the drill)
- Measuring tape
- Clamps
- Pliers
Supplies:
- Wood products:
- (1) 1×1 board, 4′ long
- (1) 1×3 board, 2′ long
- 1 1/4″ finishing nails
- 10″ x 3″ piece of plexiglass
- 5/8″ wire nails
- Small hinge
- Wire hanger
- Wood glue
- Stain
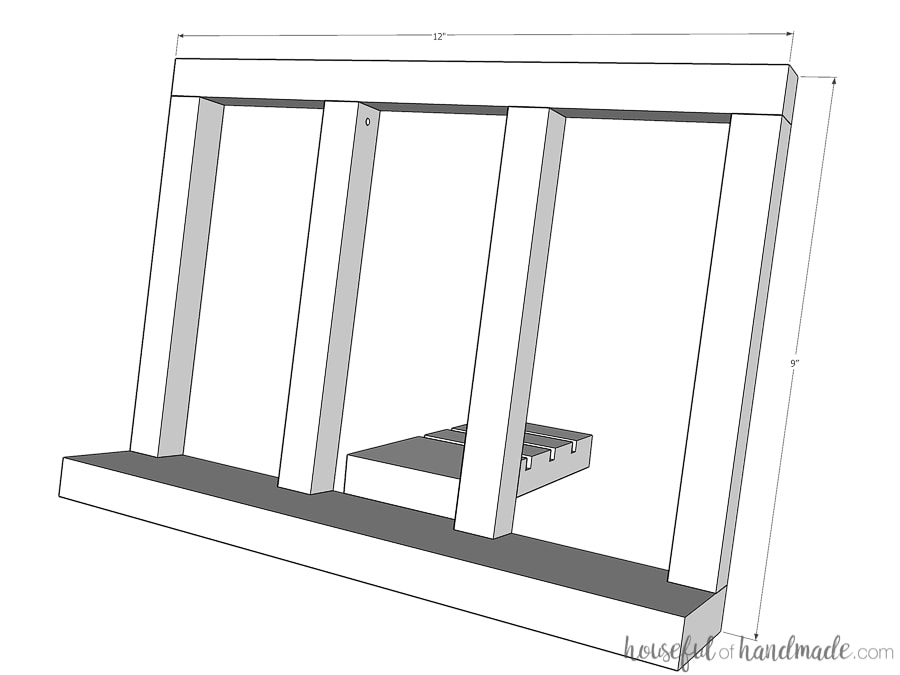
Overall Dimensions
The finished cookbook stand is 12″ wide by 9″ tall. When folded up, it is only 2 5/8″ deep, perfect for slipping into a bookshelf next to your cookbooks.
Cut List
Cut out the pieces according to the easy-to-read cut table in the PDF plans.

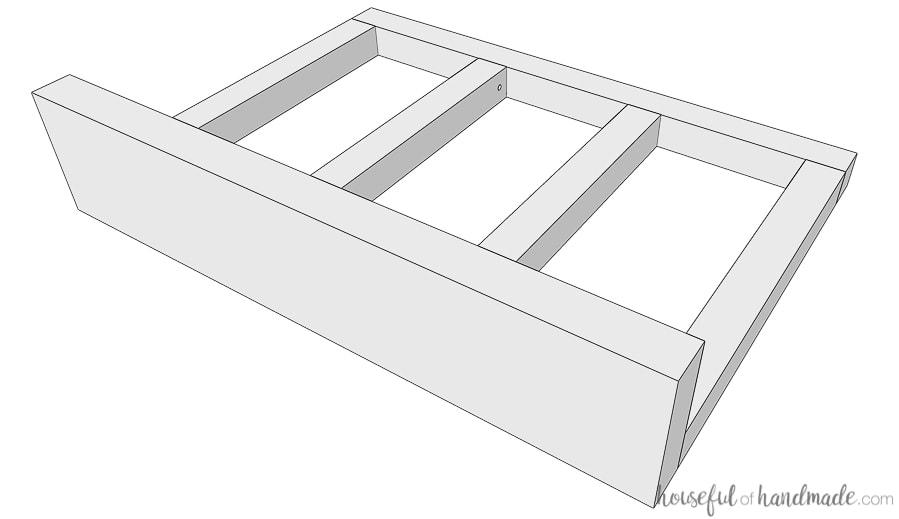
STEP 1- Make the Frame
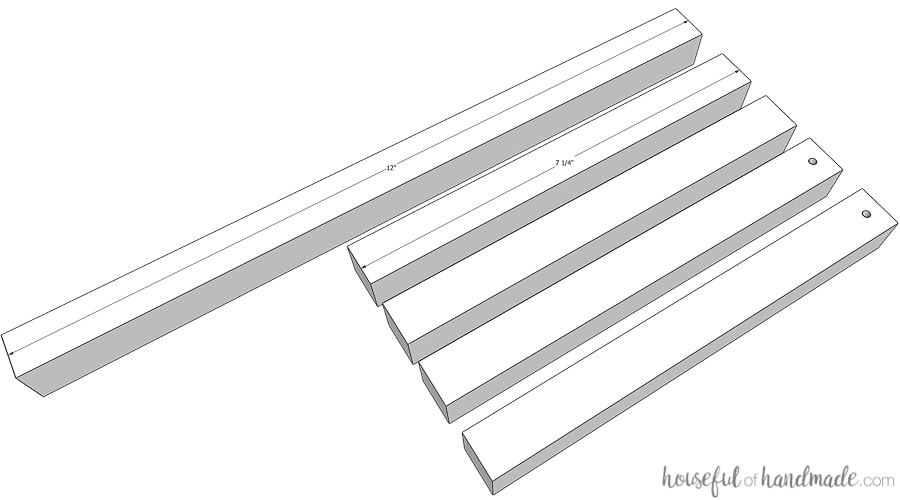
Cut the top and side pieces from the 1×1 board.
On two of the 7 1/4″ 1×1 boards, drill a 1/2″ deep hole with a 5/64 drill bit (just big enough to insert the end of the wire hanger into).
Drill the hole 1/4″ down from the top and centered on the board.
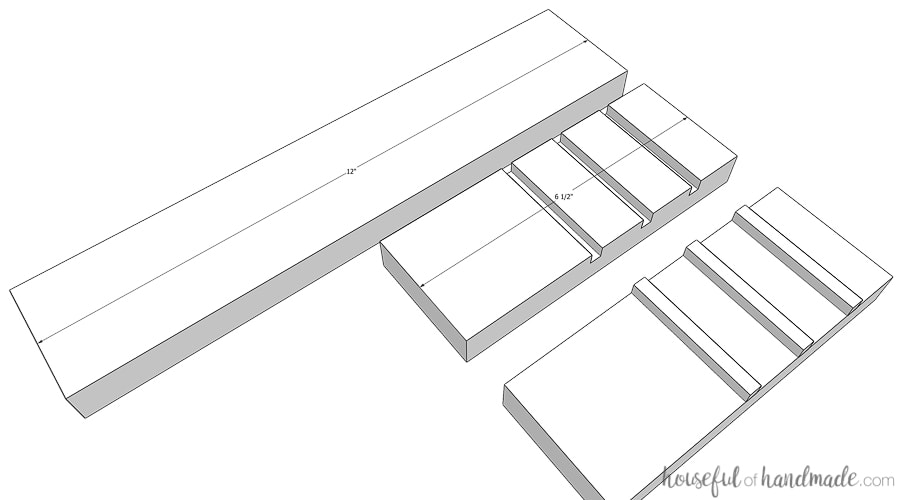
Cut the base and back leg pieces from the 1×3 board.
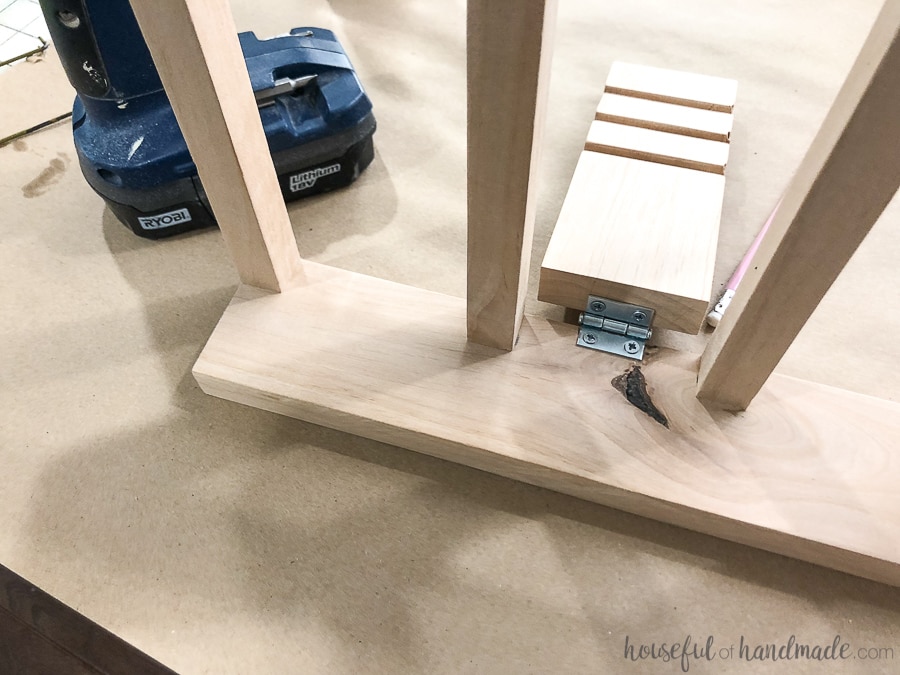
In the 6 1/2″ board, cut (3) 1/4″ wide x 1/4″ deep grooves 1″ in from the back and then 1″ apart from each other. Use a router or a table saw to cut the grooves.
If you do not have a router or table saw, you can buy 1/4″ square dowels and cut (3) 2 1/2″ pieces. Attach these to the board where you would have routed the grooves with wood glue and 5/8″ finishing nails.
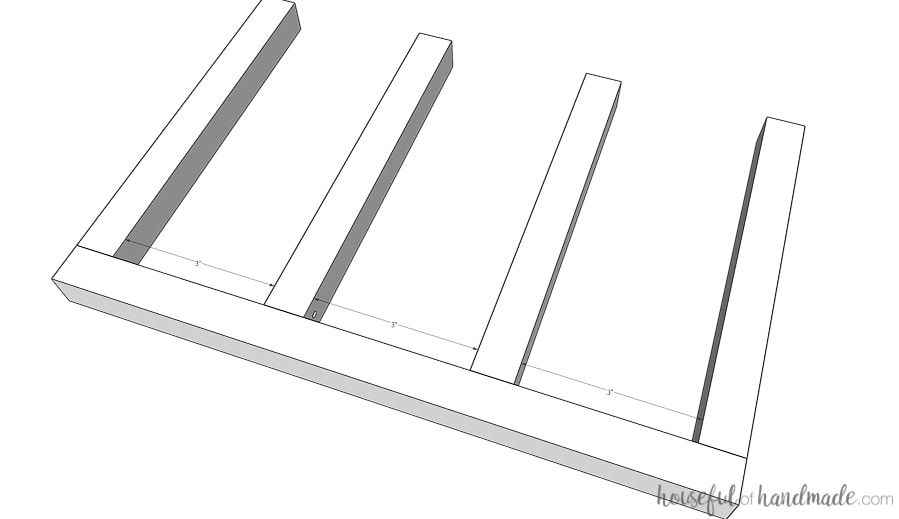
Using wood glue and 1 1/4″ finishing nails, attach the sides to the top so two are flush with the outer edge and the inner two are centered 3″ apart.
The inner boards will be the boards with the holes drilled in them. Make sure the holes are pointing towards the center.
Attach the 12″ piece of 1×3 to the bottom of the cookbook stand with wood glue and 1 1/4″ finishing nails.
Make sure the back of the 1×1 boards are flush with the back of the 1×3 board.
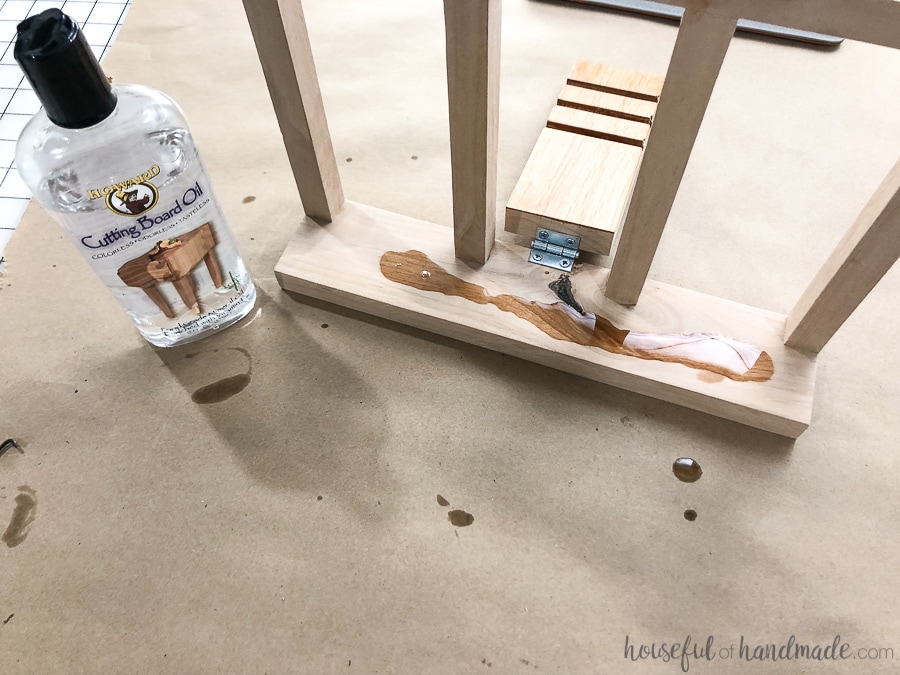
STEP 2- Finish the Frame
Sand and finish the cookbook holder.
Since I used scraps of hardwood to make mine, I decided to just seal it with cutting board oil instead of a polyurethane or painted finish.
Also, as you can see I did this after attaching the hinge, which I would not recommend 😉
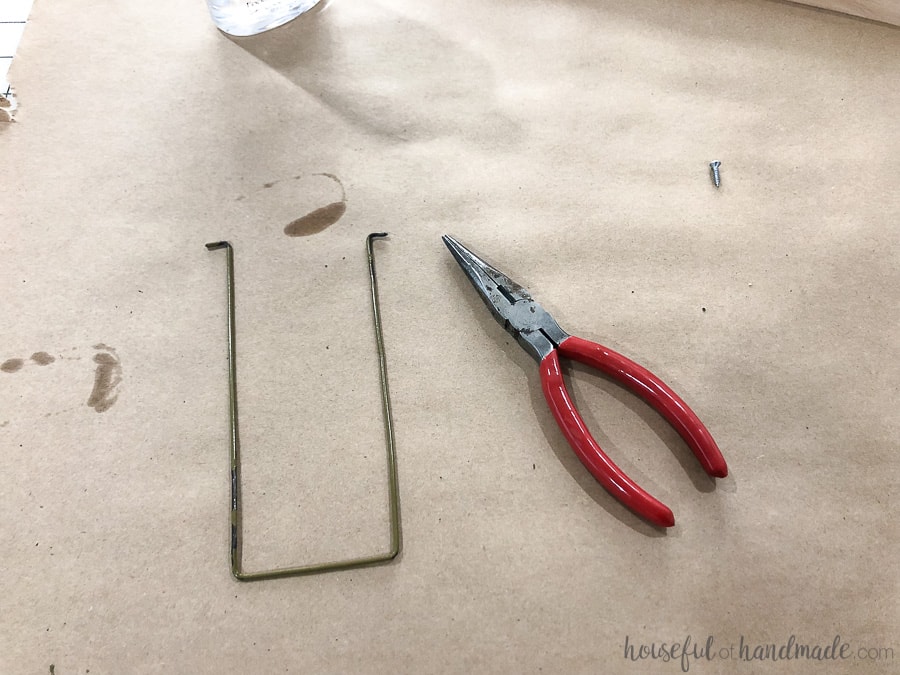
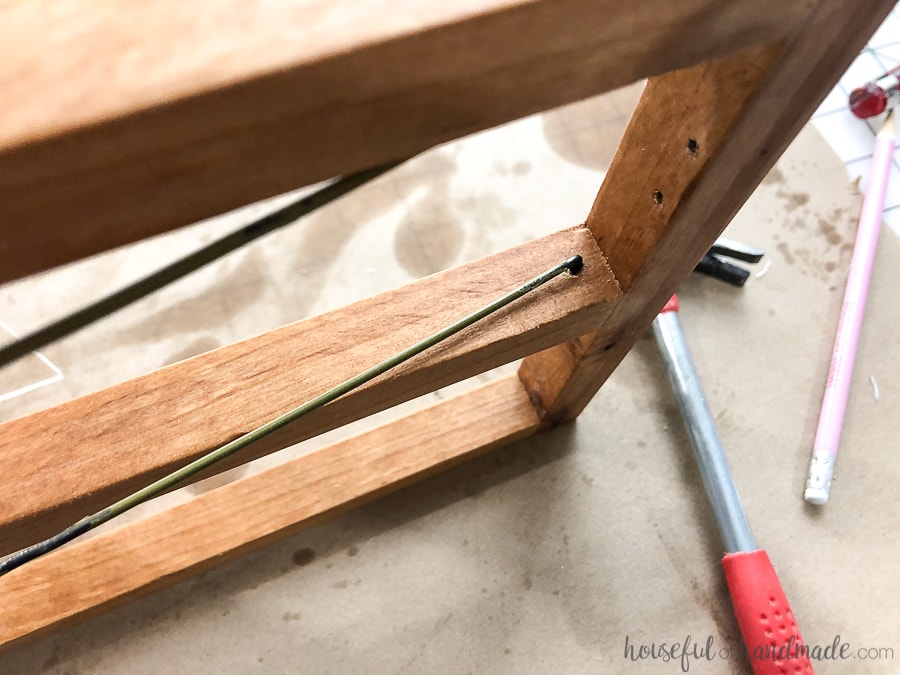
STEP 3- Add back leg and stand
Cut the wire hanger with your pliers and bend it into a stand for the cookbook holder. You want it to be 2 1/2″ wide and 6″ long with 1/2″ tips to press into the holes in the wood.
My wire hanger had a coating on it, which again, I wouldn’t recommend because it broke off in parts where I bent it.
Attach the hinge to the center of the cookbook stand and the center of the routed base piece.
Press the wire hanger stand into the holes in the cookbook holder. Tap it with a hammer if needed to secure them.
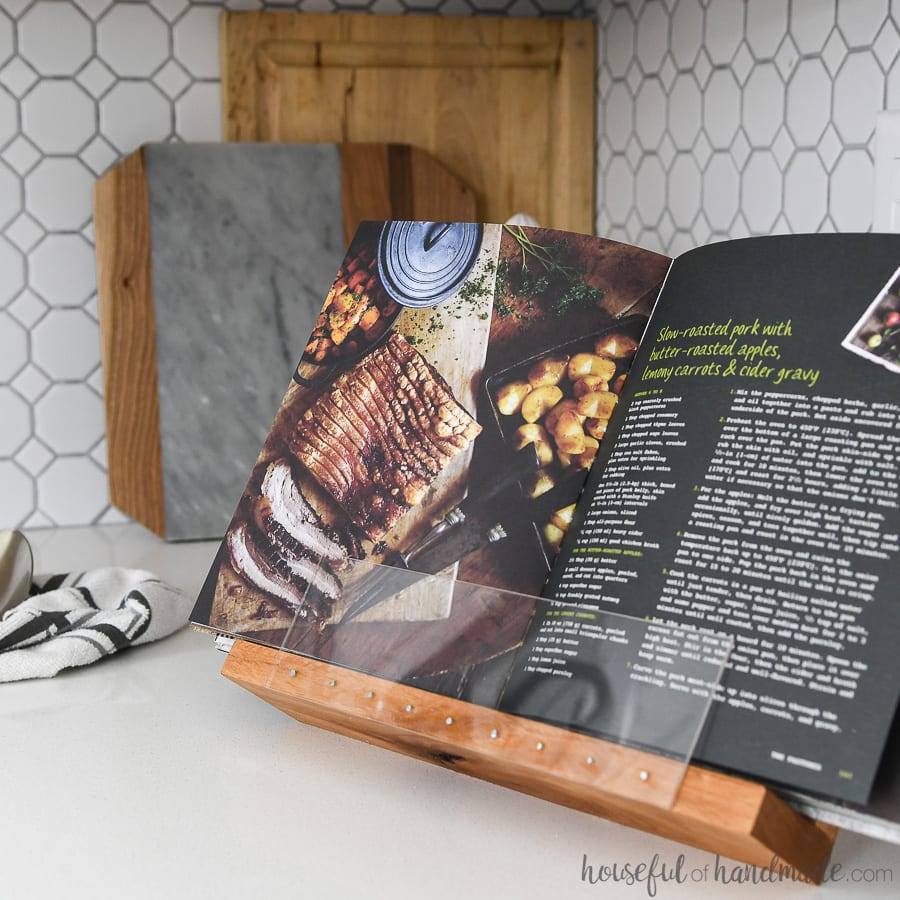
STEP 4- Attach plexiglass front
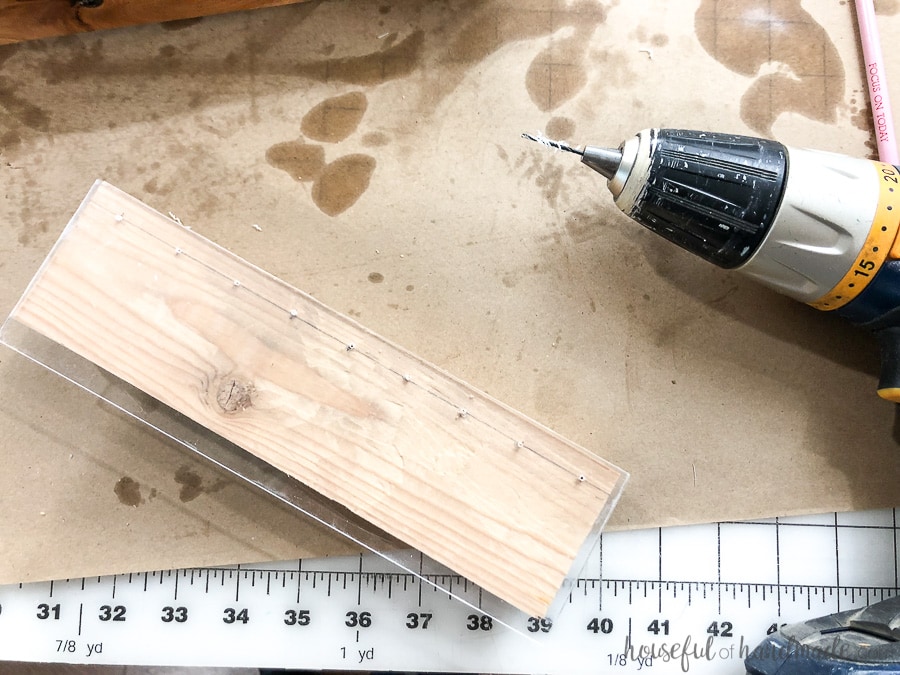
Drill tiny pilot holes in the plexiglass to attach it in the front of the stand. My drill bit was a 3/64 inch. Drill them about 1″ apart.
To make it easier to drill a bunch of holes where I wanted, I marked the locations of the holes on a piece of scrap board.
Then I would place the plexiglass on top of it and drilled through to the marked spots.
Remove the protective plastic from the back bottom front of the plexiglass.
Center the plexiglass on the cookbook stand and hammer the wire nails through the holes into the wood to secure it.
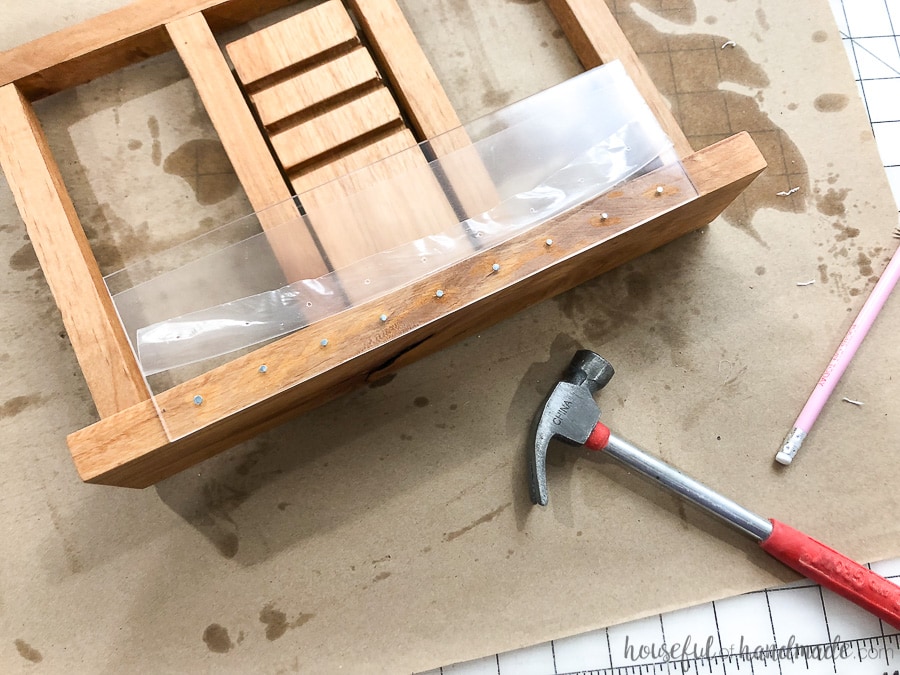
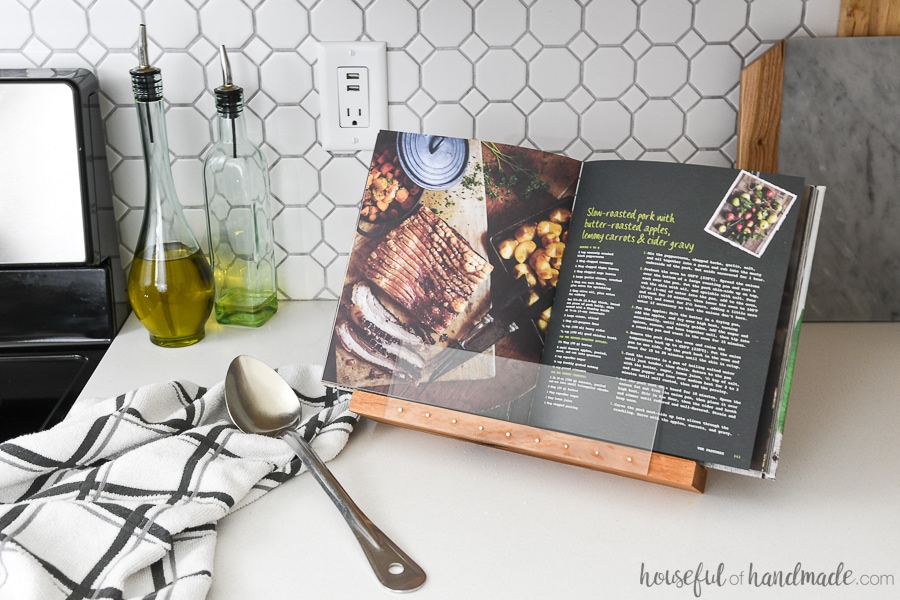
Now you are ready to place your favorite cookbook in it’s new stand.
PDF mini plans include:
- Recommended Tools
- Shopping list
- Easy to read cut list table
- X-ray view with measurements
- Step-by-step instructions
- BONUS: 3D SketchUp file
Place the wire in a groove to lean it back and the plexiglass will help keep the pages open, without blocking the instructions.
Then when you are done, just fold it back up and place it on the shelf with your cookbooks!
And my current cookbook obsession is this beautiful book by Sarah Mayor called "The Farmhouse Cookbook". We have already made a few recipes and love them.