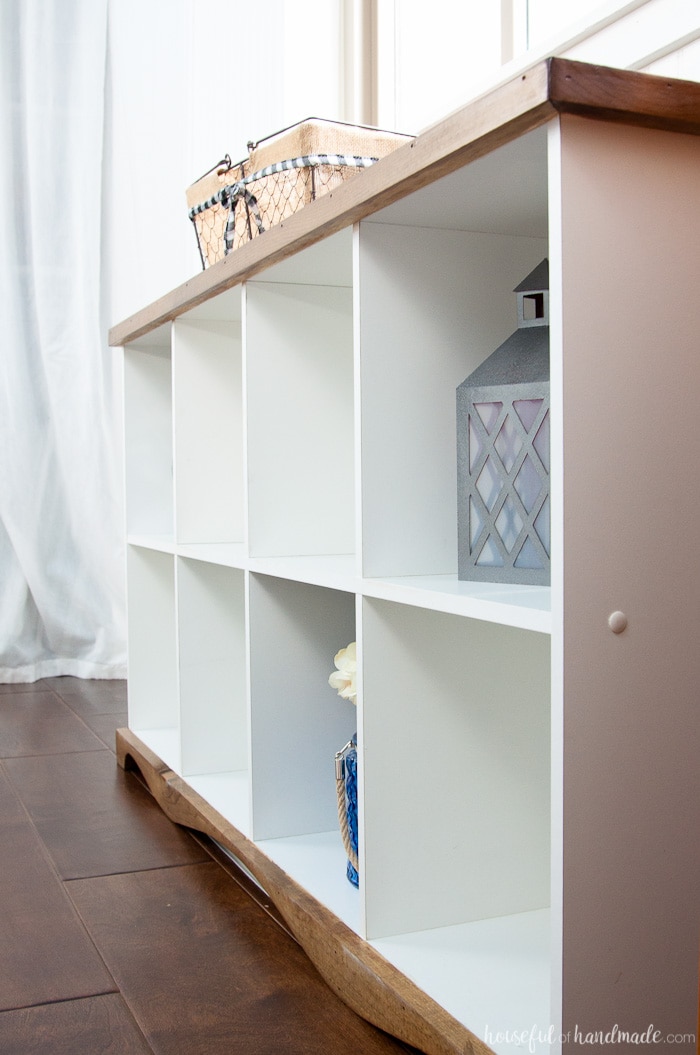
Don’t toss that cube storage, upcycle it into a beautiful console instead.
Whether you have a cheap cube bookcase already or find one while thrifting, it can become something amazing with just a little DIY.
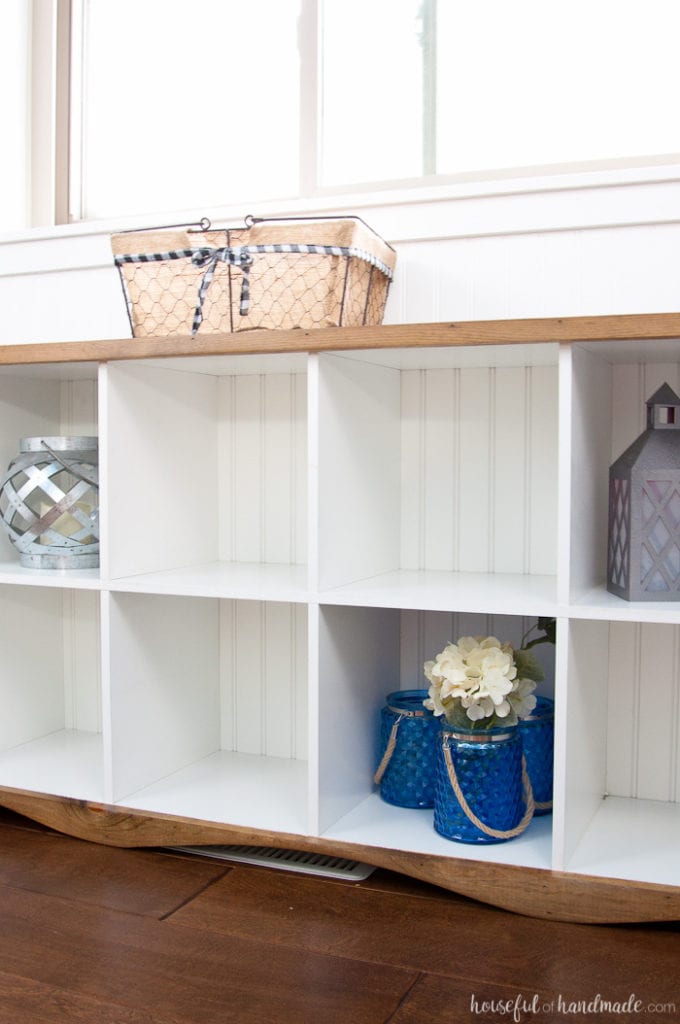
An 8 cube storage shelf is the perfect size to create a custom console table. With loads of storage and a beautiful wooden top and base, it will look like a whole new piece.
I converted this cube bookcase with some left over scraps and only $5.50 in lumber. Now it is proudly displayed in my remodeled office/craft room and offers tons of useful storage.
This post may contain affiliate links. As an Amazon Associate I earn from qualifying purchases. Click here to read my full disclosure policy.
I am starting to be really happy I never threw out the inexpensive bookcases that were the beginnings of our home decor back when we were young.
They moved from apartment to apartment and then to our home. As we bought “real” furniture, they were shoved in the corners of our basement.
While they are useful for organizing and storing all the things that come with kids, they are not pretty. But with just a few simple additions and an afternoon of work, you can transform them into something really wonderful!
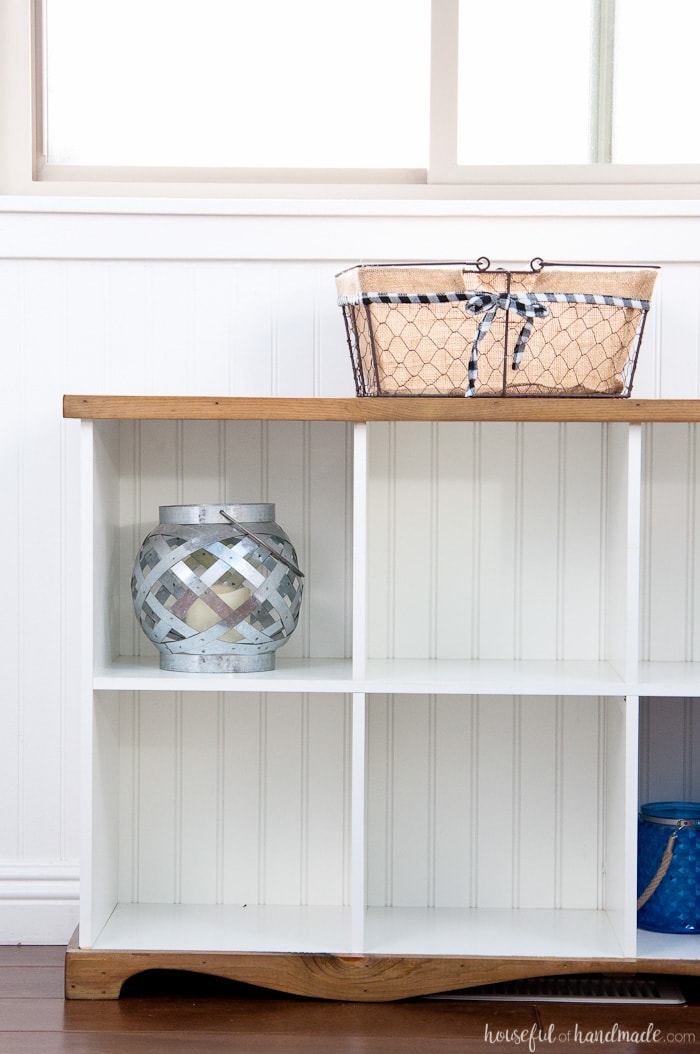
After transforming some basic bookcases into my fantastic rolling craft table, I was excited to transform the white cube bookcase too.
A console table would be perfect under the large window in my new office & craft room. So, I decided to upcycle the unloved cube bookcase into a simple console table.
Now it’s the perfect place to store some of my favorite crafting and decorating treasures.
$100 Room Makeover
If you have been following along this month, you may have seen that I am trying to completely transform my kids old nursery into my new office & craft room for only $100!
Yep, I can only spend $100 (but am able to recycle and use things that I already have on hand).
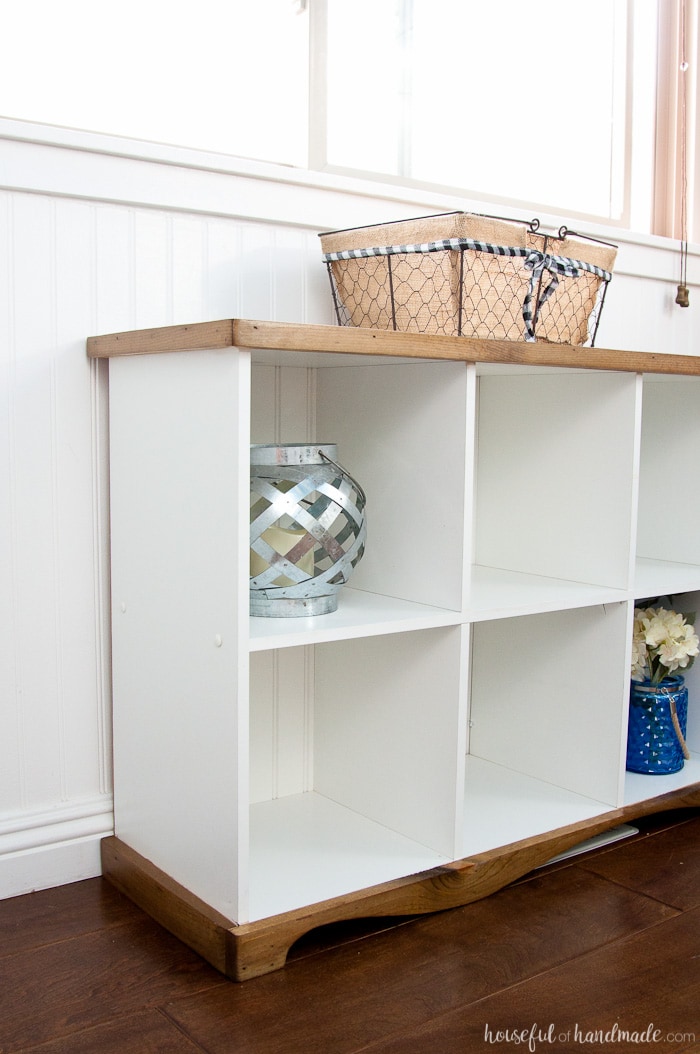
For this cube storage upcyle I was able to use a piece of beadboard that was left over from when we originally added beadboard to the room, plywood and stain left over from the desk built into the closet, and a scrap of wood.
Then all I had to do was purchase a 2×2 and a 1×4 board to make this boring cube bookcase beautiful!
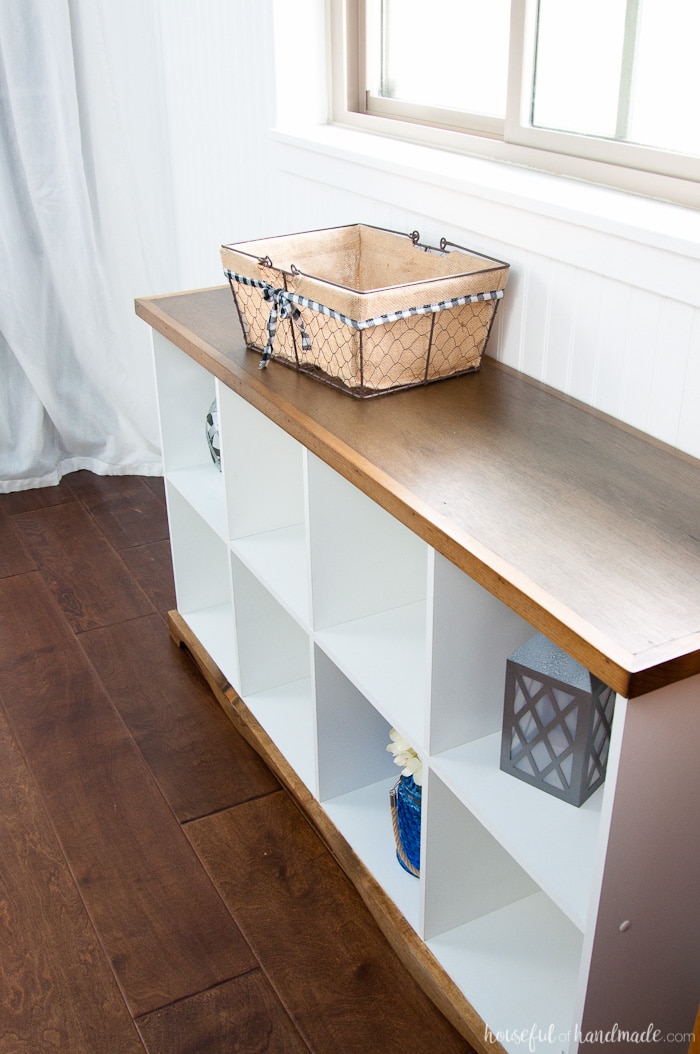
Can you believe this transformation cost just $5.50? And it’s a good thing because as we are coming to the last week of the $100 room challenge, my remaining budget is getting really, really small.
Make sure to follow along as I finish this room and share the final (super) budget friendly ideas.
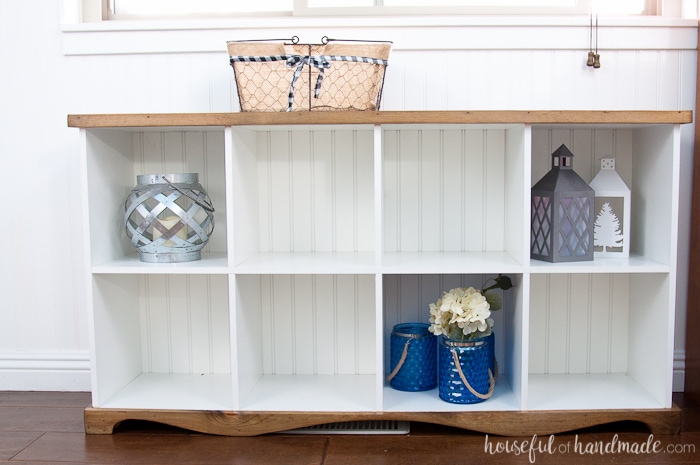
How to Upcycle a Cube Bookcase into a Console Table
Tools:
- Miter saw
- I love this inexpensive miter saw and use it to build lots of DIY furniture.
- Table saw or circular saw
- Drill
- Jig saw
- Finish nailer
- Wood glue
- Sandpaper
Supplies:
- Cube bookcase
- Wood products-
- 1/2″ thick plywood (a piece the size of the top of the bookcase)
- 2×2 boards
- 1×3 board
- 1×2 board
- I was able to use a 6′ 1×4 board that I ripped down to 1″ wide pieces and 2″ wide pieces and save me money.
- Beadboard or thin plywood (a piece the size of the back of the bookcase)
- 2″ wood screws
- 1 1/4″ Finish nails
- Stain and polyurethane sealer
BEFORE:
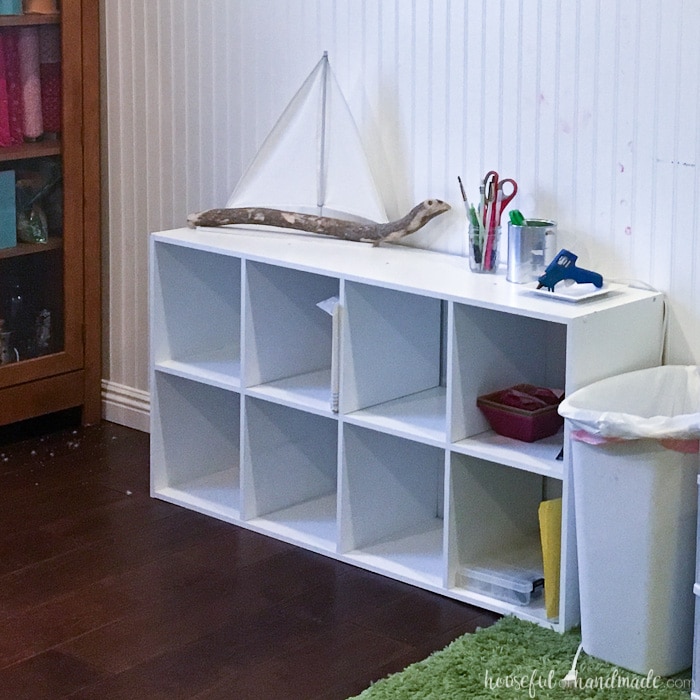
We started with a basic 8 cube melamine bookcase. Size does not matter, you can use this method to upcycle any cheap bookcase.
STEP 1- Make the Base
Create a raised base for the bookcase with the 2×2 board. This will prevent the cheap bookcase material from sagging over time.
Cut 1 board to the full width of bookcase and secure it along the back. Cut boards the depth of the bookcase minus the board on the back and secure under the cube walls with wood screws countersunk into the base.
Originally I used left over construction adhesive, but then when I moved the bookcase outside to finish the transformation, some of the base pieces fell off. Apparently the adhesive did not work well on melamine. Use screws instead.
I cut the center support board short (about 1/2 of the depth of the bookcase) so that it would fit nicely over my heater vent and allow me to make the front really pretty.
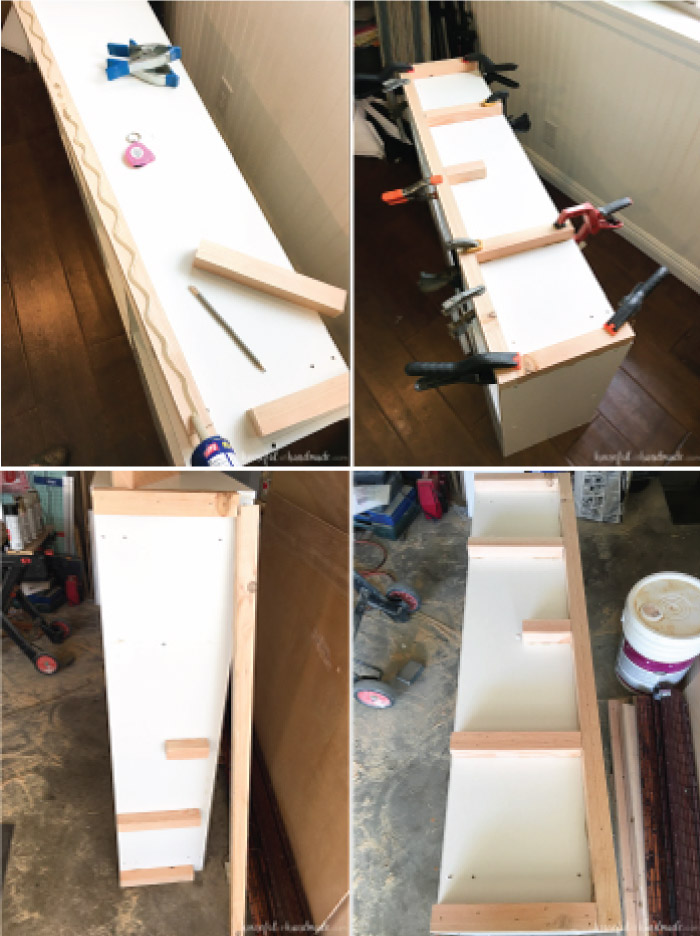
Trim out the sides of the base with 2″ wide pieces of wood (not 1x2s but wood ripped to 2″ wide). If you do not have a way to rip boards, you could use a 2 1/2″ thick 1×3 board.
Also trim the white laminate on the side of the bookcase where I you will be adding the front of the base trim if it is not flush with the bottom.
This will allow it to lay flat against the rest of the bookcase and is easy to do with a utility knife.
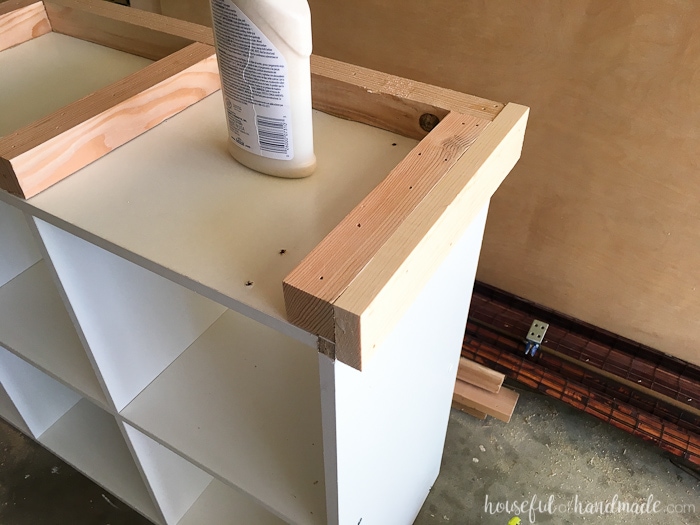
Measure the front of the bookcase and cut a piece of the 2″ wood to fit.
Then it’s time to design the decorative base. Start by marking where the 2×2 boards would be visible, then draw your design to cover those areas.
Cut it out with a jig saw and attach to the front of the bookcase with your wood glue and 2 1/2″ long finishing nails in your nailer.
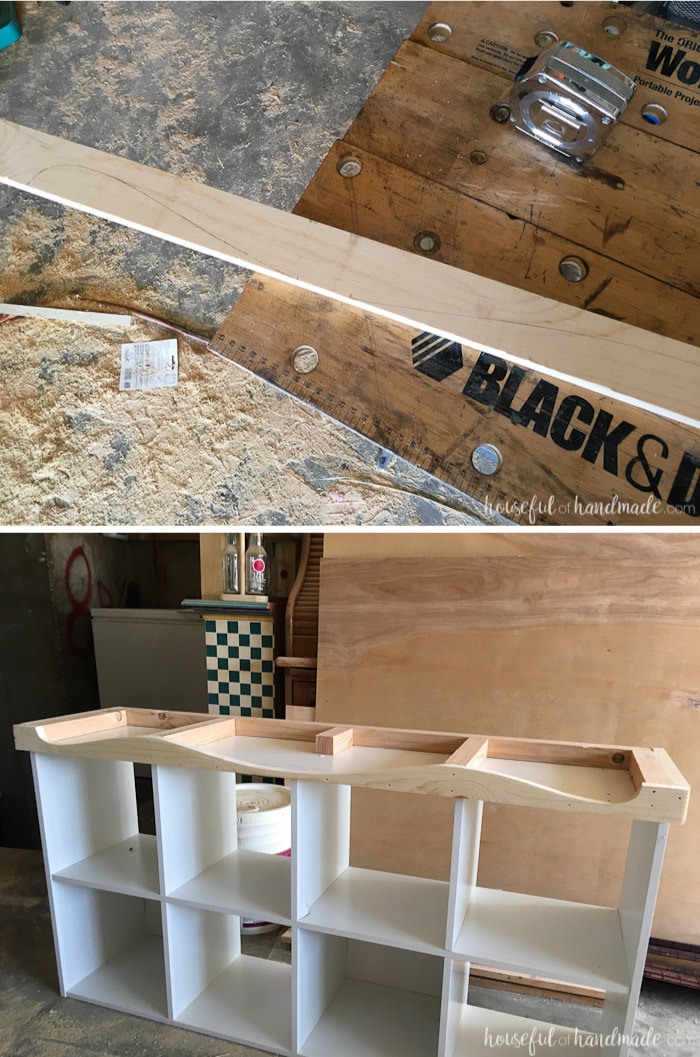
Now flip it over and admire your work! It already looks so much better than before.
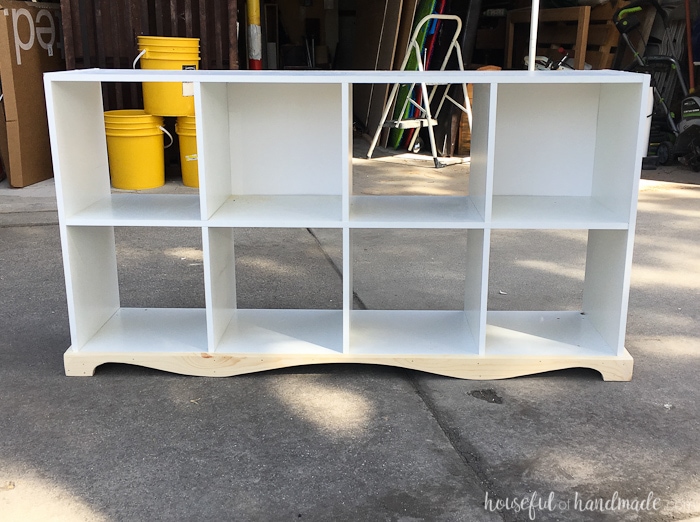
STEP 2- Add a back
Most inexpensive cube bookshelves have a painted cardboard/chipboard back. And sometimes they only cover some cubes.
A solid back will not only make you cubes look amazing, but it will add strength too.
Remove these cheap backings.
Measure the entire bookcase back and cut a piece of beadboard or plywood to fit. Attach it to the back with you finish nailer.
EXPERT TIP:
Mark on the back where the cube walls and shelves are. Use a level to draw straight lines. This will ensure you do not have missed with your nails when attaching the back.
I happen to have a lot of 2′ pieces of beadboard in my garage since we added beadboard to only 6′ of the walls. I also used some of these small pieces in my dining room bench. It pays to never throw anything out!
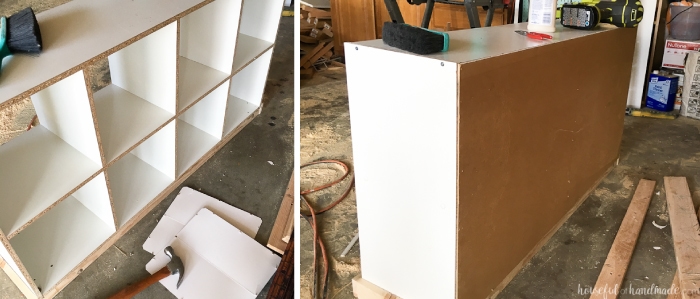
STEP 3- Build a new Top
Before you can add a new top, make sure the top of the cube bookcase is level. This will ensure a level console top when finished.
I removed the white laminate and sanded the edge until it was flush.
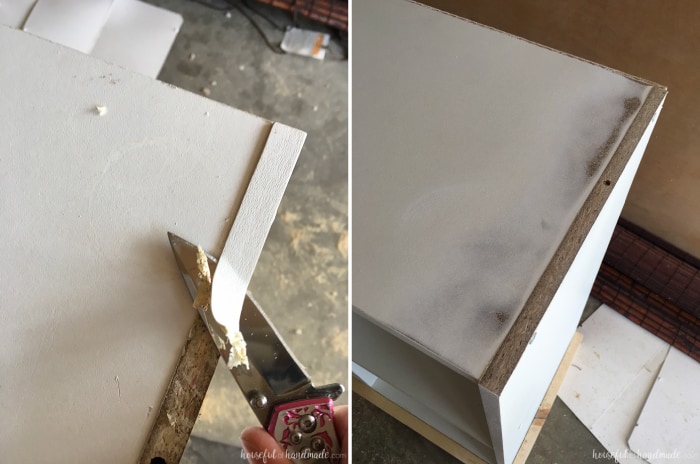
Cut a piece of 1/2″ plywood to fit the top of the bookcase and secure with finishing nails. Be careful not to just nail into the top or you may have nails sticking out all over.
Nail into the top and into the cube walls so the ends of your nails stay hidden.
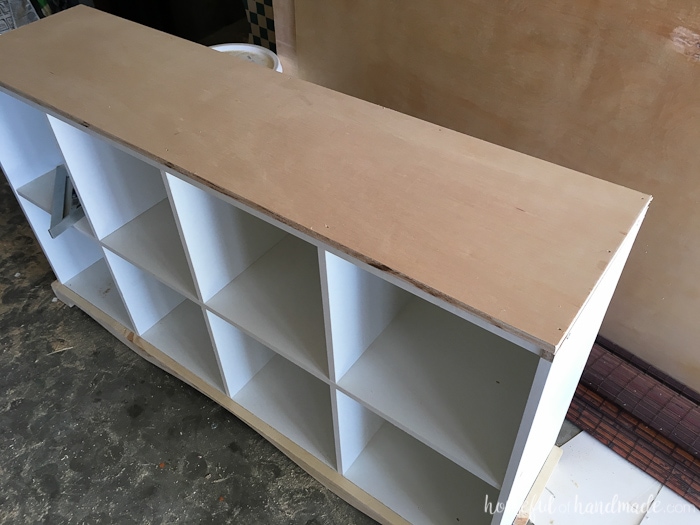
Trim out the edges of the plywood with wood ripped to 1″ (my cube bookcase top was 1/2″ and the plywood was 1/2″).
If you cannot rip the boards to 1″, use a 1 1/2″ wide 1×2 board. This will just cover a little more of the top cube area.
I chose to miter the corners here, but your could keep it simple and trim it out like the base.
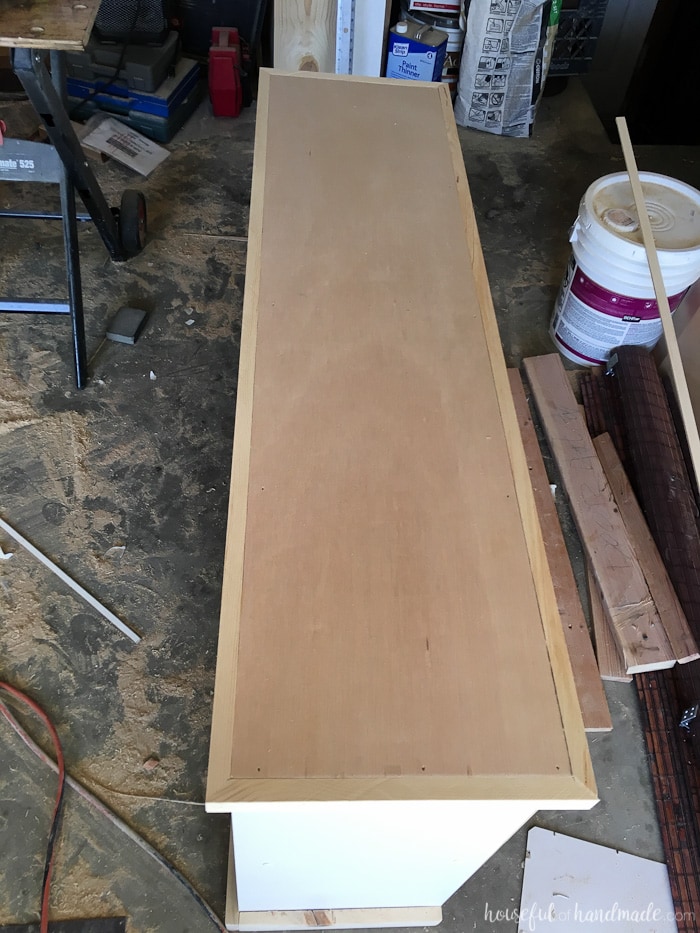
Now all that is left is to finish the piece. If your cube bookcase is in good condition (and a good color) just give it a good cleaning. If not, paint it.
Stain the base and the top and protect it with 2-3 coats of sealer.
I used a DIY natural stain, then finished it off with a satin polyurethane coating.
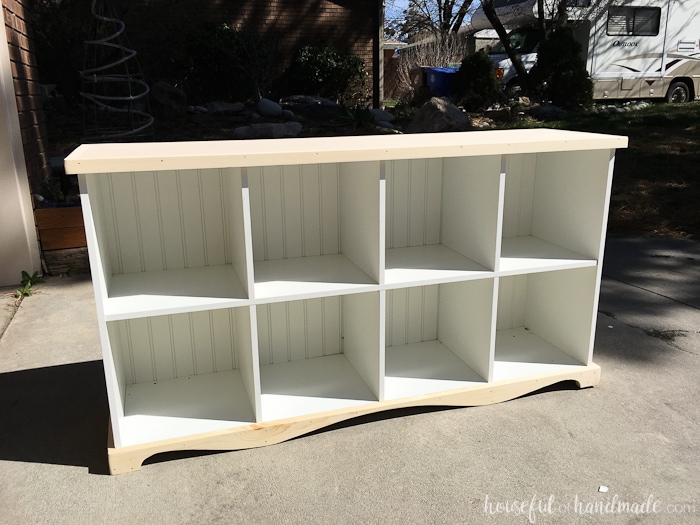
My new cube console table is the perfect piece to hold all those decor pieces that I use to decorate my home throughout the year.
I also might be using it to store some crafting items, but first I need to pretty up all the coffee boxes I have been saving and get to organizing. That alone will probably take me 3 days.
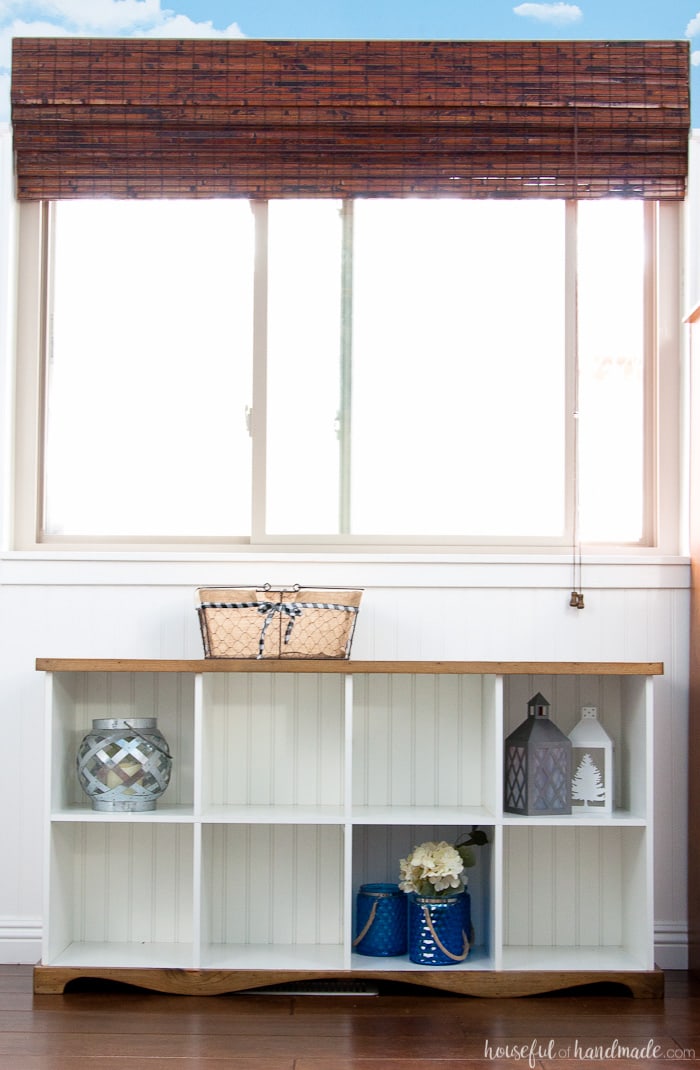
So what do you think of my $5.50 cube bookcase upcyle?
I still can’t believe how much more expensive this basic piece looks. Now it is a custom console table that I am not embarrassed for people to see.
And now off to finish this room, it has to be done in just over a week!

