Whether you are installing doors on new kitchen cabinets or on a piece of furniture you built, learning how to install them properly means perfectly aligned doors with even reveals.
Having pretty door reveals will take your cabinet door project from DIY to professional looking instantly!
So when I install doors, I turn to my favorite cabinet door jigs from Kreg Tools: the Concealed Hinge jig, Cabinet Door Mounting jig, and Hardware jig.
This post may contain affiliate links. As an Amazon Associate I earn from qualifying purchases. Click here to read my full disclosure policy.
Right now (until 12/31/2023), all three jigs are on sale! Grab all three and be prepared to install doors on all your projects like a pro.
What hinges do I need?
The type of concealed hinges you use to install your doors is dependent on the type of cabinet you have (face frame or frameless) and the type of doors you want (overlay or inset).
Learn more about types of cabinet boxes here.
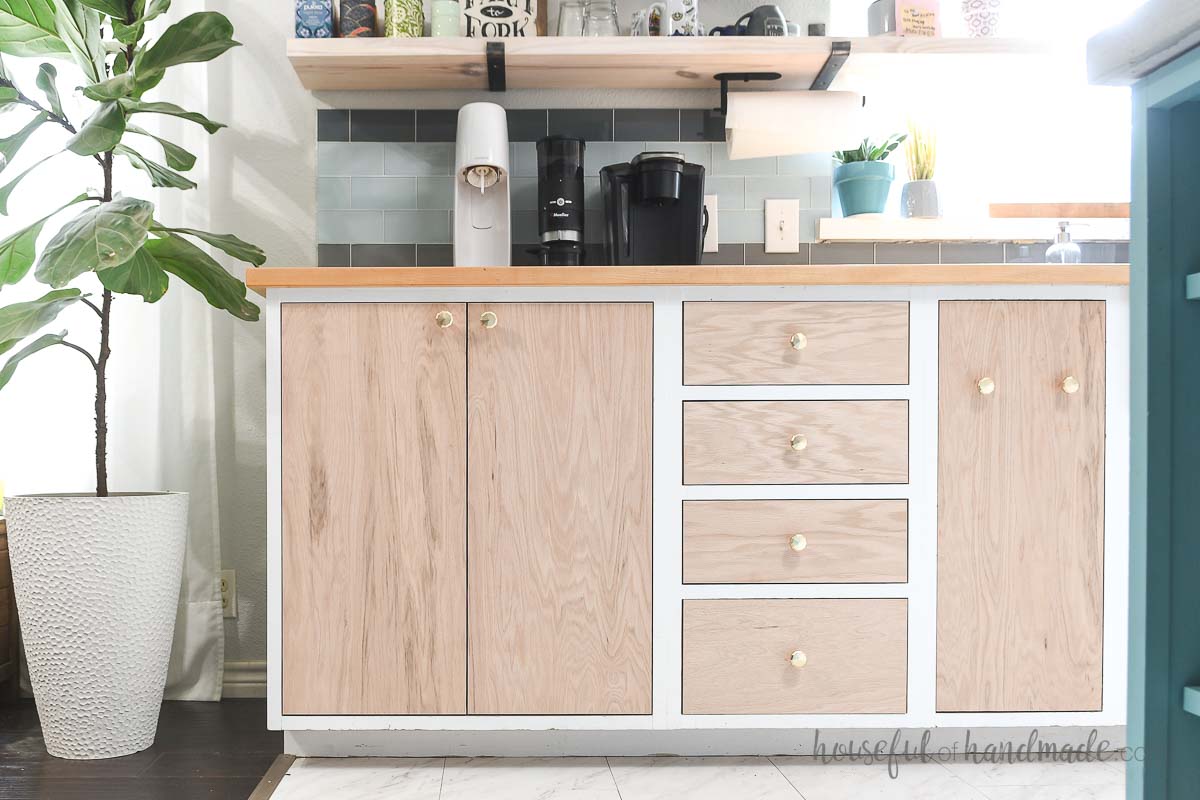
Inset cabinet doors are doors that sit inside the cabinet box. The front is flush with the front of the face frame or cabinet.
Overlay cabinet doors sit right on top of the cabinet box. The back is flush up against the face frame or cabinet walls.
When you look for hinges, make sure you specify the type of cabinet and the type of doors. Also, for overlay hinges, you need to specify the amount of overlay (1 1/4″ and 1/2″ are typical for face frame and full is typical for frameless).
- Inset hinges for frameless cabinets
- Full overlay hinges for frameless cabinets
- Inset hinges for face frame cabinets
- 1 1/4″ overlay hinges for face frame cabinets
- 1/2″ overlay hinges for face frame cabinets
Learn more about types of hinges and how to size your doors for them here.
DIY Cabinet Doors
Once you know what hinges you are using. You can build your own DIY shaker cabinet doors or make DIY plywood cabinet doors.
I like install the cabinet doors once built, but before finishing. That way if you have to make adjustments to the door size, you do not have to cut into a perfectly finished door to do so.
Then once the doors are all fitted perfectly, you can quickly remove them for finishing. And reinstalling them is super quick too.
How to Install Cabinet Doors
Tools & Materials
Recommended Tools:
- Kreg Concealed Hinge jig
- Drill
- Impact driver (optional, but I love not having to switch bits with the drill)
- Kreg Cabinet Door Mounting jig
- Clamp
- Kreg Hardware jig
- Screwdriver
Supplies:
- Cabinet doors
- Door hinges
- Make sure to pick the correct hinges for the type and cabinet (face frame or frameless) and door (inset or overlay).
- Cabinet knobs or pulls
STEP 1- Attach the hinges to the doors
All concealed hinges will require you to drill a hole in the back of the door for the cup of the hinge to sit in (which is why they are also referred to as cup hinges).
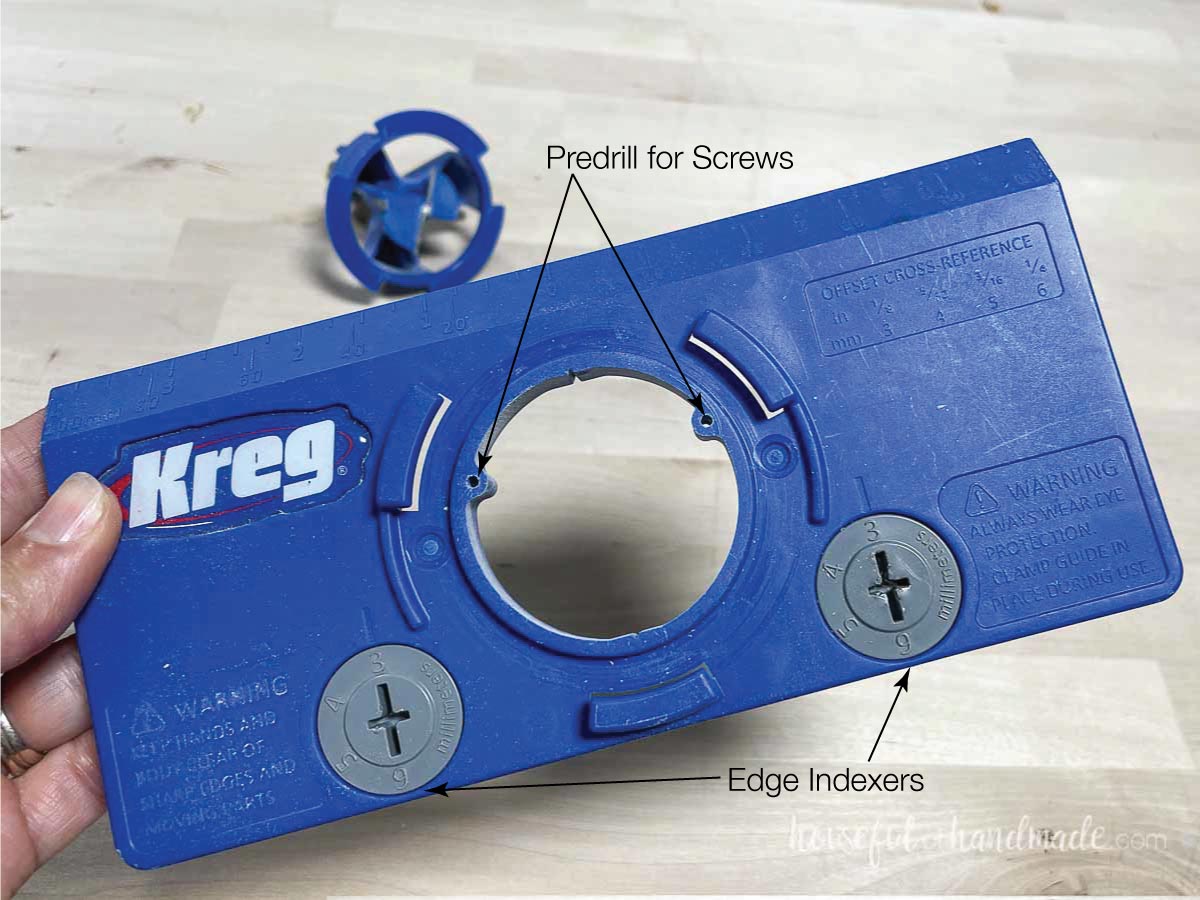
This is easy to do with the Kreg Concealed hinge jig.
First, determine how far away from the cabinet door your hole needs to be (in mm). This is usually noted in the instructions.
Adjust both edge indexers with a philips screwdriver to this number.
The instructions for the frameless inset cabinet door hinges I used included some very confusing calculations to determine this number that I couldn’t make sense of. So I use a scrap of plywood to test the different distances.
I drilled a hole with the first dimension and attached the hinge. Then held it up inside the cabinet to see how the hinge opened and closed.
Luckily the first measurement I tested (3mm) was perfect. If not, I would have continued until I found the correct distance needed.
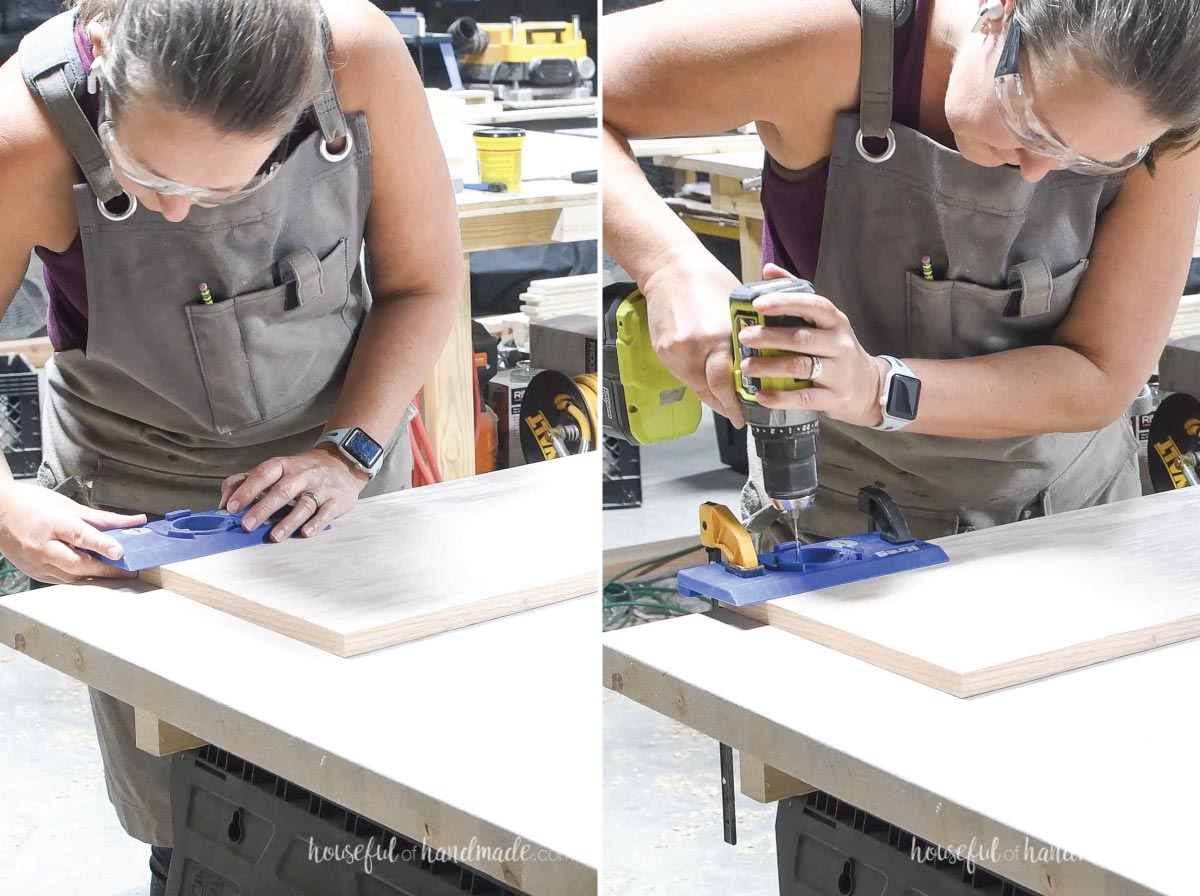
Line the jig up against the edge of the cabinet door, making sure both edge indexers are pressed firmly against it.
Use the measurements on the edge of the door to space the cup hole away from the edge of the door at least 2″. I prefer 3″ or 3 1/2″ spacing on my cabinet doors.
Clamp and using a 1/16″ drill bit, drill pilot holes for the hinge screws in the holes on the top edges of hole in the jig.
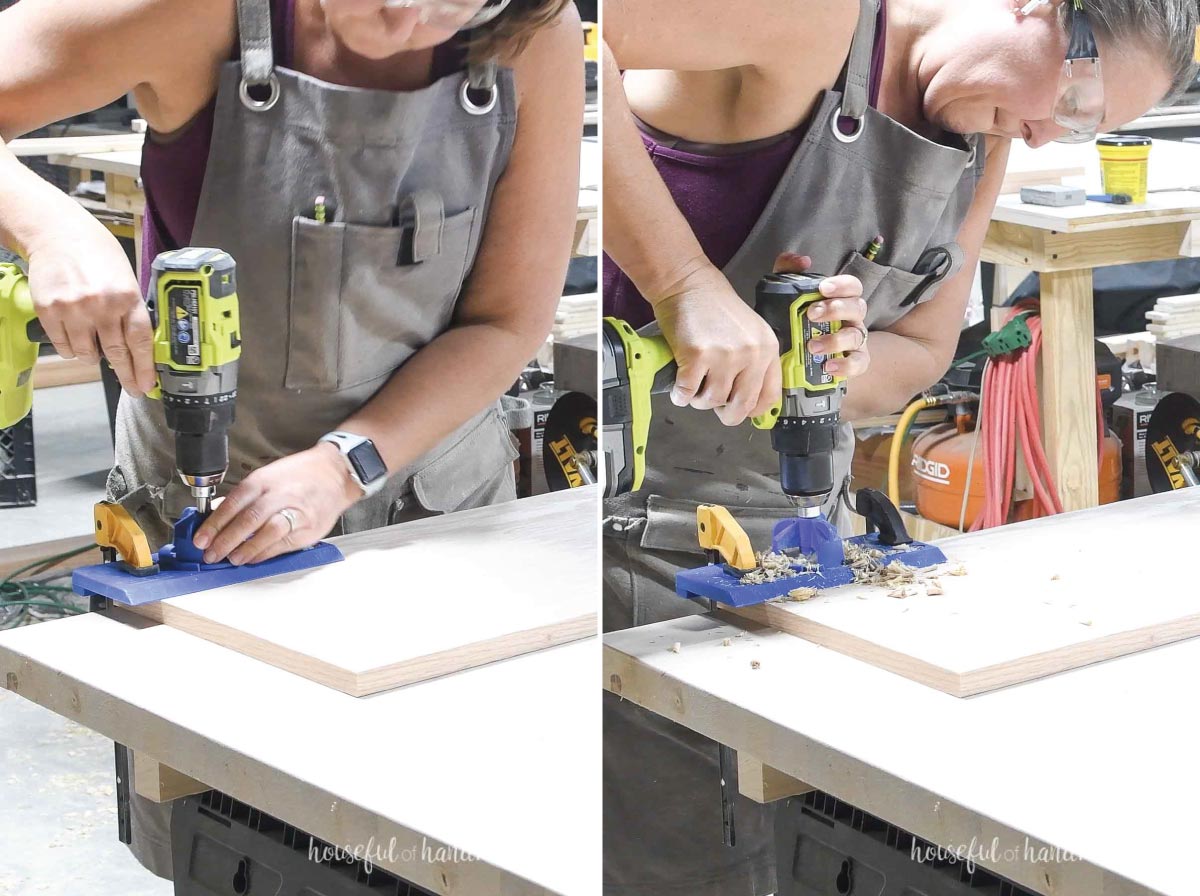
Swap your drill bit out to the bit that comes with the jig. Remove the cap on the edge of the drill bit.
Then clip it into the jig making sure it is fully seated. And slowly drill the hole until the collar on the bit touches the guide.
Twist the bit out of the jig. At this point I like to grab my shop vac and clean up the many shavings the large hole created.
Repeat for the second hole on the side of the door. Make sure it is the same distance from the edge as the first one.
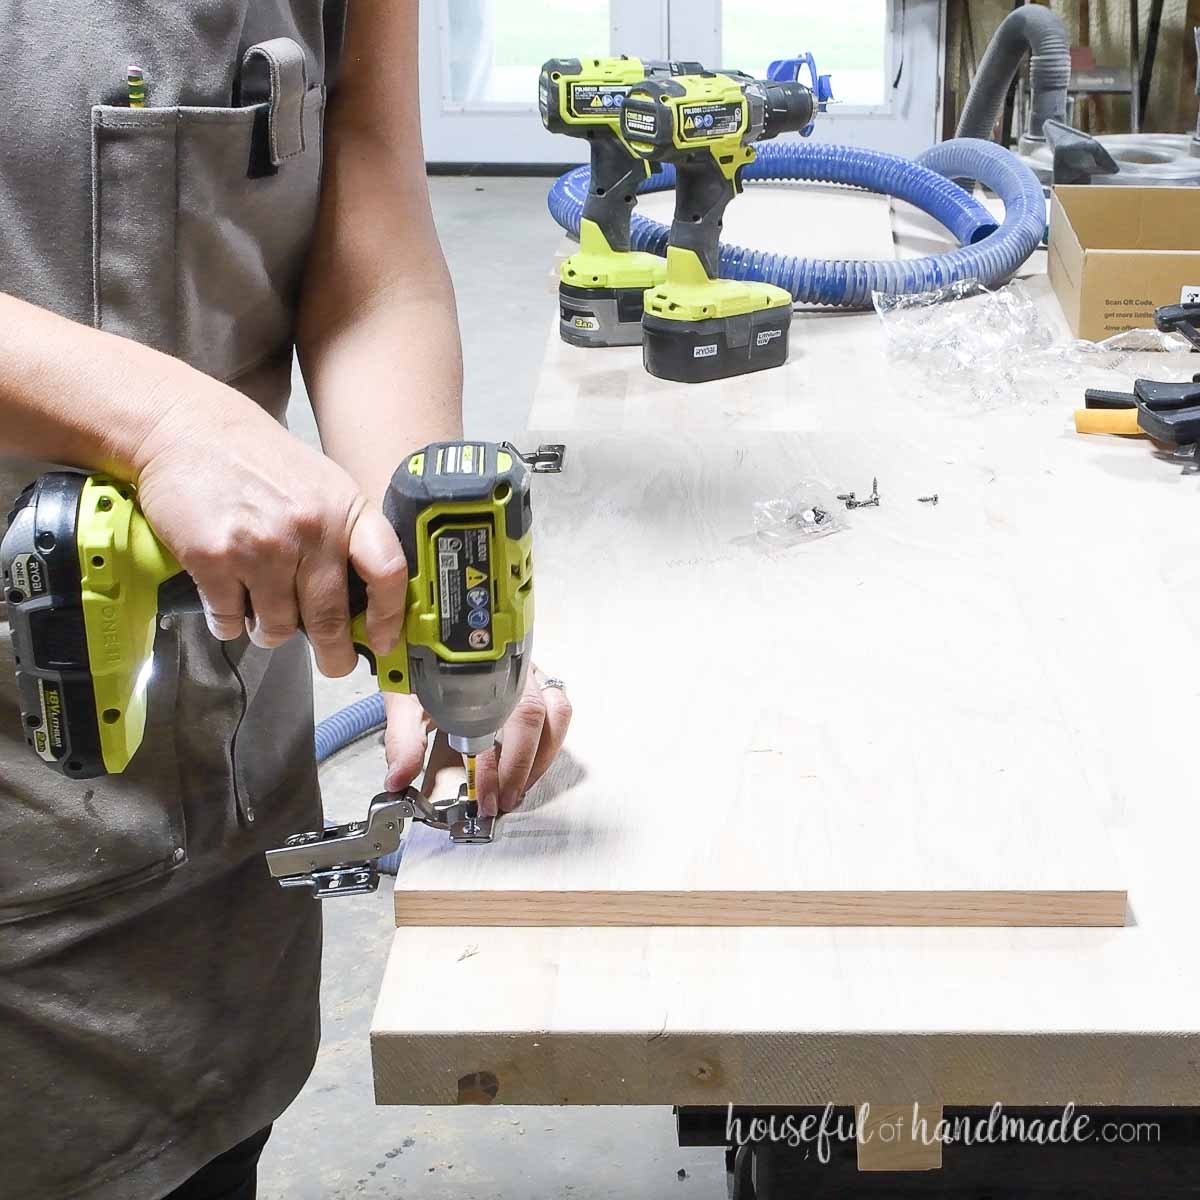
Place the hinge into the hole and secure it with screws into the predrilled pilot holes.
EXPERT TIP:
If you are going to use an impact driver to attach the screws, be very careful that you do not overdrive the screws. Use a very light touch on the trigger to very slowly drive in the screw or hand secure them with a screwdriver.
Repeat for all hinges on all your doors.
STEP 2- Secure the hinges to the cabinets
For frameless hinges, you will need to know how far back in the cabinet you need to attach the hinges (based on whether the door is inset or overlay).
If your instructions do not say, hold the door up so it is flush with the front of your cabinet and note how far back the hinge is.
Mark this measurement inside the cabinet where you will be attaching the hinges.
For face frame hinges, the hinge wraps around the face frame slightly so no need to do this.
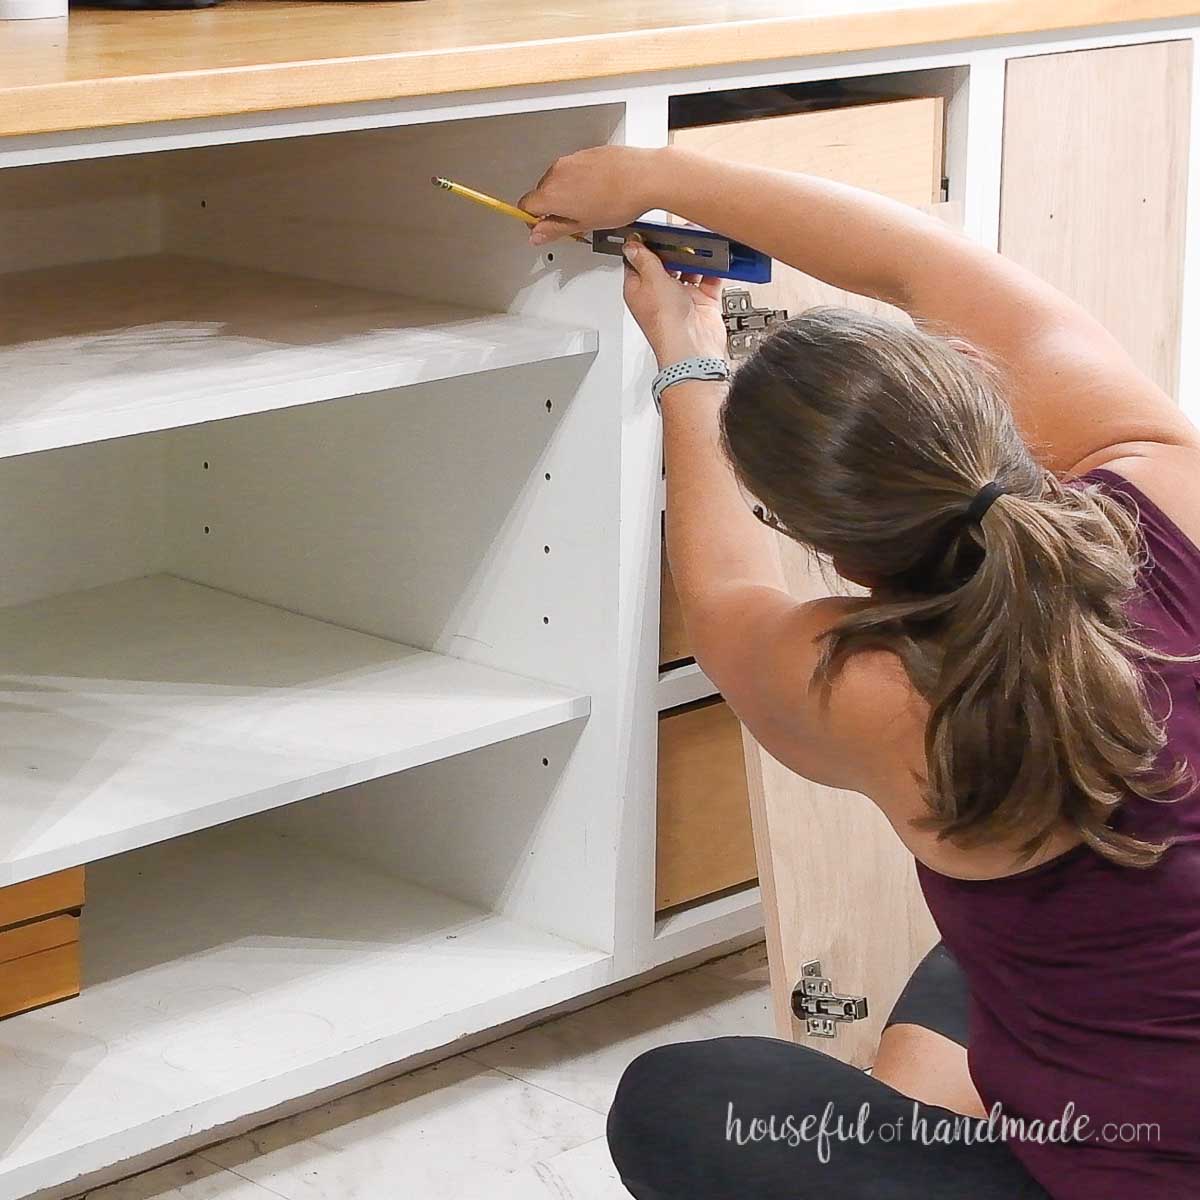
Clamp the cabinet door mounting jig to the bottom of the cabinet. Adjust the arm so that the bottom is where you want the bottom of your cabinet door.
Use the shims to further tune in your adjustment. The larger shim is 1/4″ thick and the smaller one is 1/8″ thick.
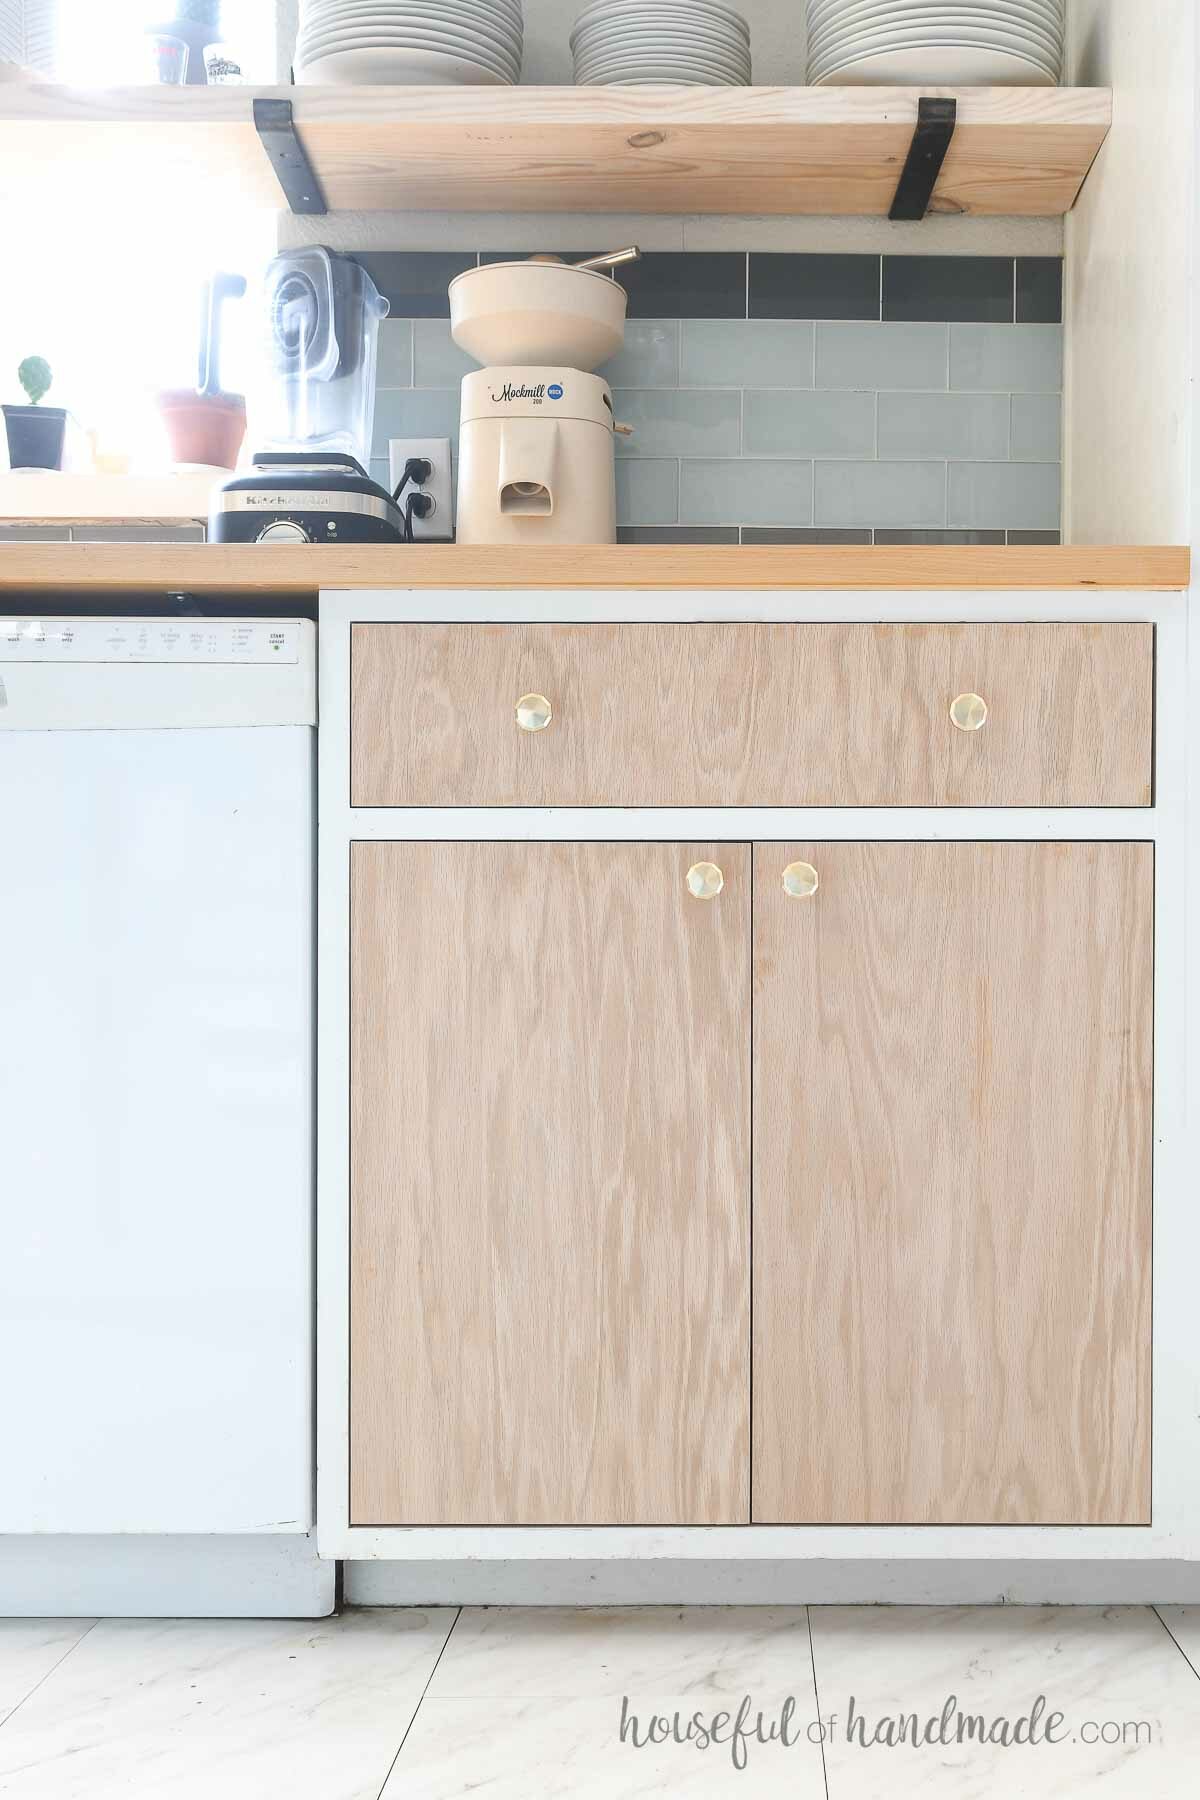
For my inset cabinet doors, I used the arm on the highest setting which brought the arm flush with the bottom of the cabinet. Then added the 1/8″ shim to give me the 1/8″ reveal I planned for.
Place the door on the jig and mark the holes for the top hinge screws.
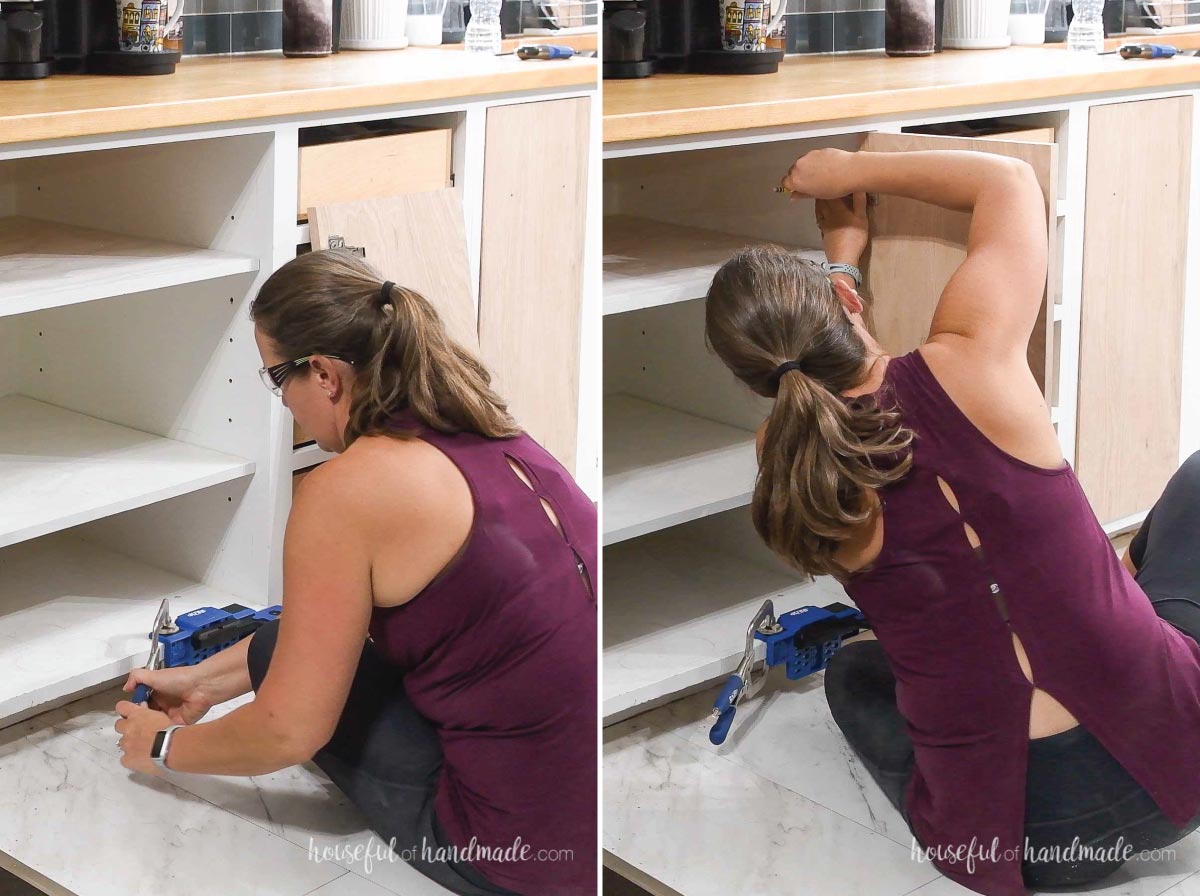
Predrill pilot holes for the screws.
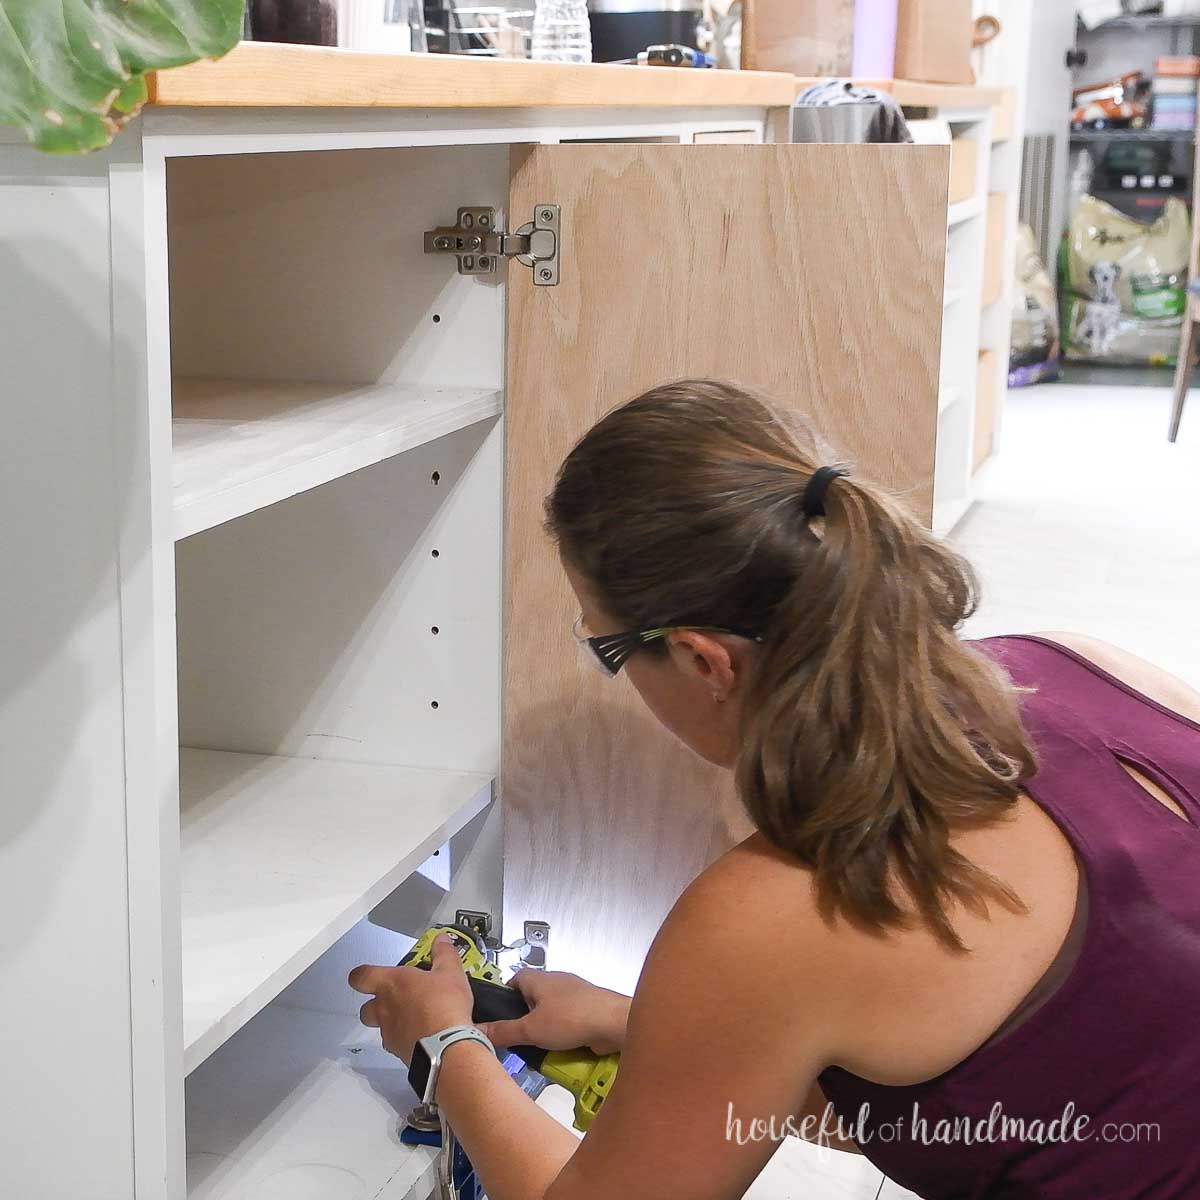
Then place the door back on the jig to hold it in place and secure the top hinge with the screws into the holes.

Line up and secure the bottom hinge the same way.
Then remove the cabinet door mounting jig and test your door.
If you need to make any adjustments, do it now. Once you get the process dialed in, the rest of the doors will install very quickly.
If you have a double cabinet, move the arm on the jig to the opposite side. Make sure to add any shims used on the other side to the top of the arm.
Then install the second cabinet door the same way as the first.

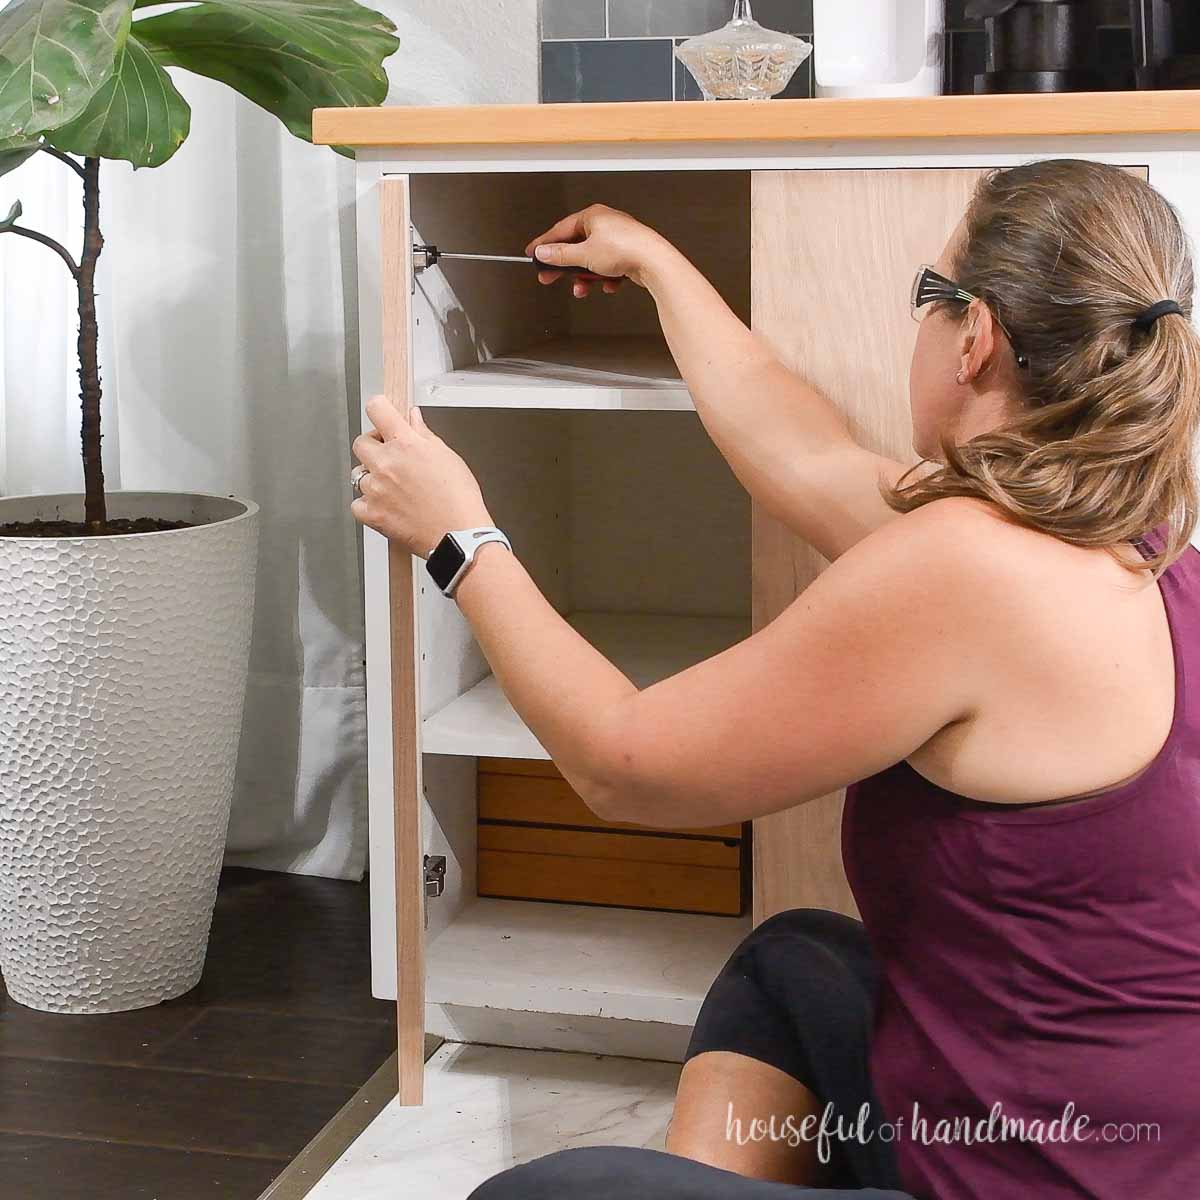
STEP 3- Adjust the hinges
Close your doors and check your reveal.
For inset cabinet doors, you want an even space between the door and cabinet all the way around and between the doors if you have 2 on the cabinet.
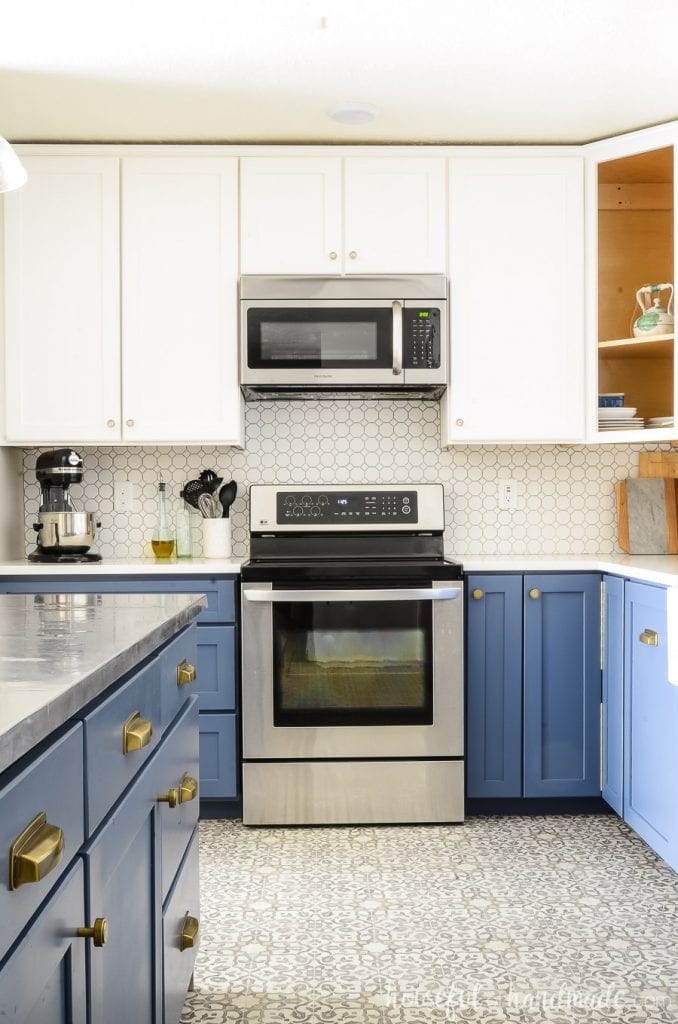
For overlay cabinet doors, you want the top and bottom of the doors to line up perfectly. And the overlay on the sides to be even all they way down.
If they are not (which usually they are not right after installing), use a screwdriver to tighten or loosen the adjustment screws on the hinges.
These screws allow you to move the door left to right, up or down, and front or back slightly. Check your hinge instructions for specifics.
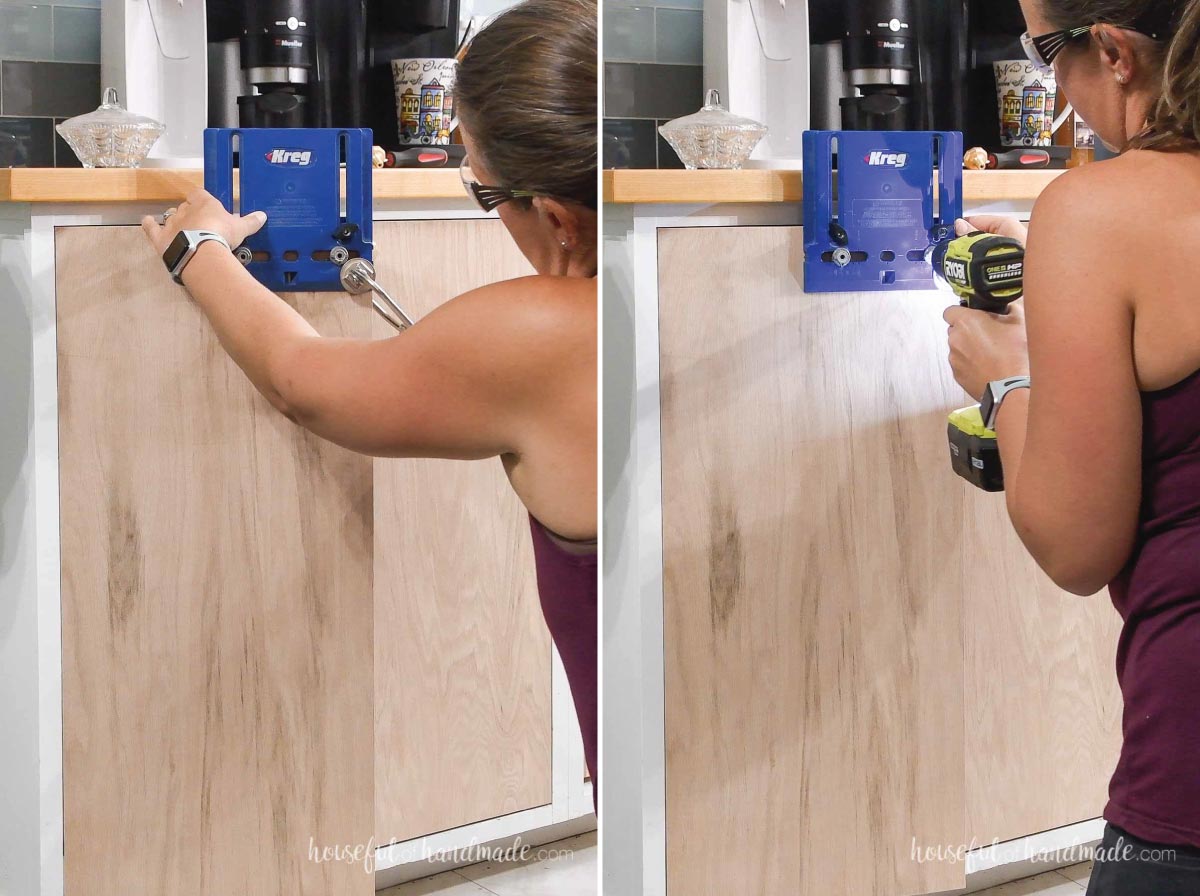
STEP 4- Add hardware
Once your doors are installed and perfectly aligned, it is time to add your hardware.
Set the ledge on the back of the hardware jig to the number (in inches) of how far down you want your knobs or pulls.
Then move the stop on the front to how far apart the screw holes in your pulls are or how far from edge you want your knob.
Clamp it in place and drill your holes for your hardware.
EXPERT TIP:
When drilling holes for hardware, press the drill bit in slowly to prevent splintering as the drill bit exits the back of the cabinet.
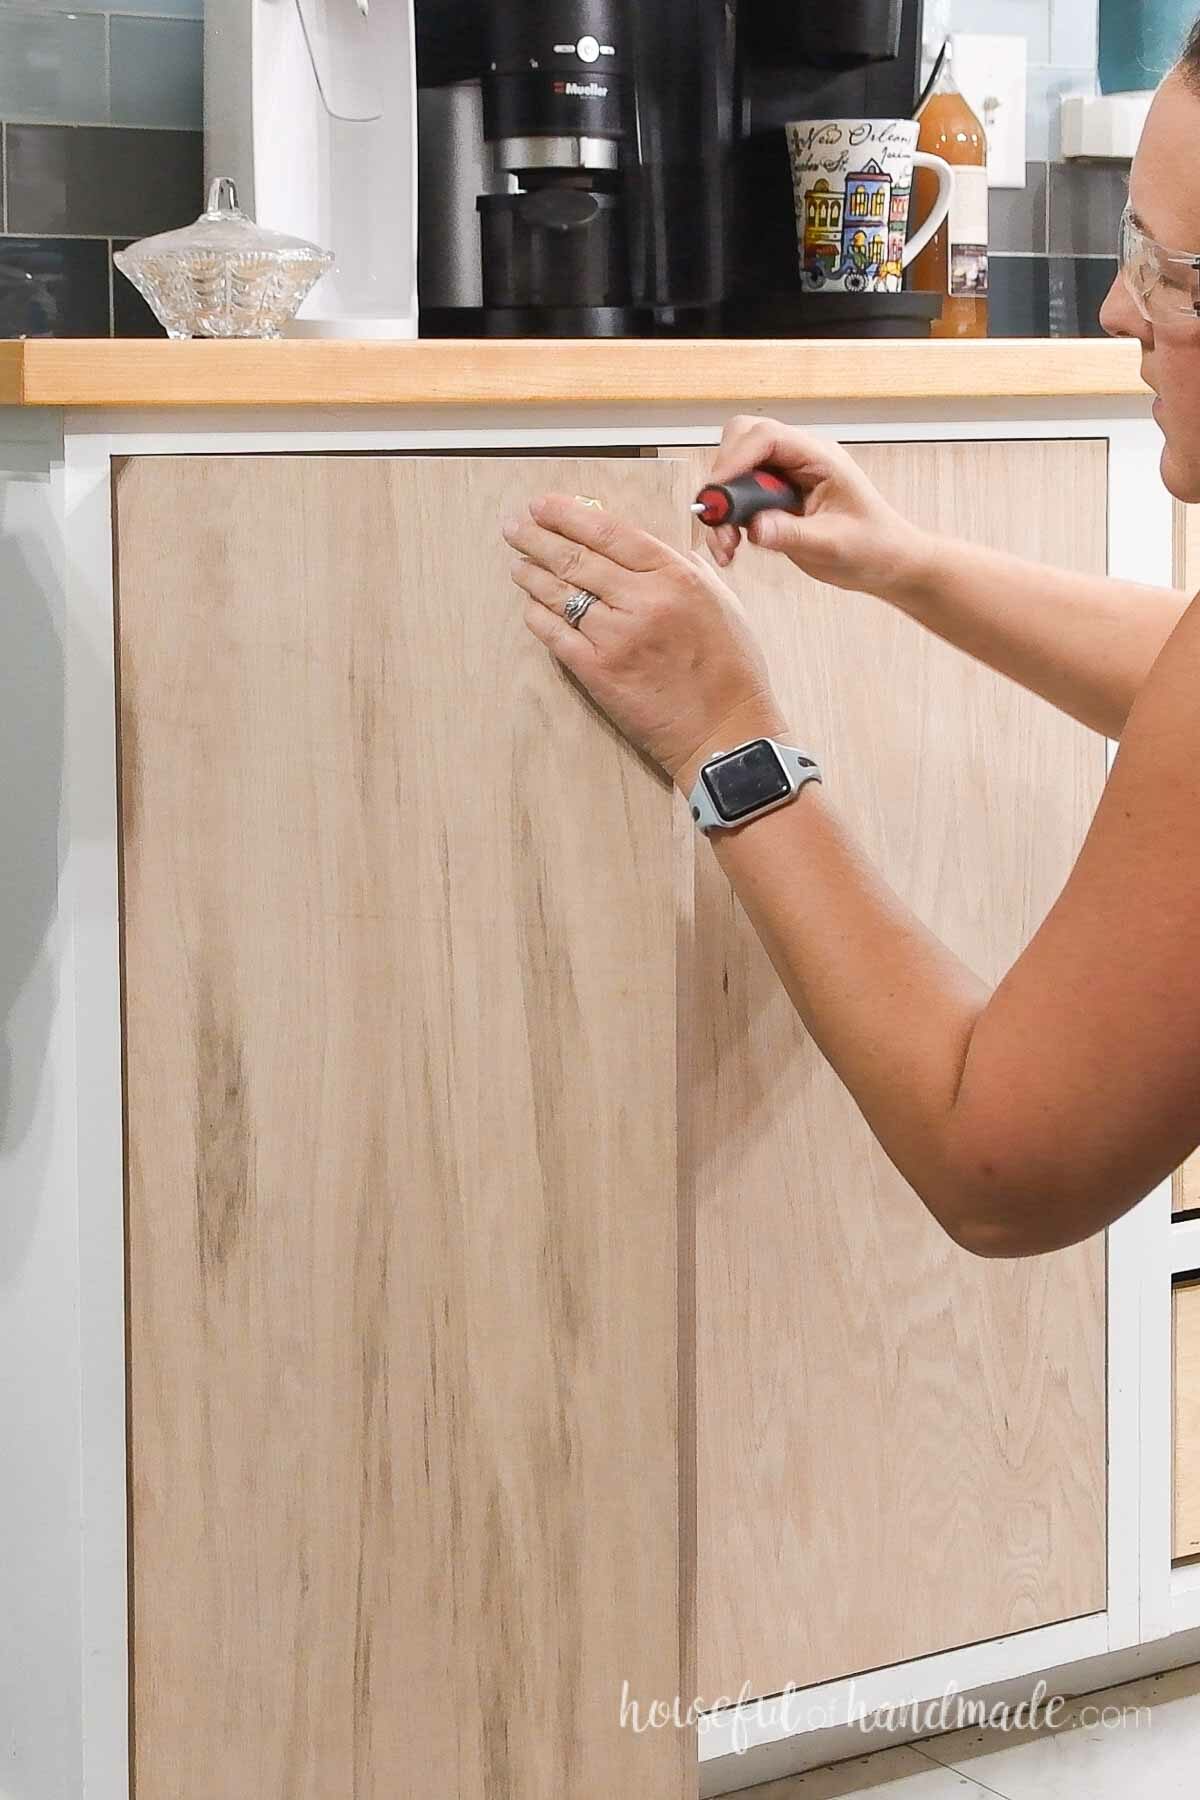
Use a screwdriver to attach the hardware with the screws through the back of the cabinet into the hardware.
Repeat for the remaining doors.
Close your doors and double check your work.
Adjust the reveal again if needed.
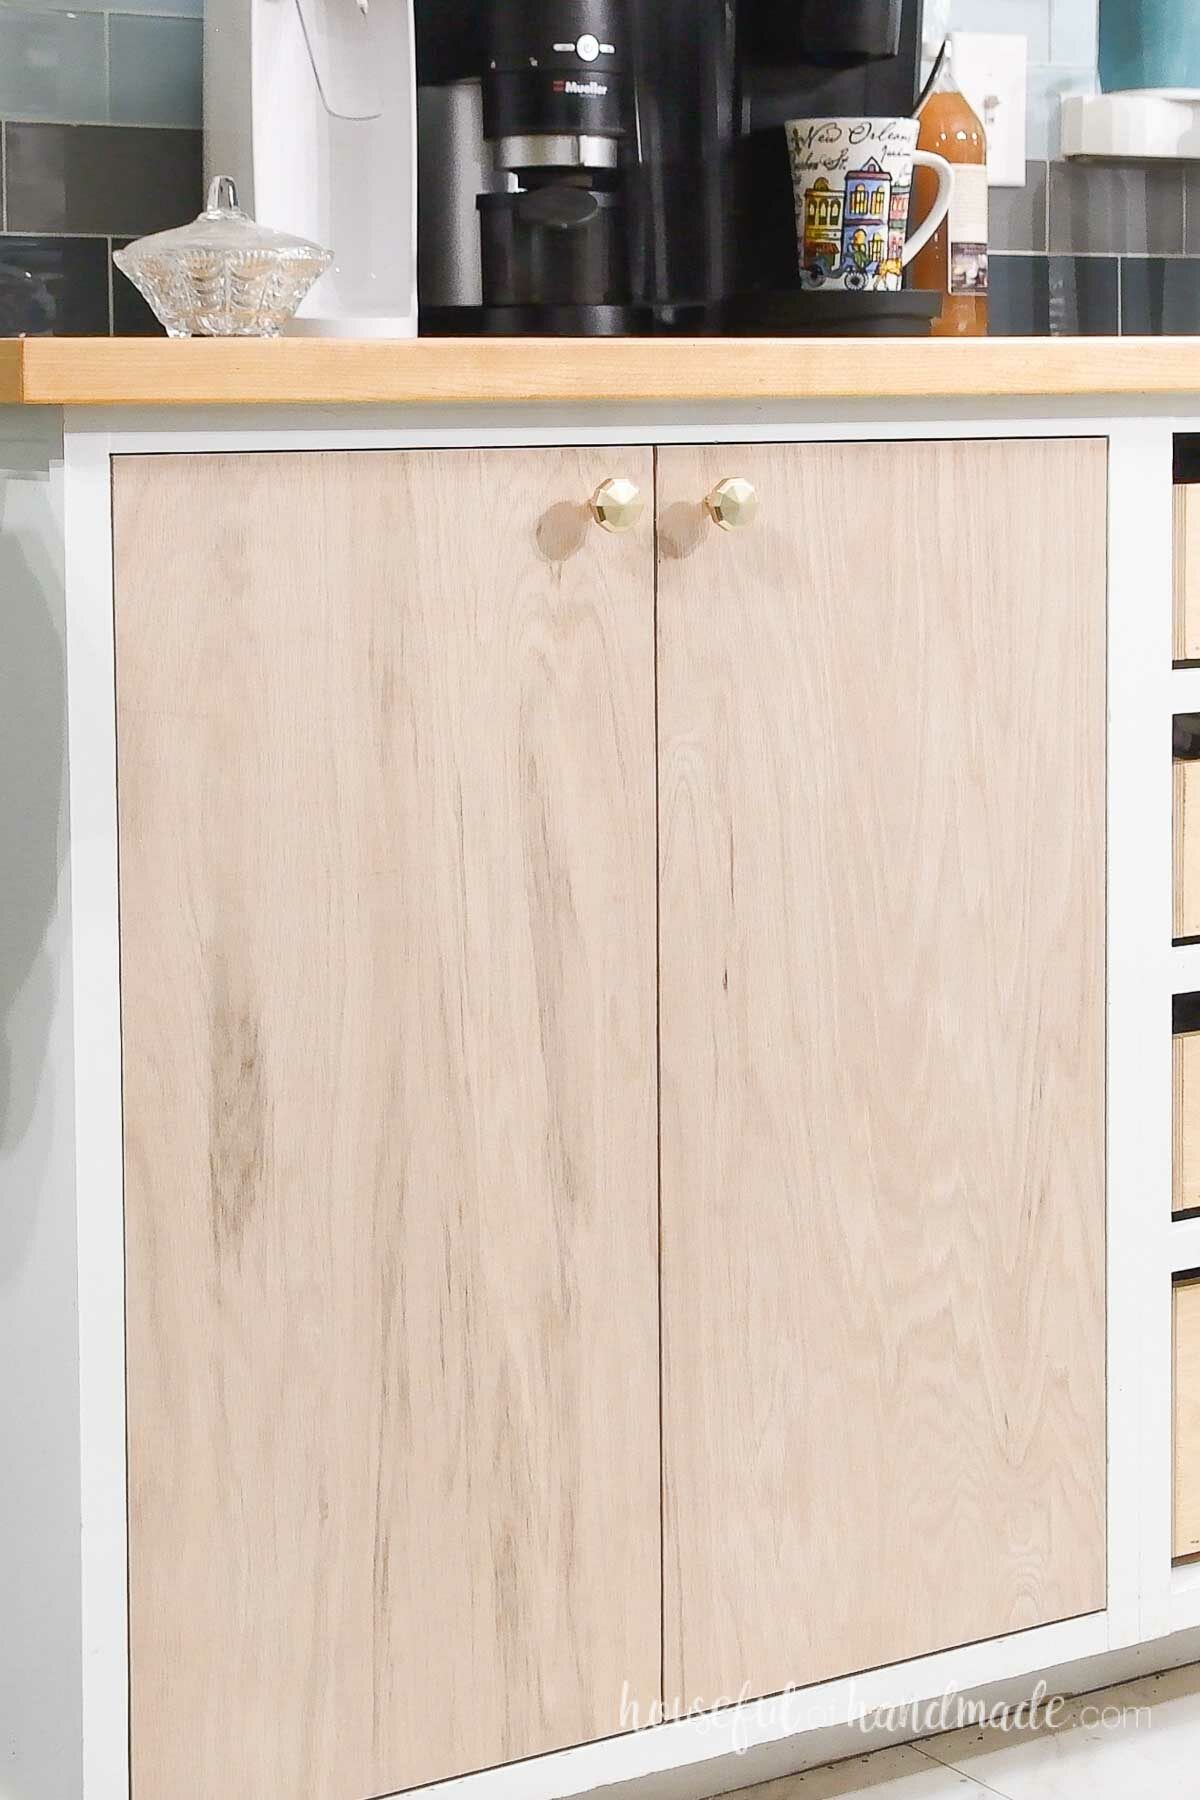
You did it!
Now you have perfectly installed cabinet doors. Pat yourself on the back for a job well done.
Happy building!

Thank you to Kreg Tools for sponsoring this post. I only recommend products that I use and love and all opinions are 100% my own. Click here to read my full disclosure policy.