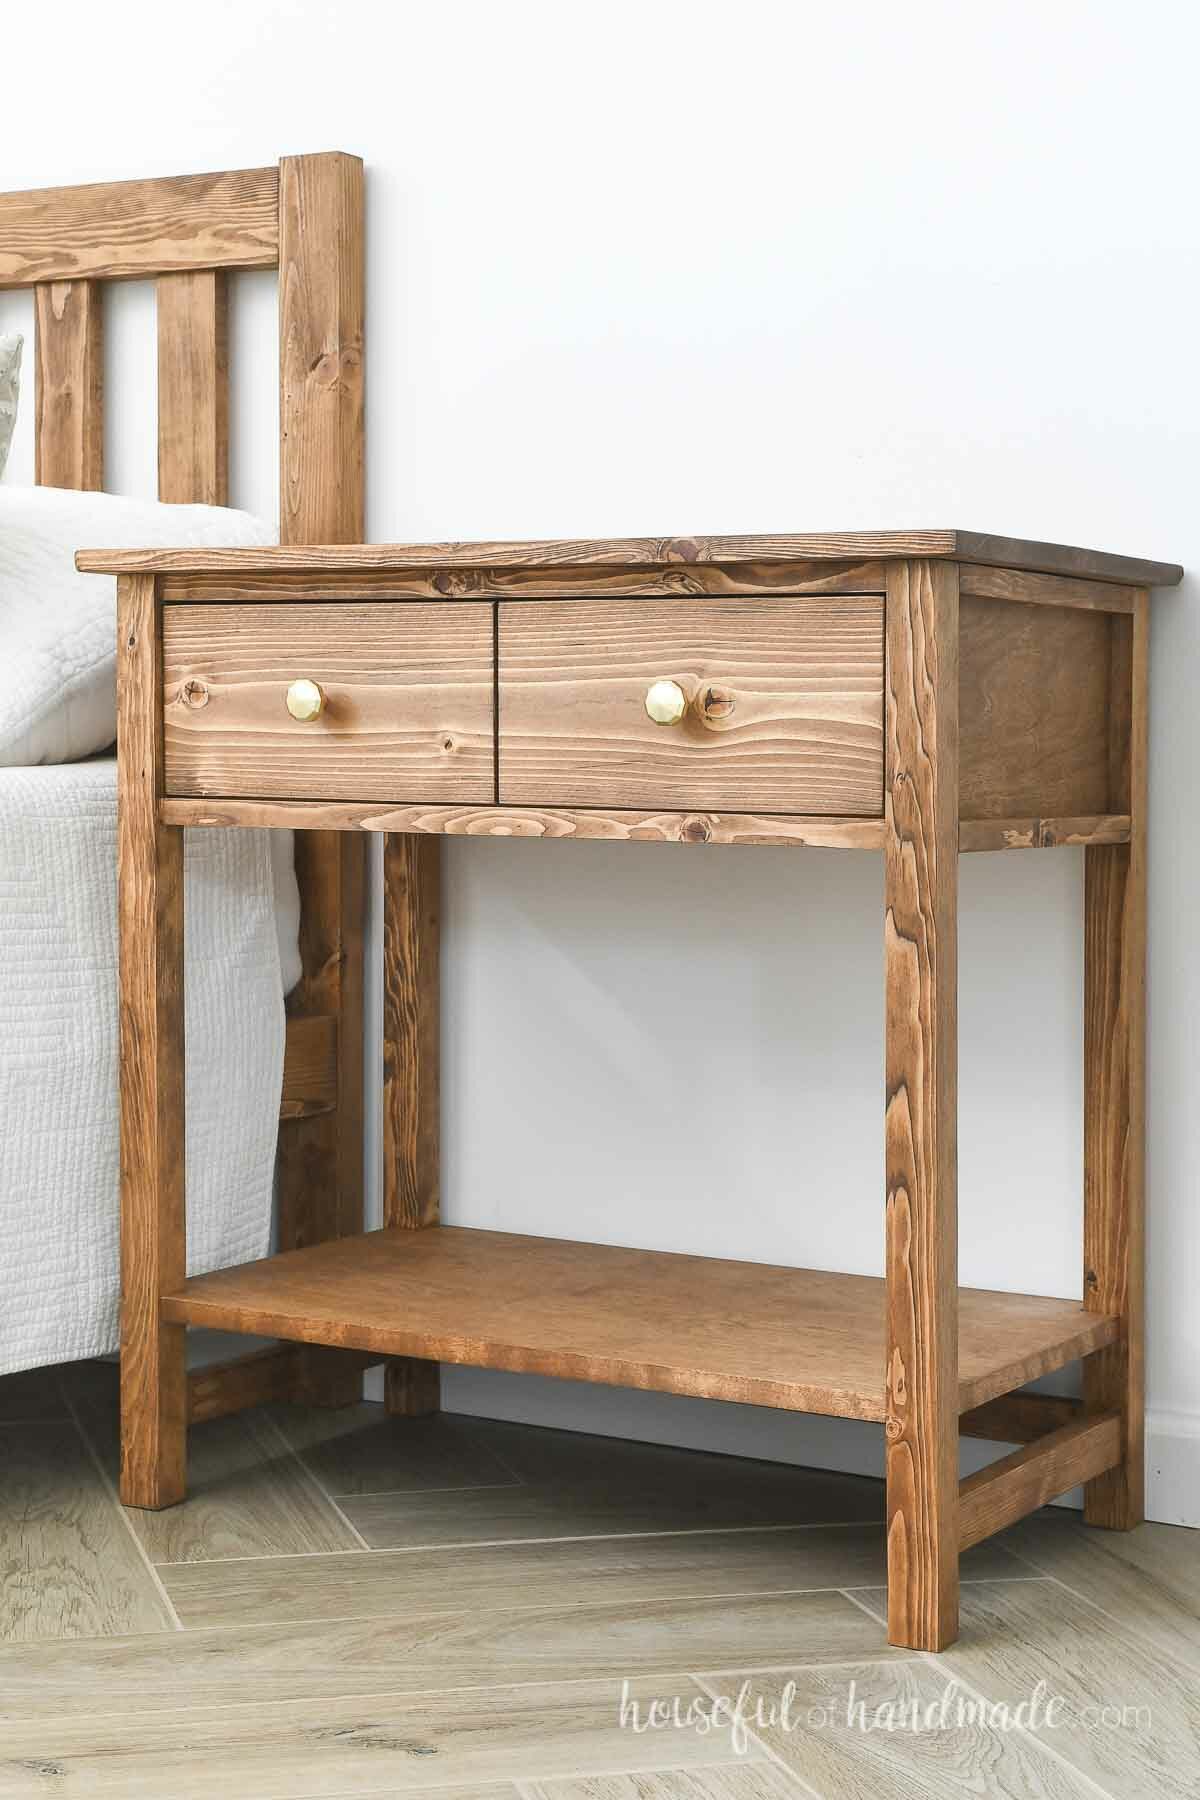
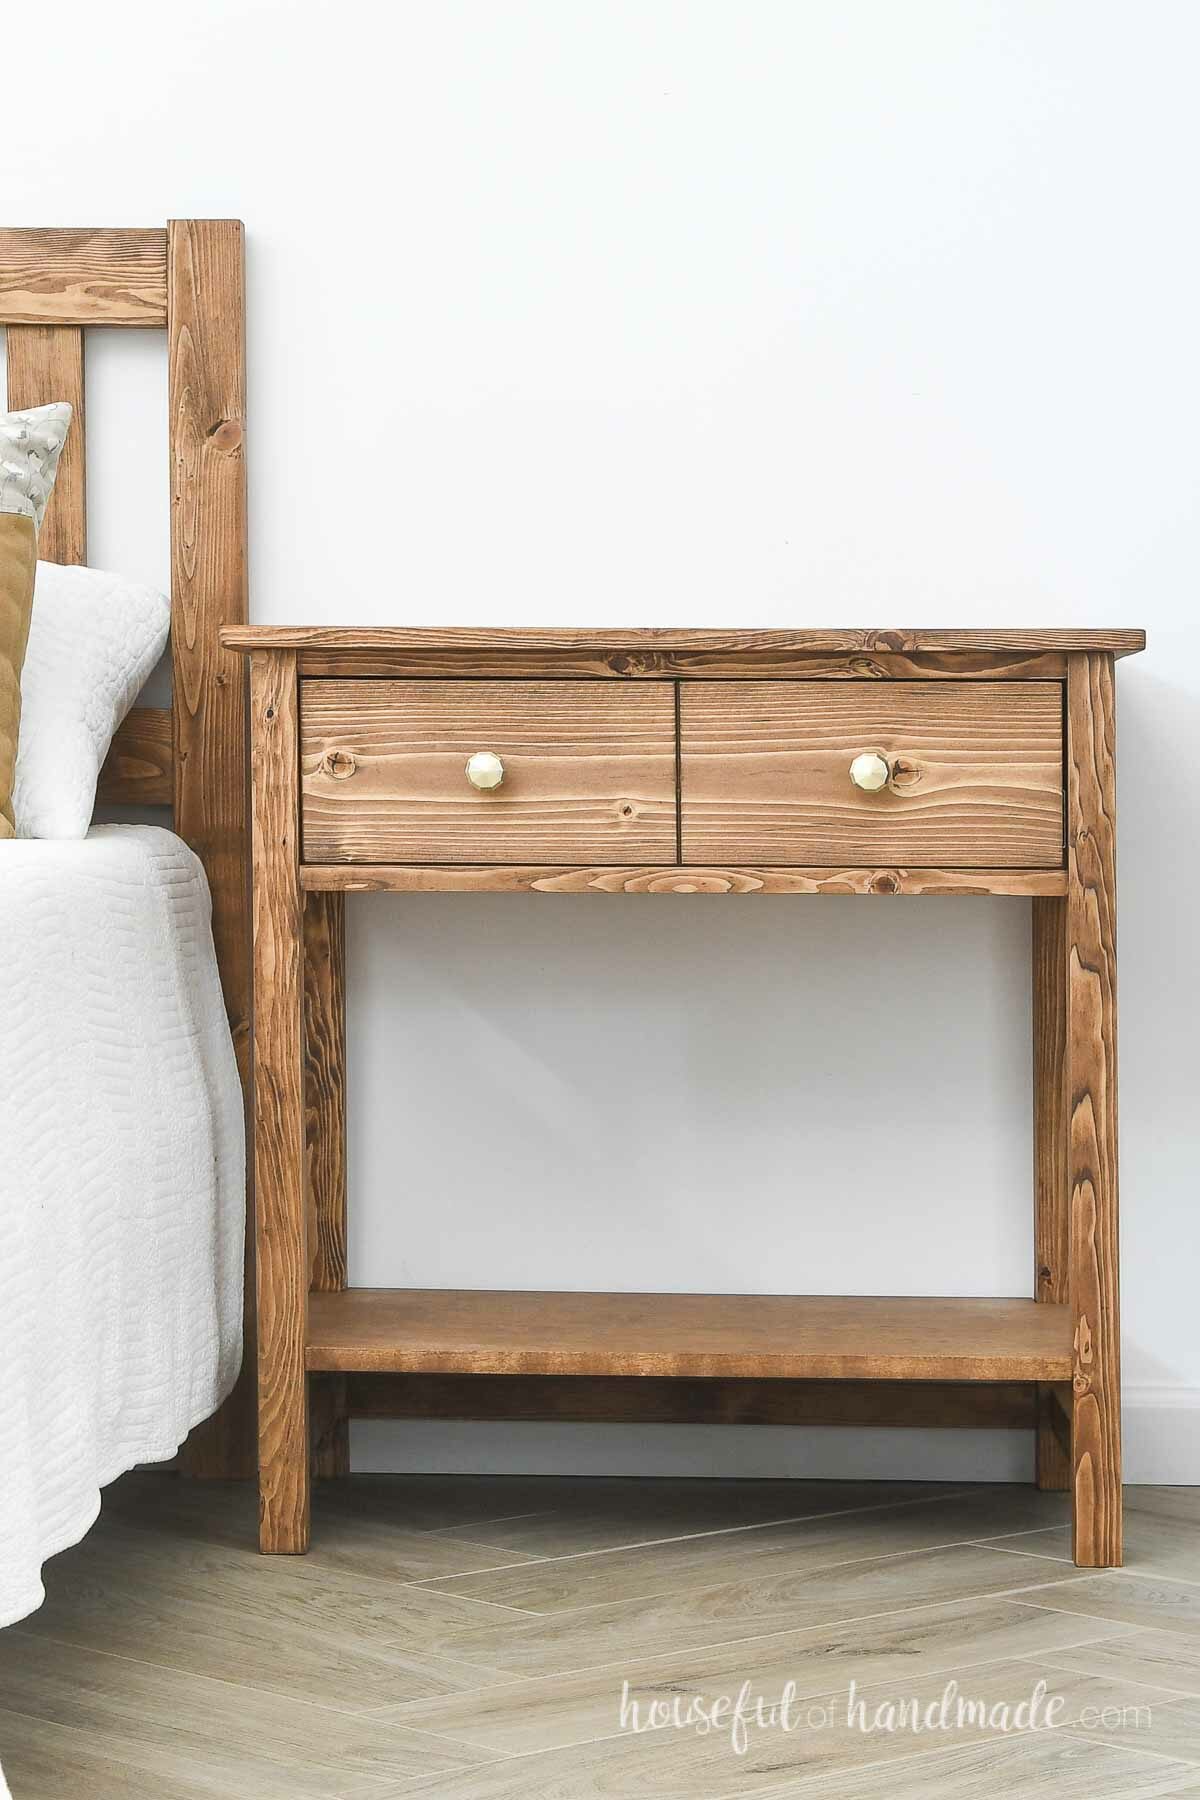
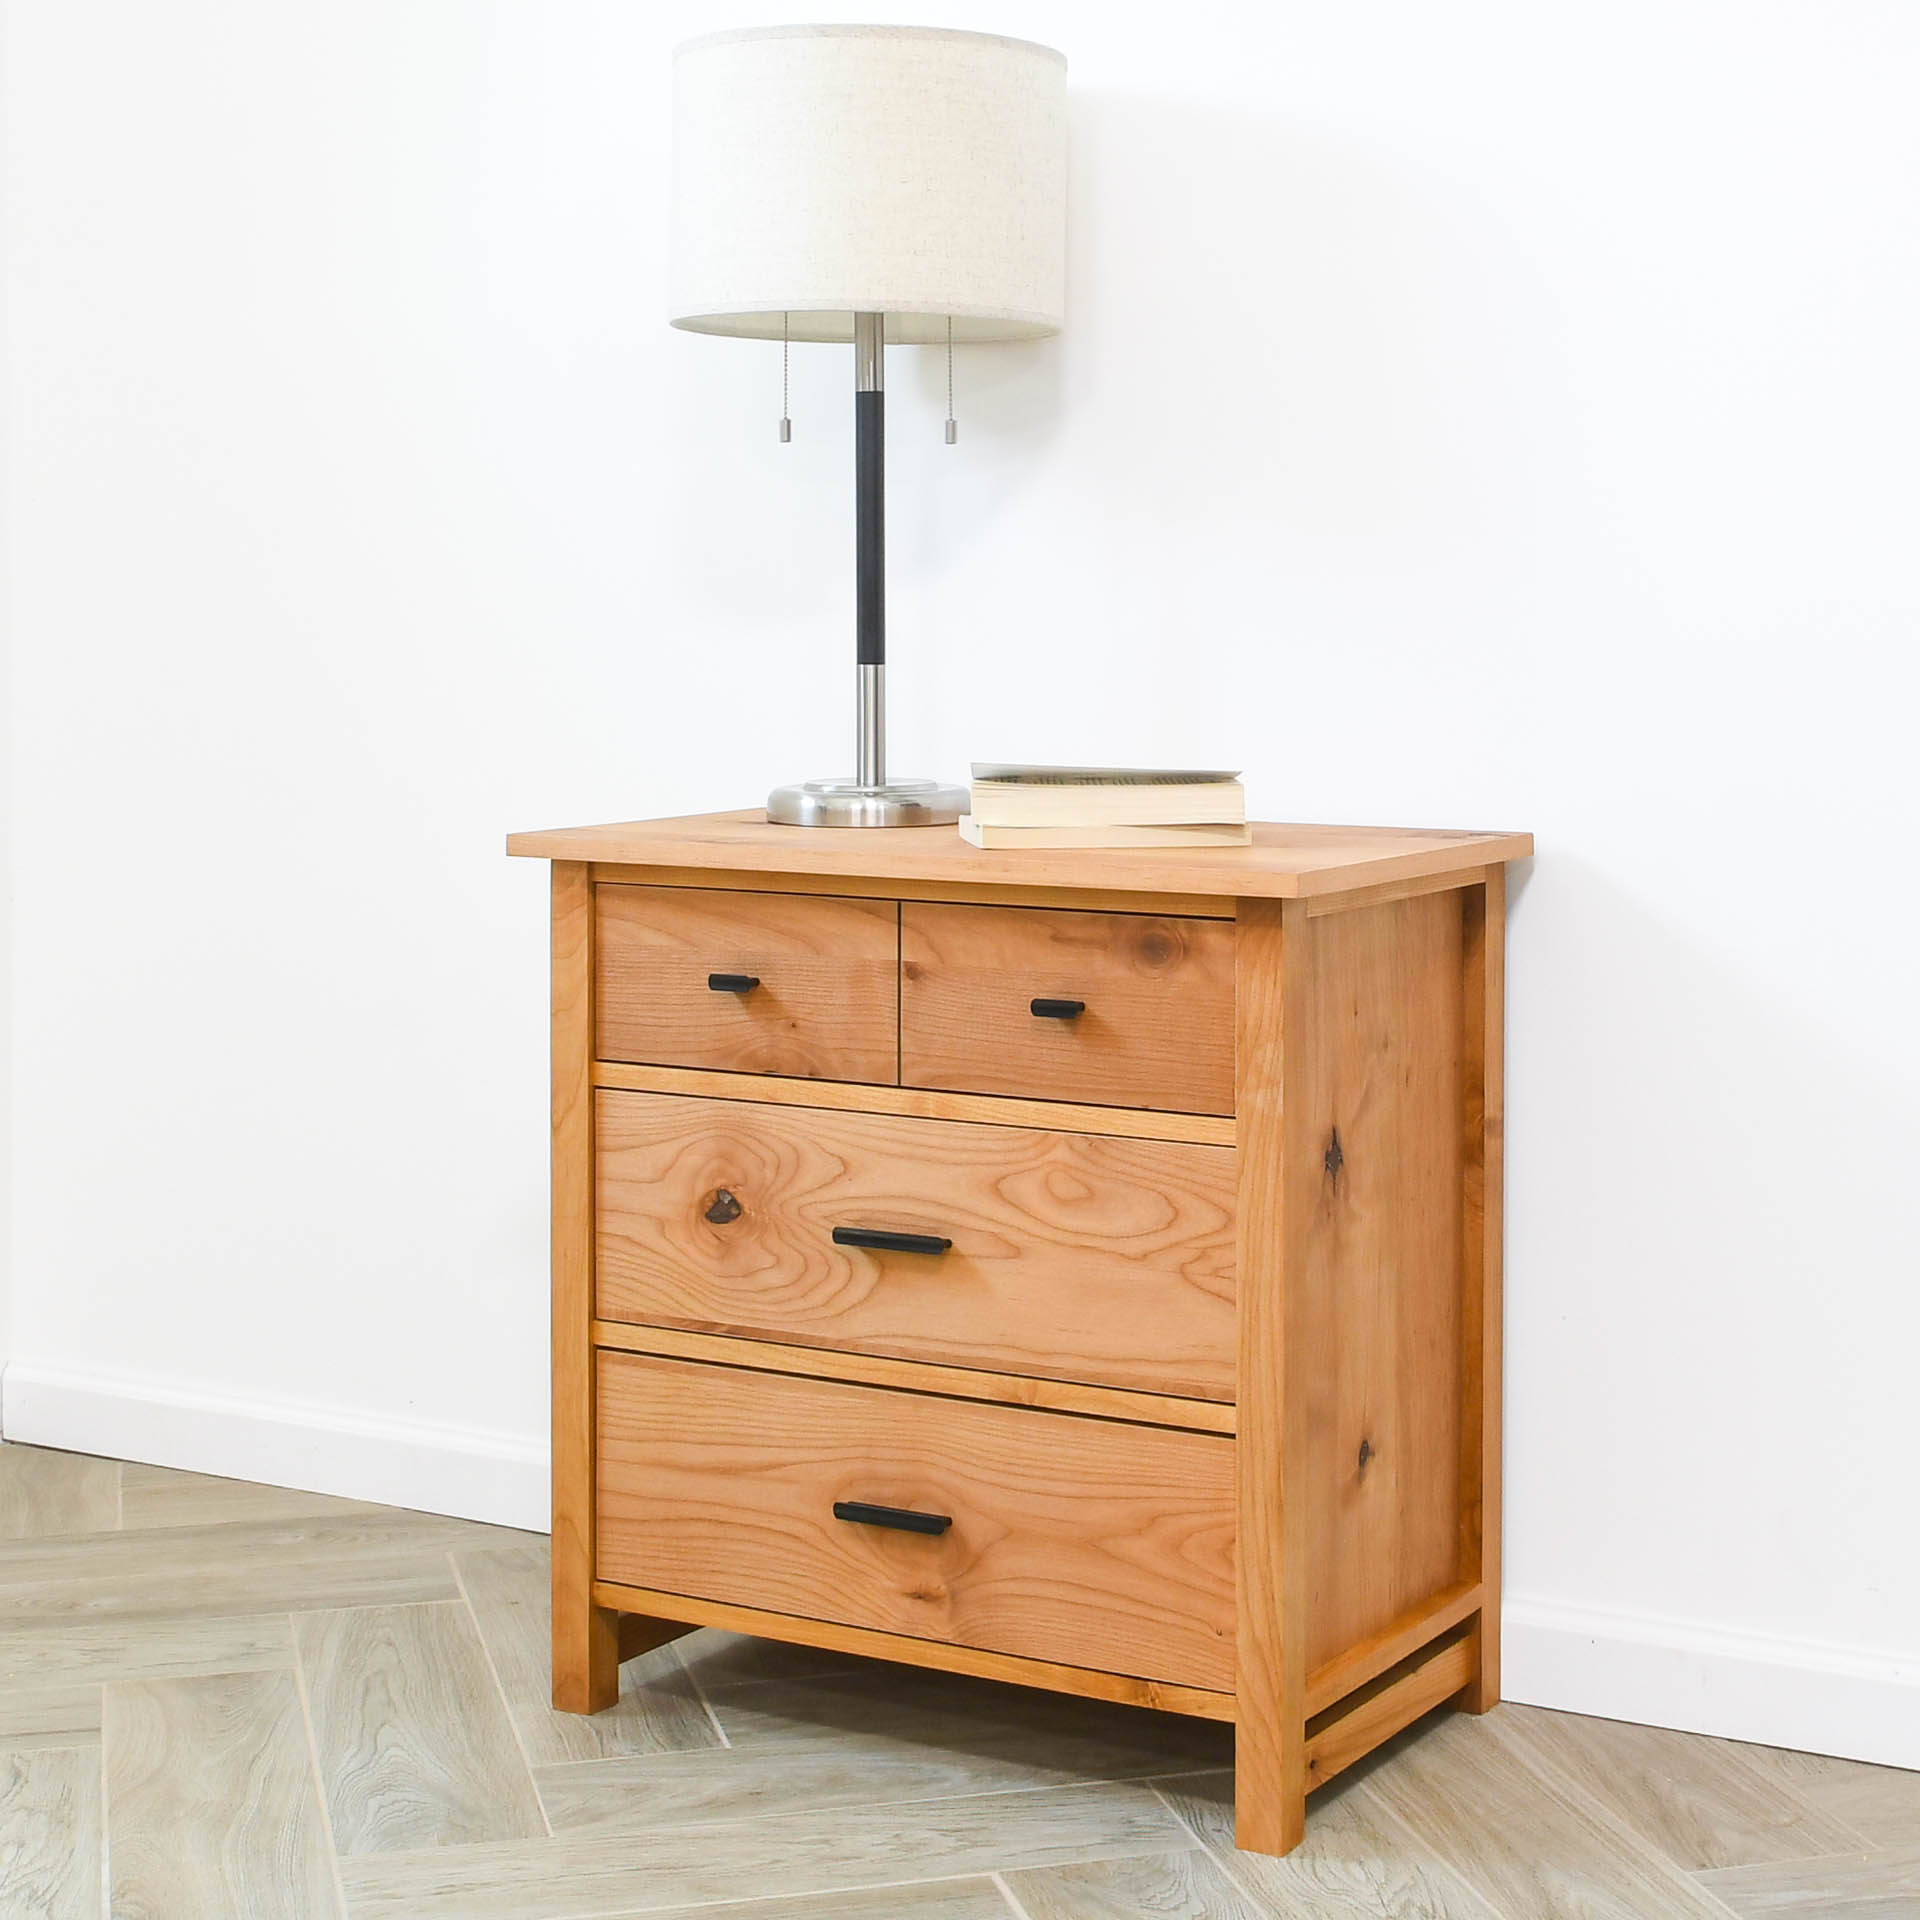
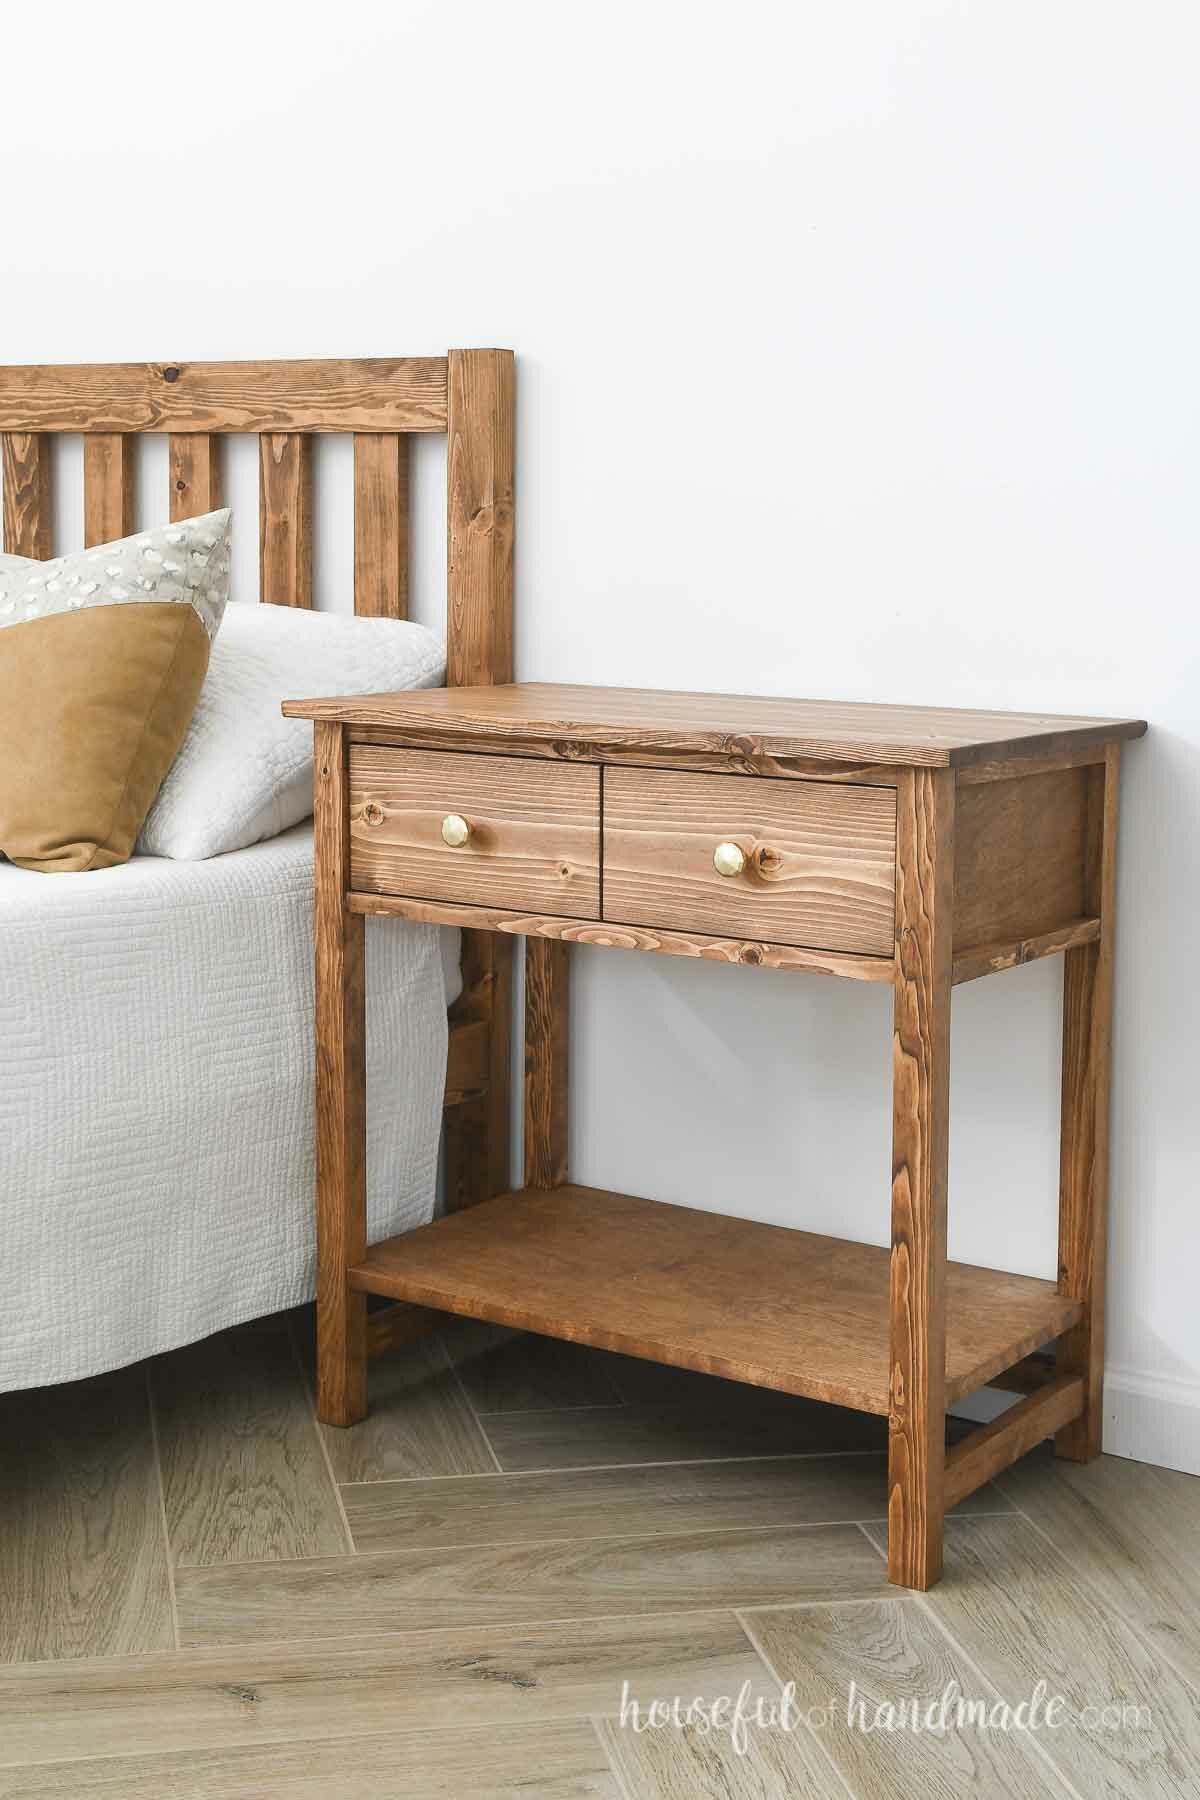
I built a new nightstand to match the simple platform bed I built last month to get the house ready for holiday guests. This wide nightstand has a large drawer and open shelf for plenty of storage.
Don’t need a nightstand? This piece can also double as a side table in your family room. The drawer is perfect for storing away remotes and magazines.
And to make building this 1 drawer nightstand easier, I partnered with Kreg Tools to give myself a second set of hands using my favorite Kreg Clamps.
This post may contain affiliate links. As an Amazon Associate I earn from qualifying purchases. Click here to read my full disclosure policy.
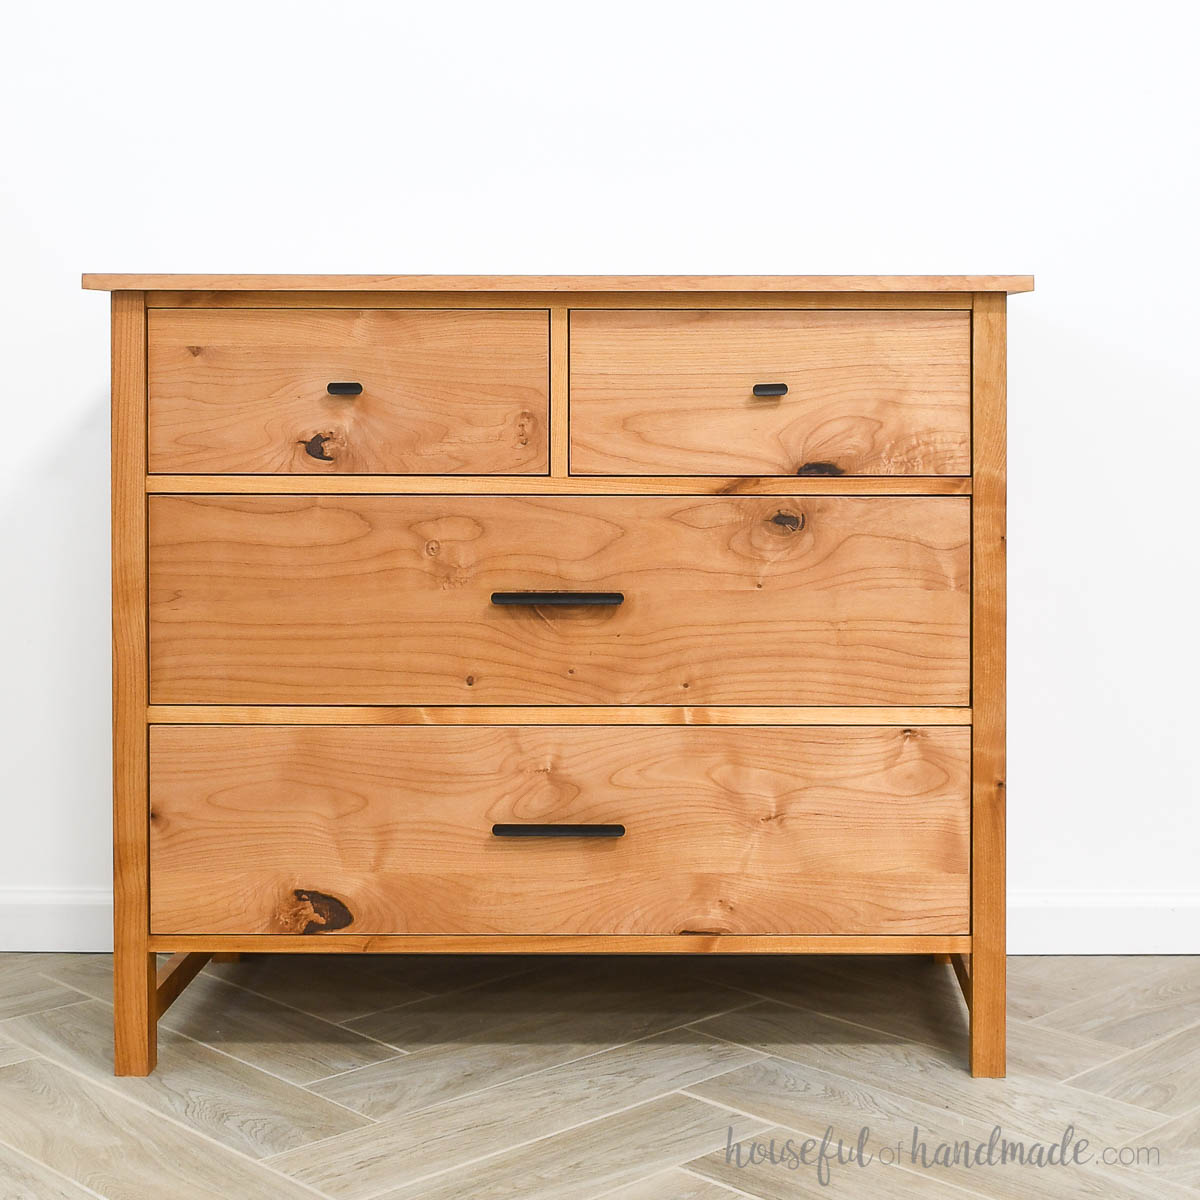
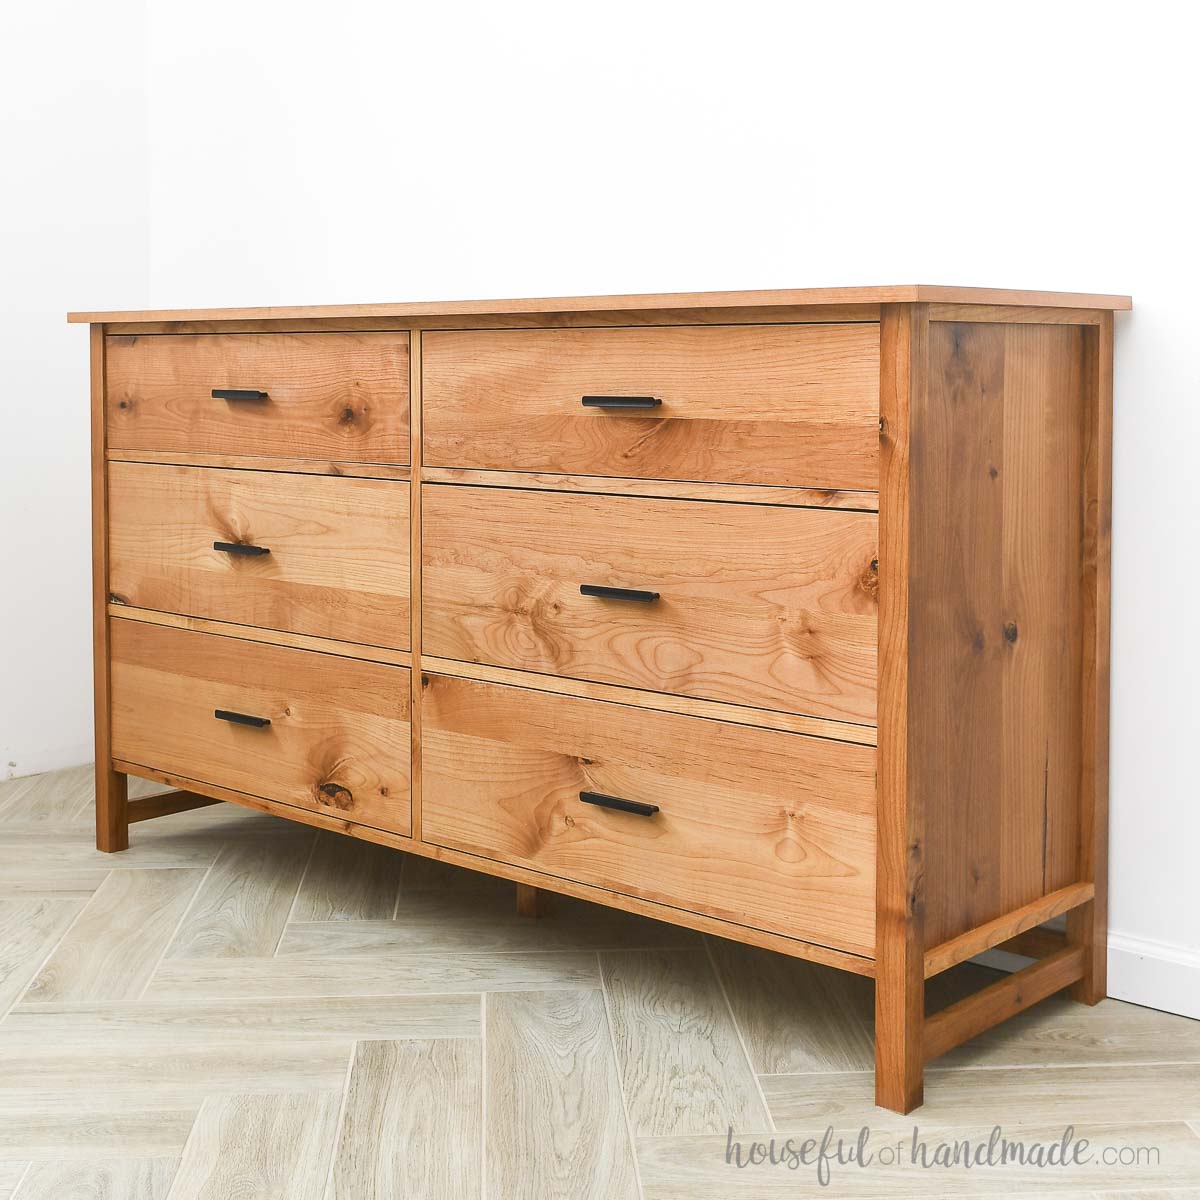
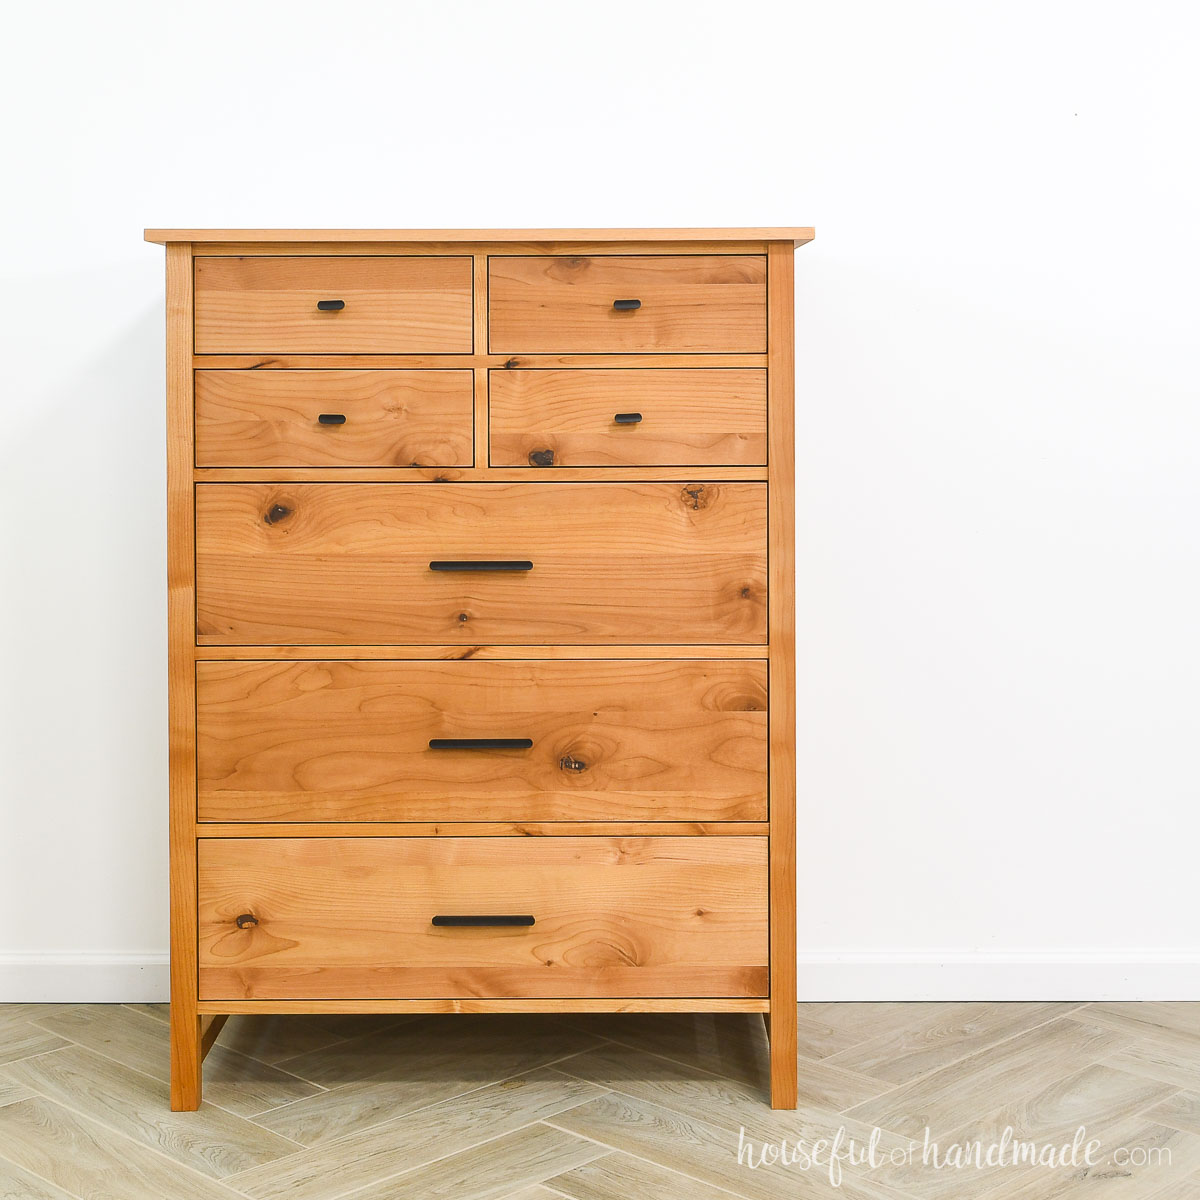
Need more storage? Build a complete bedroom set with a matching 4 drawer dresser, tall 7 drawer dresser and 1 drawer nightstand plans already. The coordinating 3 drawer nightstand plans are coming soon.
PB Farmhouse Nightstand Dupe
This large nightstand with an open shelf is similar to the Pottery Barn Farmhouse Nightstand. But instead of 2 small drawers, this one has one larger drawer.
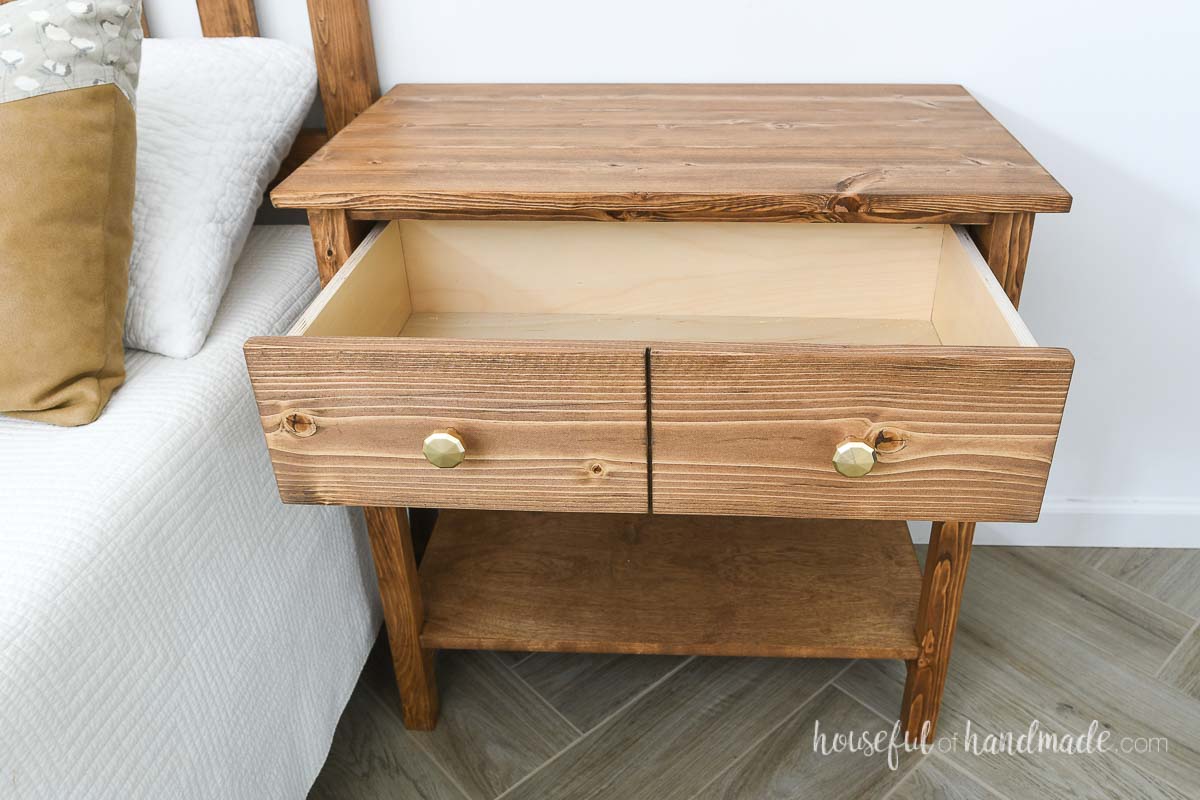
But I made the single drawer look like two with a simple woodworking trick. Just add a small groove on the drawer front so it looks like 2 pieces without sacrificing drawer space.
If you prefer 2 smaller drawers, you could modify your DIY nightstand. But I prefer all the storage space I get from 1 big drawer.
Plus it is easy to add drawer dividers to your drawer to make it function like 2, while still getting a few more inches of drawer space.
And below the large drawer is an open shelf, perfect for extra blankets, books, and more!
Matching Bedroom Set
Get tons of storage in your bedroom with a matching set of dressers and nightstands. All these plans were designed to make a coordinating set.
How to Build a Nightstand with Shelf
Tools & Materials
Recommended Tools:
- Miter saw
- I recently upgraded to this larger sliding miter saw (watch for it to go on sale), but all my projects before were built with this inexpensive miter saw that I loved.
- Circular saw with guide track or table saw
- Pocket hole jig
- Jig saw
- Drill
- Impact driver (optional, but I love not having to switch bits with the drill)
- Brad nailer
- Kreg right angle clamp
- Kreg 3″ project clamp
- Kreg 90 degree corner clamp
- Sander
- Cabinet hardware jig
Supplies:
- Wood products
- (2) 2×2 boards, 8′ long
- (2) 1×2 boards, 8′ long
- (2) 1×6 boards, 8′ long
- (1) 3/4″ plywood, 30″ x 30″ piece
- (1) 1/2″ plywood, 15″ x 25″ piece
- (1) 1/4″ plywood, 12″ x 22″ piece
- 1 1/4″ pocket hole screws
- 2 1/2″ pocket hole screws
- 1” pocket hole screws or 1 1/4” staples/nails
- 5/8” brad nails
- Wood glue
- 1” pan head wood screws
- Figure 8 fasteners with screws
- Plywood edge banding
- 12” drawer slides
- Drawer pulls/knobs
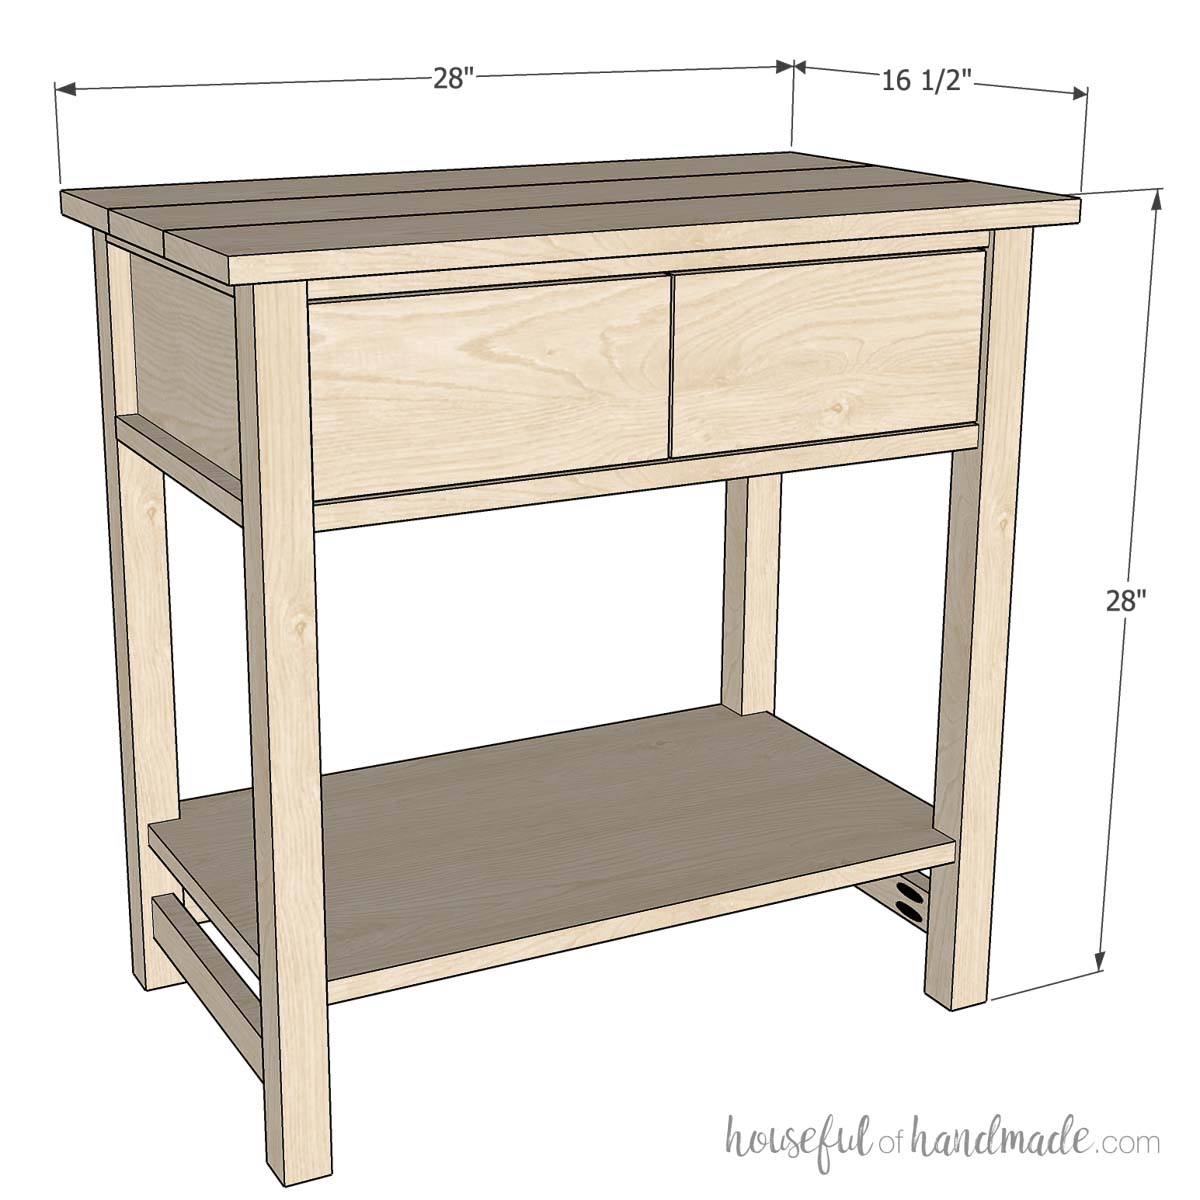
Overall Dimensions
The finished nightstand is 28″ wide by 16 1/2″ deep and 28″ tall. The drawer is 12″ deep by 22″ wide.
Cut List
Cut out the pieces according to the easy to ready table & diagrams in the PDF plans.
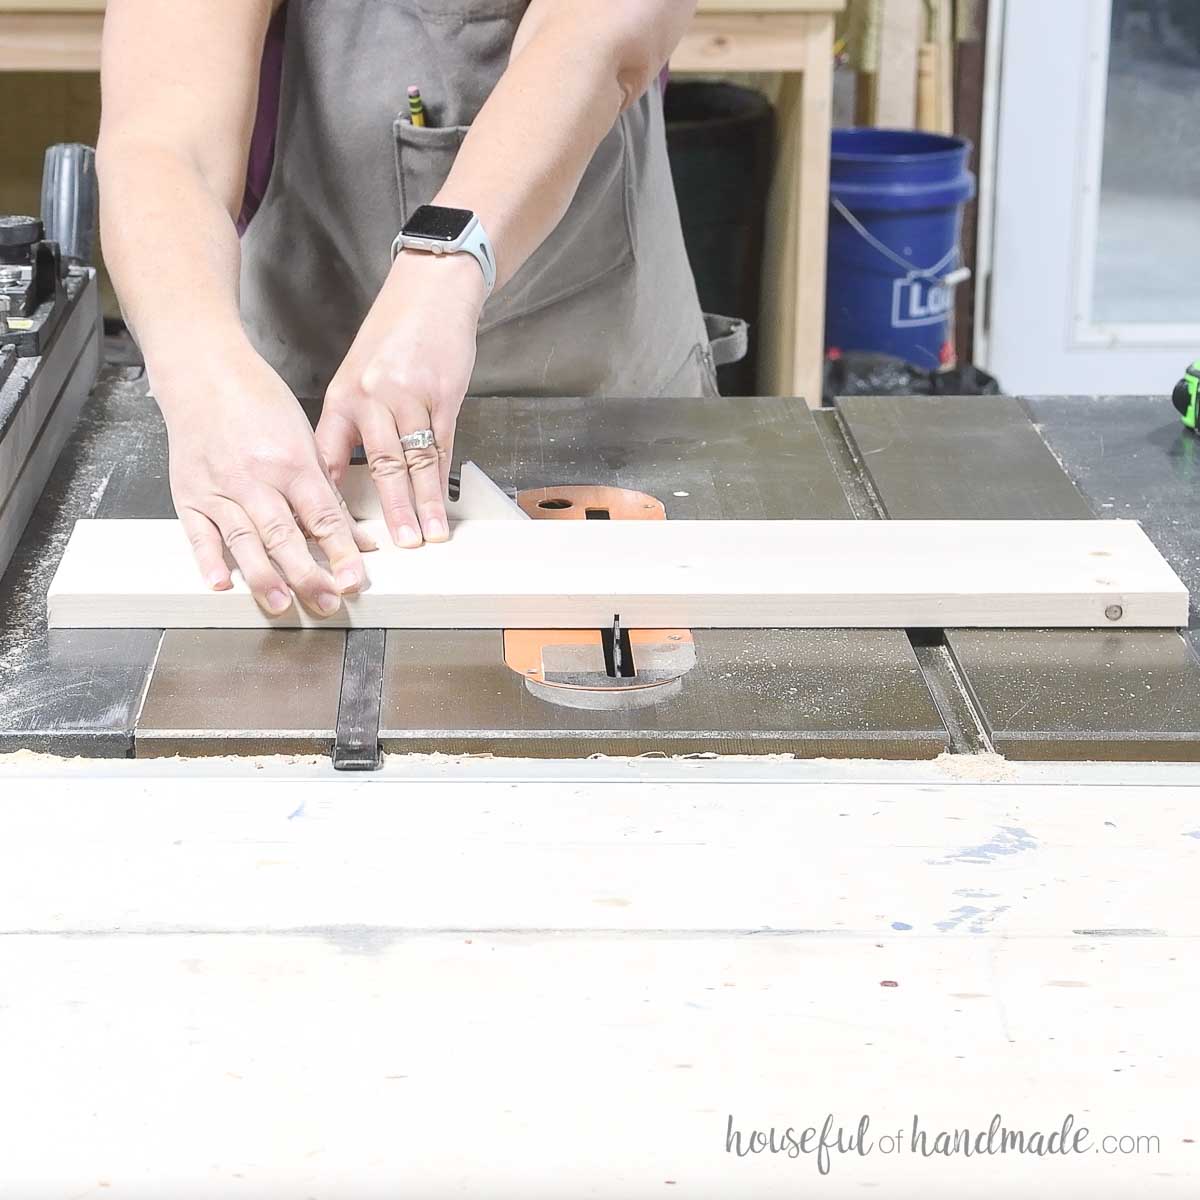
To make your nightstand look like there are two smaller drawers, cut a 1/4″ deep groove in the center of the drawer front board.
I used my table saw to do this, but you can easily do it with a circular saw as well.
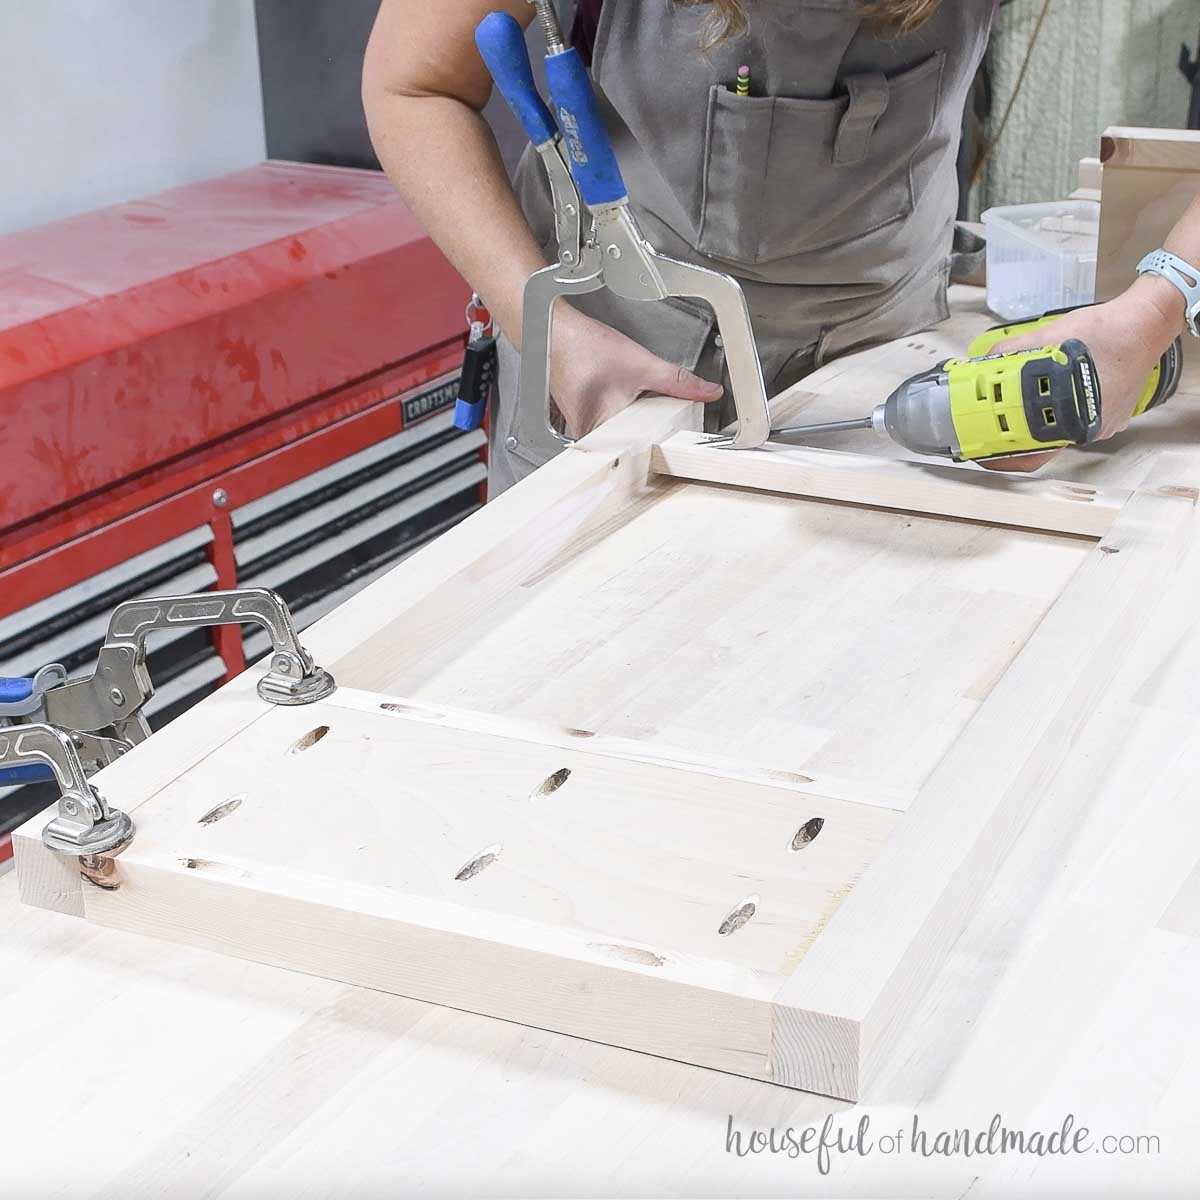
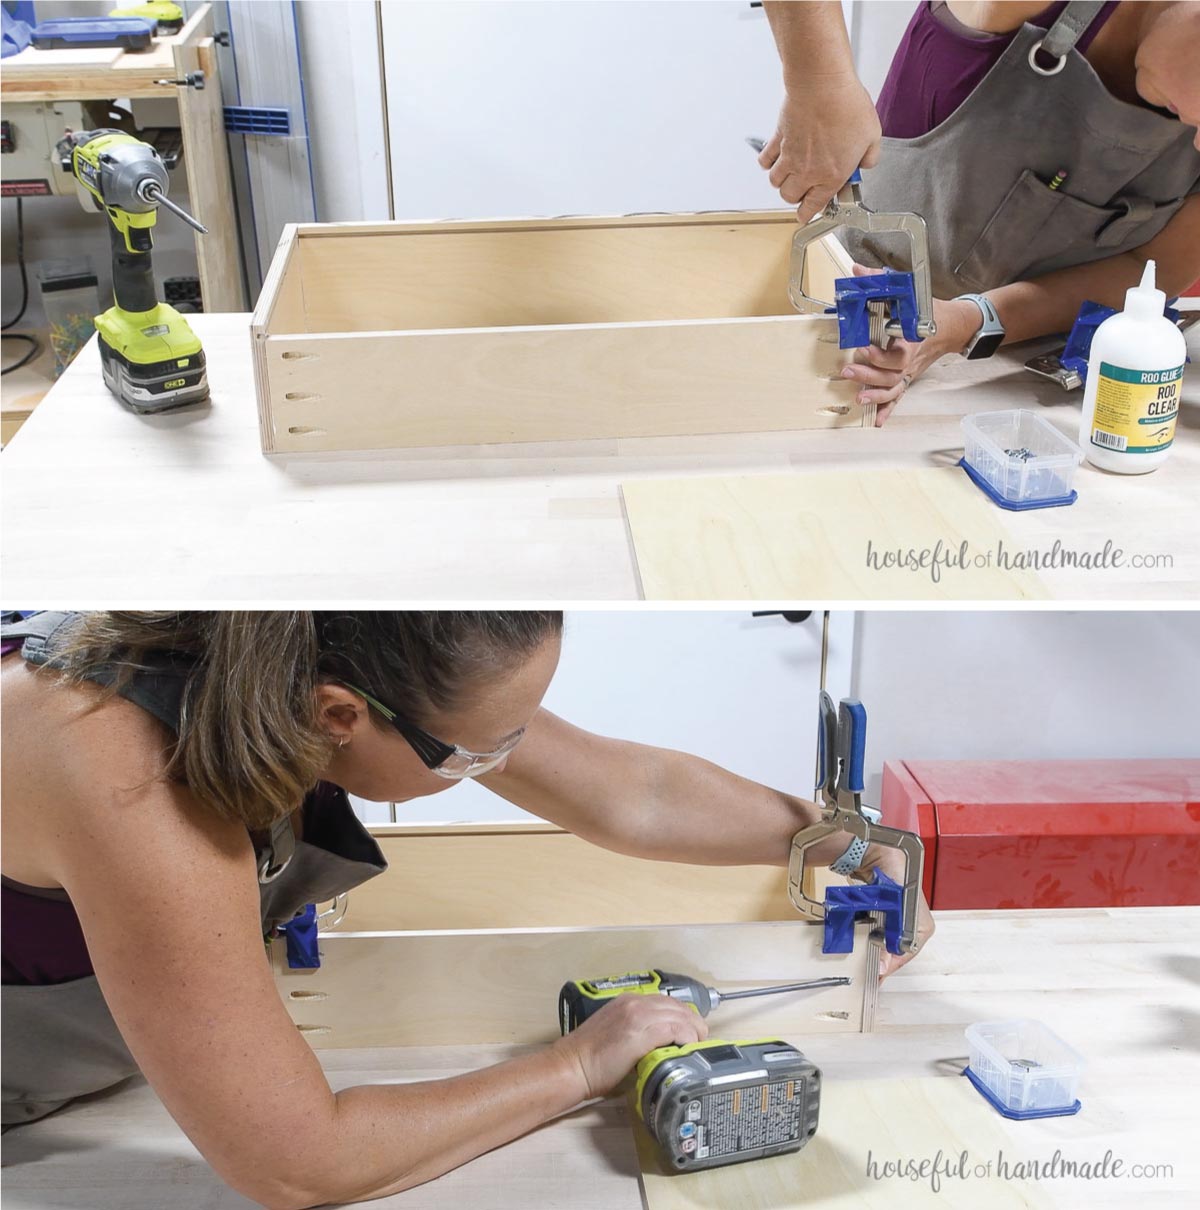
STEP 1- Build the sides
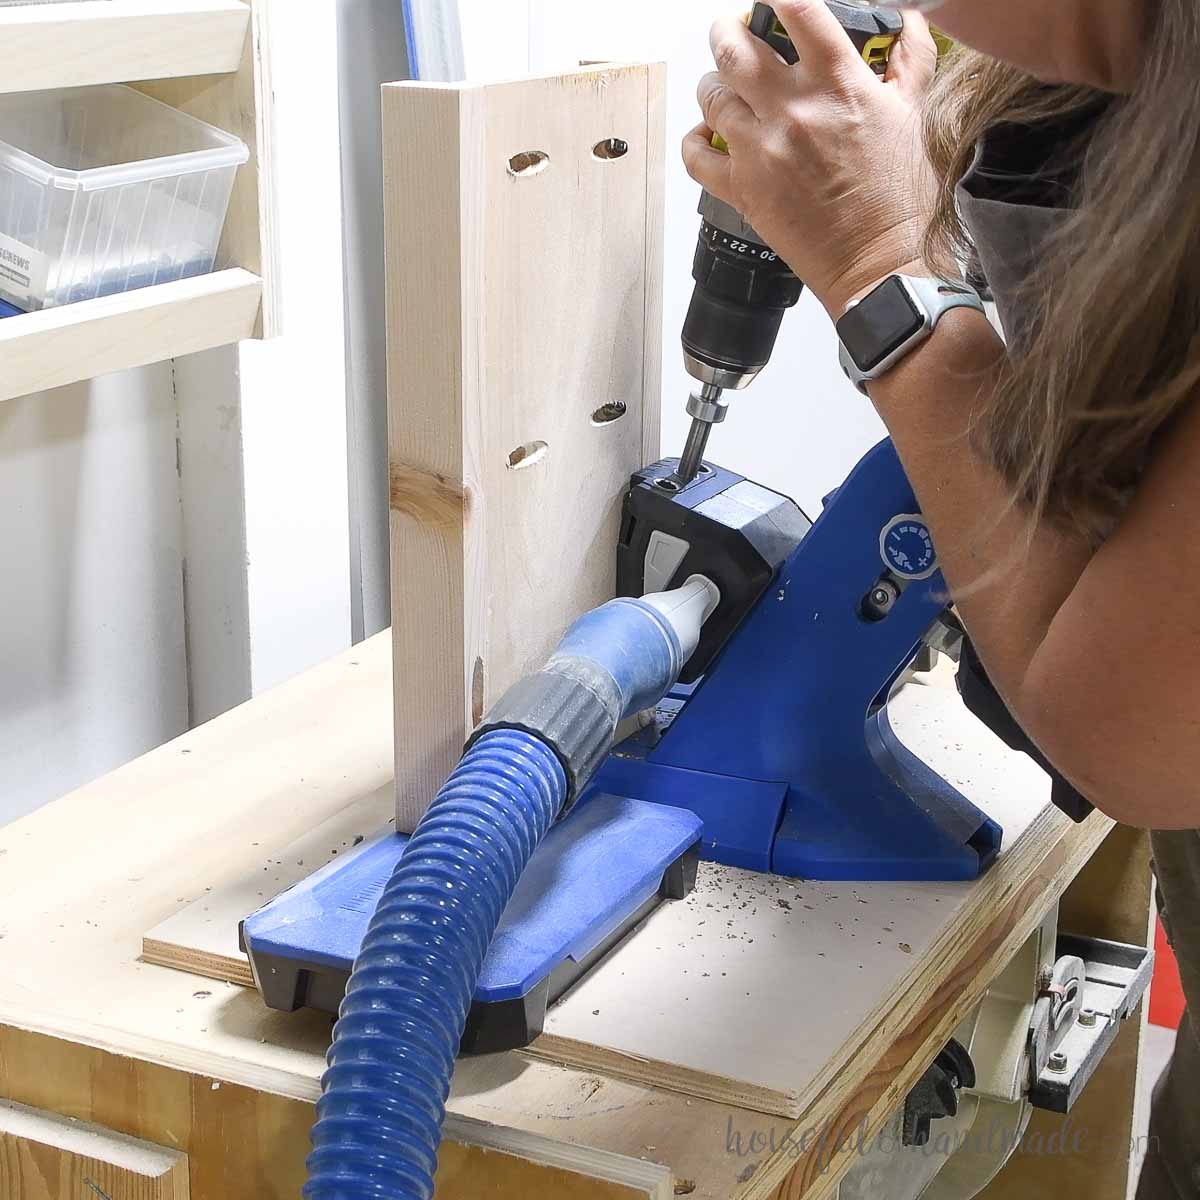
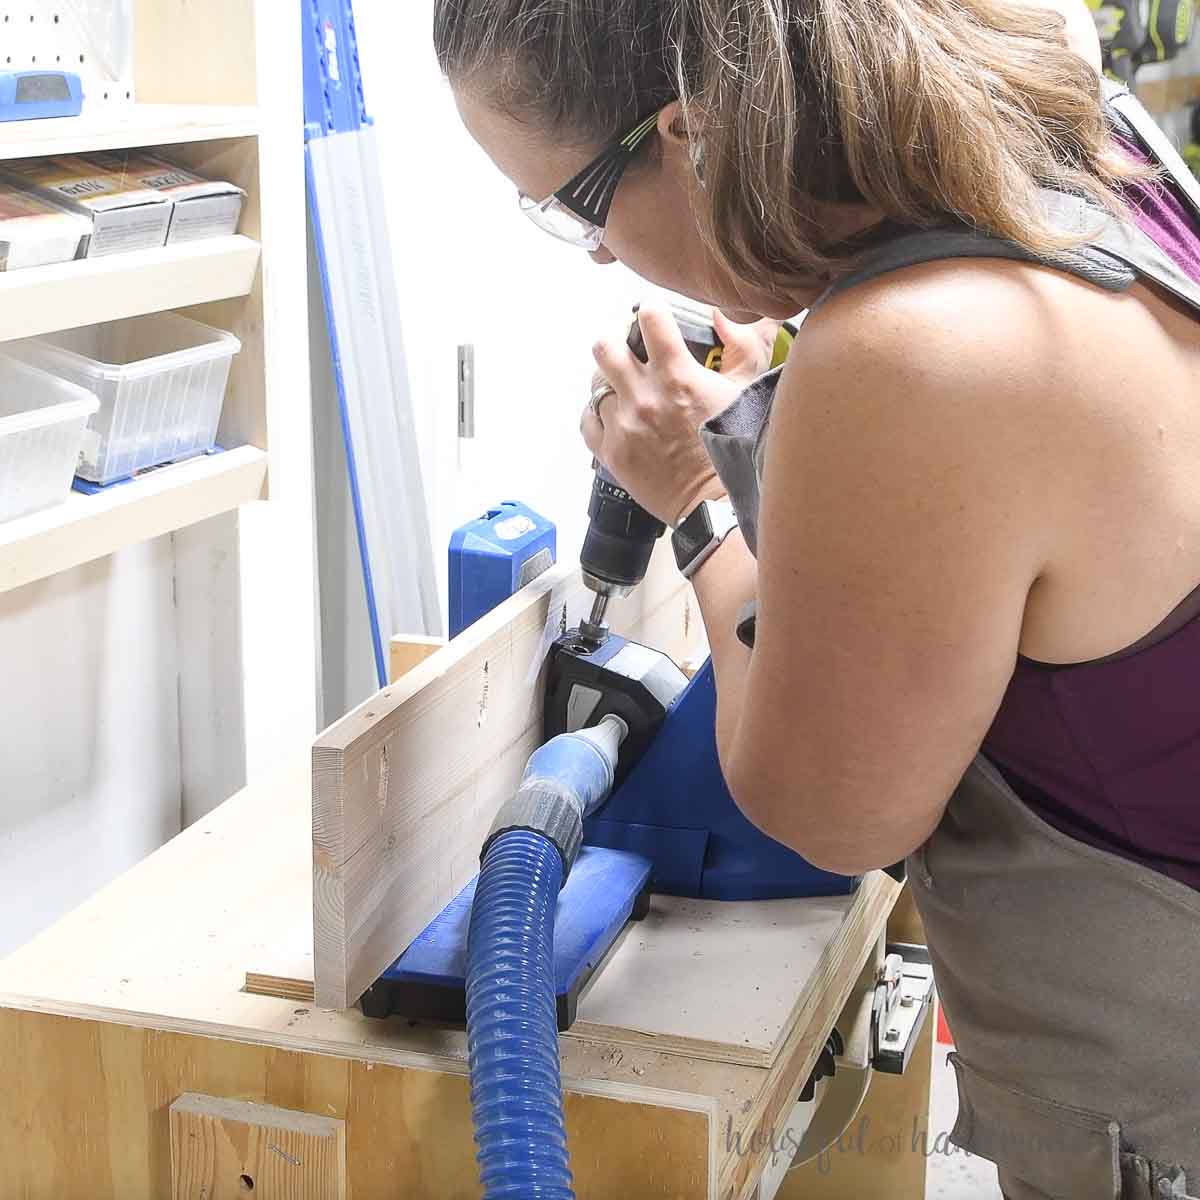
With your pocket hole jig set to drill holes in 3/4” thick material, drill pocket holes in the sides of the side panel pieces.
My outer pocket holes ended up being in the way of the pocket holes needed for the next step. So I recommend you only use 2 pocket holes instead of 3. Make sure your pockets holes are set in from the ends at least 3” to keep them out of the way.
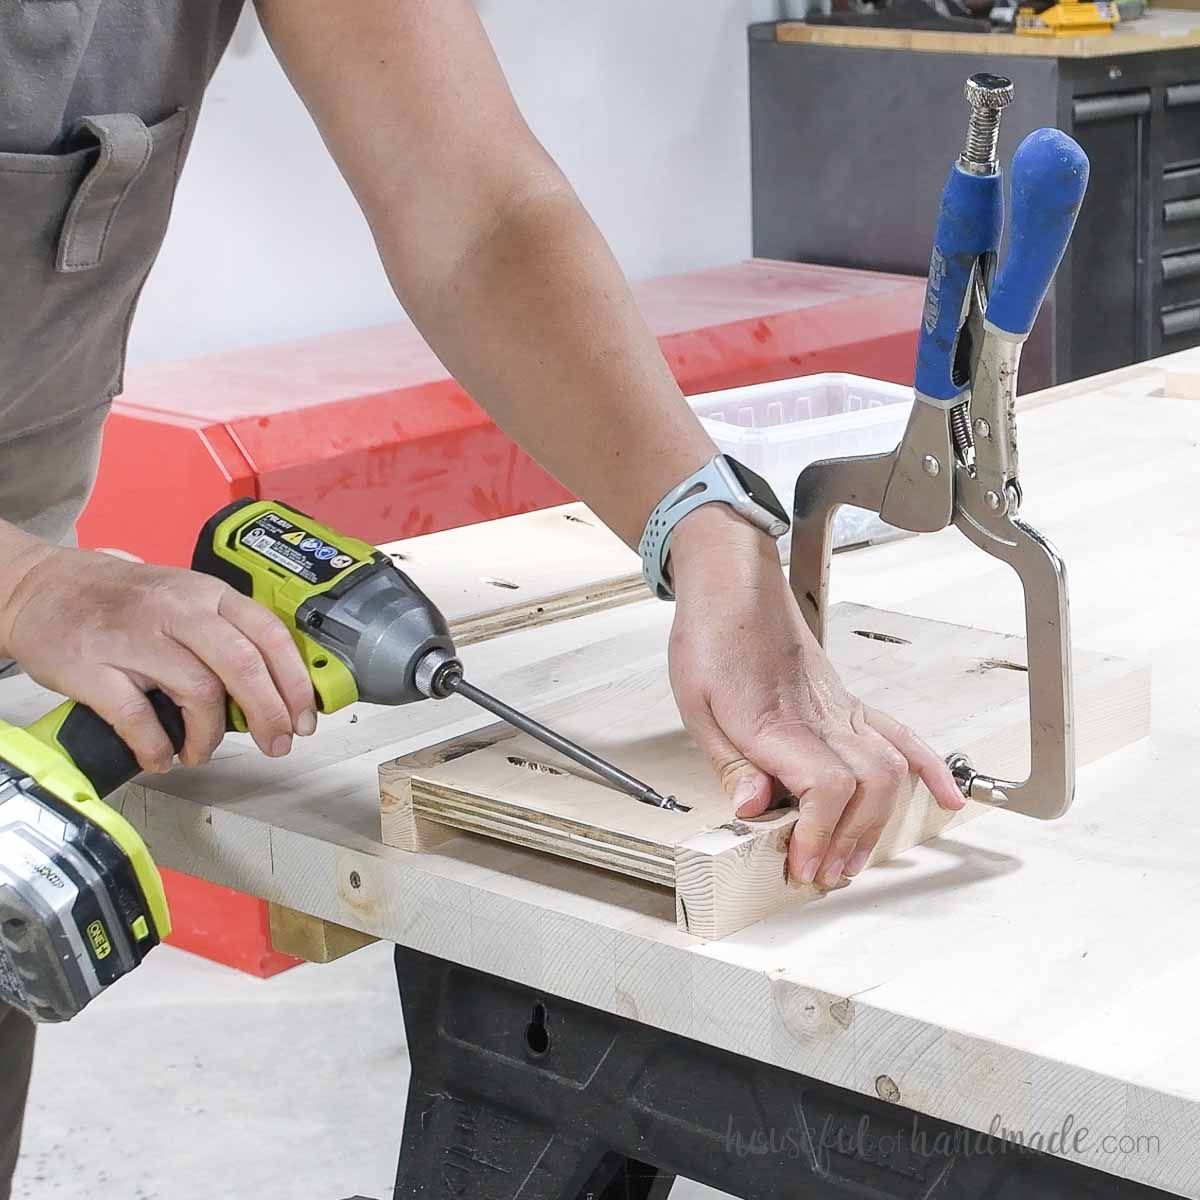
Attach the side panel between two side rails so they are flush at the back. Secure with 1 1/4” pocket hole screws and wood glue.
Then set your pocket hole jig for 1 1/2” thick lumber and drill one pocket hole in each of the side rails.
You could do this before assembling the side panel, but I find it is easier to clamp the 1×2 when it is attached.
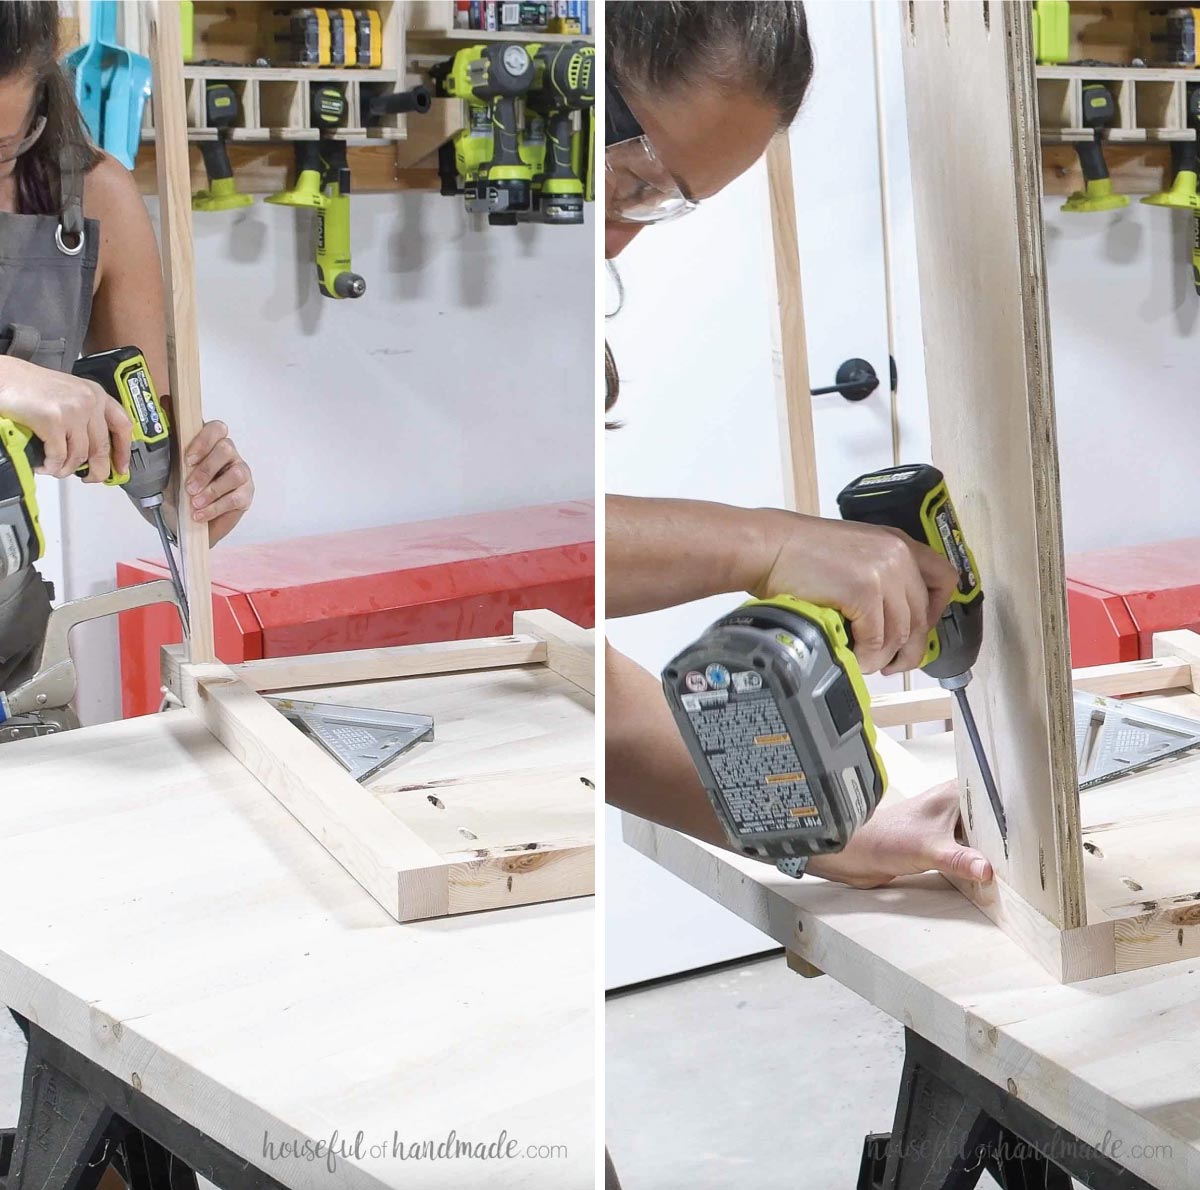
Drill pocket holes set for 3/4” thick material in both ends of the last two side rails.
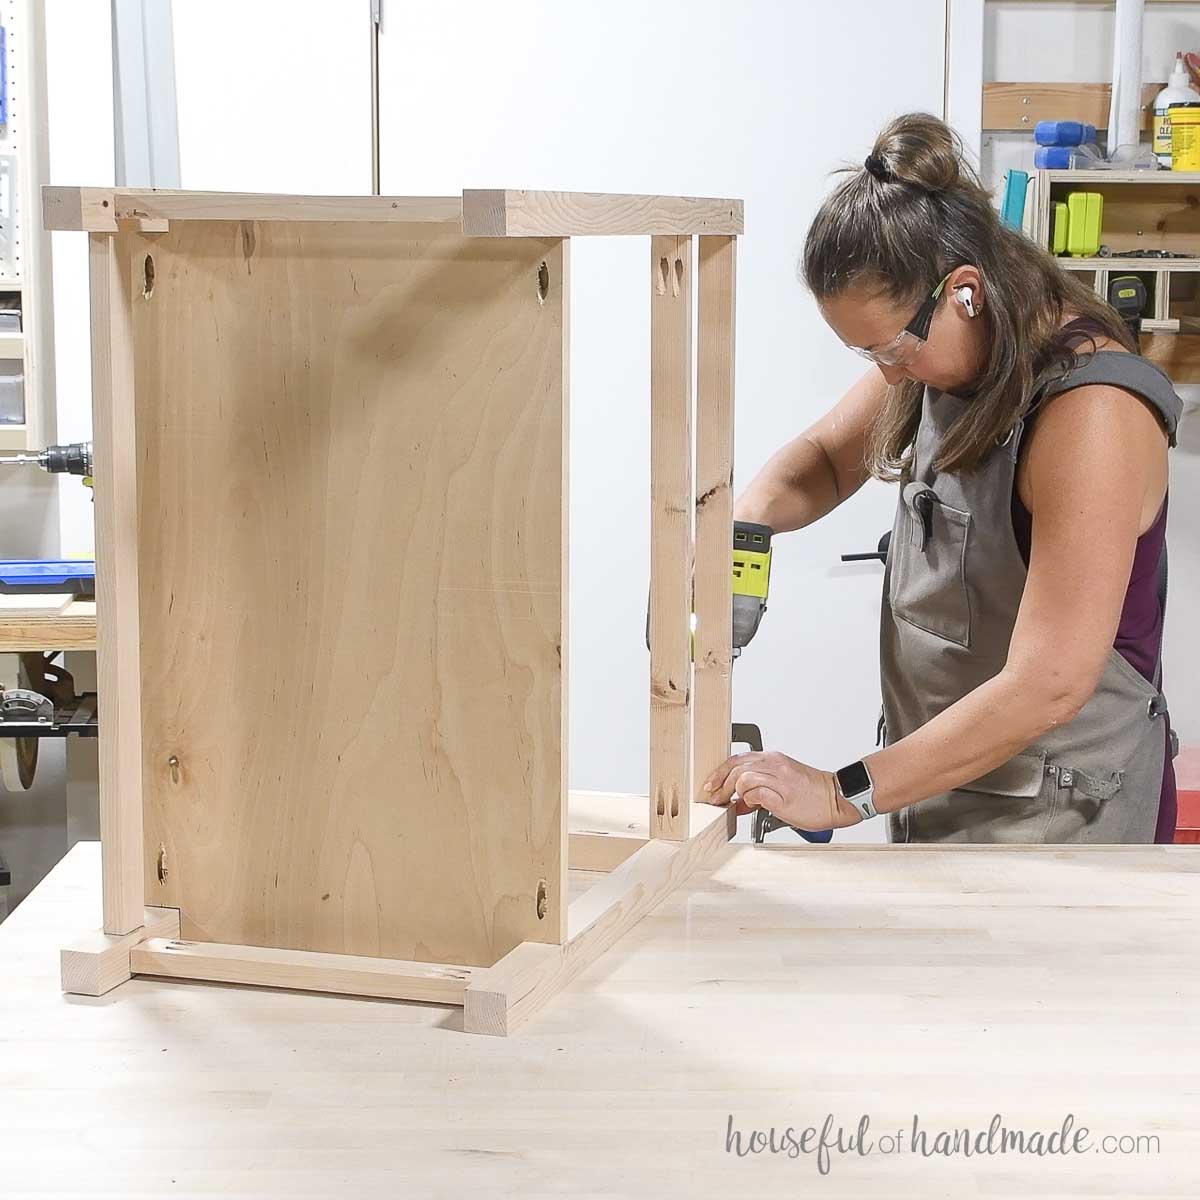
Then attach the assembled side panel between to one leg so it is flush at the top and the back. Secure with wood glue and 2 1/2” pocket hole screws through the holes in the rails.
Add a third side rail in between the legs at the bottom so it is centered on the legs (set back 3/8” from the front and back) and 2” up from the bottom.
Secure with 1 1/4” pocket hole screws and glue.

Then secure all the pieces to the second leg.
Remember to use 1 1/4″ pocket holes screws when attaching the rail at the bottom and 2 1/2″ long screw when attaching the rails at the top.
Repeat for the other side.
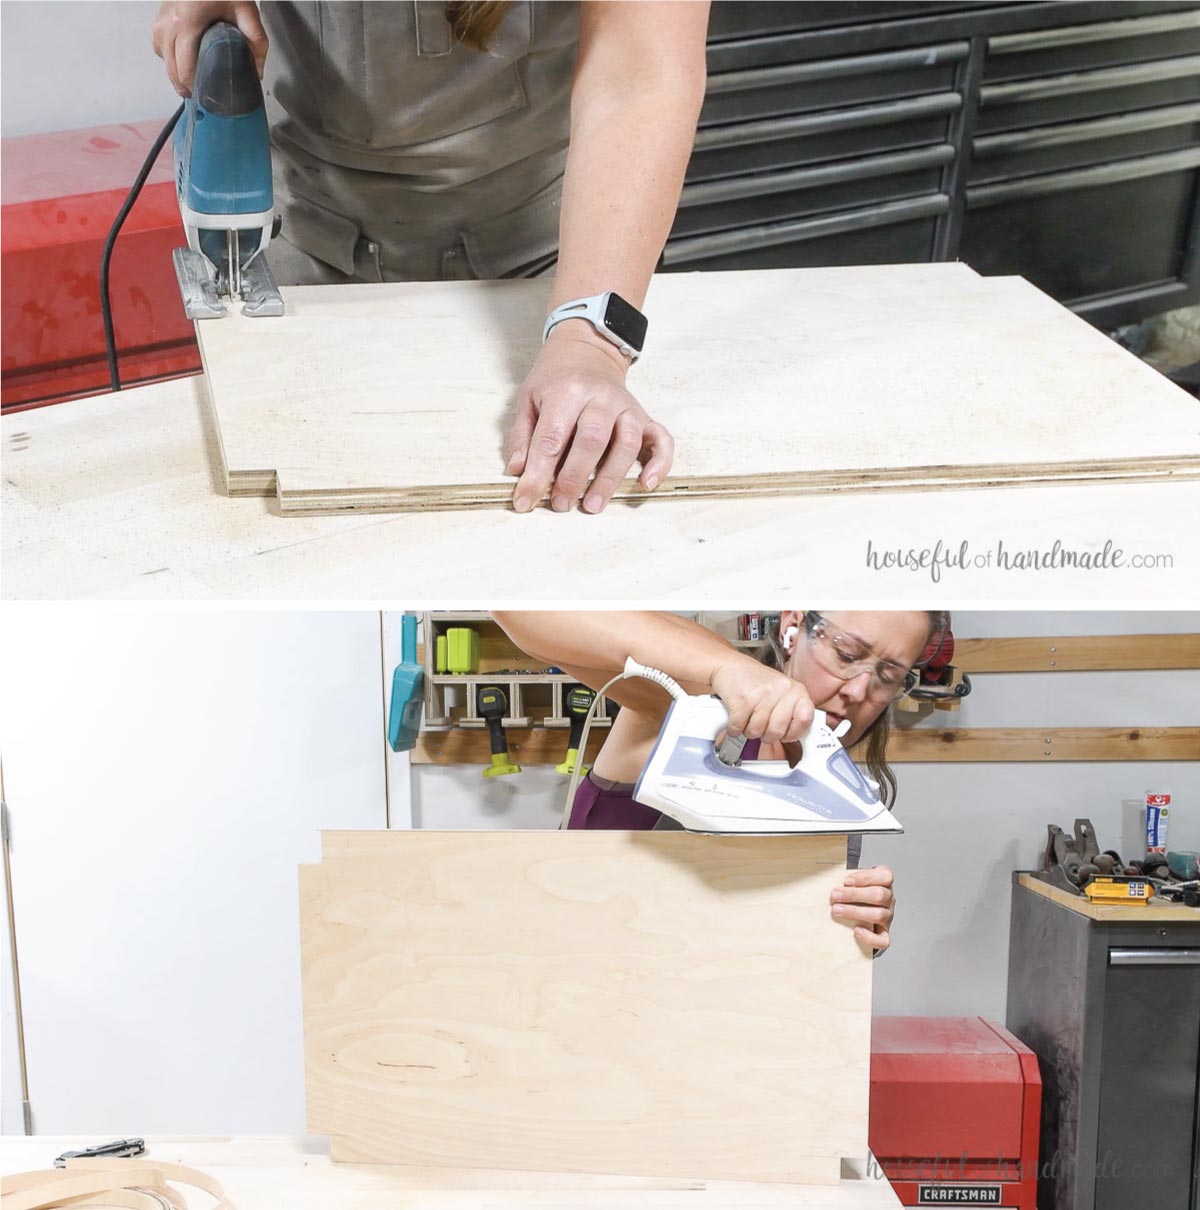
STEP 2- Prepare the shelf
Cut notches according to the diagram in the plans with the jigsaw in the bottom shelf piece to go around the legs.
The back notches will be 1 1/2” deep so the shelf is flush with the back of the legs. The front will be 1 1/4” deep so the shelf is set back 1/4” to match the slight inset on the drawer area.
Add edge banding to the four visible edges if desired.
Then add a pocket hole screw (set for 3/4” thick lumber) to each notch.

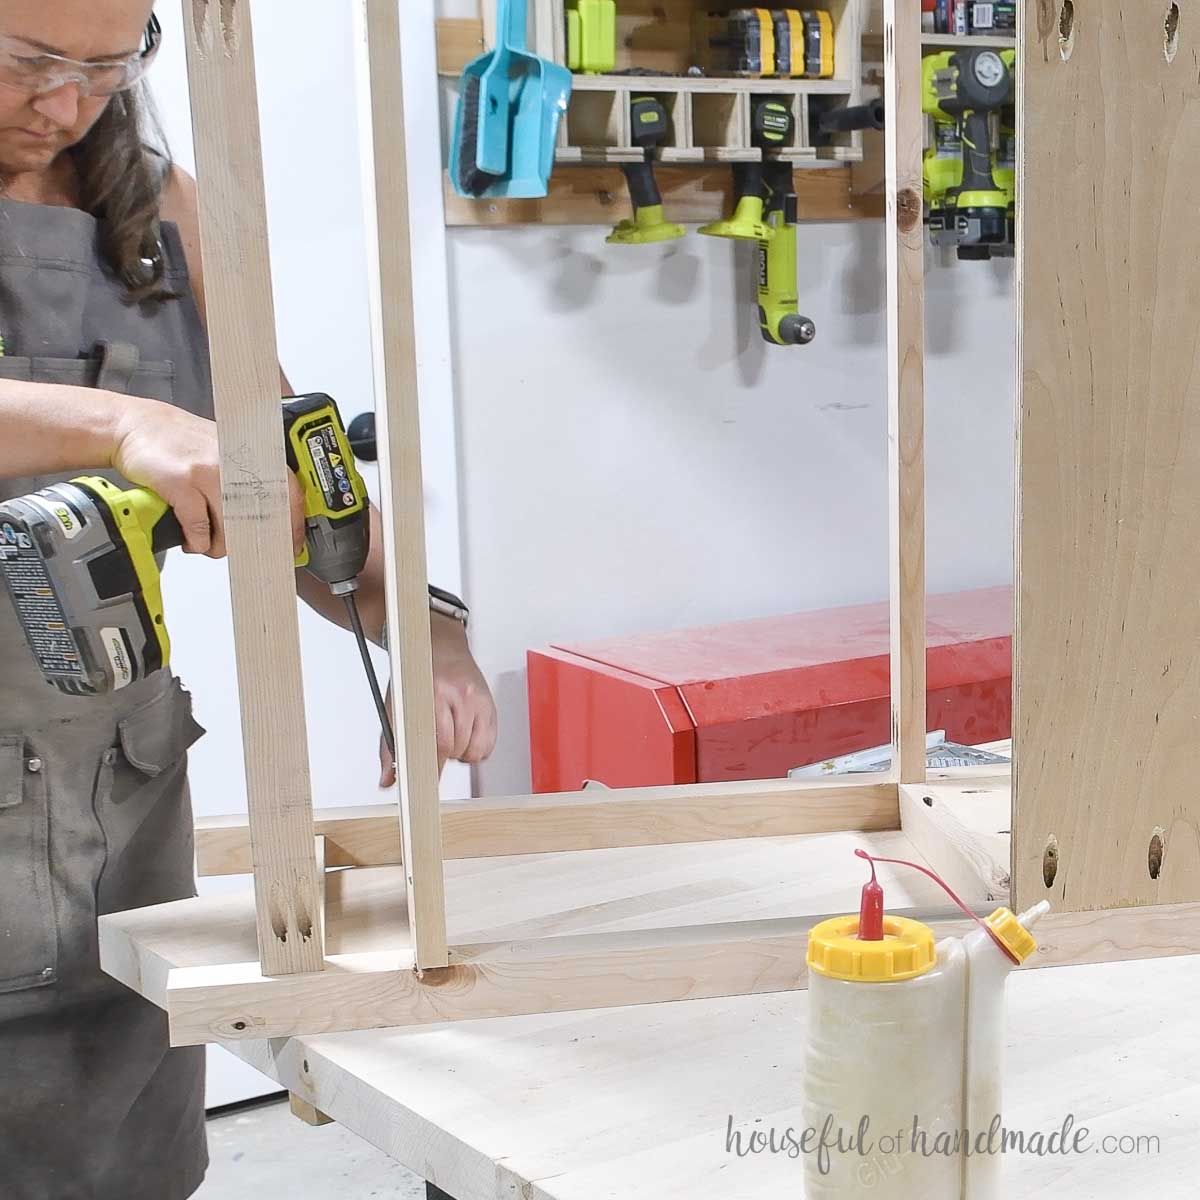
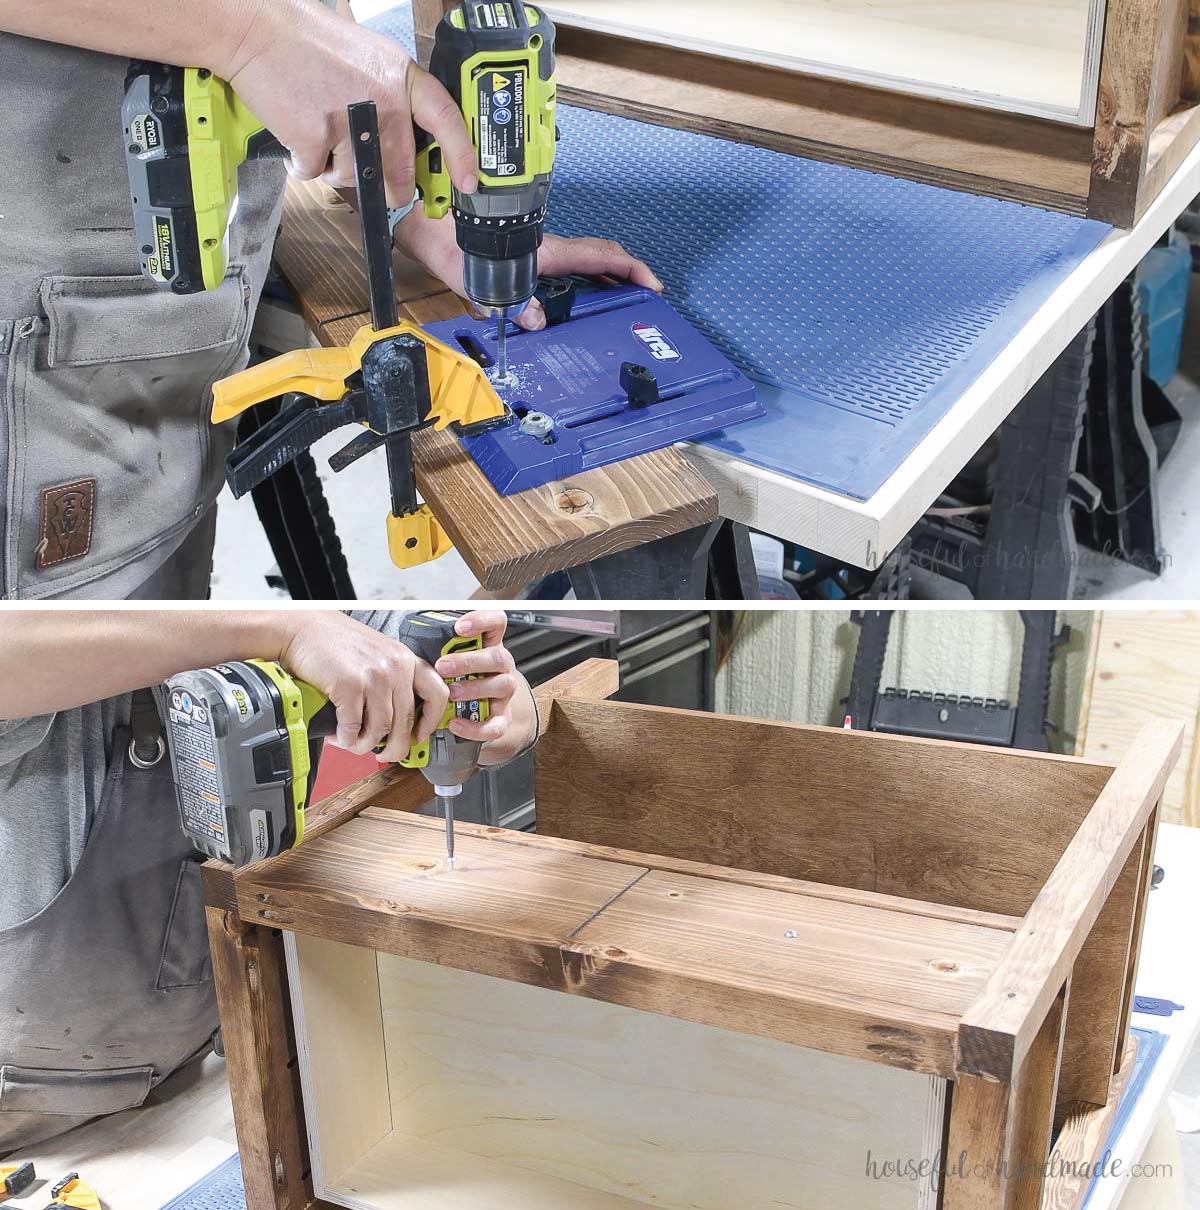
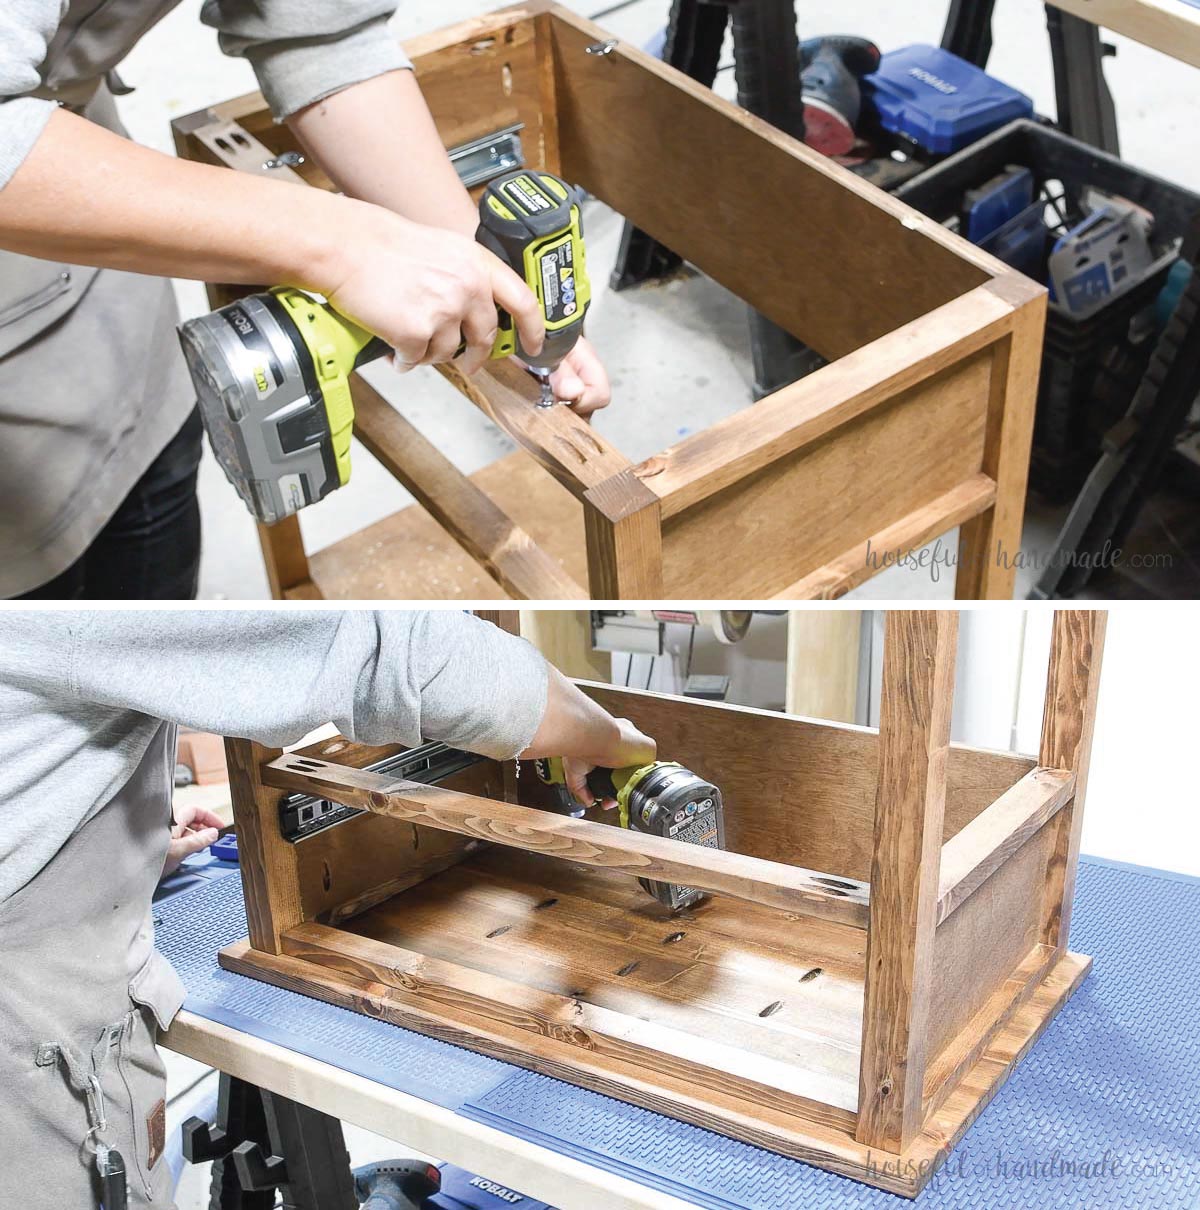
STEP 3- Assemble nightstand base
Drill 2 pocket holes set for 3/4” thick material in both ends of the center rail pieces and back piece.
Attach the two center rails to the front of one side piece so it is flush with the top or bottom of the side rails and set back 1/4” from the front.
Secure with 1 1/4” pocket hole screws and wood glue.

Attach the third center rail so it is centered on the back leg and 2” up from the bottom.
Attach the back so it is flush with the top and back of the sides.
Secure with 1 1/4” pocket hole screws and wood glue.
And attach the shelf so it is 5 1/2” up from the bottom.
It might be easier to attach the shelf first, otherwise you may need a right angle drill adapter to get your drill between the bottom rail and the shelf to drive your screw.
Secure with 1 1/4” pocket hole screws and wood glue.
Then attach all the same pieces to the other assembled side piece.
Make sure to line the pieces up and secure them the same was as the other side.
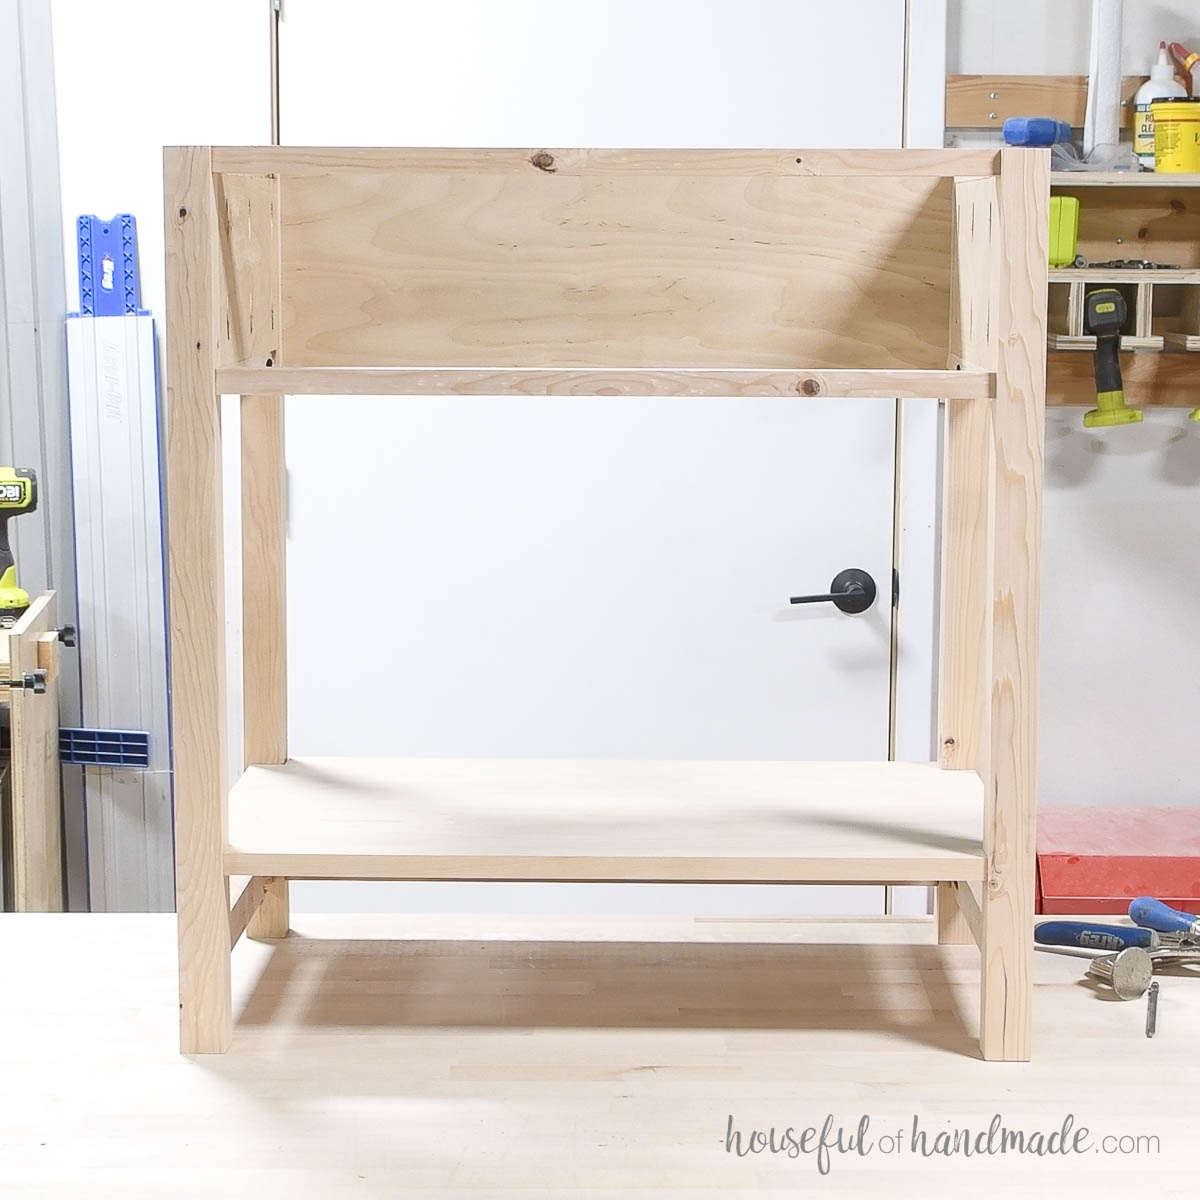
Now your nightstand base is done and ready for finishing.
You may want to fill the pocket holes on the bottom side rails since they are slightly visible under the shelf.
The rest of the pocket holes are nice and hidden once the top and drawer are installed.
STEP 4- Build nightstand top
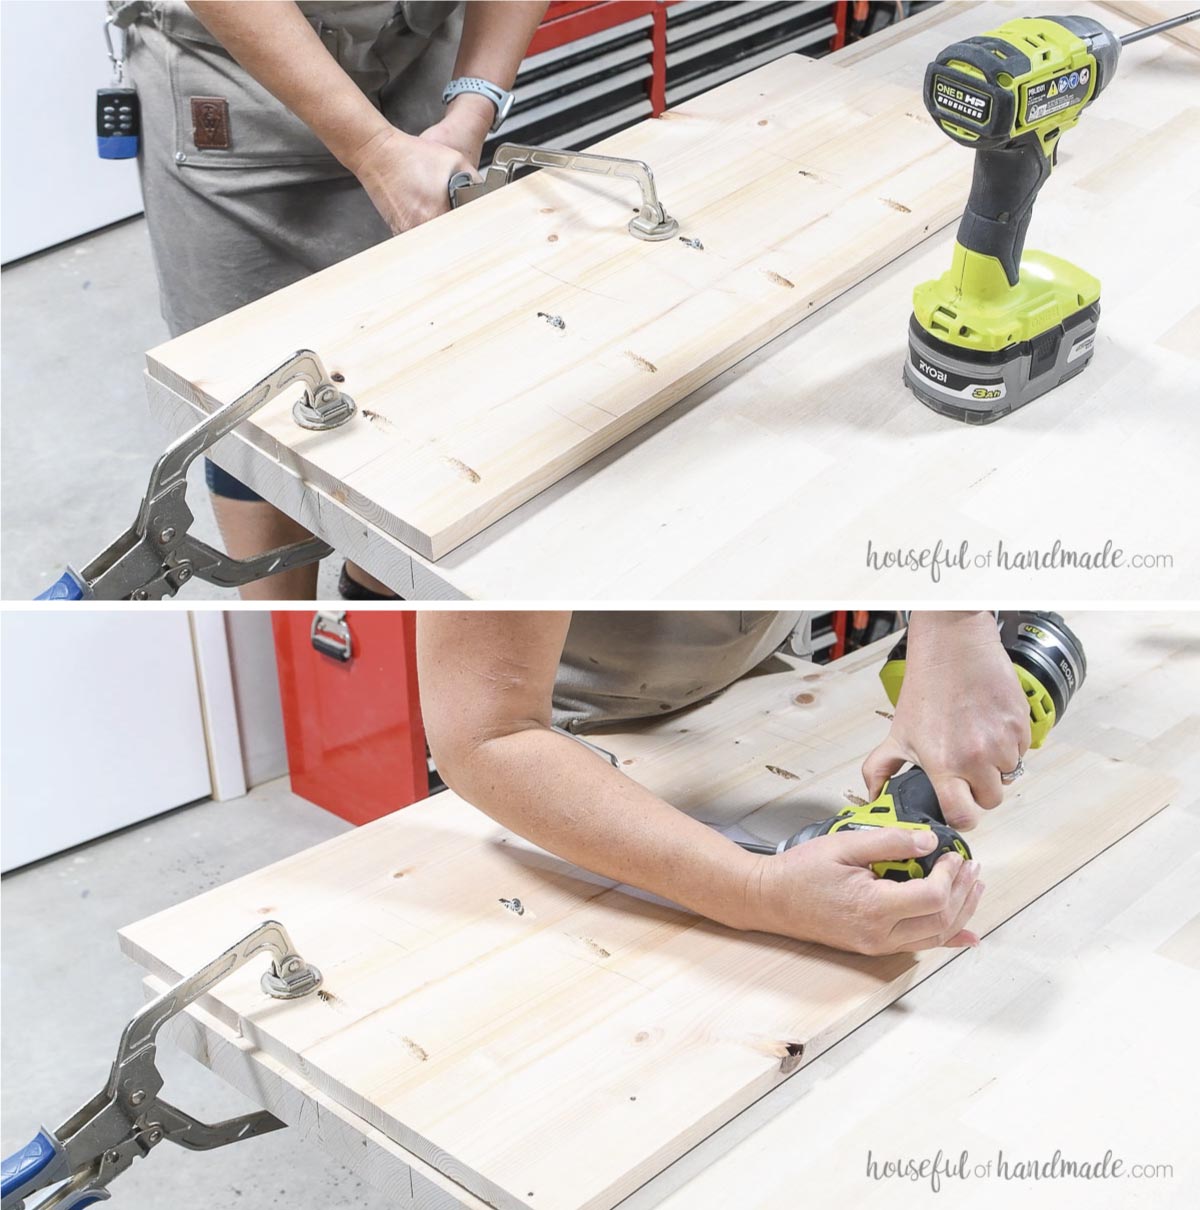
Drill pocket holes set for 3/4” material in both sides of the center top piece.
Glue the three pieces together along the sides and secure with 1 1/4” pocket hole screws to create a solid wood top.
Sand smooth.
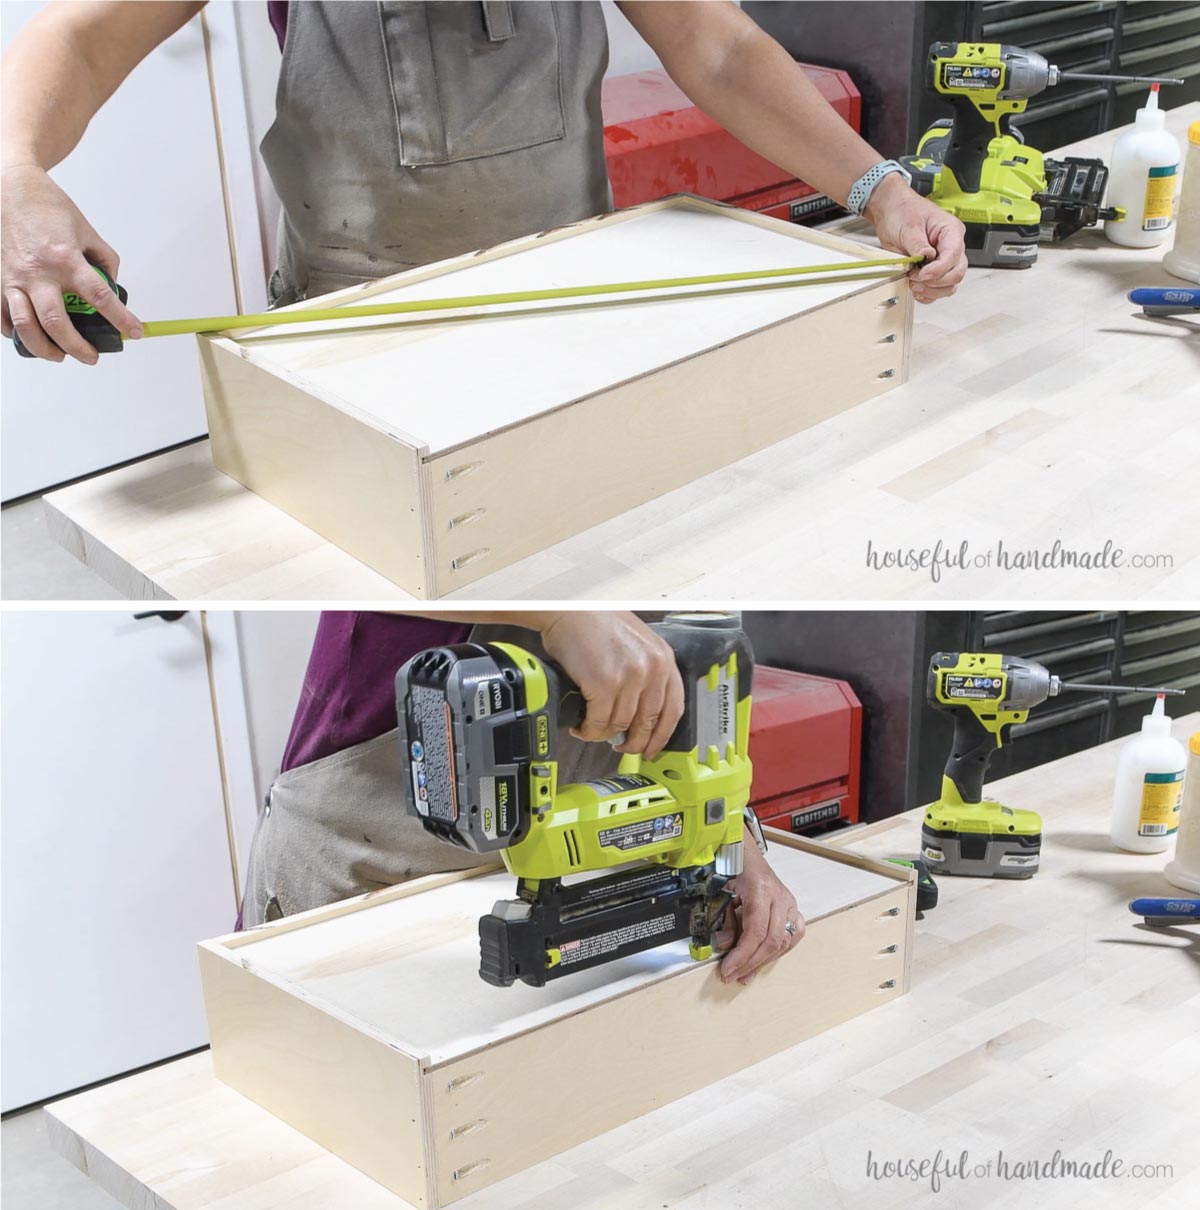
STEP 5- Build the drawer
Cut a 1/4” wide x 1/4” deep groove 1/4” above the bottom in the two drawer box sides and drawer box front piece.
Attach the drawer box pieces together so they are flush on the top. Attach with glue and either pocket hole or staples/nails.
Get drawer building details and all my tips for DIY drawers here.
Check your drawer box for square by measuring corner to opposite corner both ways. If they are the same, your box is square, if not, adjust before attaching your bottom panel.
Slide the bottom panel into the groove and secure it to the underside of the back piece with 5/8” brad nails.
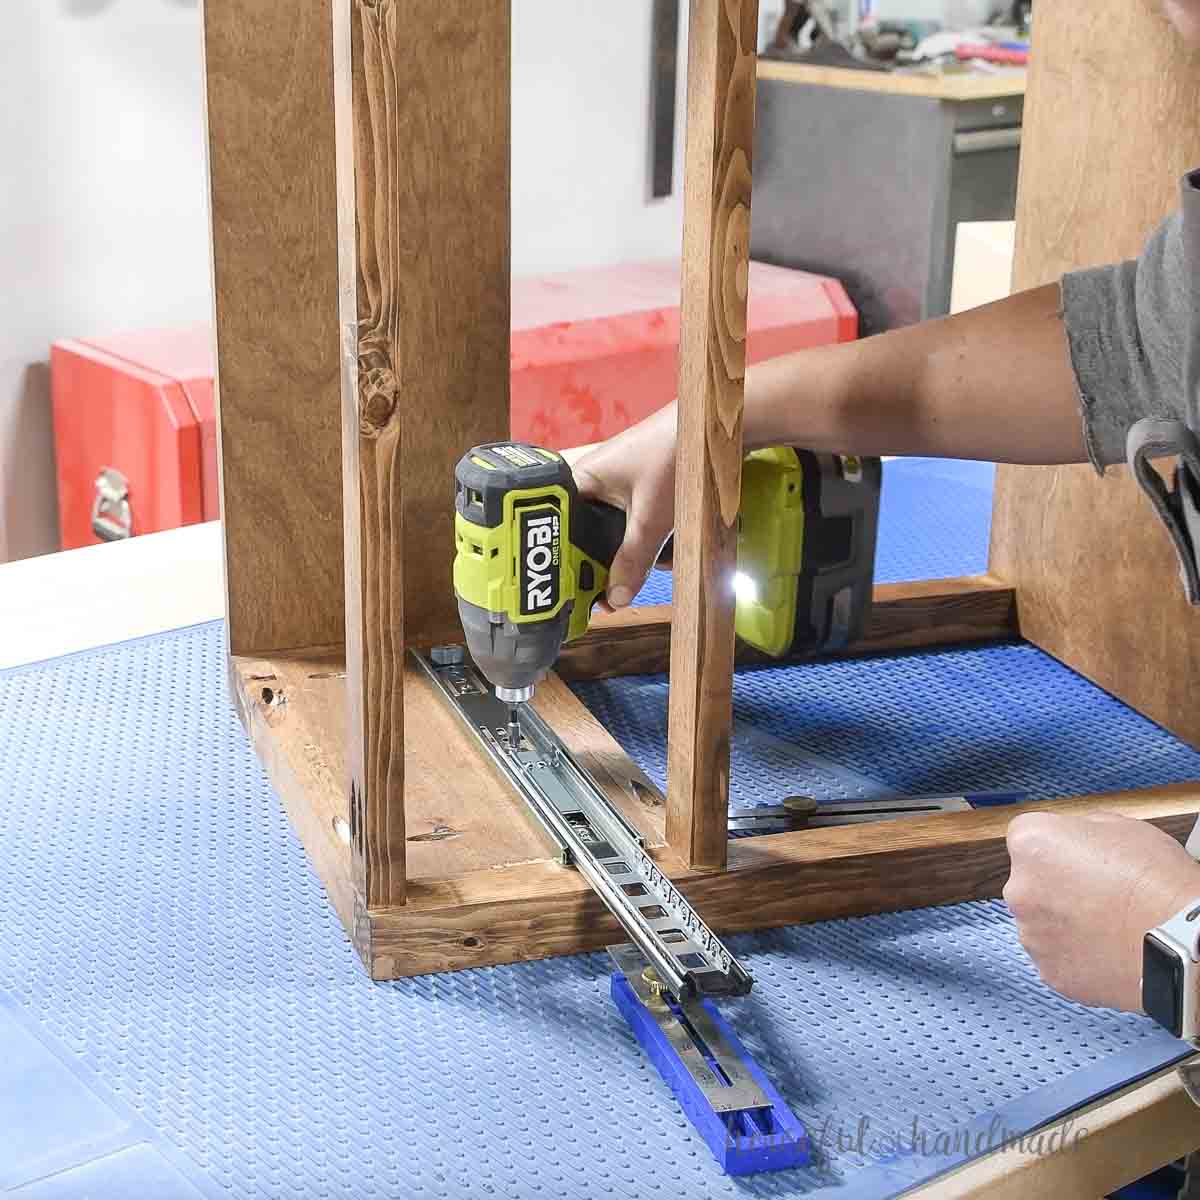
STEP 6- Finish
Finish all your pieces.
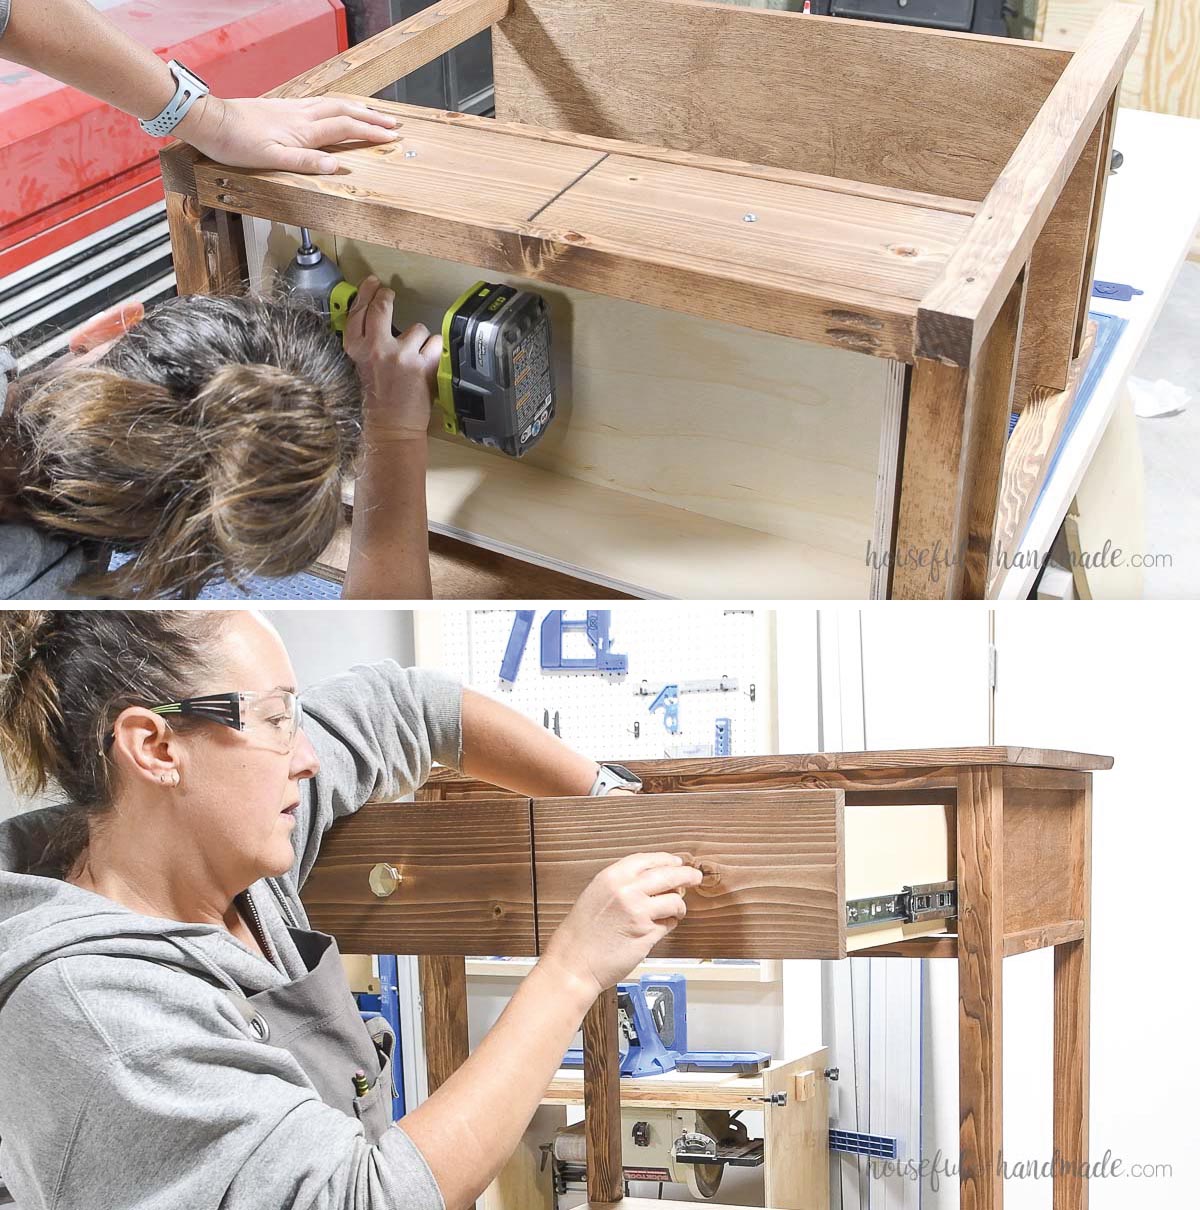
Install your drawer slides set back 1” from the front of the legs. This will make the drawer front flush with the center rails.
Get details on installing drawer slides here.
Attach the drawer front so it is centered in the opening. There should be 1/8” gap all around it.
I like to use the holes for the knobs to attach the drawer front from the outside.
Then I secure the drawer front the inside with 1 screws before removing the screws and attaching the knobs.
Get tips for attaching drawer fronts here.
Attach the nightstand top with 4 figure 8 fasteners (2 on the front center rail and 2 on the back panel).
The top should be centered side to side so there is 1” on both side. And it should be flush to the back so it overhangs the front 1”.
You did it!
Premium plans include:
- Recommended Tools
- Shopping list
- Easy to read cut list table
- Cut diagrams
- Step-by-step instructions with 3D renderings
- Helpful resources
- BONUS: 3D SketchUp file
Now you can move your new large nightstand into your room and enjoy the storage and style.
Happy building!

Thank you to Kreg Tools for sponsoring this post. I only recommend products that I use and love and all opinions are 100% my own. Click here to read my full disclosure policy.