Painting kitchen cabinets is a great way to update a kitchen on a budget!
We are weeks into the modern kitchen remodel for my bother-in-law and so happy to cross off the biggest project from our to-do list: painting the kitchen cabinets!
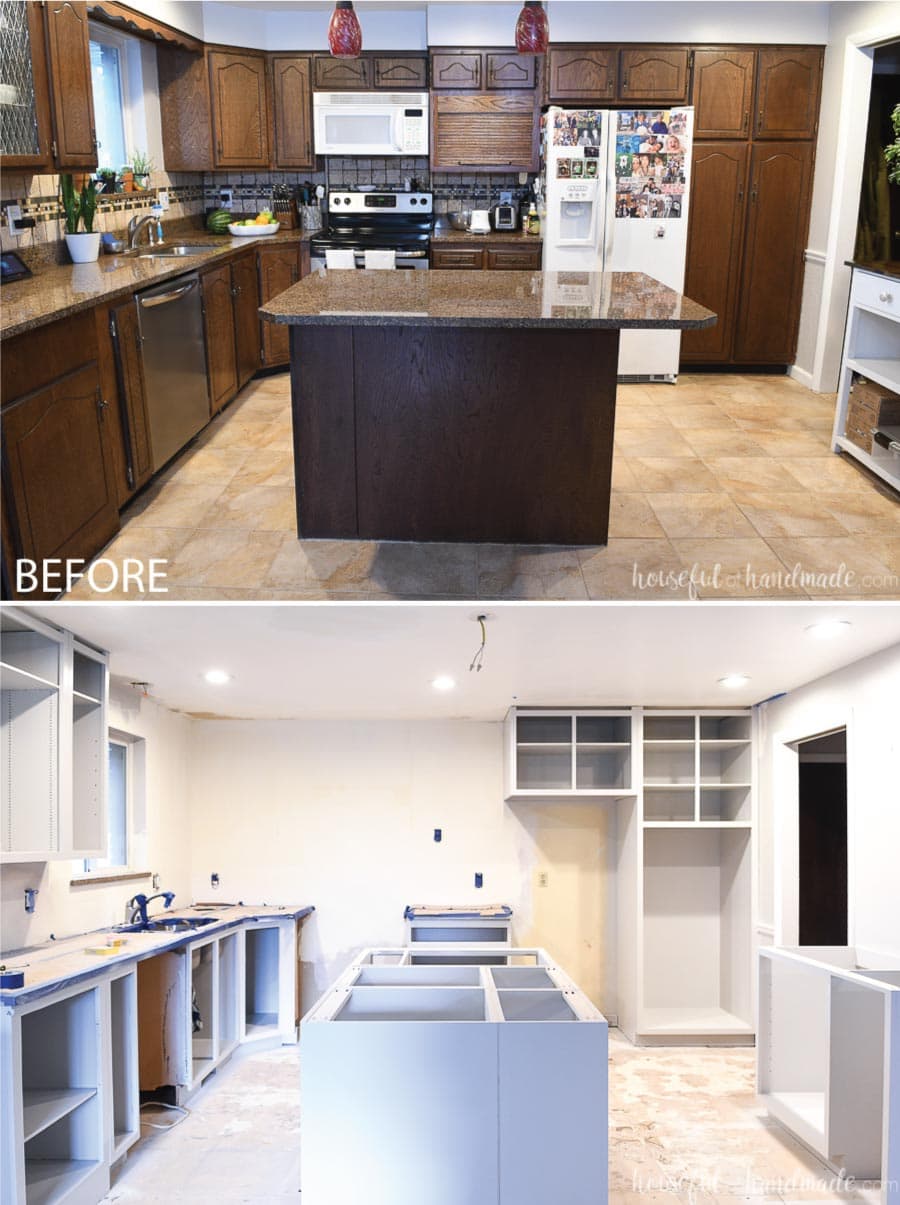
To save money on our kitchen renovation, we decided to keep the existing kitchen cabinets around the perimeter of the kitchen. They were well built, but old and dark. We knew a good clean coat of modern gray paint would do them wonders.
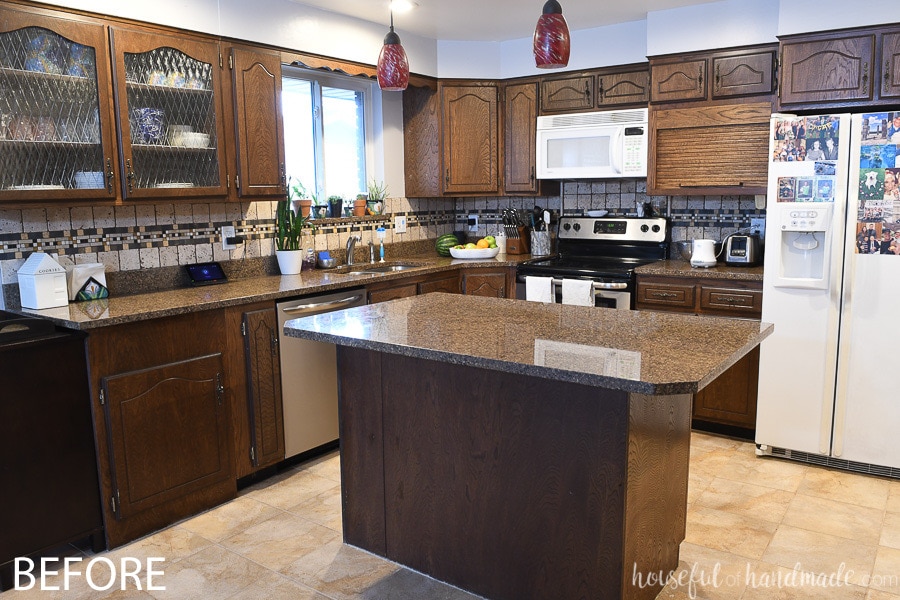
Also, since the old kitchen cabinets were holding the large granite countertops, we knew removing them could result in breaking the granite (which was not in our budget to replace). So painting the cabinets was a much better option.
This post may contain affiliate links. As an Amazon Associate I earn from qualifying purchases. Click here to read my full disclosure policy.
Painting kitchen cabinets is not a quick fix. I would not recommend trying to do it in one weekend. There is a lot of prep work that needs to go into it to make sure your painted cabinets will hold up to the daily use they will receive.
But giving your kitchen cabinets a fresh coat of paint can brighten old, dark cabinets. And it is much cheaper than replacing them!
For our kitchen remodel, we not only painted the cabinets, but we also are replacing the cabinet doors. The old doors were very dated and just didn’t look at all modern. Even with lots of paint!
Instead, we are making routed cabinet doors. I learned how to do it with our blue and white kitchen remodel and can’t wait to put my new skills to use again.
If you want to redo your kitchen cabinets instead of replacing them, keep reading. We have all the tips and tricks to get a beautiful finish on your kitchen cabinets with a little elbow grease and a fresh coat of the perfect paint for kitchen cabinets.
How to Paint Kitchen Cabinets
Supplies:
- Degreaser
- Sander
- Sandpaper
- We roughed up the surface with 100 grit and then smoothed it 220 grit.
- Tack cloth
- Bonding primer
- We used Valspar Bonding primer.
- Sponge roller
- Paint brush
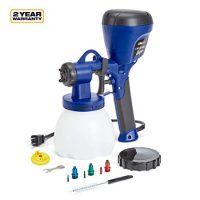
- Paint Sprayer
- I love the HomeRight Super Finish Max sprayer. It is easy to use and I have used it on many projects.
- Cabinet enamel paint
- Blue painters tape
- Brown masking paper
Prefer to Watch? Check out the Video Below
Prepare the Cabinets
Clean the Cabinets
Start by emptying everything out of the cabinets. Then clean the cabinets well with a degreaser. The degreaser will help remove the buildup of kitchen grime.
Our cabinets were old and dark so we decided to paint the inside of the cabinet as well as the face frames. If the inside of your cabinet is okay, you could choose to just paint the face frames and outside of the cabinets (which would save a lot of paint and time).
Sand the Cabinets
After cleaning the cabinets, it’s time for sanding. Only sand the areas you are going to paint. Start by using 100 grit (medium grit) sandpaper to rough up the surface of the cabinets. This will help remove the finish on the cabinets.
You do not need to completely sand off stain and finish from the cabinets. You just need to rough up the surface to allow the new paint and primer to bond to it.
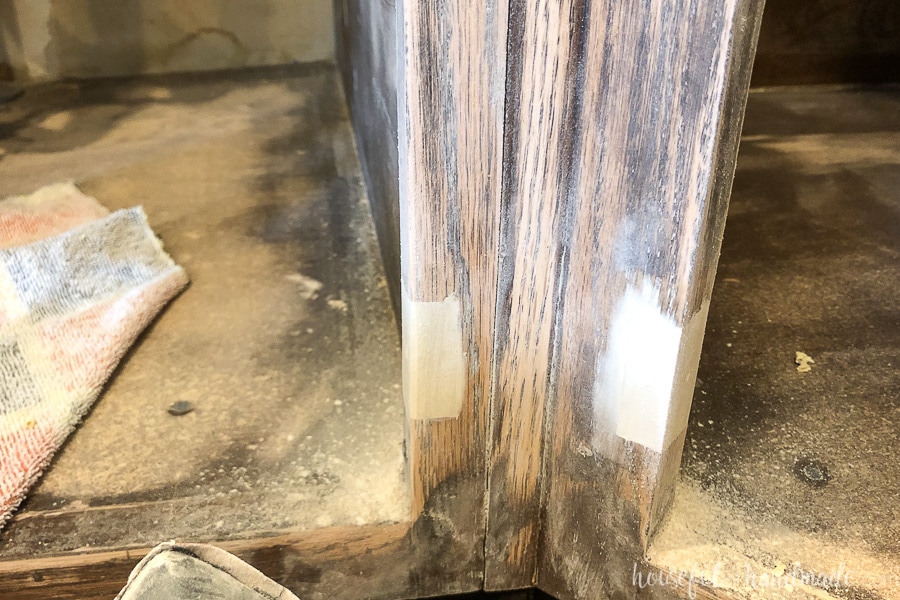
We also had to fill in some notches from the previous cabinet door hardware. I talk about this more in the video, but here you can also see the sanded surface as we are getting ready for primer.
The higher grit sandpaper will make quicker work of breaking up that cabinet finish. This will allow you to get the initial sanding done faster and make it so you do not need to use as many sandpaper sheets.
Next sand the entire area again but with a 220 grit (fine grit) sandpaper. This will smooth the surface so the final paint is smooth to the touch. You do not want the cabinets to feel rough.
Final Cleaning
The last prep step is to clean the cabinets again after sanding. This time, grab your vacuum (or shop vac) and vacuum up all the sandpaper dust. Then grab a slightly damp cloth and wipe down all the sanded surfaces to remove the remaining dust.
Prepare for Paint
Tape off the cabinets
Before it is time to paint, you also need to prepare the room for paint.
In our kitchen remodel we are changing up the floor and wall/ceiling paint so we didn’t have to worry as much about taping things off. If you are only painting cabinets and keeping the rest of your kitchen in place (countertops, flooring, etc.) you will need to cover all of that to protect it.
Also, if you are only painting the face frames and outside of the kitchen cabinets, you will need to cover the insides to protect them.
To tape off the areas that need to be protected, I like to use brown masking paper. Apply the painter’s tape one side of the brown masking paper so the tape is hanging about 1/2 way off the edge. Then apply the tape up against the edge of the surface that you are painting.

For larger surfaces to protect, you can layer the brown masking paper or use a drop cloth.
If you are not painting the inside of you cabinets, do not worry about being able to paint the back of face frames. No one will ever see the back of them (mine aren’t even painted because I needed the raw wood so that I could attach them to the cabinets after painting.
Remove all the dust
Right before you are ready for paint, use a tack cloth to get the surface of your cabinets completely dust free. The tack cloth will not leave a residue on the wood but will pull of way more dust so you get a better paint job.
Apply the Paint
It’s finally time for paint! You may feel like this DIY project will never end but you are so close now.
Prime the Cabinets
Start with the primer. I prefer a bonding primer because it is made to attach to any surface. Since we are painting cabinets that had a finish on them, paint can have a harder time adhering to it. That is why the bonding primer is great.
The bonding primer also will feel rougher than a coat of paint on the cabinets. That is so that the paint bonds well to the primer. But don’t worry, the final paint will be nice and smooth.
To apply the thick bonding primer, we used a small foam roller and paint brush. It takes a bit more time, but the thick primer is notorious for creating drips. And those drips will cause the final paint to look gloopy.
Apply the First Coat of Paint
Using an enamel paint for cabinets is great because it cures harder without the need for an additional coating. For painting our unfinished kitchen cabinets, we used latex paint with a poly acrylic coating. Either will work, but the enamel paint is less steps.
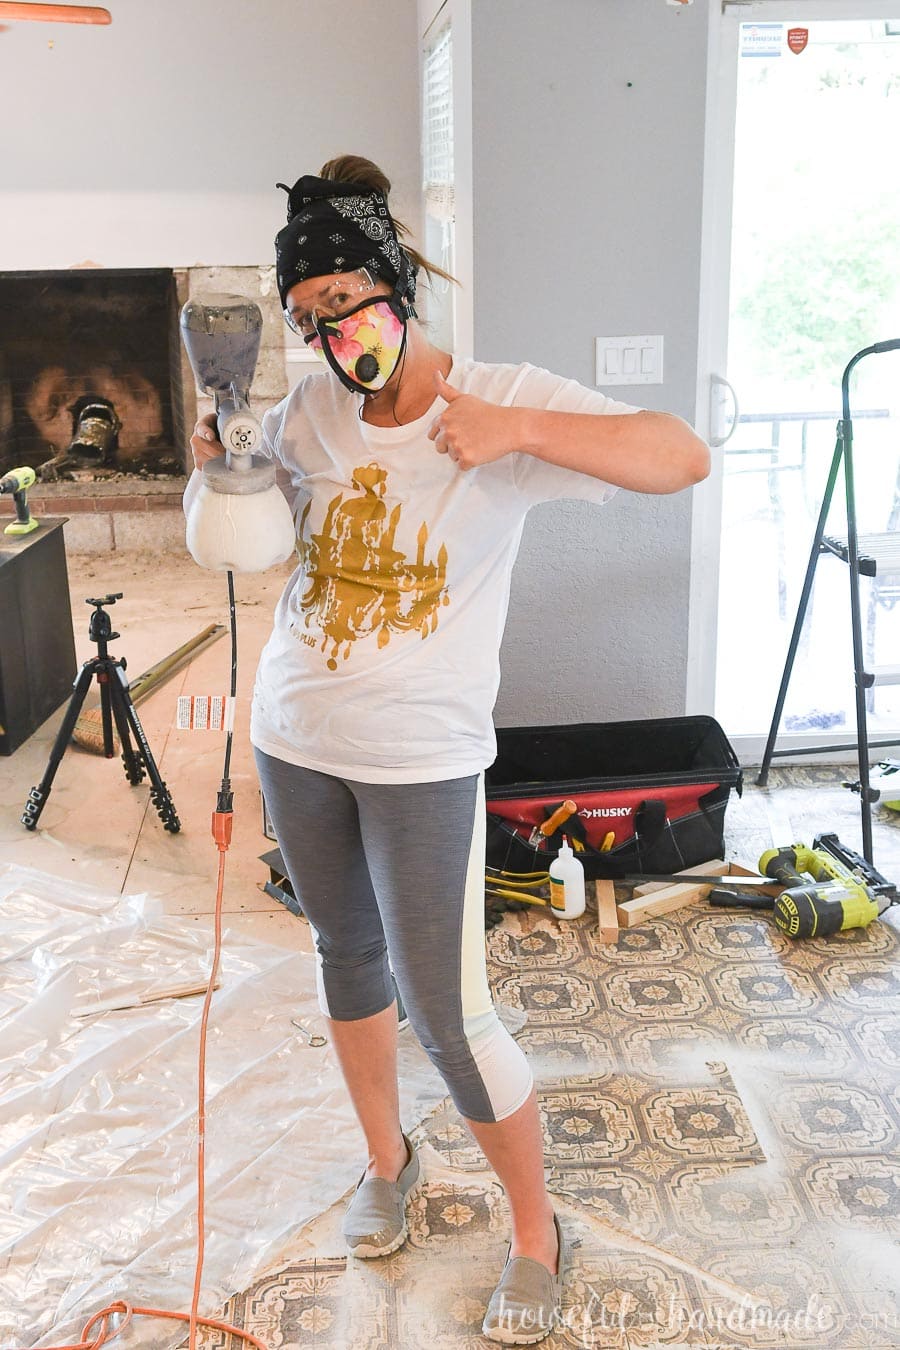
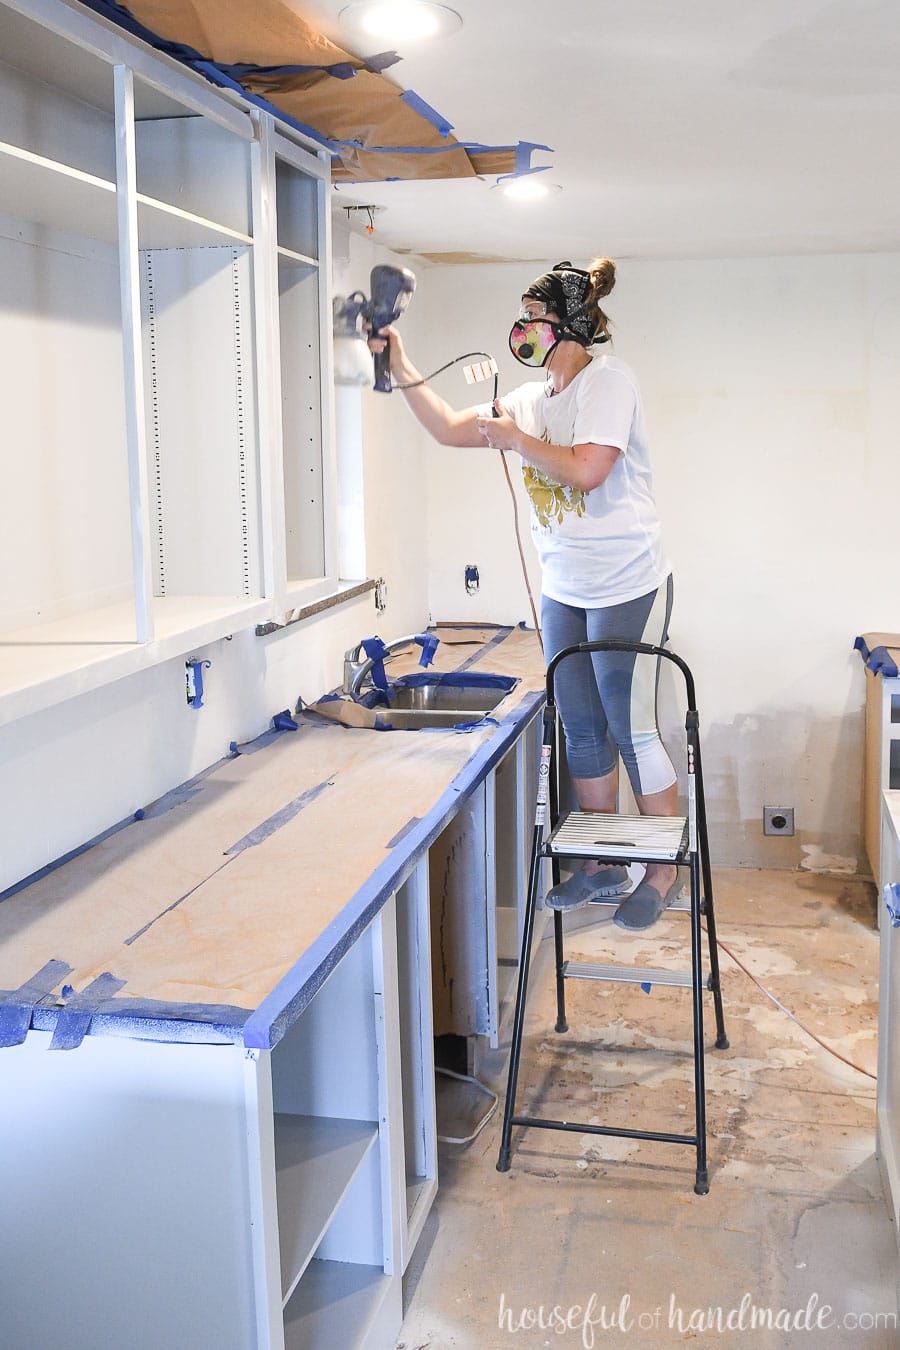
Now it is time to get out the paint sprayer. If you do not have a paint sprayer you can apply the cabinet paint with a roller and brush as well. However, there are benefits to using a sprayer. The main one would be time savings. It took about 1/4th the time to spray 2 coats of paint then to roll 1 coat of primer.
Reasons to paint cabinets with a paint sprayer.
- It takes a lot less time to spray the cabinets.
- You do not have to worry about brush strokes.
- You can apply a second coat quicker with a sprayer. By the time you are done with coat one, you can start coat 2.
- Easier to get into the back of small cabinets.
- You get a smooth, professional result.
When using a paint sprayer, there are a few things you need to pay attention to. If it is your first time using a paint spray it might be intimidating, but don’t be scared! This will become your new favorite way to paint.
Tips for Painting Cabinets with a Paint Sprayer
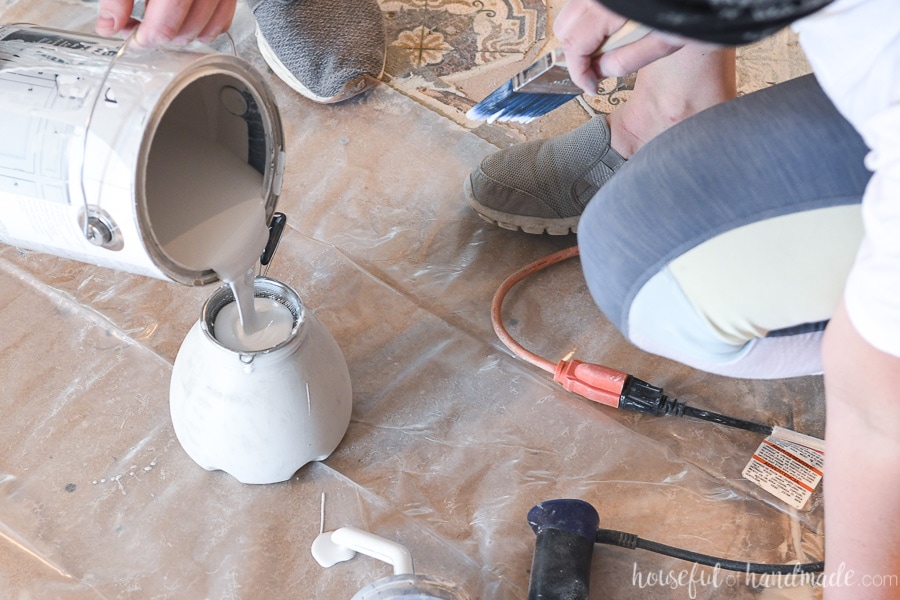
- Strain the paint into the sprayer so you don’t clog up the nozzle.
- You need to be closer to the surface of the cabinet than you think. The sprayer should only be 6-12 inches away from the cabinet.
- To prevent drips, only reverse your direction off the cabinet. Always go slightly off the edges to allow this.
- Turn the direction of your sprayer tip to match the surface you are painting. Use a flat horizontal spray to paint vertical surfaces and a flat vertical spray to paint horizontal surfaces. Avoid the rounder spray because it causes more drips on face frames.
- A few lighter passes will give you a nicer finish than one thick coat. Not only will it prevent drips, but you will also get more even coverage.
- The corners of face frames are the mostly likely places for pooling and dripping. So keep a close eye on these.
Prep for the Second Coat of Paint
After the first coat of paint is dry, we are back to doing a bit of prep. I know, you thought you were done, but this step is soooo important!
Grab a fine grit sanding sponge and lightly sand the surface of your paint. You do not want to remove paint, you just want to remove any grittiness on the paint. This is also a great time to look for any drips and sand those smooth.
Then vacuum off the dust and finish the cleaning with a tack cloth once again.
Apply the Second Coat of Paint
Use the sprayer to apply the second coat of paint. Be more mindful of where you had drips on the first coat and try to avoid them on the second coat.
The hardest part of the second coat is that it is harder to see where you have painted. So follow a pattern and make a mental note of where you have painted as you go.
After the second coat is dry, touch the surface. If you are happy with it, you are done! If there are drips or grittiness, repeat the sanding, tack cloth and another coat of paint.
The third coat can be light and more targeted to where you need it. We did a third coat in about 30 minutes because we only focused on areas that had drips or other noticeable spots.
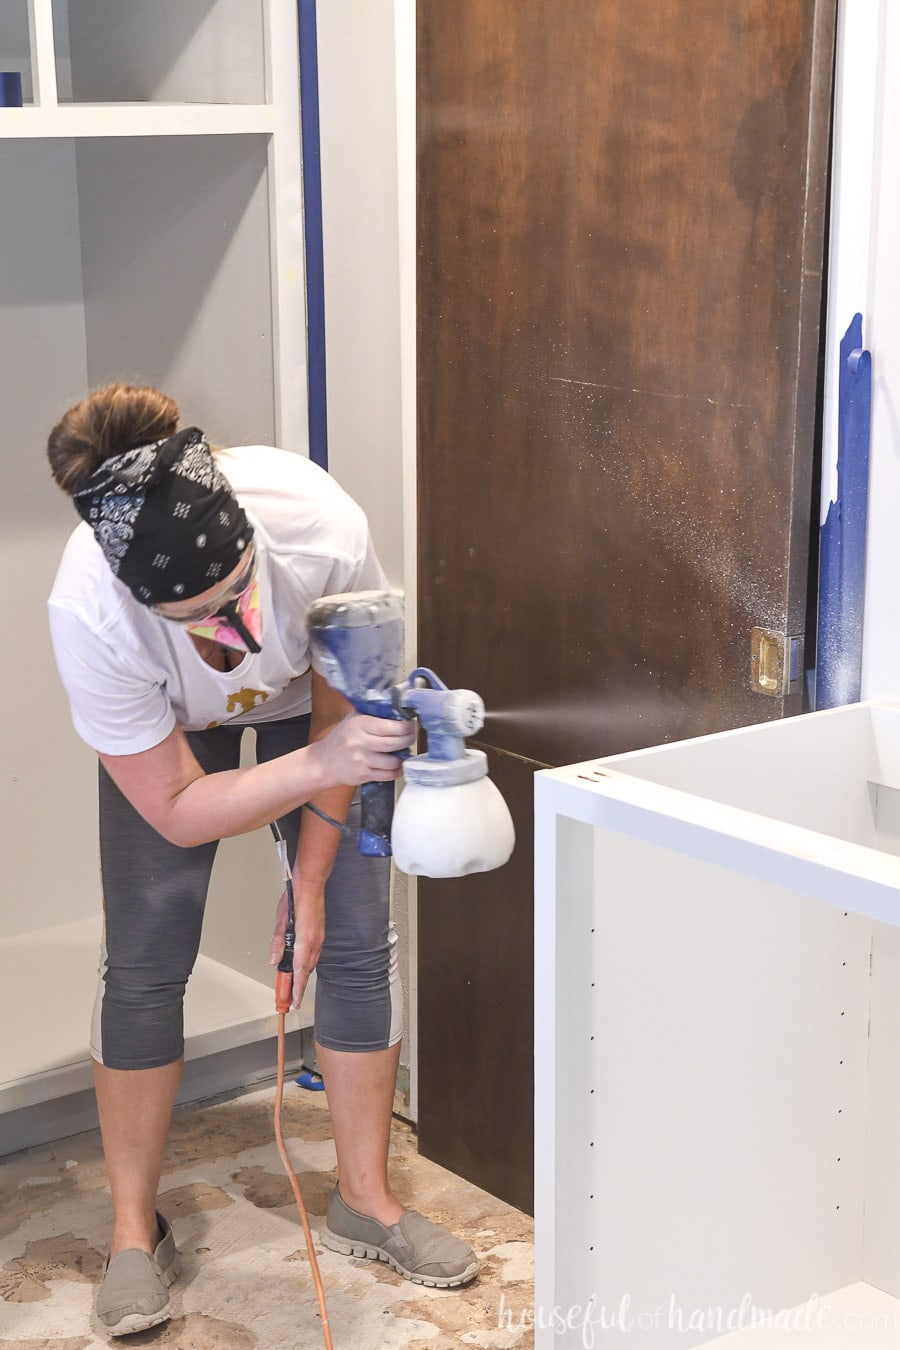
Paint Cabinet Doors
The same steps apply when painting cabinet doors. You will want to remove the hardware, sand, prime and spray. You can set up an outdoor spray area like we did here.
Let the paint dry for a few days before putting the cabinet doors back on or you may end up with sticking (a week would even be better). One thing most people do not know is that paint needs time to cure (not just dry). That is when is at its hardest.
You shouldn’t clean paint until the cure time is up, typically around 1 month. And if you have ever had things stick to your paint, like outlet covers, it is because they were put on before the paint was cured. And you would hate to have your cabinet doors stick to you beautiful painted cabinets.
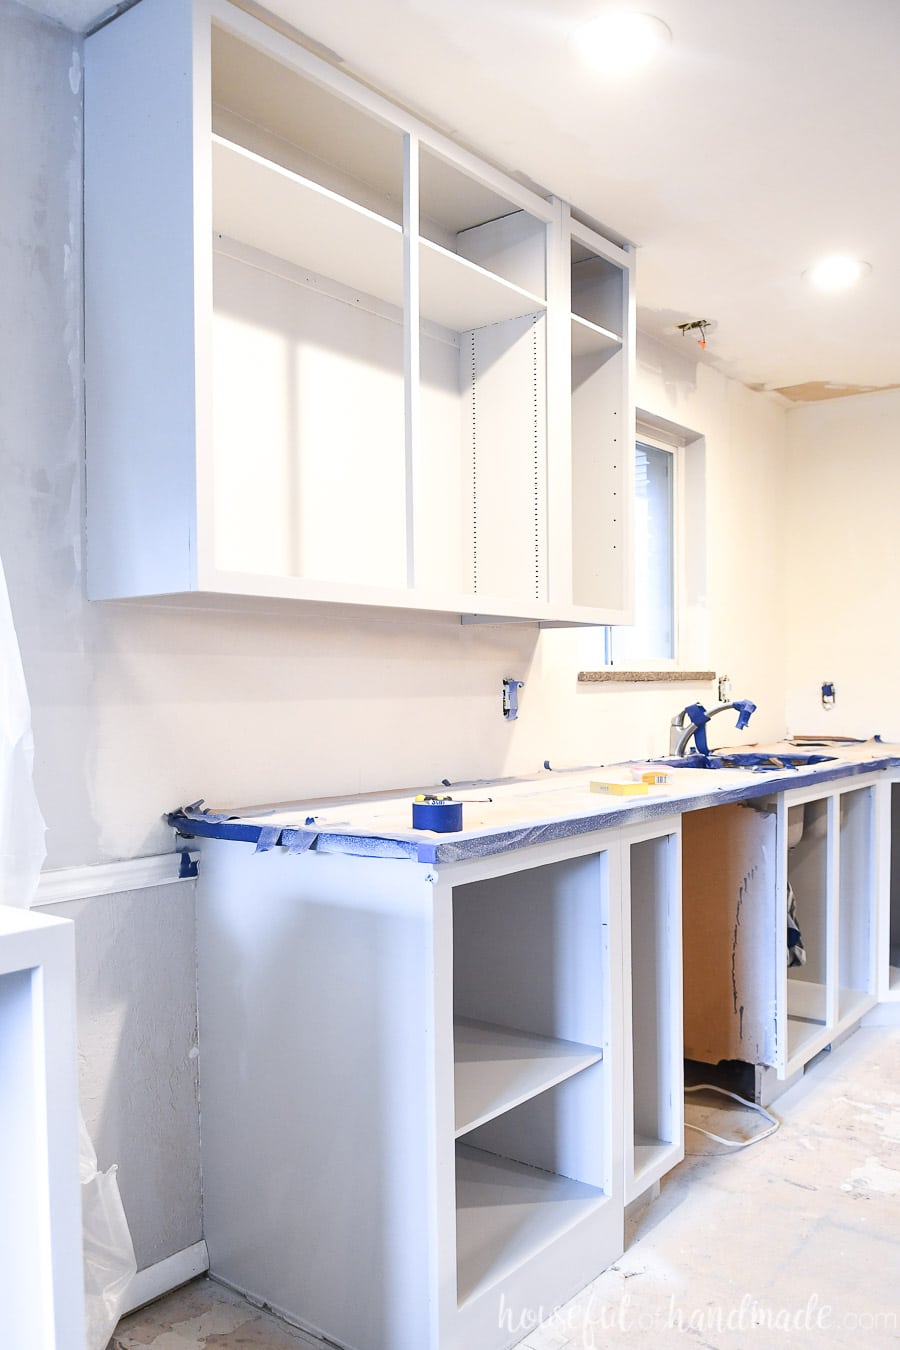
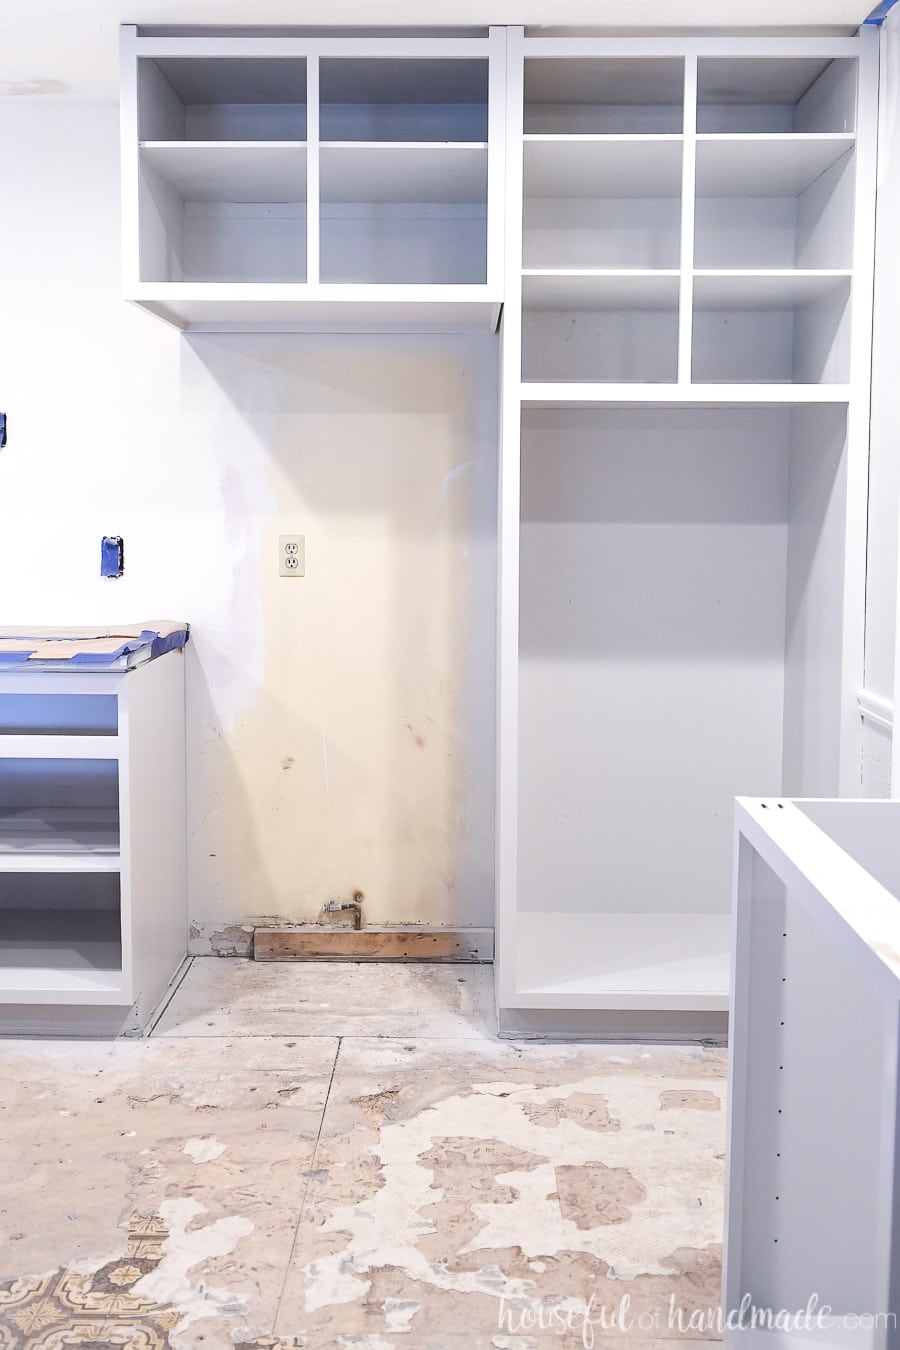
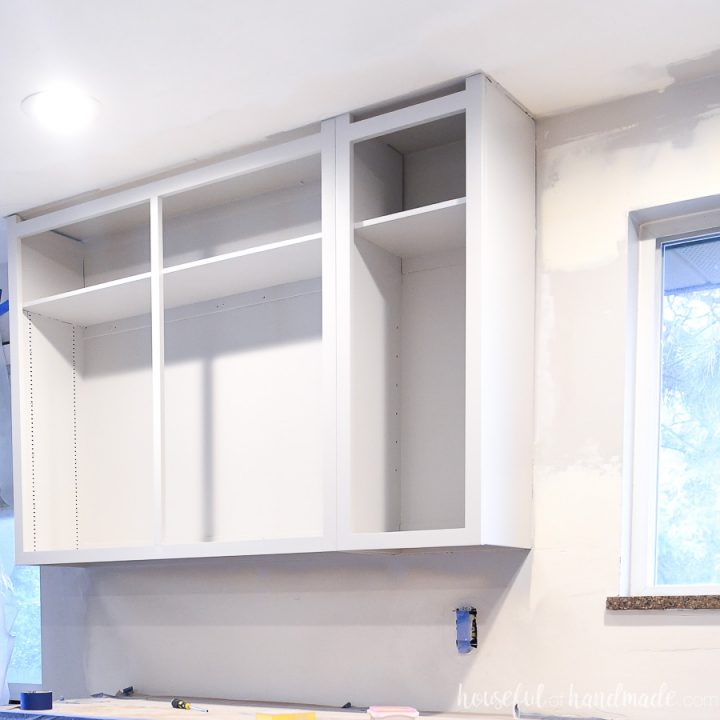
The best part of painting kitchen cabinets is the fresh clean feel it will give your new kitchen. Even without any other things in our modern kitchen remodel, you can already see the way the new light gray is opening up the space. And it was even super dark and rainy when I took the after pictures.
Painting Kitchen Cabinets
Update your kitchen on a budget by painting kitchen cabinets instead of replacing them. A great option to make your kitchen look modern and lighter.
Materials
- Degreaser
- Sandpaper (use 100 grit to rough up the surface and and 220 grit to smooth it)
- Tack cloth
- Bonding primer
- Sponge roller
- High quality paint brush
- Cabinet enamel paint
- Blue painters tape
- Brown masking paper
Tools
- Sander
- Paint Sprayer
Instructions
PREPARE THE CABINETS
Clean the Cabinets
- Emptying out of the cabinets and clean them well with a degreaser.
- If the inside of your cabinets do not need painting, you could choose to just paint the face frames and outside of the cabinets.
Sand the Cabinets
- Rough up the cabinets finish by sanding with 100 grit (medium grit) sandpaper. Only sand the areas you are going to paint.
- You do not need to completely sand off stain and finish from the cabinets. You just need to rough up the surface to allow the new paint and primer to bond to it.
- Next sand the entire area again but with a 220 grit (fine grit) sandpaper. This will smooth the surface so the final paint is smooth to the touch. You do not want the cabinets to feel rough.
Final Cleaning
- Clean the cabinets again after sanding. Start by vacuuming up all the sandpaper dust.
- Then use a slightly damp cloth and wipe down all the sanded surfaces to remove the remaining dust.
PREPARE FOR PAINT
- Tape off any areas that you do not want paint on with brown masking paper and blue painters tape.
- For larger surfaces to protect, layer the brown masking paper or use a drop cloth.
- Immediately before painting, use a tack cloth to get the surface of your cabinets completely dust free.
APPLY THE PAINT
- Using a foam roller and paint brush, paint the cabinets with a bonding primer.
- Use an enamel paint to paint your cabinets. The preferred method would be to use a paint sprayer. If you do not have a paint sprayer you can apply the cabinet paint with a roller and brush.
PAINTING CABINETS WITH A PAINT SPRAYER
- Strain the paint into the sprayer so you don’t clog up the nozzle.
- Paint with the sprayer only be 6-12 inches away from the cabinet.
- To prevent drips, only reverse your direction off the cabinet. Always go slightly off the edges to allow this.
- Turn the direction of your sprayer tip to match the surface you are painting. Use a flat horizontal spray to paint vertical surfaces and a flat vertical spray to paint horizontal surfaces. Avoid the rounder spray because it causes more drips on face frames.
- A few lighter passes will give you a nicer finish than one thick coat. Not only will it prevent drips, but you will also get more even coverage.
- The corners of face frames are the mostly likely places for pooling and dripping. So keep a close eye on these.
Apply the Second Coat of Paint
- After the first coat of paint is dry, lightly sand the painted surface with an ultra-fine grit sanding sponge.
- Vacuum off the dust and finish the cleaning with a tack cloth.
- Use the sprayer to apply the second coat of paint. Be more mindful of where you had drips on the first coat and try to avoid them on the second coat.
- After the second coat is dry, touch the surface. If you are happy with it, you are done! If there are drips or grittiness, repeat the sanding, tack cloth and another coat of paint.
Paint Cabinet Doors
- The same steps apply when painting cabinet doors. You will want to remove the hardware, sand, prime and spray.
- Make sure to sand and clean with a tack cloth between coats.
- You can set up an outdoor spray area like we did here to paint the cabinet doors outside of the kitchen.
Recommended Products
As an Amazon Associate and member of other affiliate programs, I earn from qualifying purchases.
Stay tuned for more updates on this kitchen remodel!
