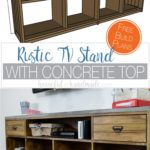
Build a rustic TV stand with concrete top with these free build plans.
The large 6′ TV console is the perfect balance to any television with plenty of room for all your components and decor.
Now that the budget farmhouse kitchen remodel is mostly done, I have been tackling projects that have been put off way too long. First was my finishing the upholstered daybed for my daughter.
And second was to finally build a rustic TV stand to replace the entertainment center that we got rid of in May (it was too big for our new space).
This post may contain affiliate links. As an Amazon Associate I earn from qualifying purchases. Click here to read my full disclosure policy.
I partnered with Kreg Jig and their new project plan site BuildSomething.com to share the free build plans with you today.
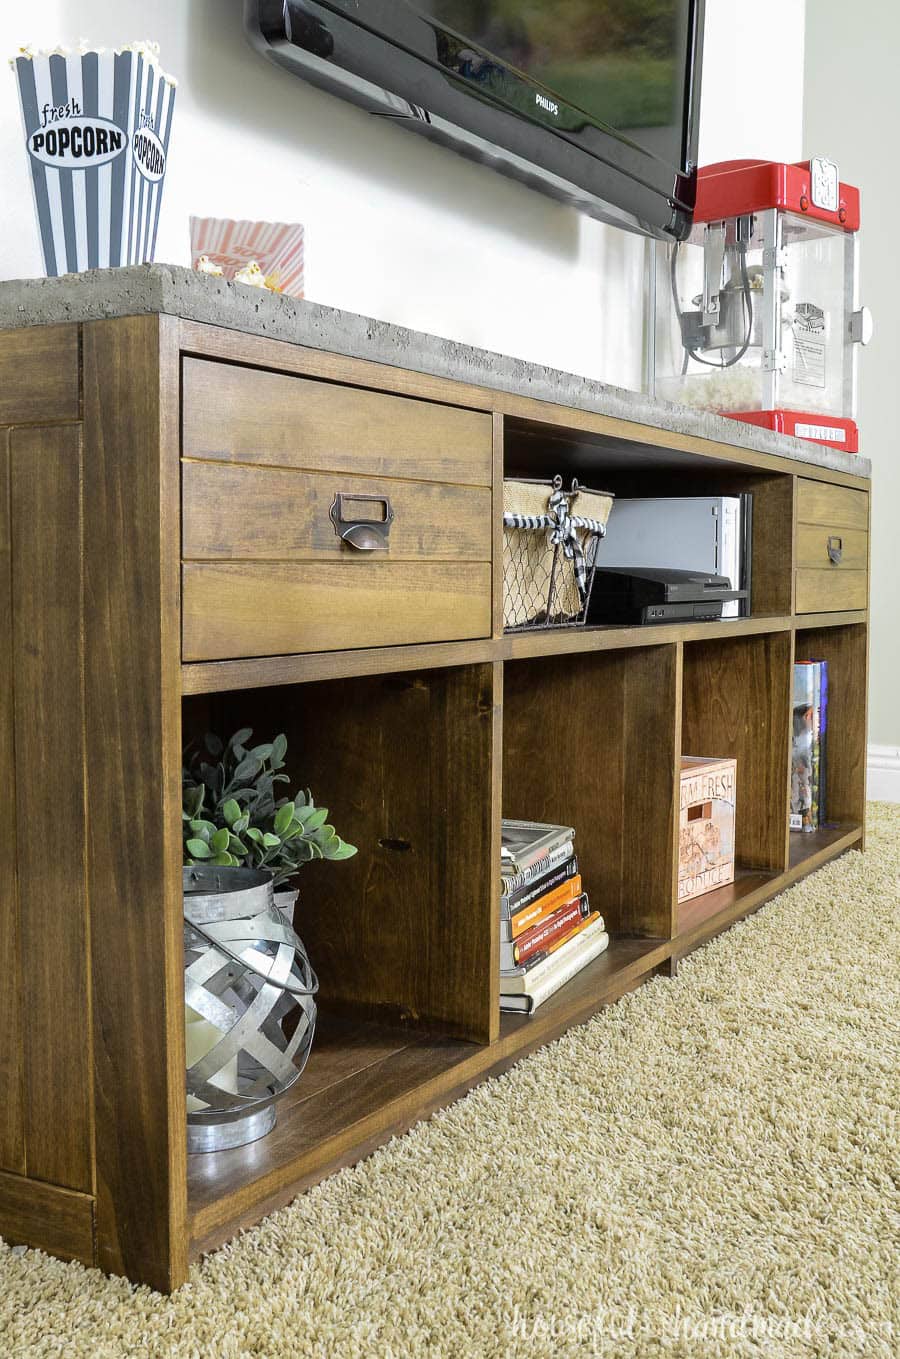
I wouldn’t have thought I could be so happy with a new TV stand in our family room. But I’m not going to lie, it looks so pretty.
Maybe it is because we had a bunch of plastic storage drawers trying to wrangle all our TV components since May. Living in an unorganized and crazy room like that makes you so happy for anything new!
But I promise this rustic, industrial TV stand is so pretty you would be happy with it even if it wasn’t replacing crappy storage bins.
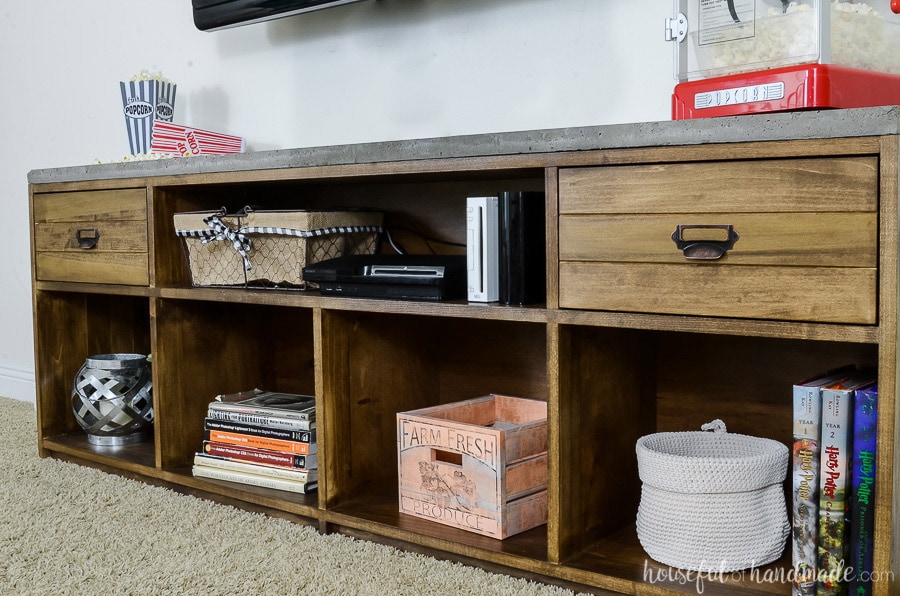
When designing the new TV stand, I knew I wanted something with room for storage. We have lots of TV stuff!
It’s amazing how many controllers we have for our 2 game consoles. And why do they all come with cords and covers and other things? So I knew we needed a couple drawers to hold them all.
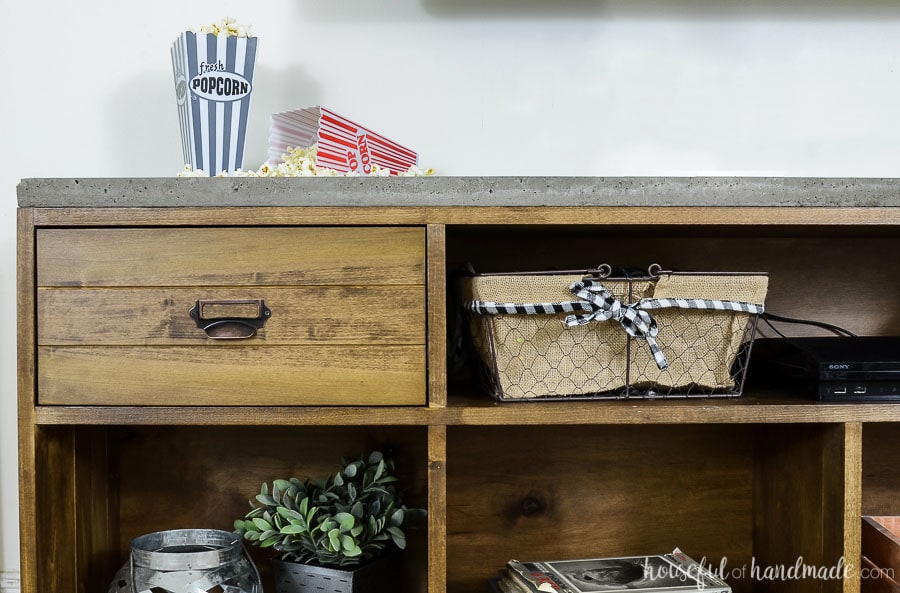
And for storage/decorating what is better than some open shelves?
The perfect place for stacking books, adding baskets or boxes, and displaying a few fun items.
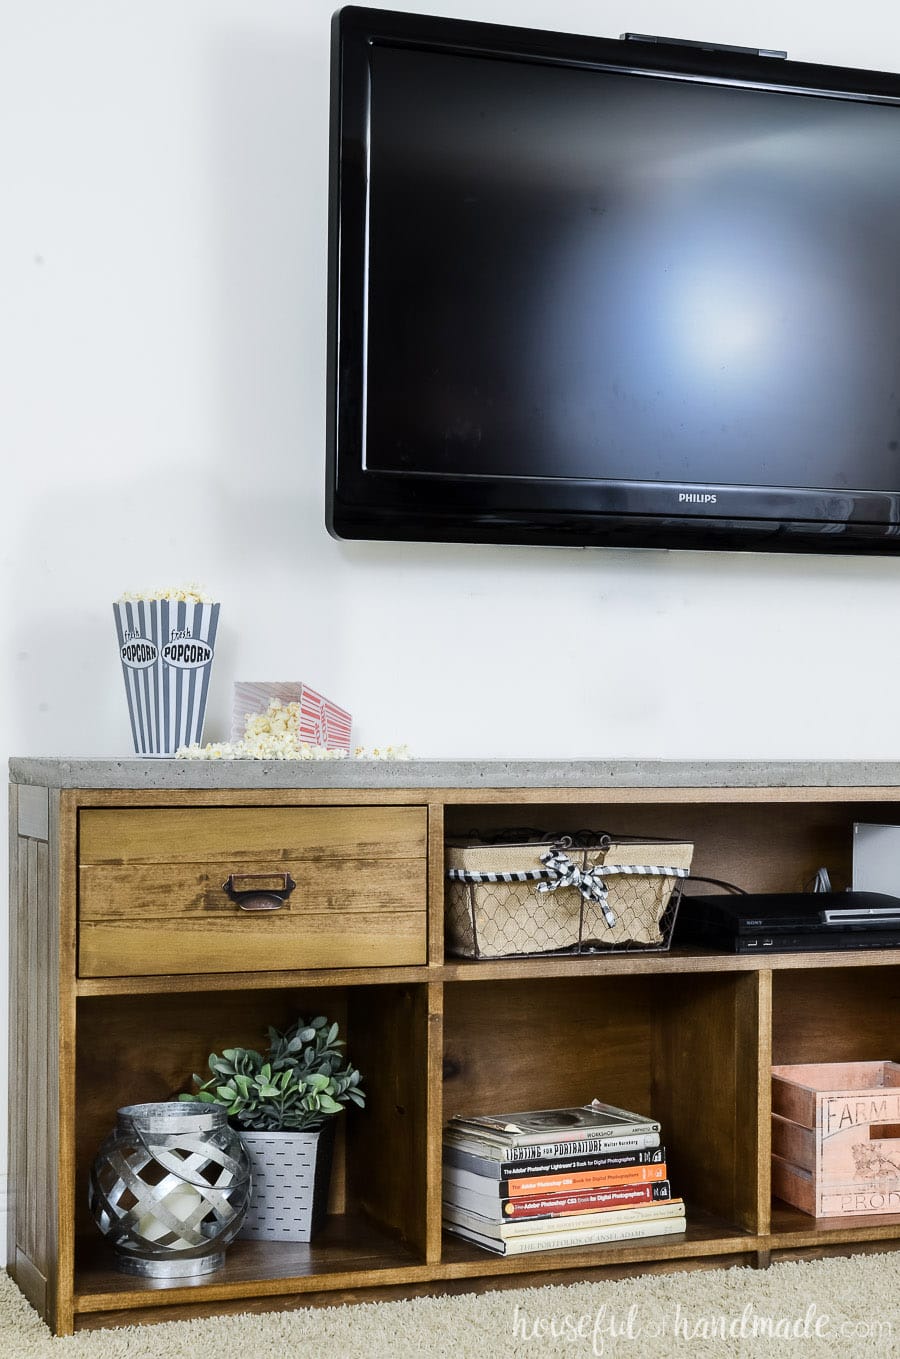
To make the TV stand look high-end, I decided to pull out my router and Kreg router table.
I used a chamfer bit set to take off about 1/16 of the corner at a diagonal. Then I routed just the inside edges of both the side and drawer front boards.
Now the simple design of the 1x3s that make up the sides and drawer fronts look fancy and expensive (even though they are not). And it only took a few minutes to trim off the tiniest bit of all the boards.
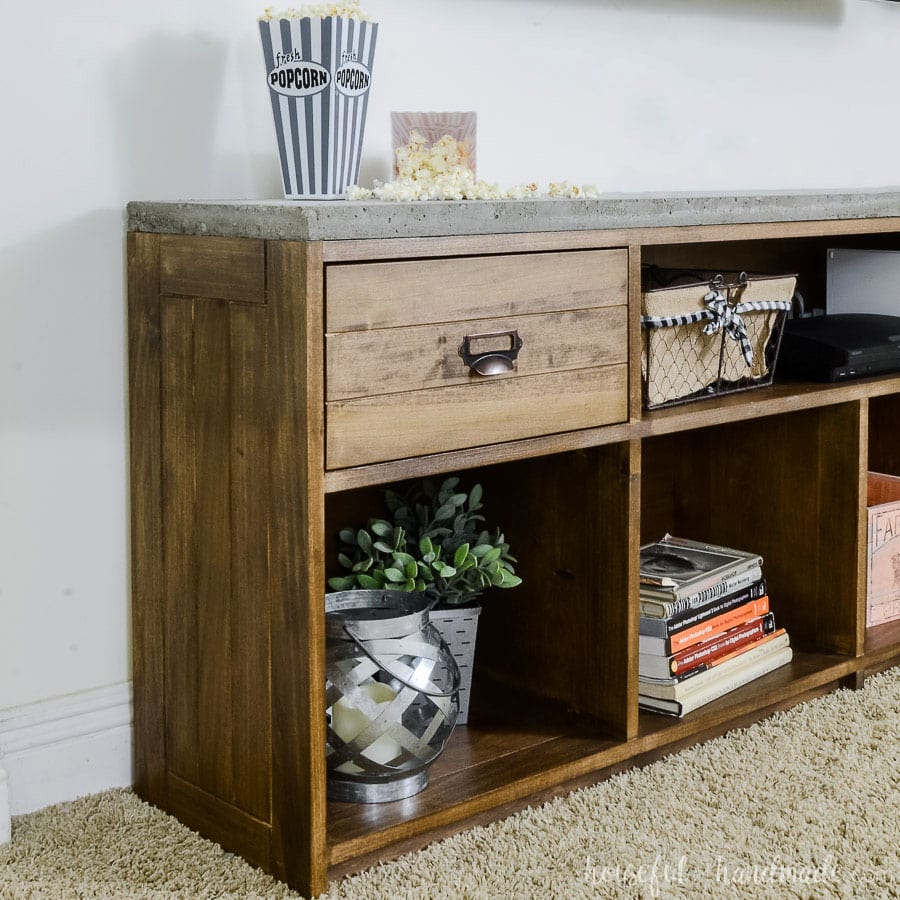
But my favorite part of the rustic TV stand is the concrete top.
I have worked with concrete on smaller projects, and have so many plans to use it on a larger scale. I am so glad I finally tackled that larger project because it looks awesome!
The thick concrete top is reminiscent of a kitchen counter top. It makes the low TV stand have some weight to it to balance out the large TV on top (or the smaller TV that we keep talking about updating someday).
*Update: I finally decided to tackle and even bigger concrete project! Check out our amazing concrete countertops that can be made in just one day!*
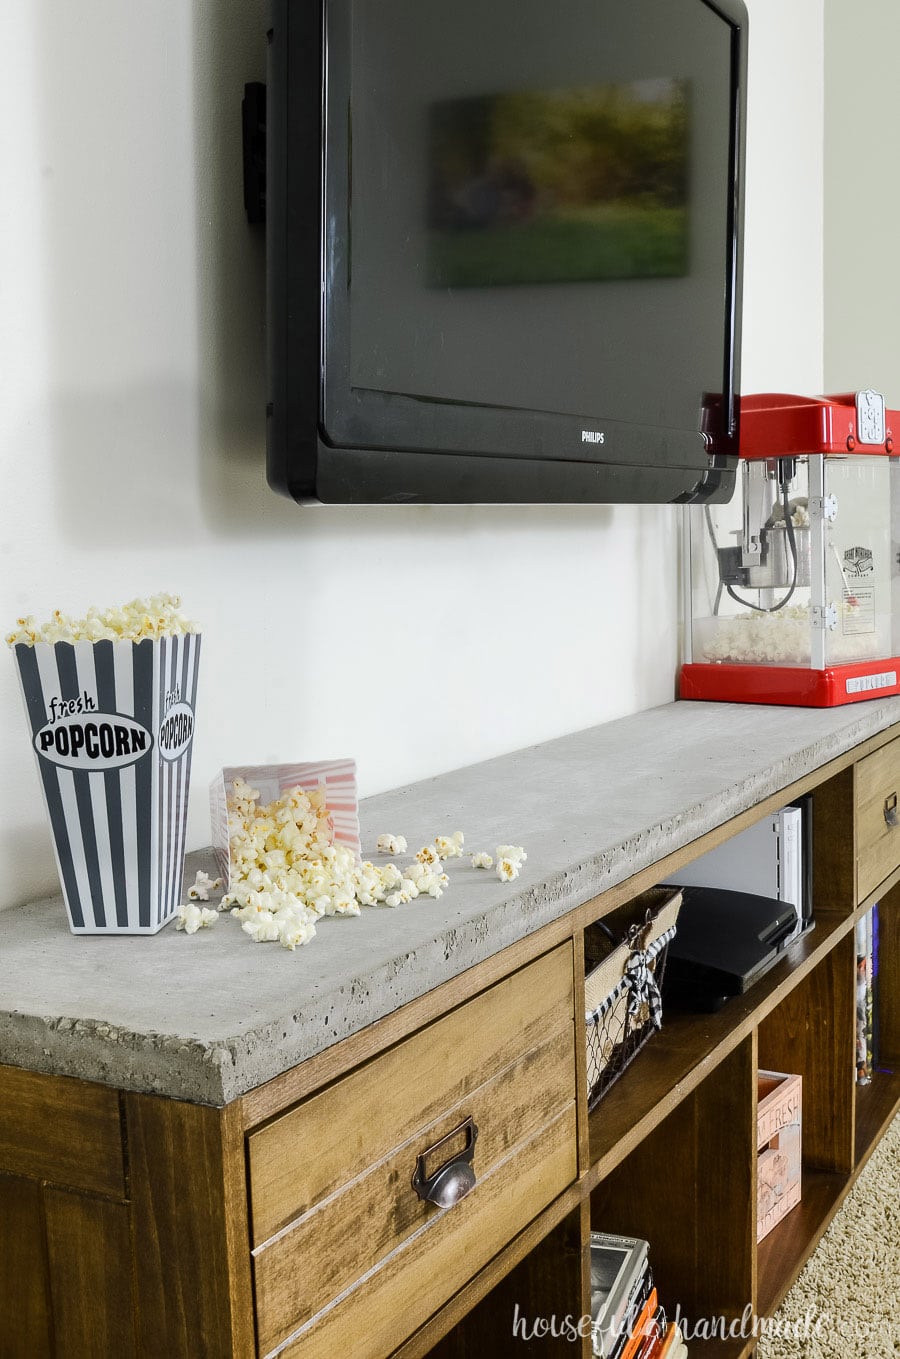
TV Stand Build Plans
If you are ready to build your own rustic TV stand with concrete top, I am sharing the free build plans at BuildSomething.com.
Click here for the complete plans.


