
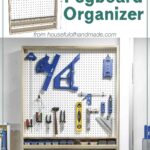
Going into the New Year my big goal is to finally get the shop organized!
Having a designated place for each tools means you can always find things when working on projects. And that makes building faster and easier!
If you have any wall space in your shop or garage, then you can create amazing organization on it with this simple pegboard storage cabinet.
This post may contain affiliate links. As an Amazon Associate I earn from qualifying purchases. Click here to read my full disclosure policy.
I partnered with Kreg Tools to share the free build plans for this cabinet so you can get your tools organized this year too!
Tool and Screw Wall Organizer
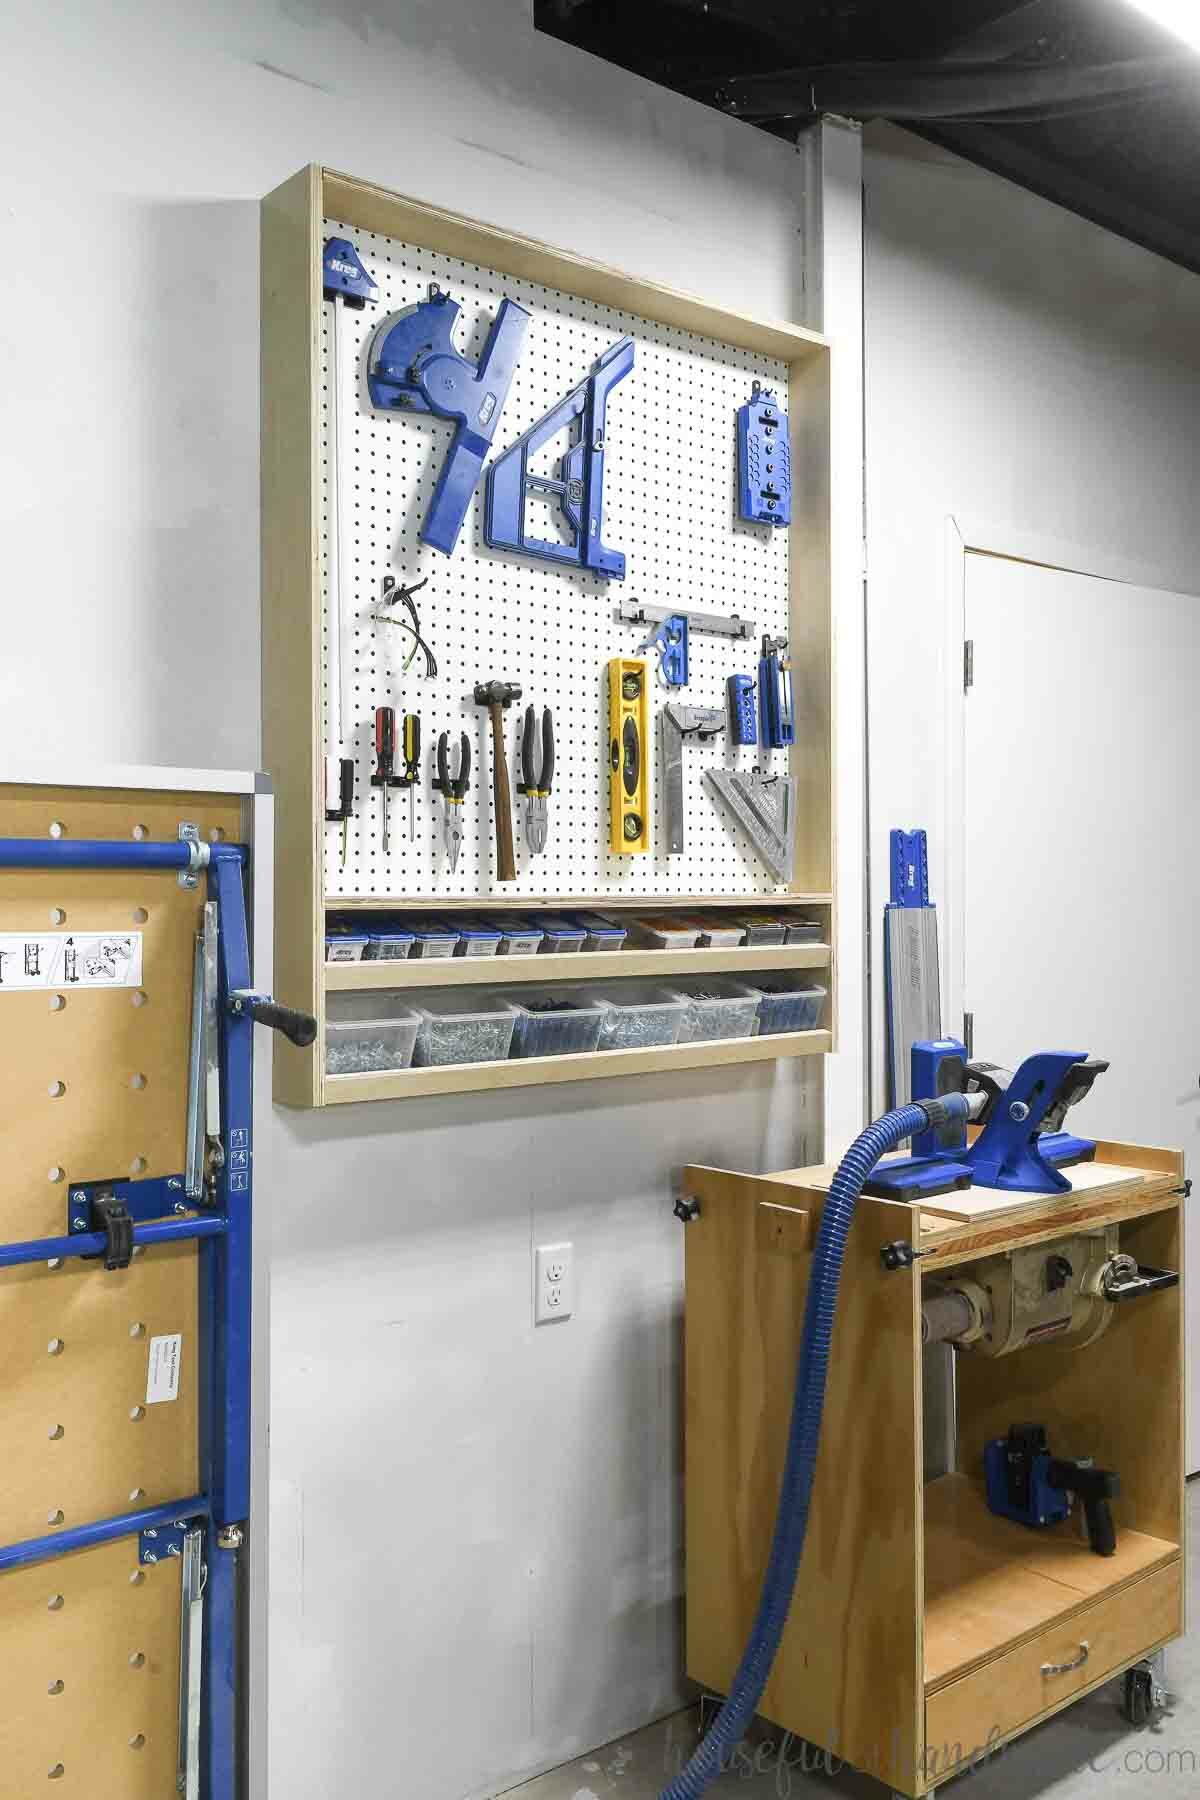
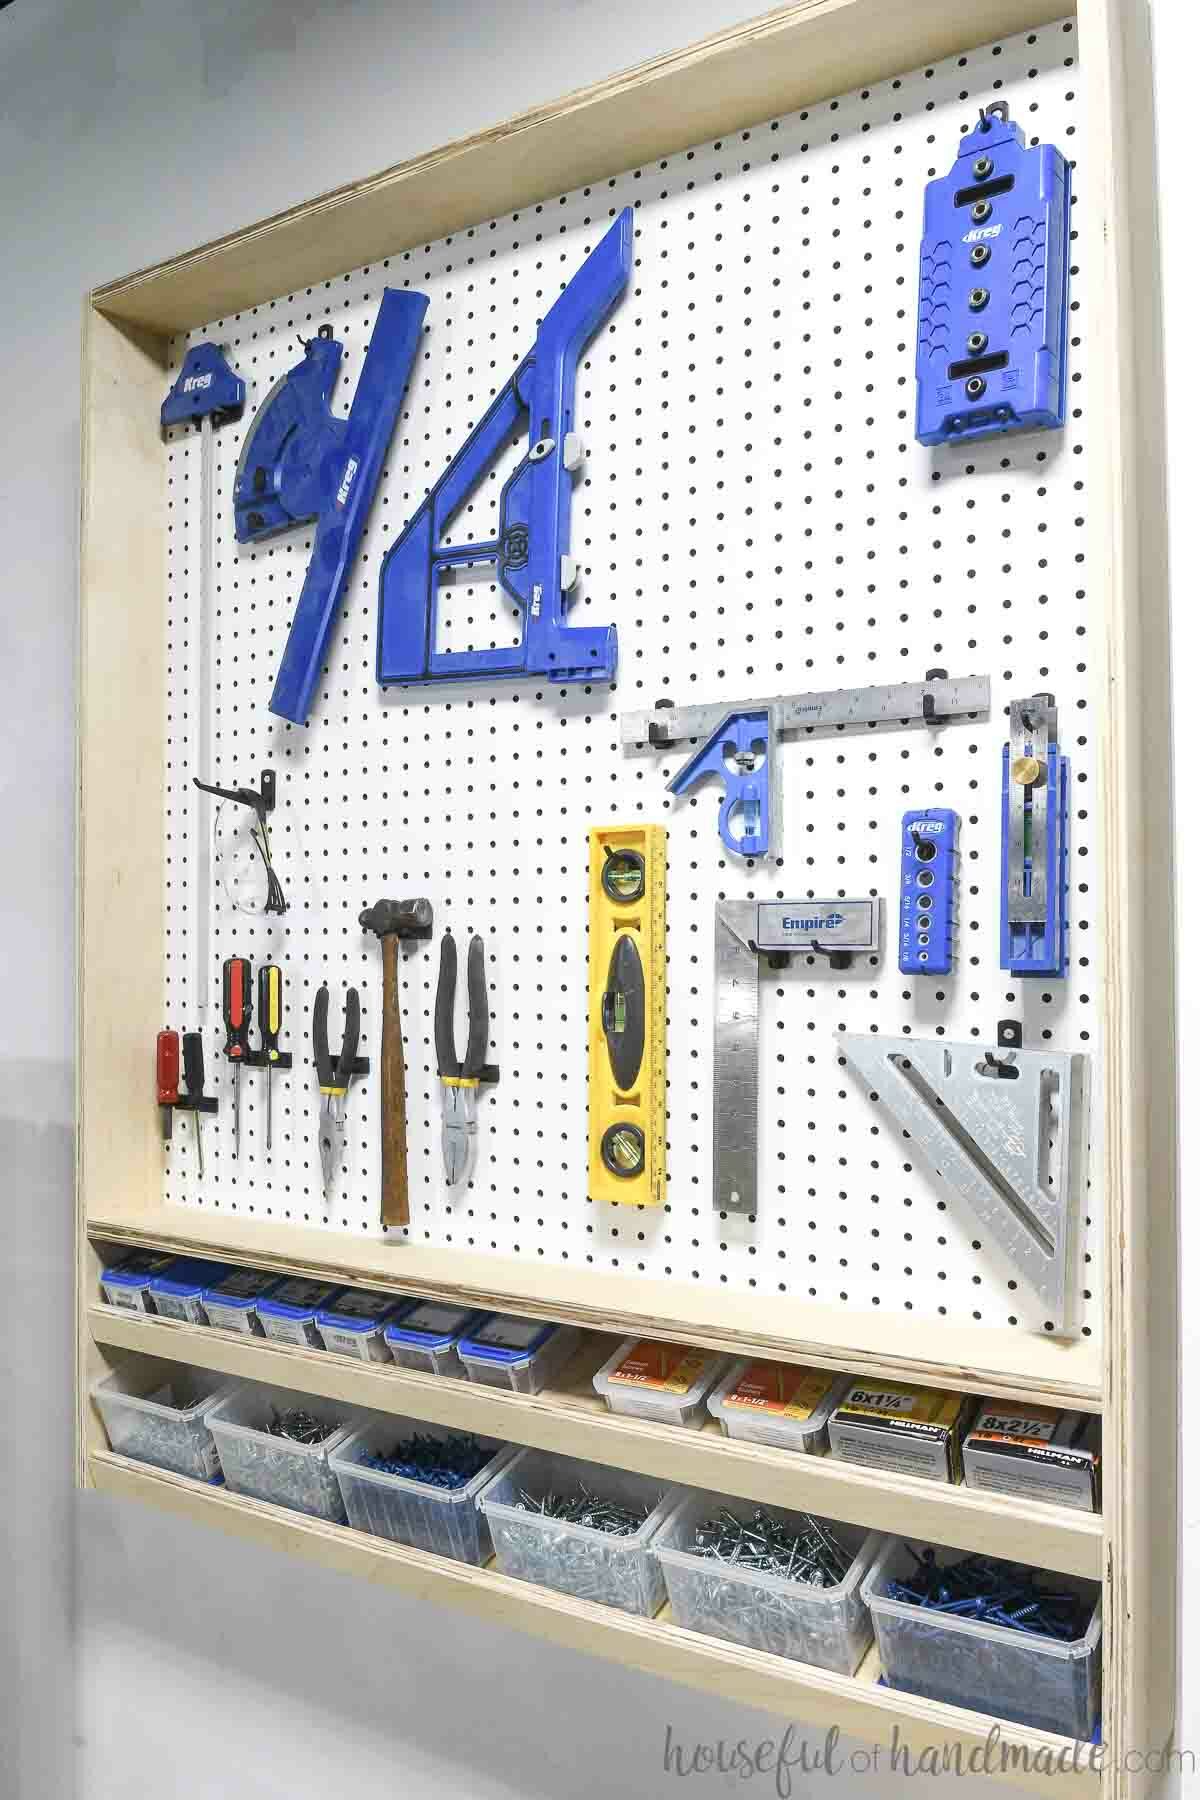
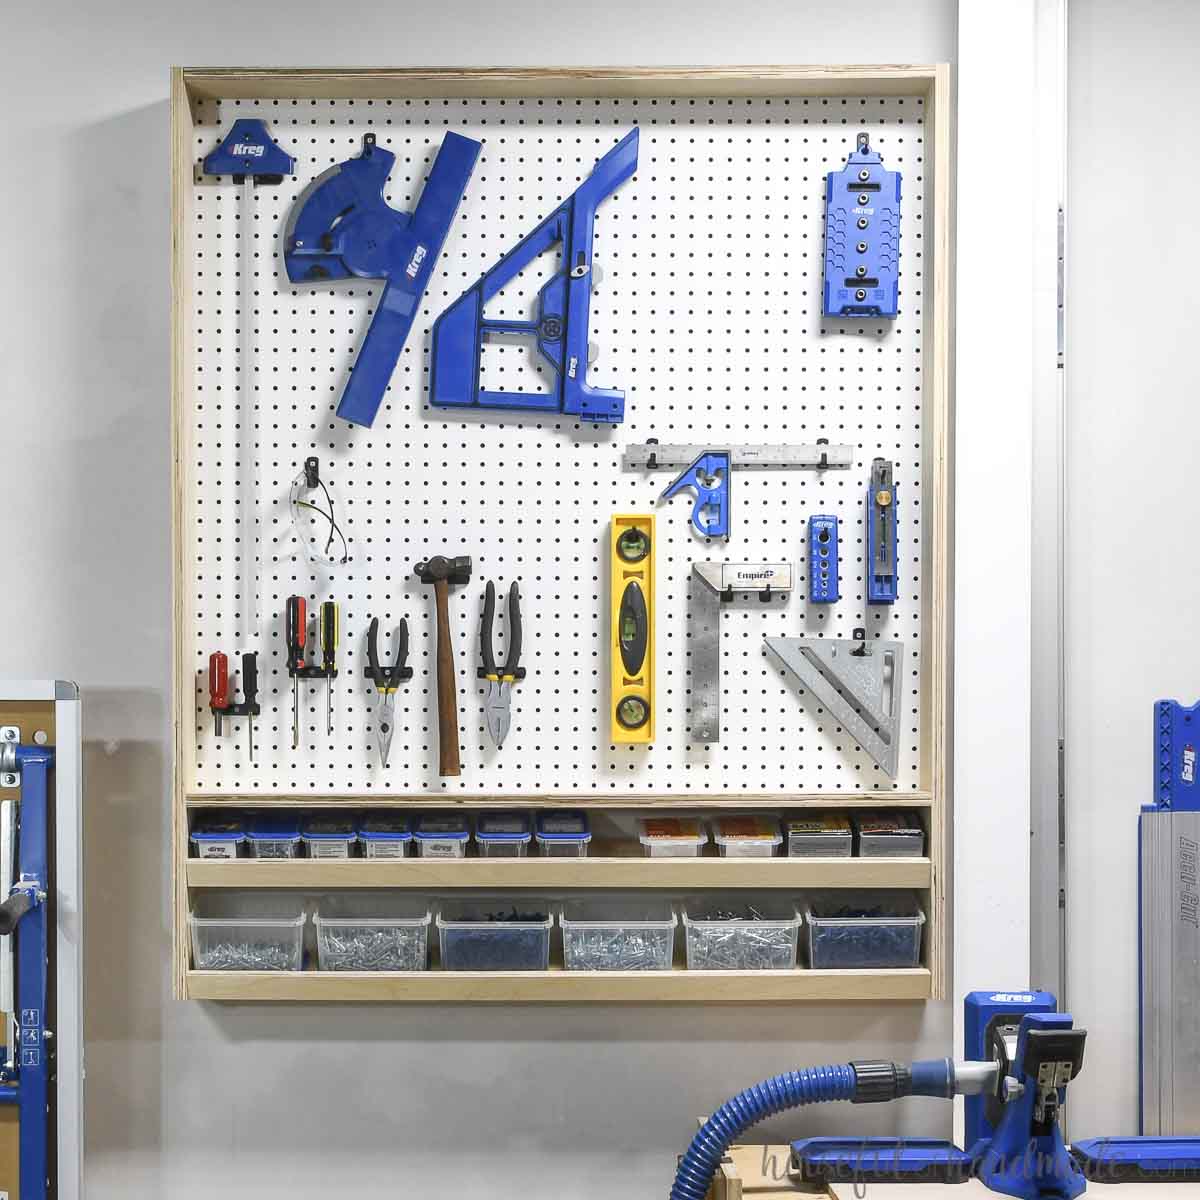
Organizing your tools and boxes of screws on the wall frees up so much space. And I learned that you can store way more tools on a pegboard than you might think.
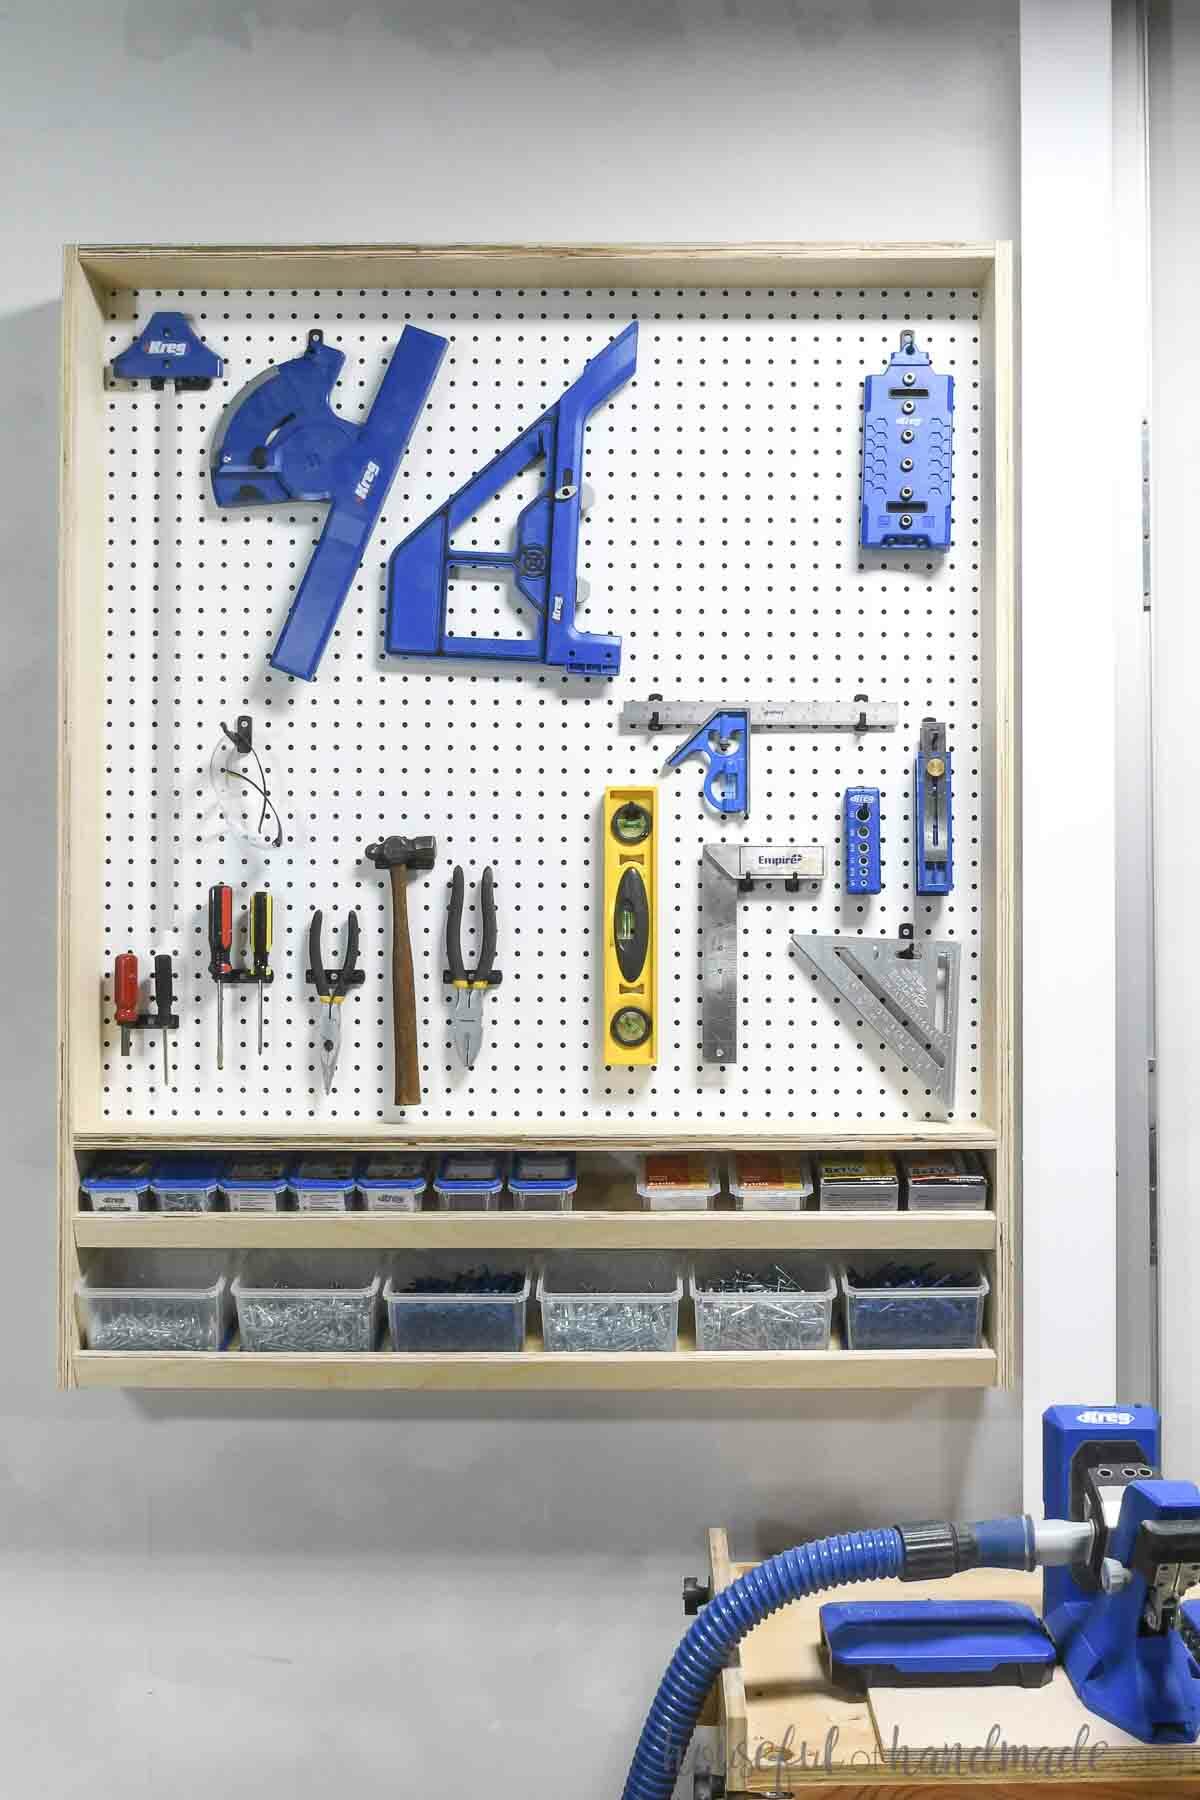
This pegboard cabinet has just over 3’x3′ piece of pegboard to hold your favorite tools. After loading it up with my most used ones, I still have room for more!
That means as I find other tools I waste time searching for, I can add them to my wall organizer. Or if I buy new tools, they can have a home too.
And while I love having my tools in sight and easy to grab, my favorite part of this shop organizer might be the lower shelves to organizer boxes of screws.
There is so much space to hold all the different sizes of my favorite screws. I have loaded it up with every single size of pocket hole screws and I still had room for more!
Since my pegboard storage is right next to my Kreg adaptive cutting system, I also use the shelf to hold the accessories so they are close at hand when using my plunge saw.
Lastly, this simple pegboard cabinet is so easy to make from just a 1/2 sheet of plywood and 1/2 sheet of pegboard.
If you have scraps of plywood laying around, you can probably make one without having to buy a new sheet (that is what I did).
Or buy 1 sheet of plywood and make 2 pegboard storage cabinets. Then you will have plenty of space to organize all the things you need to this January!
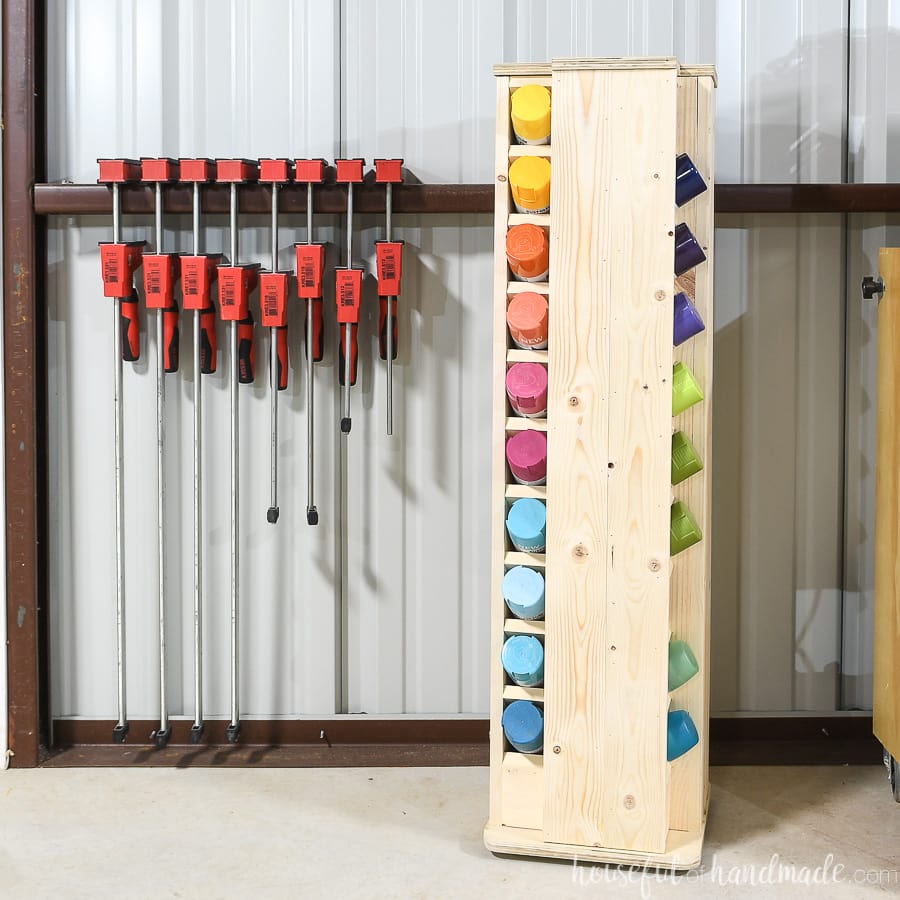
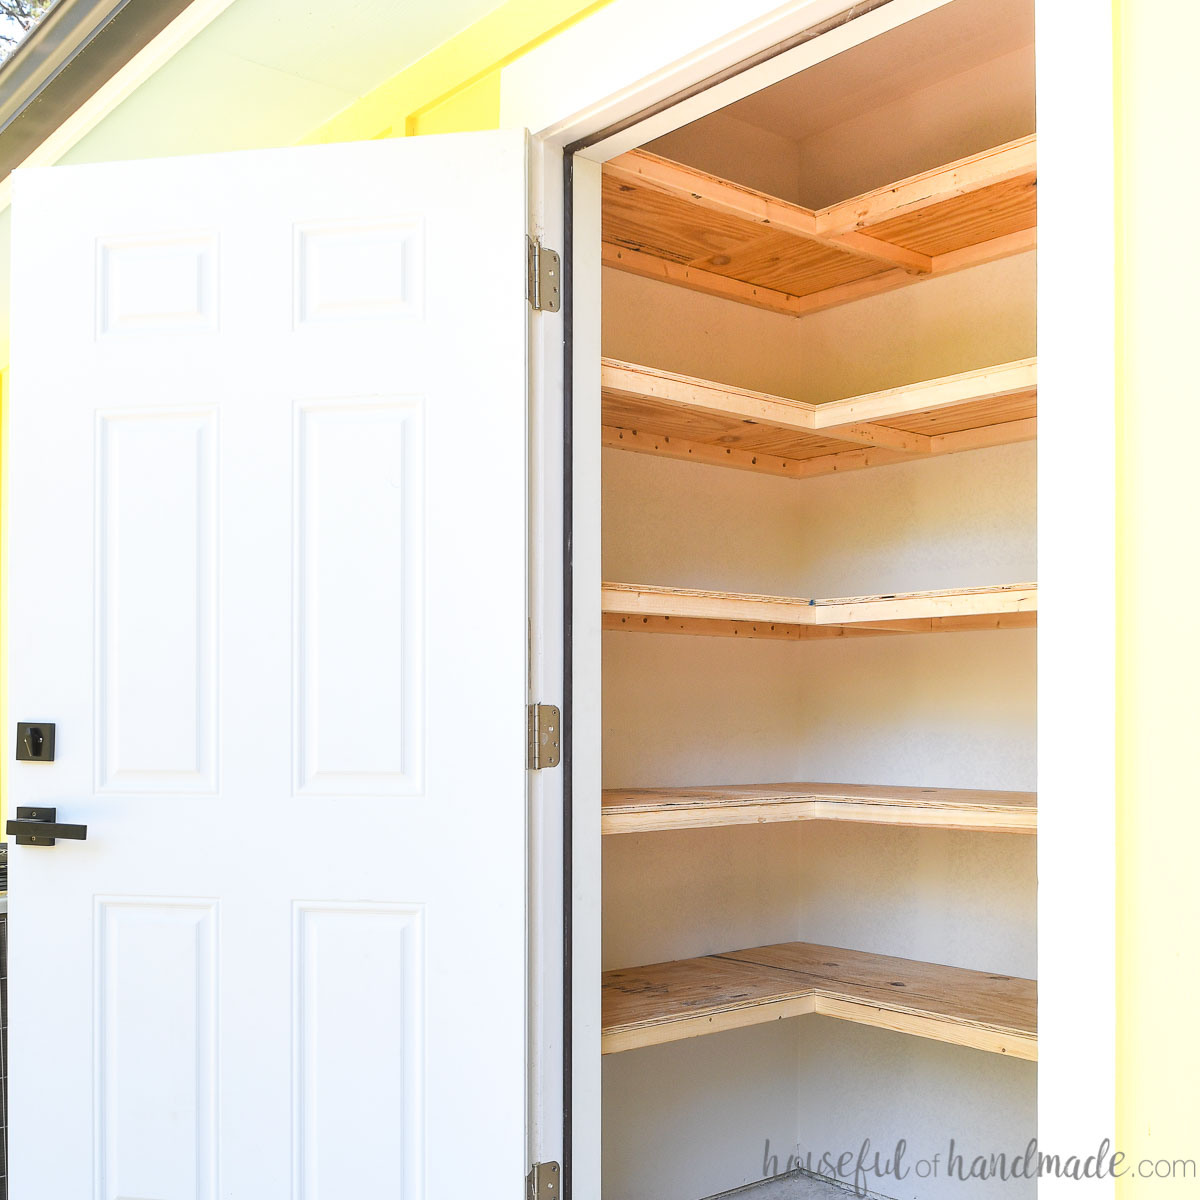
More Storage for the Garage
Keep your tools and more organized with these other amazing DIY projects.


How to Make a Pegboard Wall Organizer
Tools & Materials
Recommended Tools:
- Kreg Adaptive Cutting System (ACS)
- Circular saw or table saw
- Pocket hole jig
- Drill
- Impact driver (optional, but I love not having to switch bits with the drill)
- 90 degree drill adapter
- Kreg Quick flip
Supplies:
- Wood products
- (1) 4×4 sheet 3/4″ plywood
- (1) 4×4 sheet pegboard
- 1 1/4″ pocket hole screws
- 2 1/2″ pocket hole screws
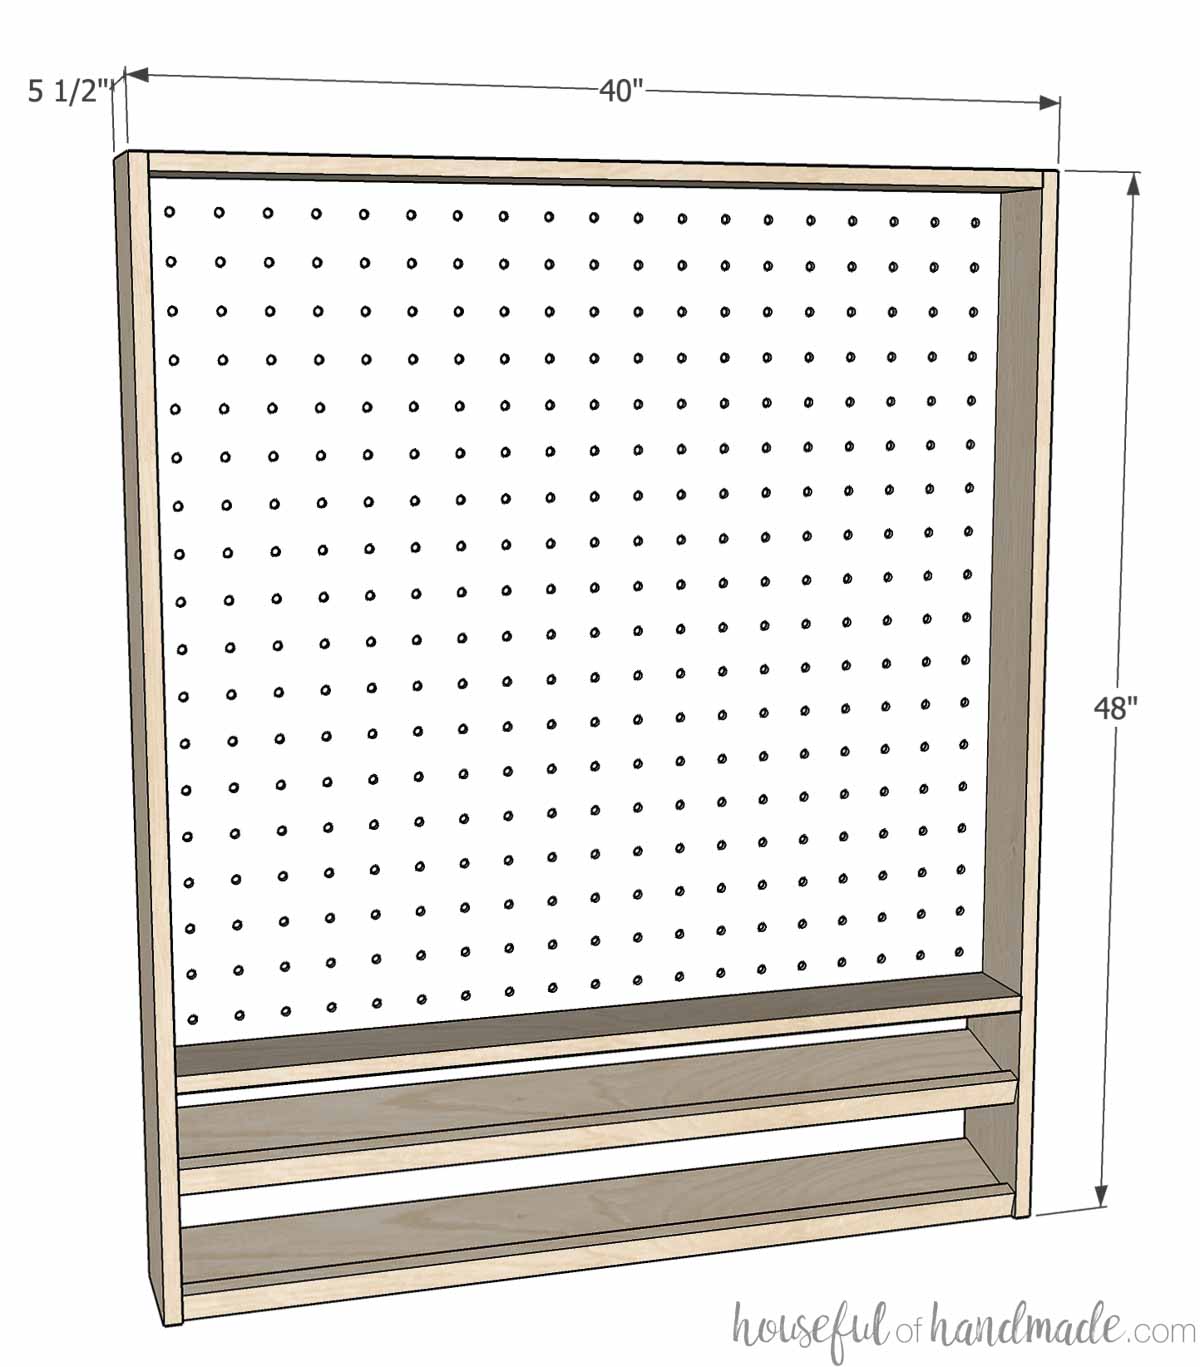
Overall Dimensions:
The pegboard wall cabinet is 48″ tall by 40″ wide and 5 1/2″ deep. The pegboard area is 38 1/2″ wide by 36 1/2″ tall.
STEP 1- Cut your pieces
Cut all the pieces according to the plans shared on Kregtool.com. Refer to the included plywood diagram for laying out the pieces.
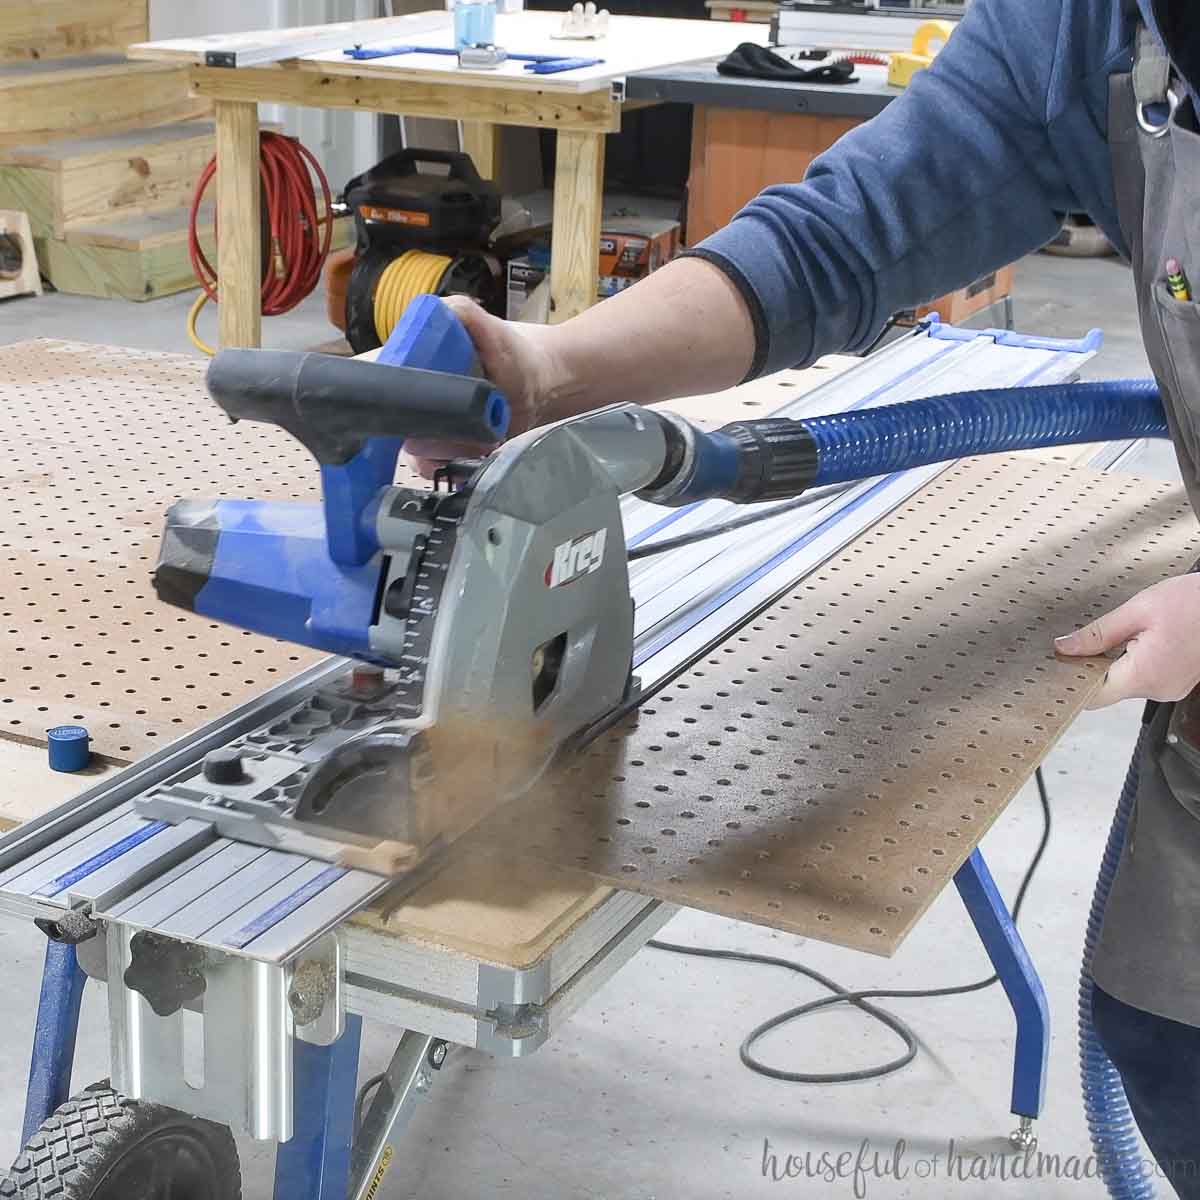
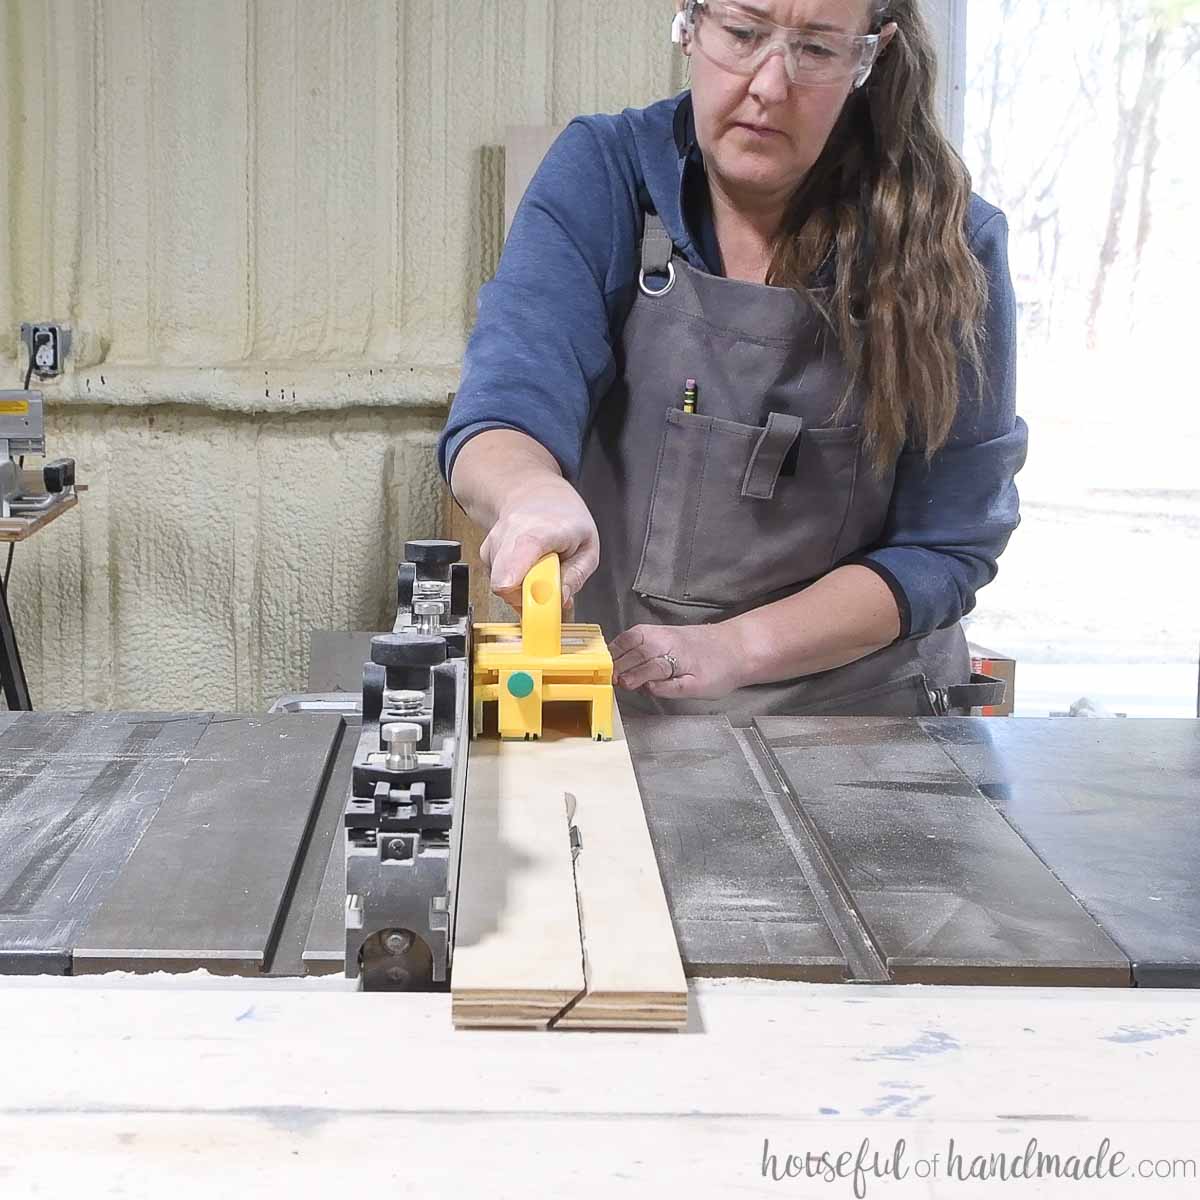
I used the Kreg ACS to quickly cut down all the pieces. It makes it much easier for me to break down large 3/4″ thick plywood on my own.
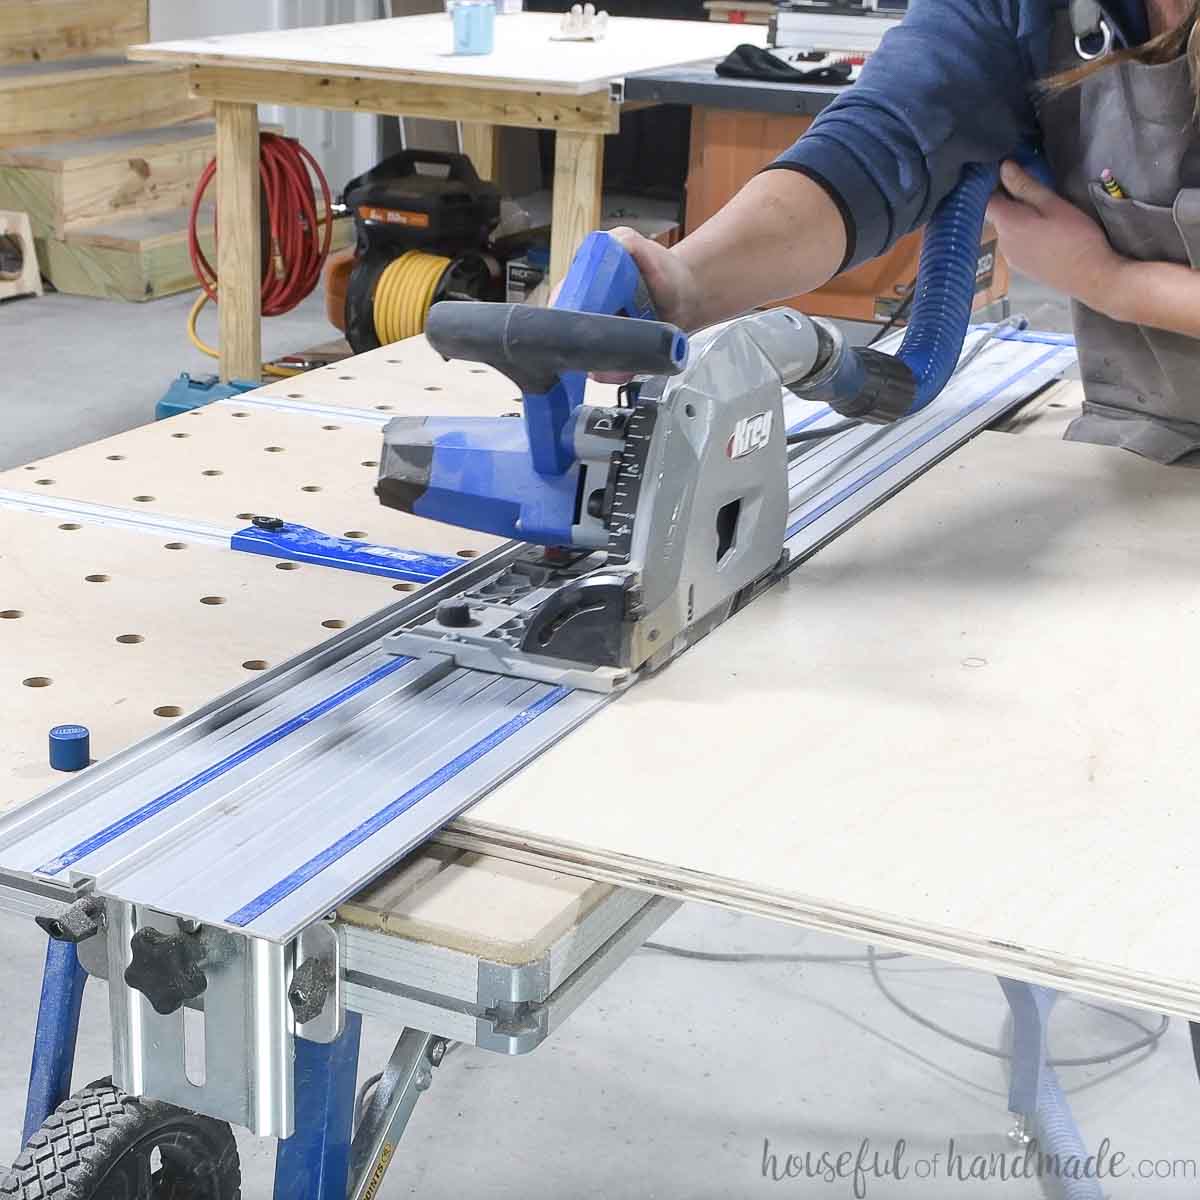
Set your saw blade on the ACS so it will only cut ¼” into the wood.
EXPERT TIP:
It is better to be slightly deeper than ¼” than too shallow or your pegboard might not fit into the assembled frame later.
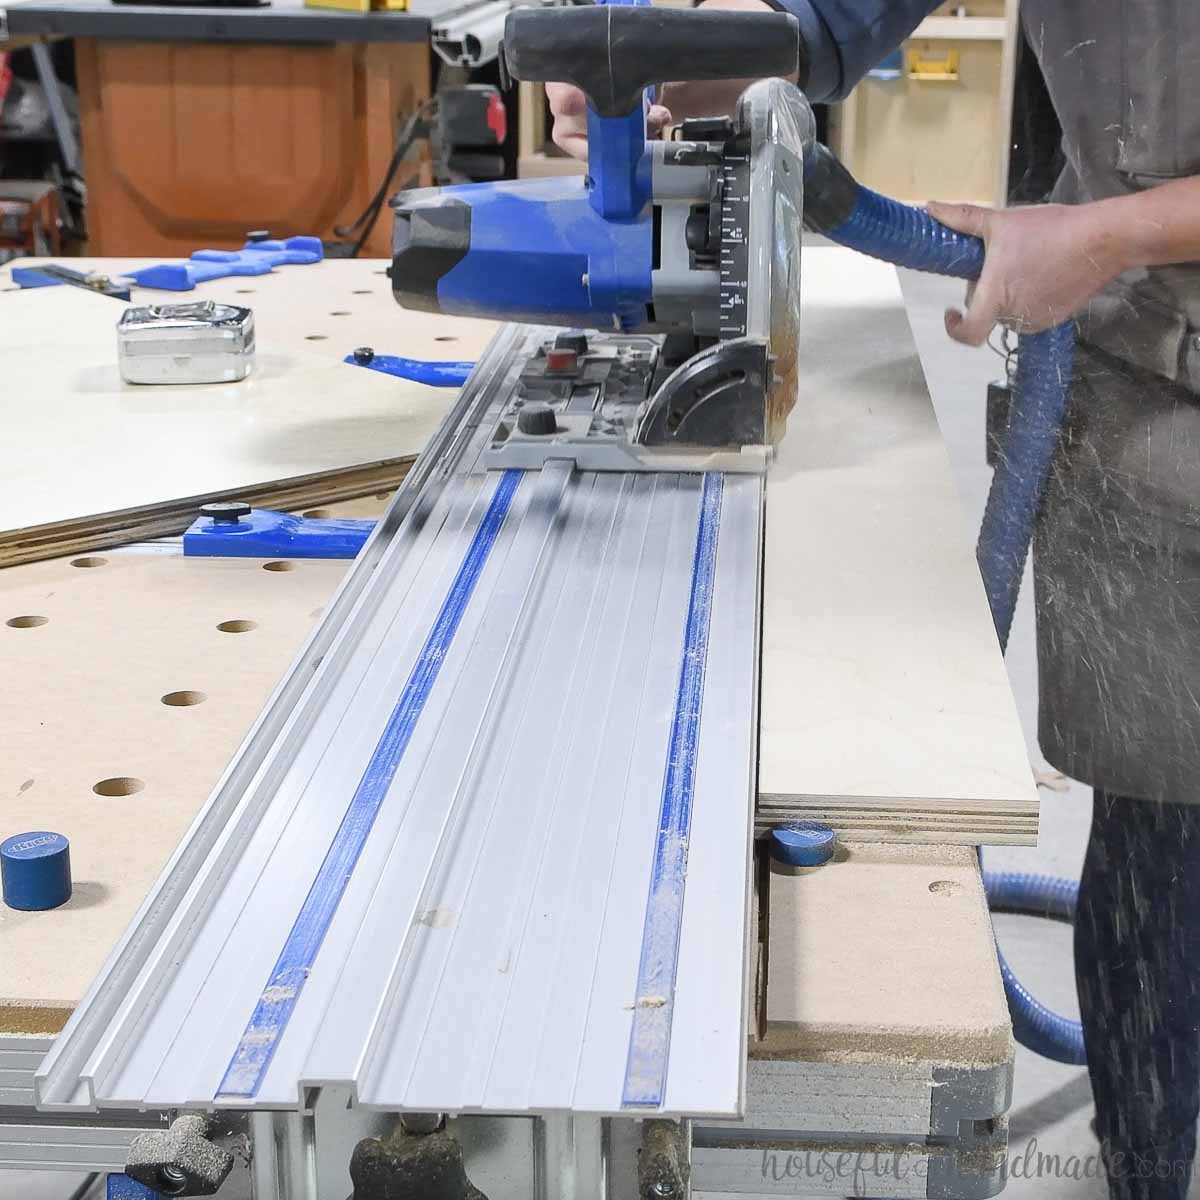
Cut the grooves according to the diagram in the plans. Run the saw through the board and then adjust so the blade will cut just to the side of the first cut and run the saw through again.
Check to see if your pegboard will fit, if not, repeat with another cut next to the others until your pegboard fits into the groove.
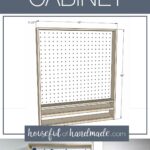
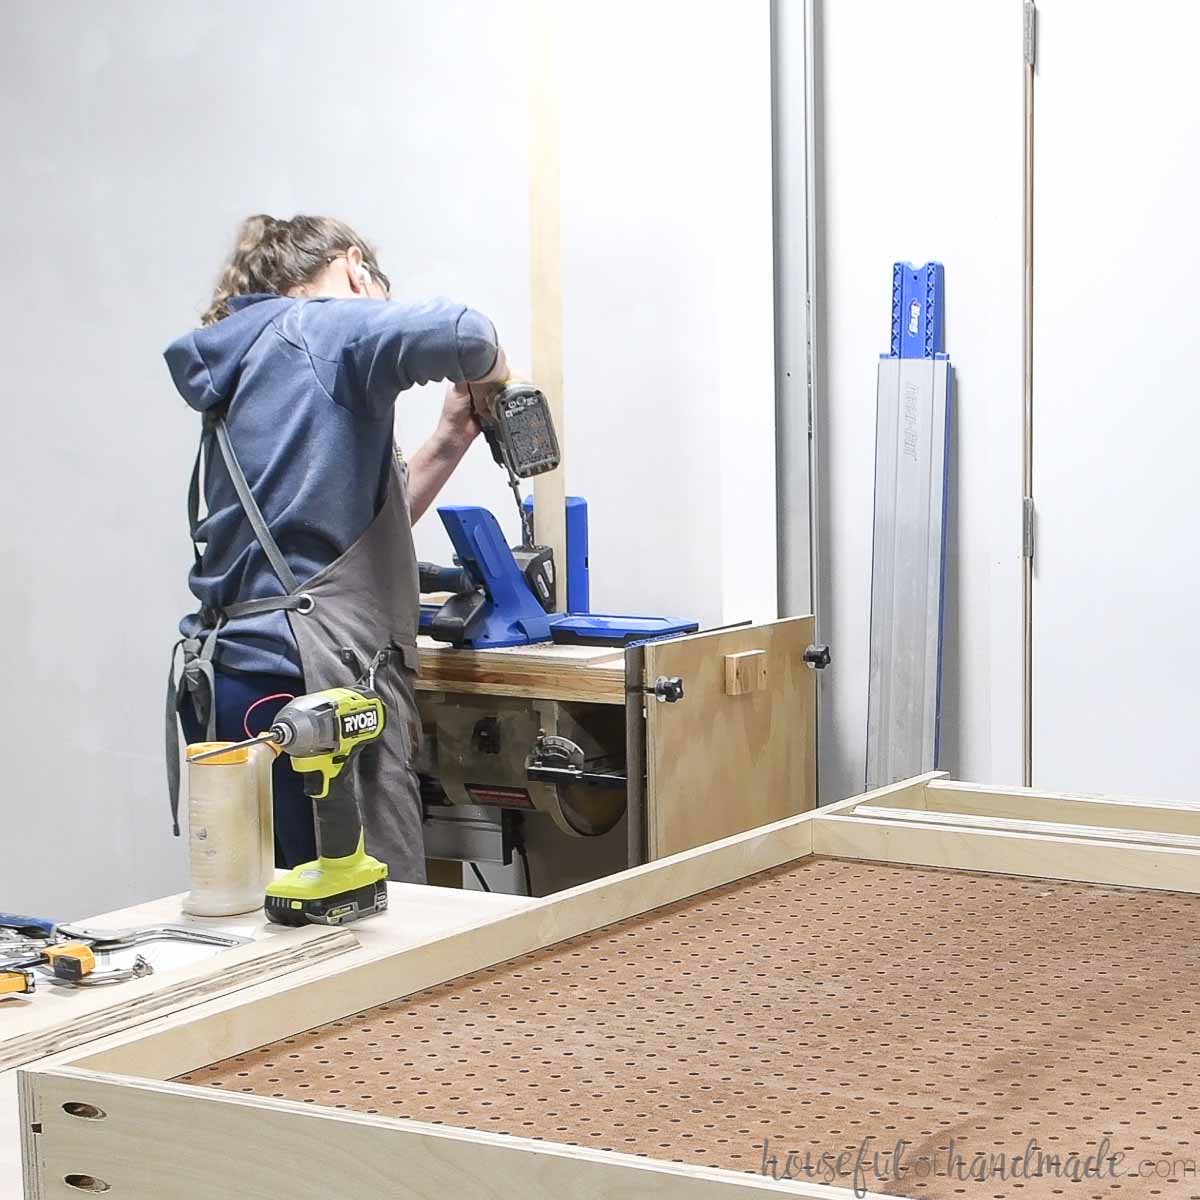
STEP 2- Assemble the cabinet frame
Set your Kreg pocket hole jig to drill pocket holes in ¾” thick material.
Drill 2 pocket holes on both ends of the shelf board and drill pocket holes along one side of each board.
Attach the shelf fronts to the front of the shelf boards so they are flush at the bottom creating a lip at the top.
Secure with 1 ¼” pocket hole screws and wood glue.
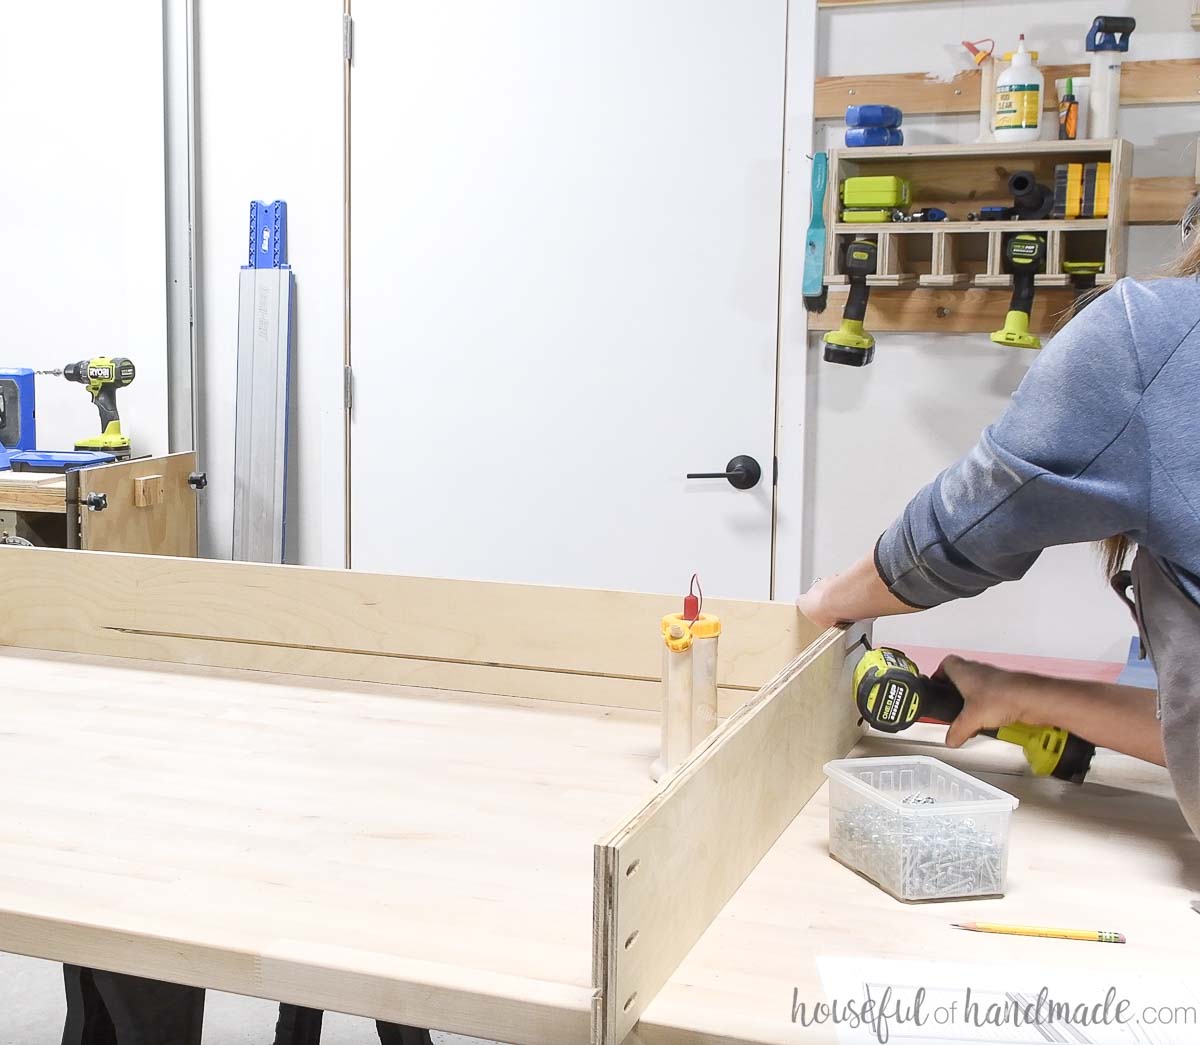
Drill 3 pocket holes in each end of your top/bottom boards on the opposite side as the groove. Position the pocket holes so they are not over the groove.
Then attach the top/bottom to one of the side board so the grooves line up according to the diagram. Secure with wood glue and 1 ¼” pocket hole screws.
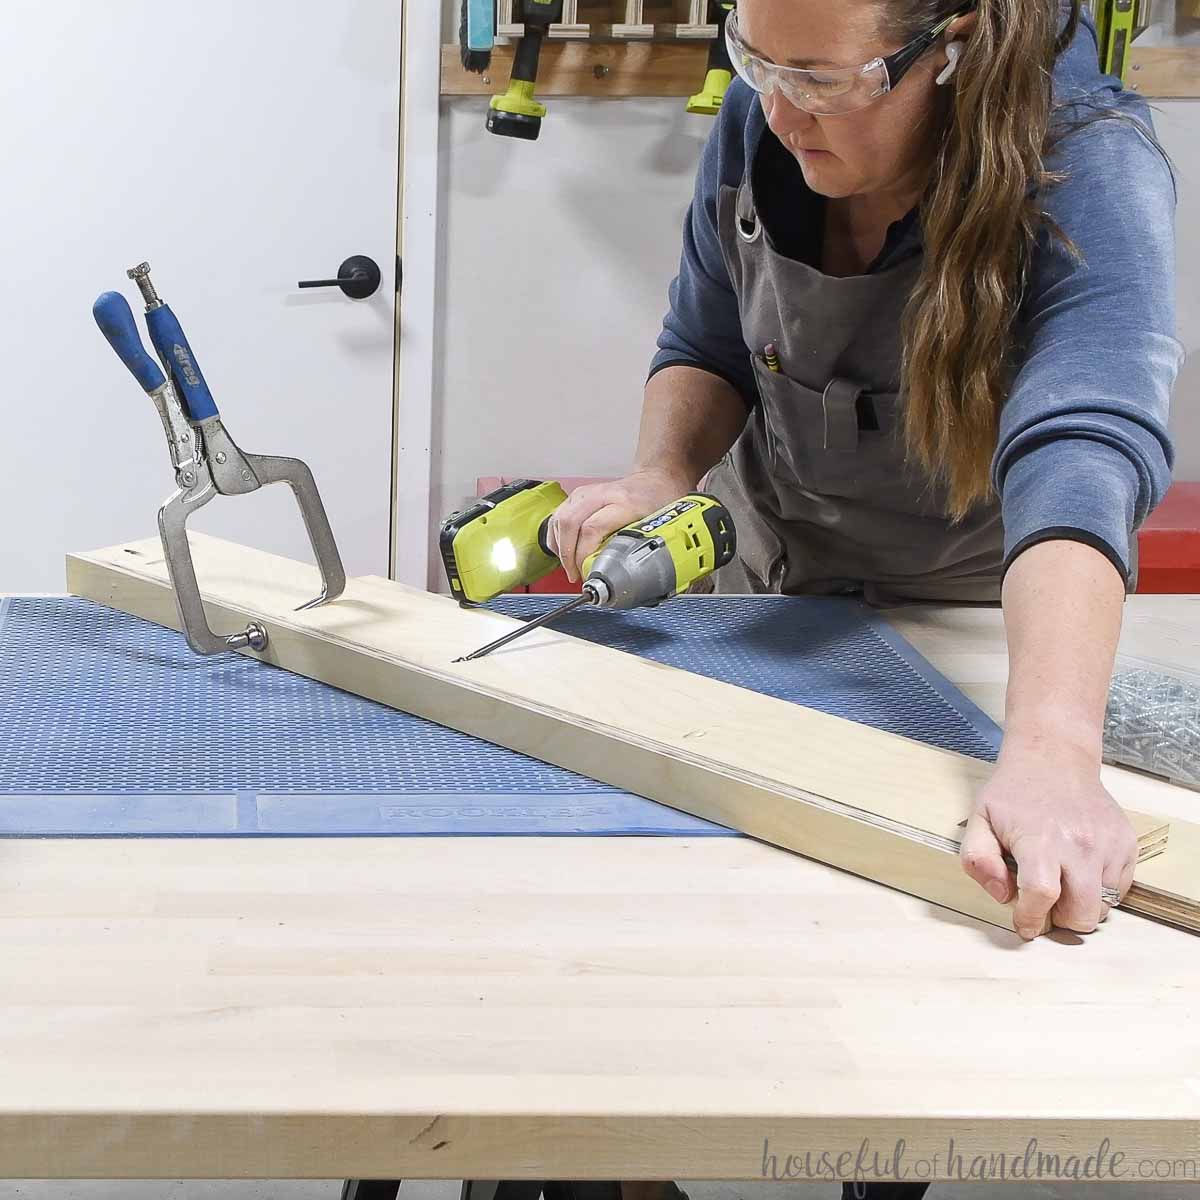
Attach the shelves to the bottom of the sides below the bottom board at a 15 degree angle.
Line the bottom of the lower shelf up with the bottom of the sides and the upper shelf 5 ¾” up from the front of the bottom.
Secure with wood glue and 1 ¼” pocket hole screws.
Cut and paint pegboard if desired.
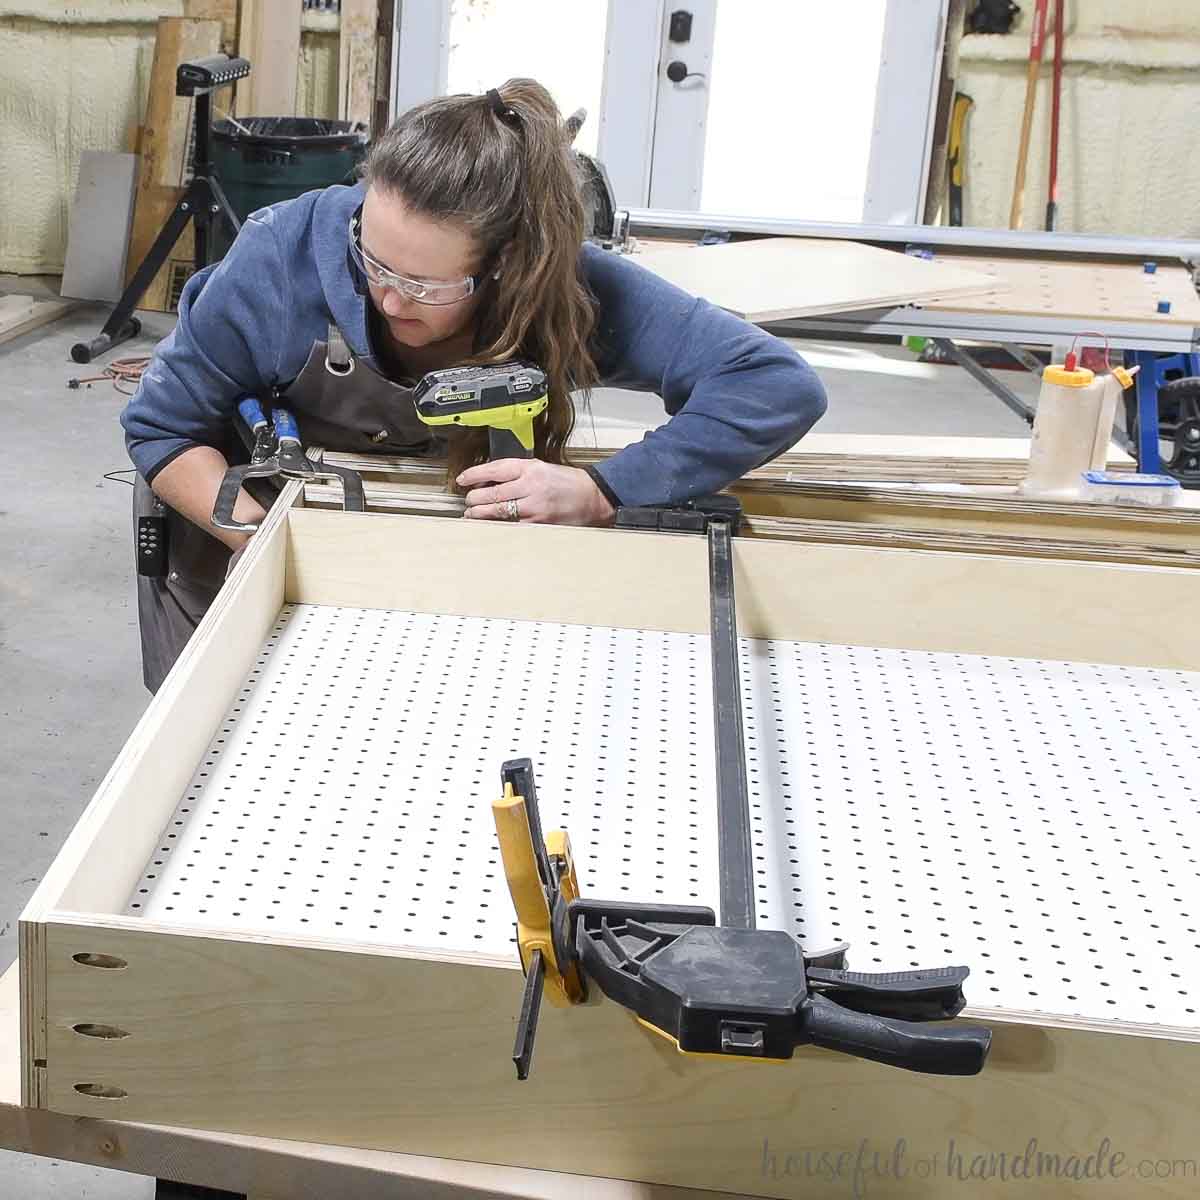
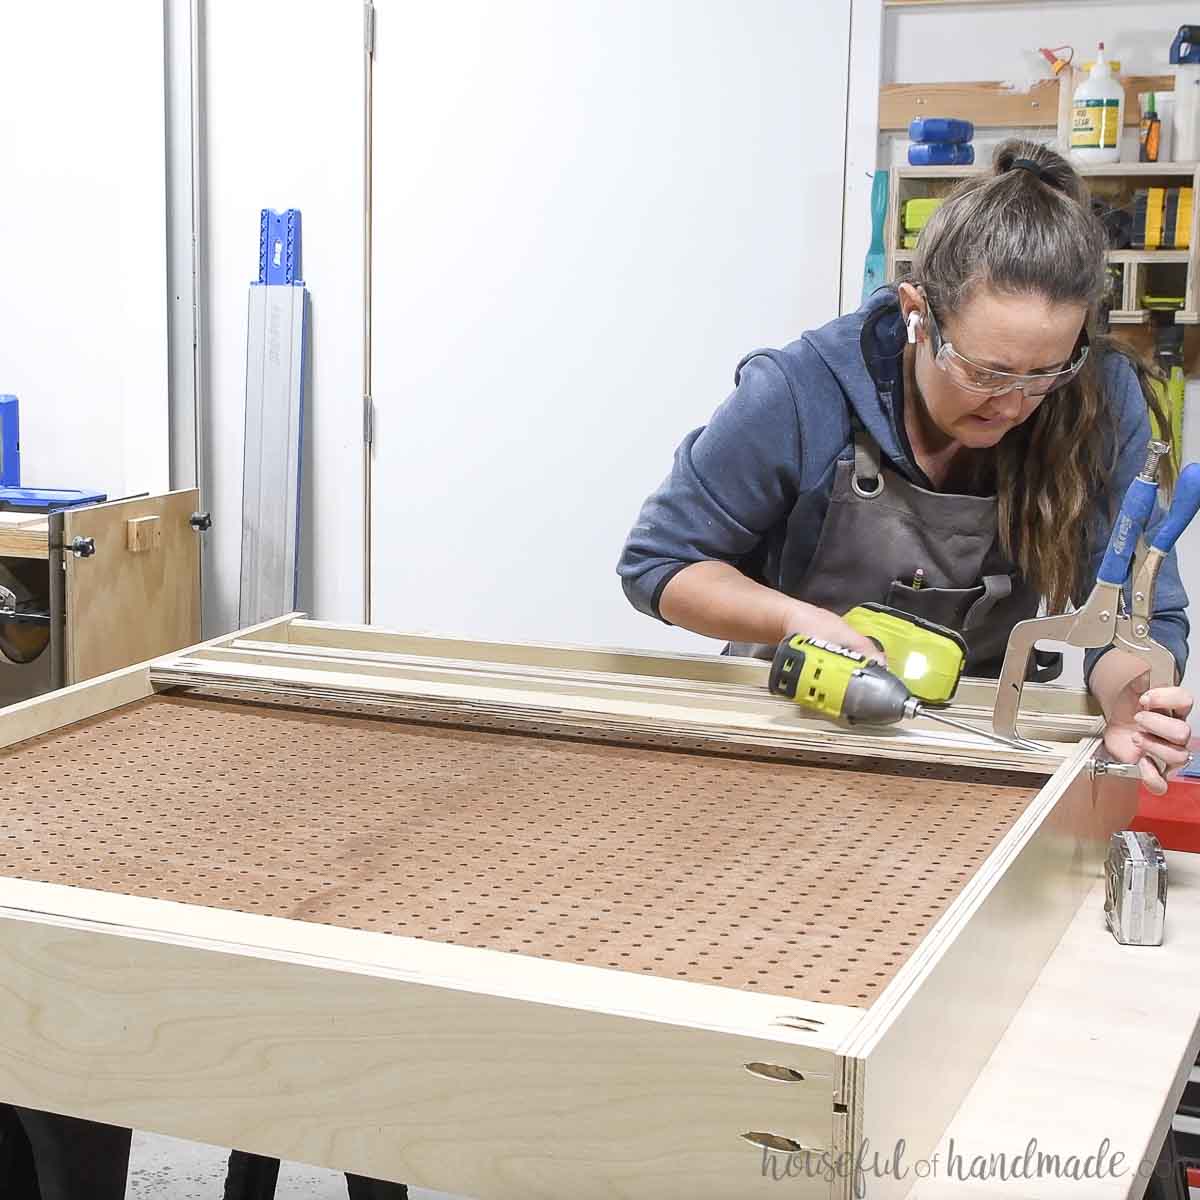
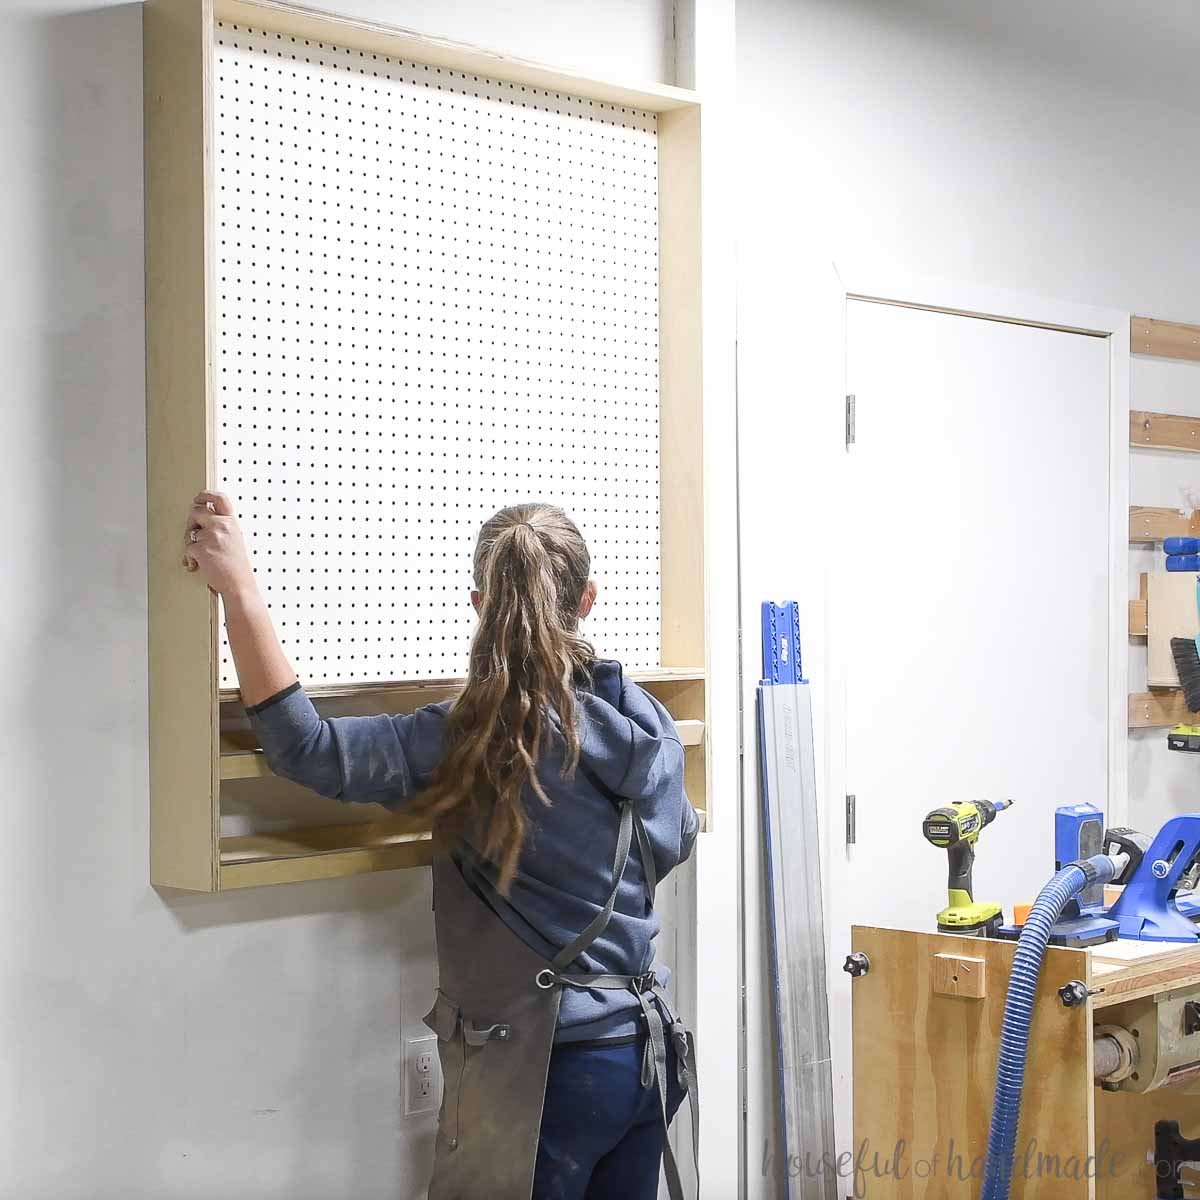
Slide the pegboard into the grooves of the cabinet.
Because the frame is not held together on the one side and the pegboard is large, the frame kept falling out of the grooves.
EXPERT TIP:
Use a clamp to hold the open side of the cabinet frame at the proper spacing while you insert the pegboard so it doesn’t push the frame open.

Attach the second side of the cabinet and secure with 1 ¼” pocket hole screws and wood glue. Make sure to line up the top/bottom and shelves to line up with the other side.
STEP 3- Hang the cabinet with a french cleat
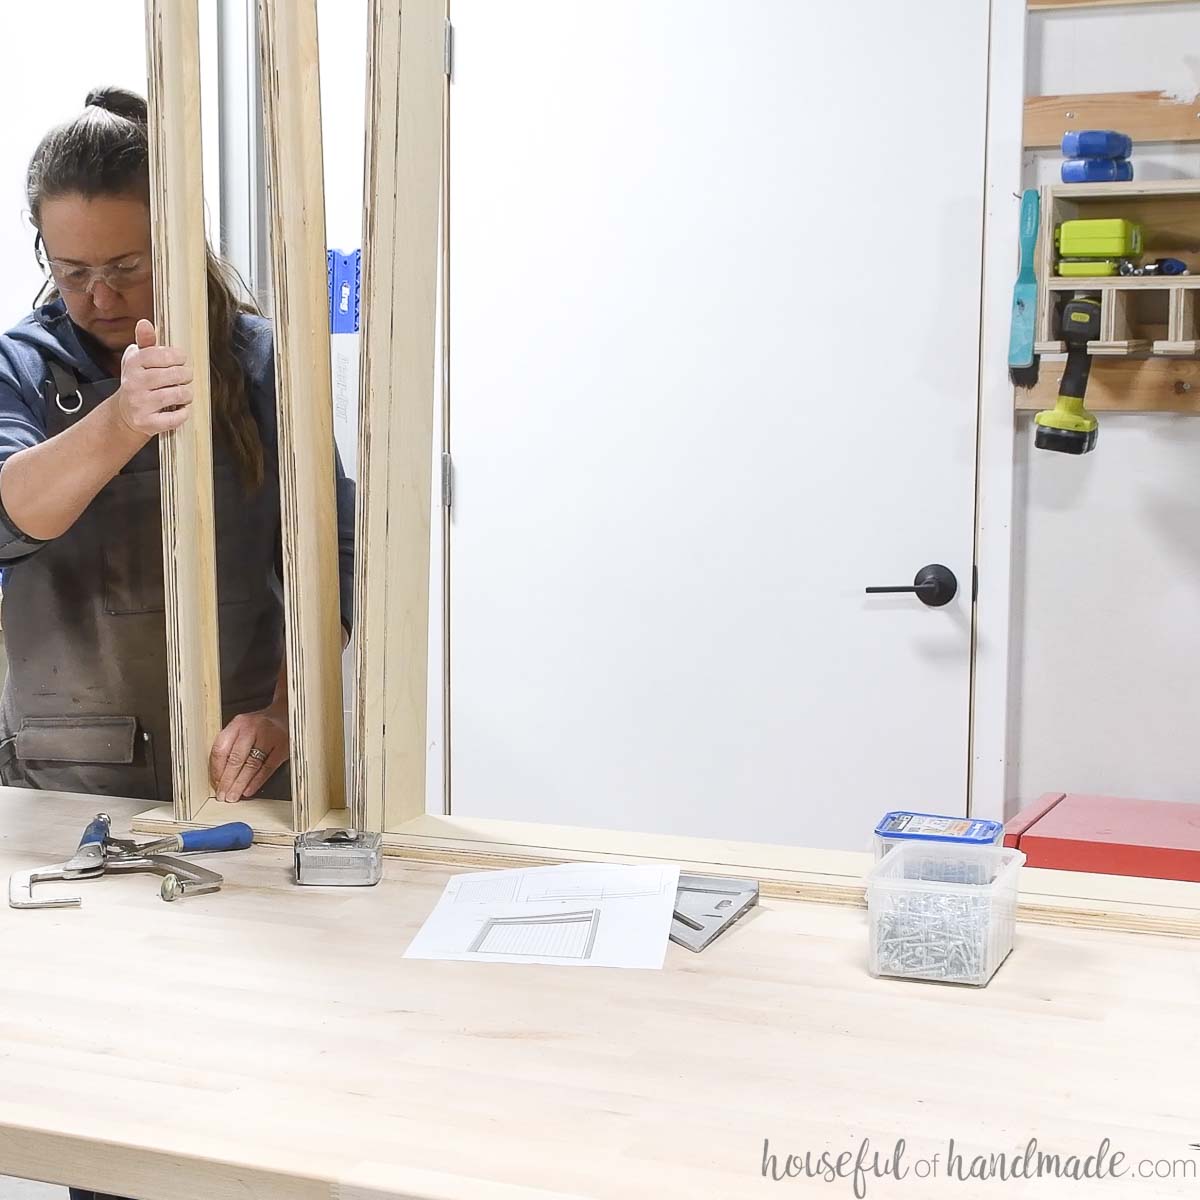
Rip the french cleat pieces down the center at a 45 degree angle to make two interlocking pieces.
Cut one of the pieces down ½” for the cleat piece that is attached to the wall. This will give you some wiggle room when attaching the cabinet to the wall.
Drill 2 pocket holes for ¾” thick material to the ends of the non-trimmed cleat pieces on the wider side.
Attach the pieces to the back of the cabinet according to the diagram in the plans so the wider side is flush with the back of the cabinet.
EXPERT TIP:
There will be a gap between the cleat and the pegboard so you can still use the pegboard in front of the cleats.
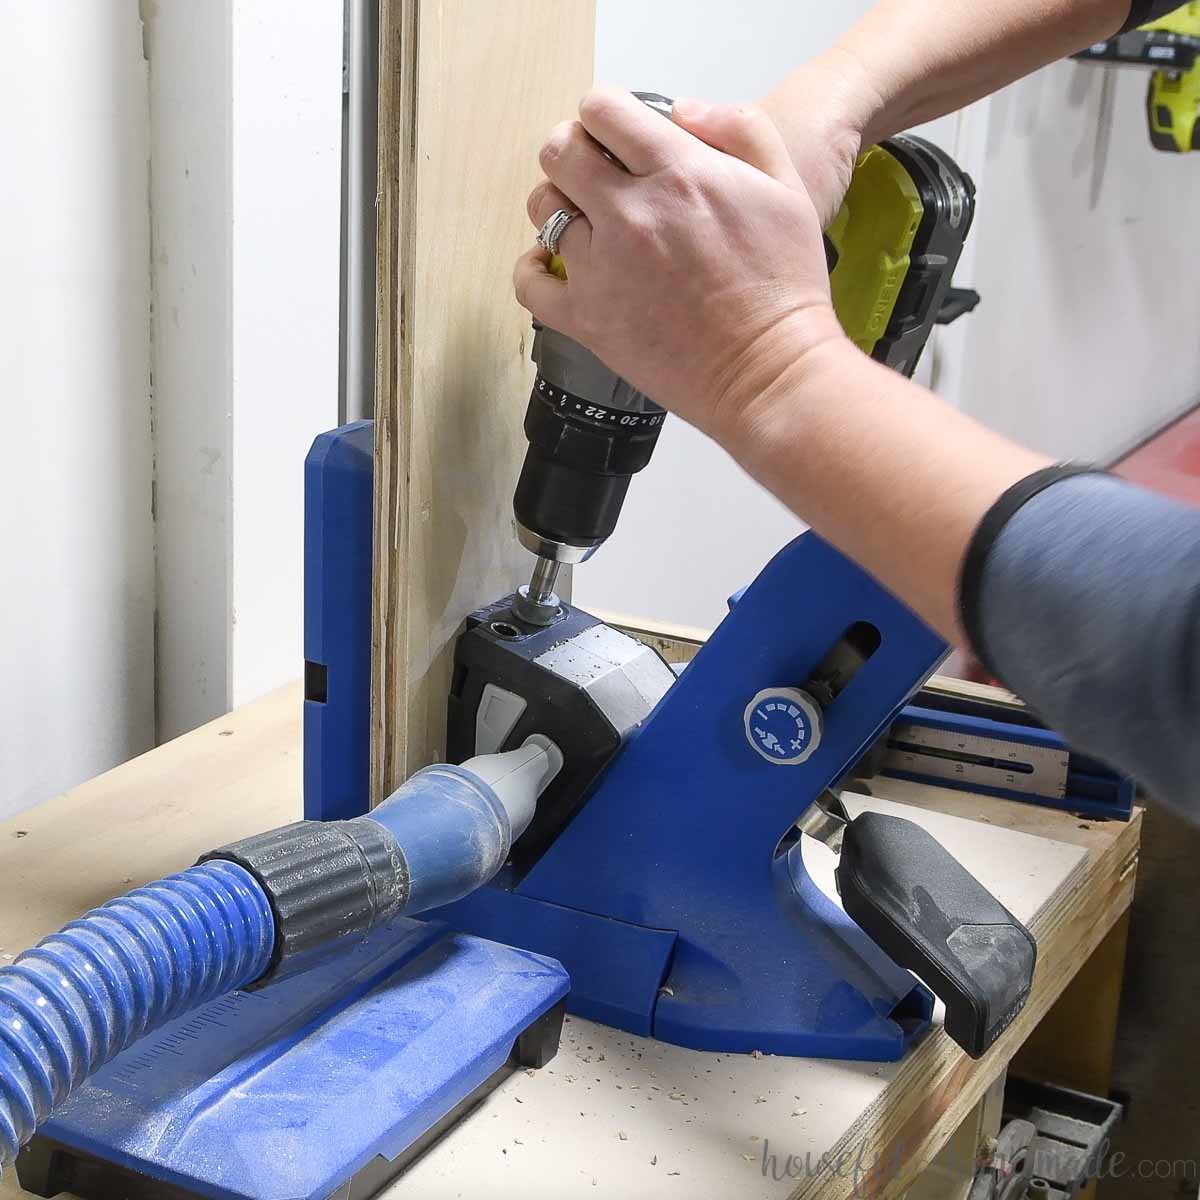
Attach the trimmed cleat pieces to the wall where you want the pegboard cabinet to go. Make sure the short side is up against the wall and the angle is facing up.
Secure it to the wall into studs with the 2 ½” pocket hole screws. Use the Kreg Quick flip tool to countersink the screws into the cleat.
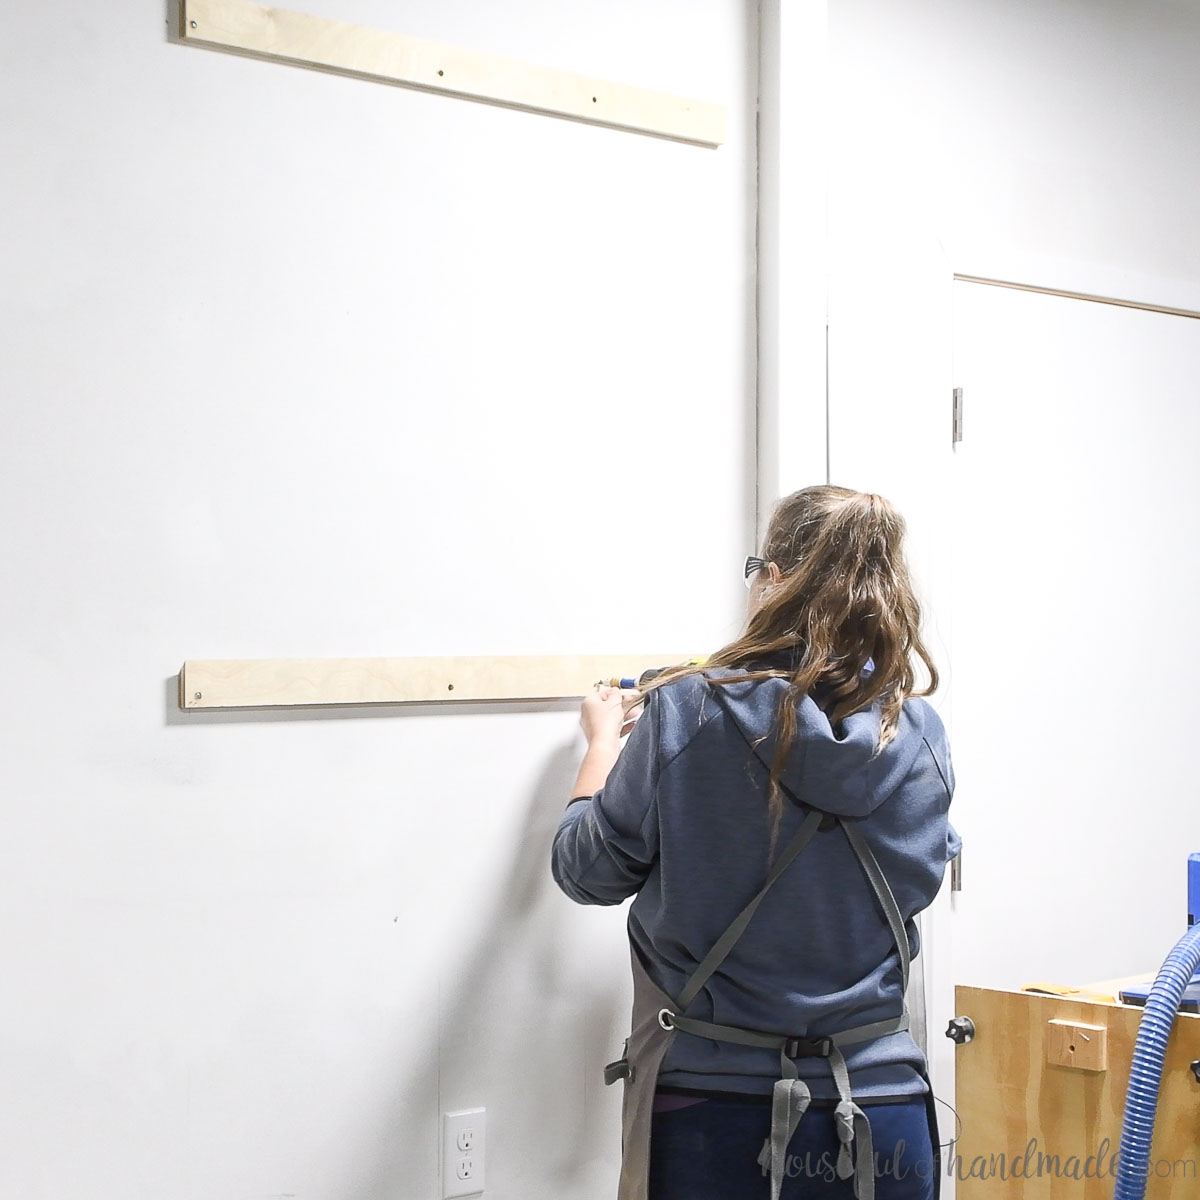
Then lift the cabinet onto the cleat pieces and the two cleats pieces should slide together locking the cabinet into place on the wall.
So easy to hang, I was able to do it all by myself thanks to the french cleat!
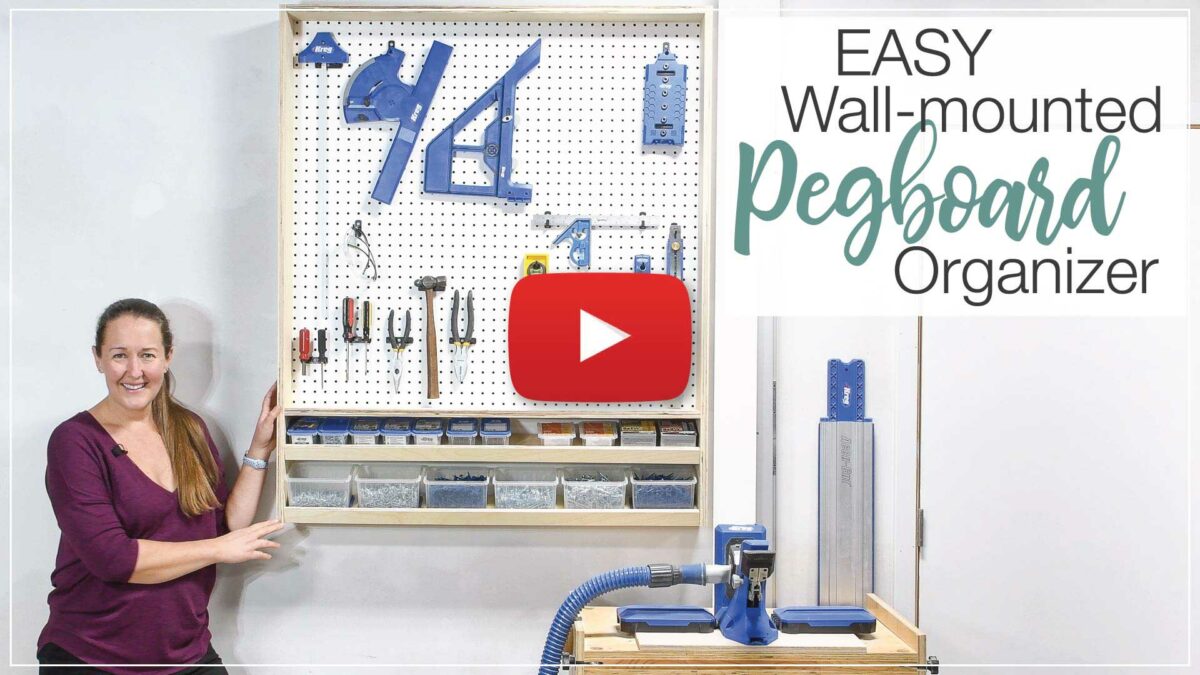
Prefer to watch? Check out the full build video below:
And now the fun part… organizing all the tools on your new pegboard wall!
Gather up all the tools you want stored on the wall and play around with the location.
EXPERT TIP:
Hang the most used tools toward the bottom where they are easiest to grab. Hang less frequently used tools toward the top.
I am so excited to work on another project now that I have things much better organized!
Happy building & organizing!

Thank you to Kreg Tool for sponsoring this post. I only recommend products that I use and love and all opinions are 100% my own. Click here to read my full disclosure policy.