


Get more storage space in your pantry by removing shelves and adding pantry drawers.
Pantry cabinets are great for storing a lot in the kitchen. But trying to find items in the back of the shelves can be a pain.
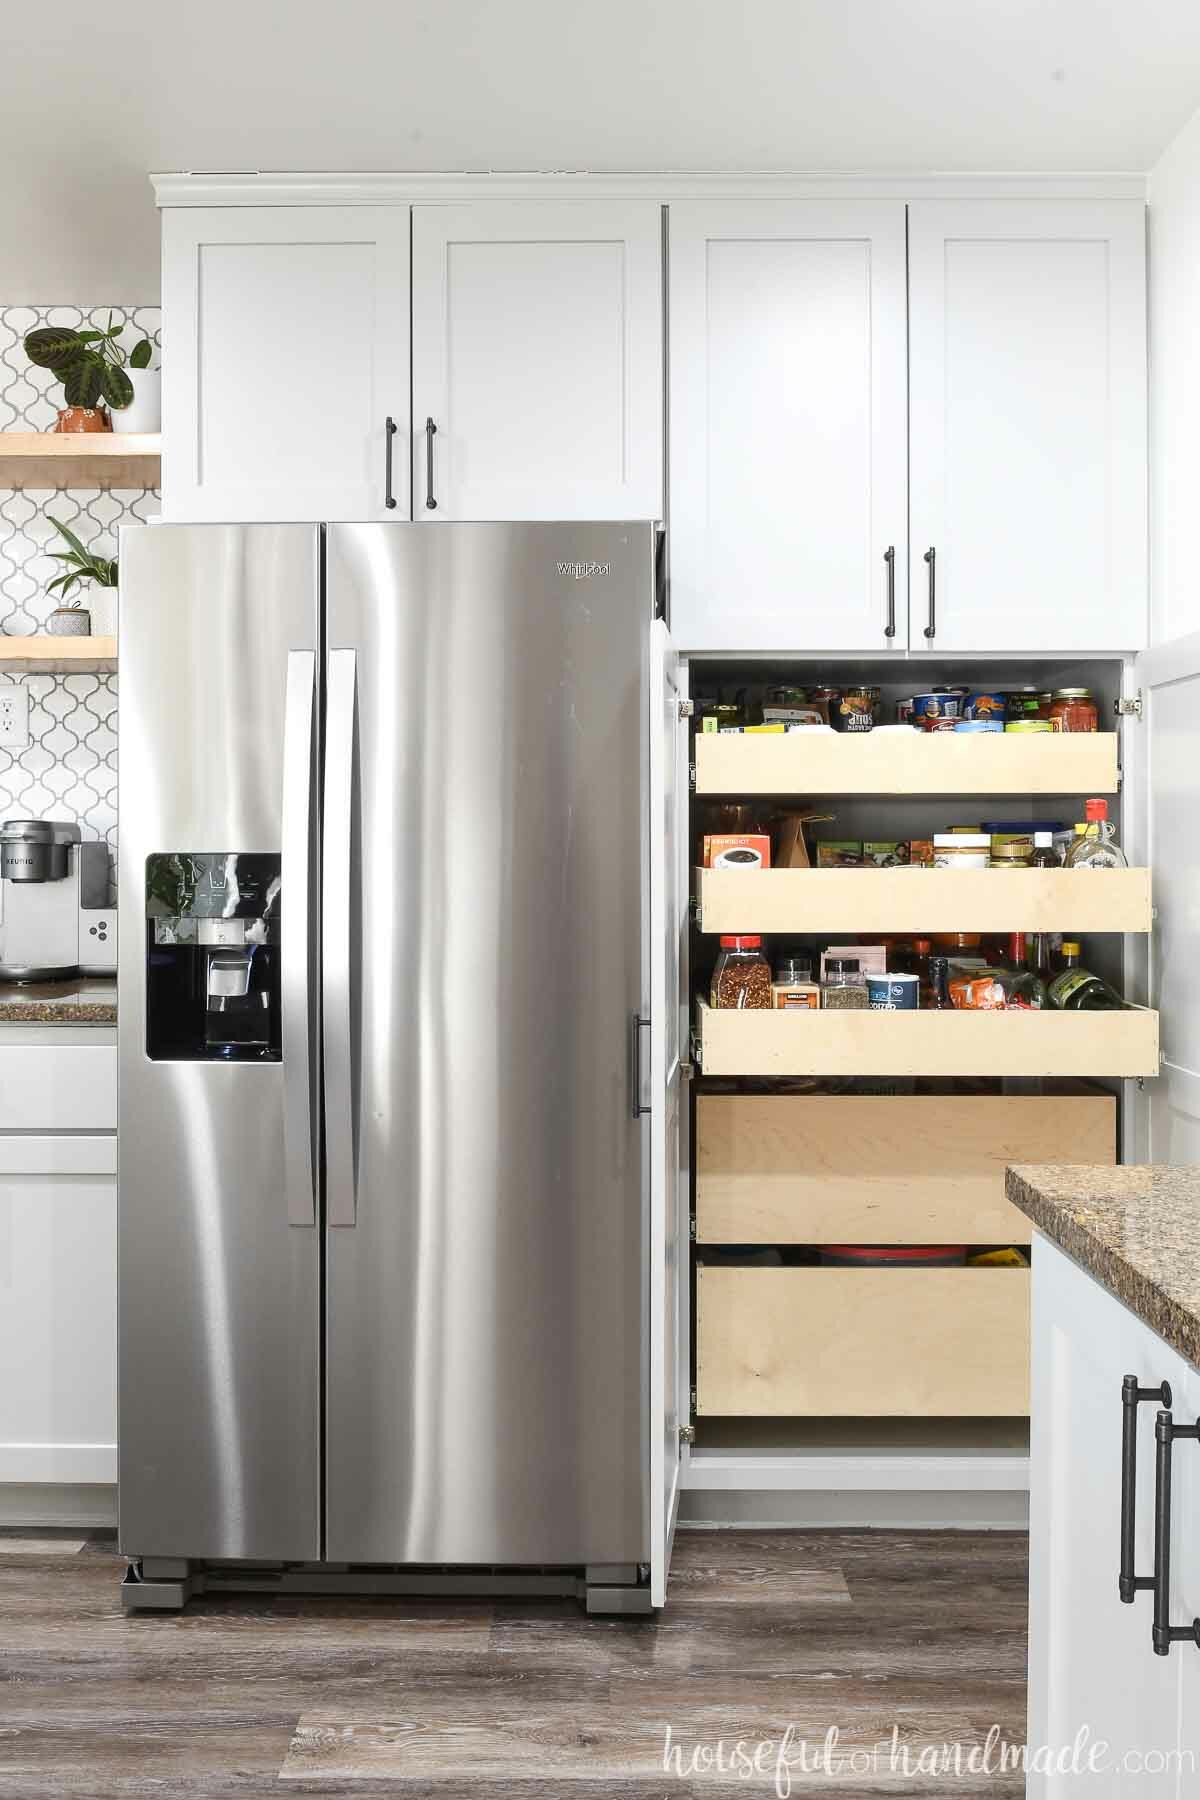
But if you transform your pantry shelves into pull out drawers for the pantry, you will be able to easily access all the storage space.
It will double the amount of usable storage space in your kitchen! And it is an easy DIY you can finish in a weekend.
This post may contain affiliate links. As an Amazon Associate I earn from qualifying purchases. Click here to read my full disclosure policy.
Easy Pantry Drawers
Whether you have a pantry cabinet already or are building your own kitchen cabinets, you can add pull out pantry drawers to them.
You can create pantry drawers any depth that you want.
I like to make upper drawers shallow (3-4″) so they act more like a shelf. But the short sides on the shelves keep things from falling off when you open them.
For lower drawers, I like to build deep drawers (around 10″). These pantry drawers are great for storing things that come in bags.
How many drawers you add to your pantry should be determined by what items you want to store in it.
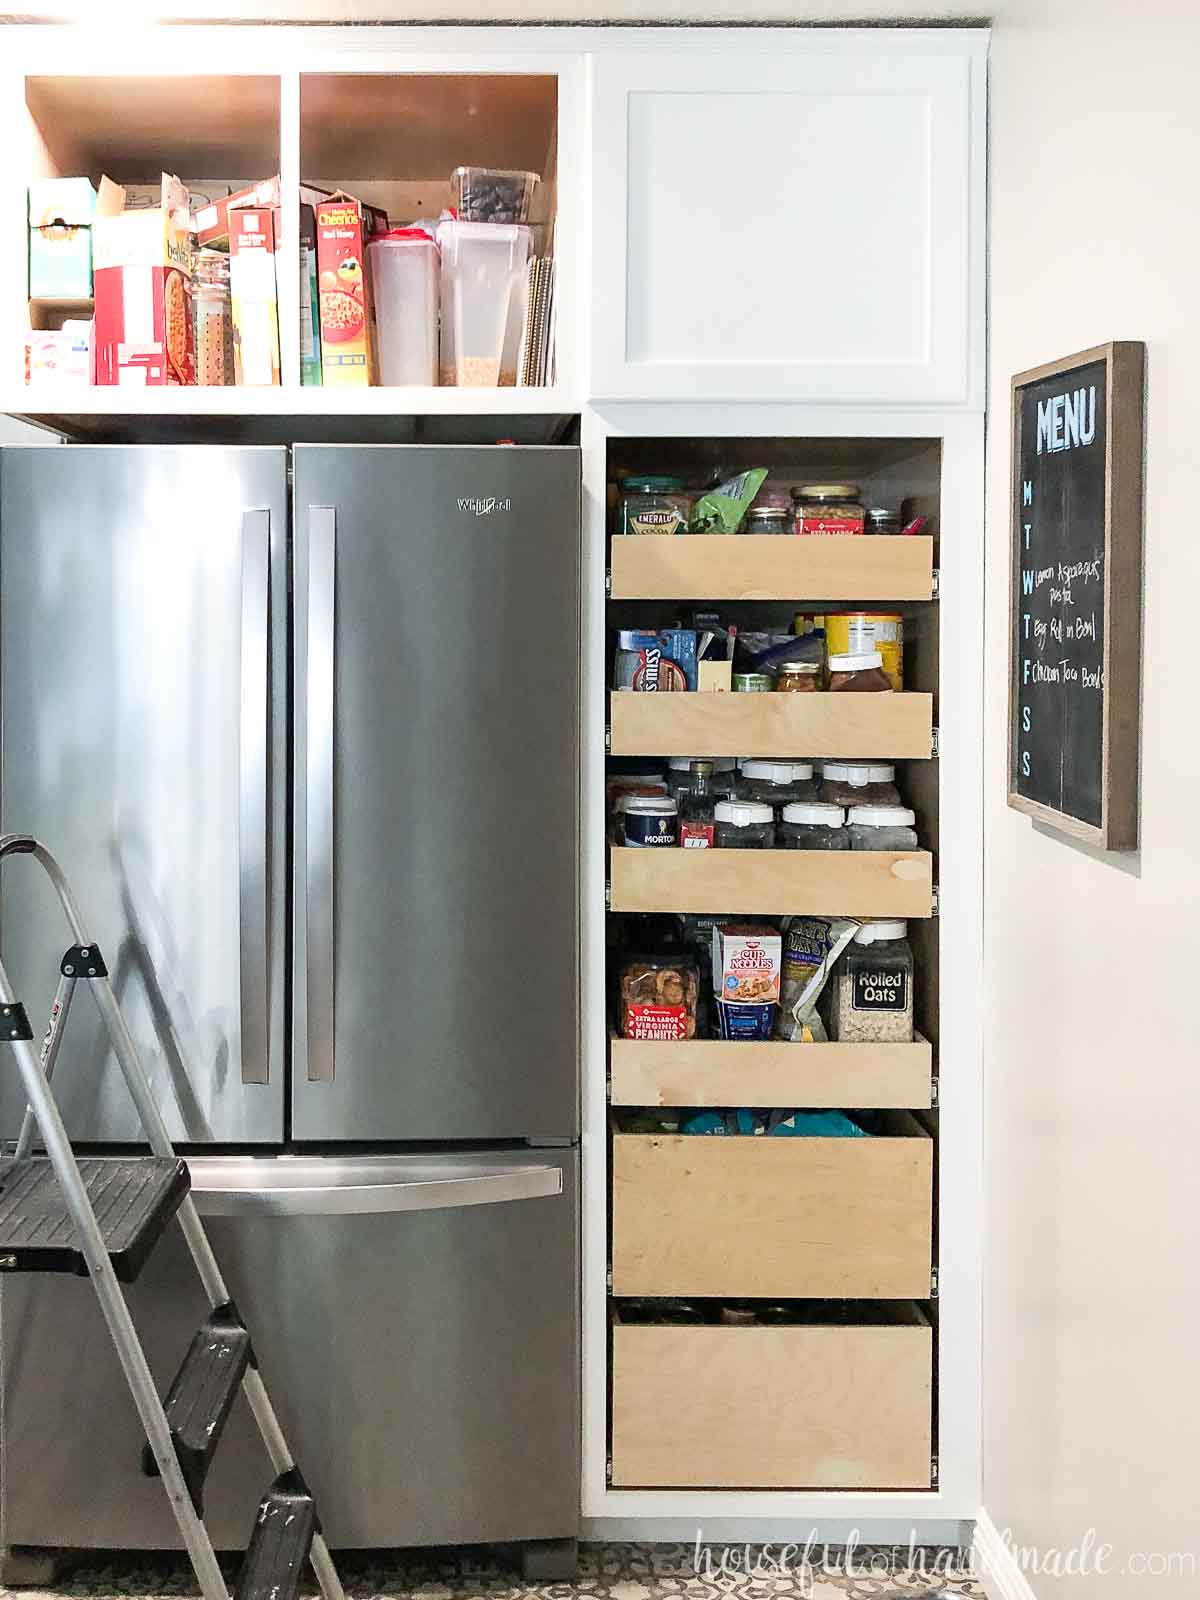
If you have taller items (like cereal boxes) you will need to make sure at least one drawer has enough space to accomodate them.
So take some time to plan out what you want where in your pantry when deciding how many drawers and their spacing.
Unfortunately drawers are not adjustable like typical kitchen shelves.
Also, you will need to make sure the drawers and drawer slides are not in the way of the door hinges. Position the drawers so they will not hit the hinges when opening.
Converting Pantry Shelves to Drawers
If you already have a pantry that you want to maximize the storage in, you can transform it by removing the shelves and adding pantry drawers.
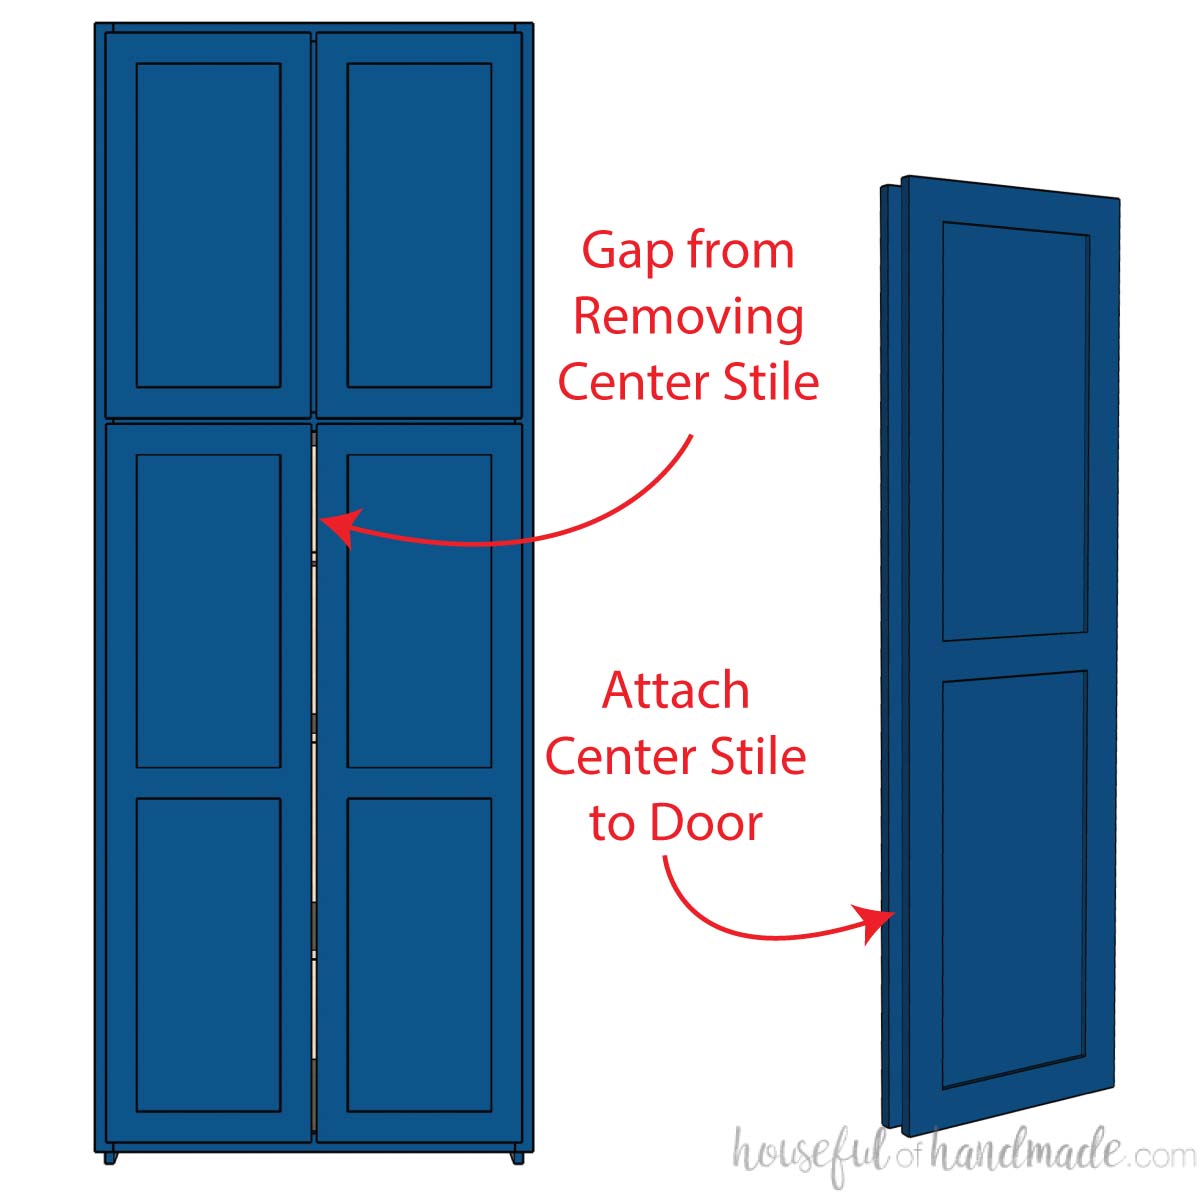
When looking to convert an existing pantry into drawers, if it has a center stile (a piece of wood down the center of the face frame) you will need to remove it.
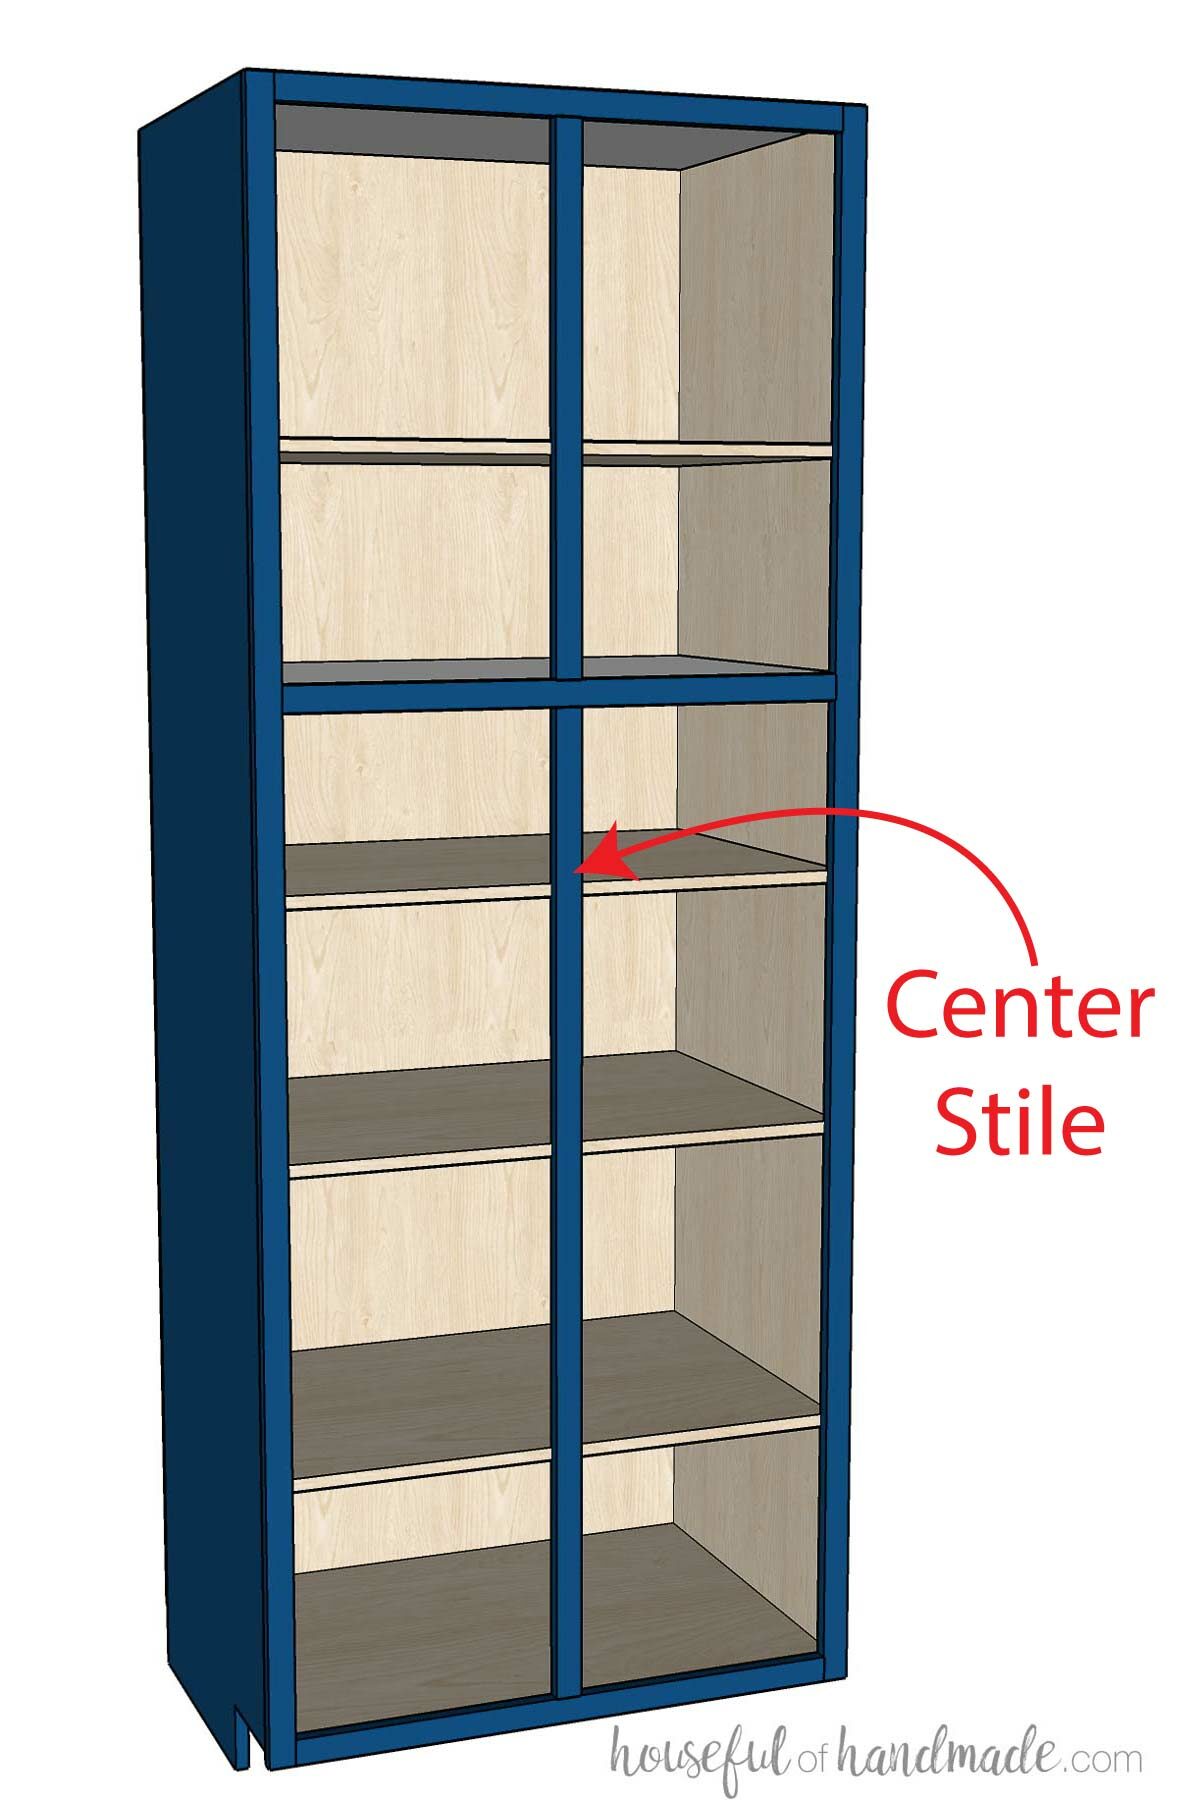
Remove all the shelves from the pantry and get into the cabinet. Then you can look to see if the stile is attached with pocket holes.
If so, it is easy to remove the screws in the pocket holes and remove the board.
If not, you can use a hand saw or reciprocating saw to cut the wood and screws holding it together.
Sand and fill in any holes. If you are repainting your cabinets, the holes will disappear. If you are not, don’t worry too much. They will not be too noticeable, and the storage you gain will be worth it.
Cabinets with a center stile have 2 doors on them. If you have a large gap between the two doors, you can attach the stile you removed to the back of one drawer.
That way when both drawers are closed, it will look like you have a center board still. But it will move out of the way so you can pull out the drawers in your pantry.
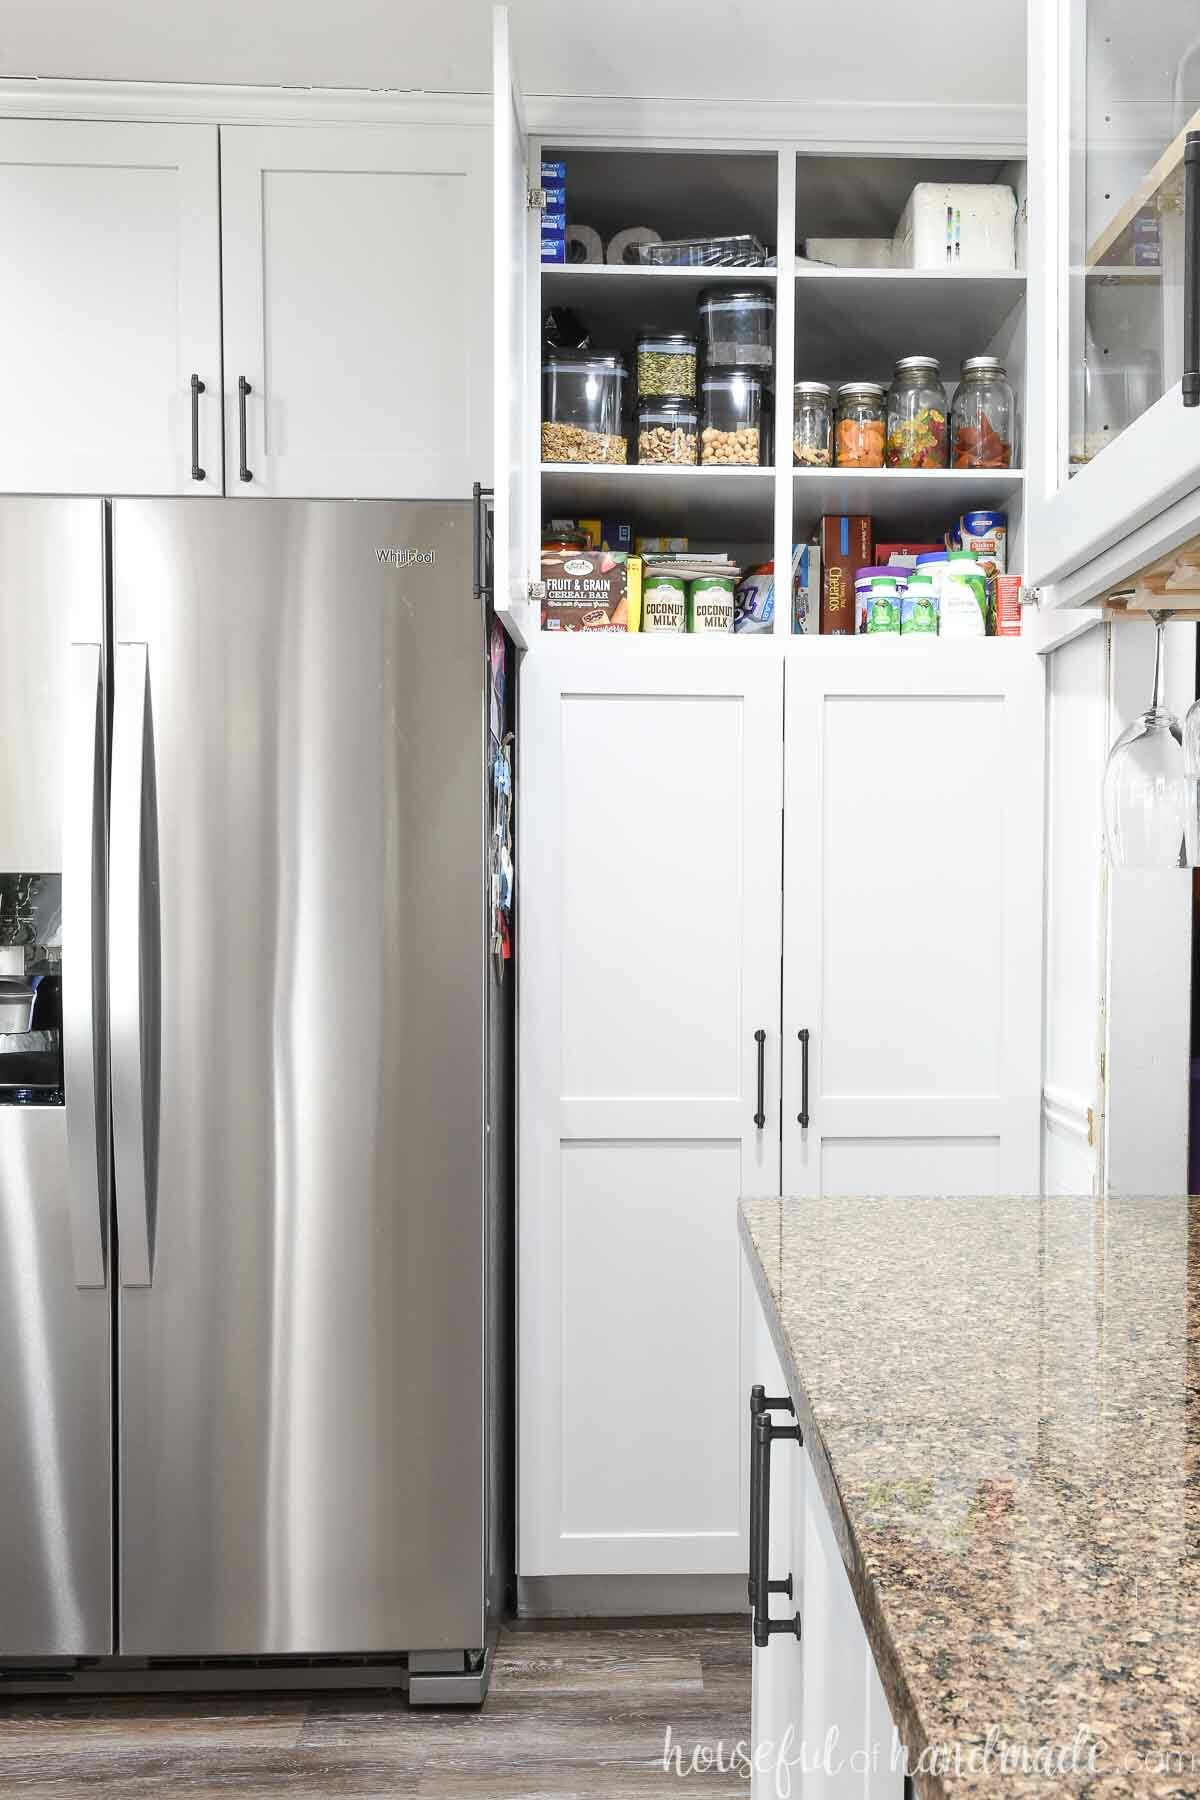
You can leave the center stile on the upper pantry cabinet. I do not recommend putting drawers in it since it is above eyesight.
Use the shelves in the top part of the pantry for larger items or add bins that can be pulled out to maximize the storage.
How to Make a Pantry with Drawers
Tools needed:
- Miter saw
- I recently upgraded to this larger sliding miter saw (watch for it to go on sale), but all my projects before were built with this inexpensive miter saw that I loved.
- Circular saw with guide track or table saw
- Drill
- Impact driver (optional, but I love not having to switch bits with the drill)
- Finish nailer
- Pneumatic stapler or pocket hole jig
- Use what you have to build drawers one of these 3 easy ways.
Supplies:
- Wood products
- 1/2″ birch plywood for drawers
- Scraps of wood for blocking next to drawer slides
- Drawer slides
- Roo glue
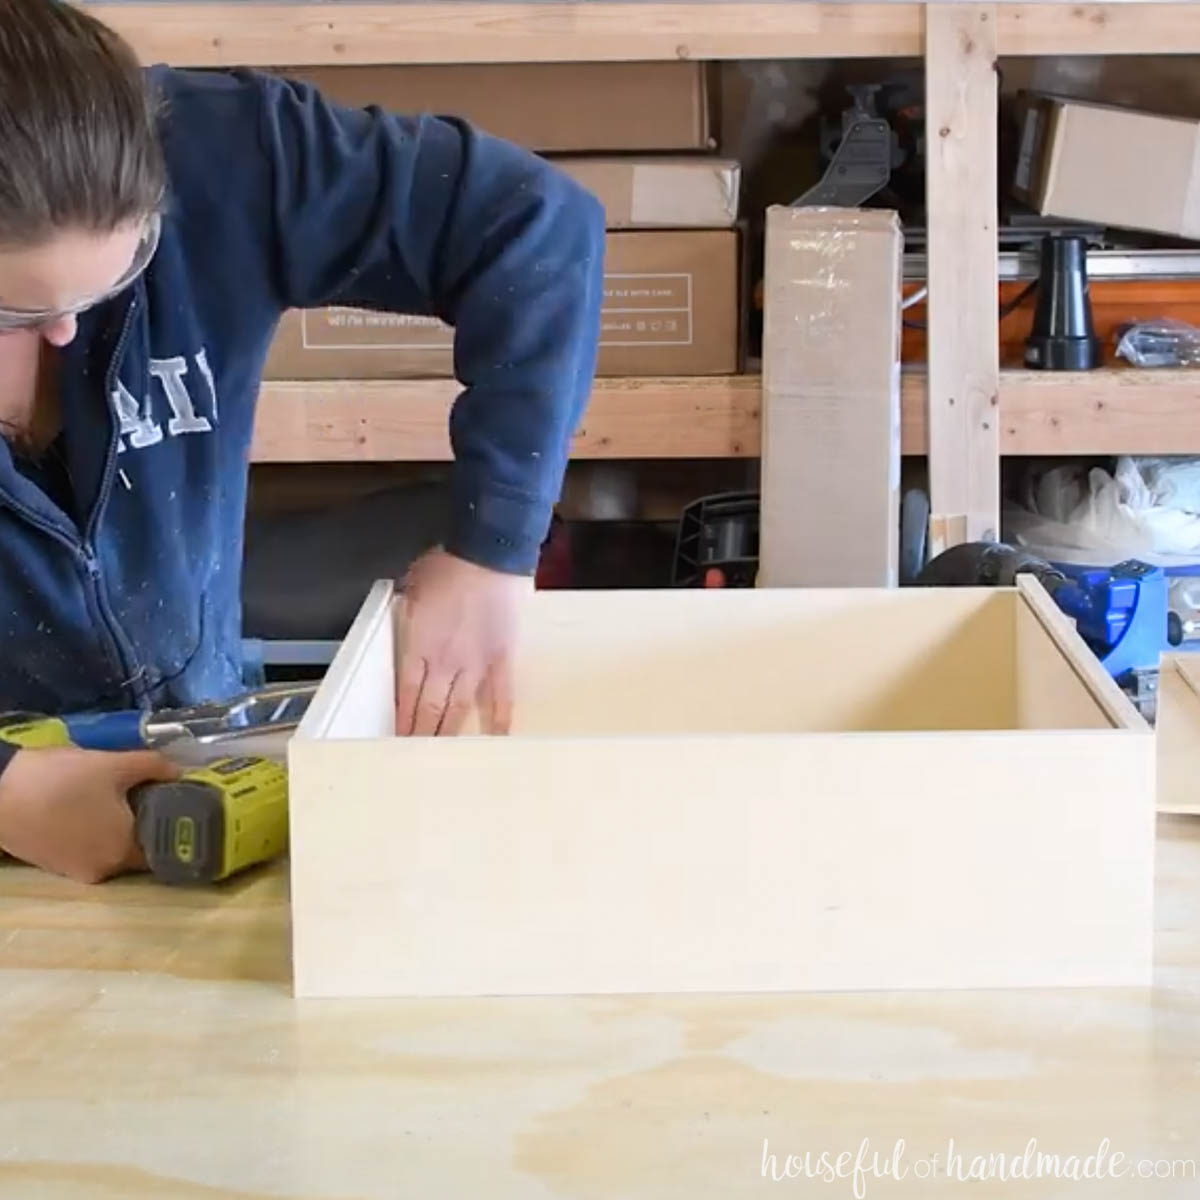
STEP 1- Build the drawers
You can build your drawers anyway you want. For my pantry drawers, I built the fast DIY drawers in this post with 3 ways to build drawers.
To determine the size you need to build your drawers, measure the pantry width between your face frame. If you have frameless cabinets, just measure between the cabinet sides.
Then look at the directions for the drawer slides you want to use to see how much space is needed on each side of the drawer.
I recommend using ball bearing drawer slides. They typically require 1/2″ of space on each side of the drawer so I build my drawers 1″ smaller than the frame of the cabinet.
The depth of your drawers should be the depth of your drawer slides. For a standard 24″ cabinet, I suggest 22″ drawer slides with 22″ deep drawers.
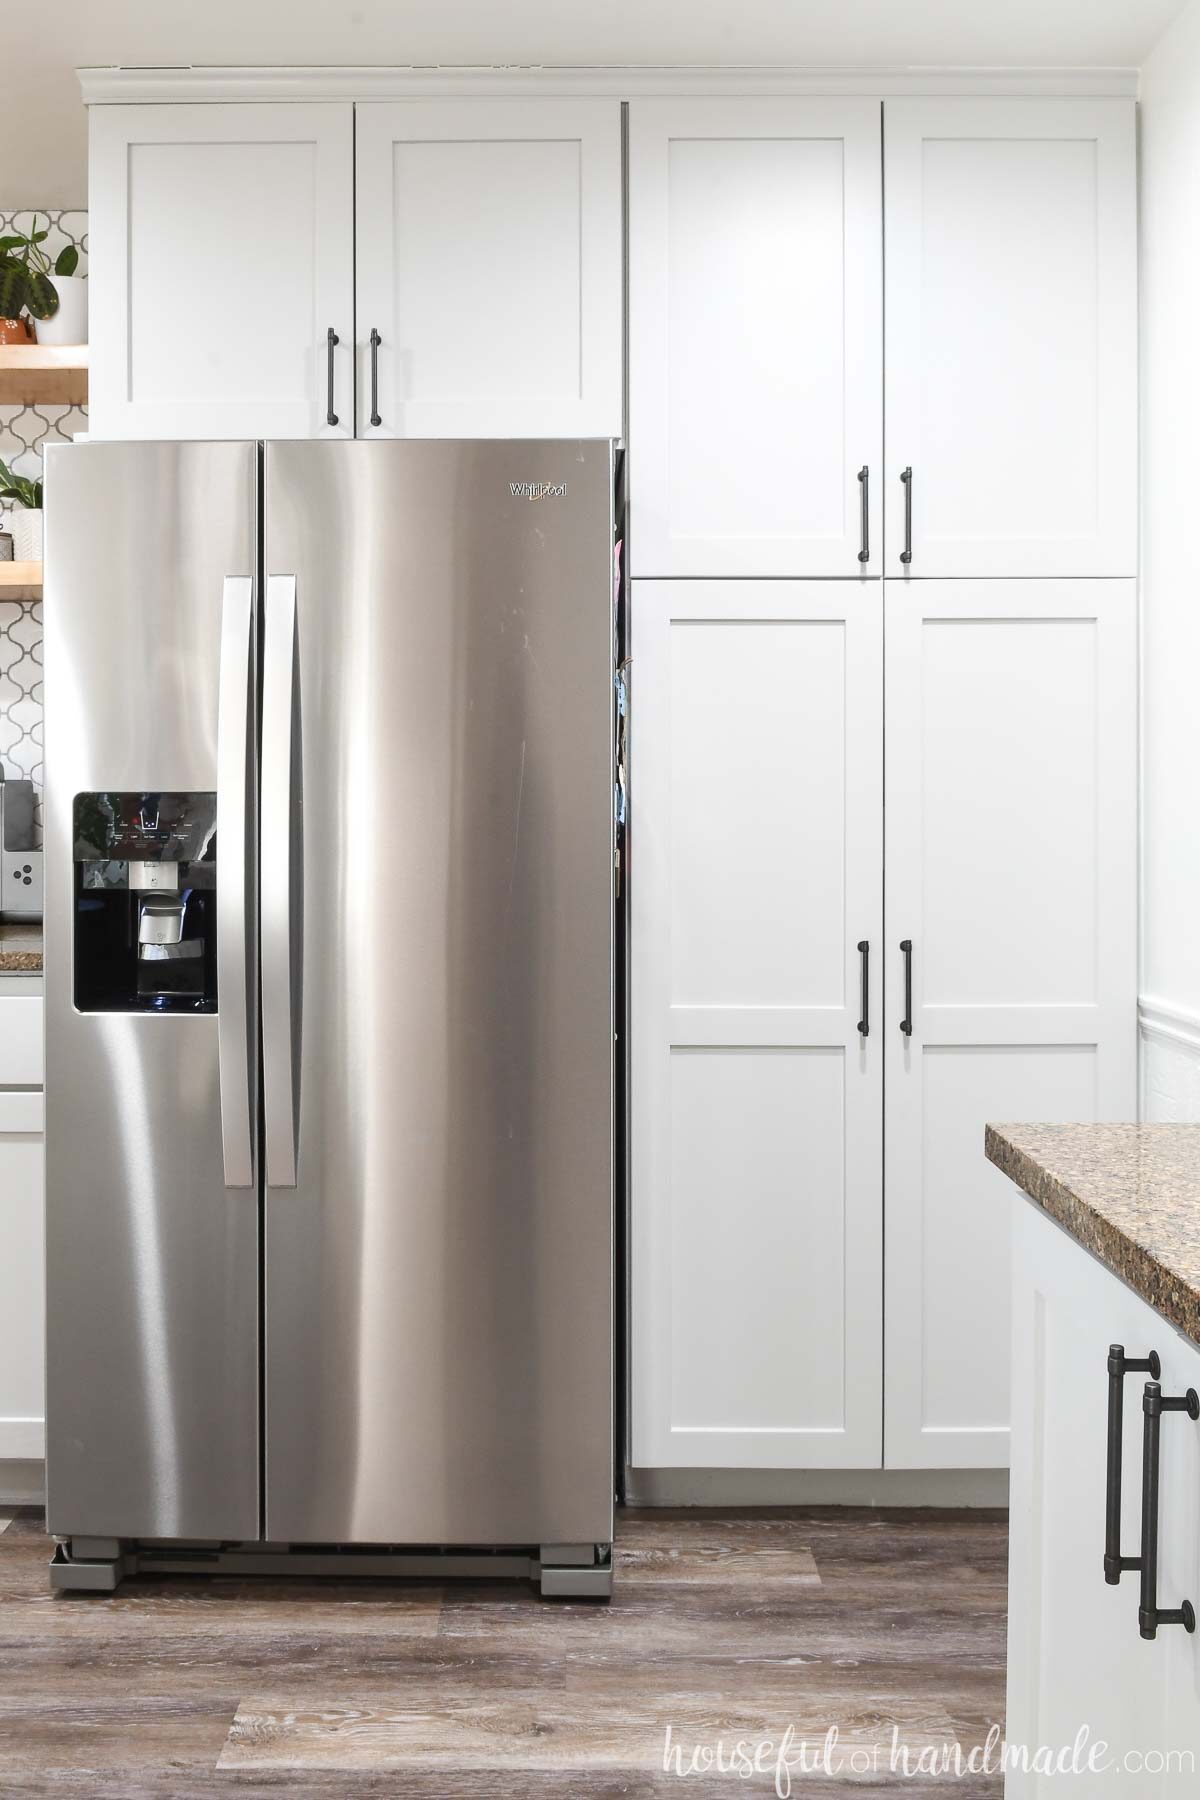
For our blue & white kitchen remodel, I built the pantry 30″ deep to fill the space next to our fridge and used 28″ drawer slides.
Once you have determined what size your drawers need to be, refer to how to build DIY drawers for cut lists and build instructions.
STEP 2- Prep the cabinet
Remove the center stile from your pantry cabinet if you have one.
For frameless cabinets, you can just attach the drawer slides to the sides of the cabinet.
For face frame cabinets, you will need to add blocking to the sides of the cabinets where you are installing the drawer slides to make them flush with the face frame.
Measure the depth of the inside of the face frame. Rip scraps of boards to that width. They only need to be 3/4″ thick but should be about as long as the cabinet is deep.
You will need one of blocking pieces to go behind every drawer slide (2 per drawer). Or you can use rear drawer slide clips, but they are plastic and did not have great reviews so I have never tried.
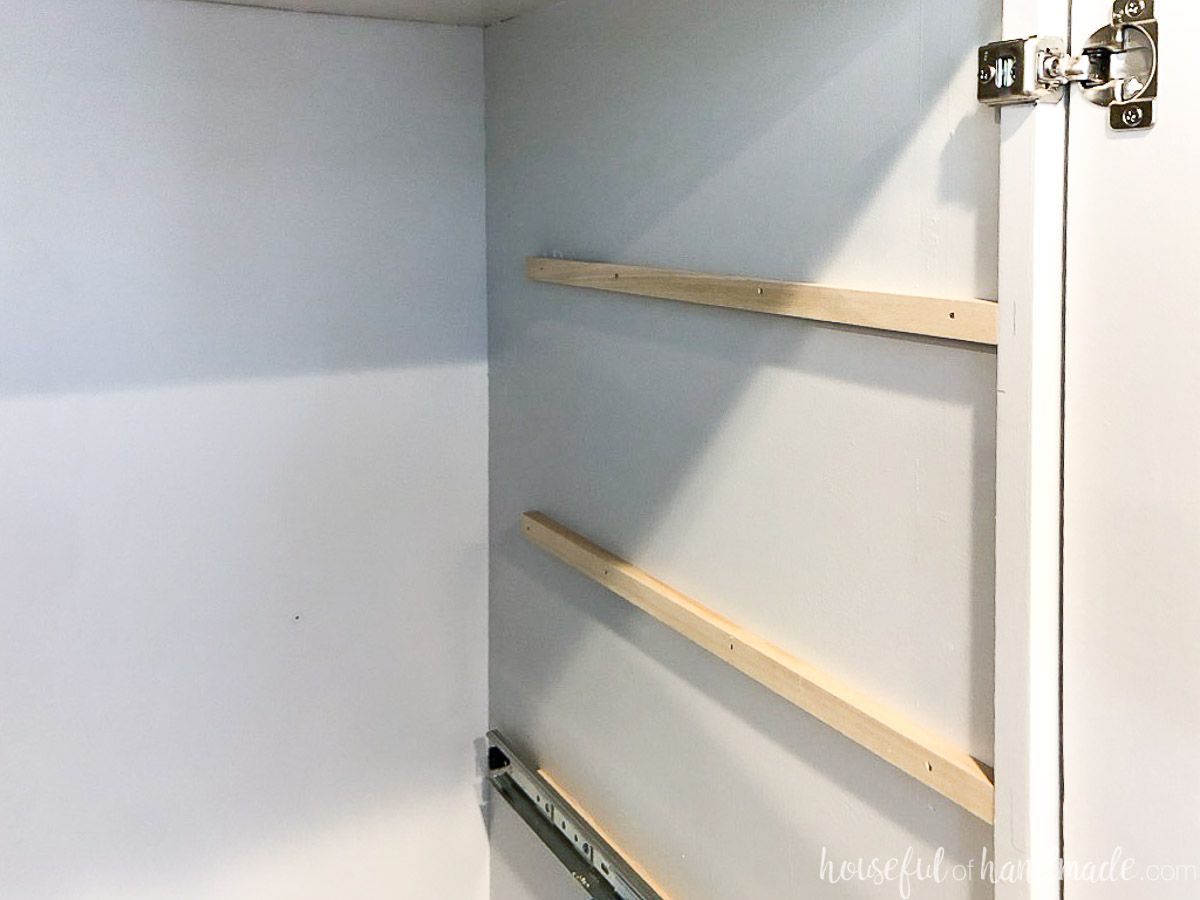
Attach the blocking to the inside of the cabinet with glue and a couple finishing nails to hold them in place.
You cannot use wood glue on finished cabinets because it will not stick. I use Roo glue made to adhere melamine and it has worked great.
Then secure them with wood screws countersunk into the blocking. The screws should be 1/4″ shallower than the thickness of your blocking plus the thickness of your cabinet wall.
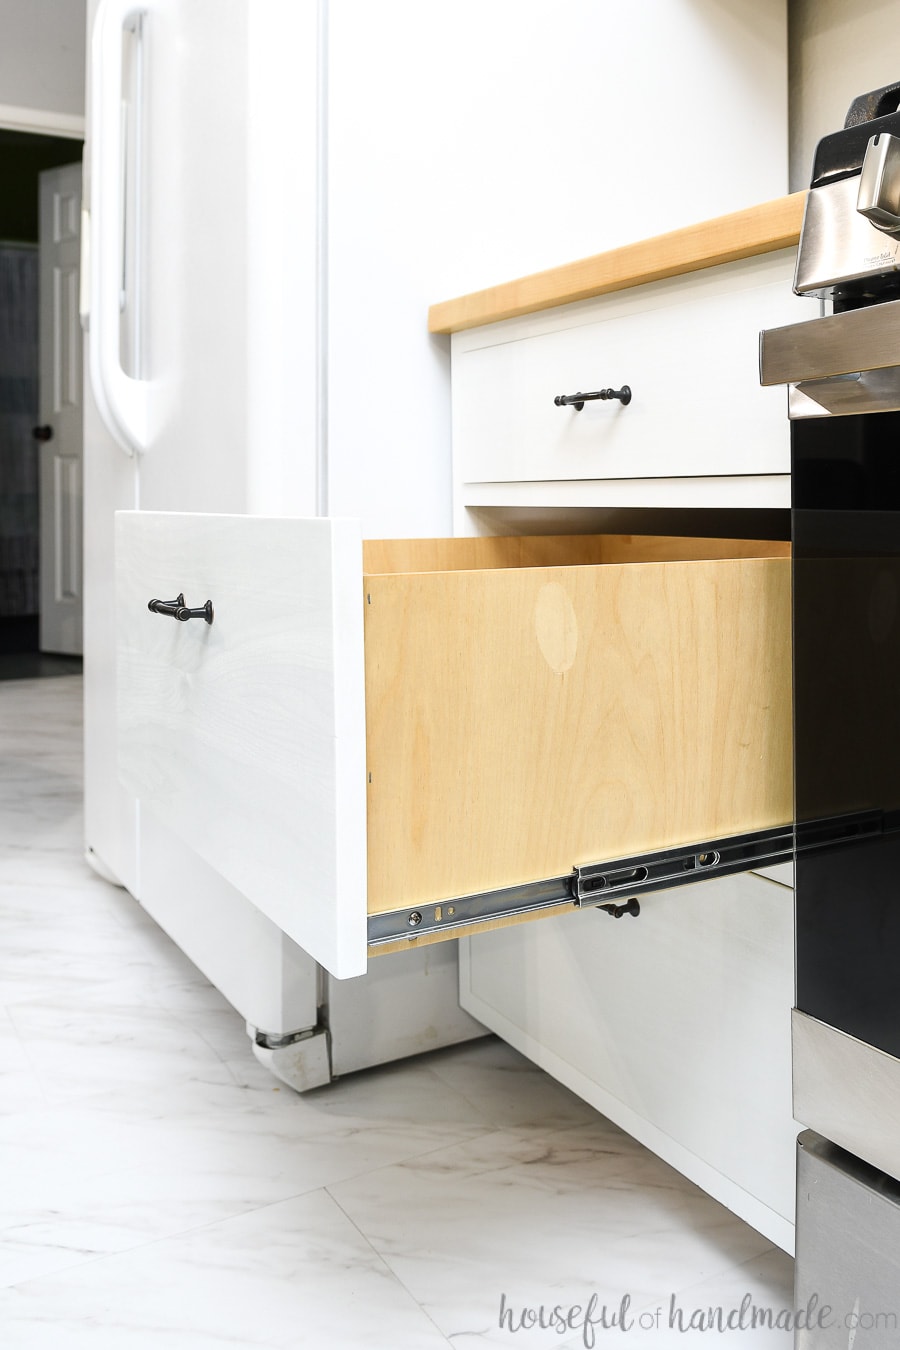
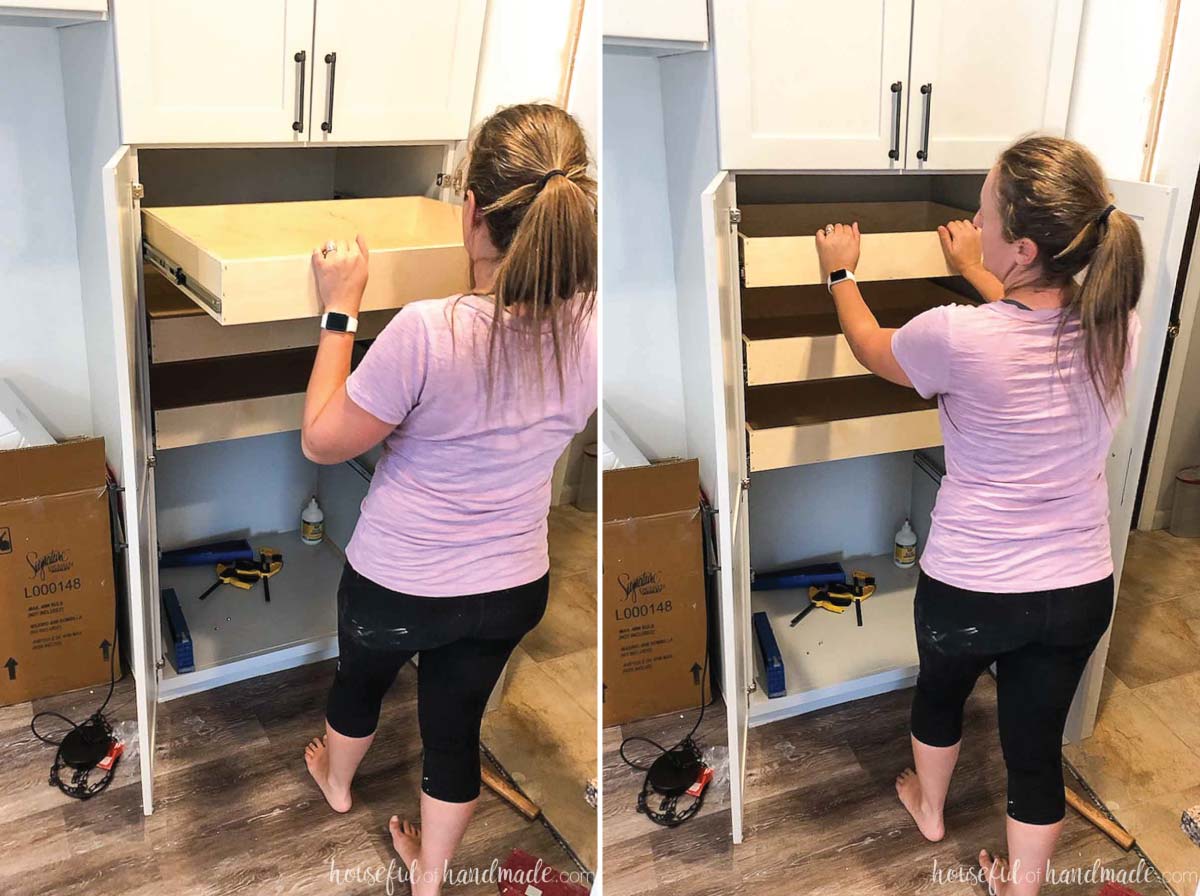
STEP 3- Install the drawers
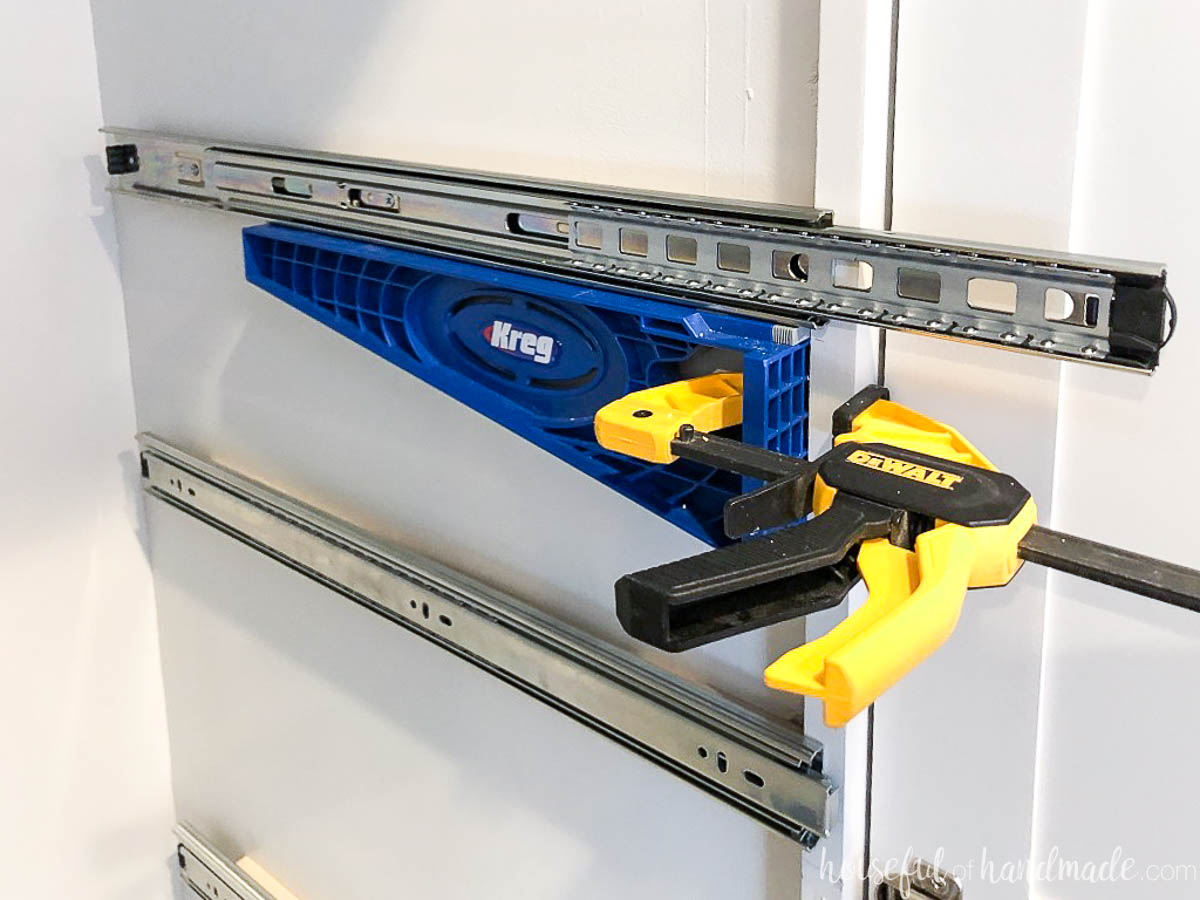
First, you will want to install the part of the drawer slide that goes on the cabinet.
Pull the drawer slide apart by pinching the black lever where the two slides connect.
If you have inset cabinet doors, you will need to install the drawer slides back from the front of the cabinet the depth of the door (typically 3/4″).
For overlay cabinet doors, you can install the drawer slide right up against the front of the cabinet or set it back slightly. I set mine back 1/2″ so that the cabinet doors do not tap against it.
If you attached the center stile to the back of your door to cover the gap, you will need to set your drawer slides back behind the face frame.
Learn more about types of cabinet doors and hinges here.
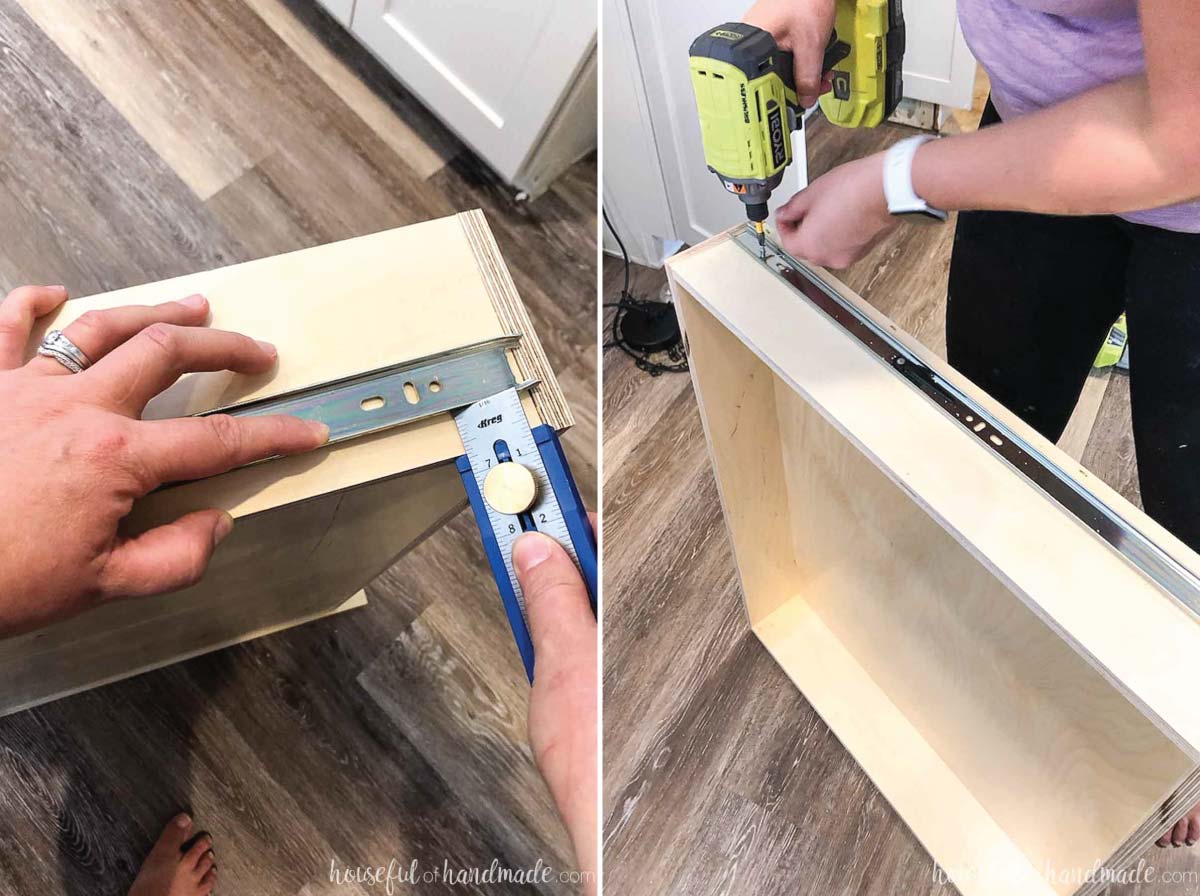
Once the drawer slide is attached to the cabinet, attach the second (smaller) piece to the drawer.
Line the front of the drawer slide piece up with the front of your cabinet.
Learn all my tips and trick for installing drawers with ball-bearing drawer slides here.
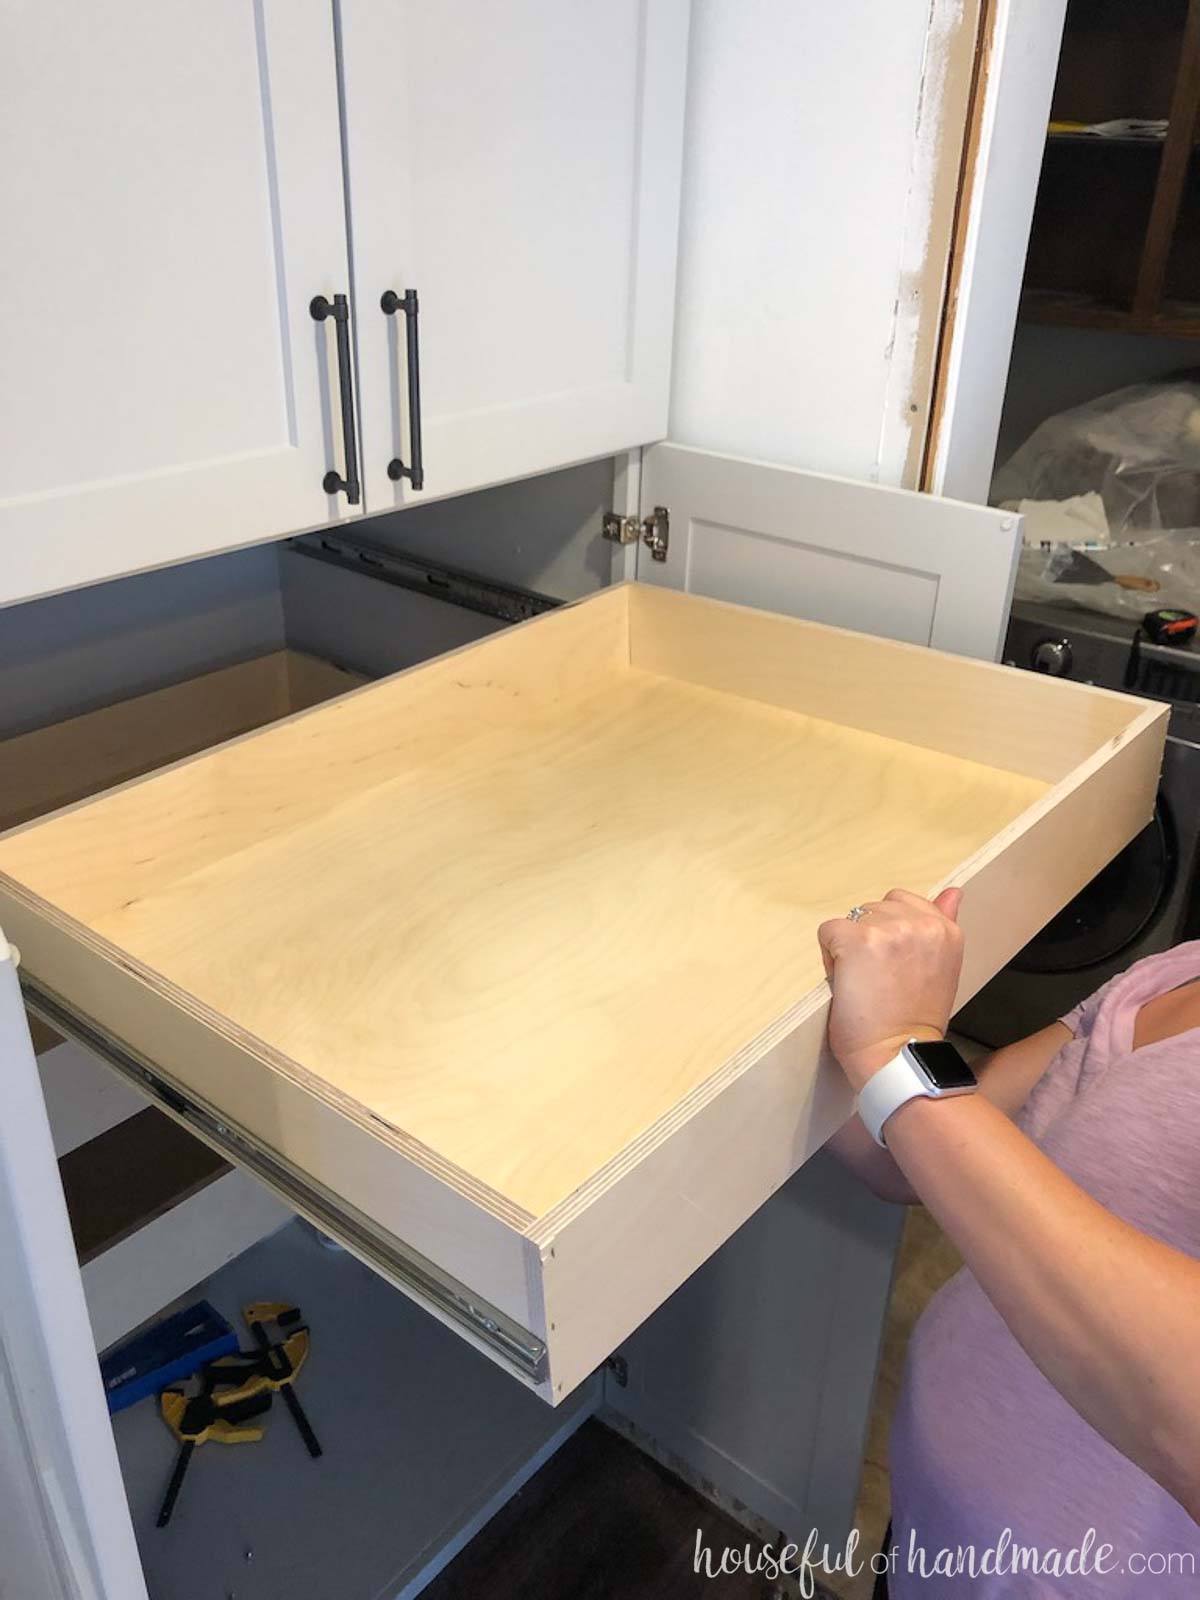
Then all you have to do is set the drawer into the slides so they connect. Then press the drawer closed.
EXPERT TIP:
When you first slide the drawer in after installation, it will feel tight. But the the slides will snap into place once fully closed and the drawer should slide smoothly.
Repeat for the rest of your drawers in you pantry.
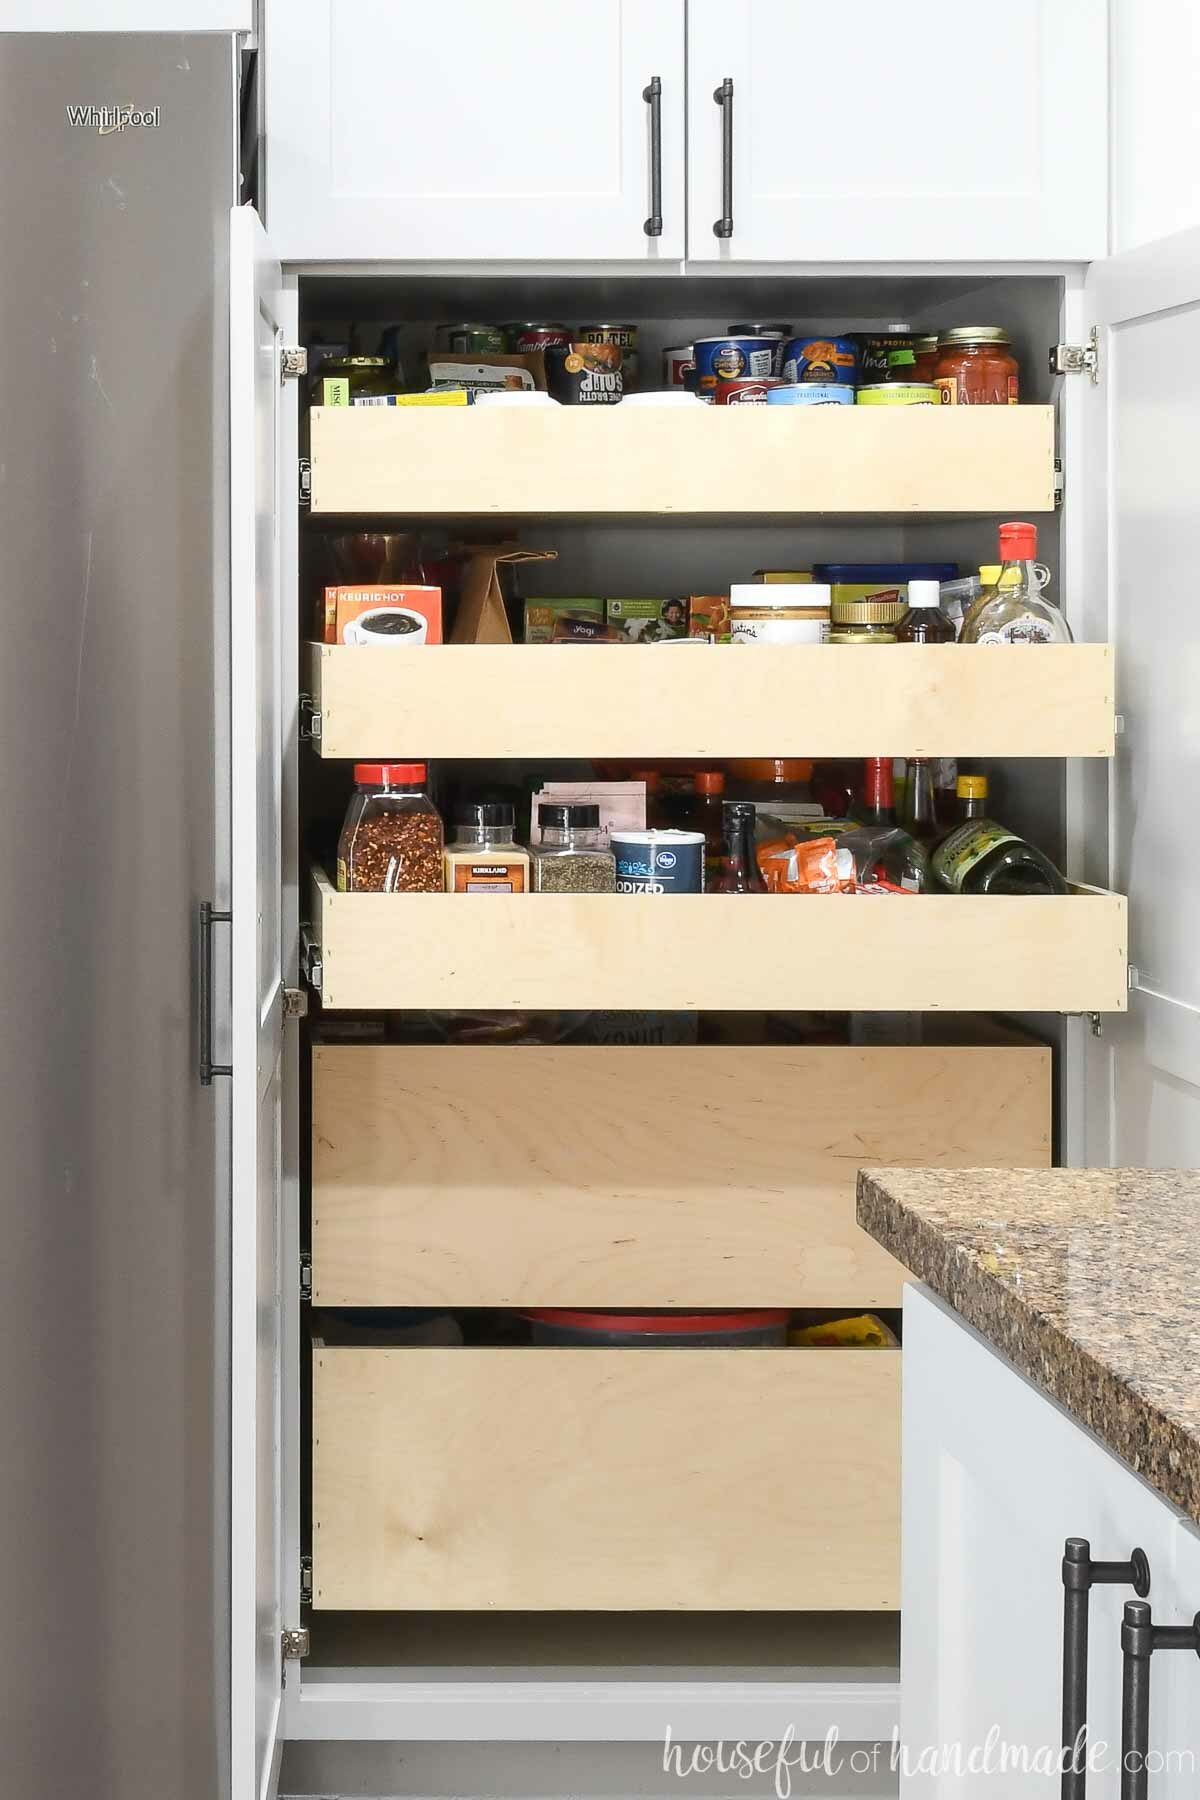
I prefer to put deep drawers on the bottom to make them easier to access the inside. Put shallow drawers toward the top to act as pull out shelves.
Now your new pull out pantry drawers are ready to be loaded up!
You will love being able to pull out the drawers and easily reach everything in the back.
Happy building!
