Why are curtains so expensive? Then once you buy them, you still have to spend a small fortune on curtain rods and curtain rod brackets to hand them.
But I will let you in on a secret…
You can make your own DIY wood curtain rod brackets from small scraps of wood. Then use inexpensive electrical conduit as a curtain rod.
This post may contain affiliate links. As an Amazon Associate I earn from qualifying purchases. Click here to read my full disclosure policy.
You will love how simple they look and how much money you save!
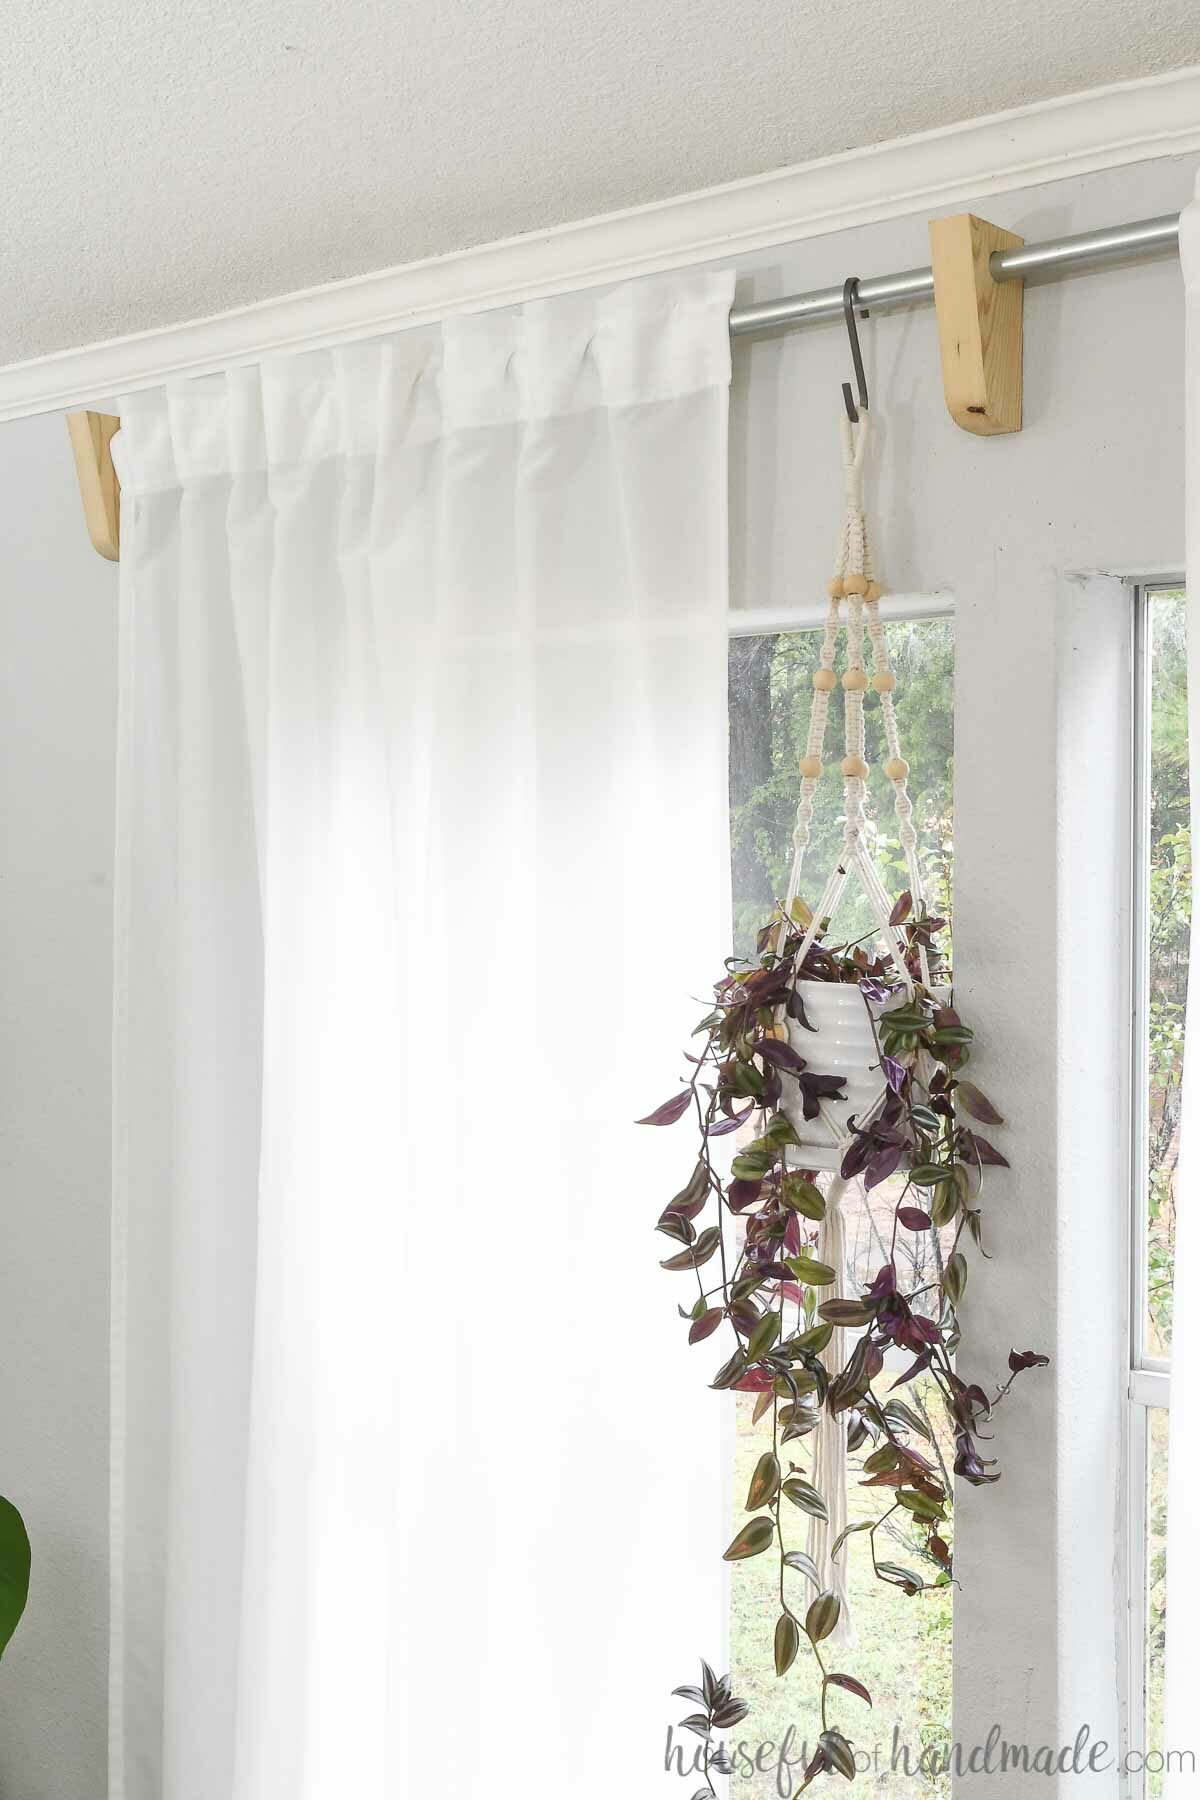
I have been using electrical conduit for curtain rods forever. They are perfect to hold curtains behind a DIY wood valance box.
The galvanized metal give a modern, industrial look to your curtains.
If you do not like the look, you can still use conduit as a curtain rod. Just sand it smooth for a polished look.
Or spray paint them any color you want. Beautiful brass anyone???.
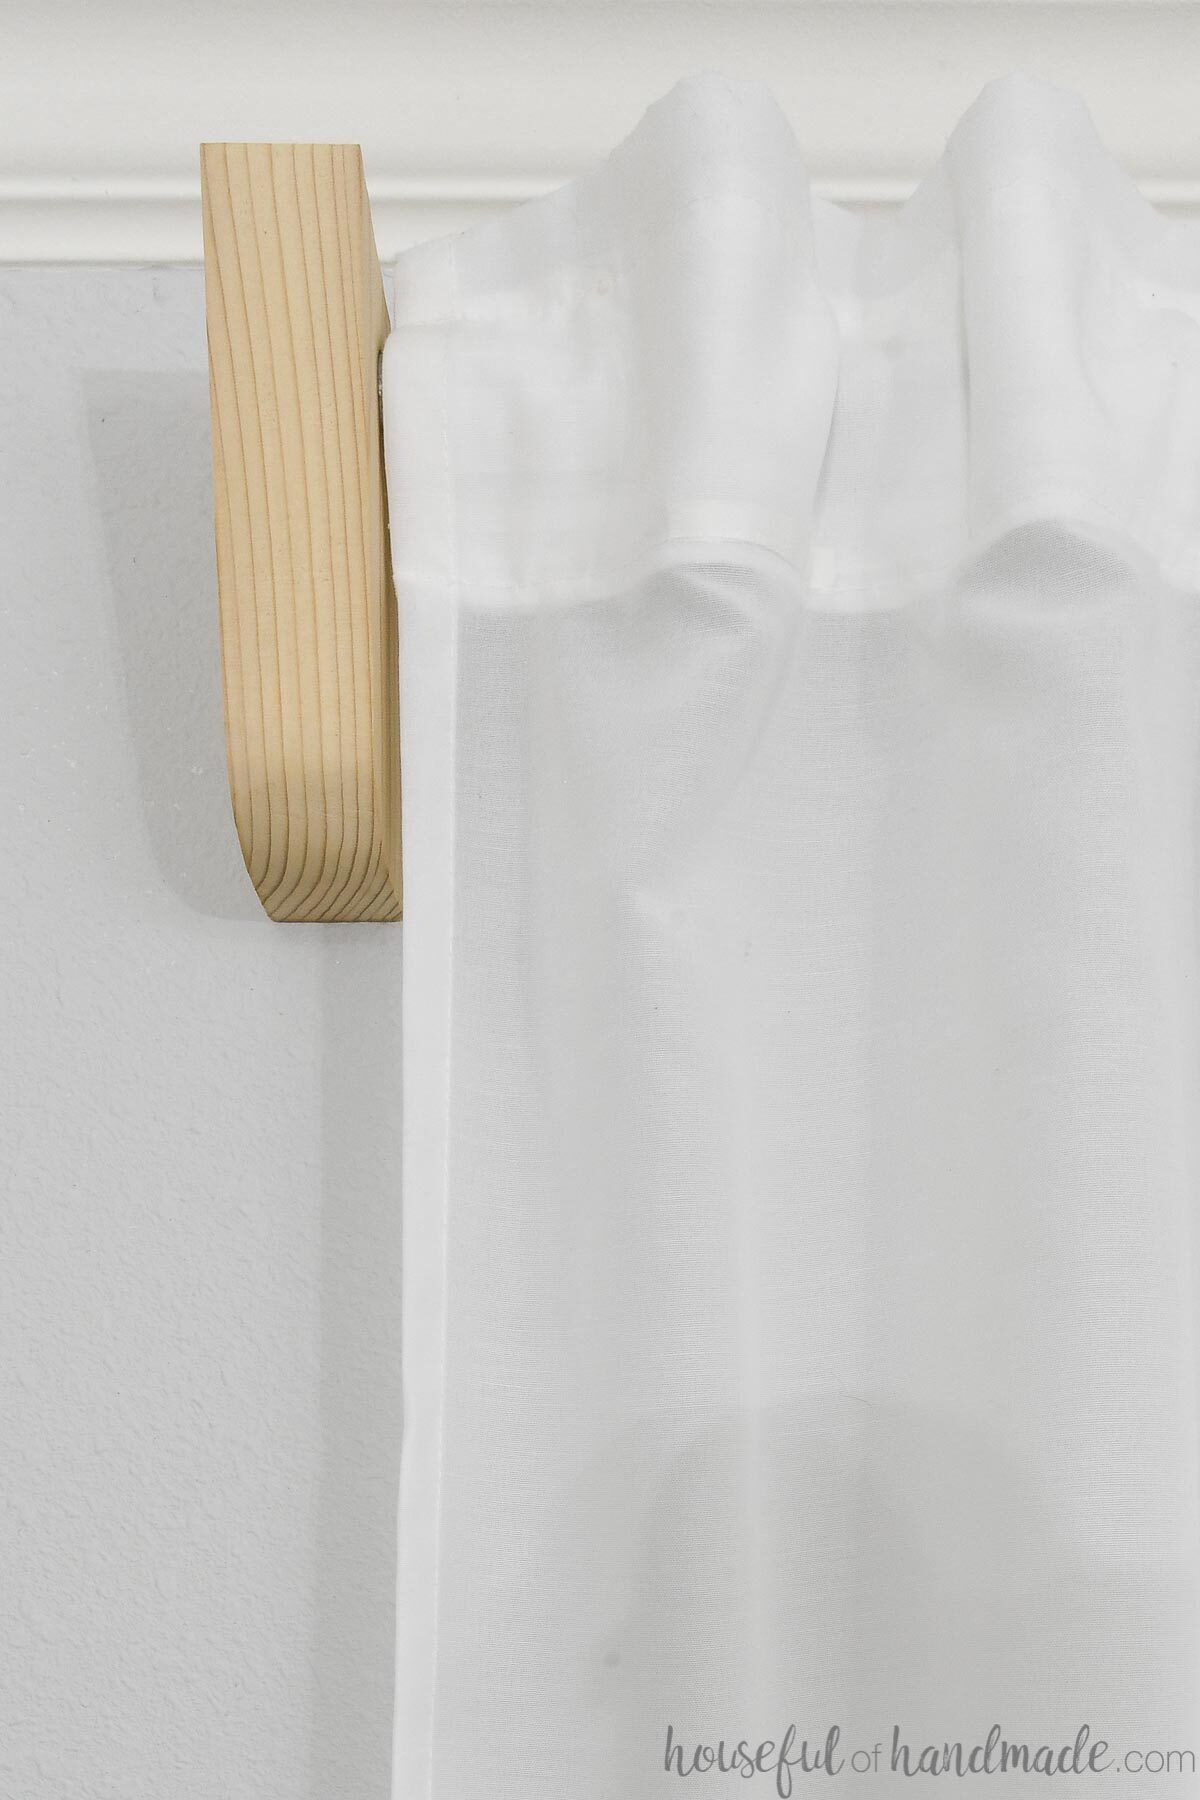
Budget Friendly Curtain Rod Holders
But now that you know what you will use for a curtain rod. What about the curtain rod brackets?
You need a way to hold that rod on the wall.
These simple wood corbels have a hole drilled in them. Then you use them to hold up your curtain rod. So simple, but so pretty.

I love that you can get 2 DIY curtain rod holders from just one 6″ piece of 2×6!
That means you only need a 12″ scrap to get 4 brackets. Or 18″ for 6!
That is a lot of room for hanging curtains for just a few dollars in wood. Or use what you have in your scrap wood pile and make these wood brackets for free like I did.
How to Make Curtain Rod Brackets
Tools & Materials
Recommended Tools:
- Miter saw
- I recently upgraded to this larger sliding miter saw (watch for it to go on sale), but all my projects before were built with this inexpensive miter saw that I loved.
- Bandsaw or jigsaw
- Drill press or drill guide
- Forstner bit
- Sander
- Drill
- Conduit cutter
- Optional: Router
- I used a router with a keyhole bit to add a keyhole to hang the curtain brackets, but you can also use these keyhole hangers that do not need a router.
Supplies:
- Scraps of 2×6 boards
- Stain/paint/sealer
- 3/4″ electrical conduit
- Optional: Self drilling drywall anchors
- Optional: Keyhole hangers (if not using a router)
STEP 1- Cut Pieces
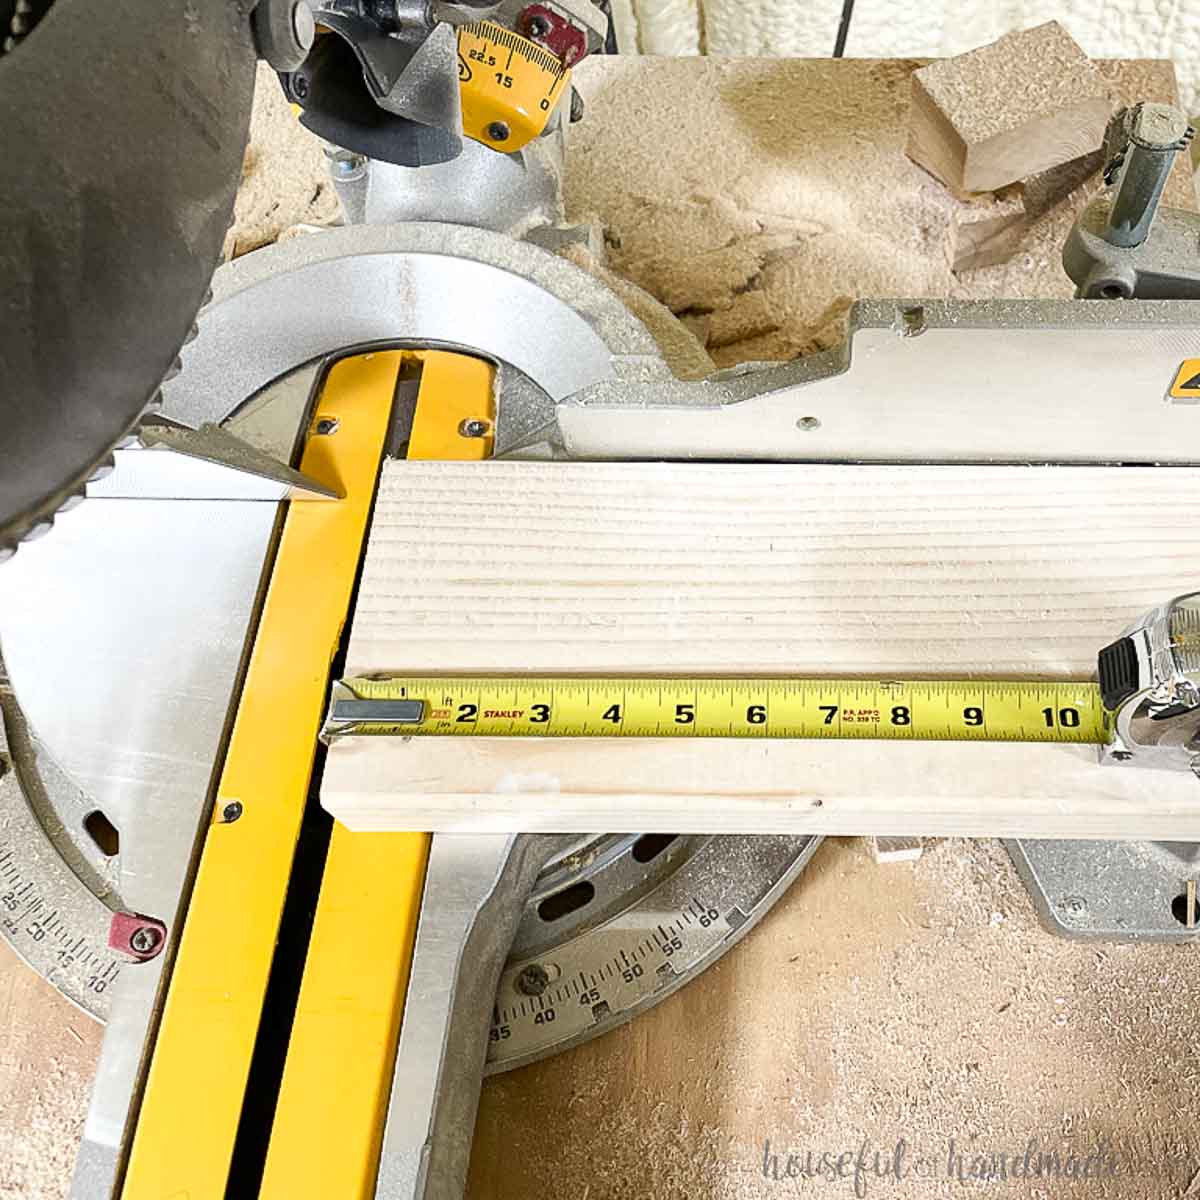
Cut 6″ pieces of 2×6 board. From each 6″ piece you will get 2 curtain rod brackets.
EXPERT TIP:
For curtain rods longer than 4′ or 5′, add a curtain rod bracket in the center as well as on both ends.
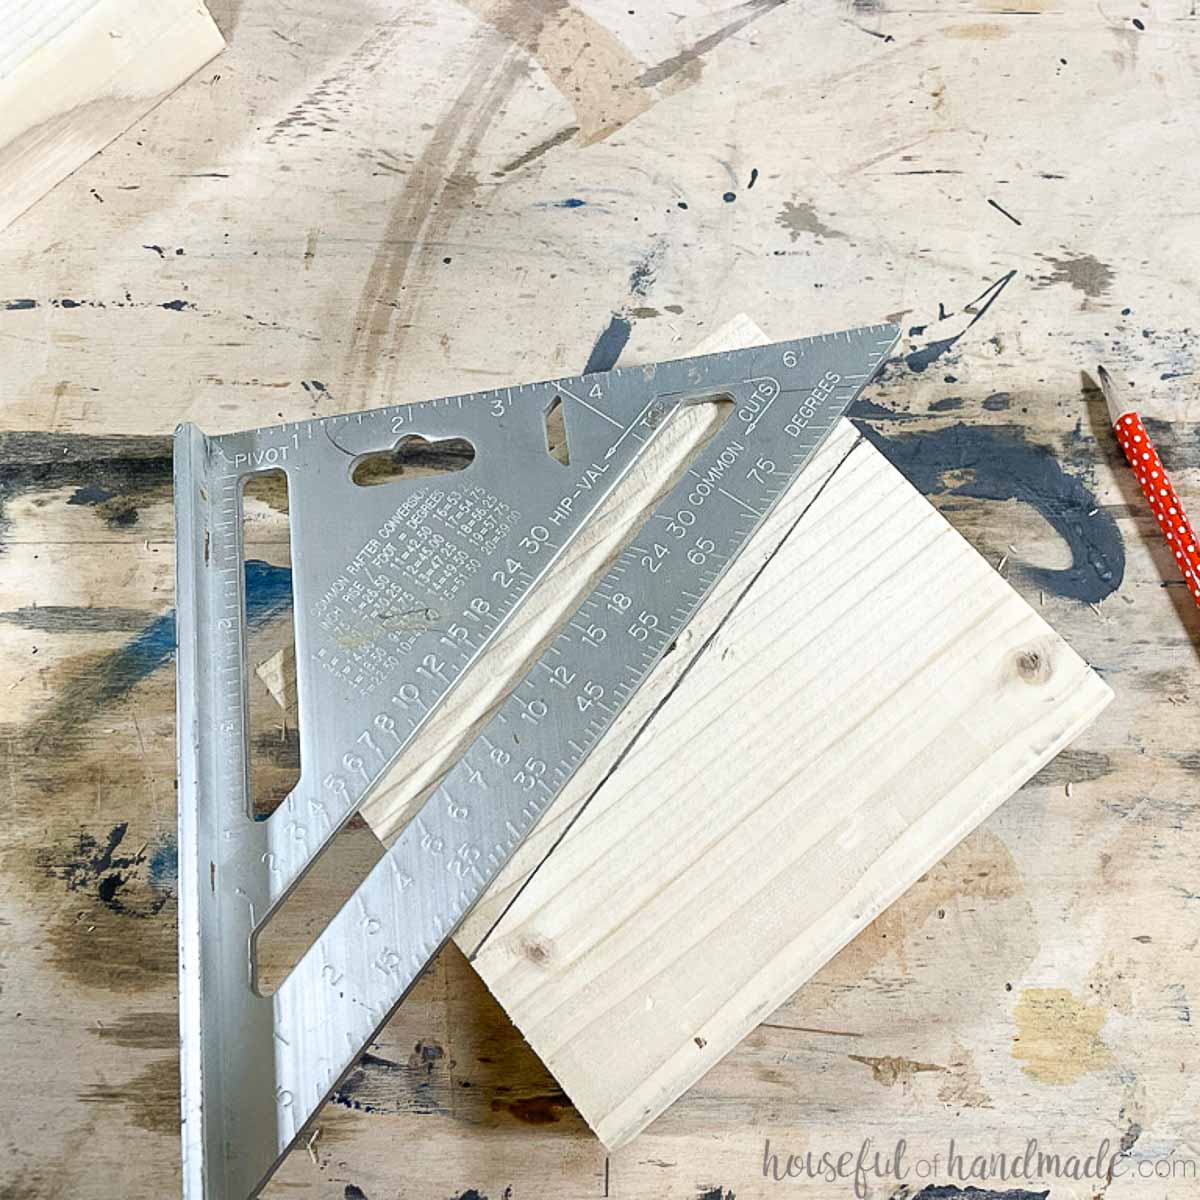
Measure 2″ in from one end. Then rotate the board 180 degrees and measure in 2″ again, from the opposite corner.
Draw a diagonal line between these two marks.
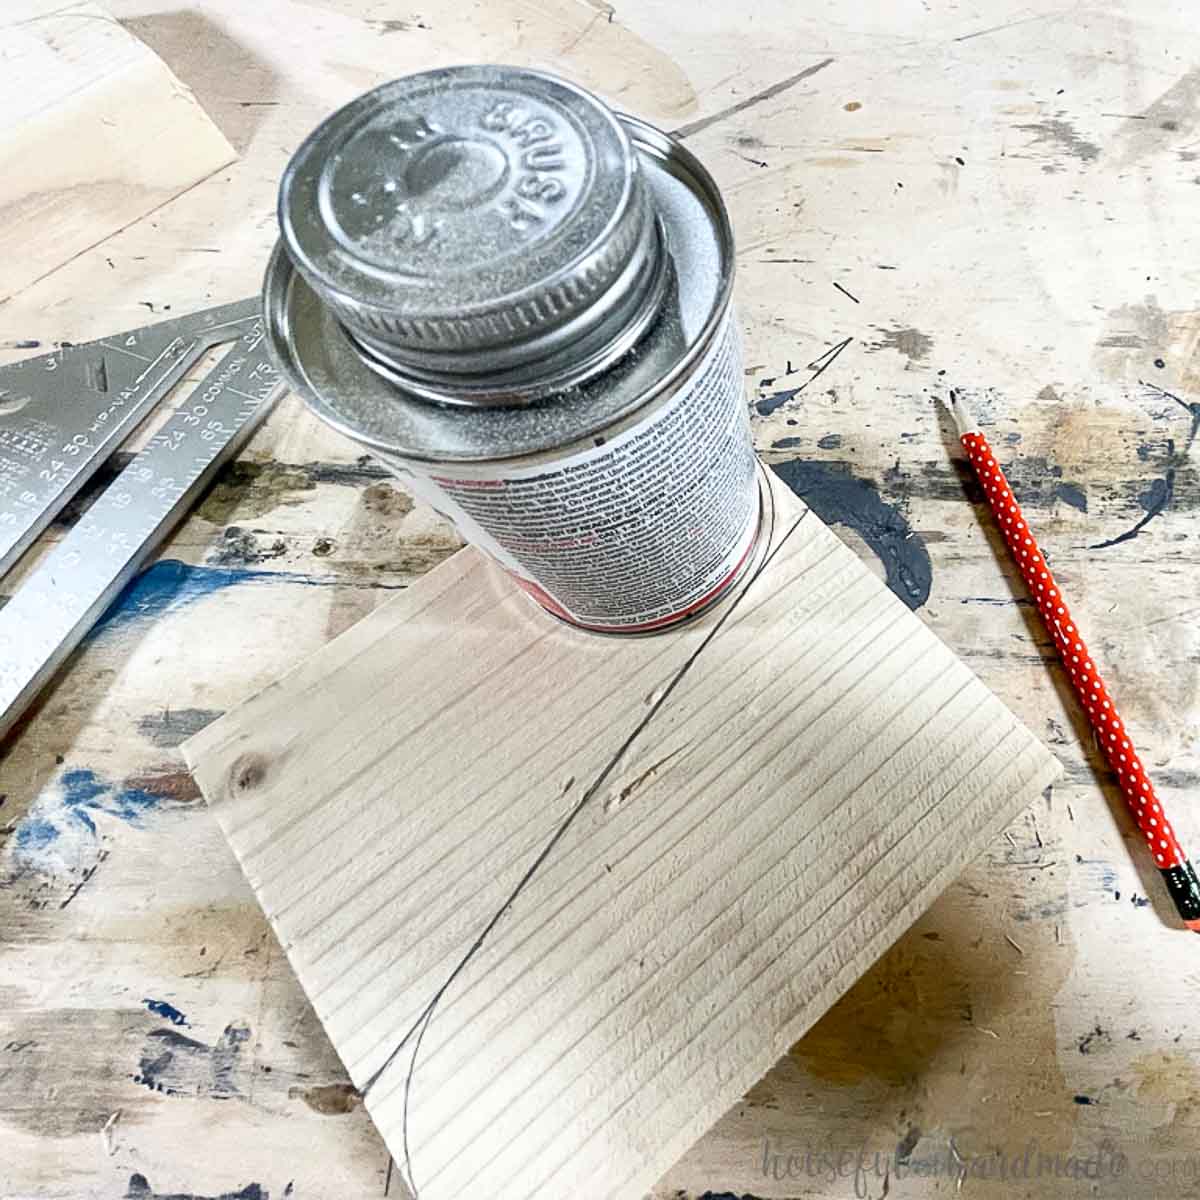
Use a round object (cup, paint can, glue container, etc.) to draw a curve on the bottom of each bracket piece.
The bottom is the narrower side. Make sure the curve touches the bottom and the diagonal line.
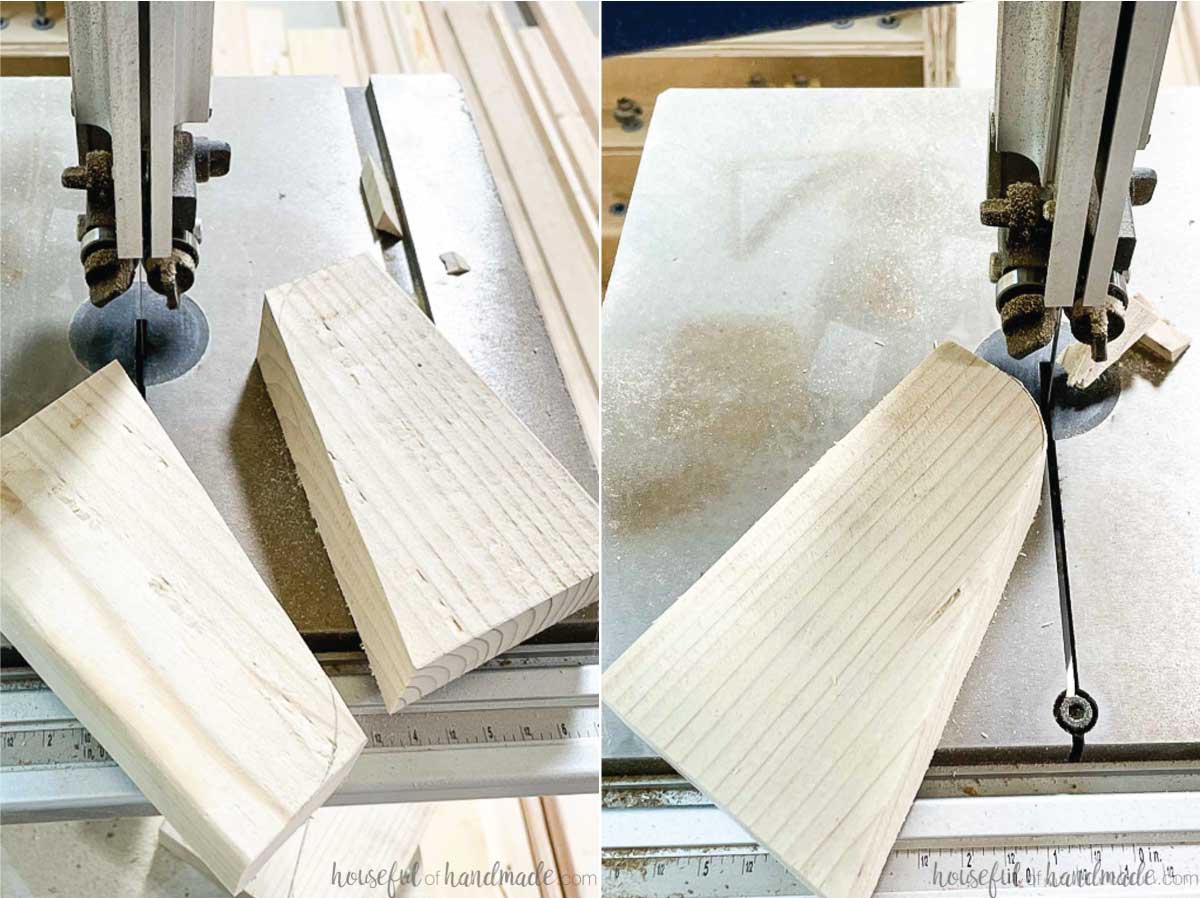
Cut the piece apart at the diagonal line.
You can do this any way you prefer. I recommend a jig saw or bandsaw since they use a thinner blade so you loose less material due to the kerf of the blade.
Once you have 2 pieces, trim off the curve at the bottom.
STEP 2- Drill holes
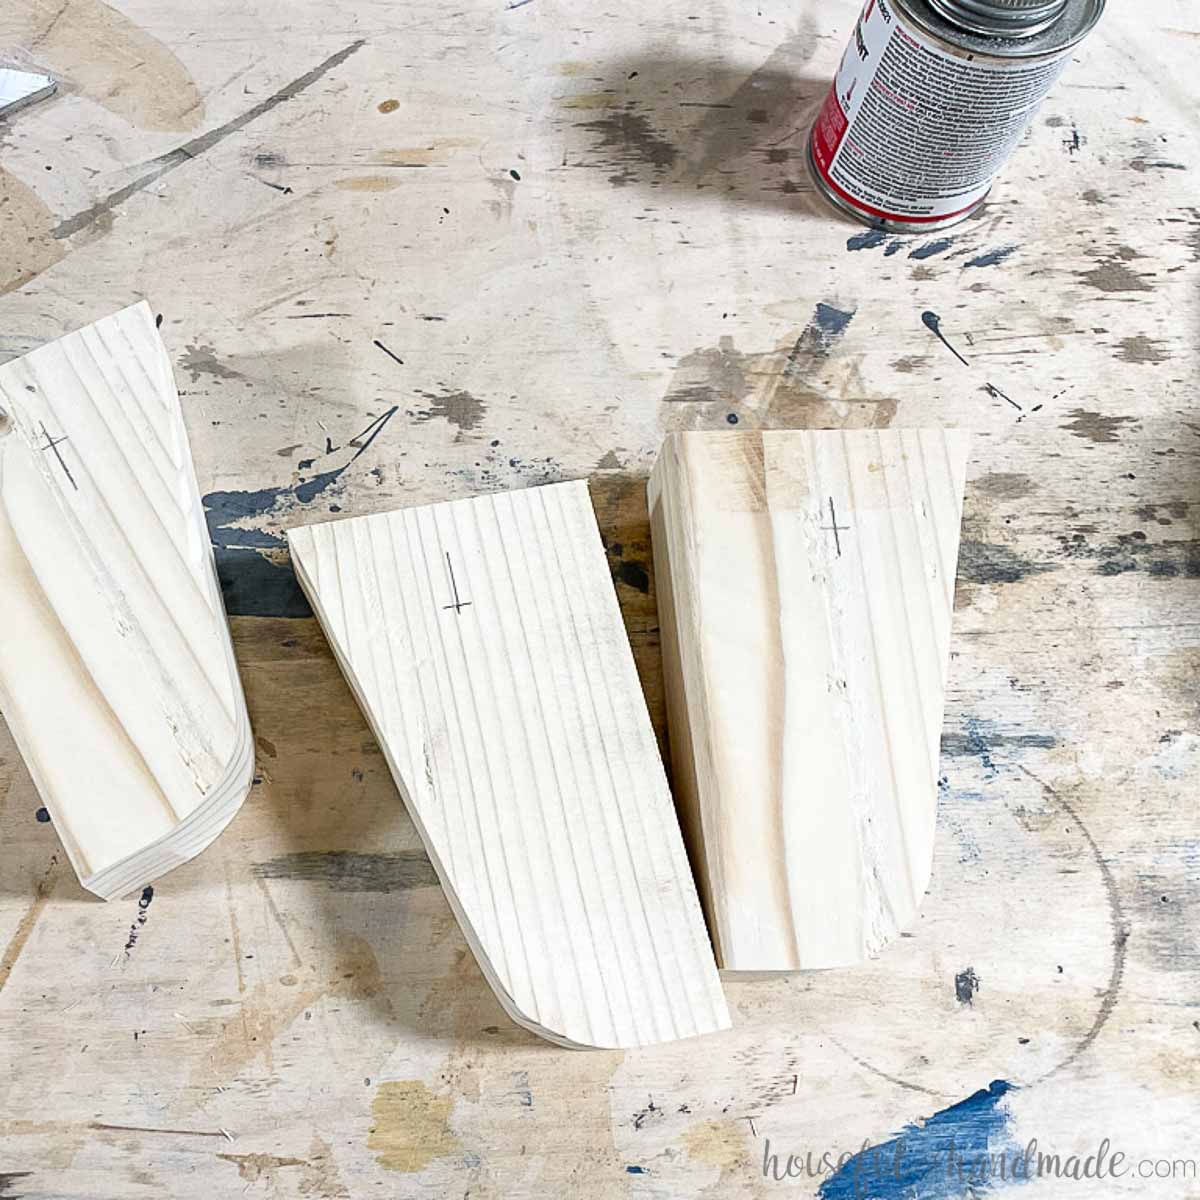
Measure in from the top back 1 5/8″ and draw a line. Then measure down from the top 1 1/4″ on that line.
EXPERT TIP:
Always measure from the top and back of your bracket so that they rod is straight in the holders even if the front angle is slightly off from one bracket to another.
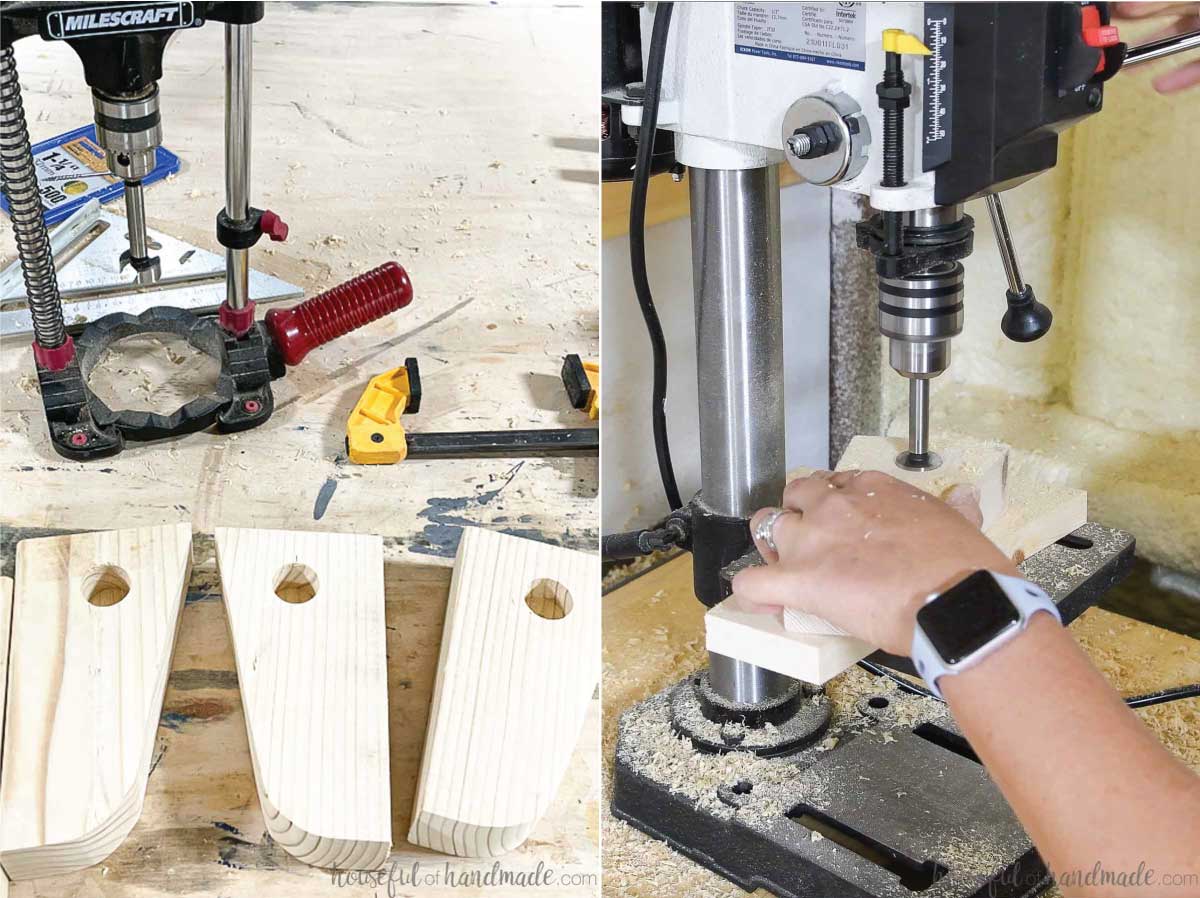
Using a drill press or drill guide, drill a 1″ deep hole in the brackets to hold the curtain rod.
The 15/16″ Forstner bit was the perfect size for the 3/4″ conduit (since conduit measurements refer to the inside dimension).
If you are using a center curtain rod holder, drill the hole all the way through on those brackets.
EXPERT TIP:
Make sure to mirror the holes on the wood curtain rod brackets so that they will cap the ends of your curtain rod. If they are on the same side, they will not work.
STEP 3- Add keyholes
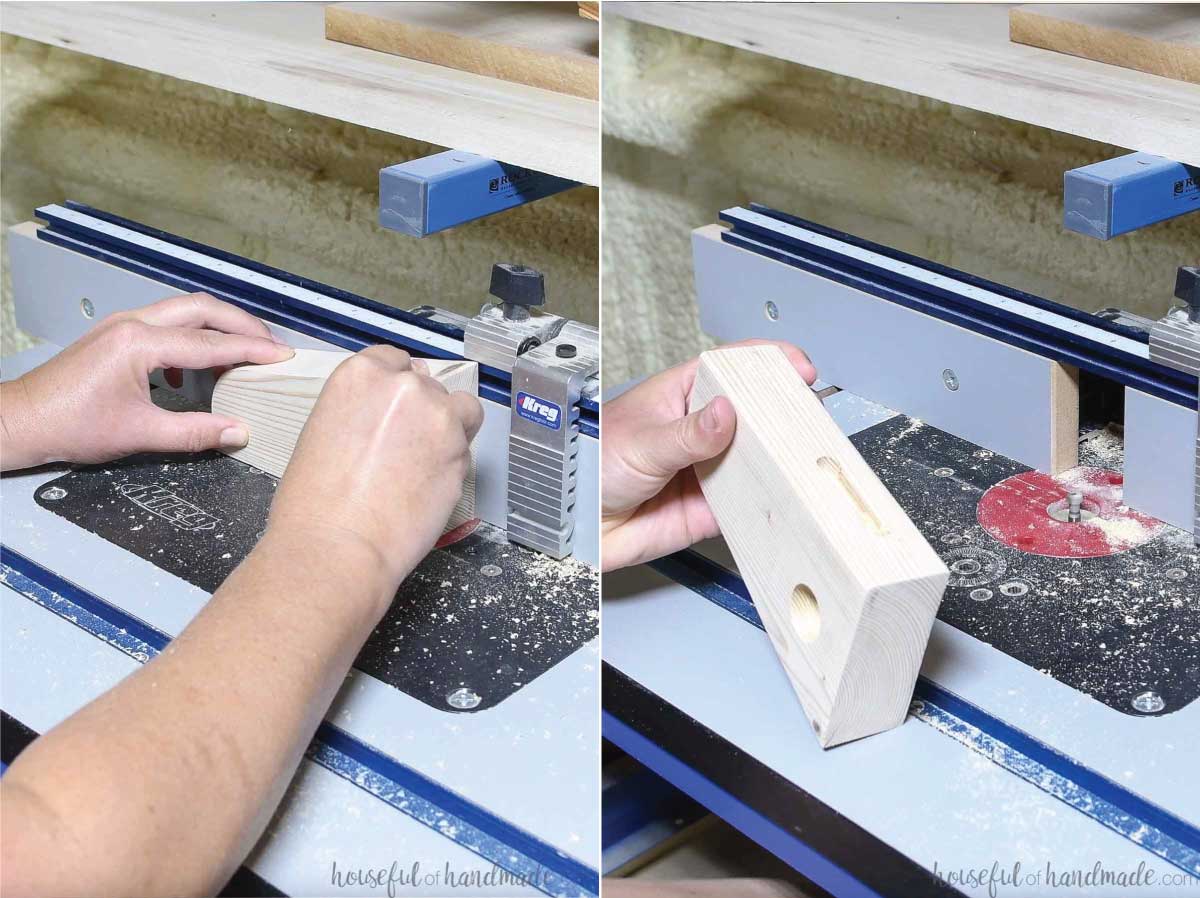
Add a keyhole to the back each bracket.
I used my router with a keyhole router bit to add these. But you can also add a keyhole hanger to the back.
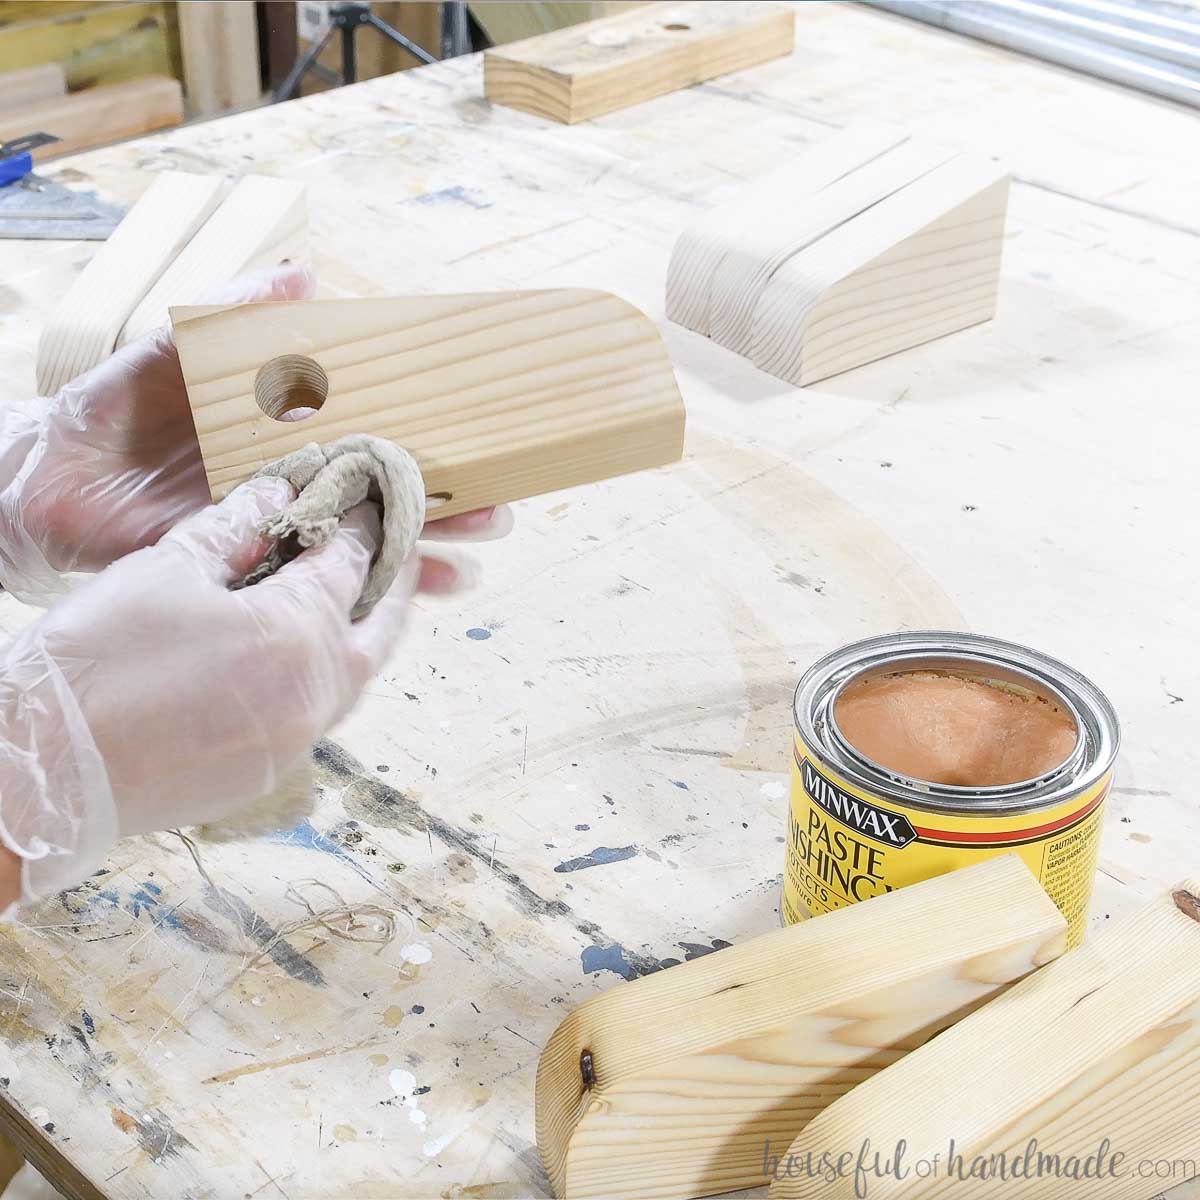
Sand and stain/paint/seal your new wood curtain rod brackets.
STEP 4- Hang curtains
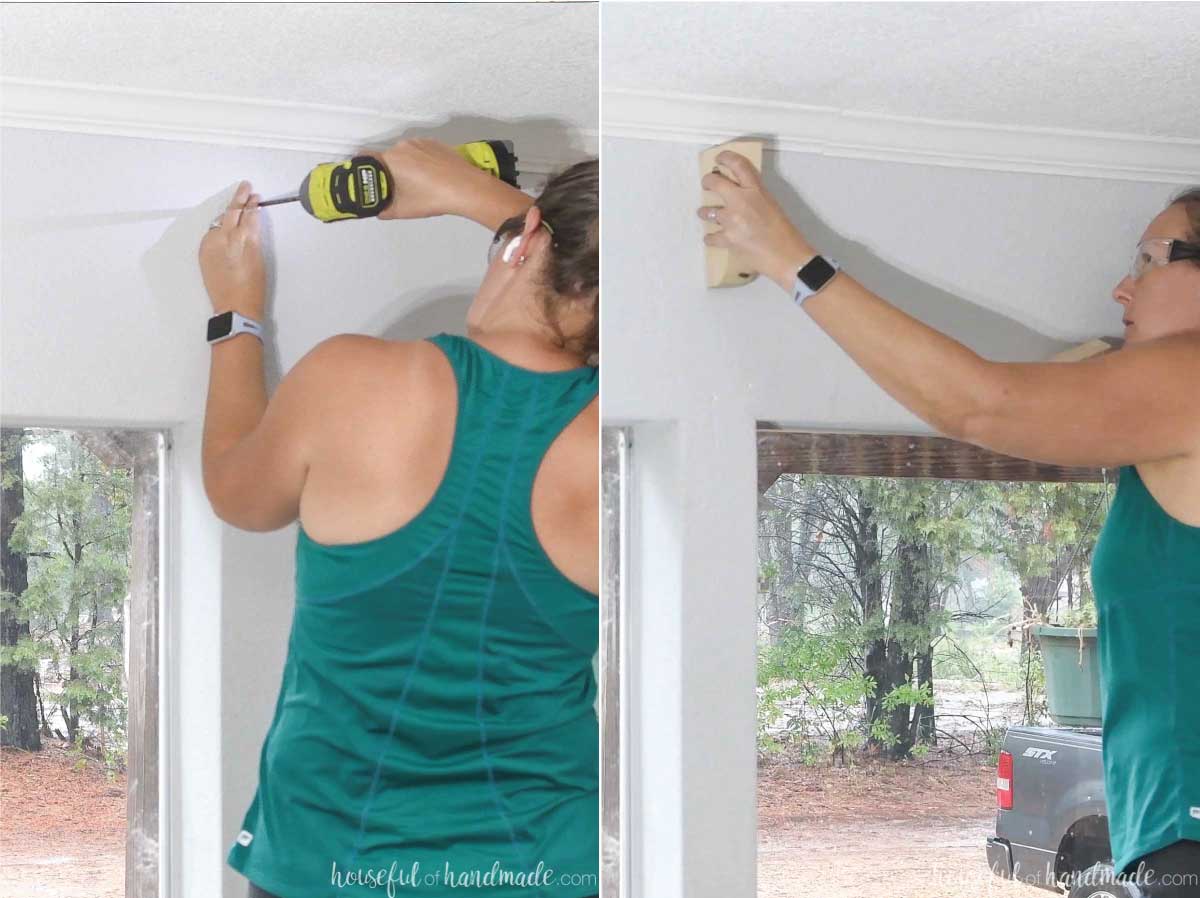
To hang the brackets, add a screw to the wall where you want the bracket to go. You want the screw to be tight enough to the wall to hold the curtain rod bracket securely.
Make sure you have enough room above it to slide the keyhole on the back over the screw.
If you do not hit a stud with your screw. Use a drywall anchor on your screw (I prefer these self drilling ones).
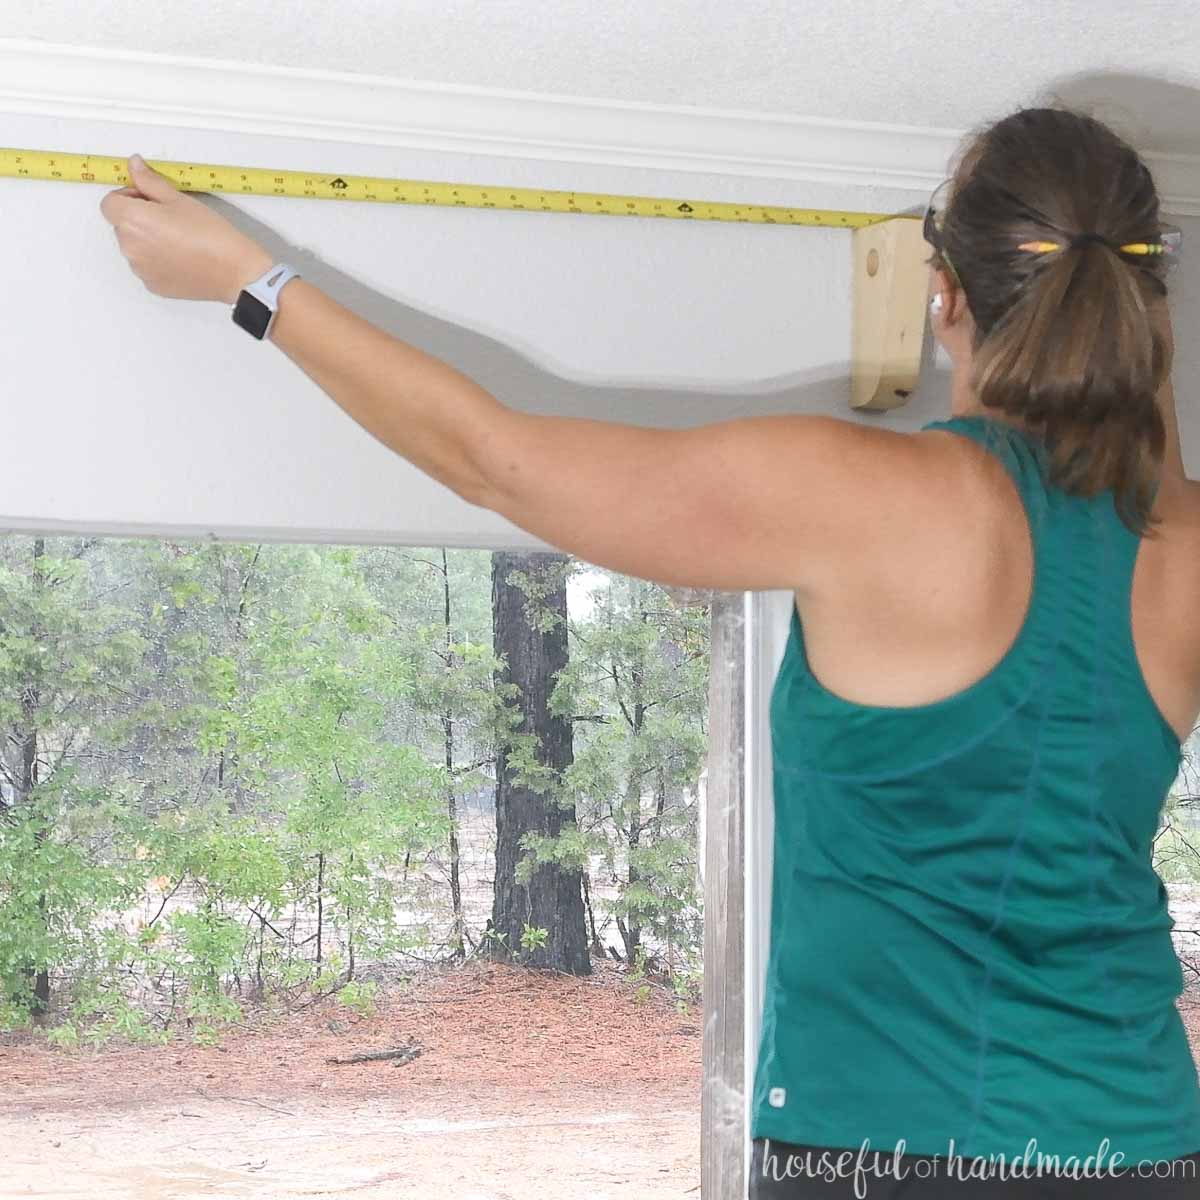
With all your curtain rod holders in place, measure between them to get the final length of your conduit.
Add 3/4″ to the length to go inside the wood brackets on the ends.
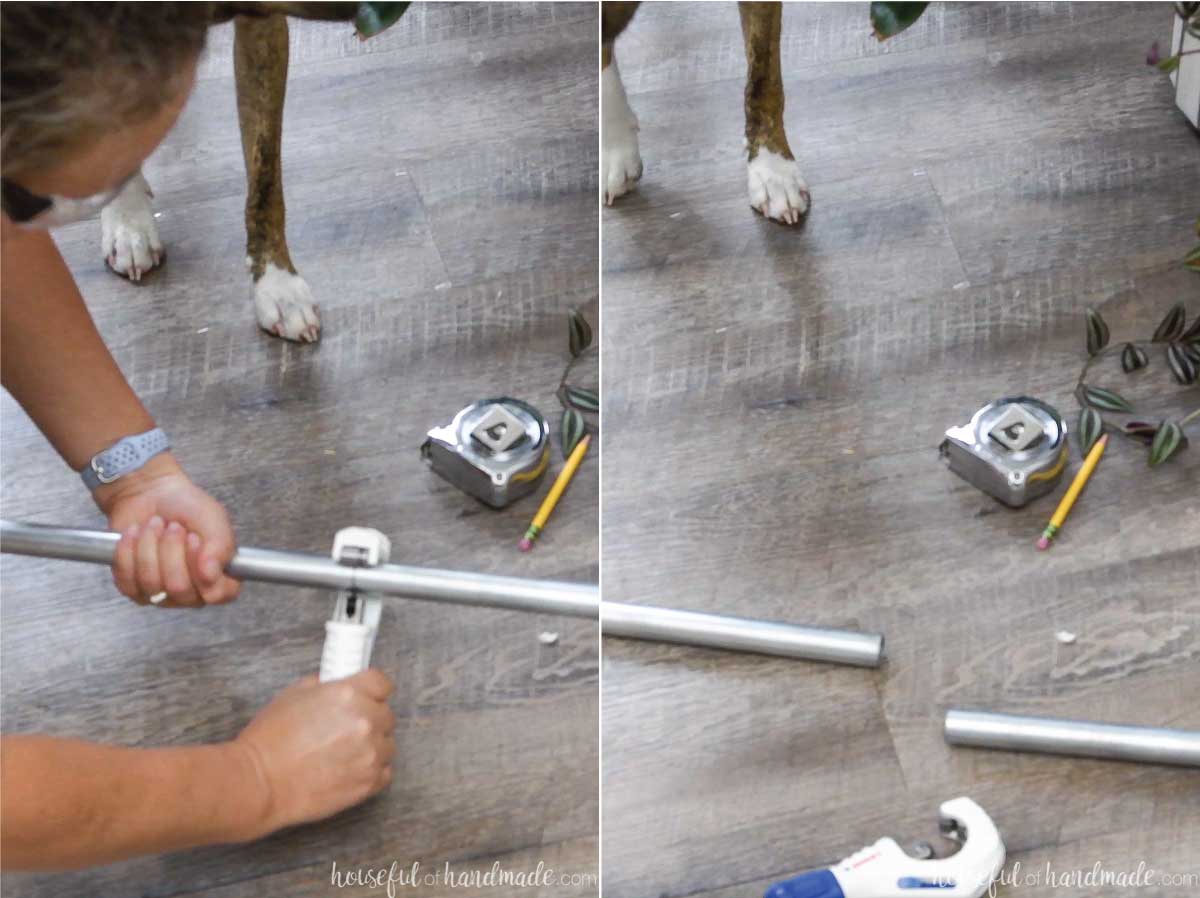
Cut your conduit to length.
It is actually very easy to cut conduit with a simple tool. Just tighten the blade onto the conduit and twist.
Once you’ve twisted all around, tighten a little more and twist. Continue until it cuts right through. Easy as that!
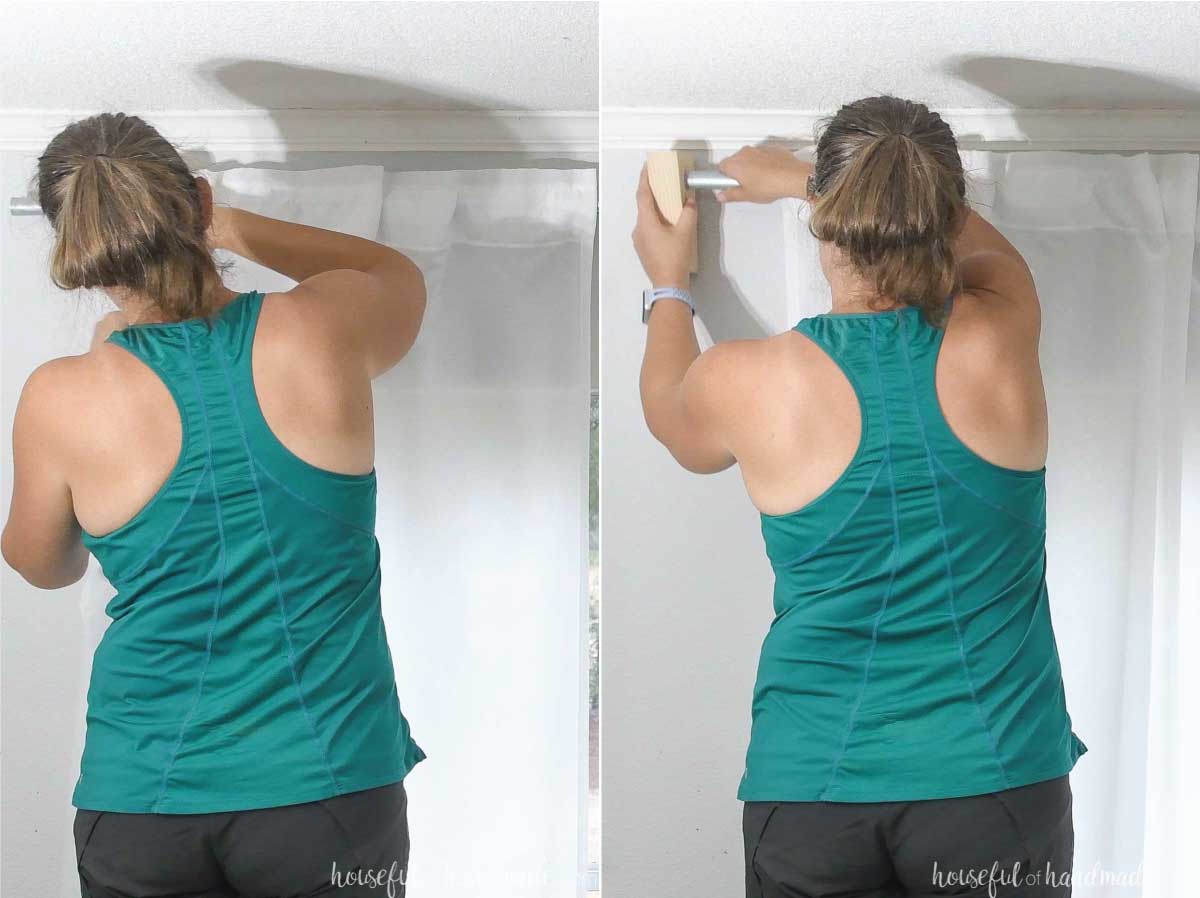
Slide your conduit into the brackets and slip them back over the screws in the wall to secure.
If your curtains slide onto the rod (instead of using hooks on the rod), pop the ends up off the screw to reveal the conduit ends.
Then you can install your curtains before securing the end bracket back into place on the screw.
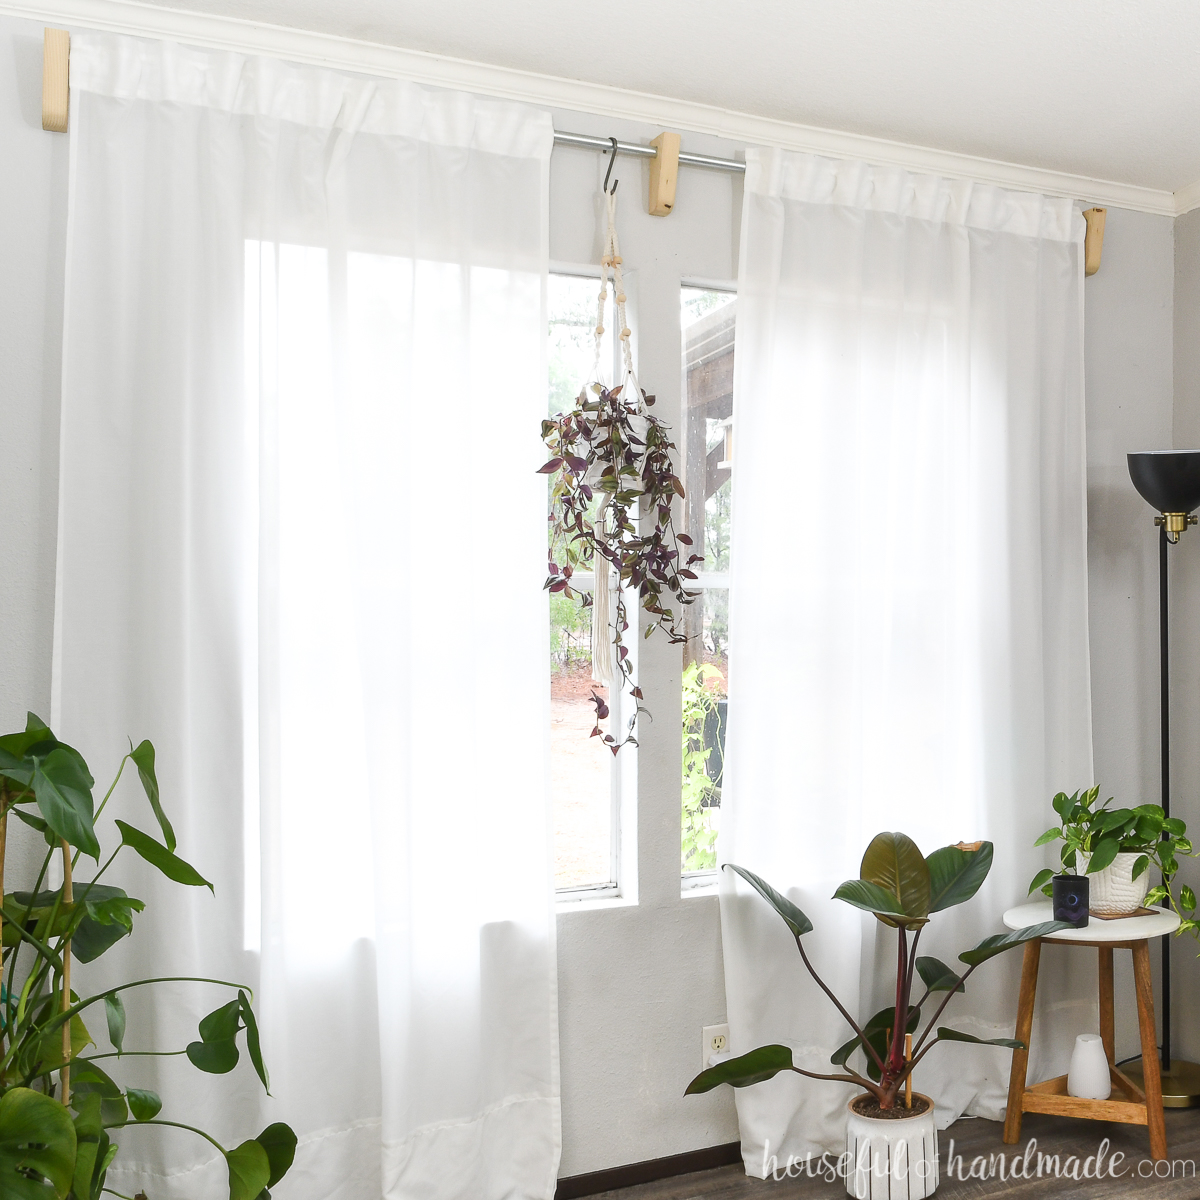
Then sit back and smile at how much money you saved!
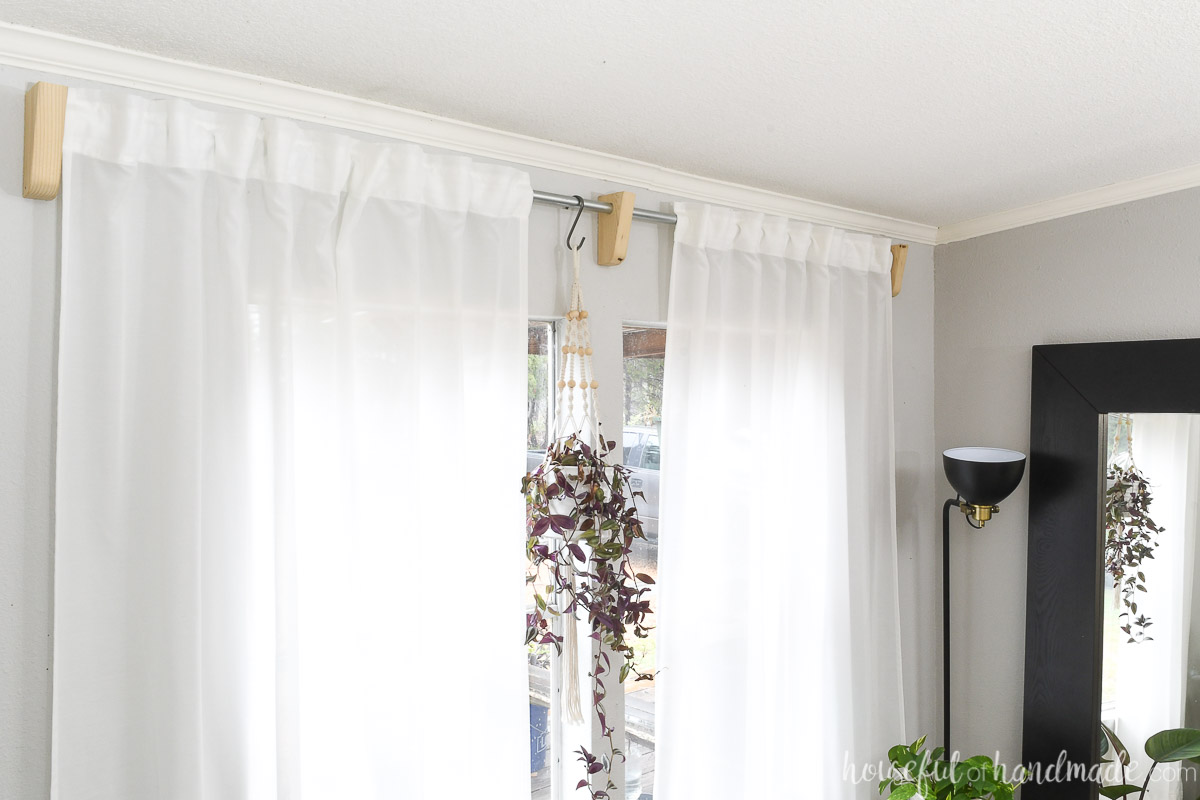
These beautiful wood curtain rod brackets are the perfect way to update a room with new curtains on a budget. But without sacrificing style.
I love them with my thin white curtains that let all the light in while giving me the privacy I need.
More Scrap Wood Projects
More scrap wood to build with?
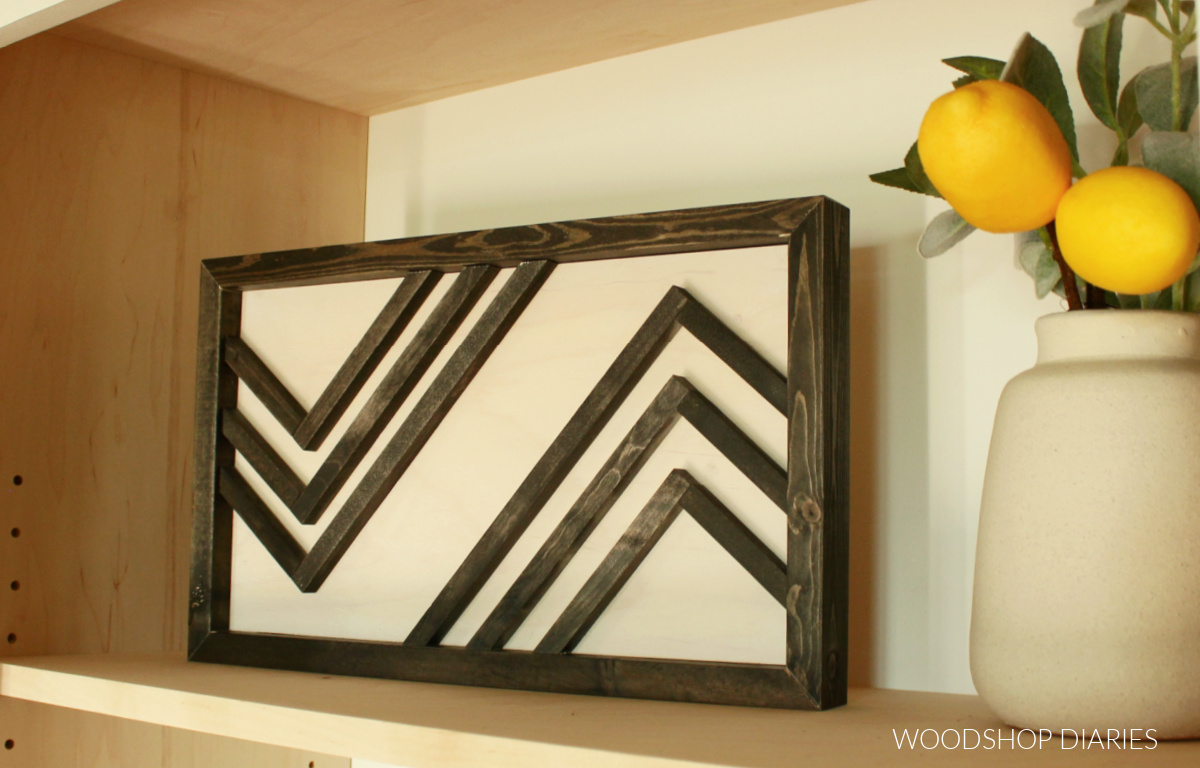
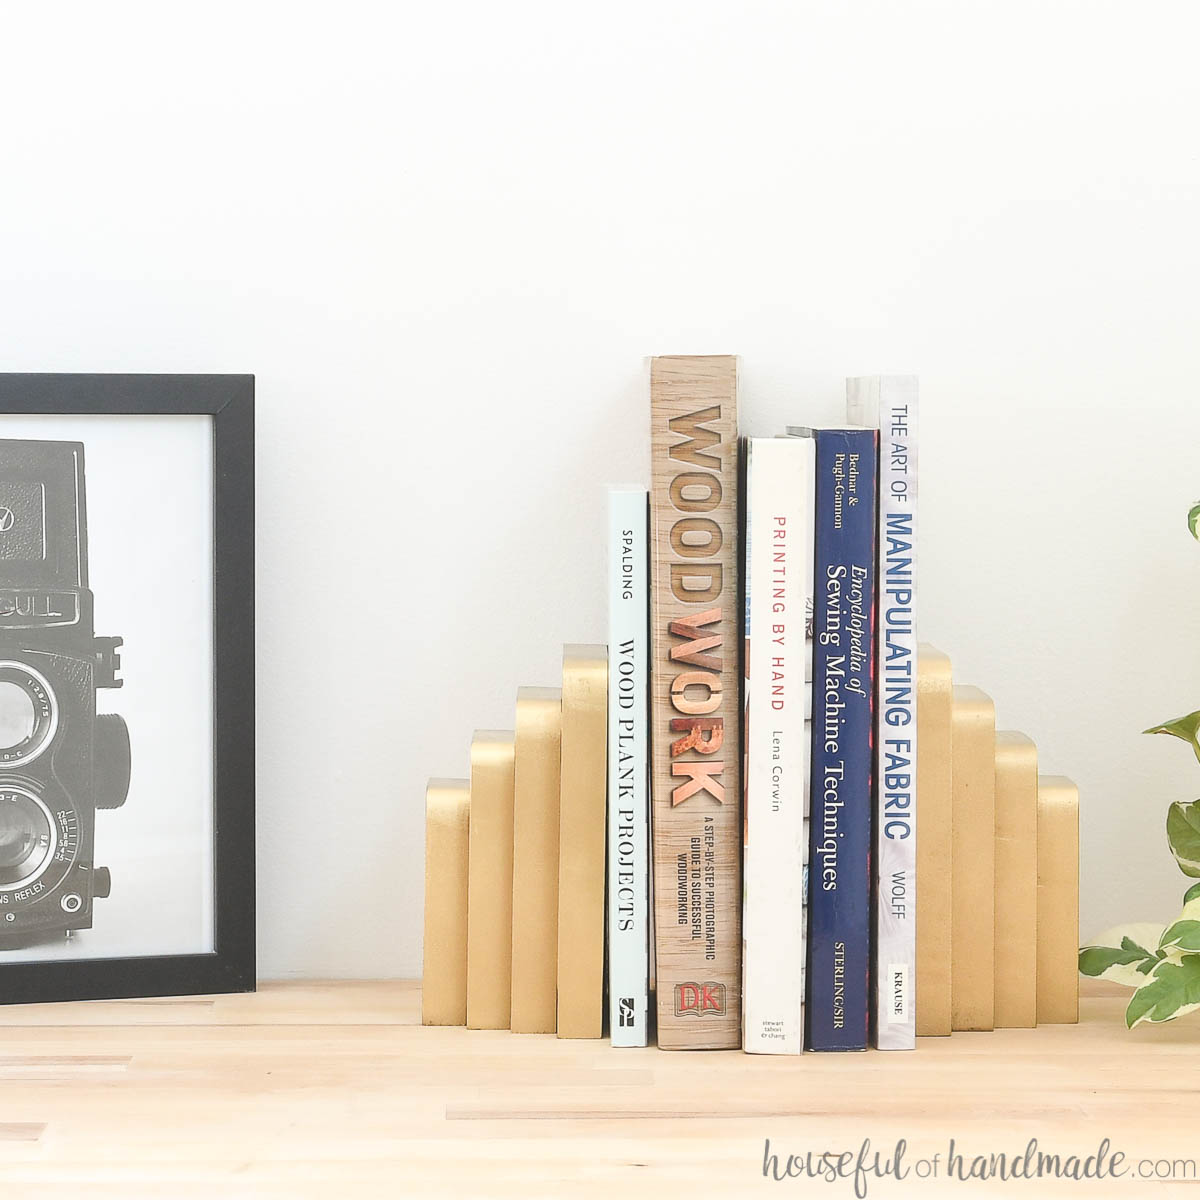
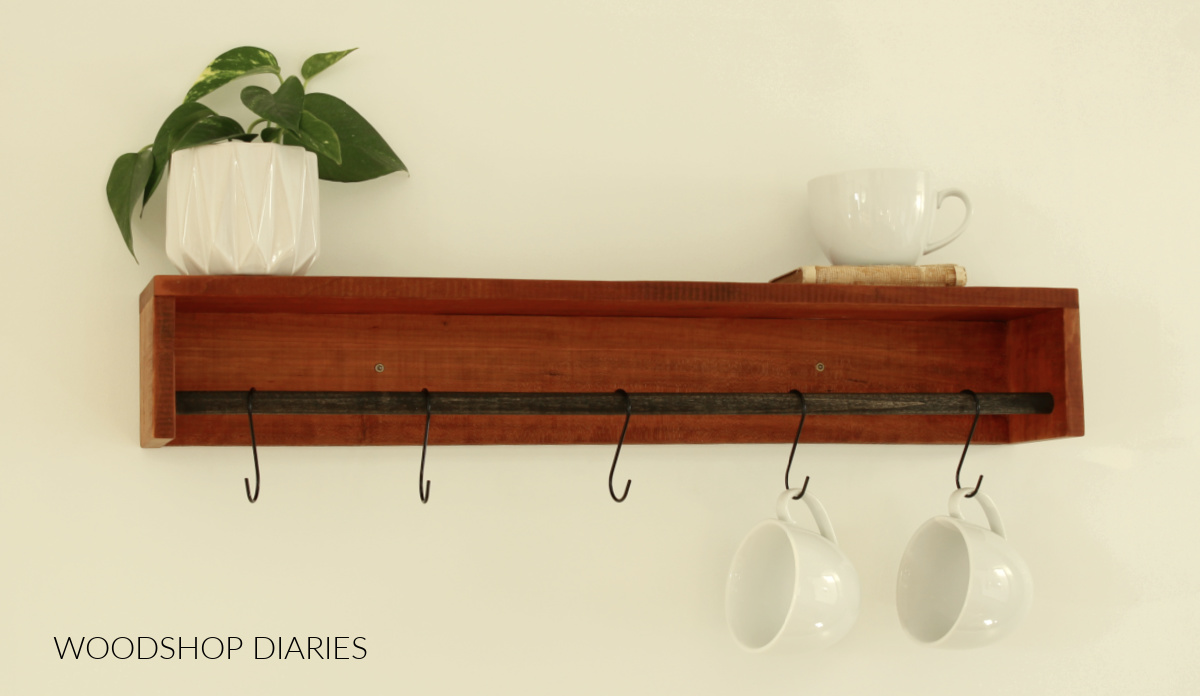
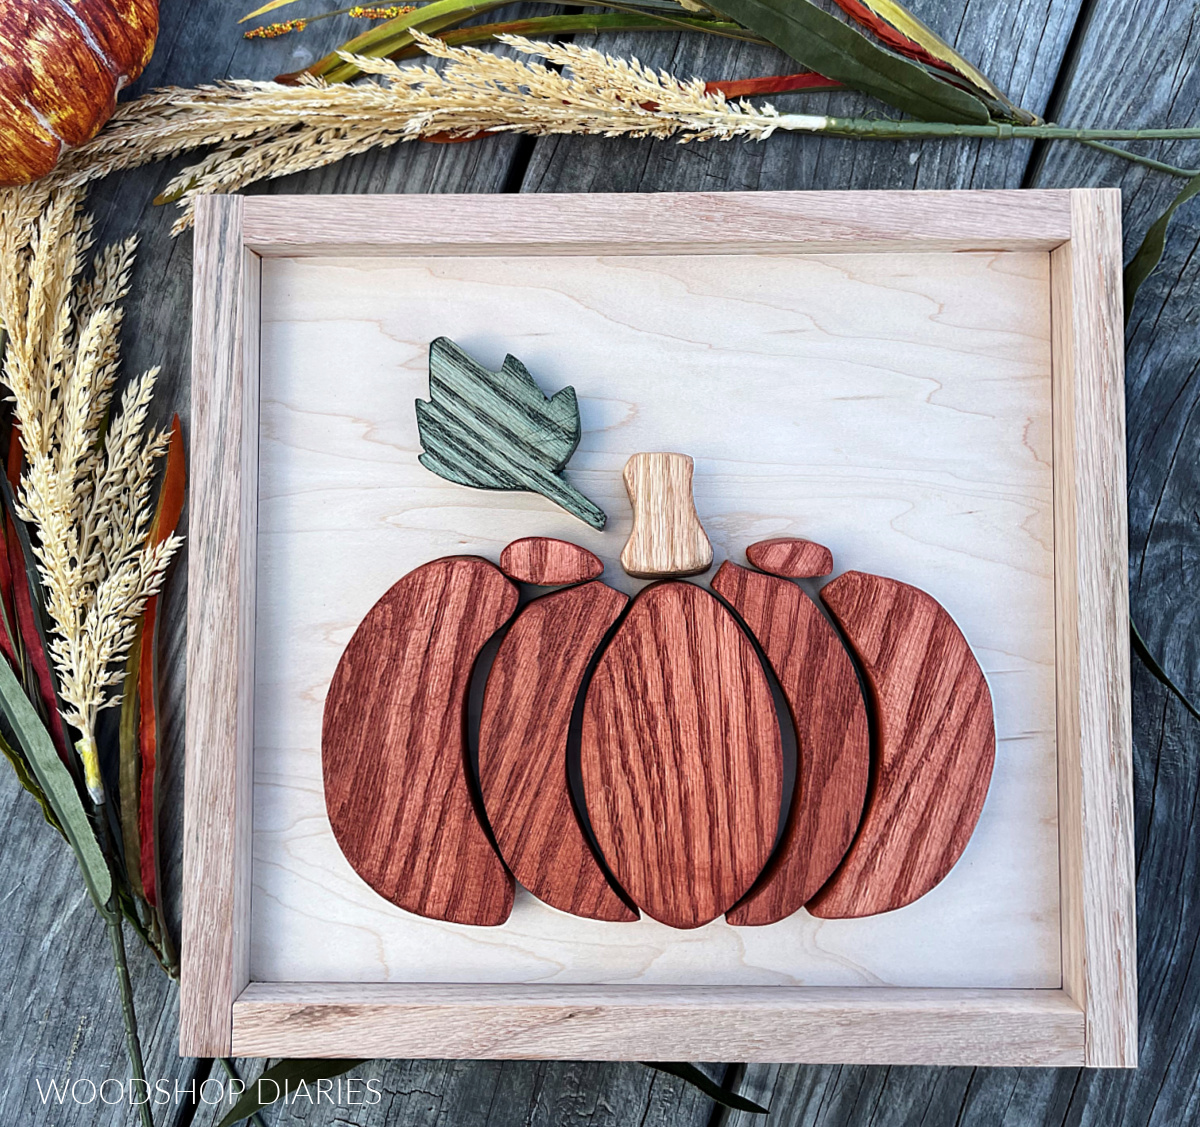
My friend Shara from Woodshop Diaries and I are sharing lots of scrap wood projects for some summer building fun! Ever Tuesday this August we are sharing a new project for Scrap Wood Summer.
Check out even more amazing scrap wood tutorials below:
Happy Building!


