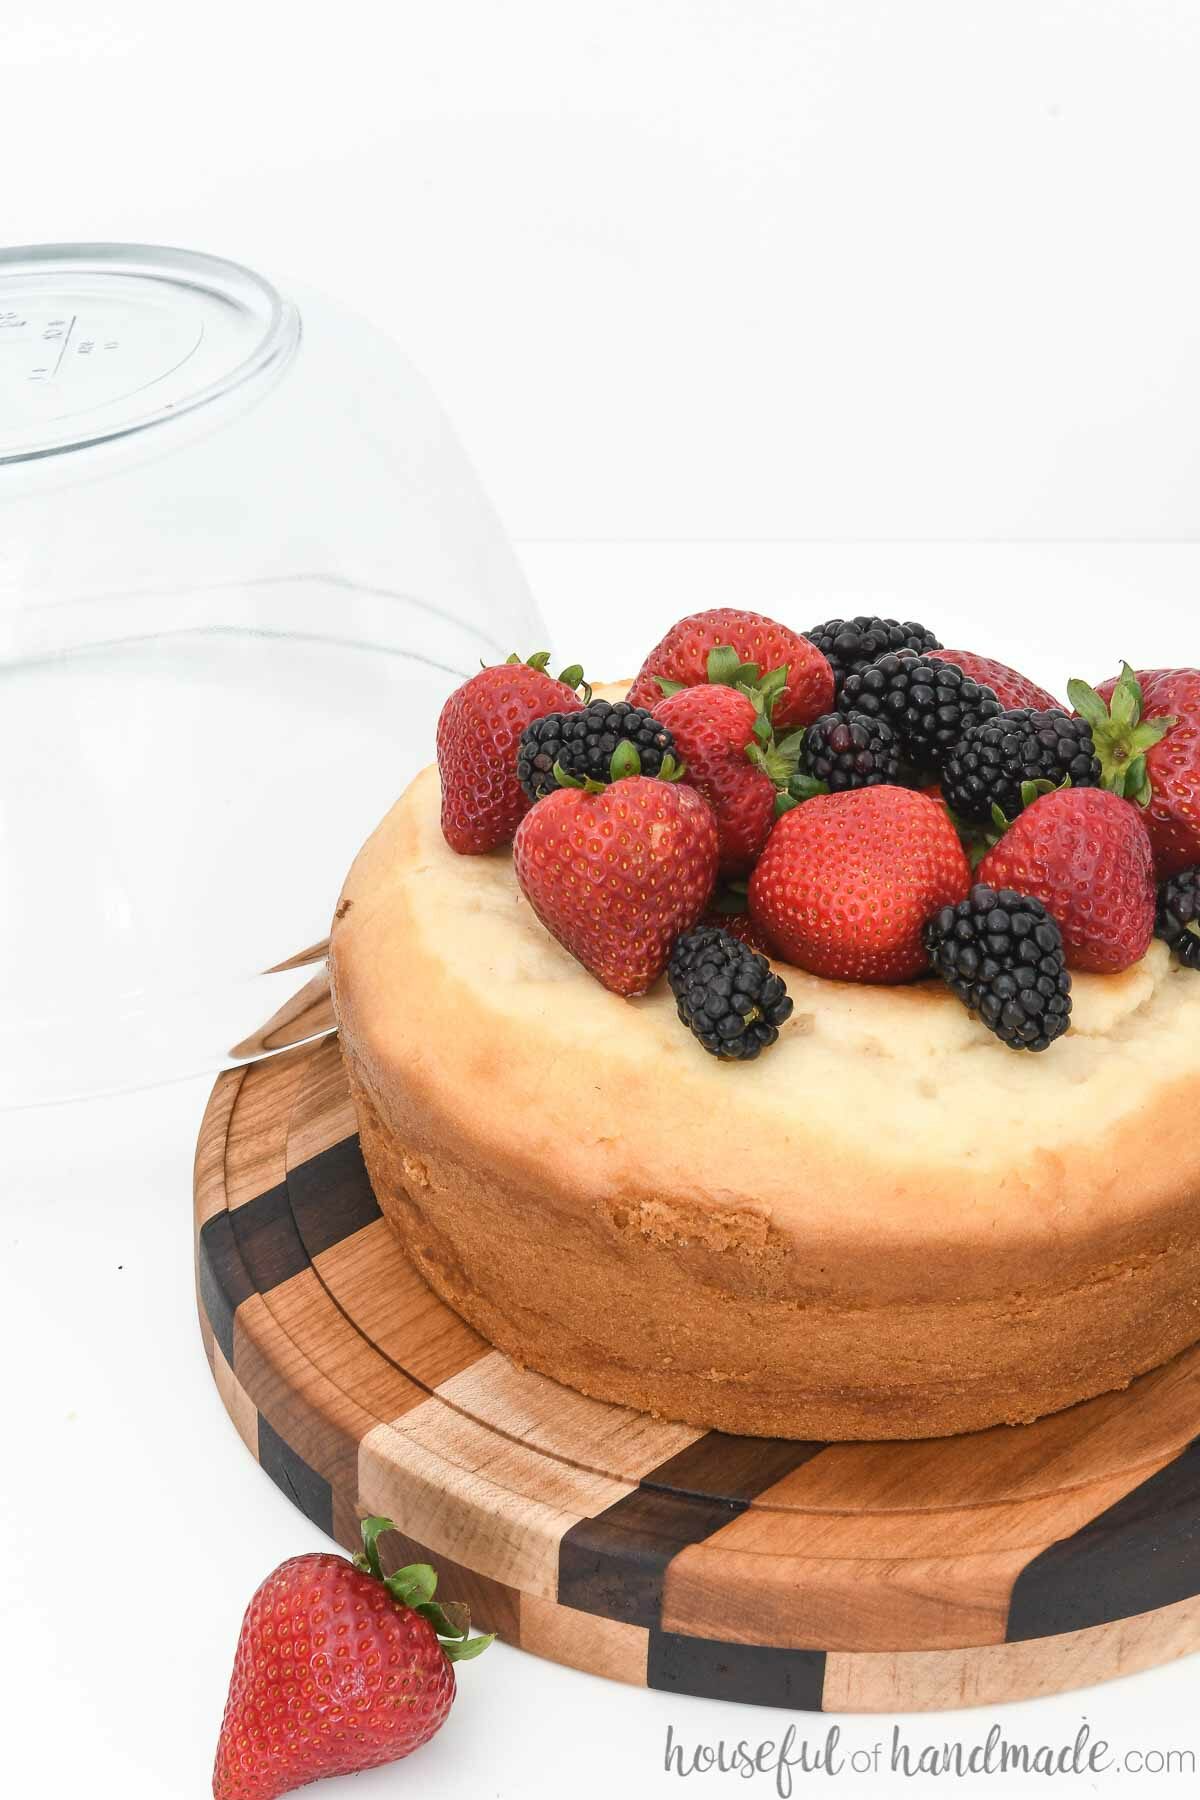
Turn small scraps of wood into a unique cake stand with glass dome.
Nothing says fancy like serving a cake off a beautiful wood cake plate. Am I right?
Even if your cake is a store bought cake, topped with fresh berries instead of frosting or beautiful decorations. A gorgeous cake stand makes it look special
And you can make this cake plate with just a few scraps cleaned out of your scrap wood pile! All that extra fancy and no one will know it was free.
This post may contain affiliate links. As an Amazon Associate I earn from qualifying purchases. Click here to read my full disclosure policy.
DIY Glass Dome for Cake Stand
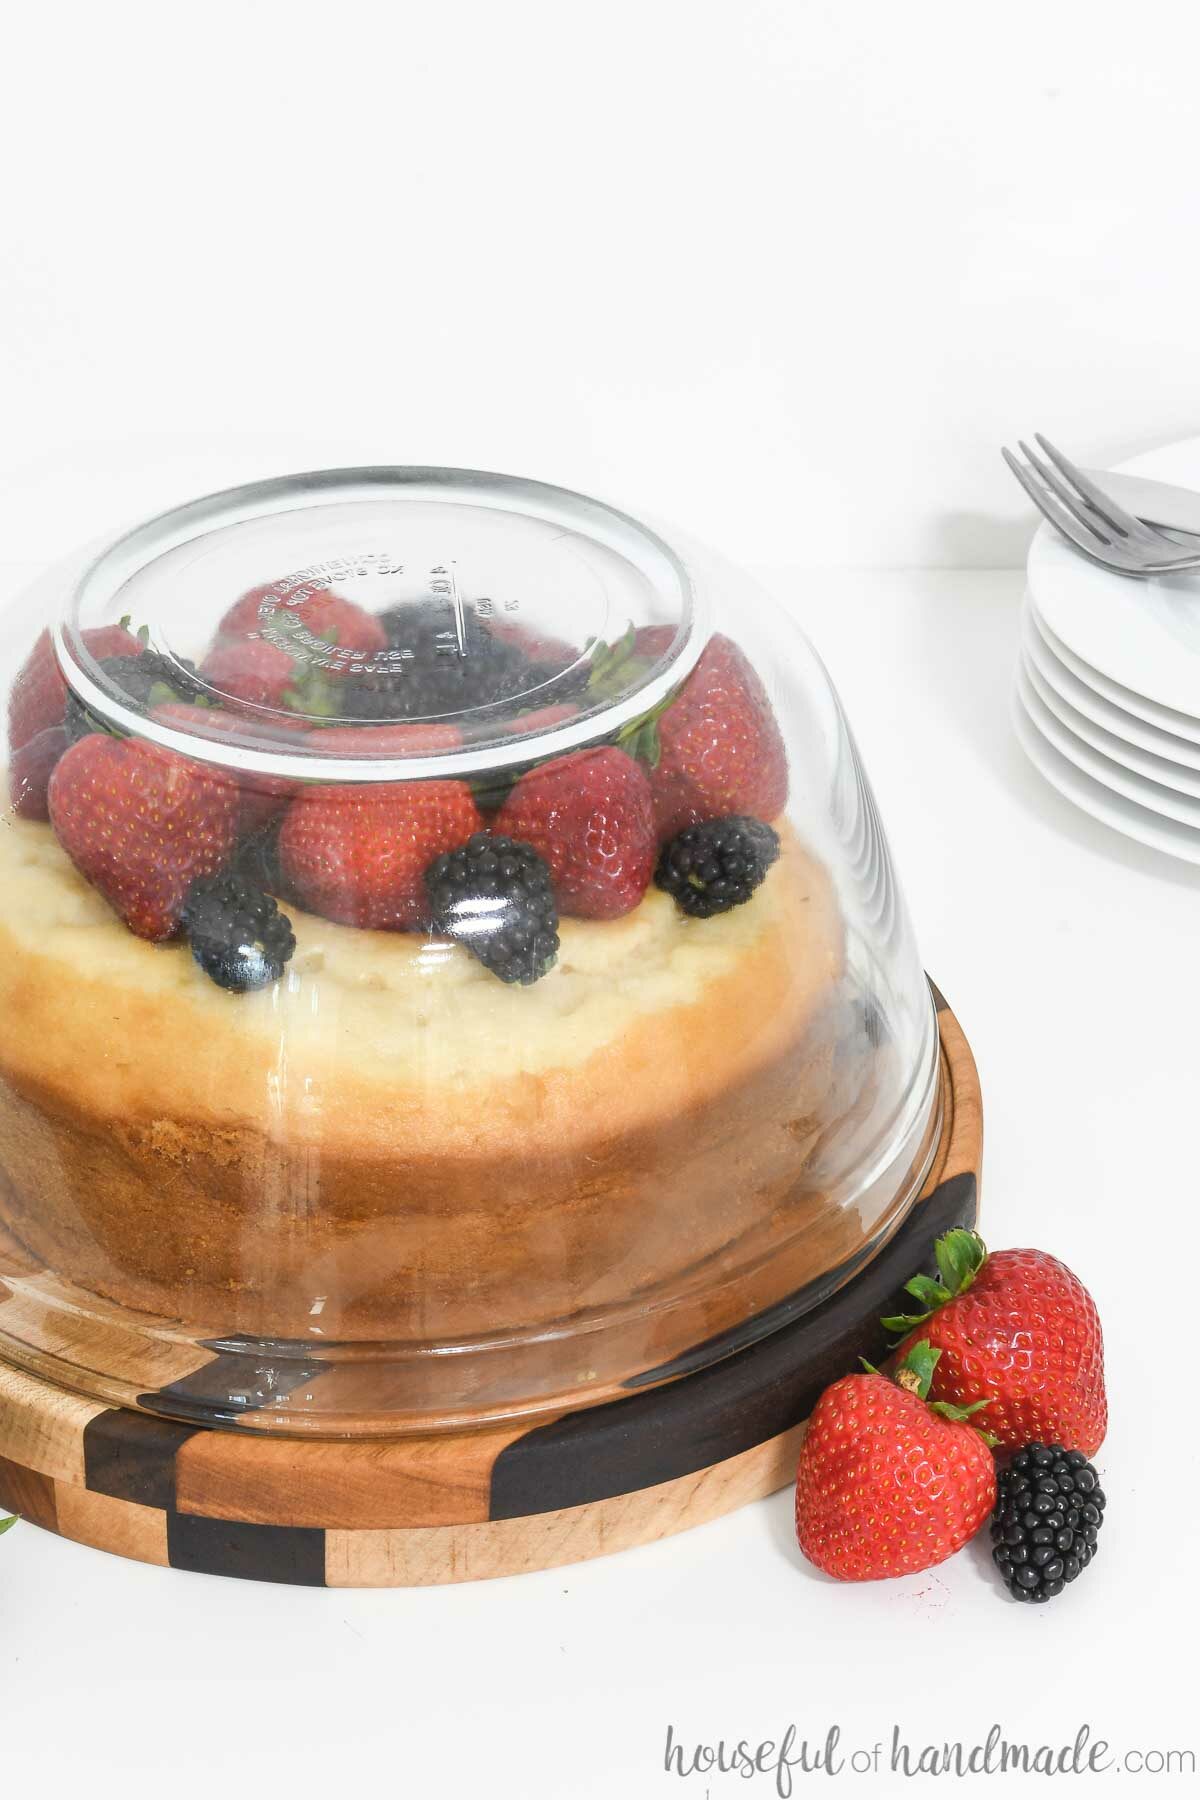
Obviously in this project we are not blowing glass for a custom cake dome. But I love having the glass dome for the top of my cake plate.
So what are the options?
You can find a glass cake dome at a thrift shop, flea market or garage sale. Or you can do what I did…
I bought a large, inexpensive glass bowl! Try to find a bowl with straight sides. I bought mine at Walmart.
Then you can use your bowl as a cake dome, but you can also still use it as a bowl too!
It makes it easier to commit room for storing it (especially if you have a small kitchen) if your cake dome is a multi-tasker.
Lastly, you could always make this beautiful wood cake plate without a dome if you prefer. And then it can still be a mult-tasker because you can also use it as a cutting board!
What wood can you use to make a cake stand?
This is the perfect project to clear out small scraps of wood. But not all wood scraps will be good a DIY cake plate.
The beauty of this simple DIY is the layers of mixed woods. It creates character and contrast. And makes it easy to use up those tiny pieces you couldn’t bear tossing.
Since your project will be in contact food, you want to use dense hardwoods with a tight grain. These are the same wood species recommended for making cutting boards.
- Maple
- Walnut
- Cherry
- Bamboo
- Beech
You do not want to use soft or porous woods for your cake plate. These woods will not hold up and can get food in the cracks/pores and harbor bacteria.
Also, do not use any toxic wood species (for obvious reasons).
How to Make a Cake Plate
Tools needed:
- Miter saw
- I recently upgraded to this larger sliding miter saw (watch for it to go on sale), but all my projects before were built with this inexpensive miter saw that I loved.
- Planer
- If you do not have a planer, you could sand with a high grit sandpaper instead of planing the glued together boards like I did for this easy DIY cutting board.
- Trim router
- Circle router jig
- See my easy DIY circle router jig you can make from scraps here.
- Clamps
- Drill
- Sander
Supplies:
- Scraps of hardwood
- Choose pieces in various widths but the same thickness
- Wood glue
- Tung oil or cutting board sealer
- Glass bowl or dome
STEP 1- Assemble the Cake Plate Base
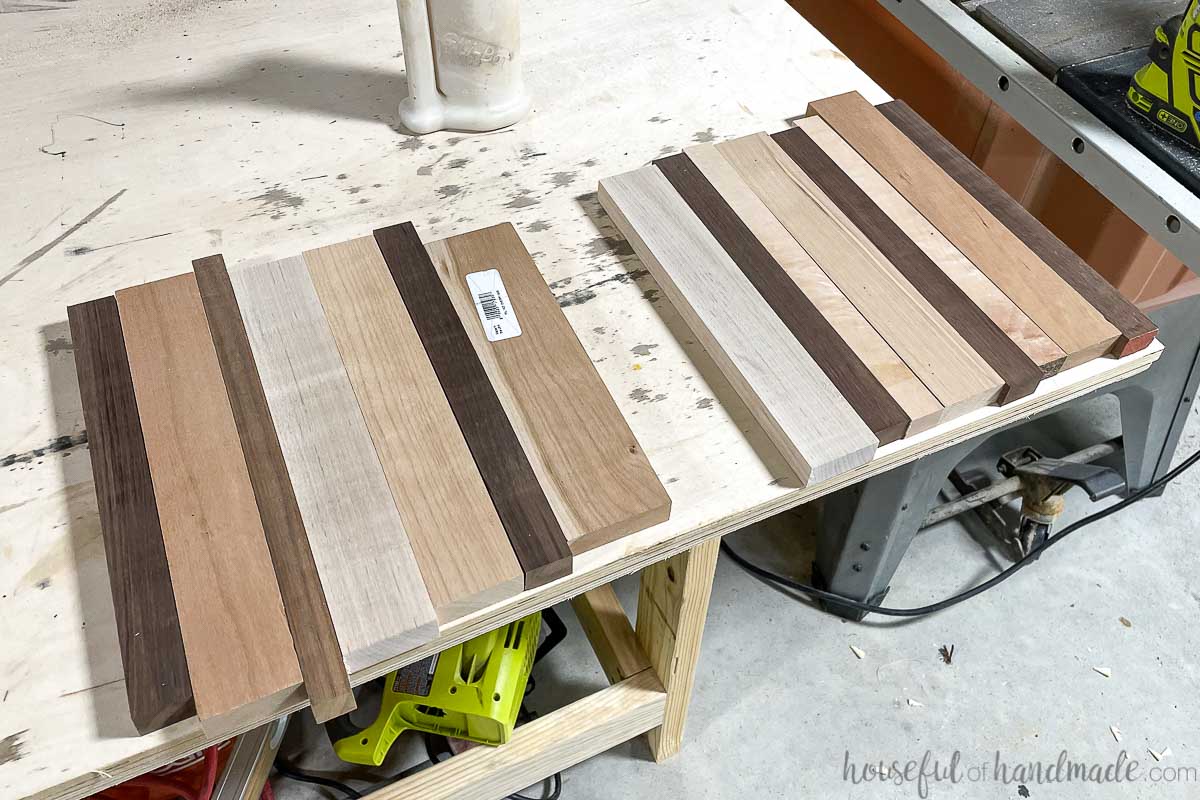
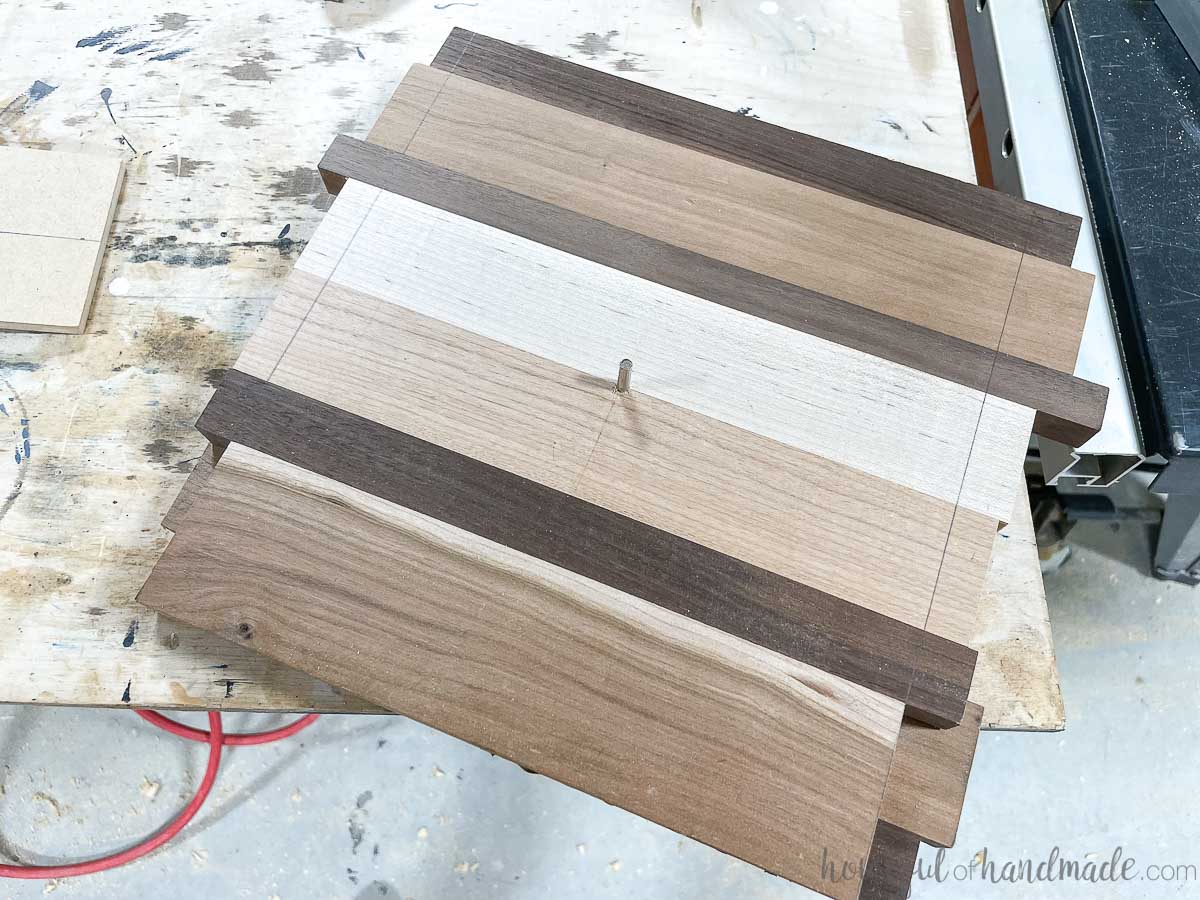
Layout all the pieces of hardwood scraps. Mix them up so there are lighter and darker boards randomly throughout the pattern as well as wider and narrower boards.
Make sure the boards are all as long as the diameter of your desired plate. Also, you need the total width of the glued together boards to be the diameter.
EXPERT TIP:
If you do not have a planer, you can just do 1 layer to your cake plate instead of two. Use thicker boards if you have them to get a thick plate.
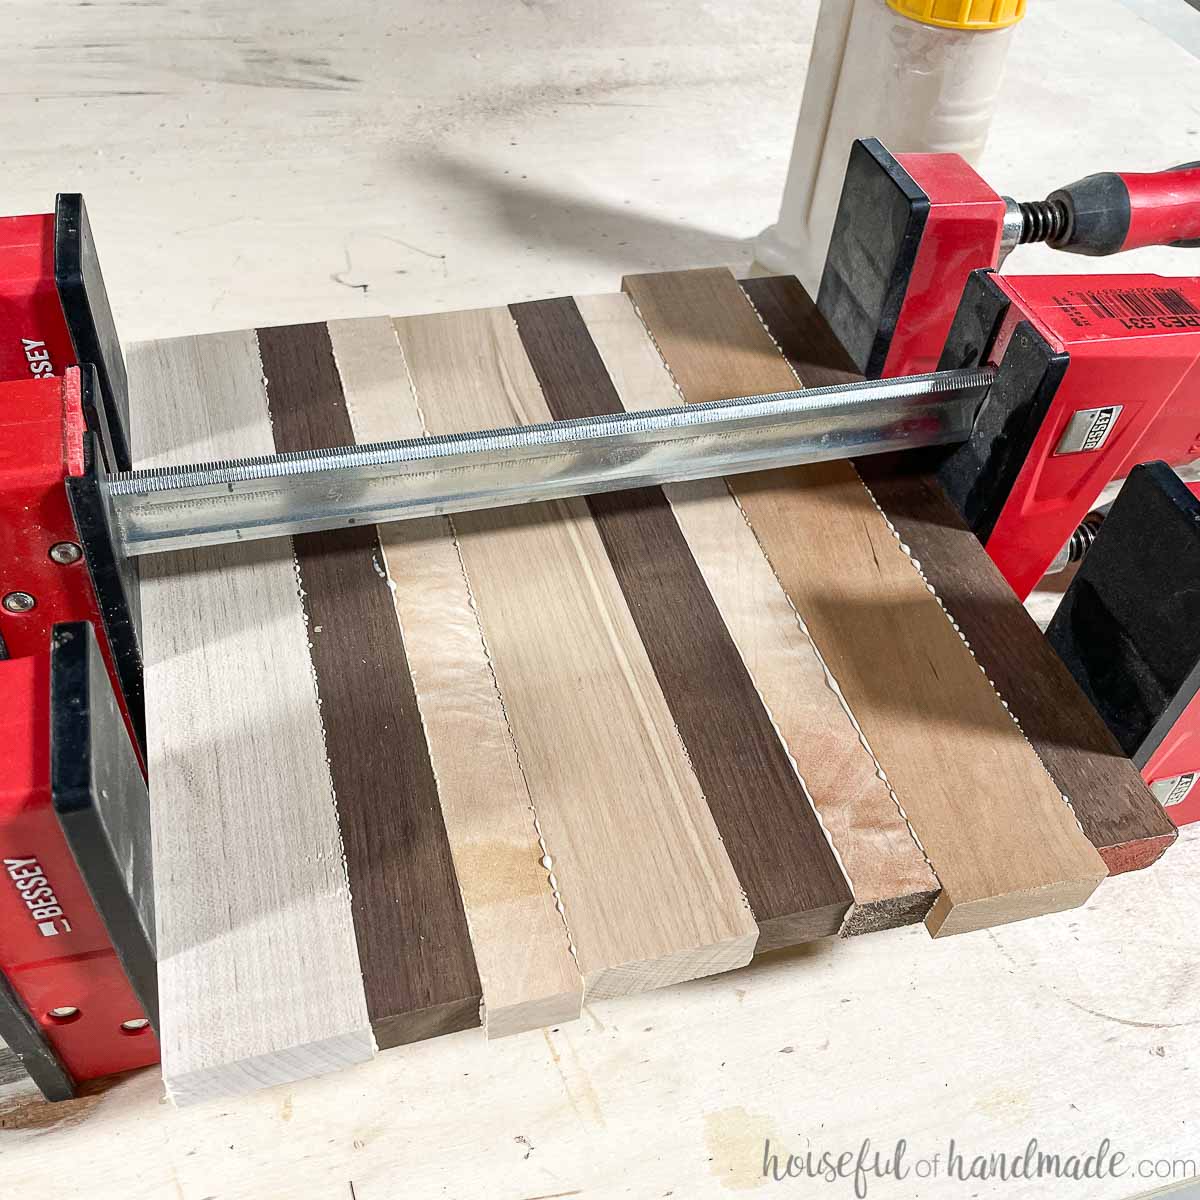
Add glue to the edges of all the boards then line them back up together.
Clamp them snuggly. You should see some glue squeeze out. But not too tight as to cause bowing.
Alternate clamps to help prevent bowing.
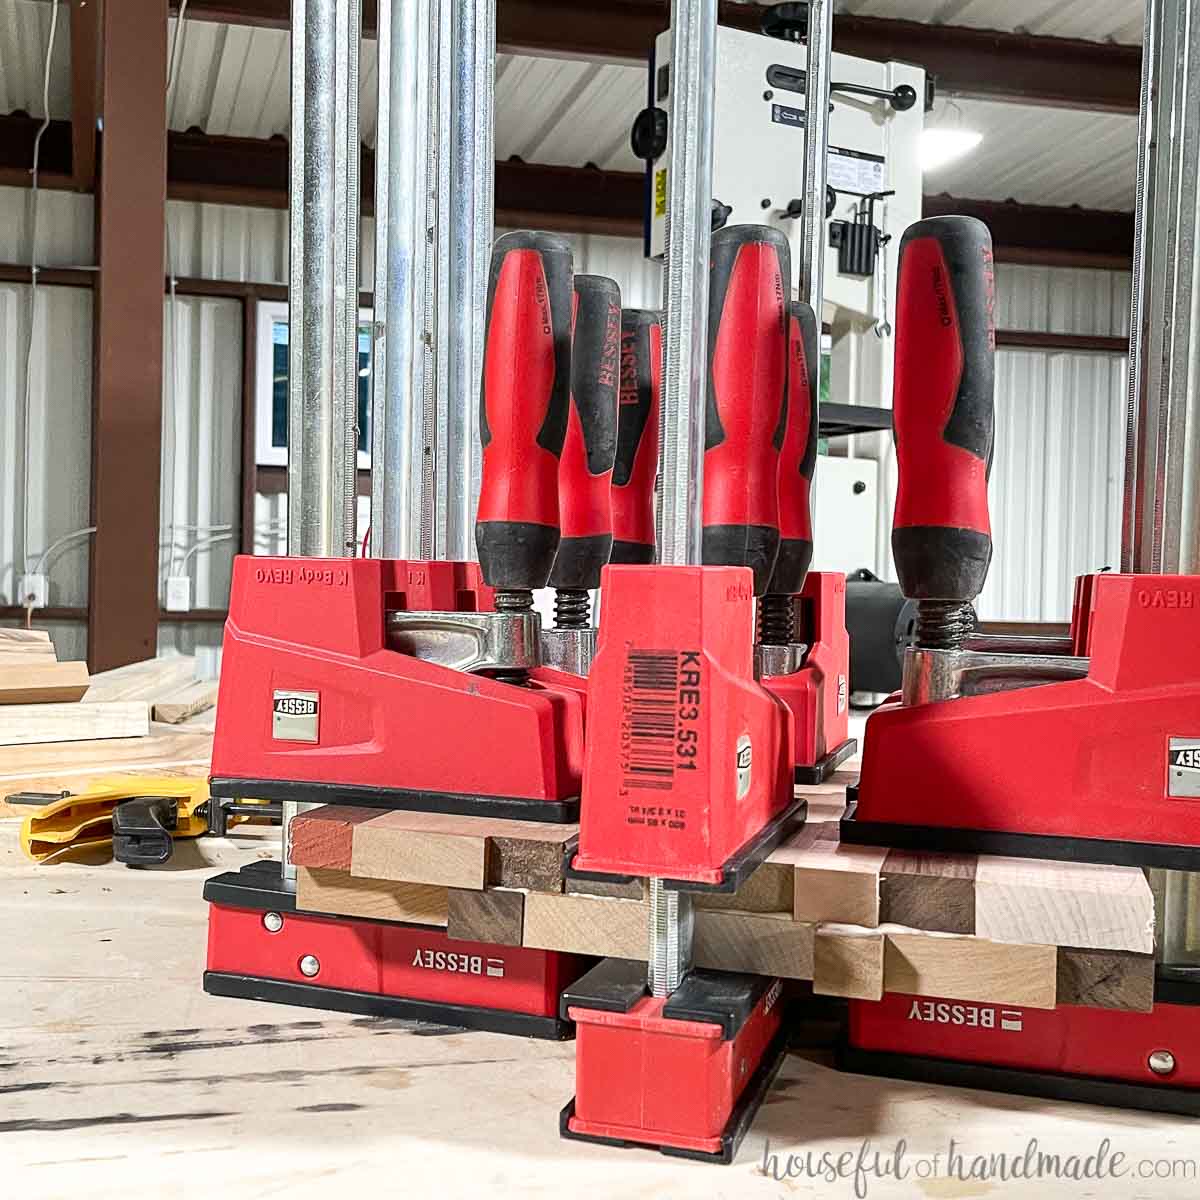
Repeat for 2 pieces.
Once the glue is dry, run the two pieces through the planer or sand flat.
Cover the top of one piece with wood glue and lay the second piece on top. Keep the boards running in the same direction or wood movement could cause them to crack apart.
Make sure no seams are right on top of each other or this will cause a weak point that would be more prone to breaking.
Let the glue dry. Then remove the clamps and sand or plane smooth.
STEP 2- Cut into a Circle
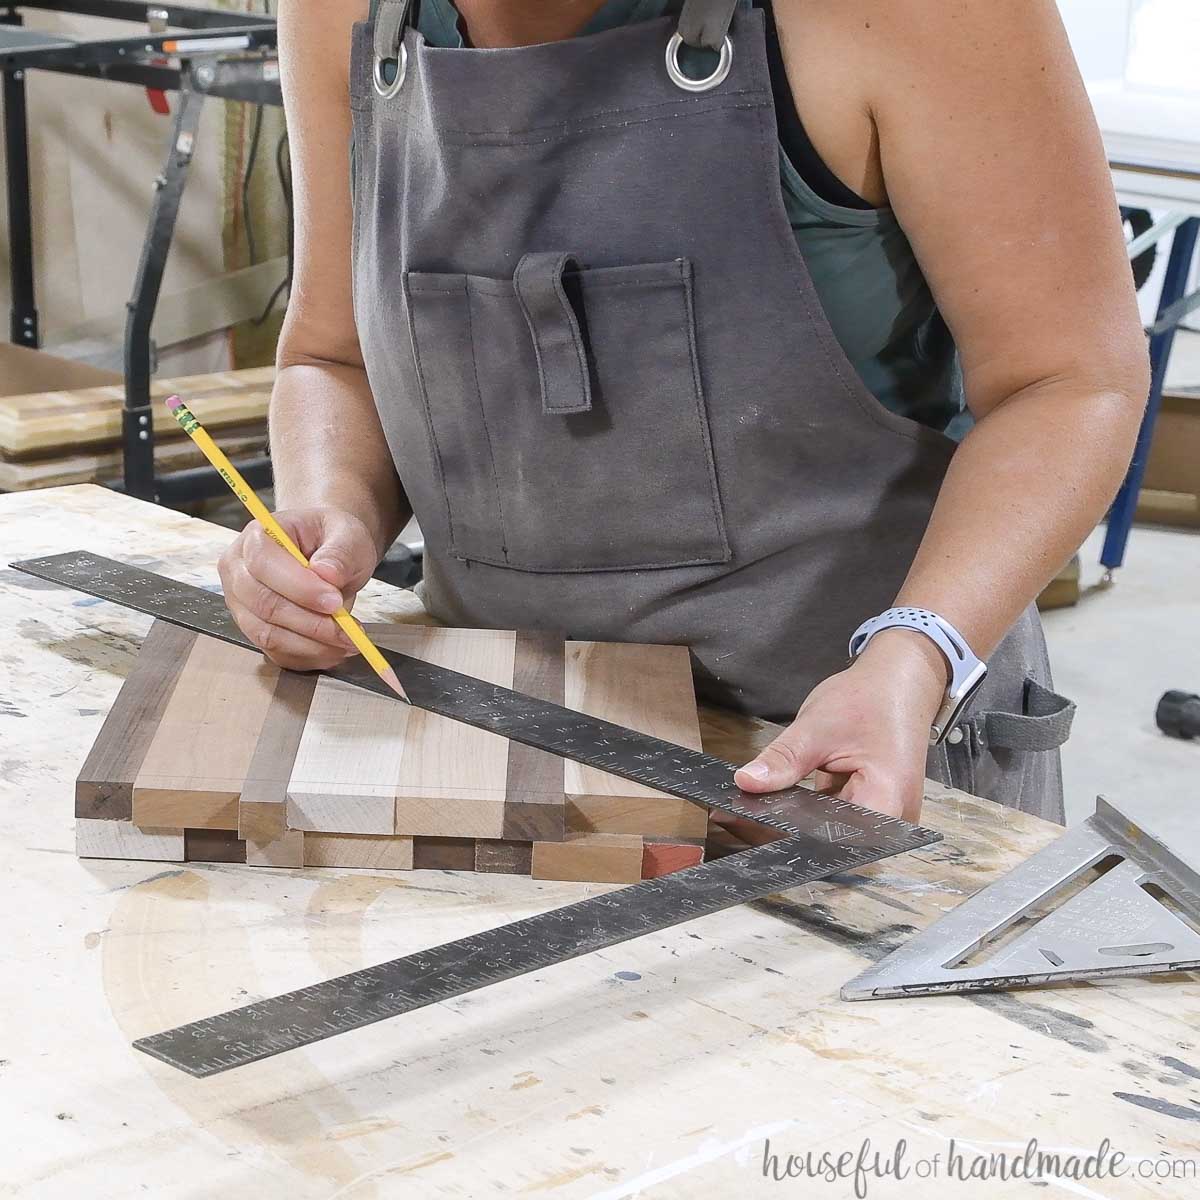
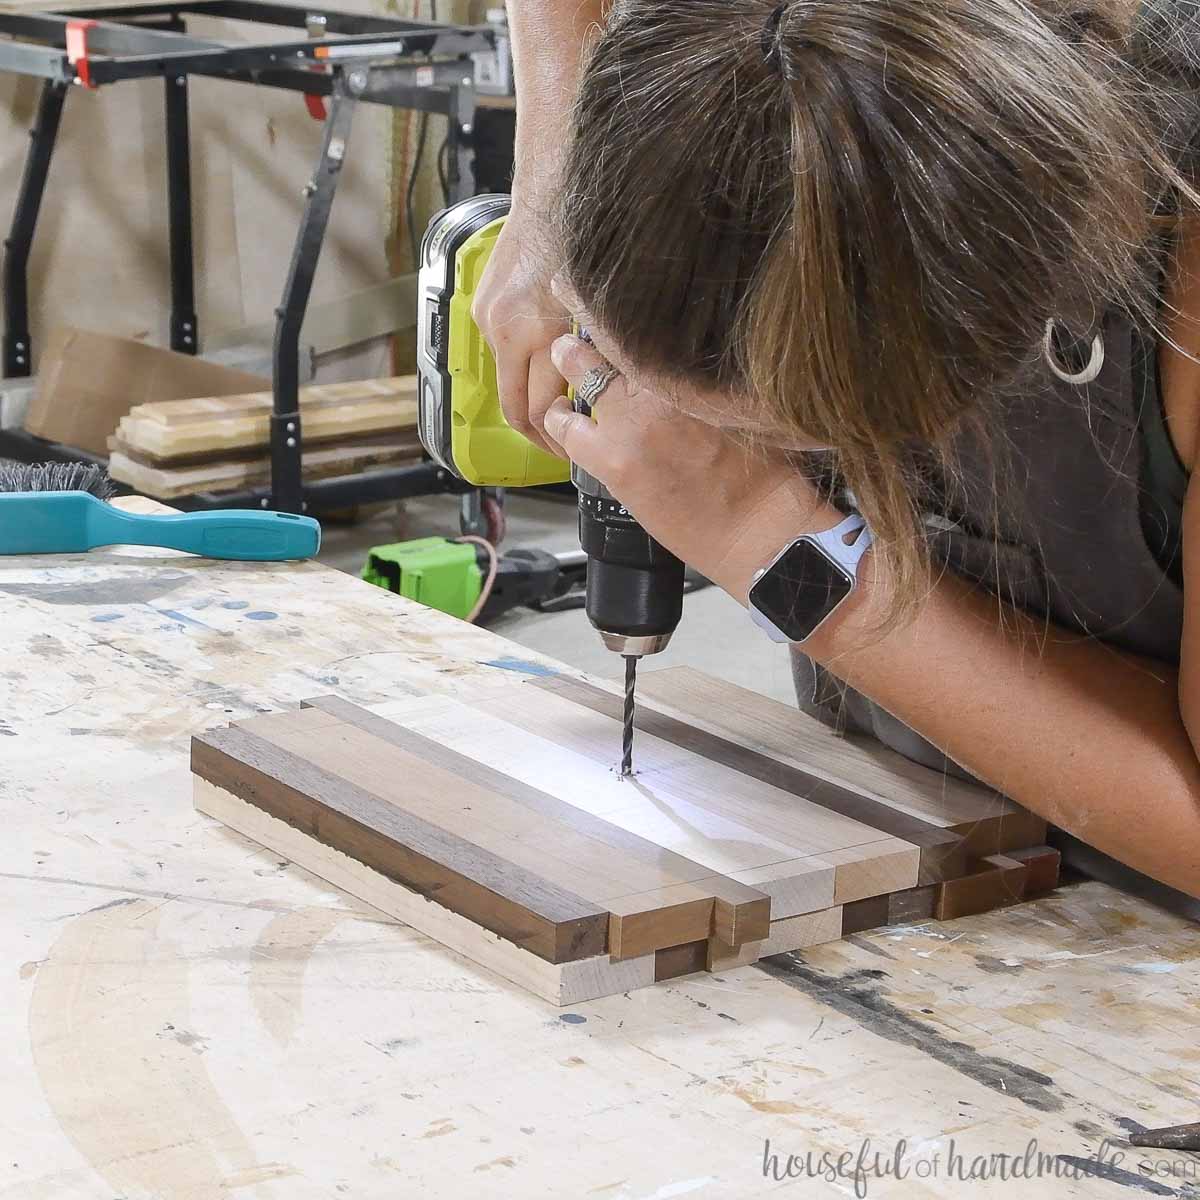
Find the center point of the blank by drawing a line from corner to corner. Where they meet in the middle is the center.
Drill a hole in the center the size needed for the pin of your circle router jig.
I made my own circle cutting jig for the router from scrap wood. It is super easy and it is reusable.
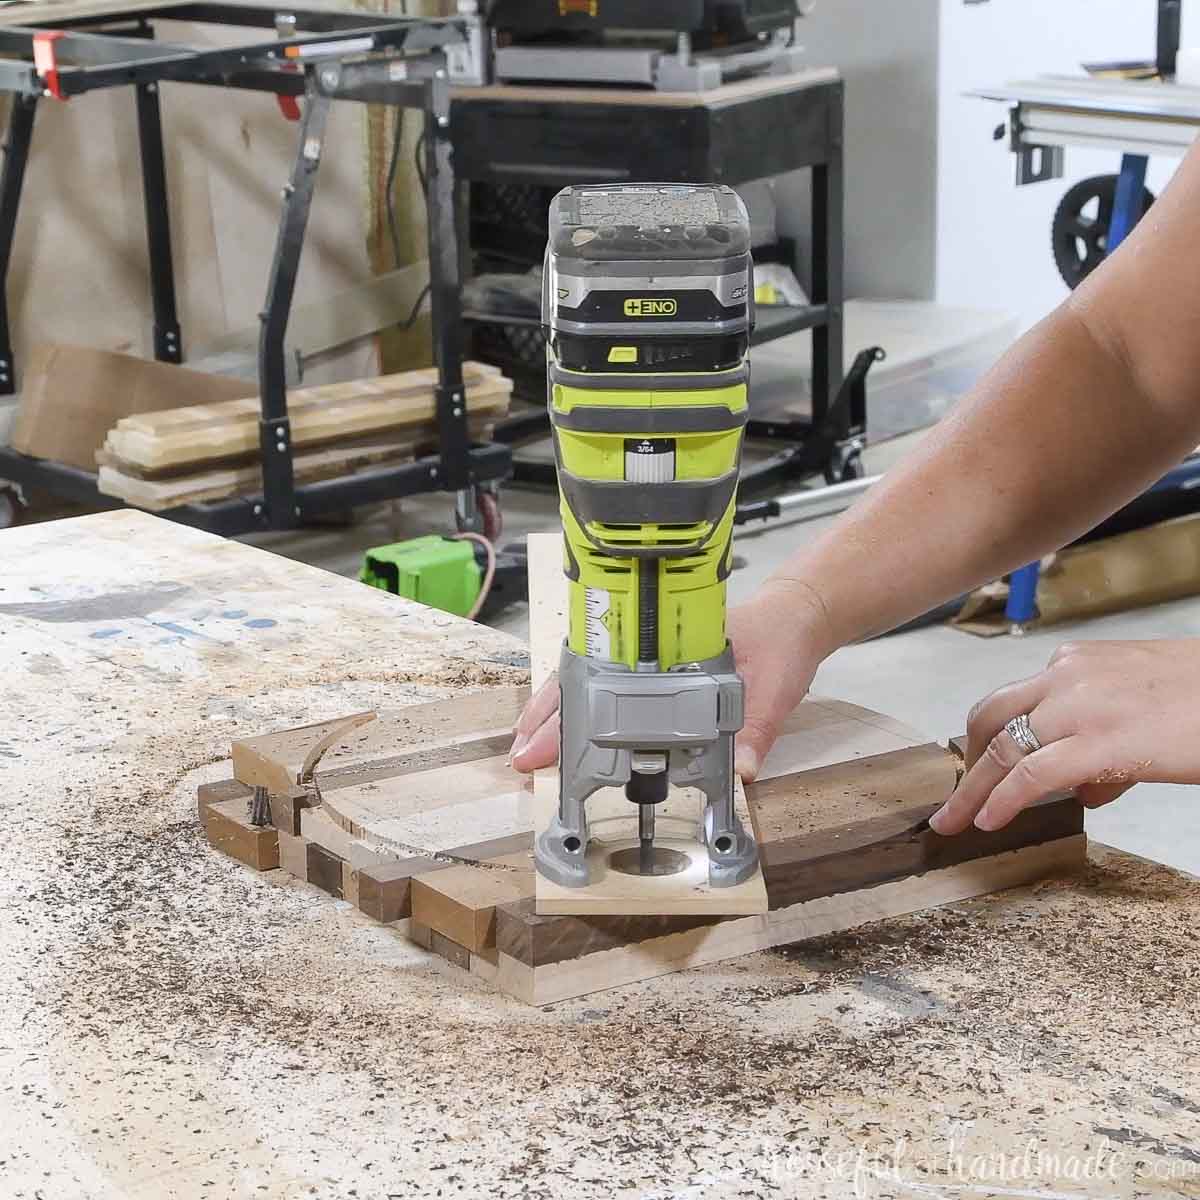
Place the pin for the jig in the hole. My pin is a 5mm shelf pin.
Place your circle router jig on your router and set it on the cake stand blank.
Set the depth for the router to just barely (approximately 1/16″) and turn it on. Carefully run it in a loop around the pin.
EXPERT TIP:
Use a very shallow depth on your first pass to prevent tear out in the wood. As you get close to corners or seams, tear out it more likely.

Once you have completed your first pass, deepen the blade about 1/8″ more.
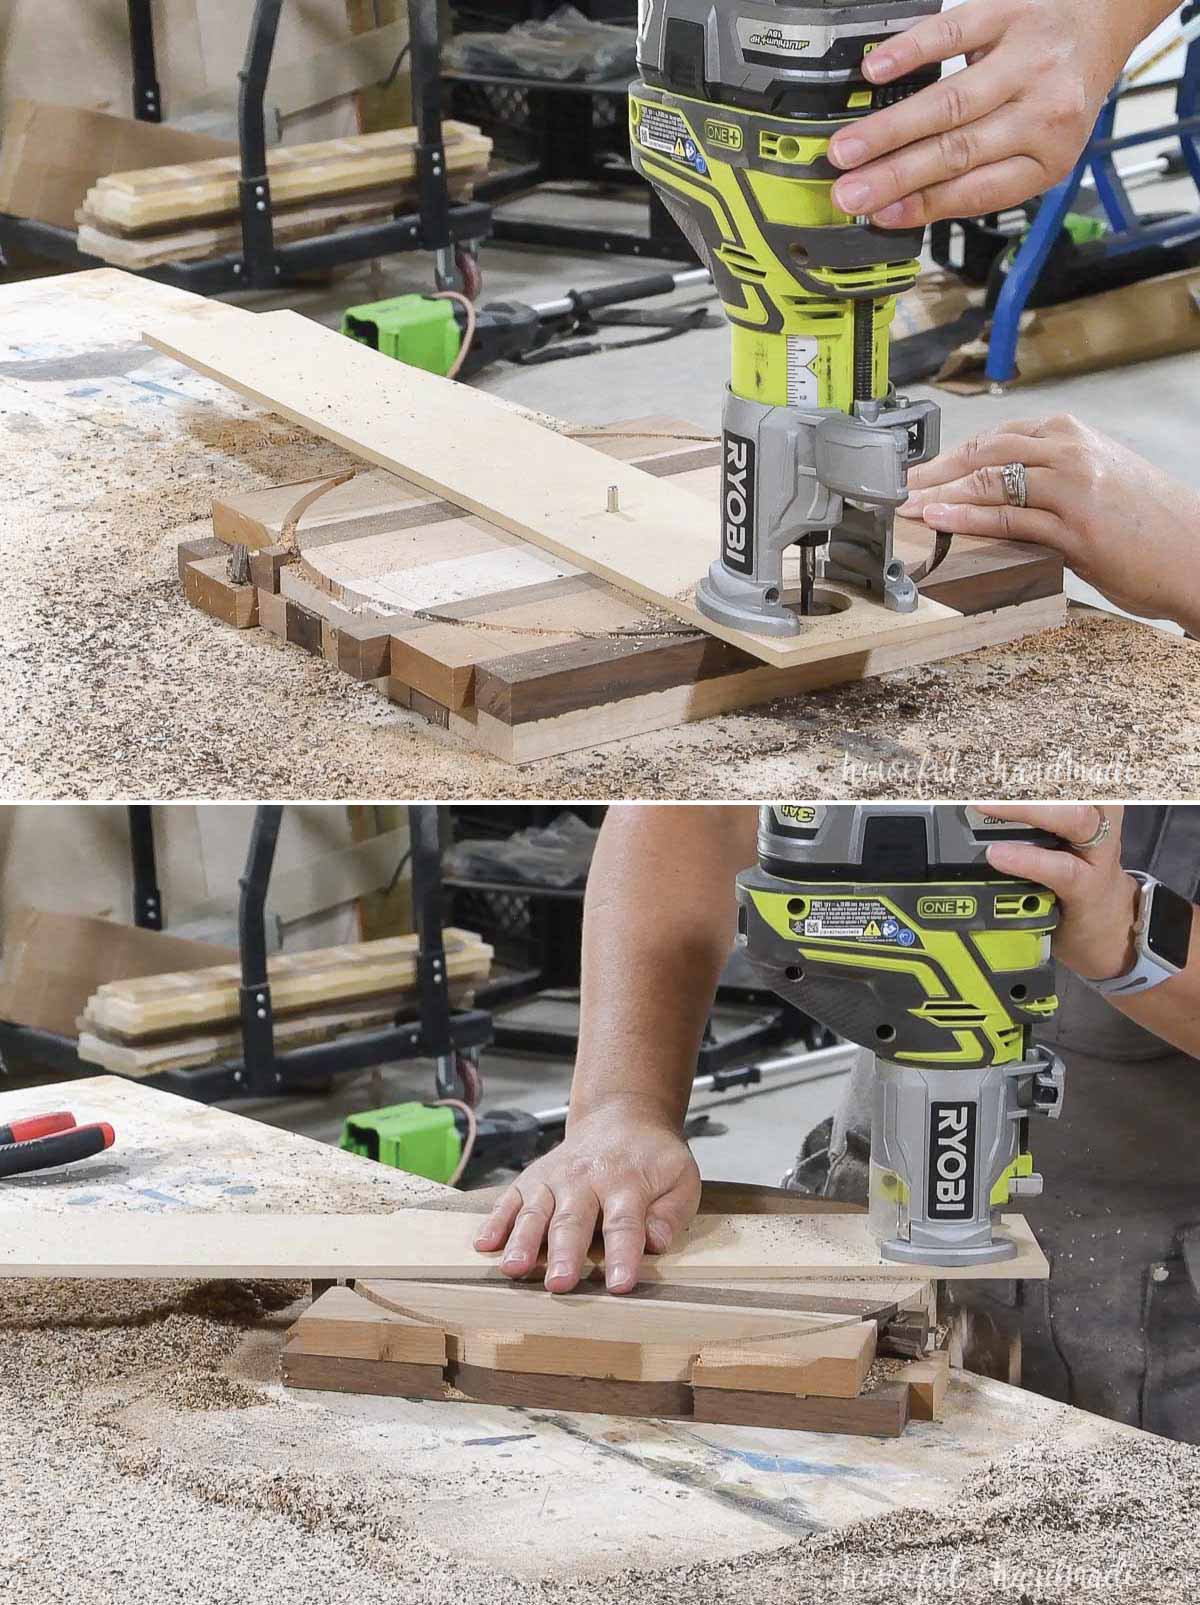
I like to start and stop my circle at an edge where the router runs off the blank. That way I can stop the router as I adjust the blade.
Continue taking passes around the circle deepening the blade about 1/8″ at a time.
It may sound like this takes a while, but it is really quick to create 1 pass. It took less than 5 minutes to completely cut out this perfect circle.
When you are close to the end, hand the part you are cutting off your work table so the final pass does not cut into your worktable.
If you bump the router on a softer spot of the wood, it could cause some tear out.
My router jumped backwards when I was switching hands and caused a hole in the side of my cake plate.
To fix this you can either router a smaller circle to remove it or fill the hole. If you have a specific dome size you need your plate to fit, you may not be able to router it smaller.
Instead, mix some saw dust with wood glue and fill in the holes. It will not be perfectly invisible, but it will mostly hide the error (and give your plate character).
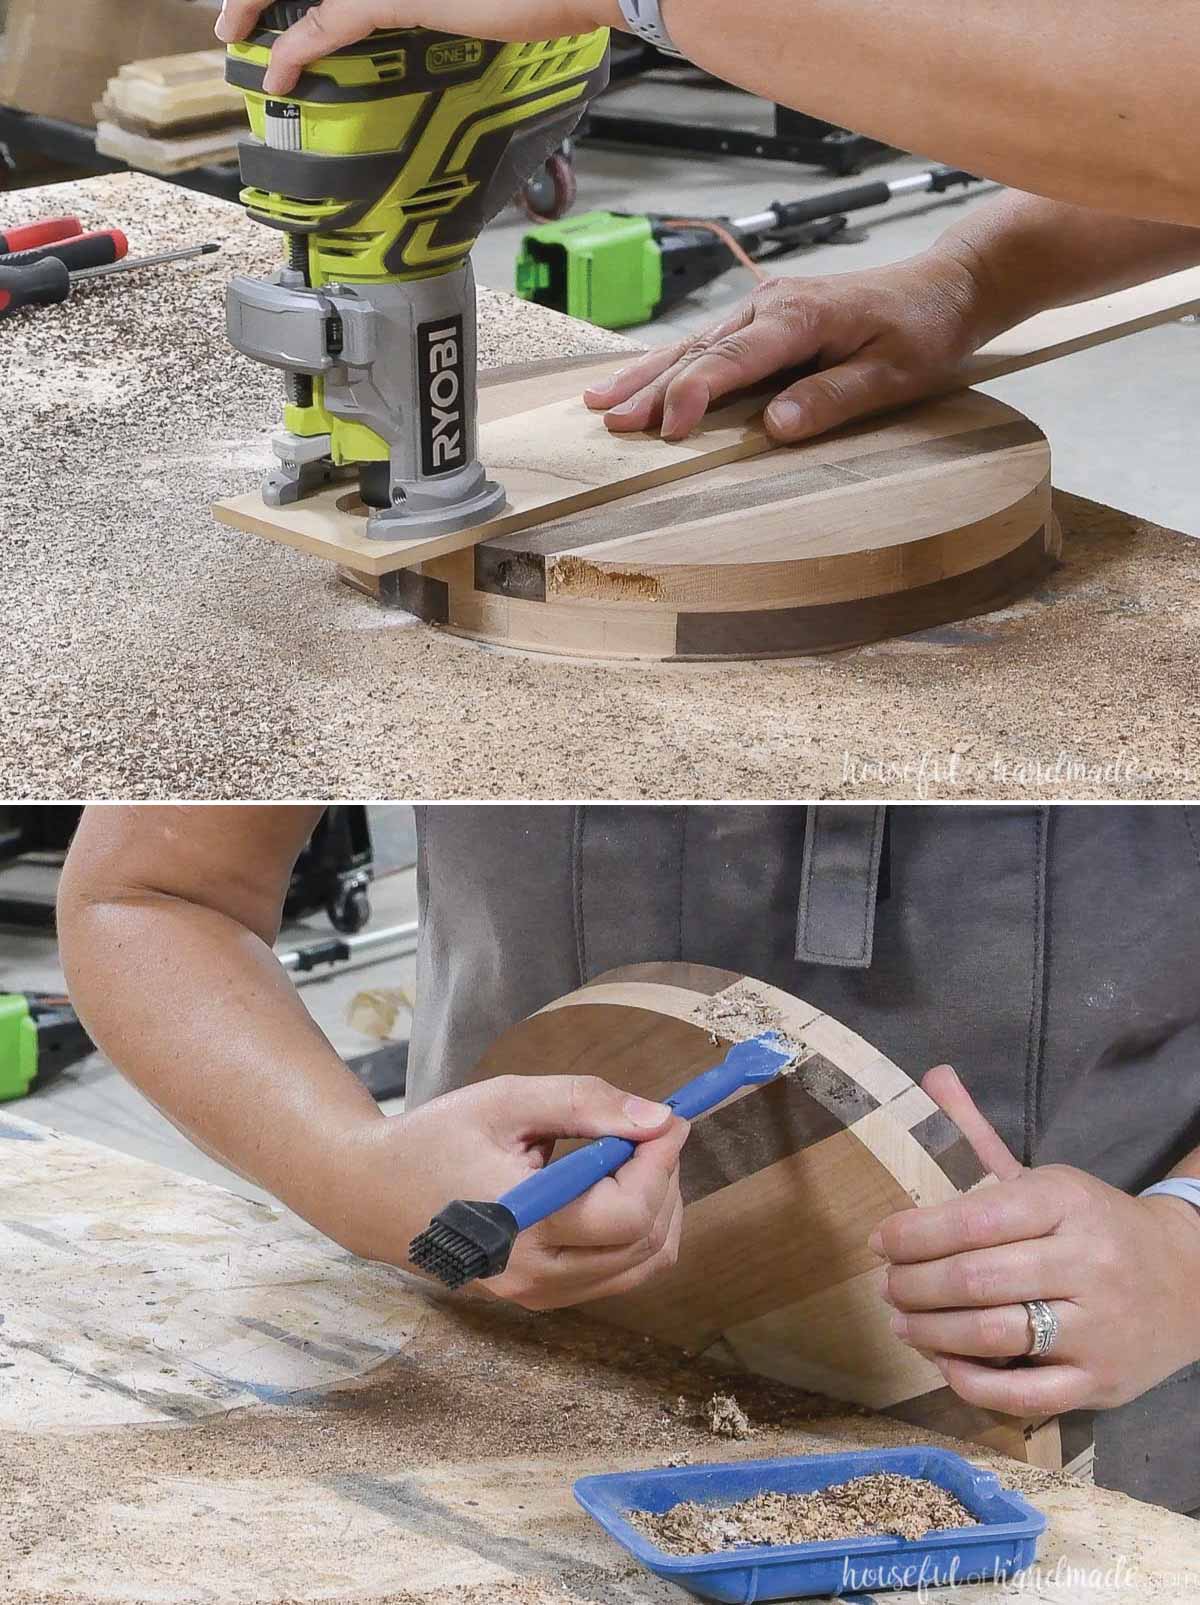
STEP 3- Carve a Groove for the Dome
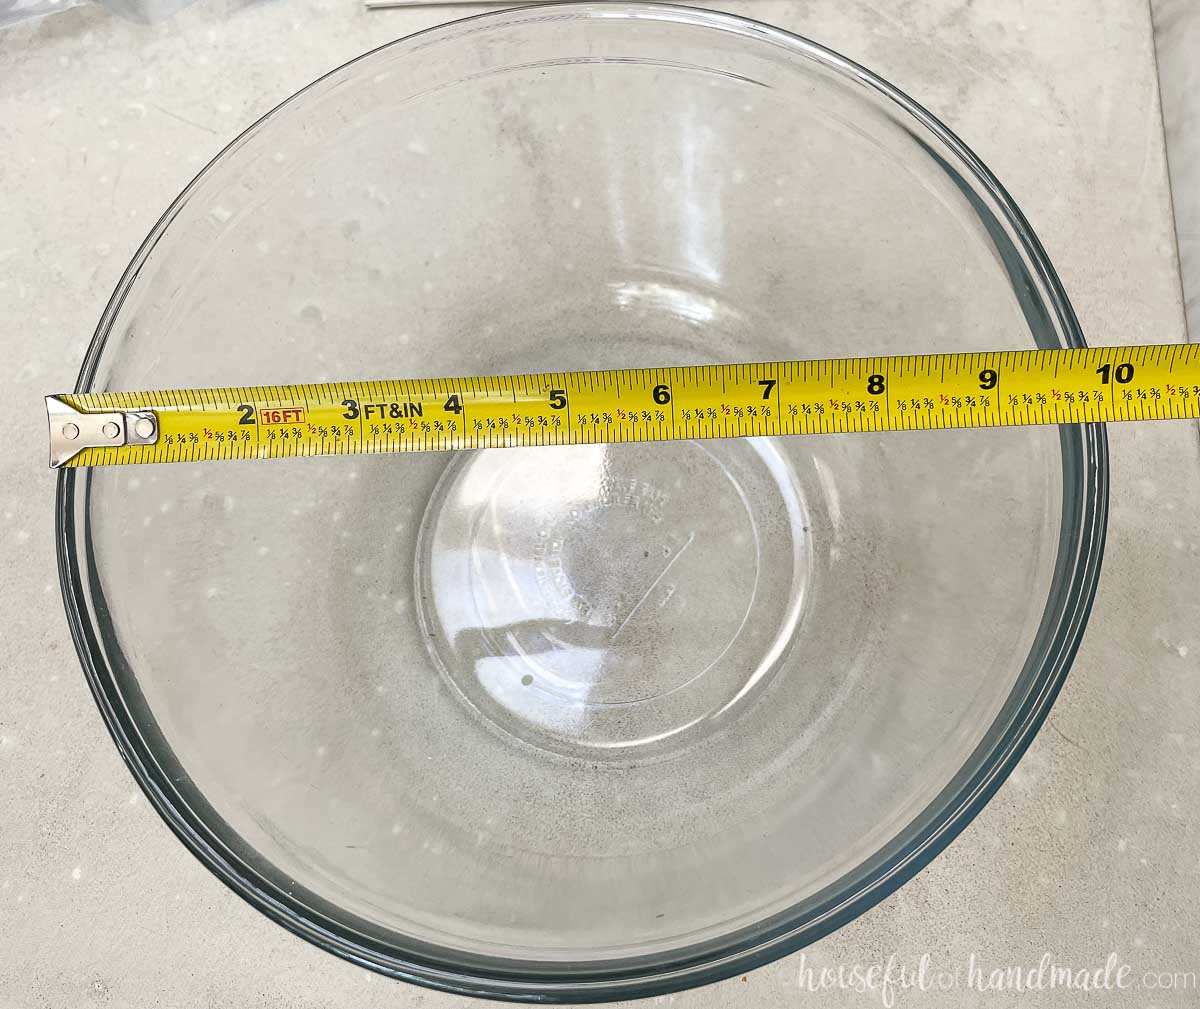
Measure the diameter of your dome (aka, my bowl).
Since the outside of the bowl diameter was 10″ and the inside was 9 5/8″ I set the circle jig to about 9 3/4″ and used a 1/2″ flat router bit for the groove.
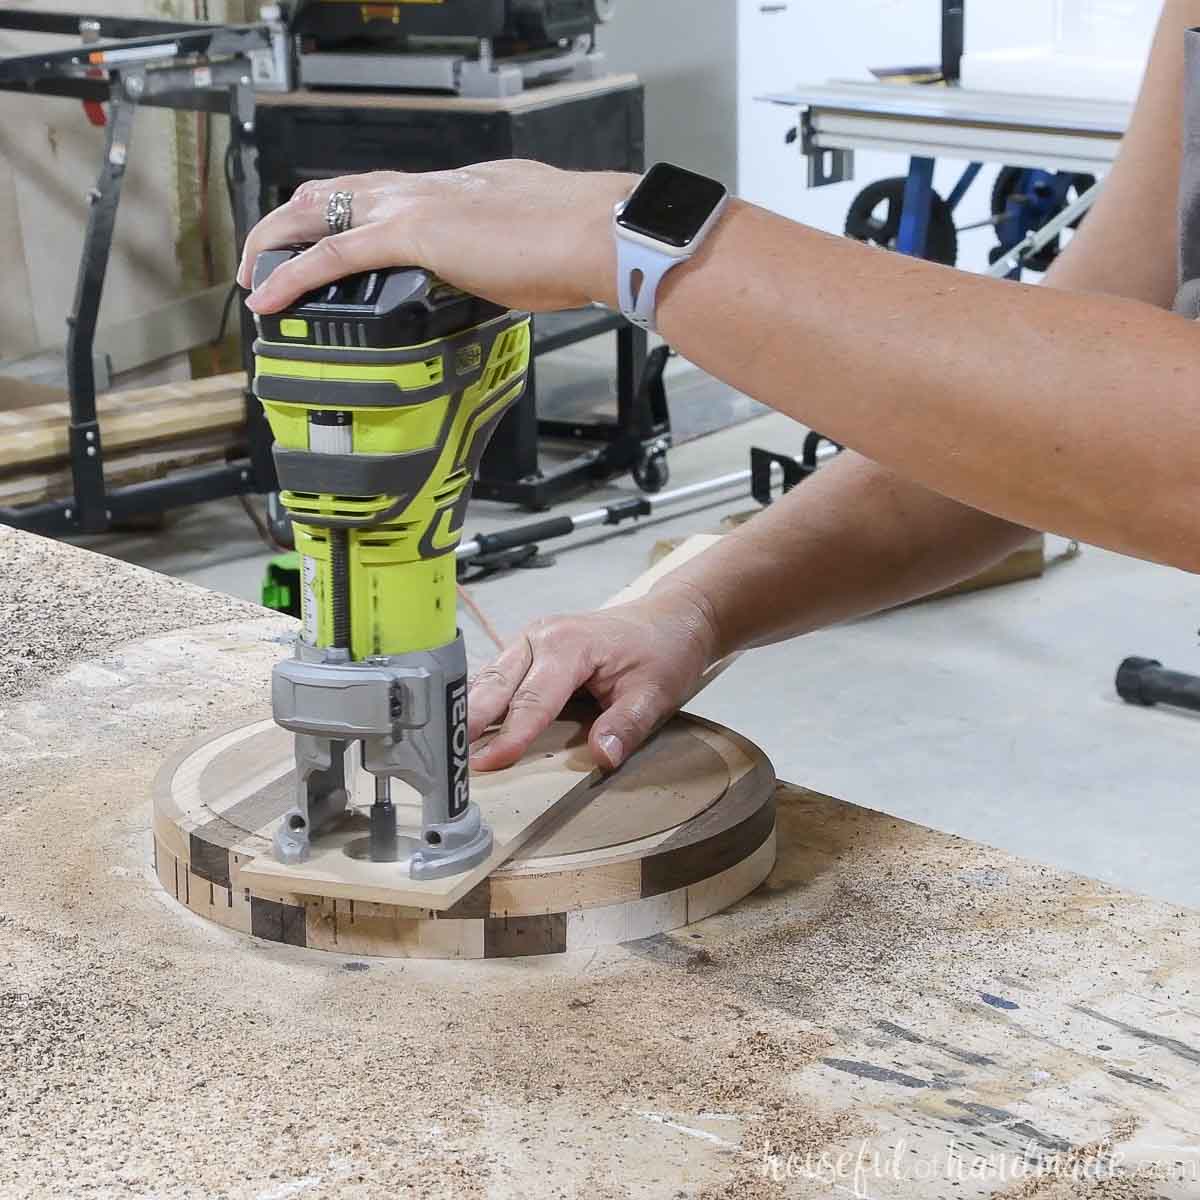
No adjust your circle jig to the new circle radius (half the diameter).
Set it back on your cake plate and with the router just barely clearing the surface, router a groove.
Repeat until you have a approximately 1/16″ deep groove.
Check to make sure your dome fits nicely in the groove. Deepen it if needed.
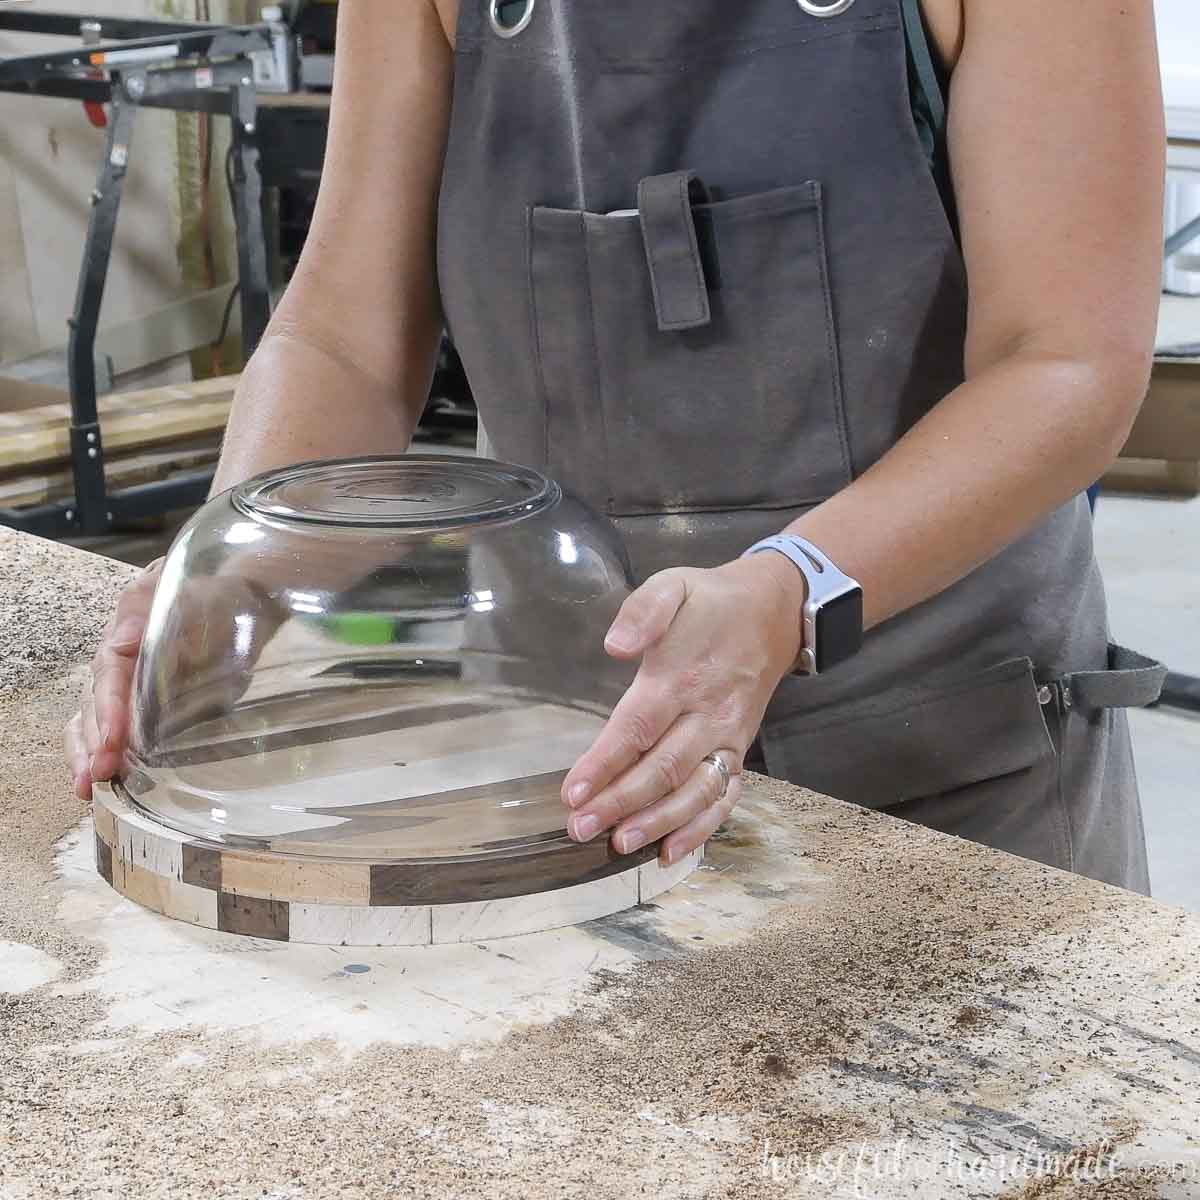
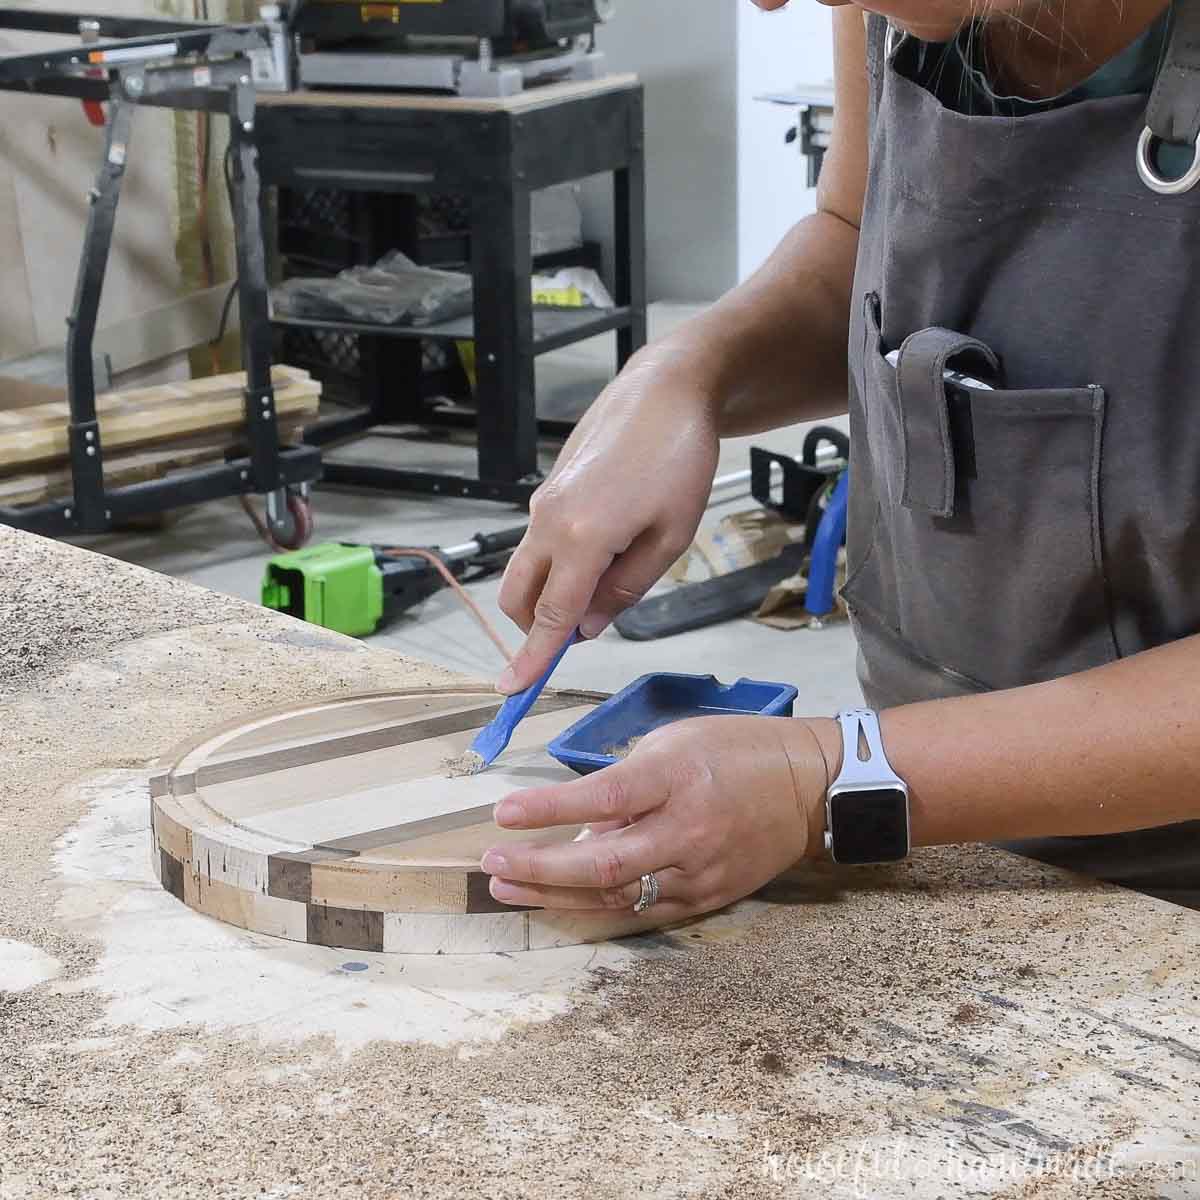
Once you are happy with your groove, fill in the center hole.
I used some of the sawdust mixed with wood glue. It does not completely hide (because the sawdust is mixed) but the cake hides it when in use anyway!
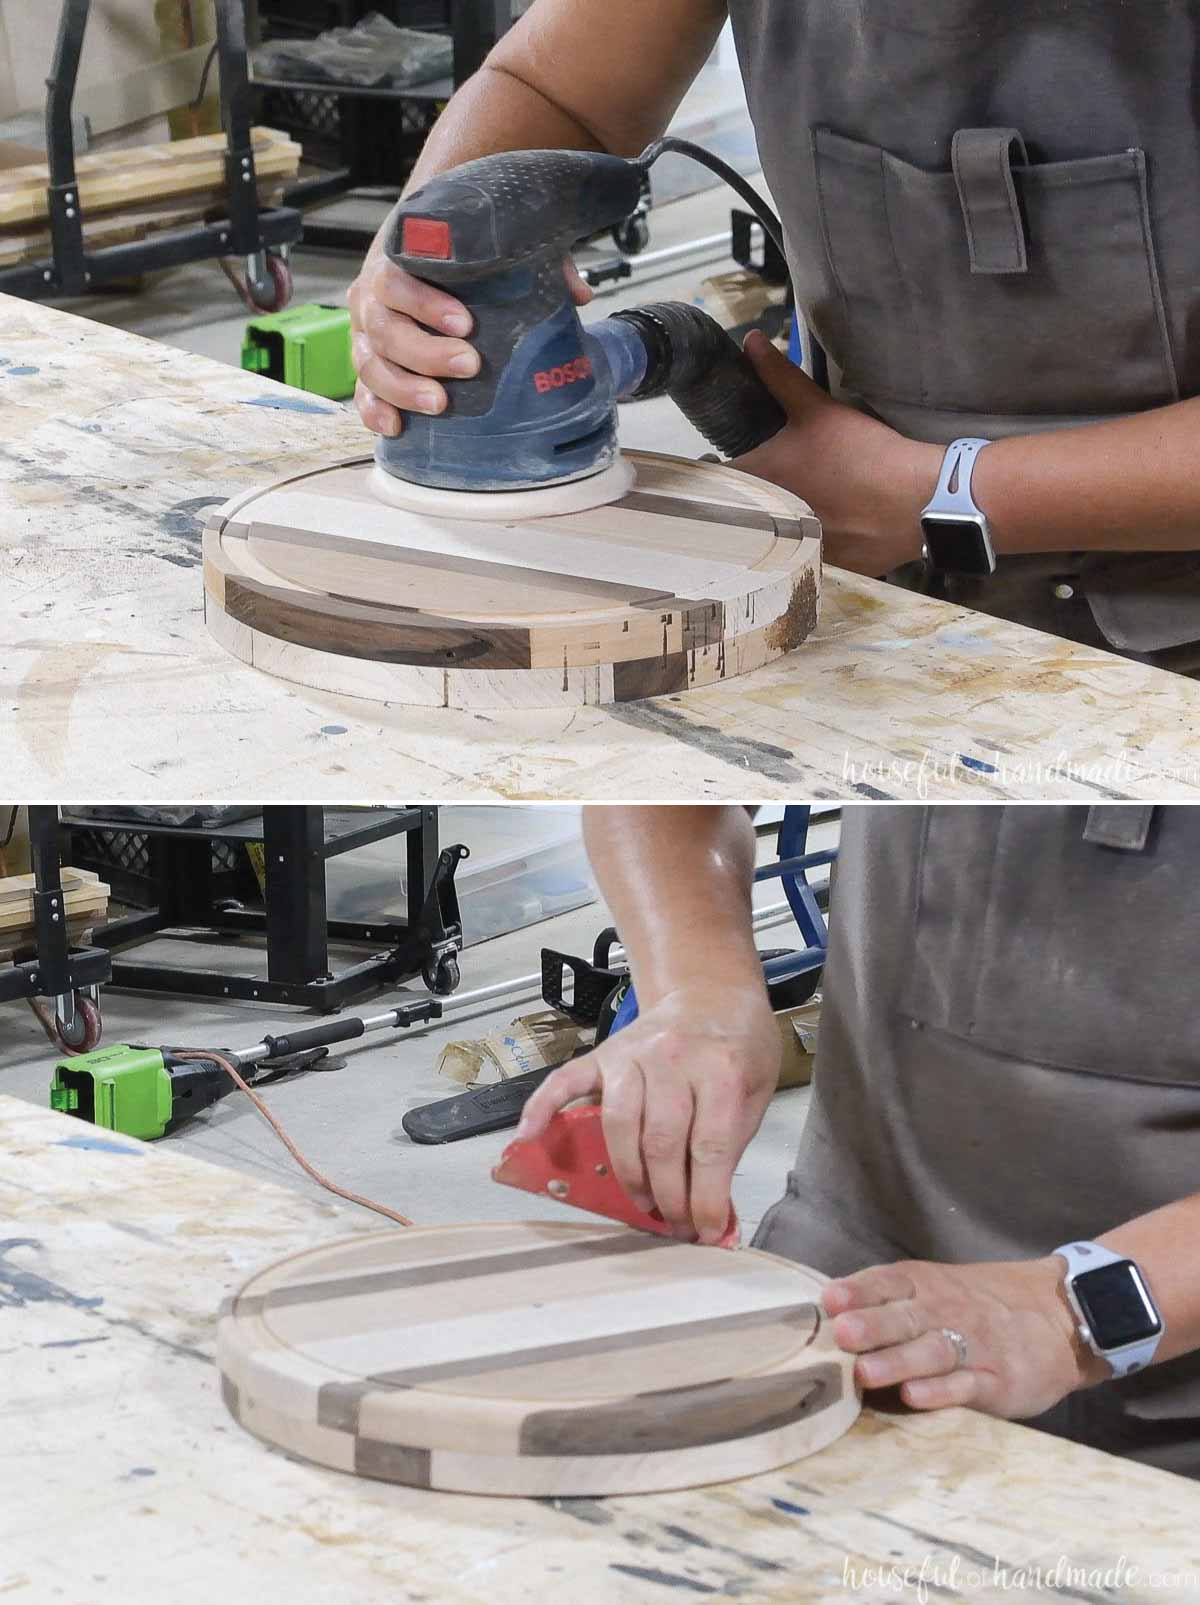
STEP 4- Sand and Finish
Sand everything smooth. I used 150 grit sandpaper to start.
Make sure to take extra time on the edges to clean up any burn marks from the router bit. It is pretty obvious where I paused in my rotations.
You can round over the edges with your sander as well (I did).
Don’t forget to sand in the groove and soften the edge.
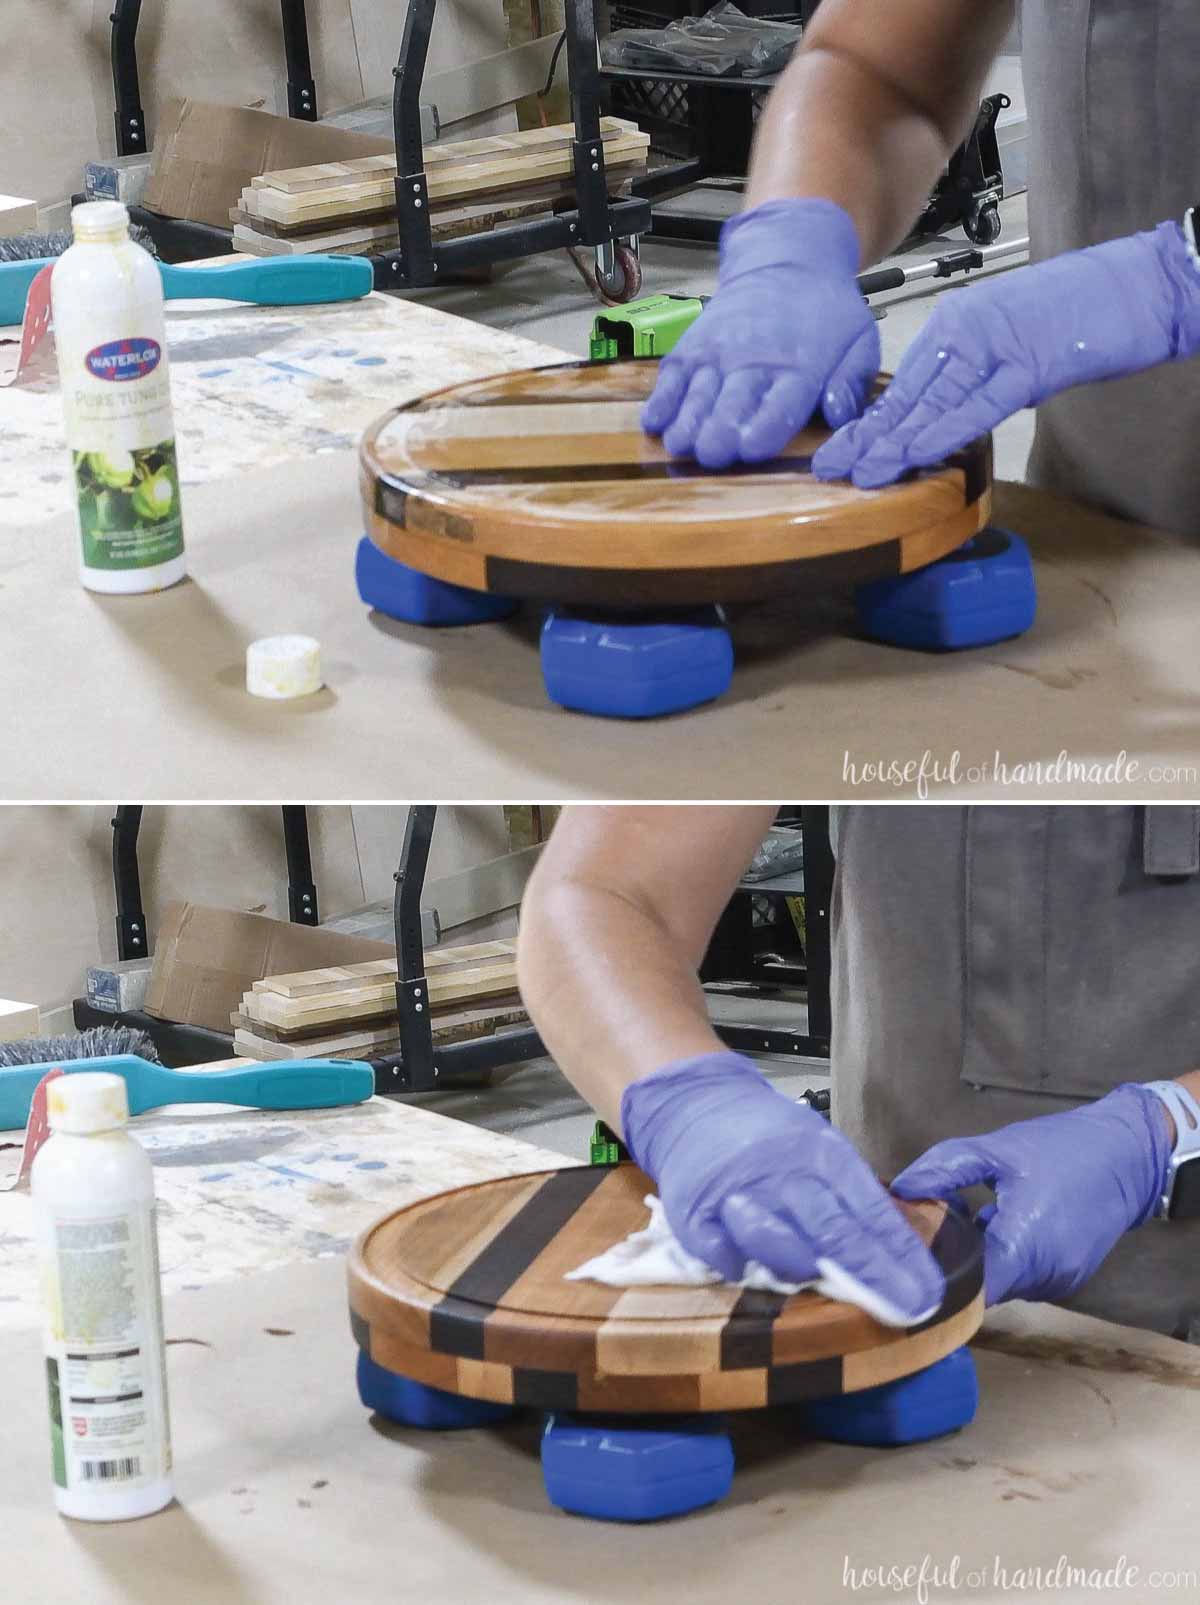
Cover the entire DIY cake plate with sealer. I am using Pure tung oil.
Apply a nice coat with a cloth, brush or your gloved hands. Let it soak in for 10ish minutes. Then wipe off the excess.
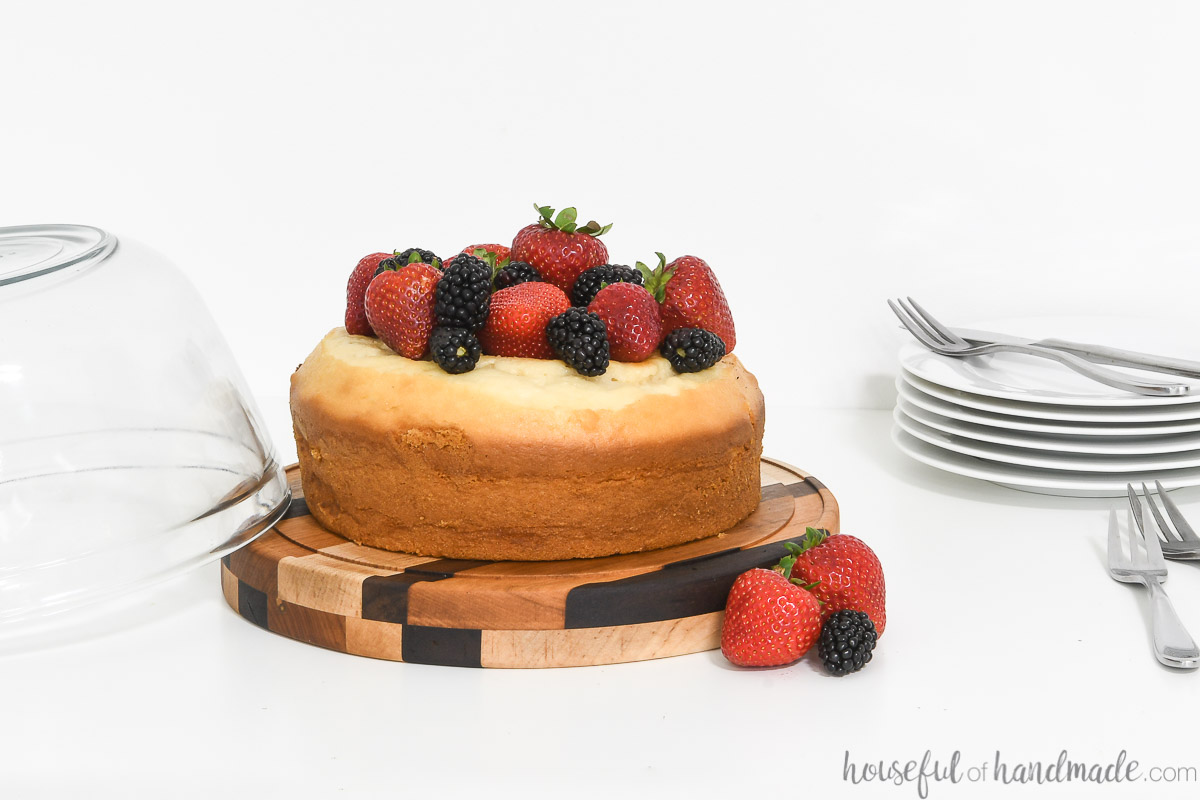
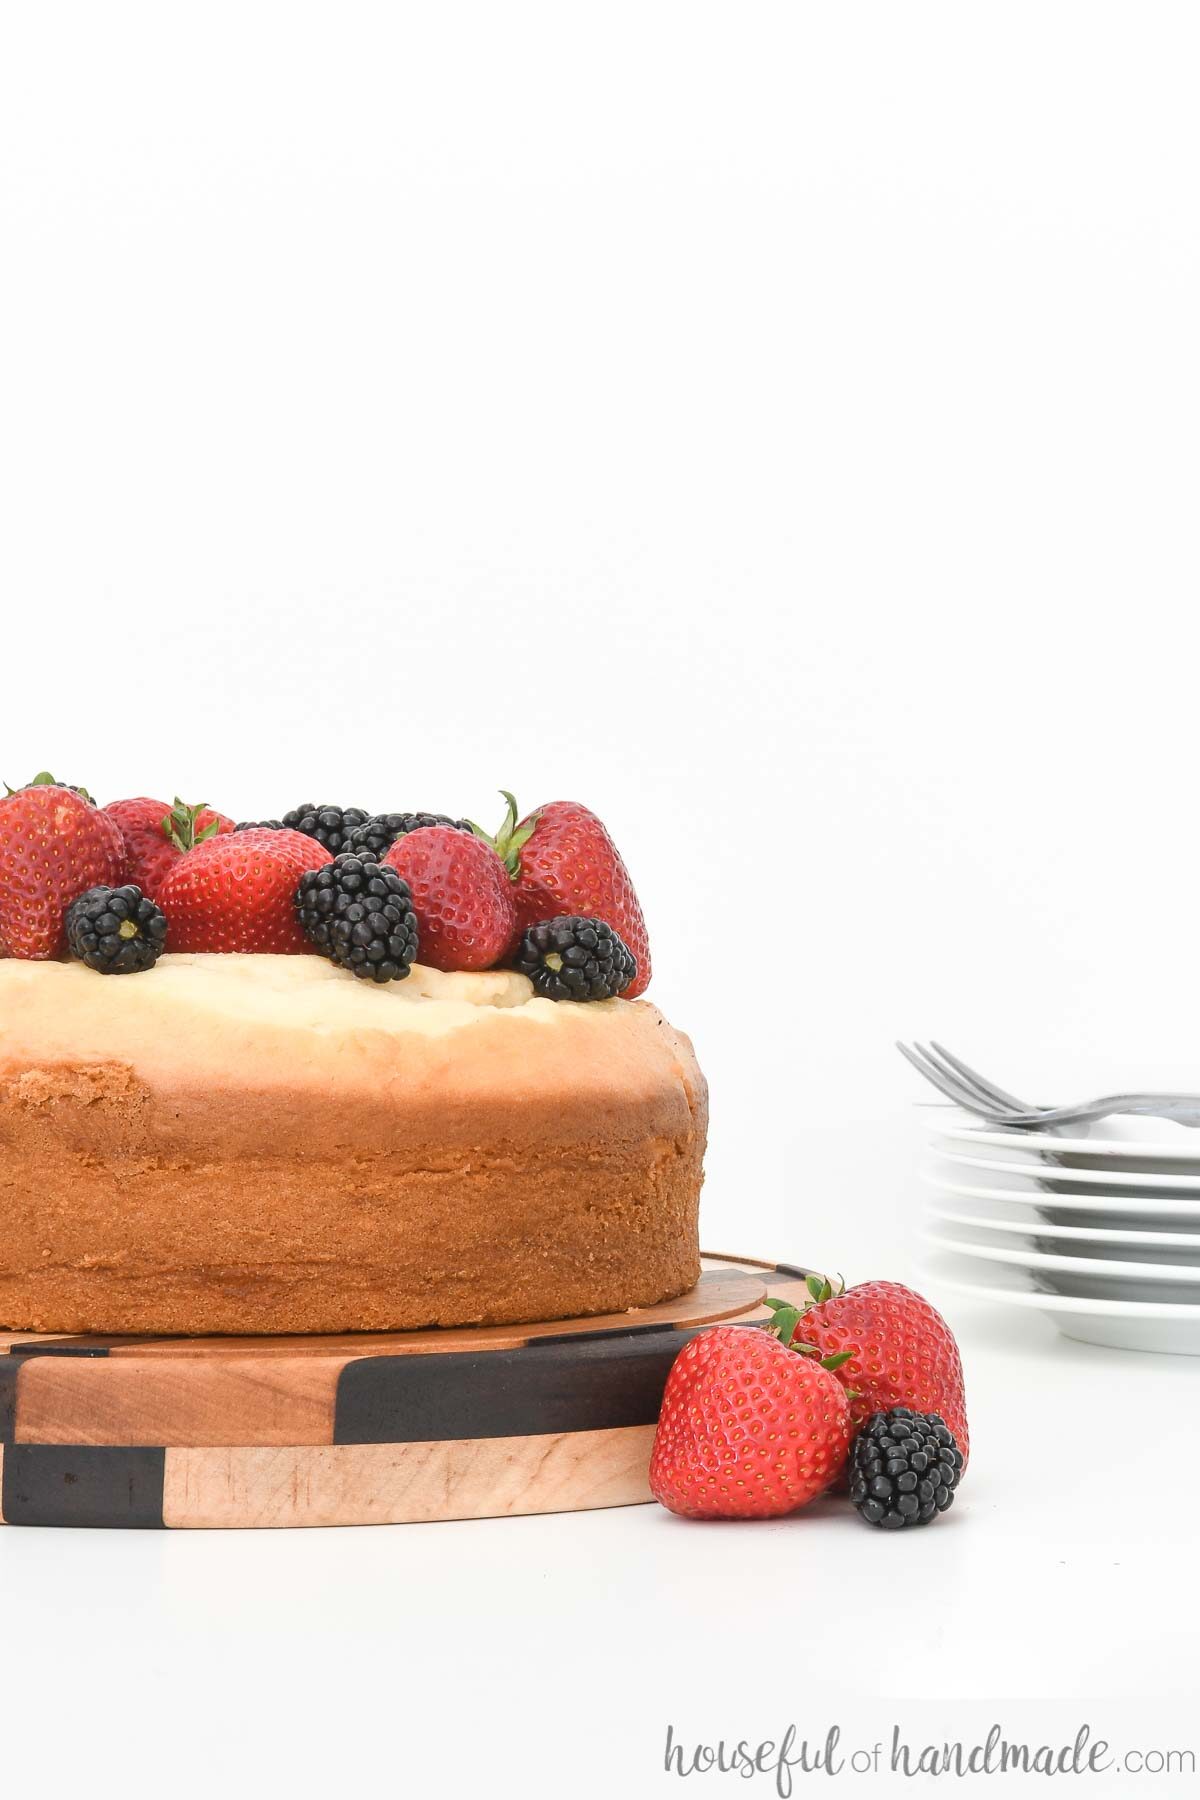
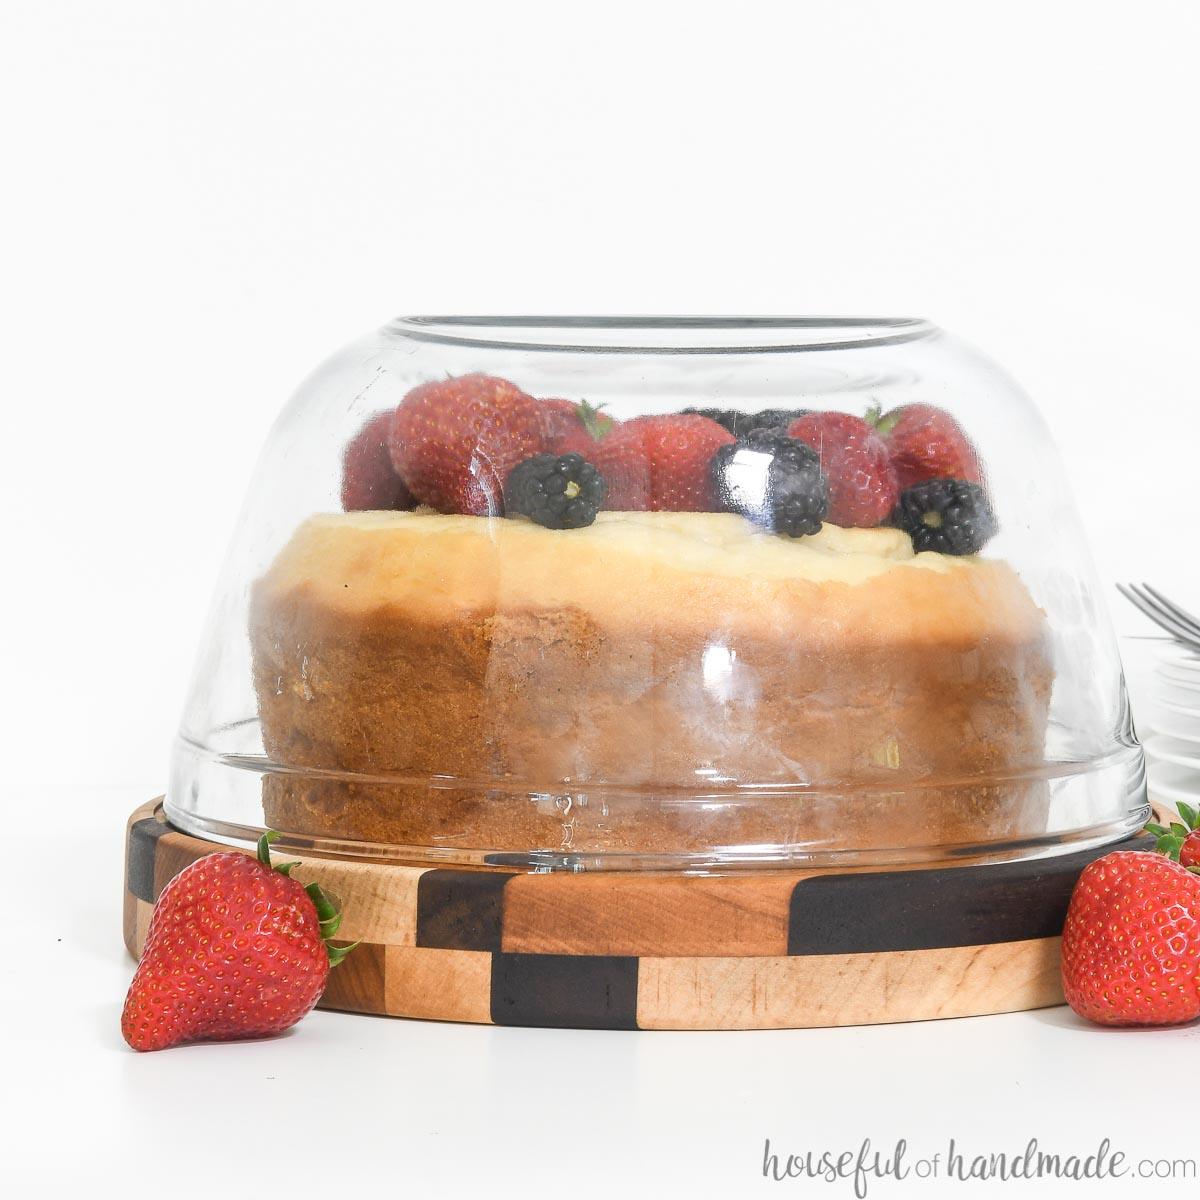
Once your sealer is fully dry, you are ready to eat cake!
This beautiful cake plate will make your homemade or store bought goodies look delicious. And you can cover them up with the dome to keep them from spoiling.
I think I will be eating a lot more cake in my future.
More Scrap Wood Projects
Create something amazing from your scrap wood pile!
I teamed up with my friend Shara from Woodshop Diaries to create new scrap wood projects to share. We are sharing a new project every Tuesday throughout August (#scrapwoodsummer).
Check out these fun scrap wood projects. I will update the list as we add more this month!


Have fun using up your scraps!
