See how we created our own master bathroom retreat from a tiny closet sized bathroom.
The beautiful master bathroom is full of DIY projects to transform the entire space on a budget.
I am so excited to share our DIY master bathroom retreat with you as part of the Room By Room summer series. This week we are all sharing summer bathrooms.
If you have a bathroom remodel in the future (I know I do…), you are going to love all the beautiful bathroom ideas and inspiration! Check our our master bathroom remodel and then check out the rest of the bathrooms below.
This post may contain affiliate links. As an Amazon Associate I earn from qualifying purchases. Click here to read my full disclosure policy.
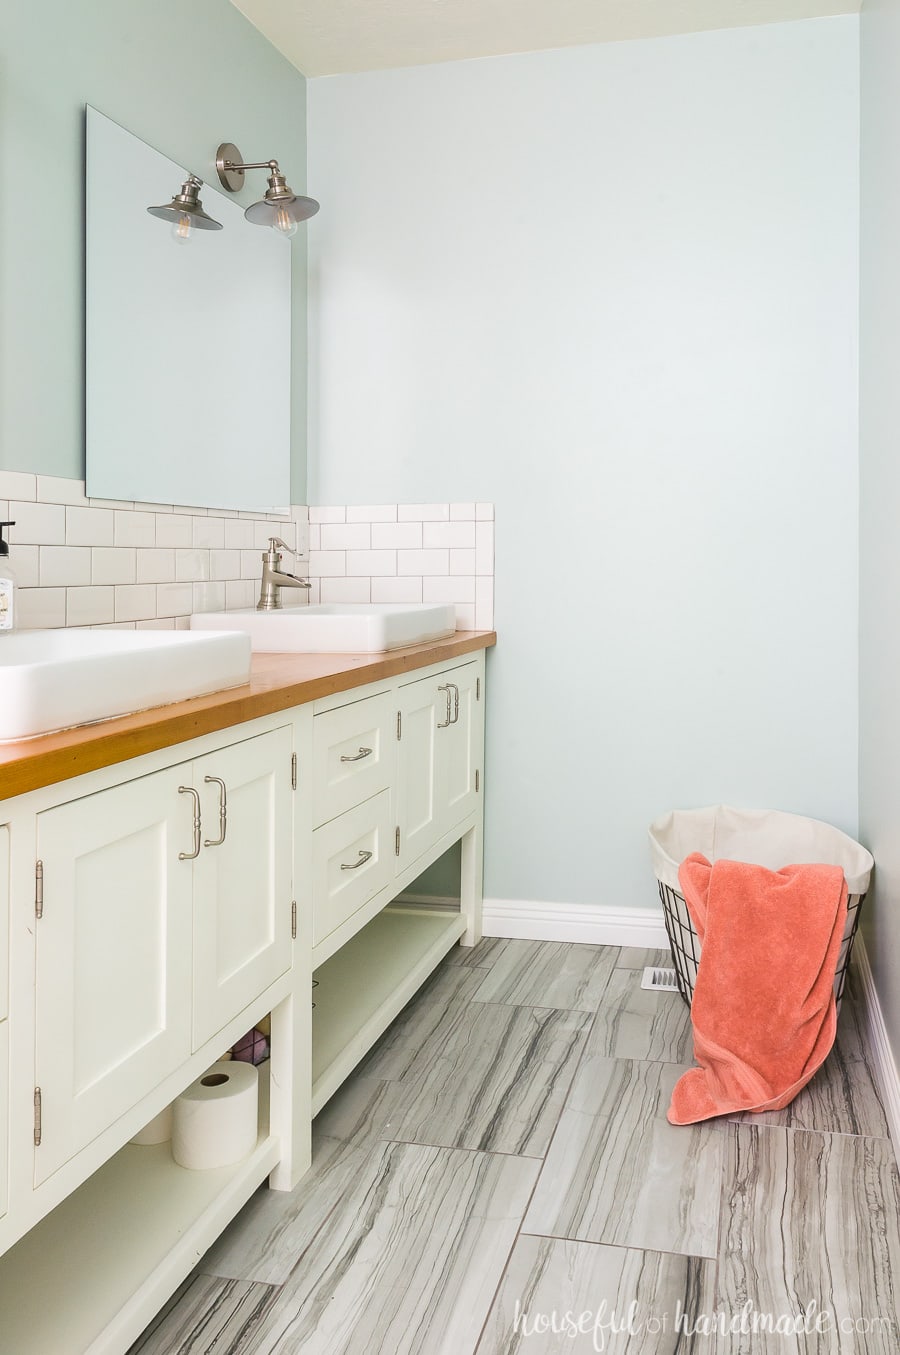
Our master bathroom was almost the DIY that never happened. To think we almost never got the perfect master bathroom retreat is almost too sad to say because this room is so amazing.
But before we can talk about how amazing our bathroom is, I want to share where it started.
Our Master Bathroom Retreat Before…
When we moved into our house so many years ago, the master bathroom was a tiny little closet. Seriously, it was so tiny that the door would hit you when you tried to close it.
But even worse, the door swung into the bathroom so you would enter from the bathtub side and have to squeeze around the base of the toilet while trying to shut it.
And if I was at the vanity and my husband didn’t notice, he would whack me with the door. It wasn’t pretty.
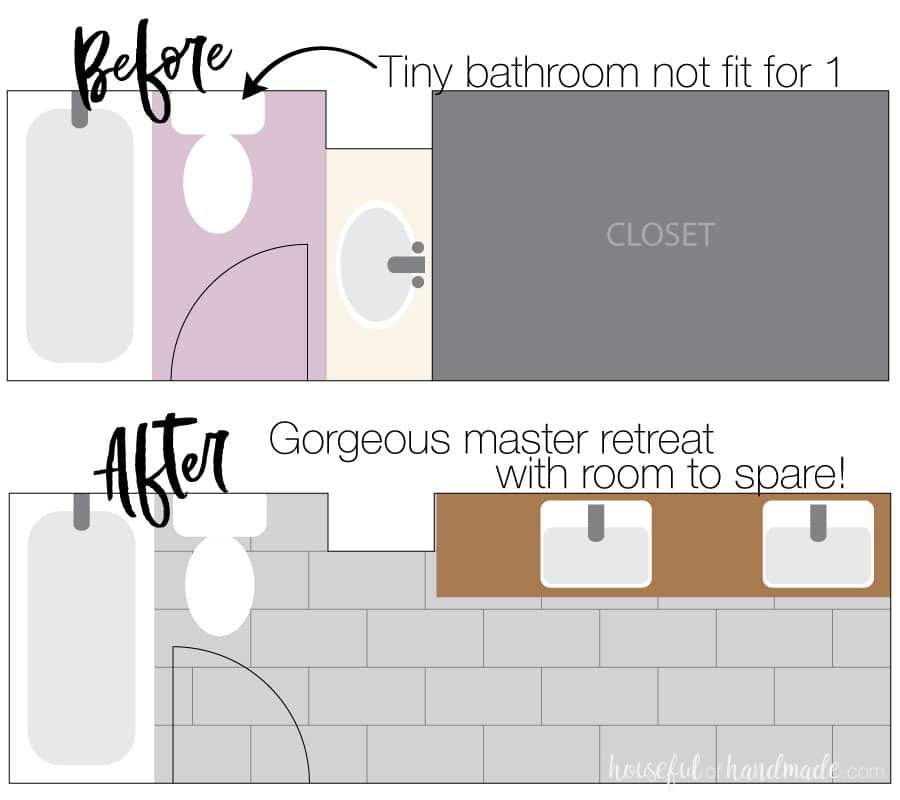
So when we were getting ready to replace the pink & blue swirly carpet in the entire house with hardwood floors, we decided to change the layout to create the perfect master bathroom retreat.
We sacrificed the 5′ x 7′ closet to become part of the bathroom. But we didn’t have to give up on some decent closet space.
Instead we built a closet on the outside of the bathroom wall and I even gave it a makeover last year for only $100 to be the perfect, organized, and functional closet I always wanted. You can check out the $100 walk-in closet makeover here.
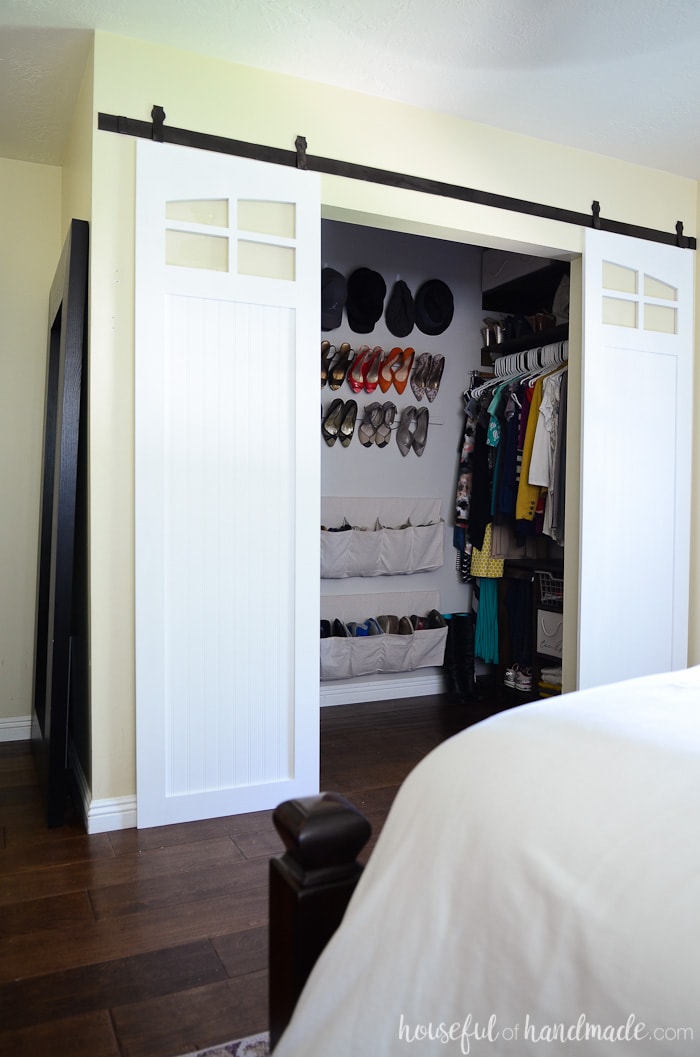
Sadly, the new master bathroom area was demoed for roughly 7 years with absolutely no progress…
Then one day I decided to start a blog. And that helped me to tackle any DIY projects I was hesitant to do. Which meant it was time to tackle the bathroom.
I even shared everything I learned as I tackled our first ever bathroom remodel.
- What I Learned about Tiling
- Installing New Tub & Shower Fixtures
- Mission Style Open Shelf Bathroom Vanity Build Plans
- How to Install a Bathroom Vanity
- How to Build & Protect a Wood Vanity Top
- Installing Baseboards and Door Trim
I have shared so much about our master bathroom remodel. But just realized I never shared a final reveal.
Why is that?
Well, because it isn’t actually finished!
I know, how many more years can this small room be ignored? But I got it to a point where it was pretty and functional, then forgot to add the finishing touches. I really need to get on that.
Our Master Bathroom Retreat Now!
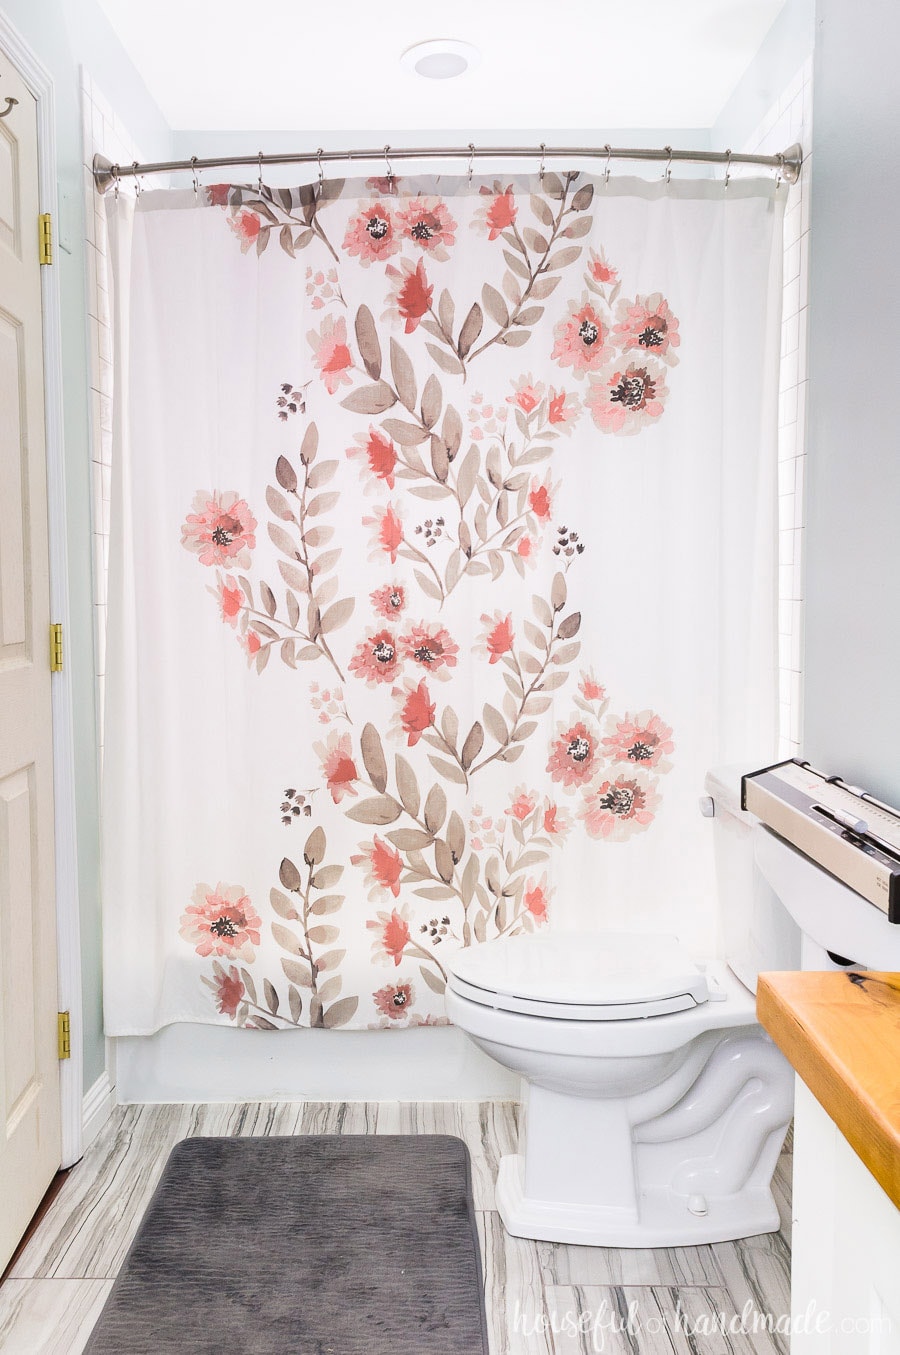
But I am not going to let the lack of art, towel racks, shelves and such stop me from sharing our beautiful DIY master bathroom retreat. Because this space is amazing.
It really was one of the best moves we made in our house (minus the new and much improved blue & white two tone kitchen remodel). The space we gained in our tiny bathroom has made getting ready every morning (or afternoon in my case) so nice.
And on the weekends when the hubby and I are getting ready together, we each have our own space. That is what keeps marriages strong!
The Bathroom Vanity
For our master bathroom retreat, we wanted double sinks. And as much as I love the look of 2 separate vanities, it just made more sense in our smaller bathroom space to make 1 large vanity.
You cannot believe the storage that you get with an almost 8′ vanity. Even with the open shelf on the bottom (that usually holds towels but they are all in the laundry right now), there is plenty of room for the 2 of us to store everything we need and then some.
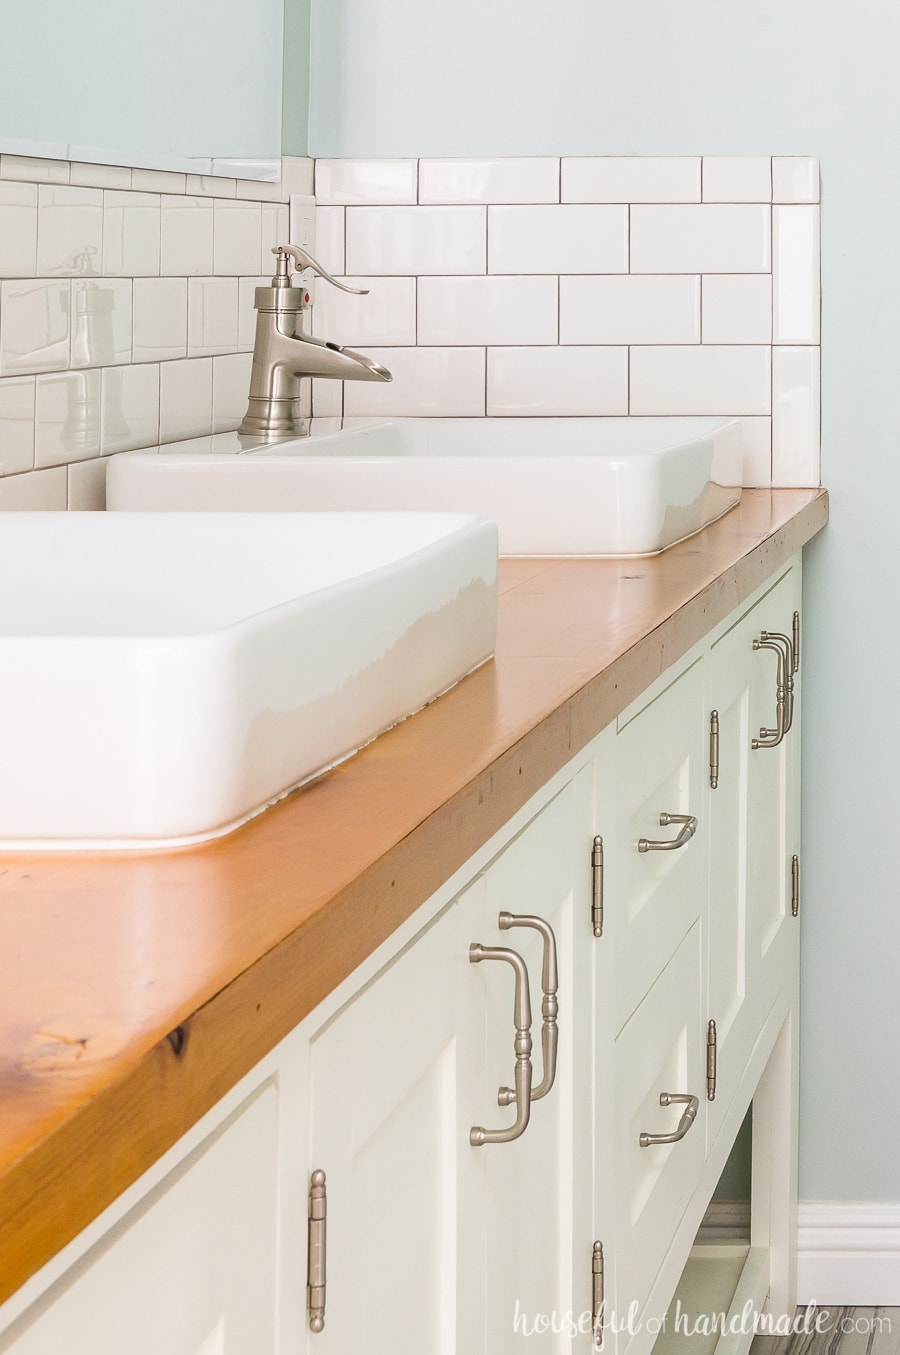
Someday I plan to find some cute baskets or galvanized bins to place under here the vanity to store even more items, like my blowdryer and flat iron. But then, I never got around to finishing the bathroom so whoops.
For now, I just love the clean lines of the mission style open shelf bathroom vanity. This was my first big build and gave me the confidence to take on even bigger projects like building my own kitchen cabinets.
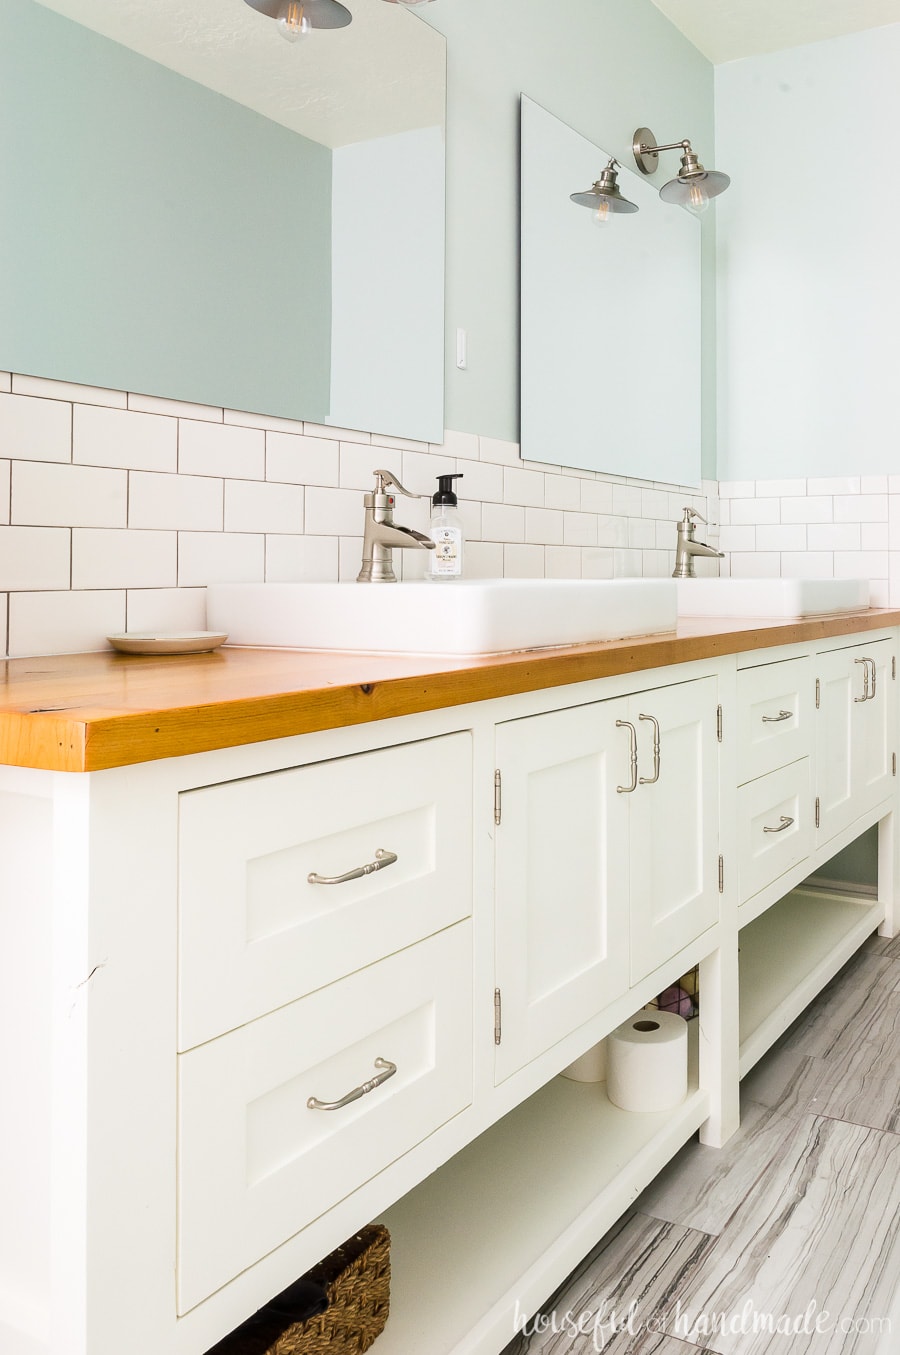
Relaxing Wall Color
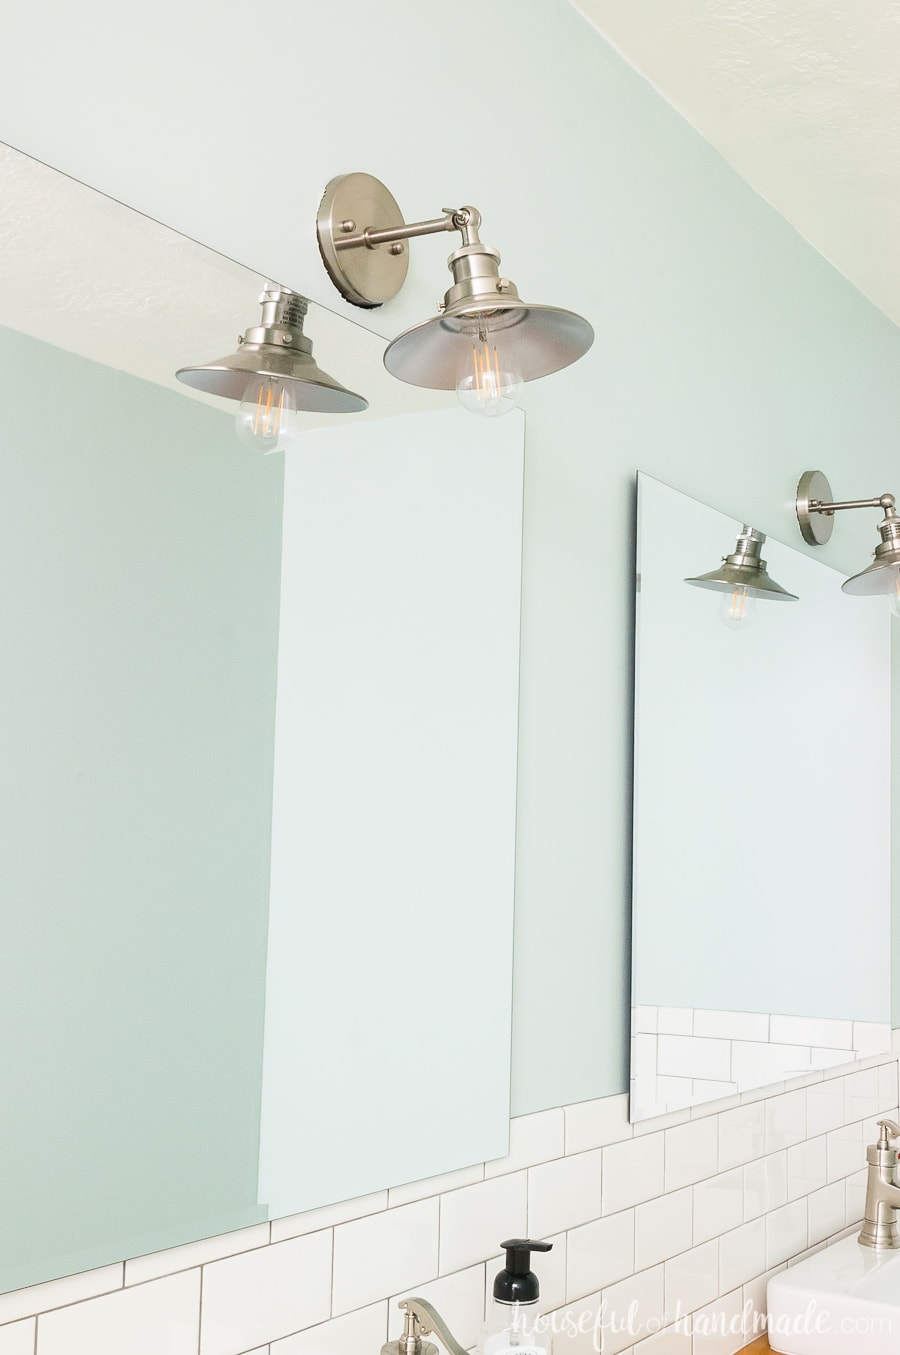
The walls were painted a soft greenish blue color. It is a combination of Juniper Breeze and Mountain Falls by Behr.
I started with the lighter color and then felt it was too light so I added a quart of the darker color to the left over 1/3ish gallon of paint and ended up with this. It reminds me of the ocean when storm clouds roll in.
Wood Vanity Top
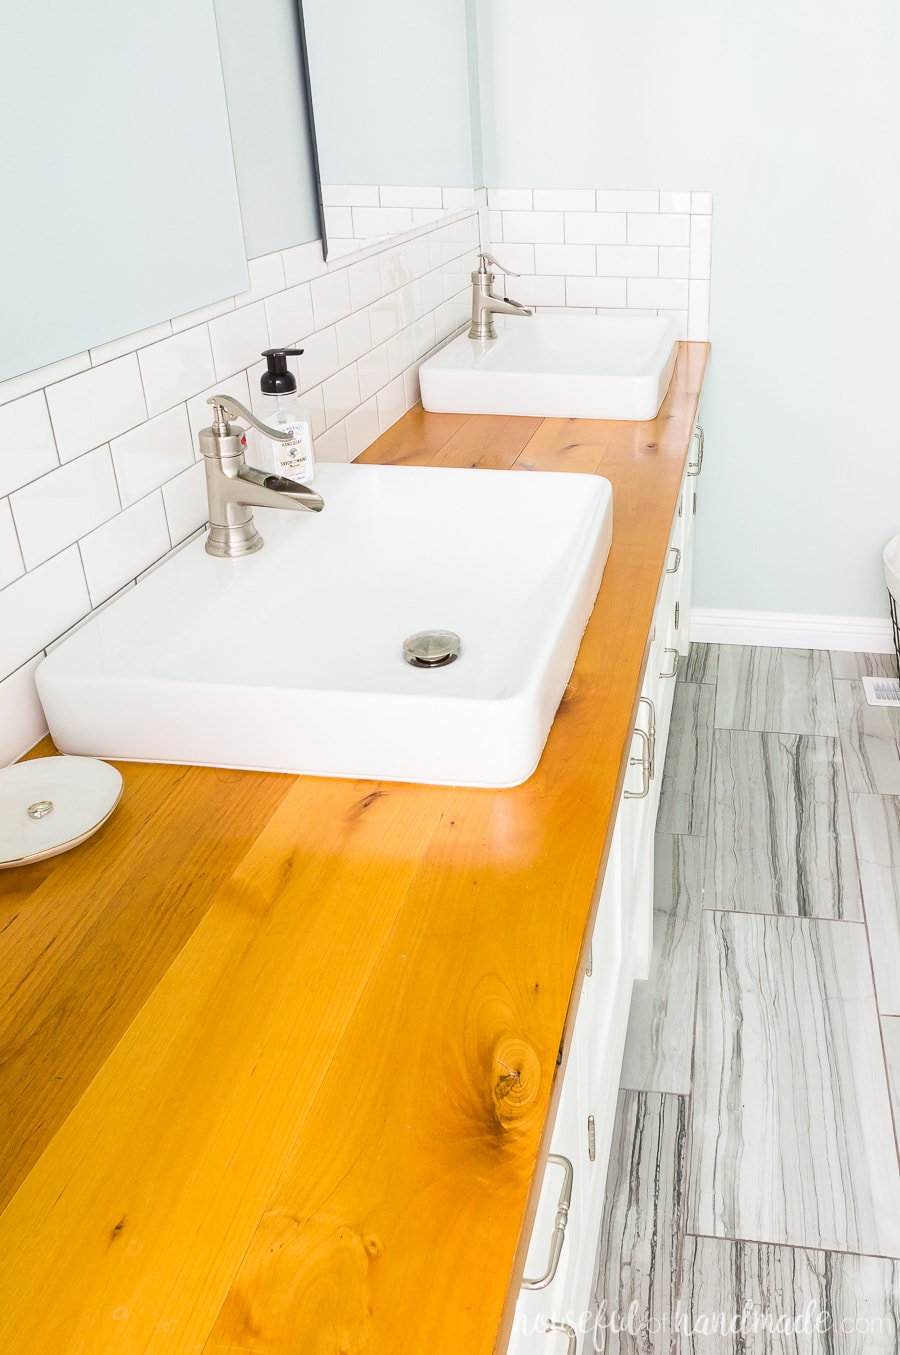
The show stopper for our master bathroom though is the wood vanity top. Doesn’t it make it feel like a spa?
I love the warmth of the natural alder wood next to the cool gray floor and cool wall color.
If you have ever thought about a wood vanity top, I would recommend it. I do not baby this thing and it has held up wonderfully for almost 2 years. You can read all about how to build & protect a wood vanity top here.
The Bathtub & Shower
On the other side of our master bathroom, is the shower. We left the tub in place to save lots of time and money for our remodel. And we are lucky enough to have nice cast-iron bathtubs in all our bathrooms.
But it did need new tile.
I really wish I had a picture of the shower tile before. It was pink & blue swirly tile (there was a pink & blue swirly theme in the house when we bought it) and there were ceramic unicorns attached to some of them. The horns of the unicorns did make handy shower caddies, but they were just too out there for my style.
Instead we went classic with white subway tile and a soft gray grout. The tiling was an adventure and you can read all about what I learned about tiling and the tragedy of the grout here.
But let’s just say it was worth the extra days of heartache because I love the clean white shower now!
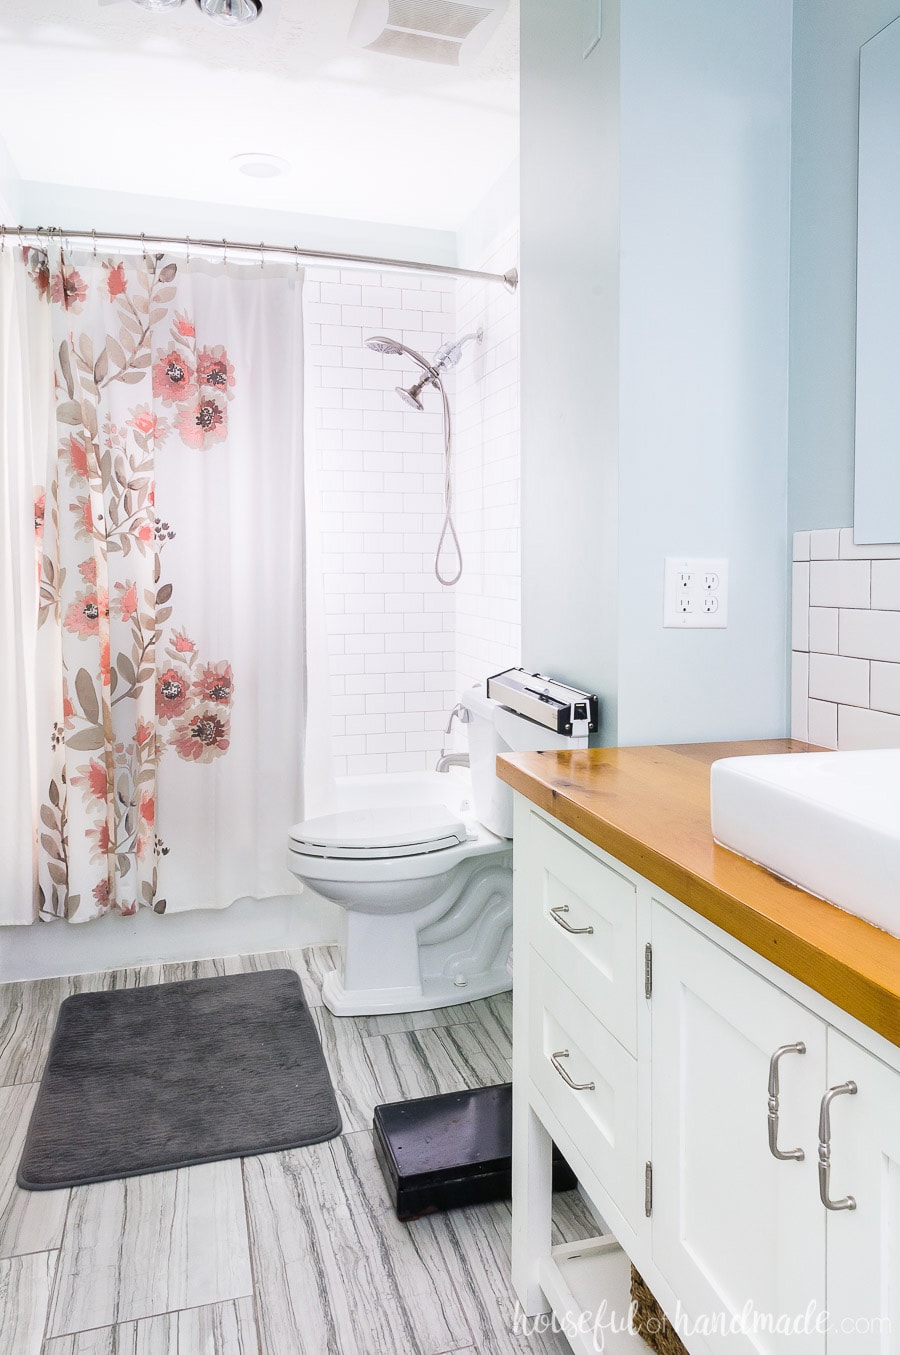
I’m a little embarrassed to admit that for almost 2 years, we had been using the shower with just a shower curtain liner. No shower curtain! I kept looking, but just couldn’t find one I liked.
I knew I wanted to add an accent color to our bathroom to balance the grayish green walls and neutral tones. But what color, I did not know.
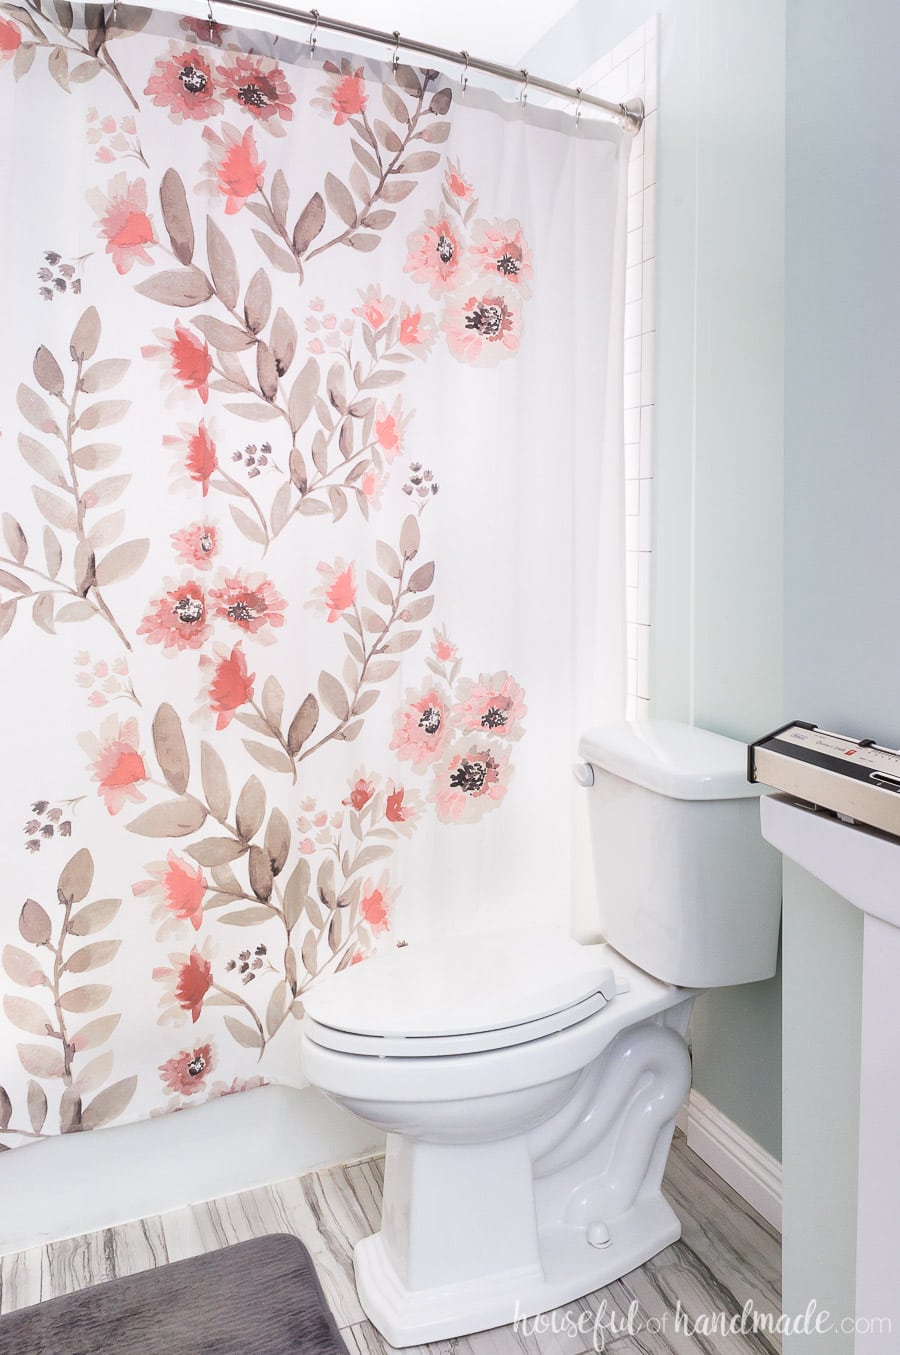
Then one day I found this watercolor floral shower curtain at Target and fell in love. It was perfect for our bathroom because it was calm and clean, but had a pop of coral to accent the room.
So I added some coral towels as well and have never looked back.
Bathroom Decor
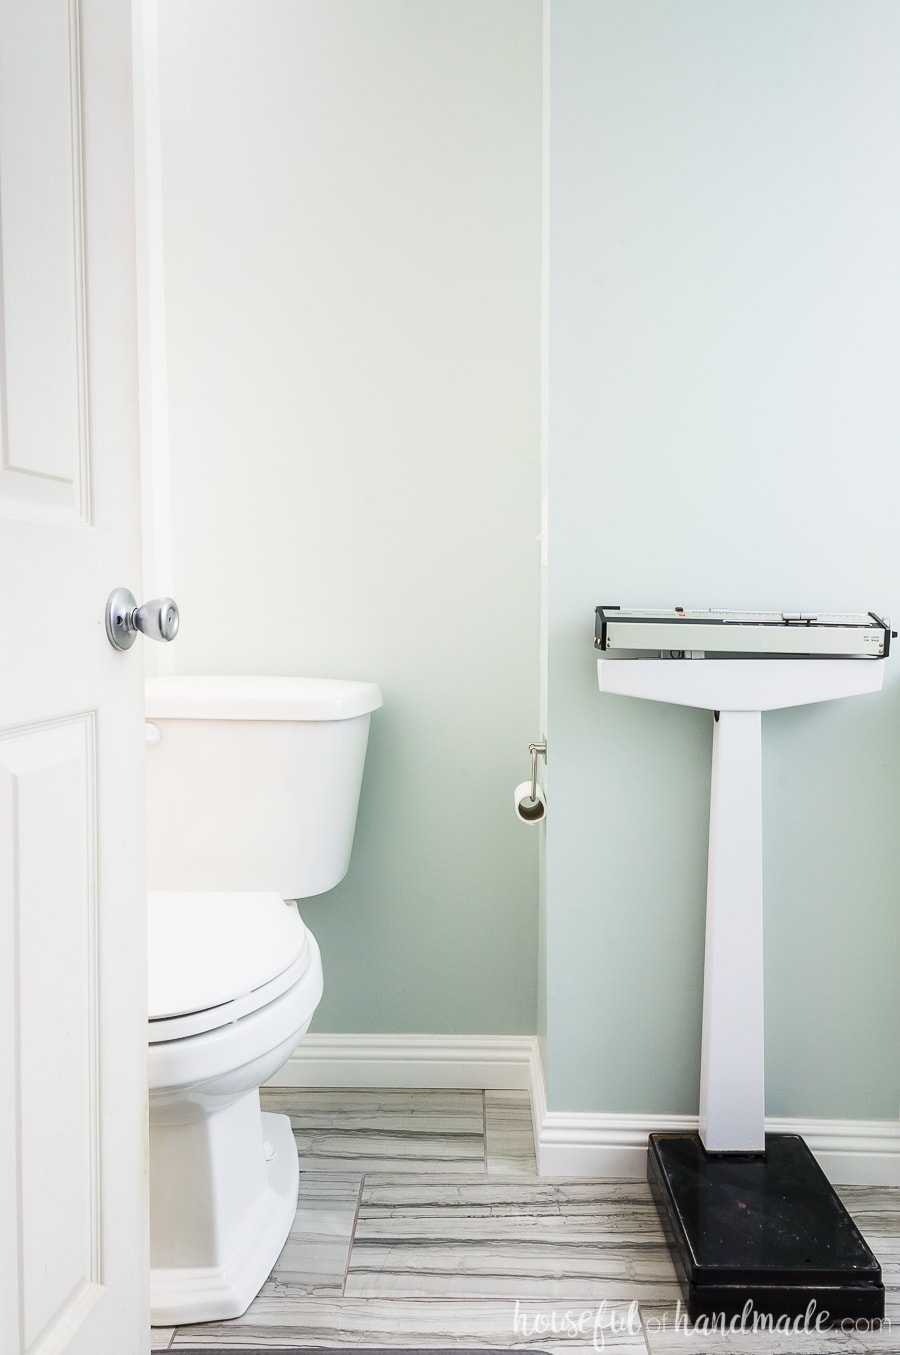
The only decor I have added to the space so far is an old doctors scale I found at a thrift store. It serves as my bathroom scale and I love the way it looks in the room.
It doesn’t hurt that the odd jut-out in the room is the perfect spot for it to rest. And the kids love coming in to weigh themselves regularly. My son just barely passed 50lbs and is feeling pretty proud of himself!
And that is our DIY master bathroom retreat!
A truly peaceful place to escape to when the kids are driving me crazy. I can take long baths and just relax. And someday I will finish the list of to-do’s swimming around my head. I know some shelves above the toilet and bathroom art would go a long way.
I hope you enjoyed our bathroom tour, don’t forget to check out the rest of the Room by Room summer bathroom tours for even more bathroom inspiration.

