

I love nothing more than building something from scrap wood! And it’s even better when you can use those scraps to make stunning Christmas decorations.
So when I had a pile of small 1×2 boards just sitting there, I knew it was time to turn them into some beautiful tabletop Christmas trees.
These simple wood Christmas trees are so fun and easy to build. I created plans for them in 3 different sizes so you make a whole village in no time!
This post may contain affiliate links. As an Amazon Associate I earn from qualifying purchases. Click here to read my full disclosure policy.

Wood Christmas Trees
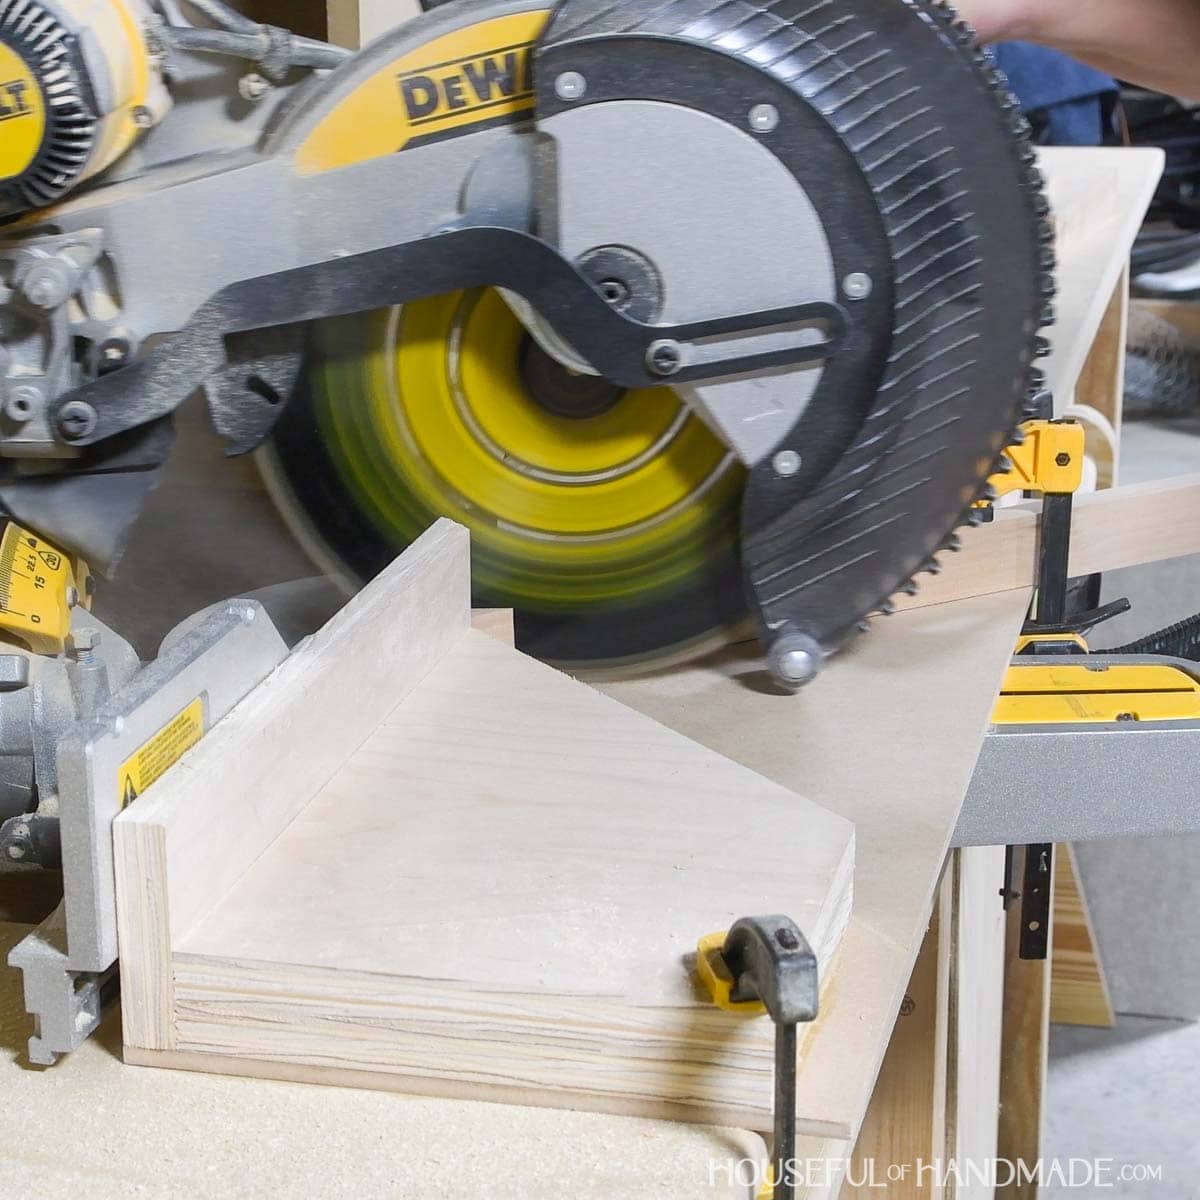
After gathering up your 1×2 scraps, you will need a way to cut an acute angle to get the perfect tree shape.
I used a simple acute angle miter saw jig (also made from some scrap wood) to be able to safely cut angles sharper than 45°.
And it was super quick to build. I was able to build the jig and 3 Christmas trees in a couple hours!
You could also use a circular saw, hand saw with a miter box, or jig saw to cut the sharp angle if you prefer.

I originally made these tabletop Christmas trees 7 years ago using reclaimed wood scraps.
The reclaimed wood gave the Christmas trees a rustic look. And it made the build even faster because I didn’t have sand or finish the trees.
They were a fun addition to my tree farm mantel. I made this Christmas tree farm sign to hang with lots of decorative Christmas trees.

How to Build Tabletop Christmas Trees
Tools & Materials
Recommended Tools:
- Miter saw
- I recently upgraded to this sliding miter saw (watch for it to go on sale), but previously used this inexpensive miter saw that I love.
- Speed square
- Sander
Supplies:
- Wood products
- (1) 1×2 board, 8′ long
- Wood glue
- Painters tape
- Sealer/stain or paint
Cut List
Cut out the pieces according to the easy-to-read cut table in the PDF plans.

STEP 1- Cut the angles
The top of the side boards needs to be cut at a 60° angle.
I built an easy jig for my miter saw to cut the sharp angle safely. And bonus, it was built from plywood scraps!
Learn how to build an acute angle jig for a miter saw here.
You could also cut the angle with a jig saw, circular saw or hand saw with a miter box.
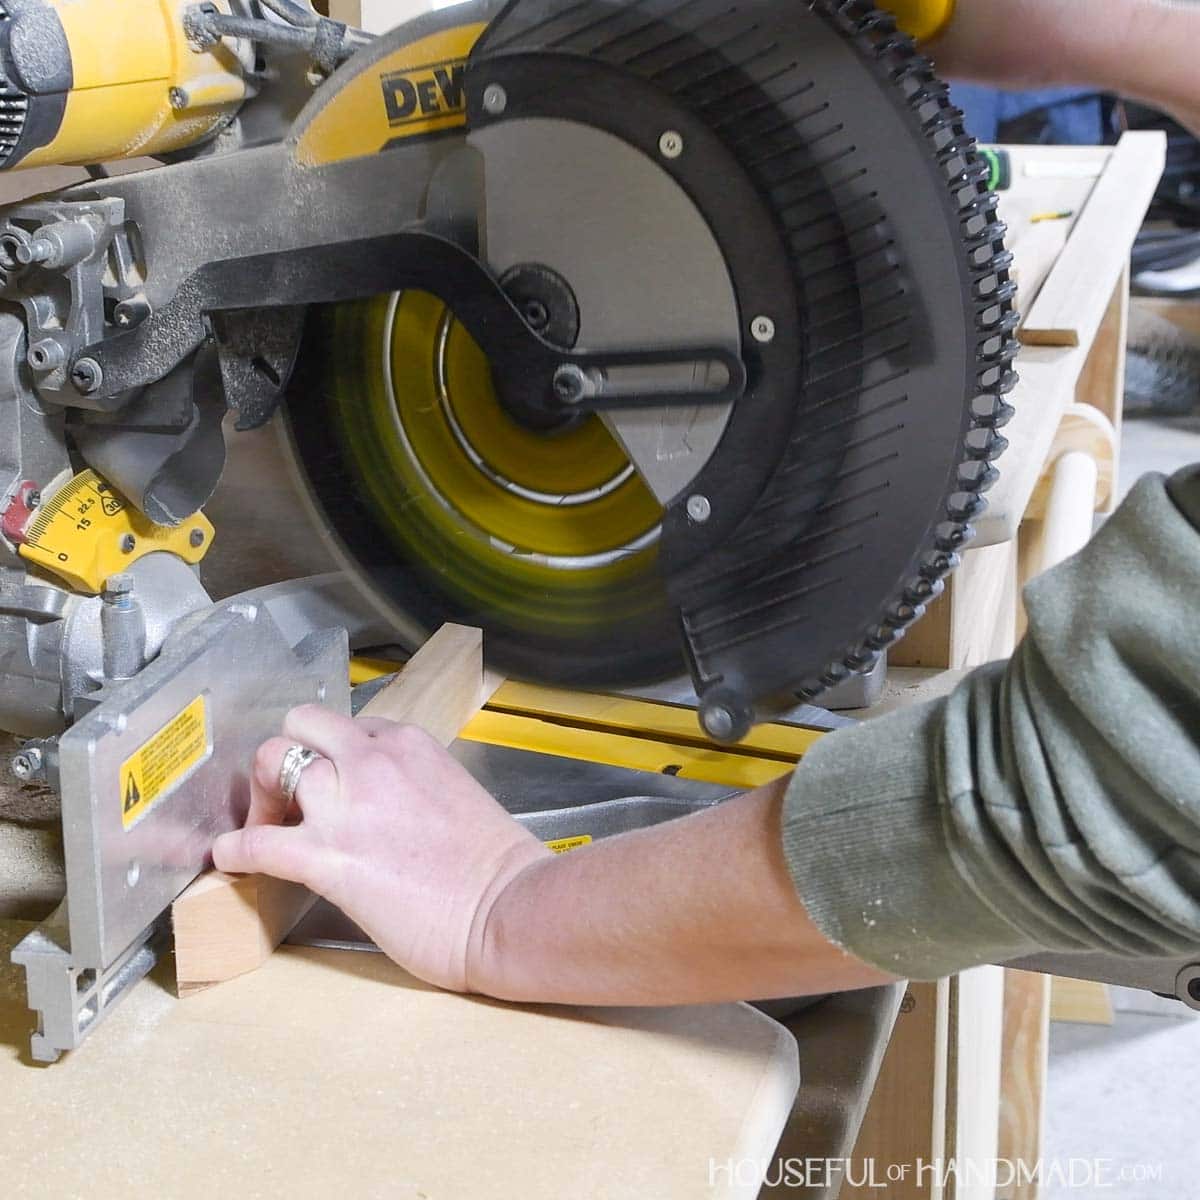
The bottom of the side boards needs to be cut at a 15° angle so the ends are angled towards each other on the inside.
This was quick and easy to do with the miter saw.
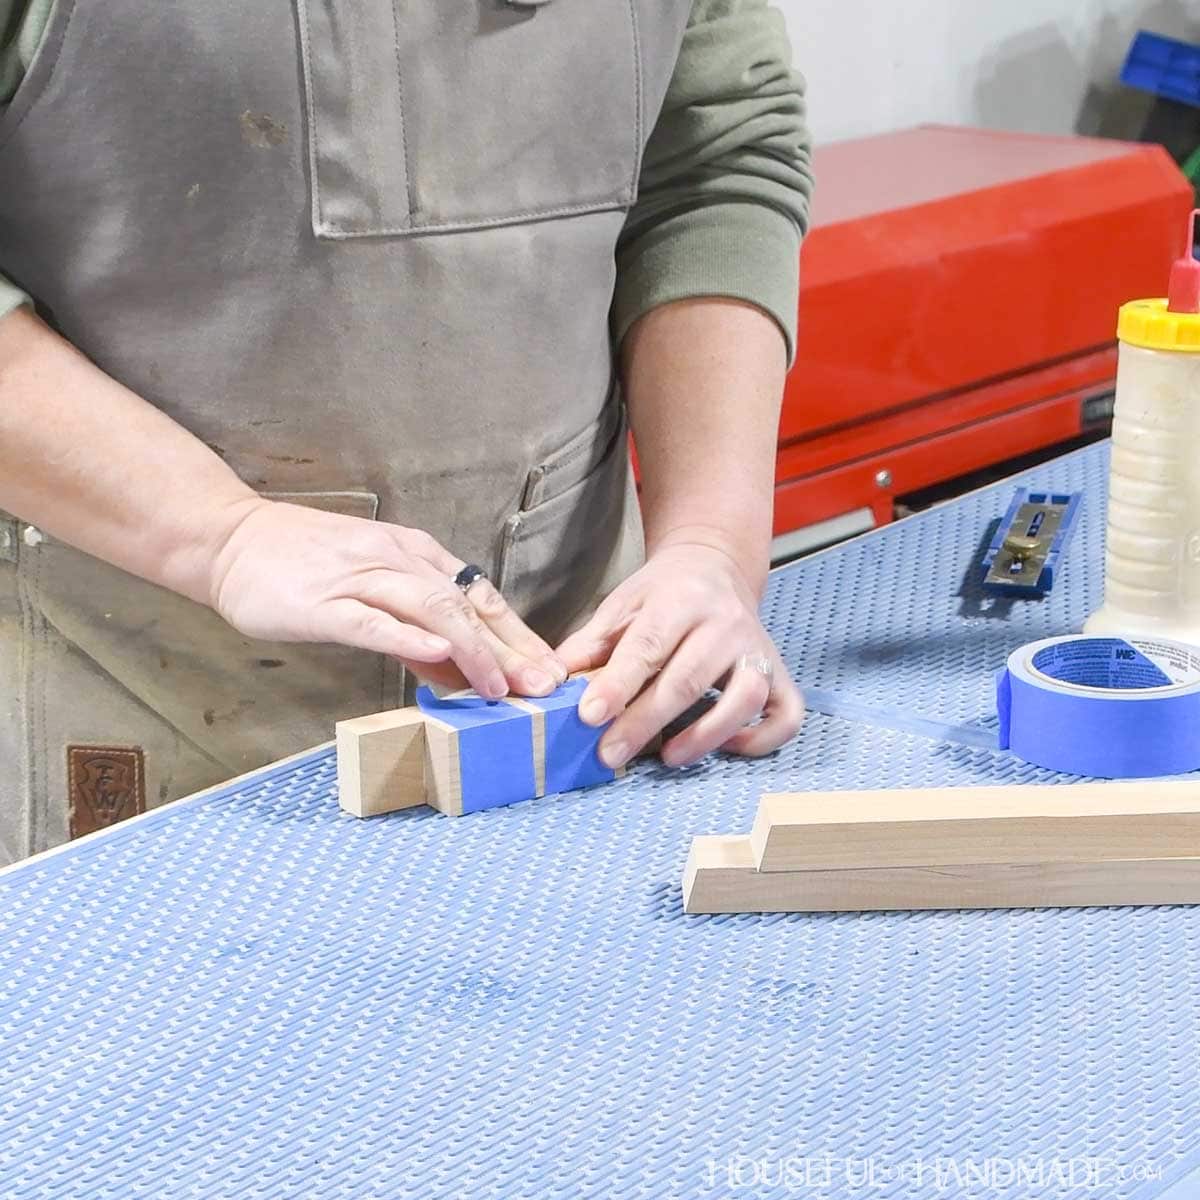
STEP 2- Attach the trunk
Glue the trunk to the bottom of the base piece so it is centered side-to-side and flush front-to-back.
Use a couple strips of painters tape to hold it in place while the glue dries.
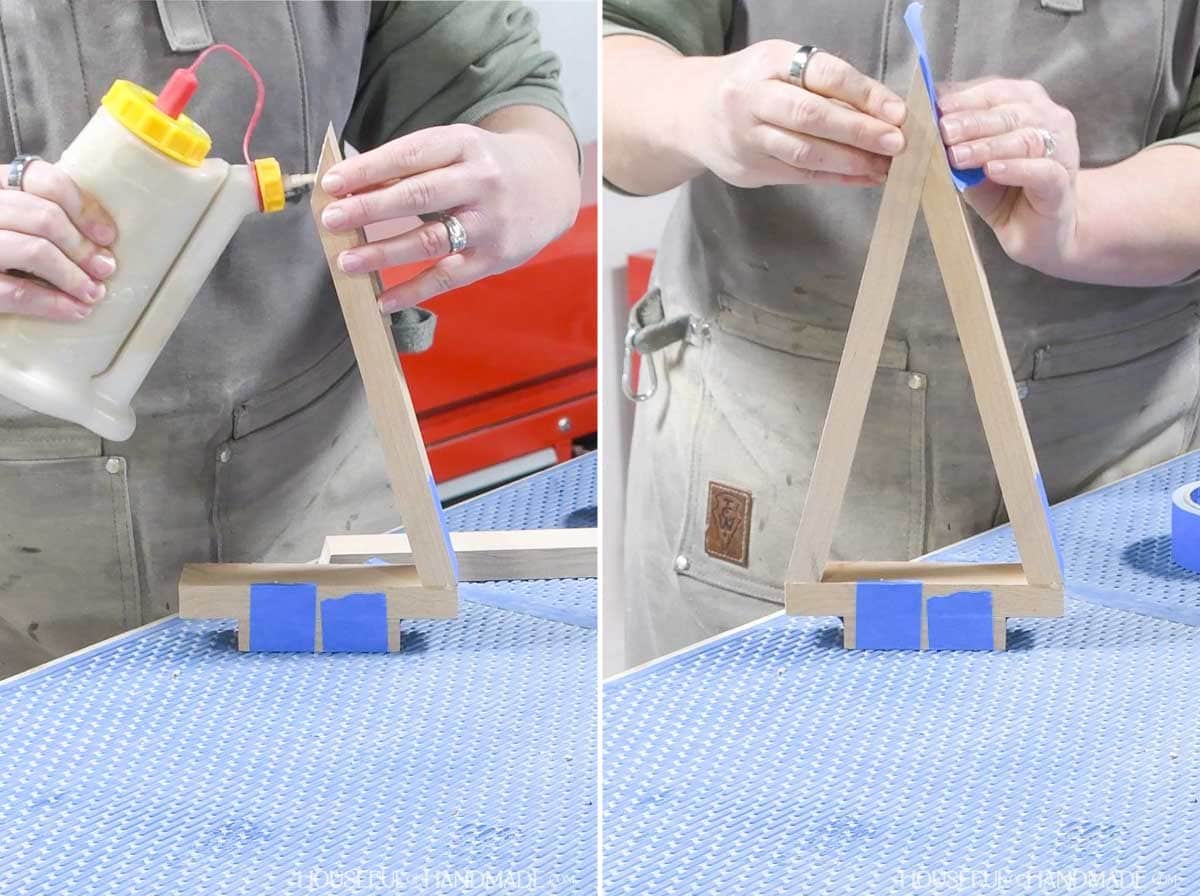
STEP 3- Attach the sides
Place a piece of tape over the outside edge of the 15° angled side 1 piece. Then add glue to the angled cut.
Place it on the edge of the base piece so it is flush on the outer edge and hold with the tape.
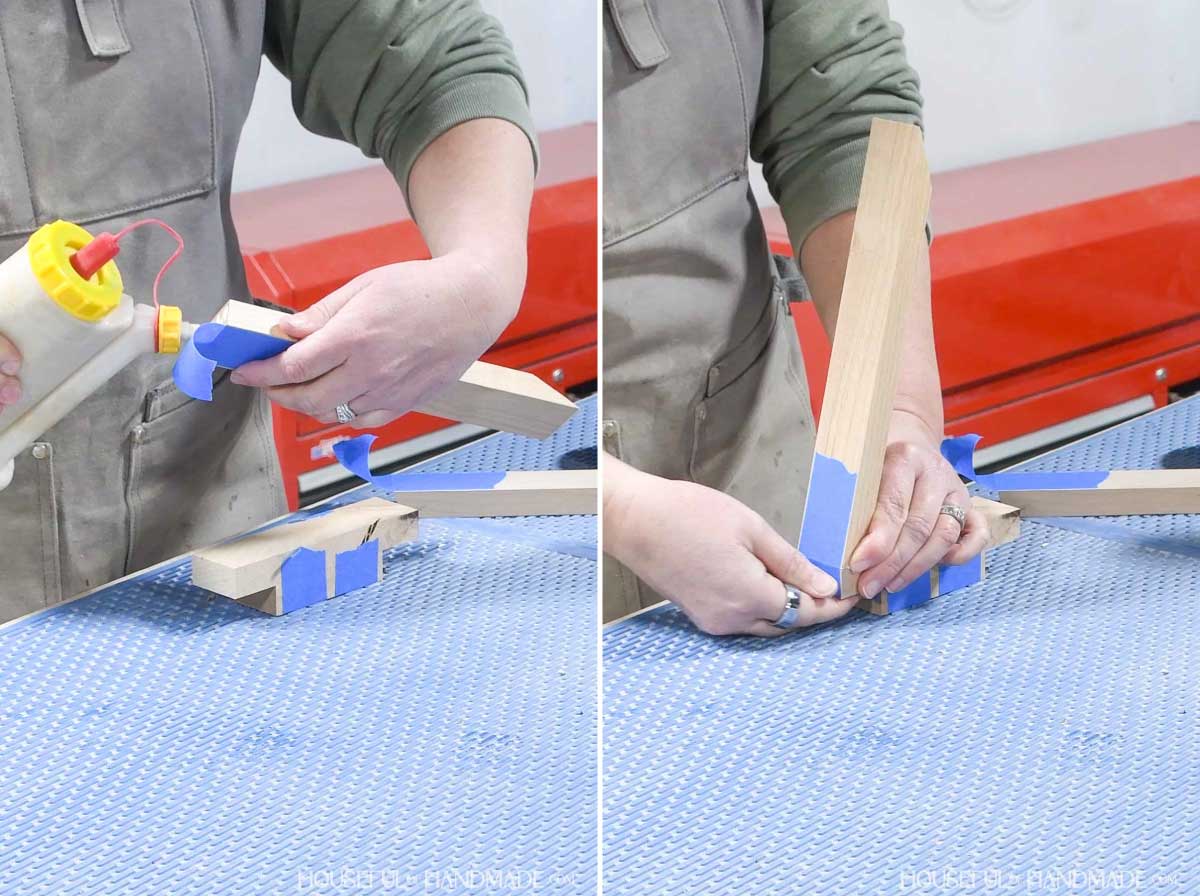
Repeat for the side 2 piece, but before placing it on the base, add glue to the 60° angled cut of the first side piece.
Once everything is lined up, add a piece of tape to the top to hold it in place. Then let the glue dry.
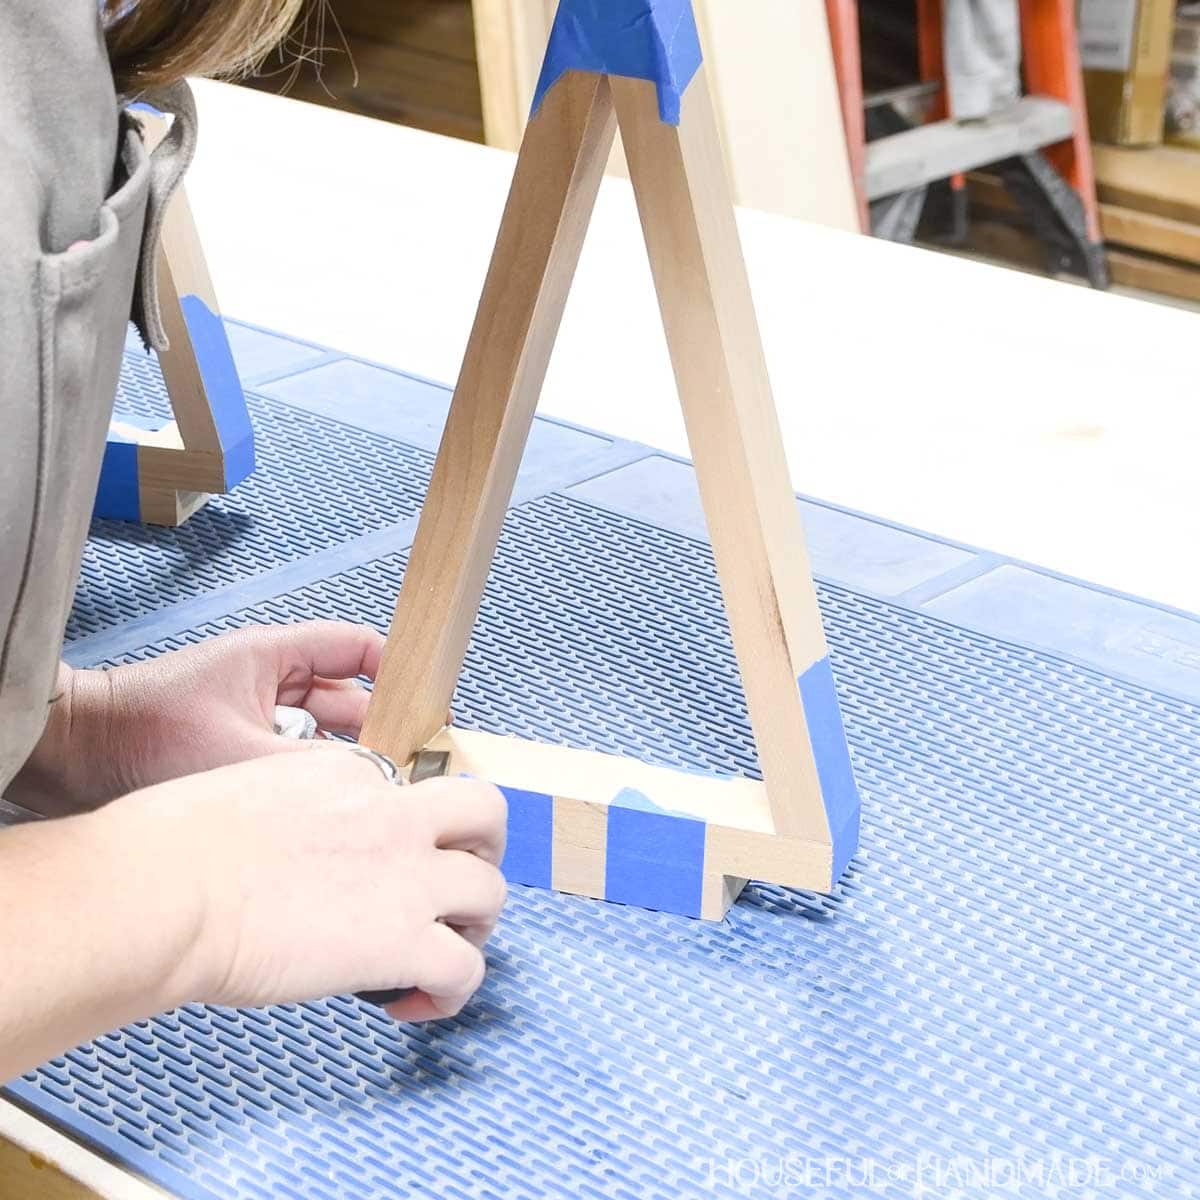
After an hour or two, you can scrape out any squeeze out with a chisel or knife.
It is way easier to scrape it out when the glue is starting to dry, but not completely dry.
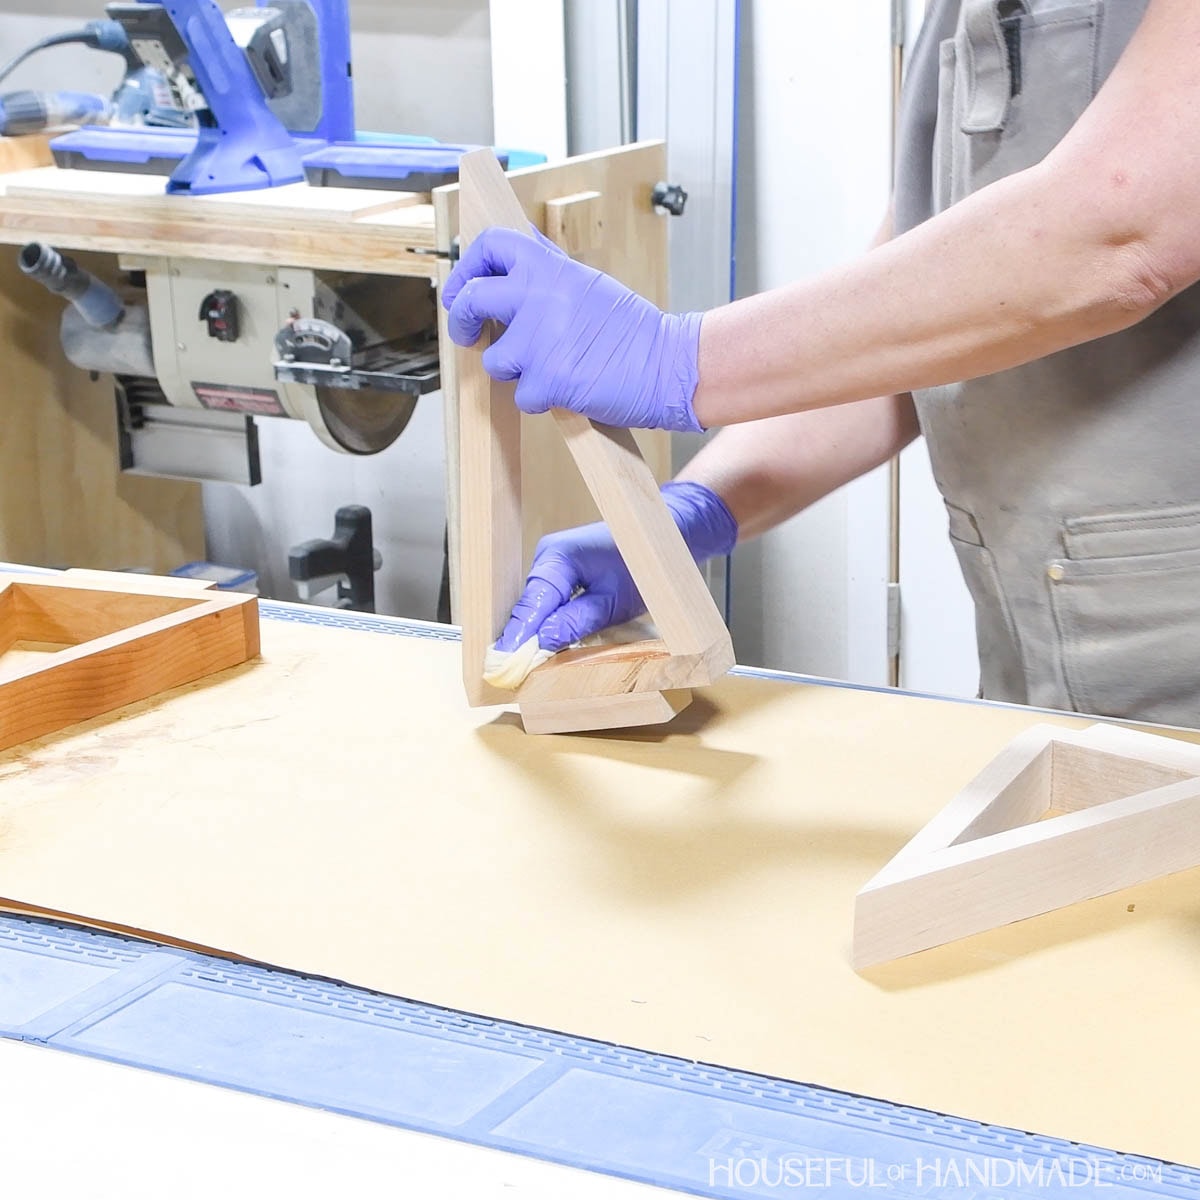
STEP 4- Sand and finish
Remove the tape, then sand your new Christmas trees.

Finish them with stain/sealer or paint.
I built my tabletop trees from scraps of alder wood. Then sealed them with Tried & True Original Wood Finish.
PDF mini plans include:
- Recommended Tools
- Shopping list
- Easy to read cut list table
- X-ray view with measurements
- Step-by-step instructions
- BONUS: 3D SketchUp file
You did it!
Now you can decorate with you beautiful trees and enjoy your Christmas season. It really was that easy!

Happy building!
