Our colorful farmhouse laundry room is done!
This month we transformed our laundry room closet into a beautiful space that you actually want to spend time in. The show pieces of this farmhouse space are the beautiful purple cabinets and stenciled cement floor. It’s the perfect budget laundry room design.
Can you transform a space for only $100?
See how we turned our basement laundry room closet into a beautiful colorful farmhouse laundry room on a budget.
This post may contain affiliate links. As an Amazon Associate I earn from qualifying purchases. Click here to read my full disclosure policy.
This 1 month challenge required lots of smart choices and creativity, but the transformation is amazing! See the colorful farmhouse laundry room reveal.
I cannot believe it’s laundry room reveal day! It feels like I have only been working on this project a couple weeks because we missed half the month due to sickness. But it’s (mostly) done and I am excited to share it with you!
If you missed any of the budget friendly laundry room updates, make sure to check them out:
Week 1 | Week 2 | Week 3 | Week 4
Did you catch that “mostly” done part? Yesterday morning I was ready to grout the cute subway tile backsplash so I went to the garage to find the grout I had leftover from our fireplace makeover.
After searching for about 20 minutes and finding not only no grout, but also none of my grouting tools, I remember that I took it to my parents house to help my mom tile their kitchen backsplash. And my parents live 1 1/2 hours away!
There was no money left in the $100 budget to buy grout and all the supplies (and I didn’t want to anyway). So I have ungrouted tiles for reveal day. But just imagine how cute they will look with soft gray grout like I did in our master bathroom.
The Laundry Room Before
Before I can share how AMAZING the laundry room looks now, I have to start by reminding us all how awful it looked just 5 short weeks ago. Yep, this hand-me-down, basement laundry room closet was nothing to show off to guest. I always made sure the bifold doors were shut tight if anyone was over.
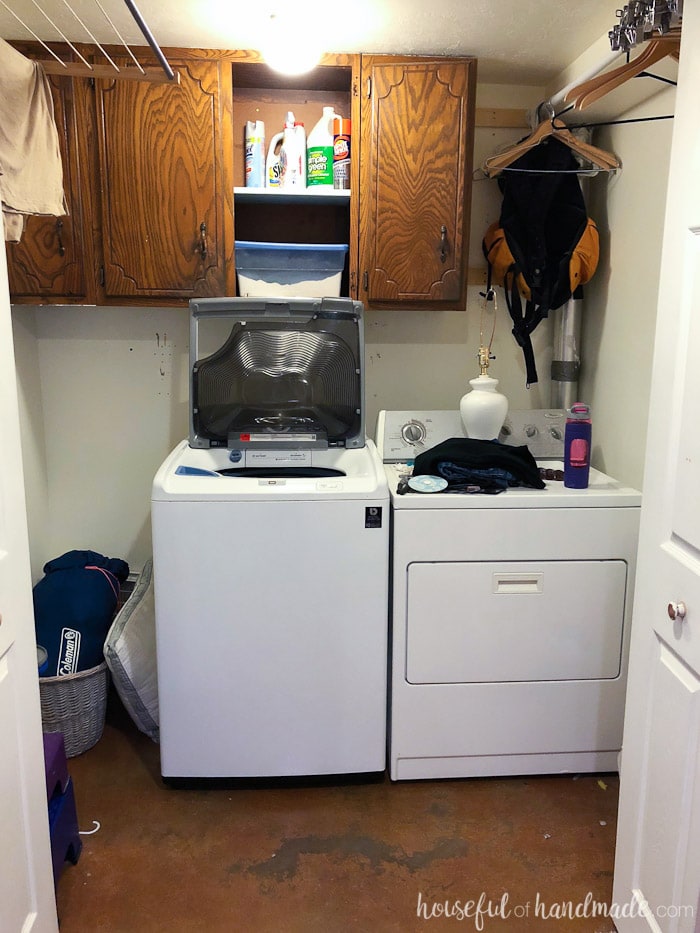
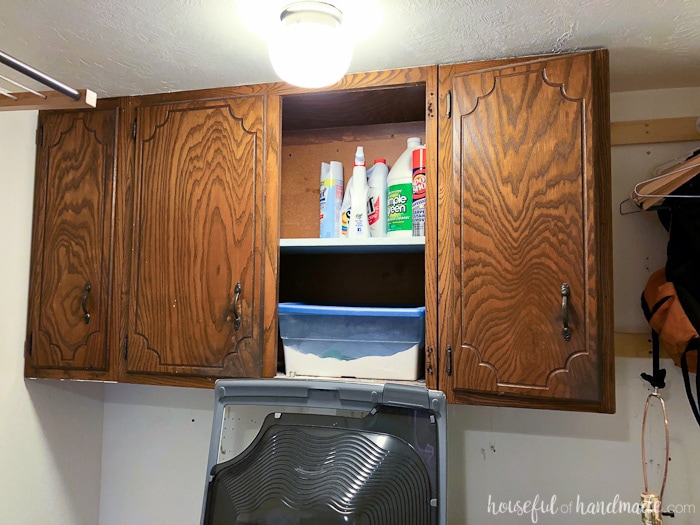
Remember the missing cabinet doors because the light fixture was in the way…
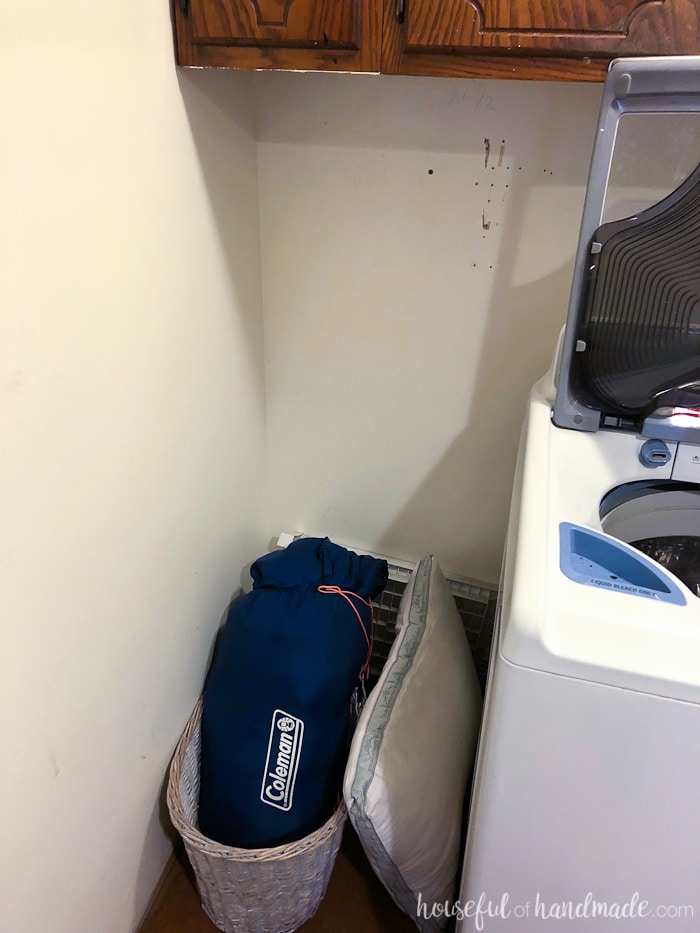
And that big empty space next to the washing machine that was a catch all of things I wanted to ignore…
Well they are all gone and instead we have a colorful farmhouse laundry room that looks amazing!
The Beautiful Laundry Room Design
I cannot decide what is my favorite part of the remodel. Our entire laundry room design is so amazing!
Of course, doing it all on a tiny budget is a big plus. But it is amazing what you can actually do when you get a little creative and use what you might have lying around the house.
Sadly, I did go over the $100 budget a little bit. I was planning on reusing the hinges from the old cabinet doors, but realized they were for recessed doors which I did not want. The extra $12 in hinges put me at a total of $109. Not bad considering all that was accomplished!
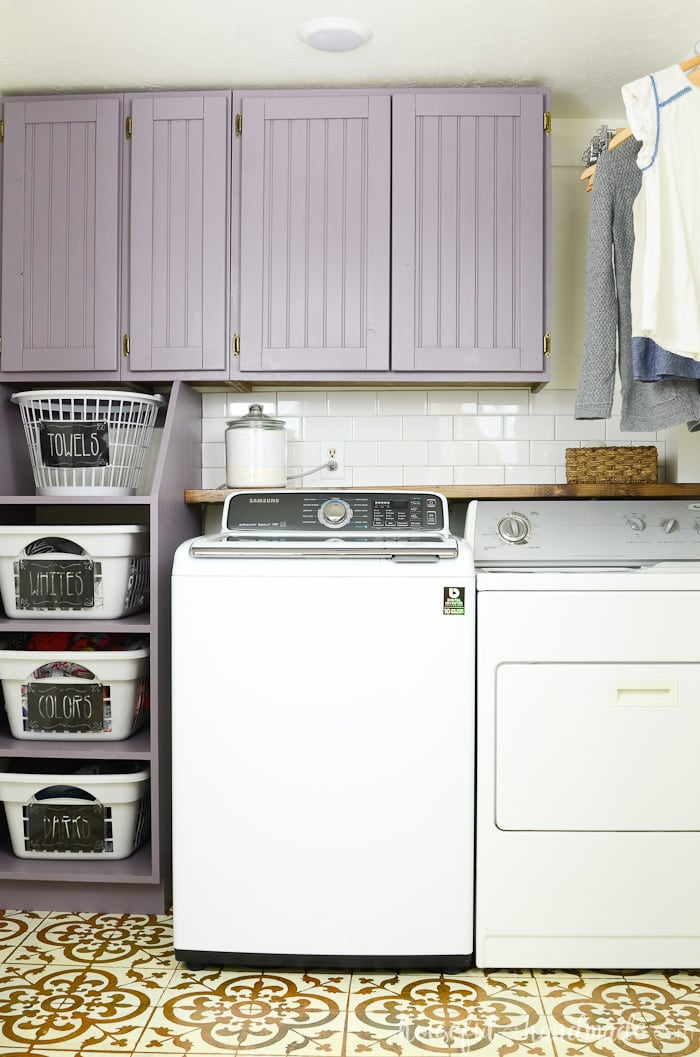
Updating Old Kitchen Cabinets
I knew the cabinets would be a huge part of the farmhouse laundry room makeover. These cabinets were hand-me-downs from my parents when they updated their kitchen.
Of course I snagged those free cabinets even if they were old. But I knew they needed new doors. The old ones were just too old-fashioned (and not in a good way).
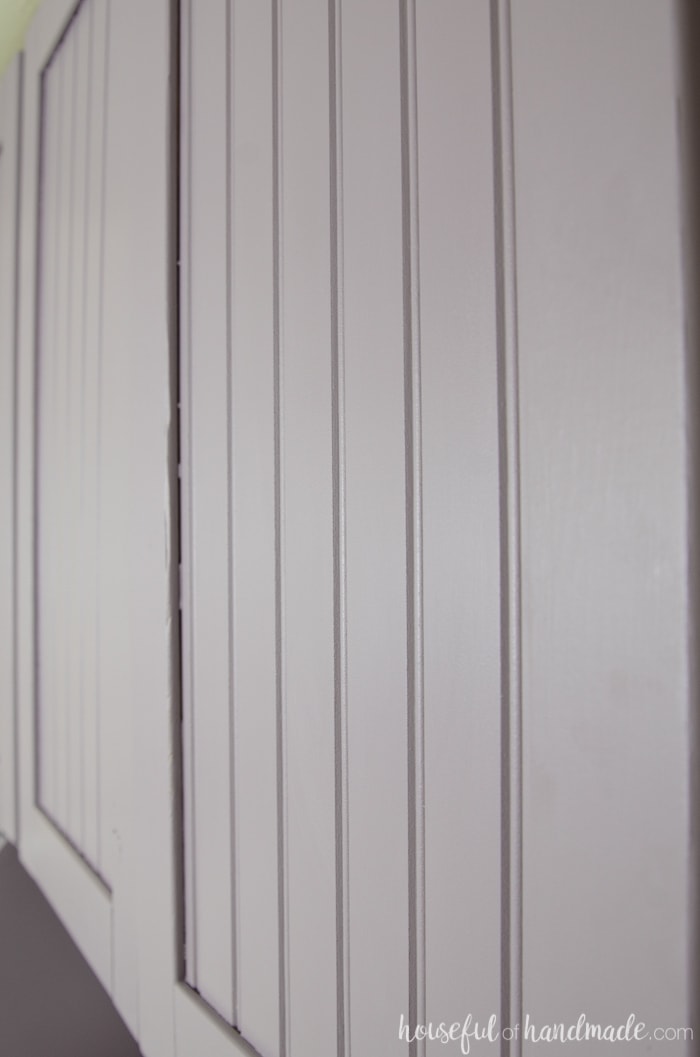
So I used 4 1×3 boards (at $2 each) and left over bead board from our master bedroom closet sliding barn doors to make these beautiful modern farmhouse style cabinet doors. I absolutely love how they turned out and you can read all about how to build cabinet doors cheap here!
Laundry Basket Holder
Then I built the stackable laundry basket storage unit with 1 sheet of 3/4″ plywood.
This laundry basket holder solved two problems in our laundry room design:
- It filled up the empty hole next to the washing machine that tends to collect things I want to ignore.
- It created a space for our laundry baskets to live so we could keep them out of the hallway.
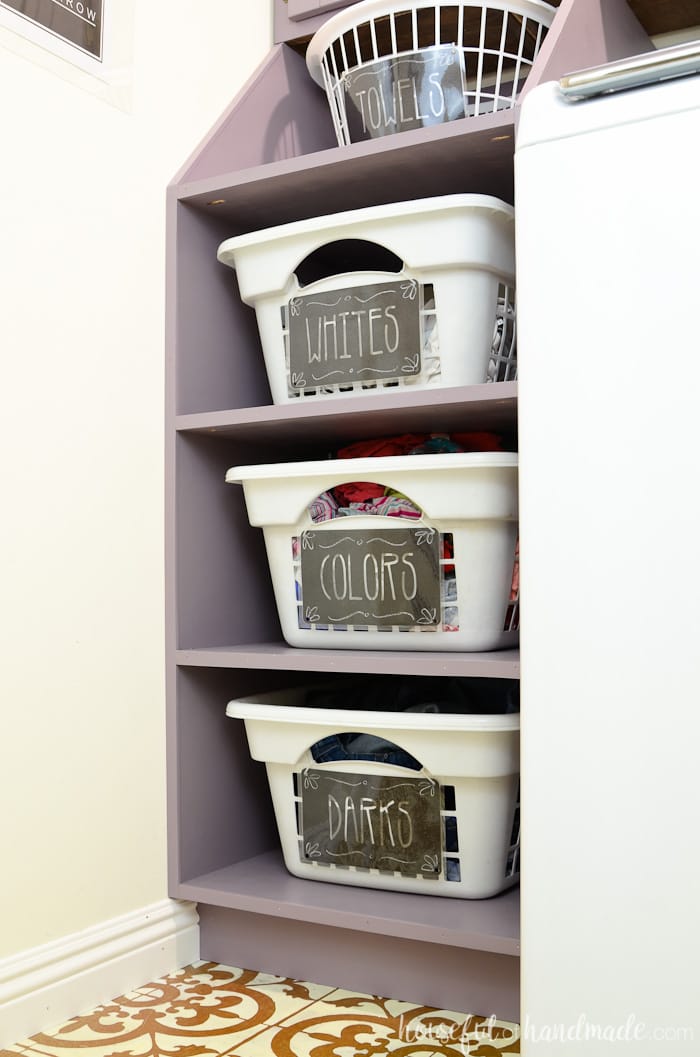
I am slightly obsessed with this new laundry basket shelving! Just the other day I told the kids to go sort their laundry and… boom! It was done.
Both kids were able to properly place their dirty clothes in the right baskets so I just have to add mine & the hubbies clothes. Then when it’s full I can toss them in the wash. For someone who HATES laundry (yes I really do totally despise this household chore), having another step that the kids can easily take over is perfection.
The Power of Paint!
And to make these old hand-me-down cabinets and the new stackable laundry basket storage look like they were alway meant to be together, I used a fresh coat of paint! This is where I decided to have some fun.
Purple has always been my favorite color. But sadly, there was very little of it in my home decor. I tend to gravitate towards greens and blues in the home.
Last year I added a pop of purple to our master bedroom makeover, and this year I decided the laundry room was the perfect place to add even more. I used Behr Classy Plum to add the color I wanted to our small laundry room closet and give it a bit of pizzaz.
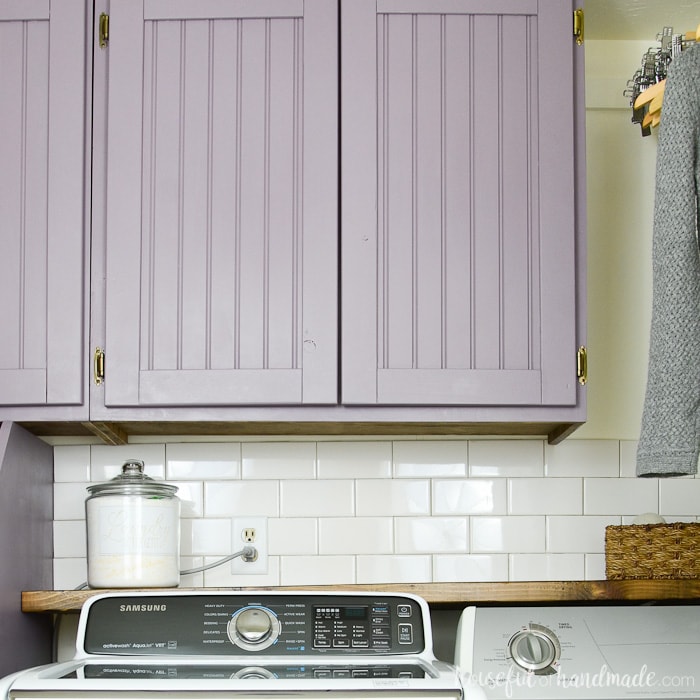
It only took 1 quart of paint to paint the entire laundry room cabinet system, including the new cabinet doors. Since it only cost $14 for the quart, I would have to say the impact vs. the cost was totally worth it.
I love the new color. The cabinets would not have been so amazing if I had used left-over paint from another room. The purple cabinets are definitely the show stopper in the room.
I do plan on adding pulls to the doors, but I ran out of money and time. Finding the perfect brass pulls to accompany the purple cabinets was harder than I thought. If you know of any, please share!
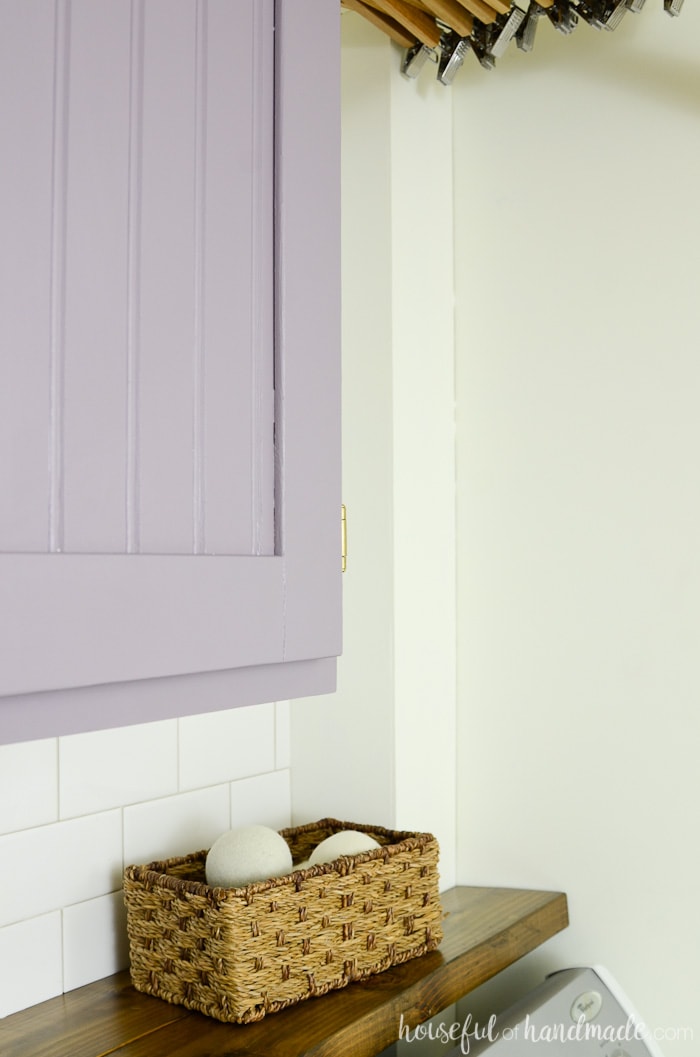
Laundry Room Shelf
Because our washing machine is a top loader, we needed to pull it out from the wall about 10 inches in order to open the door without hitting the cabinets. This caused a black hole of stuff to disappear behind the washer.
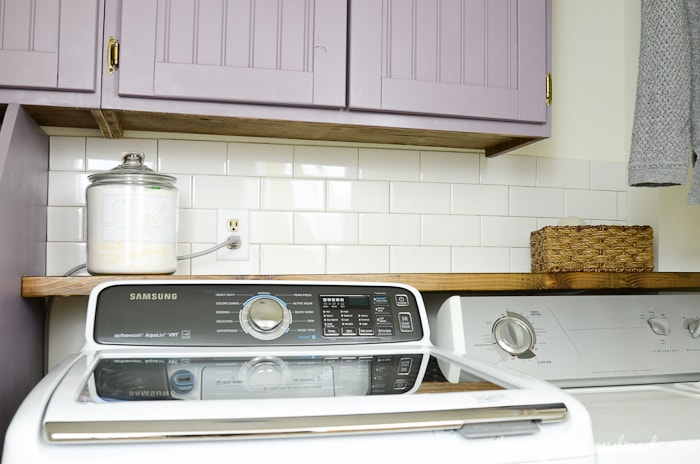
My solution was to add a barnwood shelf to the wall right behind the washer. This shelf also give me the perfect place to store things that would normally end up on top of the dryer. You can see all the steps of making this easy faux barn wood shelf here.
To hold our laundry detergent, I added a vinyl label to an old glass jar that has been empty in my pantry for years. Now it is out on the shelf for easy access (since we finally have doors on the cabinets).
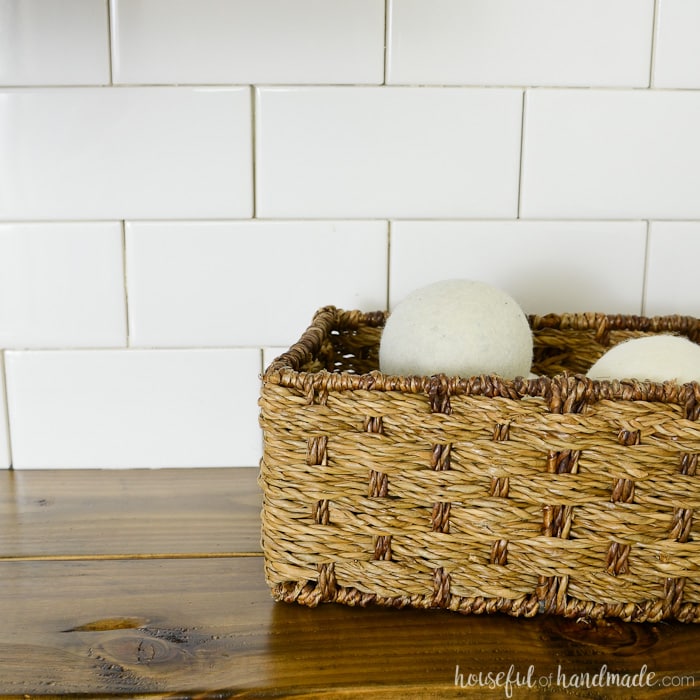
And an old wicker basket is perfect for storing all those dryer balls that I love using instead of dryer sheets.
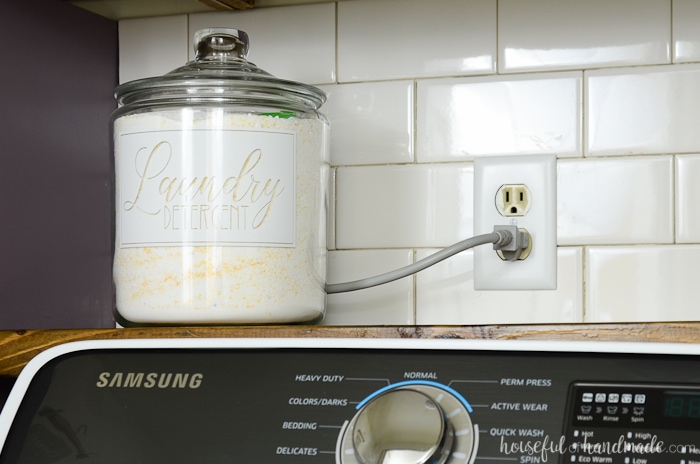
But my favorite part of the shelf is the subway tile backsplash! What farmhouse laundry room is complete without some subway tile?
Budget Friendly Tiling Ideas
I love subway tile for a few reasons, but my favorite is how cheap it is. These basic 3×6 white subway tiles were only $0.15 each!
Because I had some thinset left over from our other master bathroom and fireplace tiling projects, I was able to add this subway tile backsplash for only $5!
To help keep tiling costs down, always buy the thinset that you mix yourself. It is really easy to mix (especially if you are only doing a small project) and so much cheaper than the pre-mixed stuff.
Also, the pre-mixed stuff can dry out after you open it. So if you do not use it all you will probably end up tossing it out later.
The powder will never dry up while waiting for the next tiling project (just be sure to keep it dry). The same goes for grout. It is super easy to mix yourself, so buy the powder and save lots of money!
Laundry Room Decor
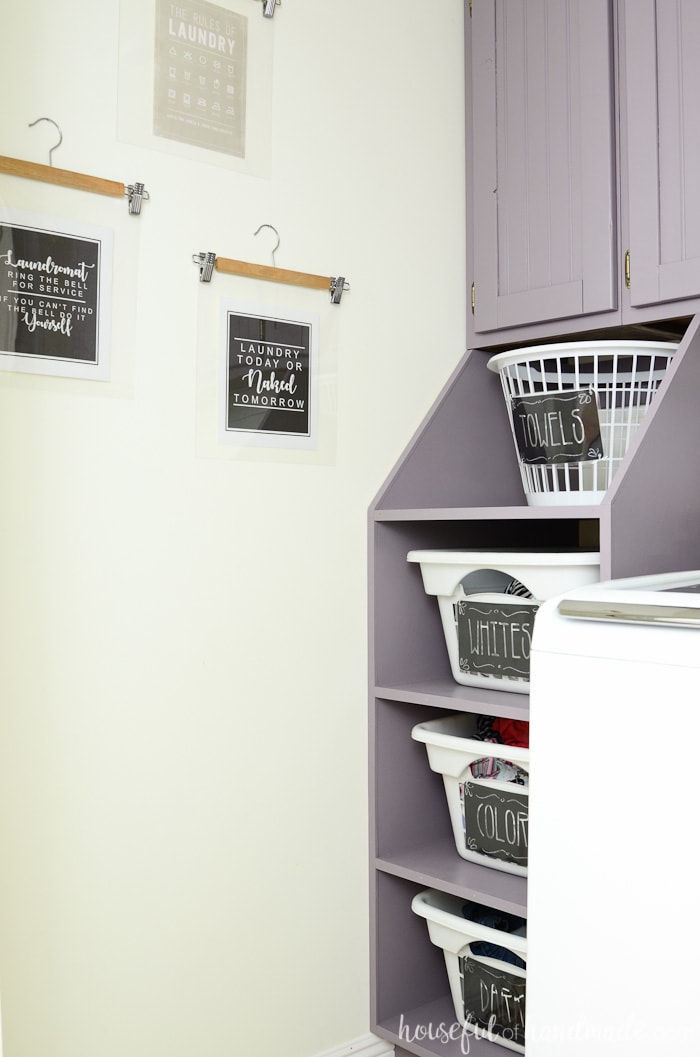
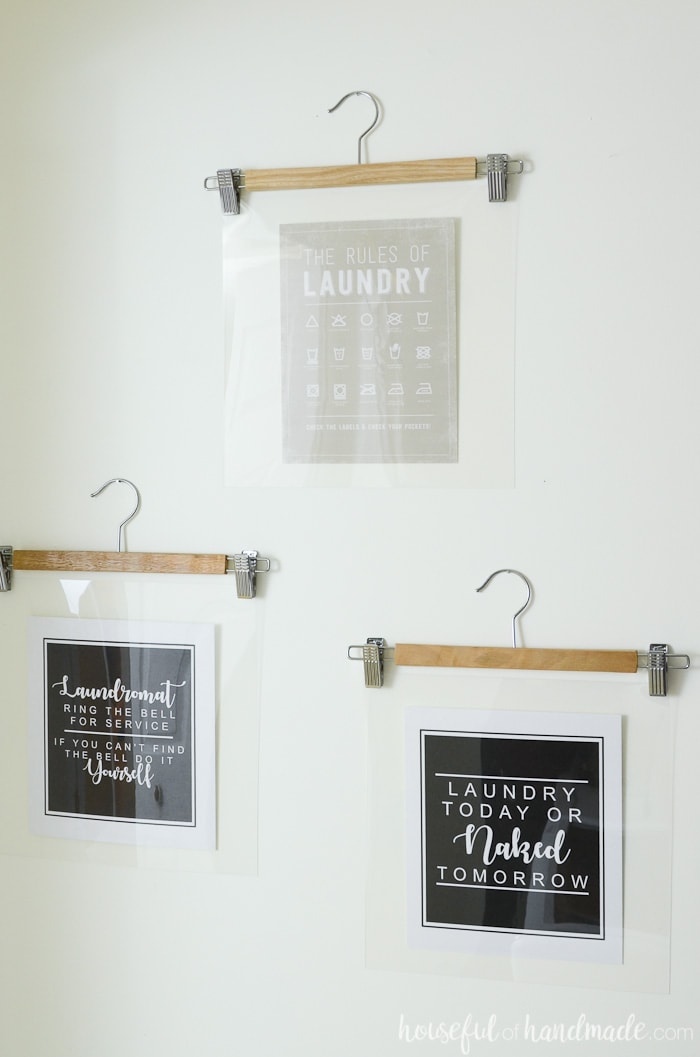
To make the farmhouse laundry room a little more fun, I wanted to add some art.
I did not have time to make my own, but thankfully there is a wealth of amazing art offered as free printables. The printables I used were from West Coast Capri and The Mountain View Cottage.
To hang these printables, I used spray glue to attach them to the back of a 12×12″ piece of plastic. Then I clipped the plastic to some wooden pant hangers that we no longer use (thanks to our amazing plywood closet organizer).
I hung the new laundry room art up with finishing nails. Easy as that! And since I had all the supplies on hand it was $0 to add a little art and humor to our laundry room.
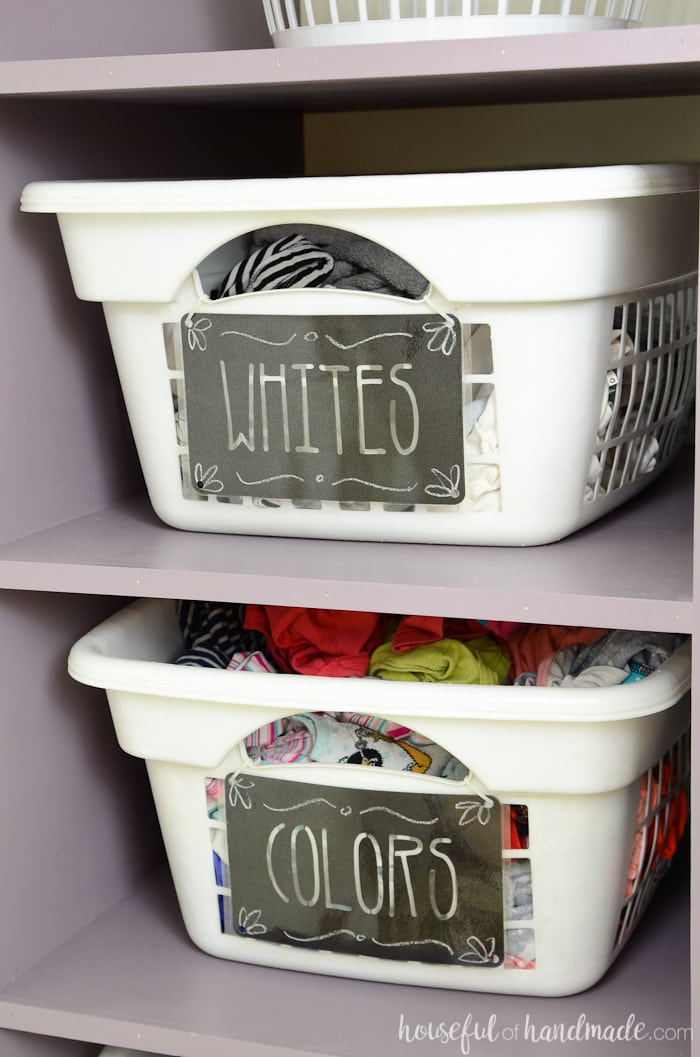
I also added some faux chalkboard labels to the fronts of my laundry baskets to help the family know where to sort things.
I cut out the words with my Silhouette Cameo on black cardstock. Then I drew a few fun chalkboard designs on the black cardstock with a piece of chalk before laminating them.
Now the chalk designs will not wear off, and the paper will not tear. I used zip ties to attach the labels to the fronts of the baskets.
How to Update a Concrete Floor
And lastly, let’s not forget the floor!
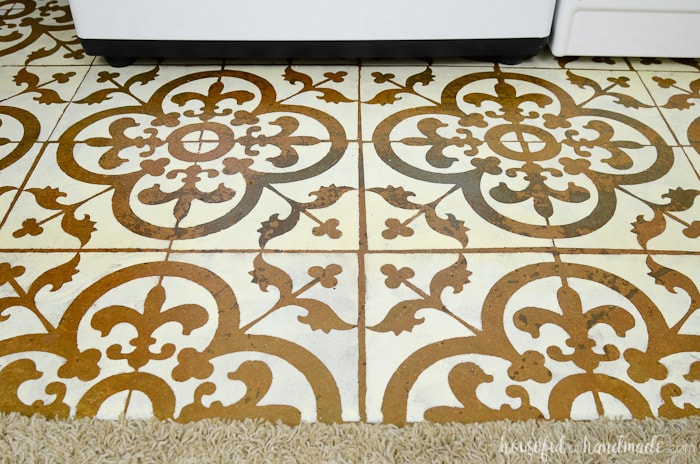
This floor was transformed with a homemade stencil and leftover wall paint. Can you believe it? It is one of my favorite parts of the transformation because our old cement floor was really looking sad.
Now it has a new life and a bit of pizzaz too. Make sure to check out the post on how to paint a floor stencil for all the details.
Whew, that was a lot! But I hope you enjoyed seeing how we were able to transform the space into the perfect colorful farmhouse laundry room on a tiny budget.
It truly is an amazing space now. And lucky me, I get to enjoy it a lot tomorrow as I try to catch up on the laundry I have been avoiding while remodeling the laundry room!

How to Update a Laundry Room on a Budget
The most import thing though is how did we spend our money?
I am a little sad to report we went over the $100 budget, but only by $9. That is less than a lunch out so I will vow to eat leftovers all week to make up for it!
- Stencil laundry room floor $19
- Stackable laundry basket storage $35
- Dryer exhaust cover $0
- Patch holes and touch up wall paint $0 (had on hand)
- New cabinet doors $20
- Purple paint for cabinets $14
- Barnwood shelf behind washer & dryer $0
- New recessed light fixture $15 (I shared why I love this light and how easy it is to install on this Facebook Live video)
- Subway tile backsplash $5
- Small laundry basket $1 (from Dollar Tree)


